# Workday
Workday (opens new window) offers cloud-based financial management and human capital management software. It combines finance and HR functionalities, enhancing business performance and providing deeper insights into organizational data.
Workday provides three primary types of services for data integration:
Workday Web Services
Provides a set of Simple Object Access Protocol (SOAP) APIs that enable users to read and write data in and out of Workday.
Workday REST
Offers REST APIs primarily used for manipulating custom objects.
Workday Report-as-a-Service (RaaS)
Allows you to extract data from custom reports that are web service enabled.
Workato uses these services to create powerful integration scenarios and sync data between your Workday instance and other cloud applications.
# Workday Approved
 Workday Approved Badge
Our Workday connector is Workday Approved for all HR Onboarding/HCM use cases.
# API version
Workato supports the following versions for each of Workday's services:
# Workday Web Services
- v29.0
- v32.2
- v34.0
- v35.2
- v36.2
- v38.2
- v39.0
- v40.2
# Workday REST
- v1
# Workday Report-as-a-Service (RaaS)
There are no versions associated with the Workday RaaS.
# How to connect to Workday on Workato
# Before connecting to Workday
Before integrating with Workday using third-party services like Workato, we recommend using an Integration System User (ISU). Using an ISU ensures that all integration operations are logged under a designated user, separate from regular workflow processes. This is essential as changes to a regular worker’s security profile or their termination could disrupt integrations reliant on their account. For enhanced security, limit each ISU to a single integration system, such as Workato.
Additionally, if your integration involves custom objects in Workday, you must register a Workday API client. This step is required as the Workday REST API requires authentication through an OAuth client setup.
# Register Integration System User (ISU) in Workday
Your Integration System User (ISU) must be assigned the required permissions to create a successful integration. You may receive a 403 error during recipe building if your ISU has insufficient permissions.
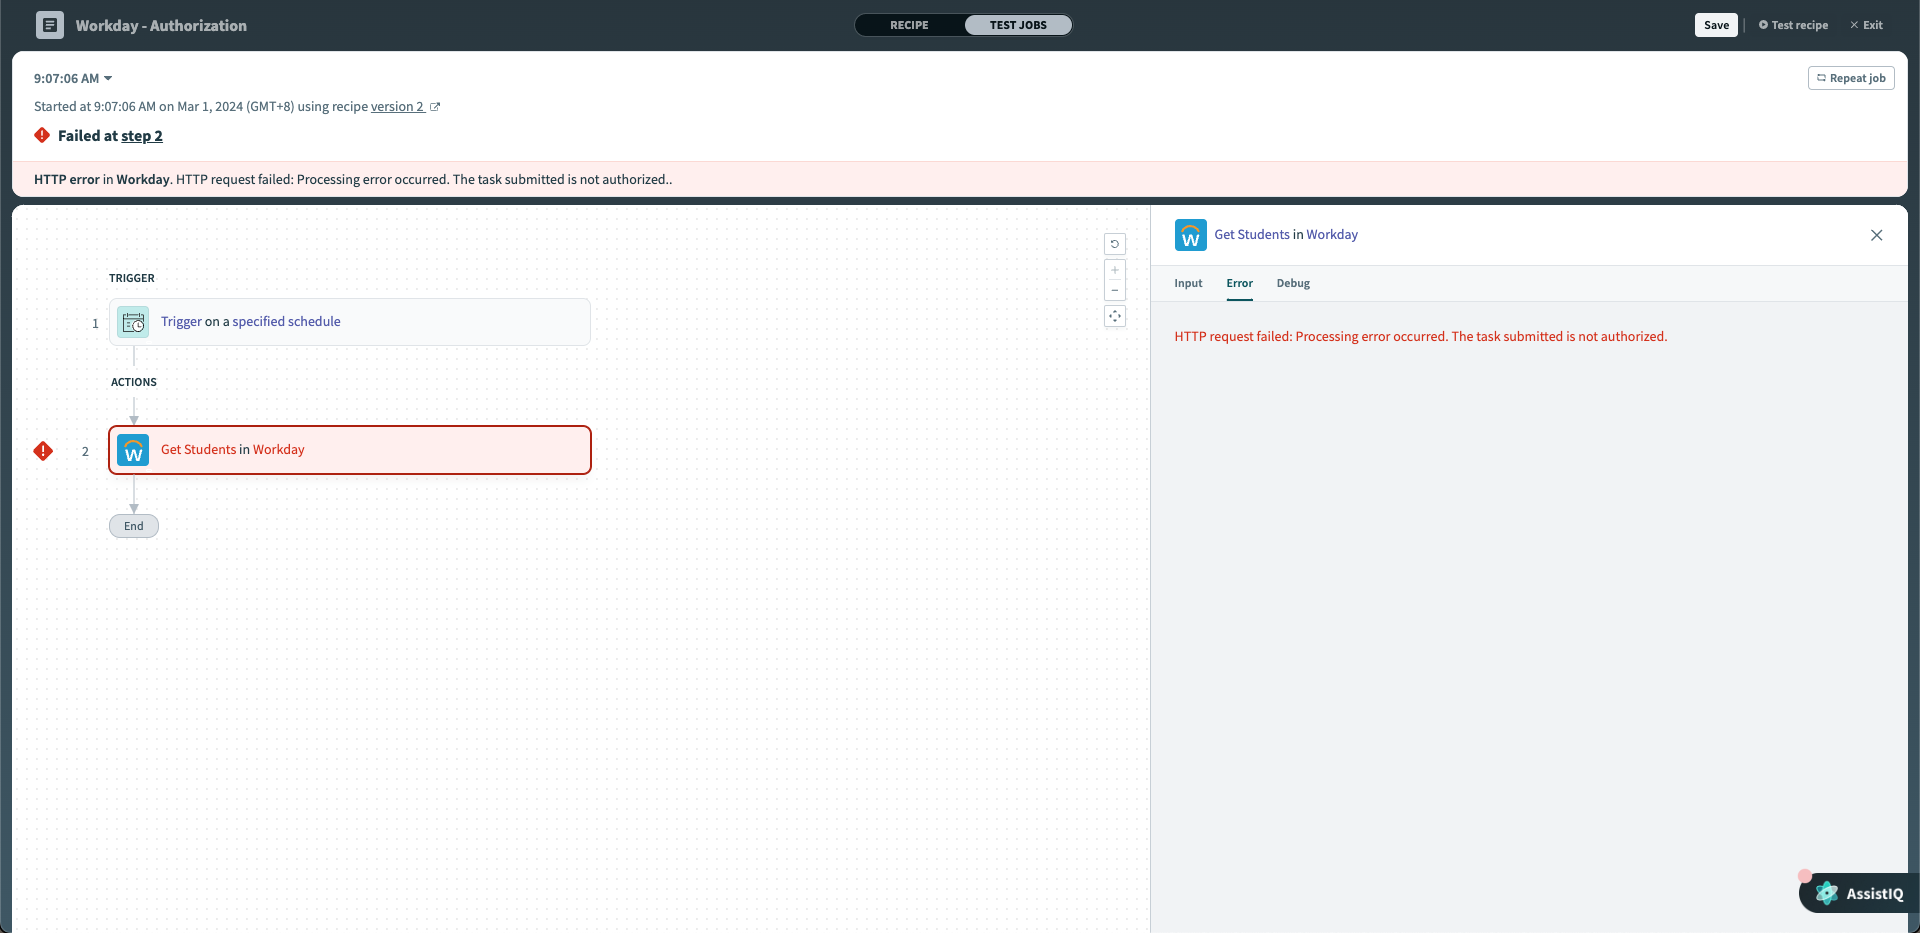 Error message when ISU does not have enough permissions
A 403 error may indicate that the ISU lacks the required domain-level permissions. For guidance on granting these permissions, refer to the Grant domain access to security group section to ensure that your ISU is granted the appropriate permissions.
# Create an Integration System User (ISU)
To create an Integration System User in Workday, follow these steps:
Type Create Integration System User into Workday's search bar and select the task from the results.
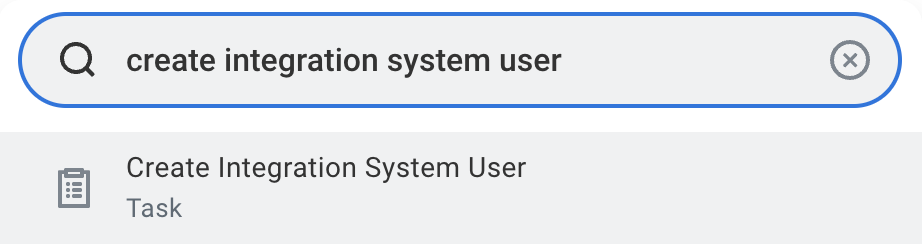 Search for Create Integration System User task in Workday
Enter a username and set a password in the Create Integration System User task.
 Create Integration System User
Set Session Timeout Minutes to 0 to prevent the ISU from timing out.
Select the Do Not Allow UI Sessions checkbox to enhance security by restricting UI logins.
Navigate to the Maintain Password Rules task.
Exempt the integration system user from password expiration by adding them to the System Users exempt from password expiration field.
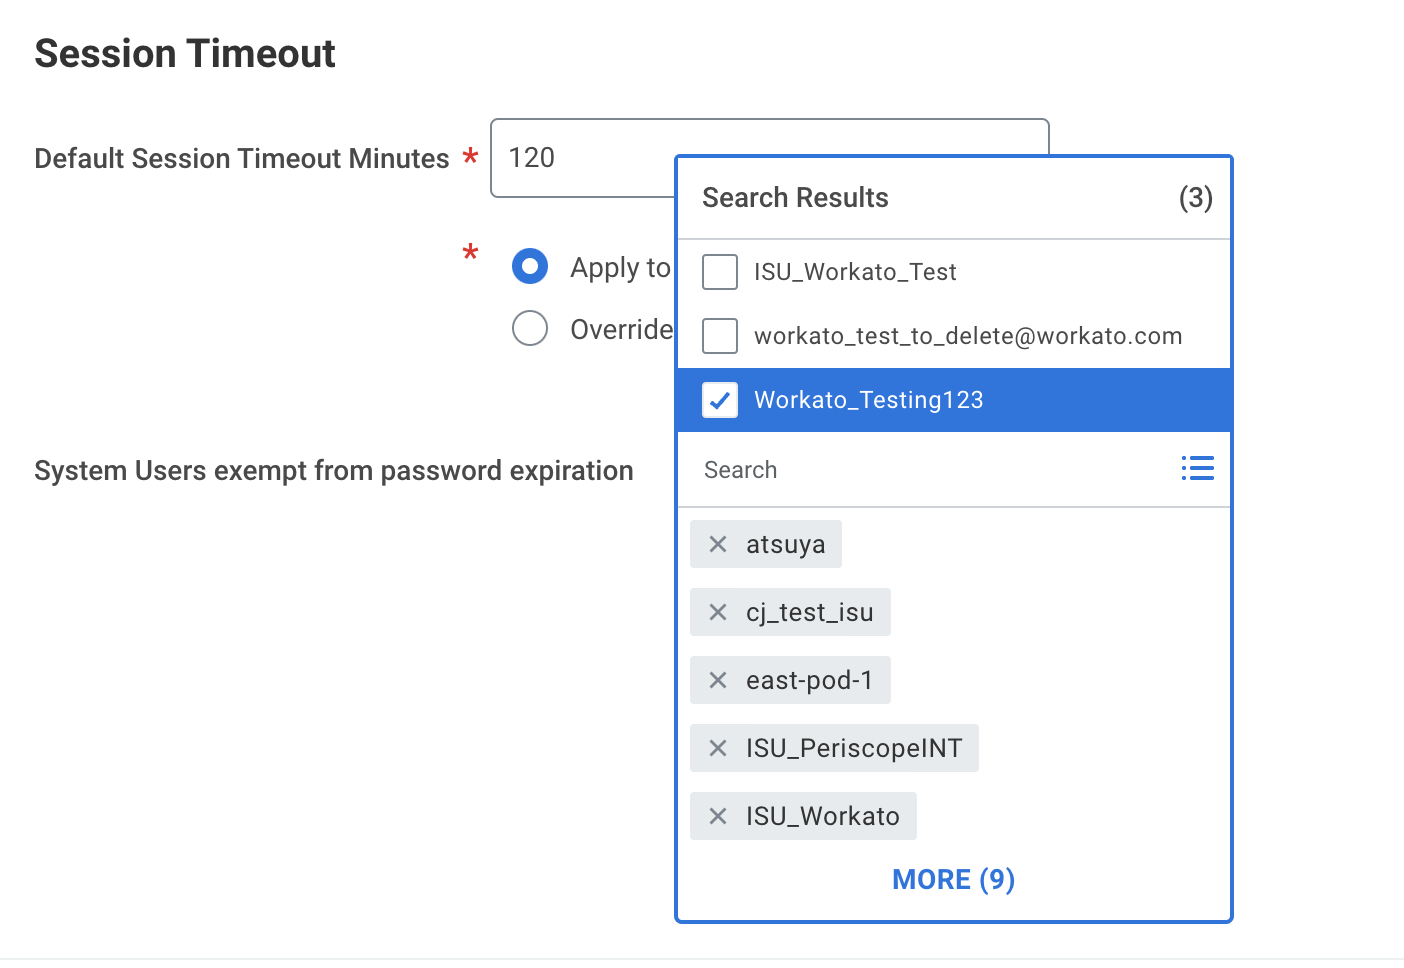 Exempt ISU from password expiration
# Create an integration security group
To set up a security group for your integration, complete the following steps to create either an unconstrained or constrained integration system security group and then assign your newly created ISU:
Search for Create Security Group in Workday and select the corresponding task.
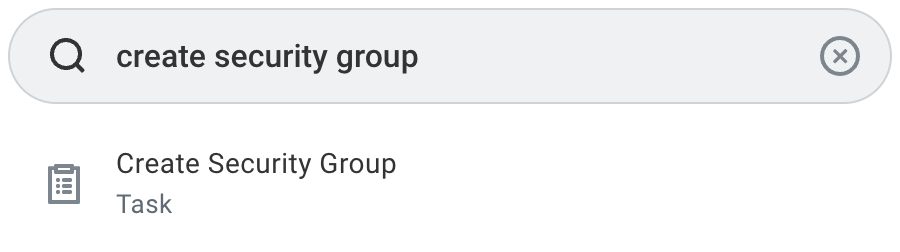 Select the Create Security Group task in Workday
Locate the Type of Tenanted Security Group field, and select and name your security group. Workday offers two types:
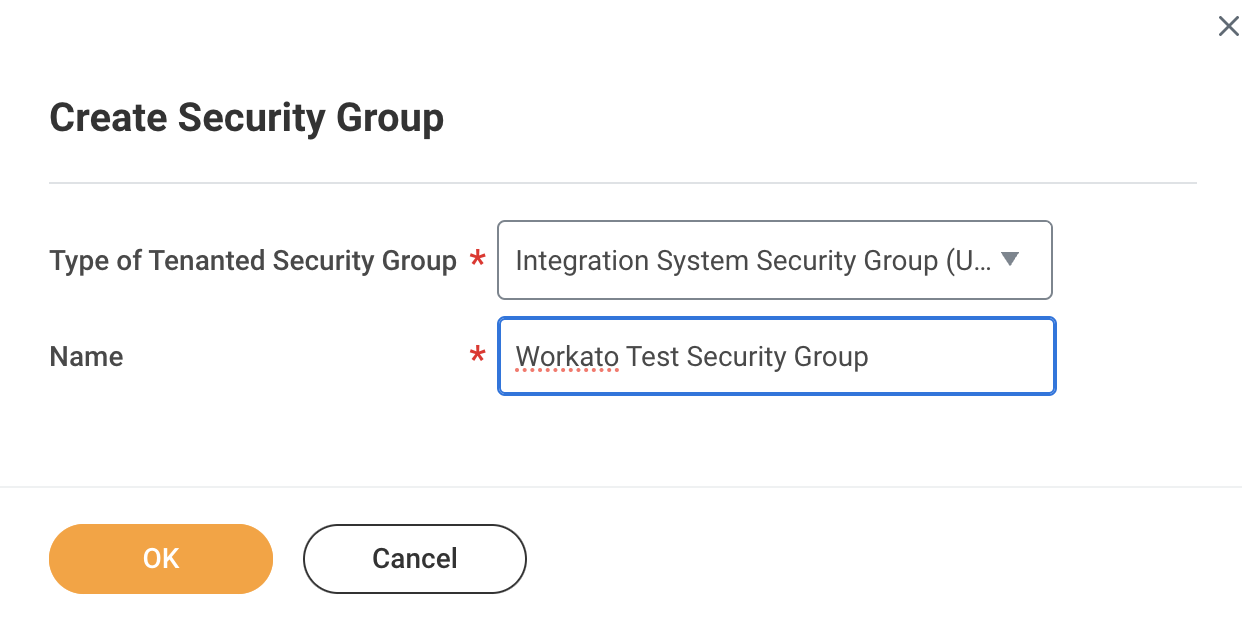 Choose the security group type
Integration System Security Group (Unconstrained): Allows group members to access all data instances secured by the group.
Integration System Security Group (Constrained): Grants access to a subset of data instances based on context.
Contact your Workday integration partner before selecting an option to ensure that the appropriate security group type is used for your integration.
You must assign members to your newly created security group. You must add the Integration System User (ISU) you registered in the preceding steps. For a constrained group, you must also specify the organization scope.
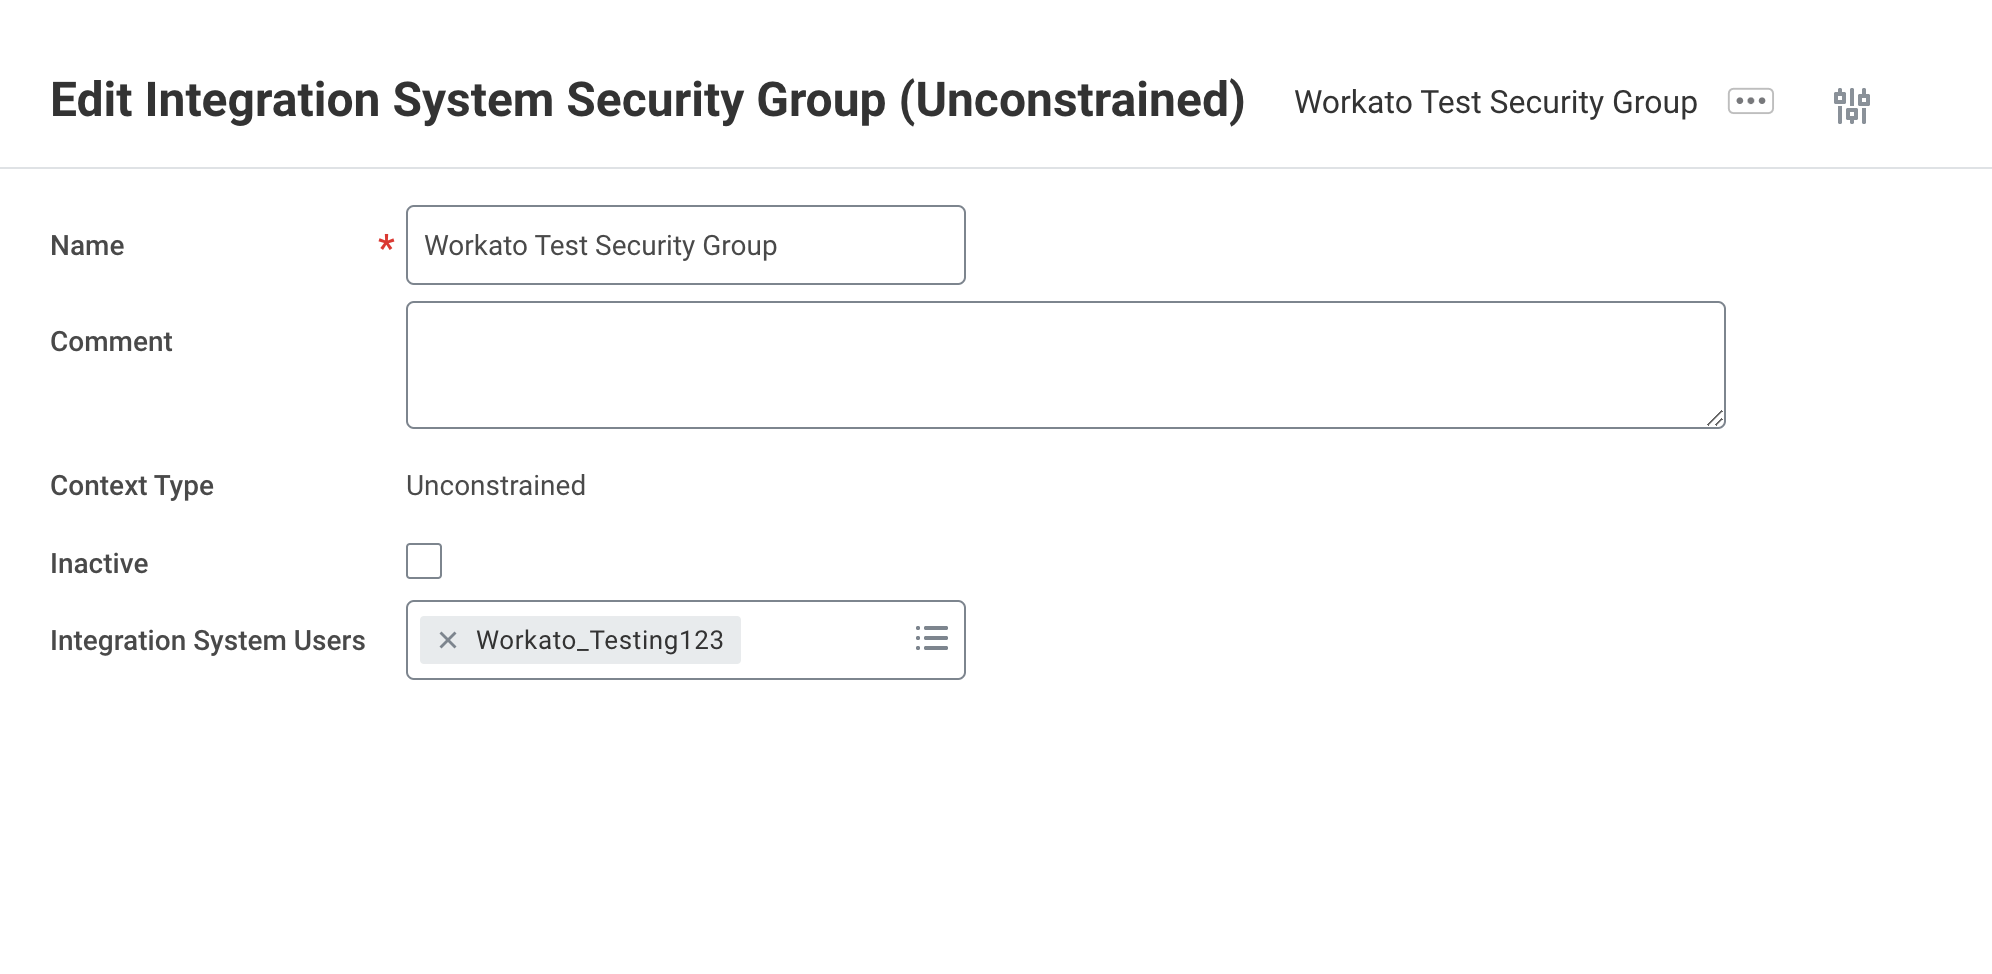 Add ISU to the security group
Select Done to save all changes.
# Grant domain access to security group
To grant your security group access to the domains required for your integration, complete the following steps for each relevant domain:
Search for Maintain Permissions for Security Group in Workday and select the task.
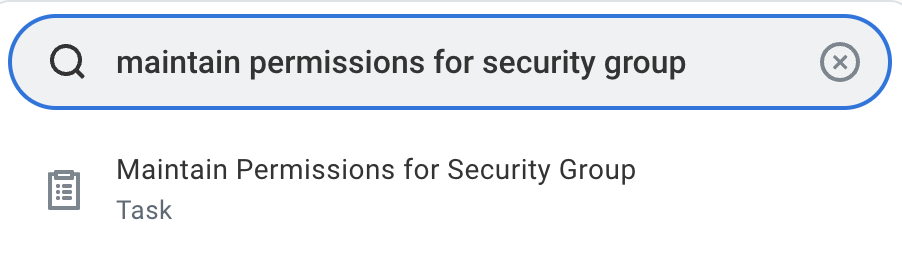 Select the Maintain Permissions for Security Group task
Choose the security group you created from the Source Security Group list to modify its permissions.
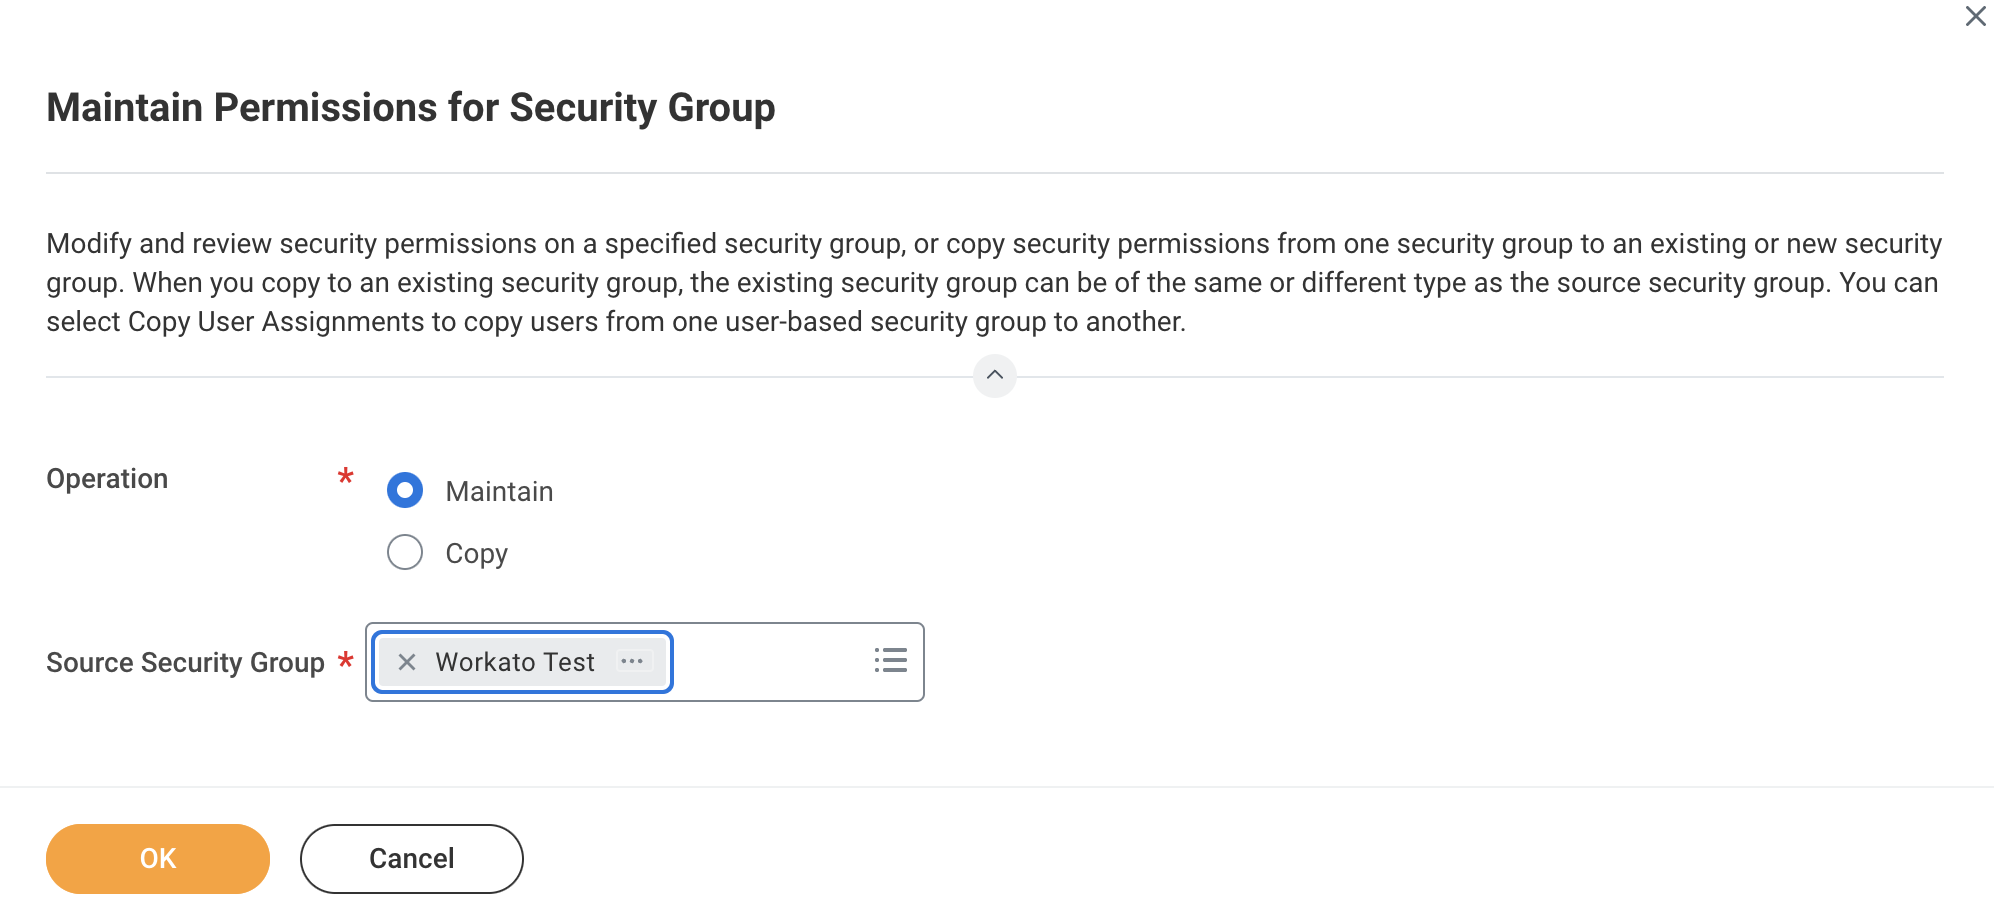 Select the created security group
Click OK to confirm your selection.
Go to the Maintain Permissions for Security Group > Domain Security Policy Permissions tab and assign the necessary permissions for each domain, such as GET and PUT operations.
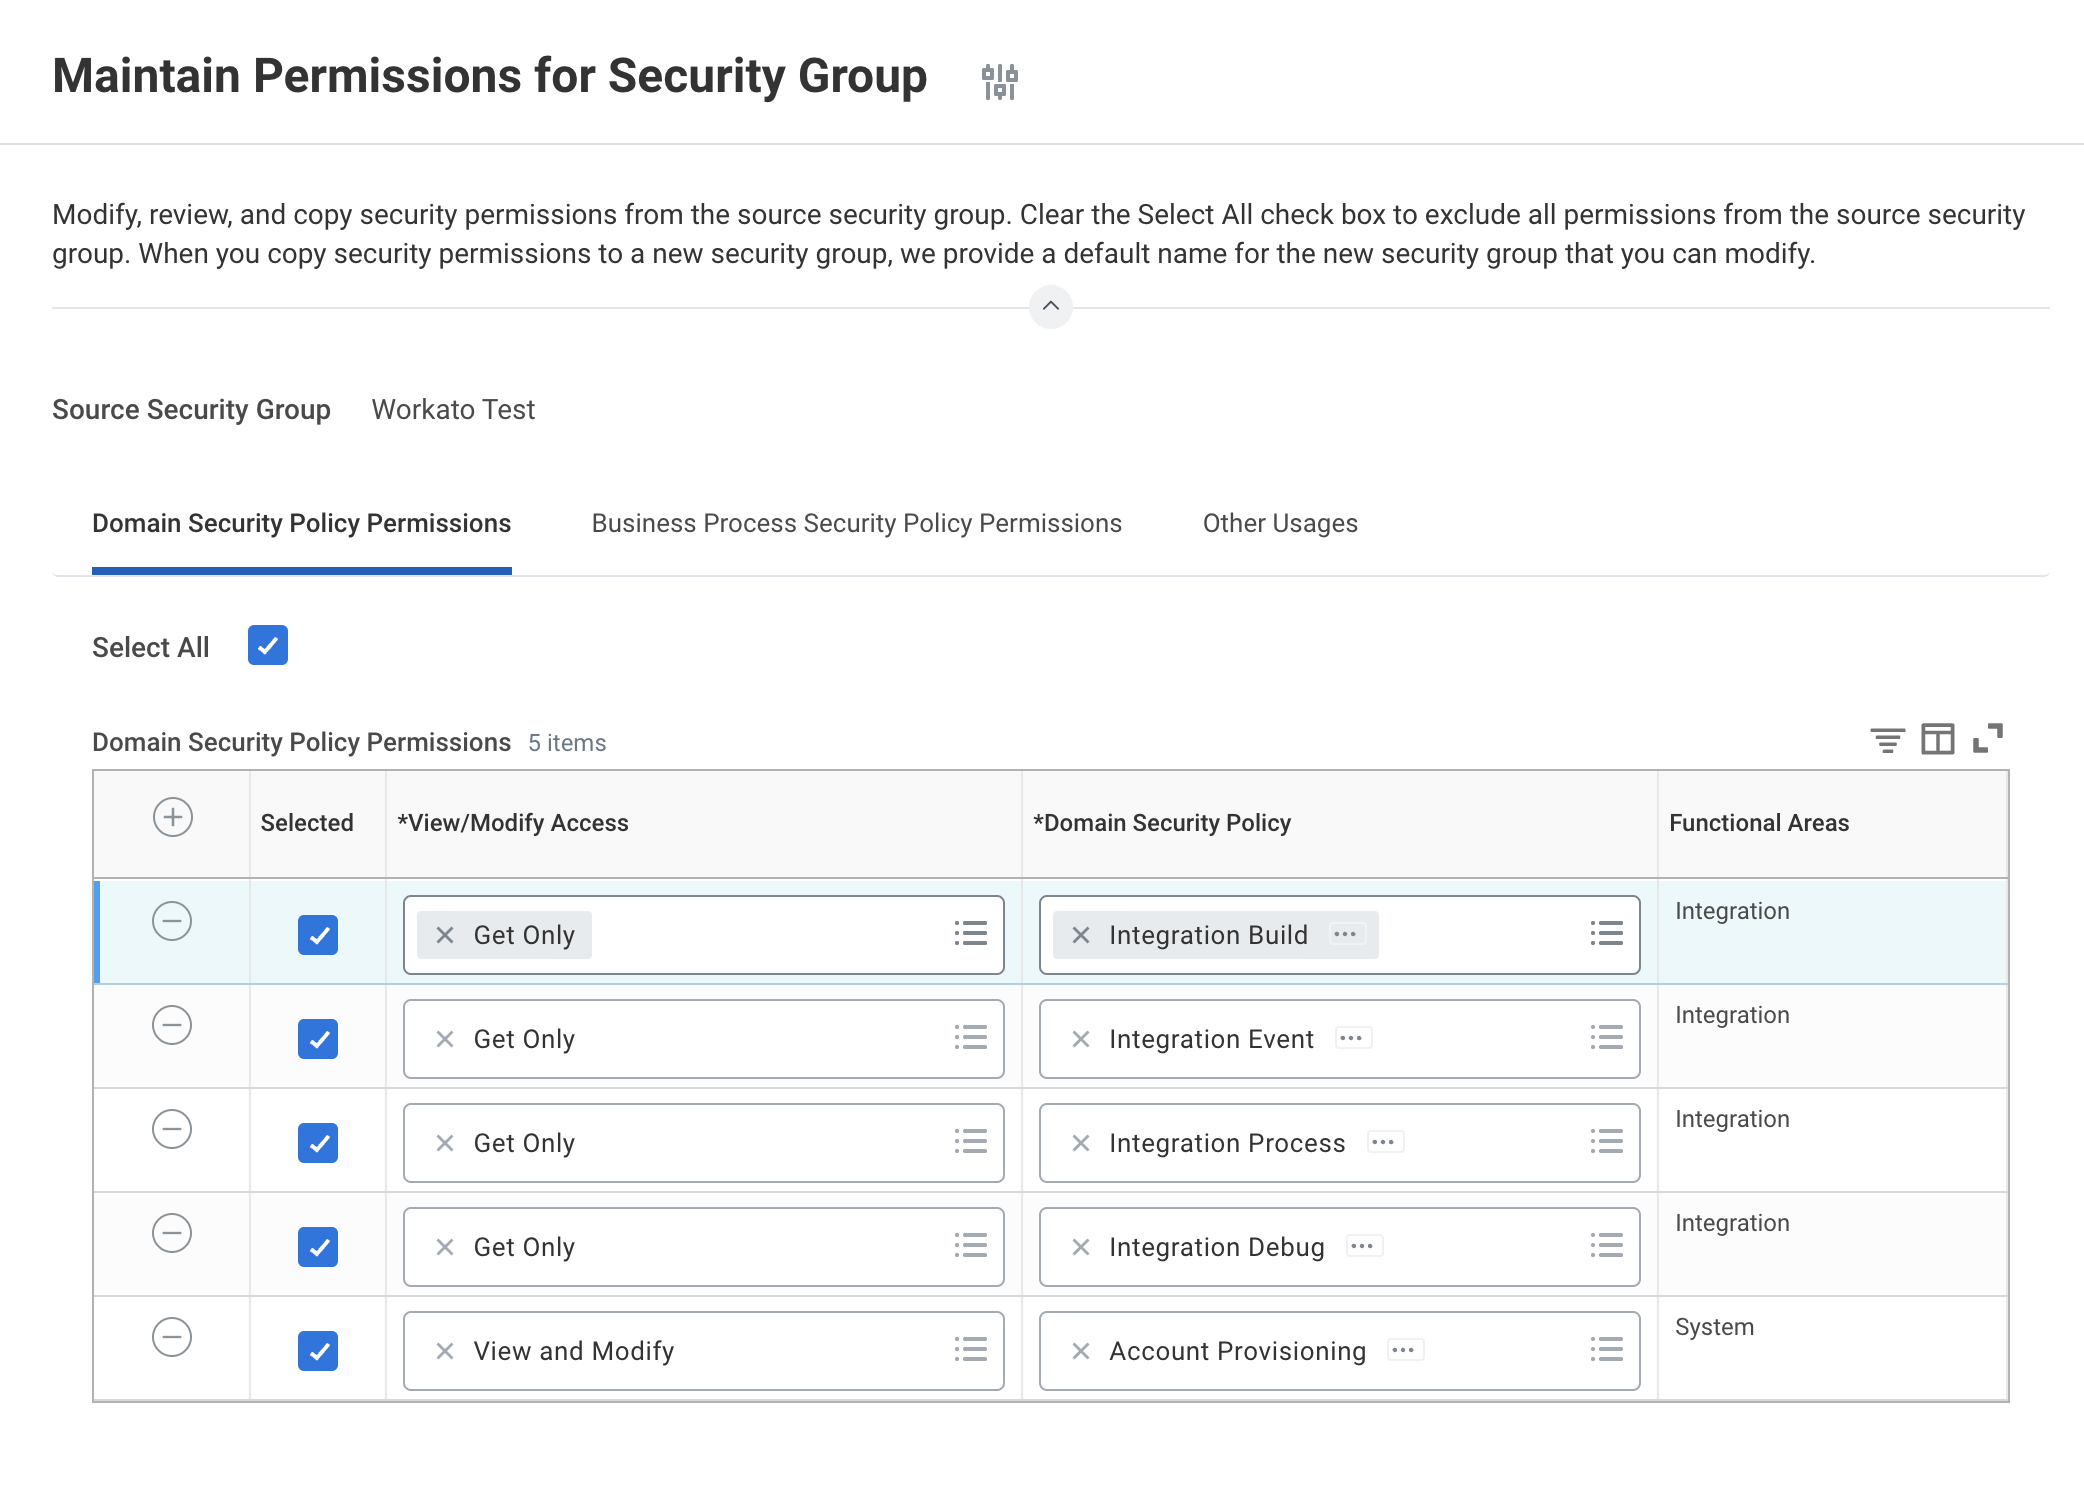 Assign permissions for each domain
Ensure the security group has GET permissions for the following domain security policies:
- Integration Build
- Integration Process
- Integration Debug
- Integration Event
Click OK to apply the permissions, then click Done to save your changes.
# Activate security policy changes
After assigning the necessary permissions, you must activate them to ensure they take effect.
Type Activate Pending Security Policy Changes into Workday's search box and select the task.
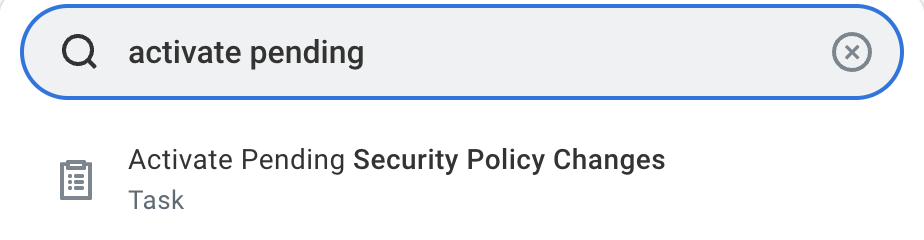 Search for the Activate Pending Security Policy Changes task
Start the Activate Pending Security Policy Changes task by entering a reason for your audit in the comment field, then click OK.
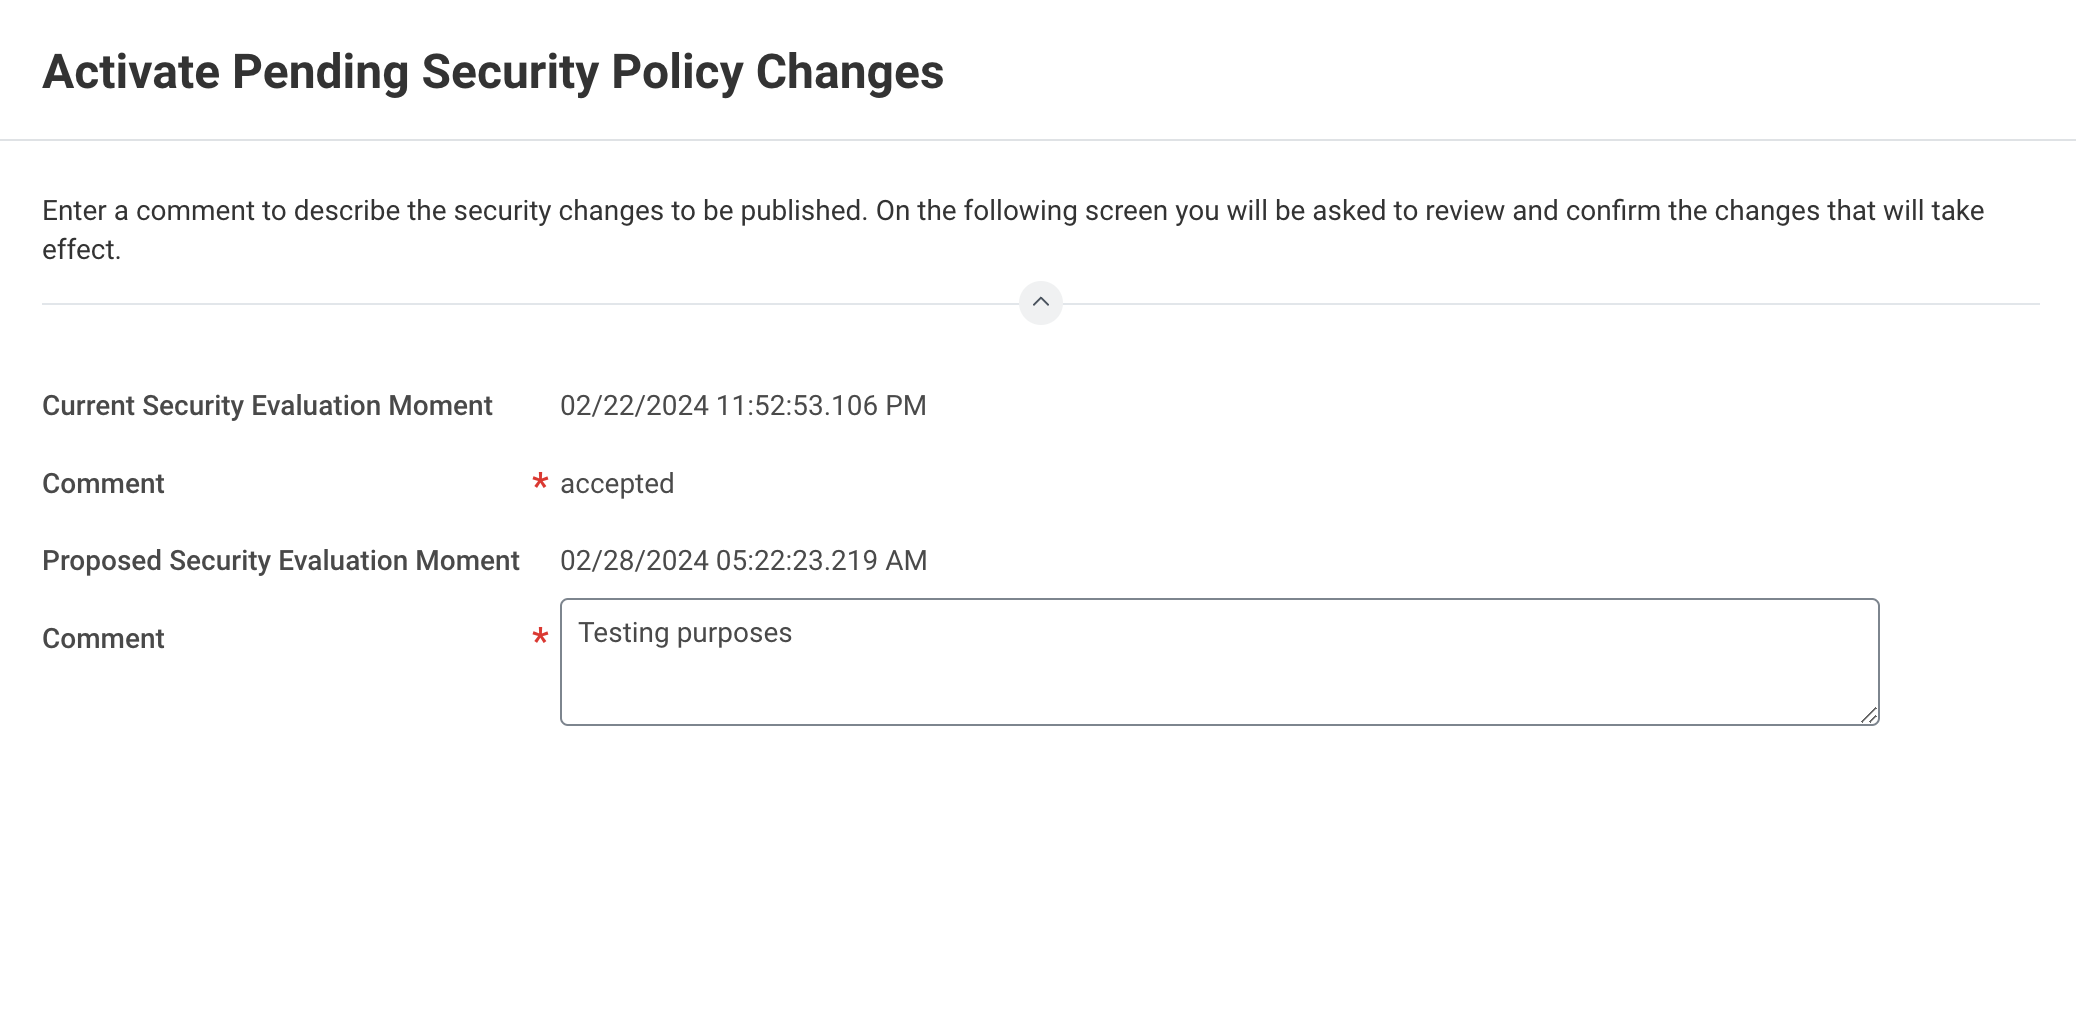 Enter a comment for audit purposes
Complete the task on the next screen by selecting the Confirm checkbox, then click OK.
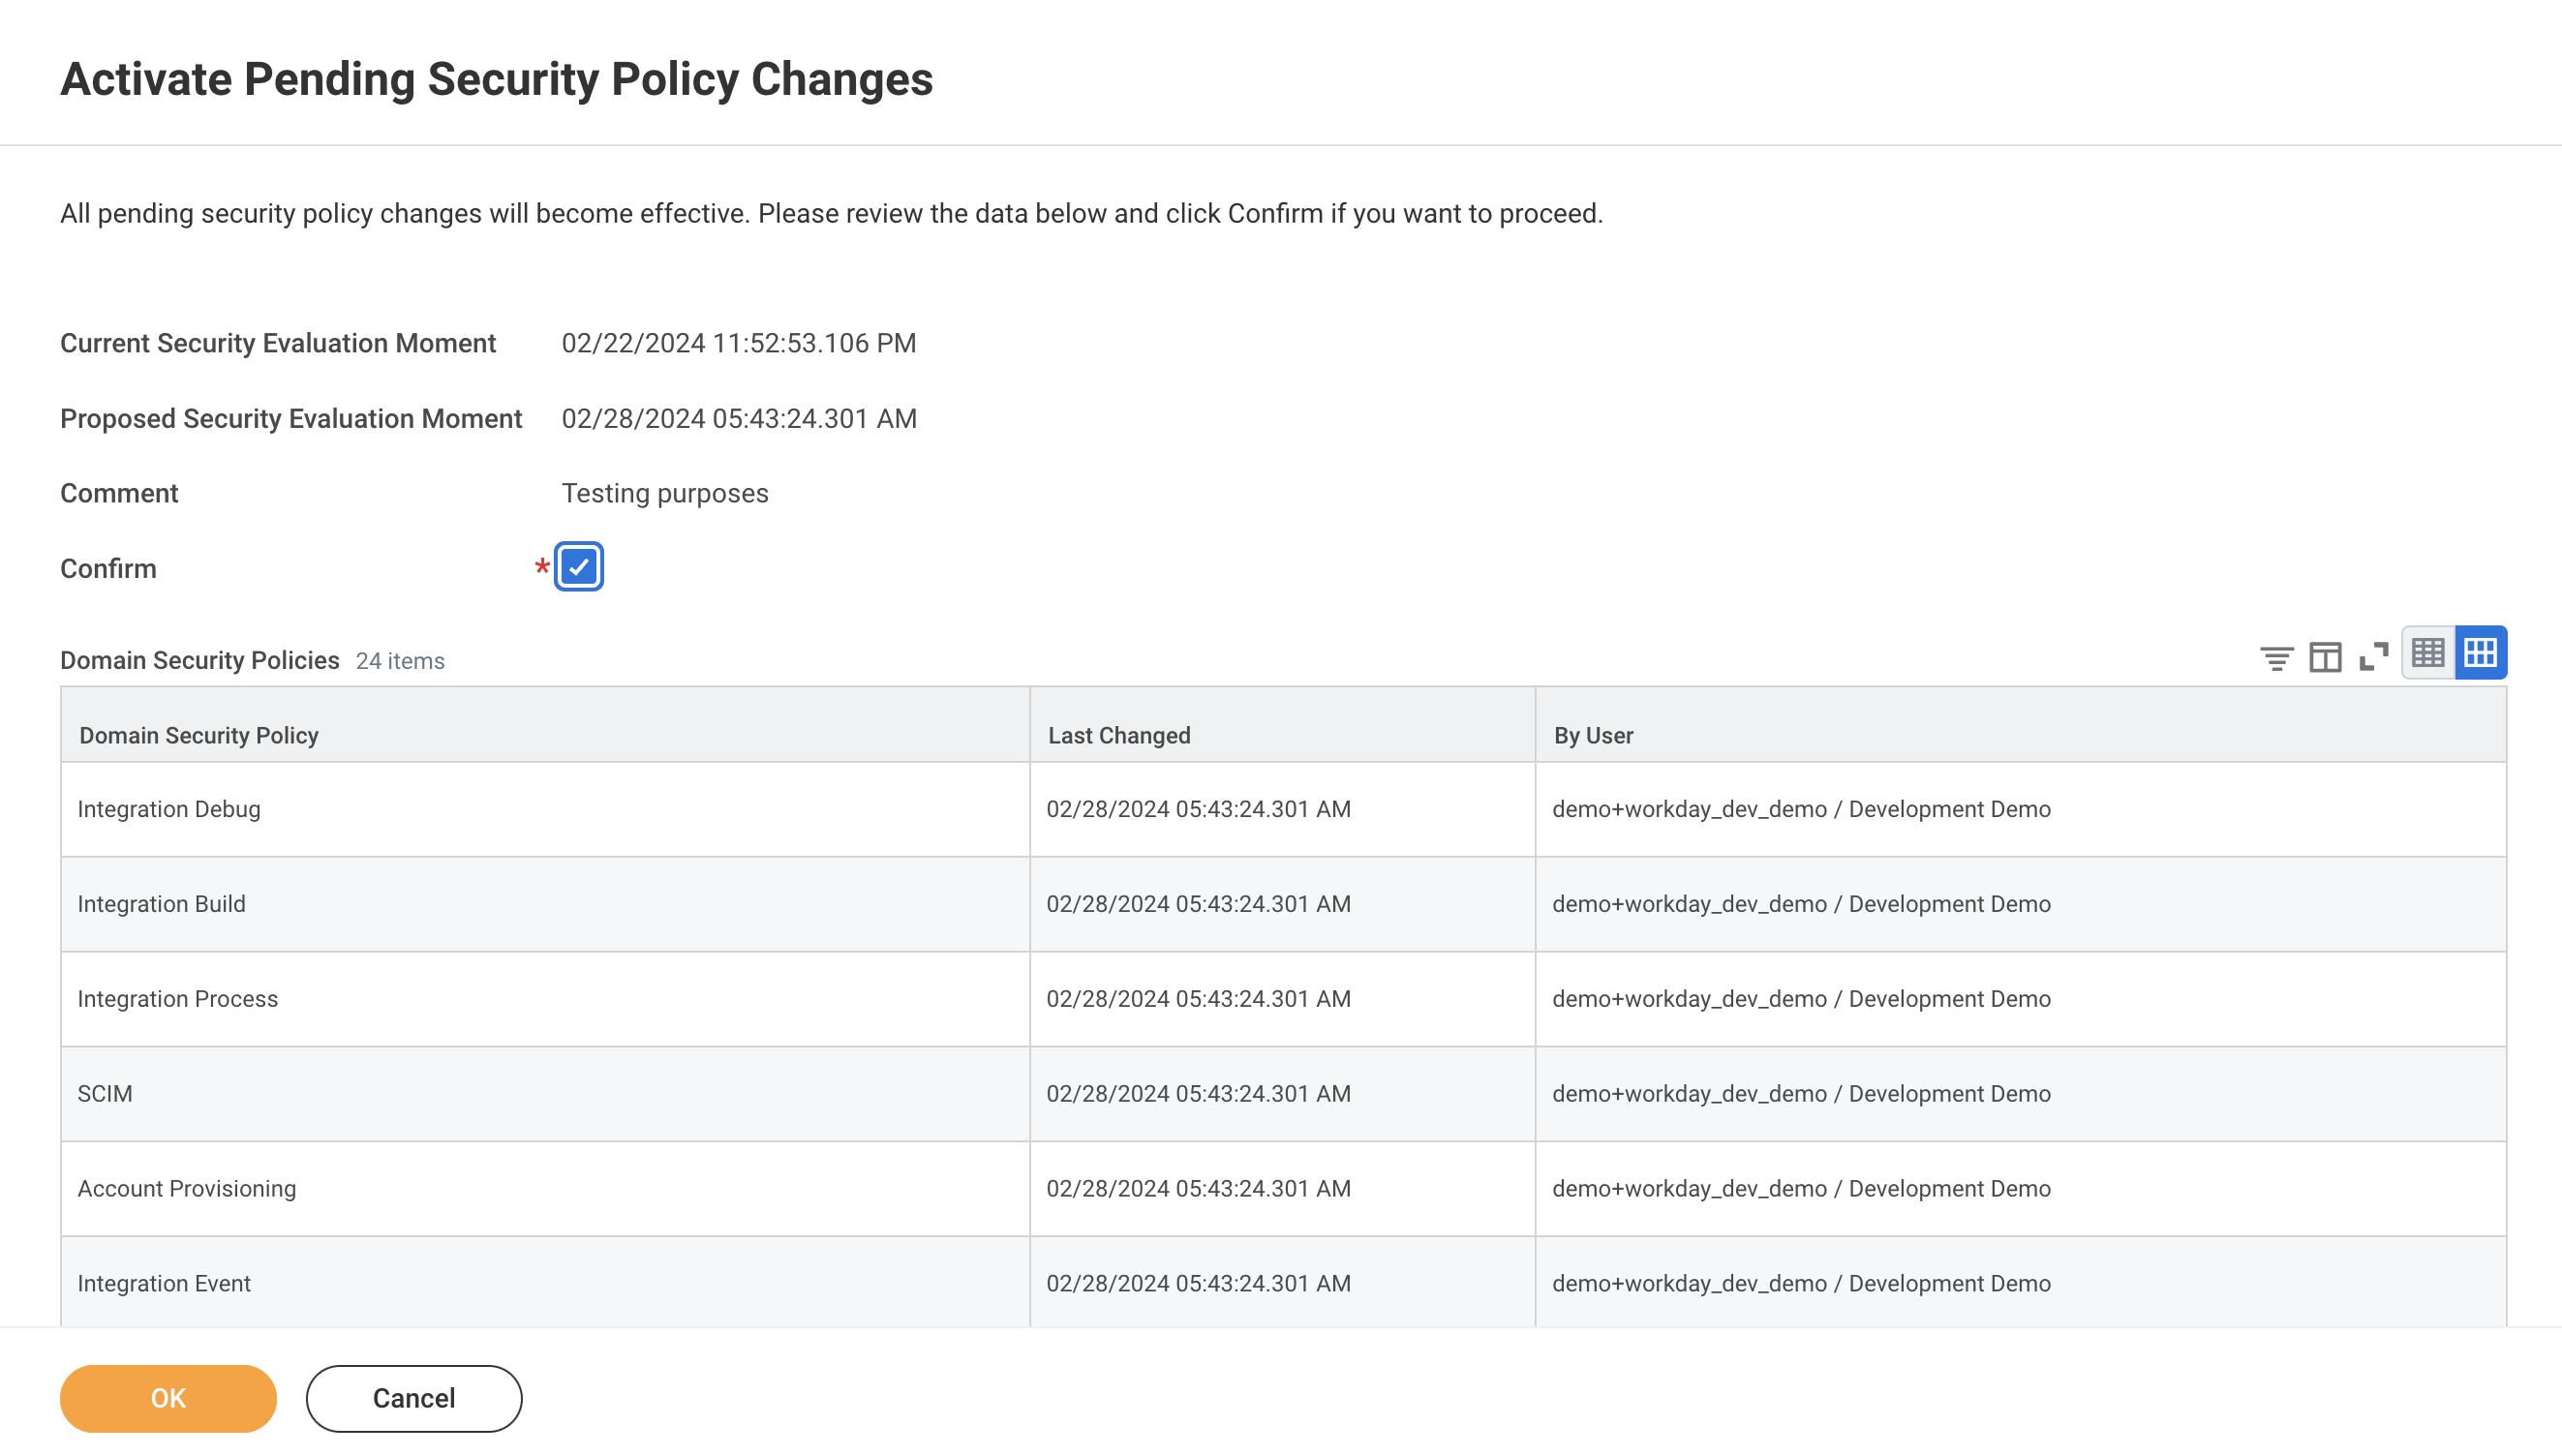 Activate the policy changes
# Register a new API client for integrations
This step is required only if you plan to work with custom objects in Workday.
Before you begin registering a new API client for integrations in Workday, ensure you meet the following prerequisites:
- You have admin access to your company’s Workday account.
- You are logged in to Workday with your admin credentials.
- You have authenticated the Integration System User (ISU) and enabled both GET and View access in Workday.
After you have met these prerequisites, complete the following steps to register an API client for integrations in Workday:
Search for Register API Client for Integrations in Workday's search field.
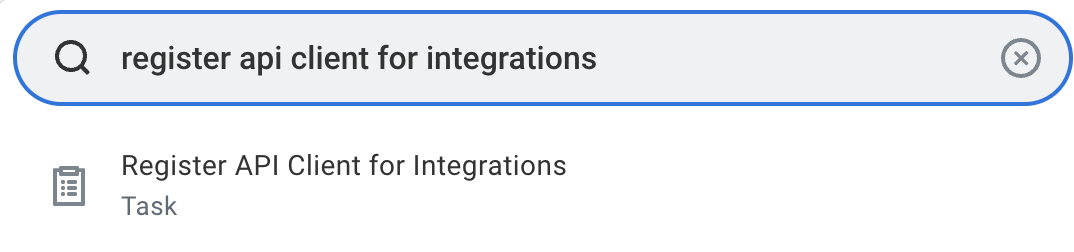 Select the Register API client for Integrations task
Select the Register API Client for integrations task to access the registration page.
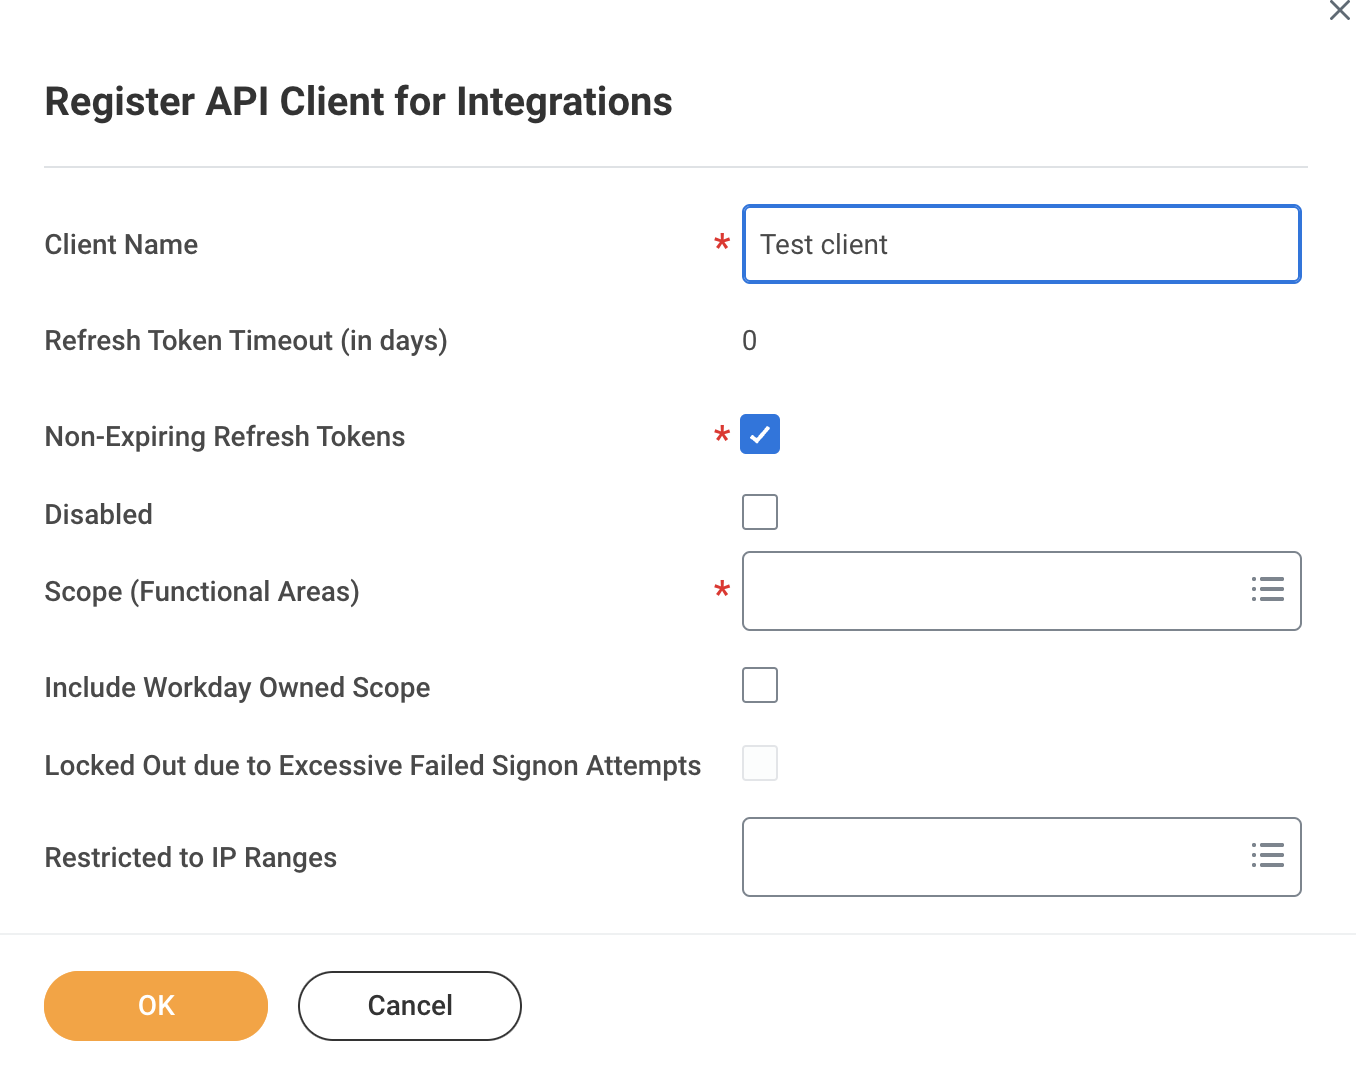 Register API client for integrations
Enter a name for your API client in the Client Name field.
Select the Non-Expiring Refresh Tokens option.
Specify the scope of access for the API client. Ensure to include the Integration scope, which covers essential domain security policies such as Integration Build, Integration Debug, Integration Process, and Integration Event. Including this scope is a minimum requirement for establishing a connection with Workday, in addition to any specific call operations required for your integration.
Click OK to generate the Client ID and Client Secret.
 Generate API client credentials
Save the Client Secret and Client ID.
Click Done.
# Generate a non-expiring refresh token
Complete the following steps to create a non-expiring refresh token for your API client:
Type View API Clients in the search field in Workday.
Open the View API Clients report from the search results.
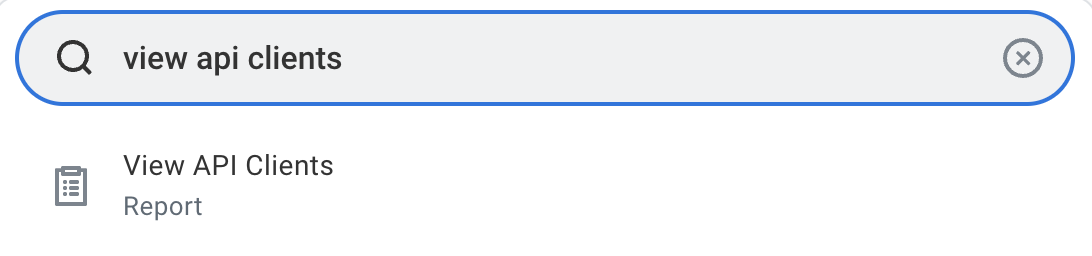 Access the View API Clients report
Navigate to the API Clients for Integrations tab.
Select the API client you registered in the preceding steps.
Click the ellipsis (...) next to the client name and choose API Client > Manage Refresh Tokens for Integrations for token management.
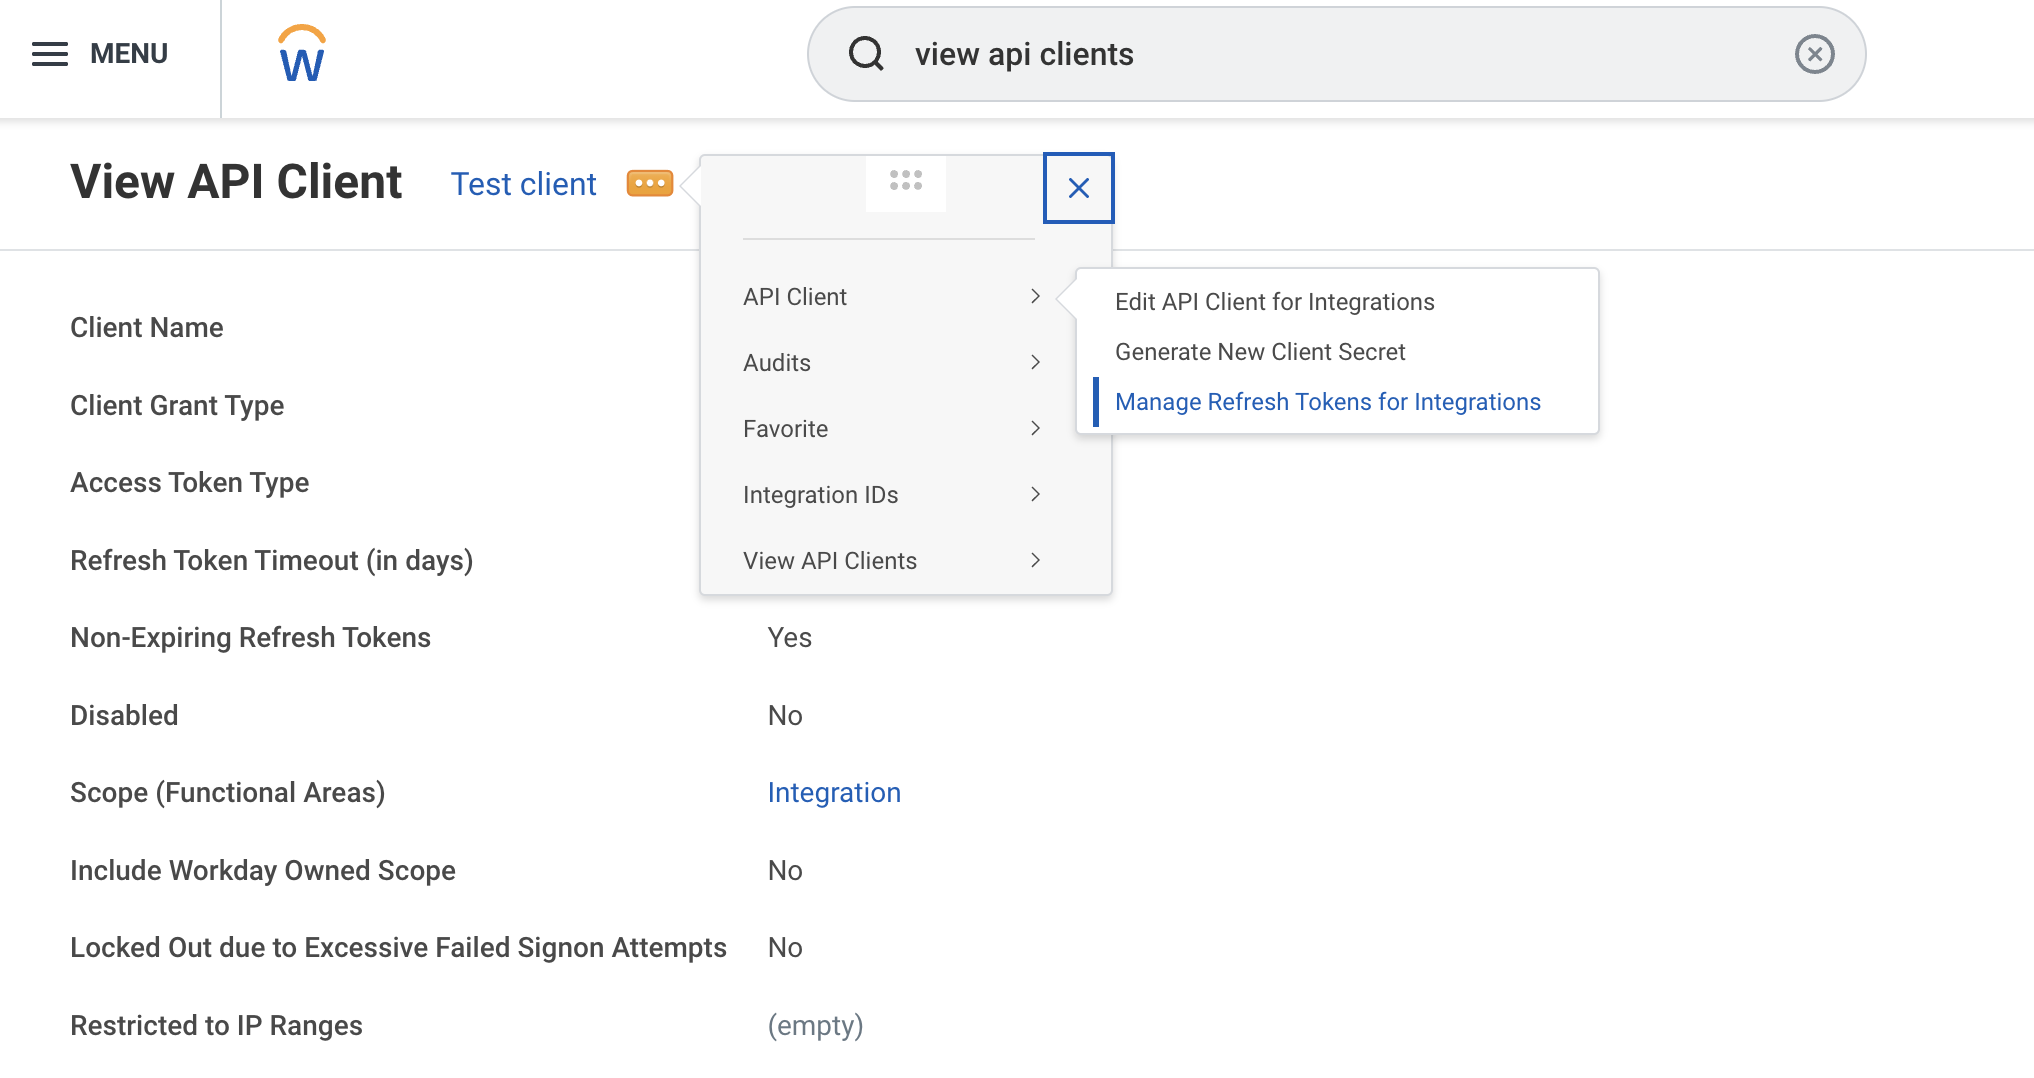 Manage refresh tokens for the API client
Input the Workday account of a user authorized to access the custom report in the Workday Account field.
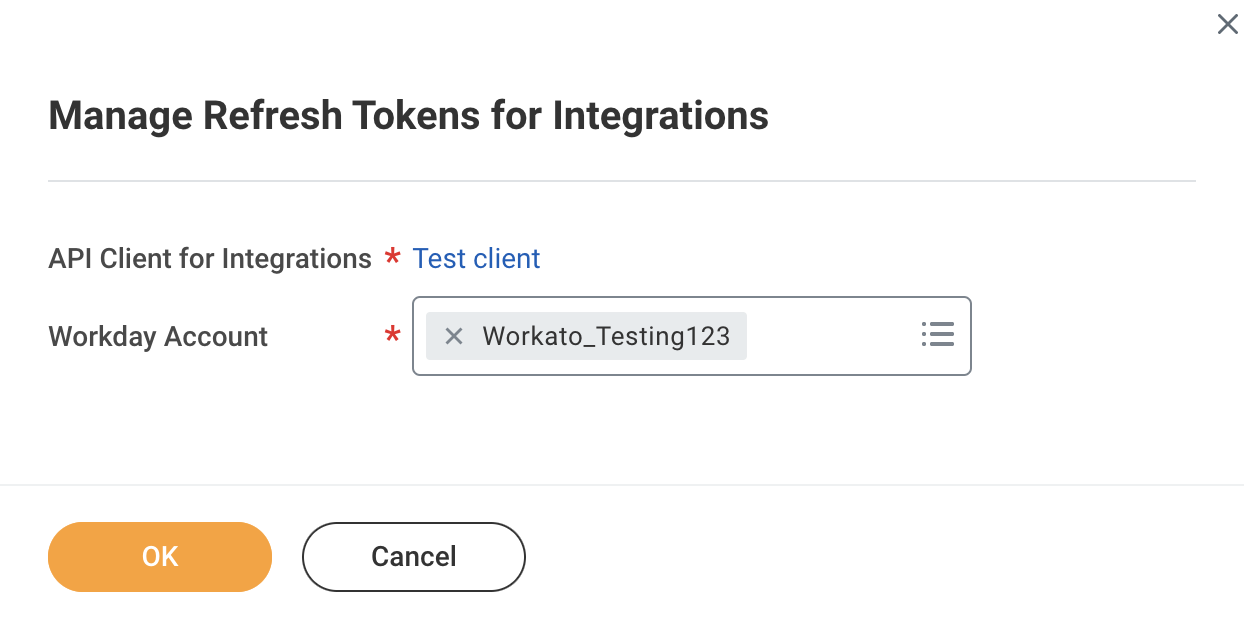 Enter an authorized Workday account
Click OK.
Navigate to the Delete or Regenerate Refresh Token page and select the Generate New Refresh Token option.
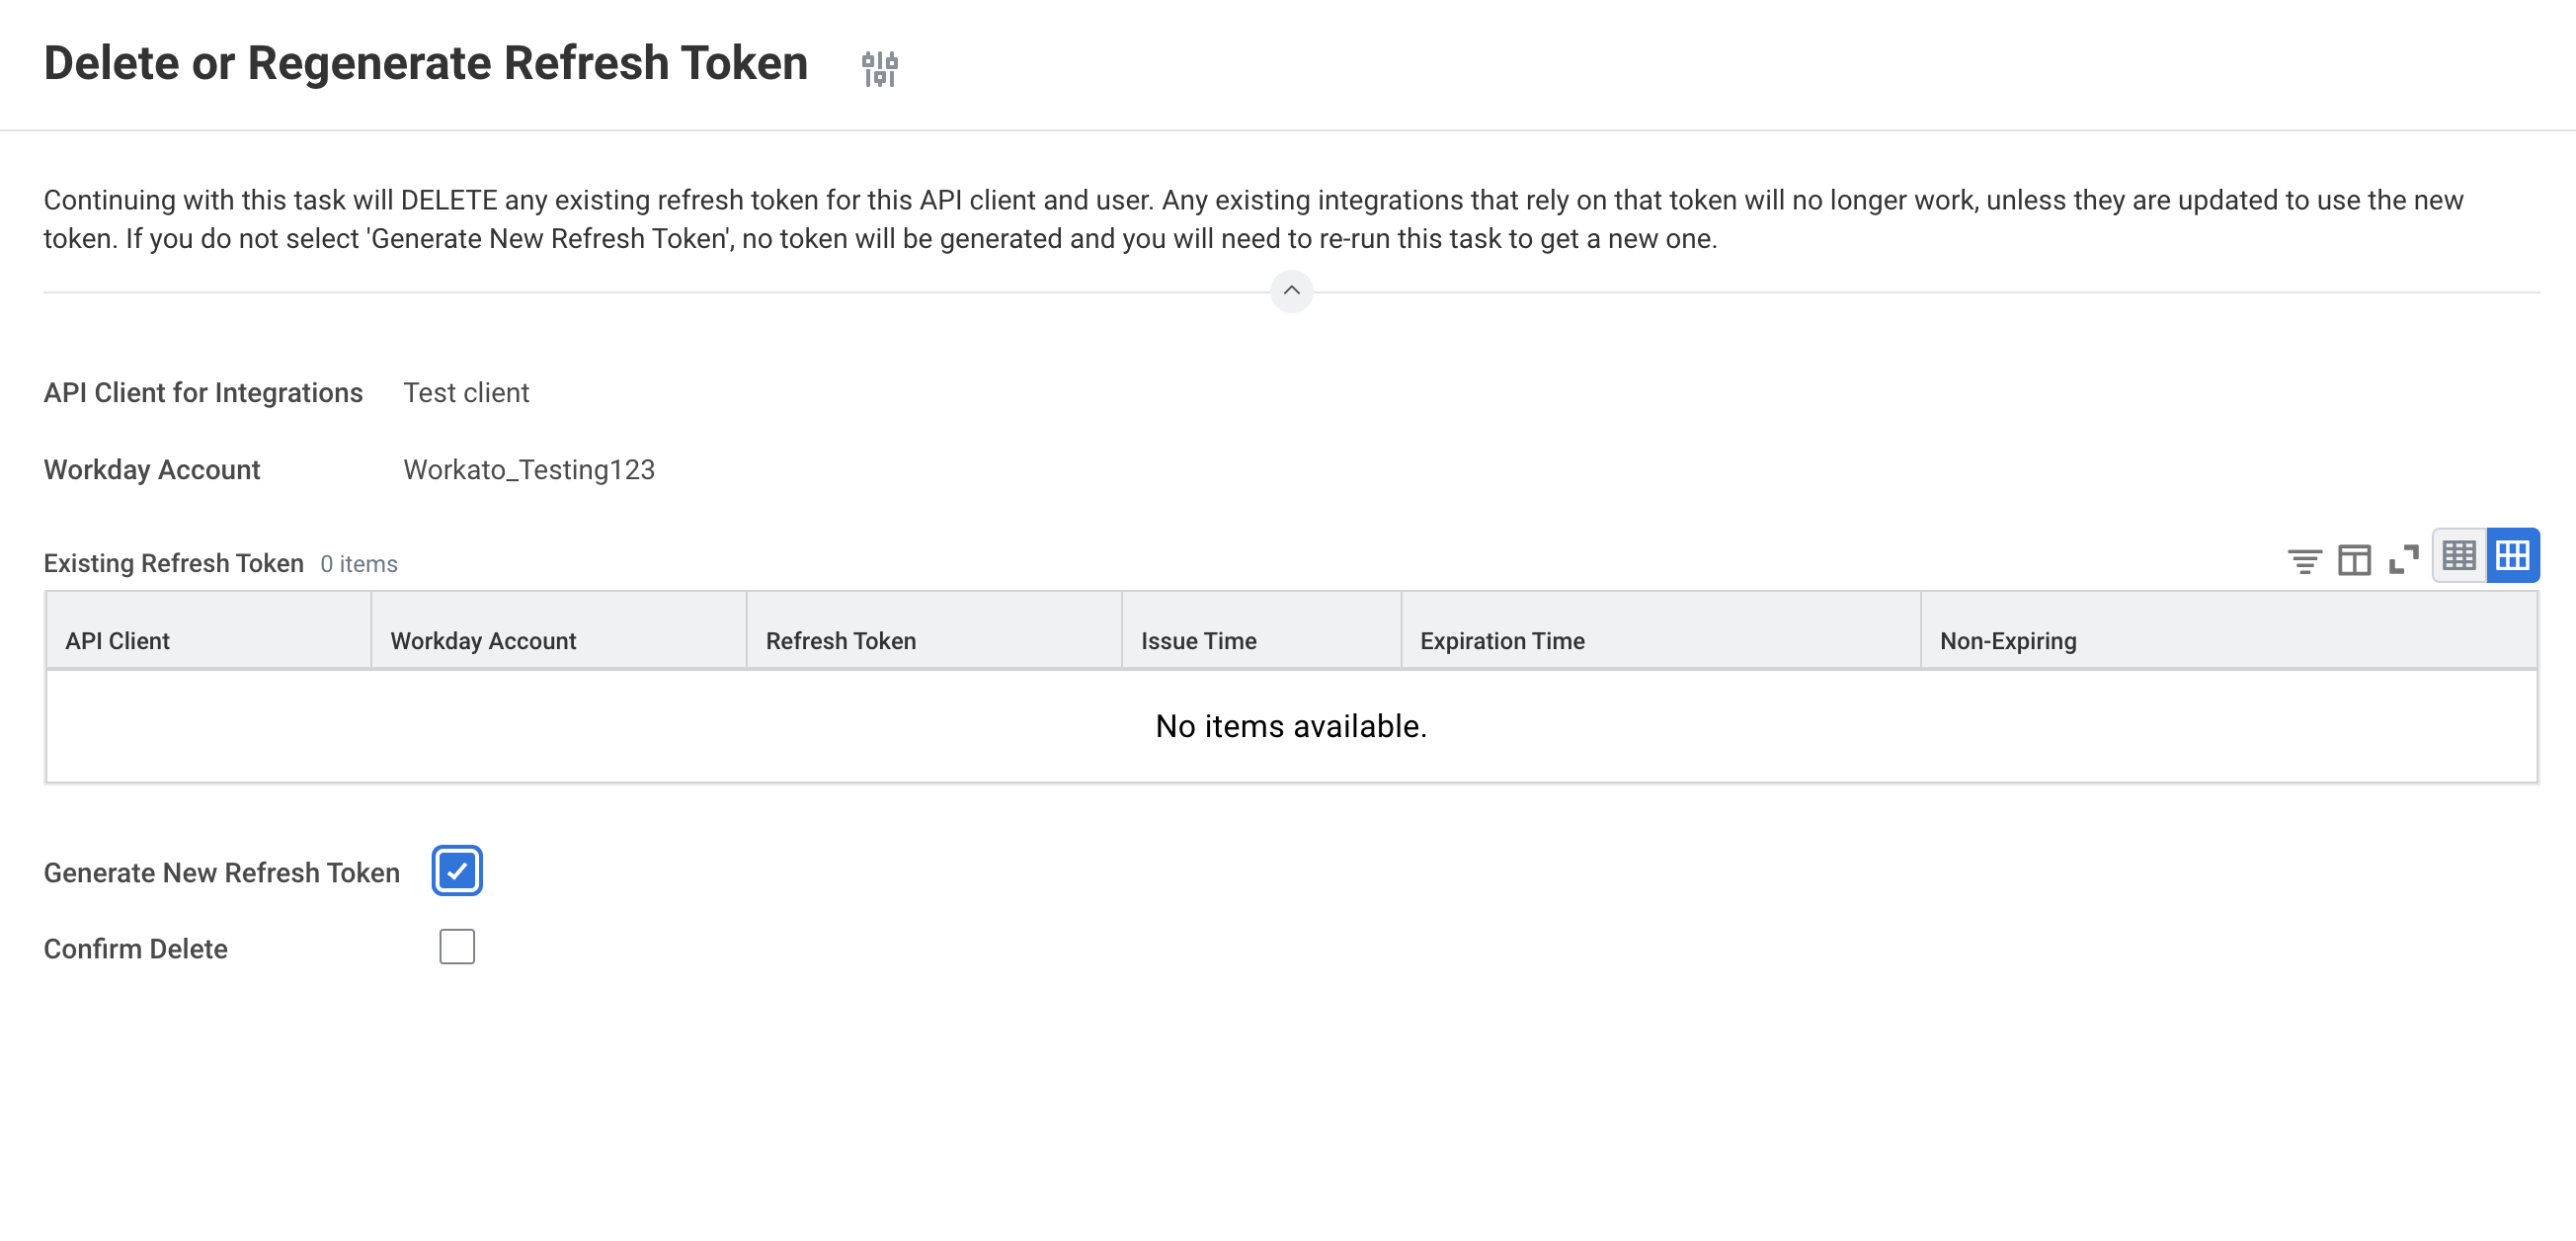 Generate a new refresh token
Click OK.
Copy the refresh token from the Successfully Regenerated Refresh Token page.
 Copy the generated refresh token
Click Done to complete the process.
# Find your token endpoint URL
To find your token endpoint URL in Workday, complete the following steps:
Enter View API Clients into the search field in Workday.
Access the View API Clients report from the search results.
Save the URL listed in the Token Endpoint field.
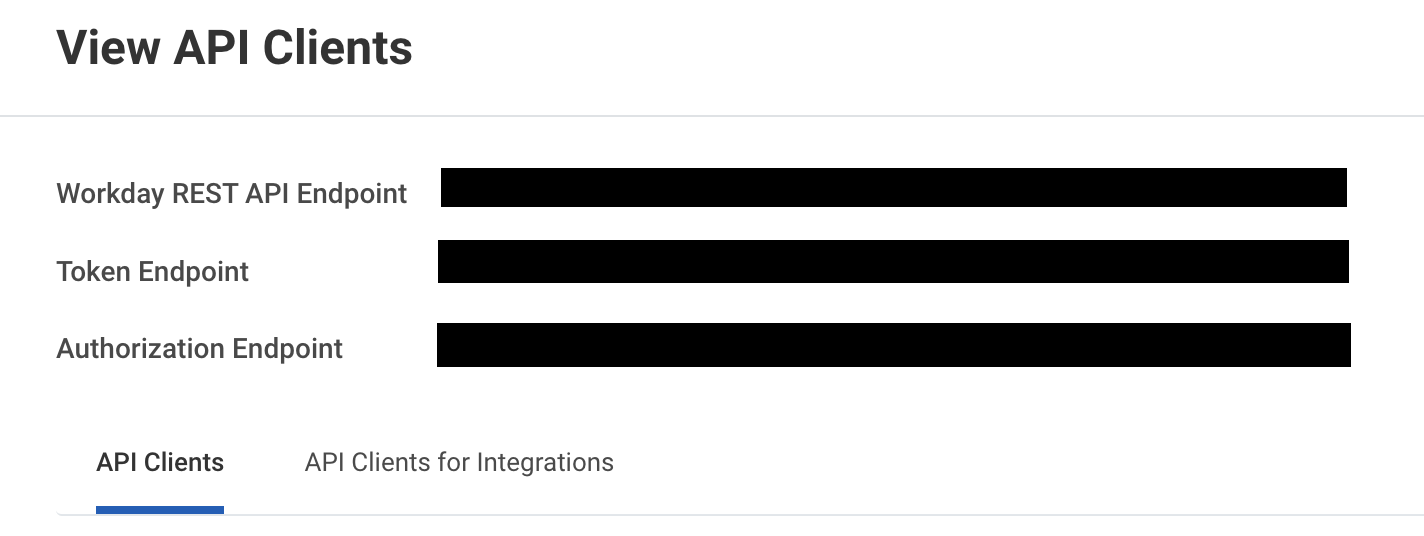 Save the token endpoint URL
# Setting up the connection to Workday
The Workato Workday connector is categorized into three distinct types: the main Workday connector, the Workday Web Services connector, and the Workday REST connector. Each type follows a similar authentication pattern but differs slightly in support capabilities and functionalities.
# Connection setup using OAuth 2.0 authentication
AUTHENTICATION REQUIREMENTS
The Workday connector supports both OAuth 2.0 and basic authentication methods. However, OAuth 2.0 authentication is required for working with the Workday REST API and custom objects. We recommend that you avoid using the deprecated Hybrid authentication method.
To configure your Workday connection in Workato using OAuth 2.0 authentication, complete the following steps:
Enter a unique Connection name to identify your Workday account in Workato.
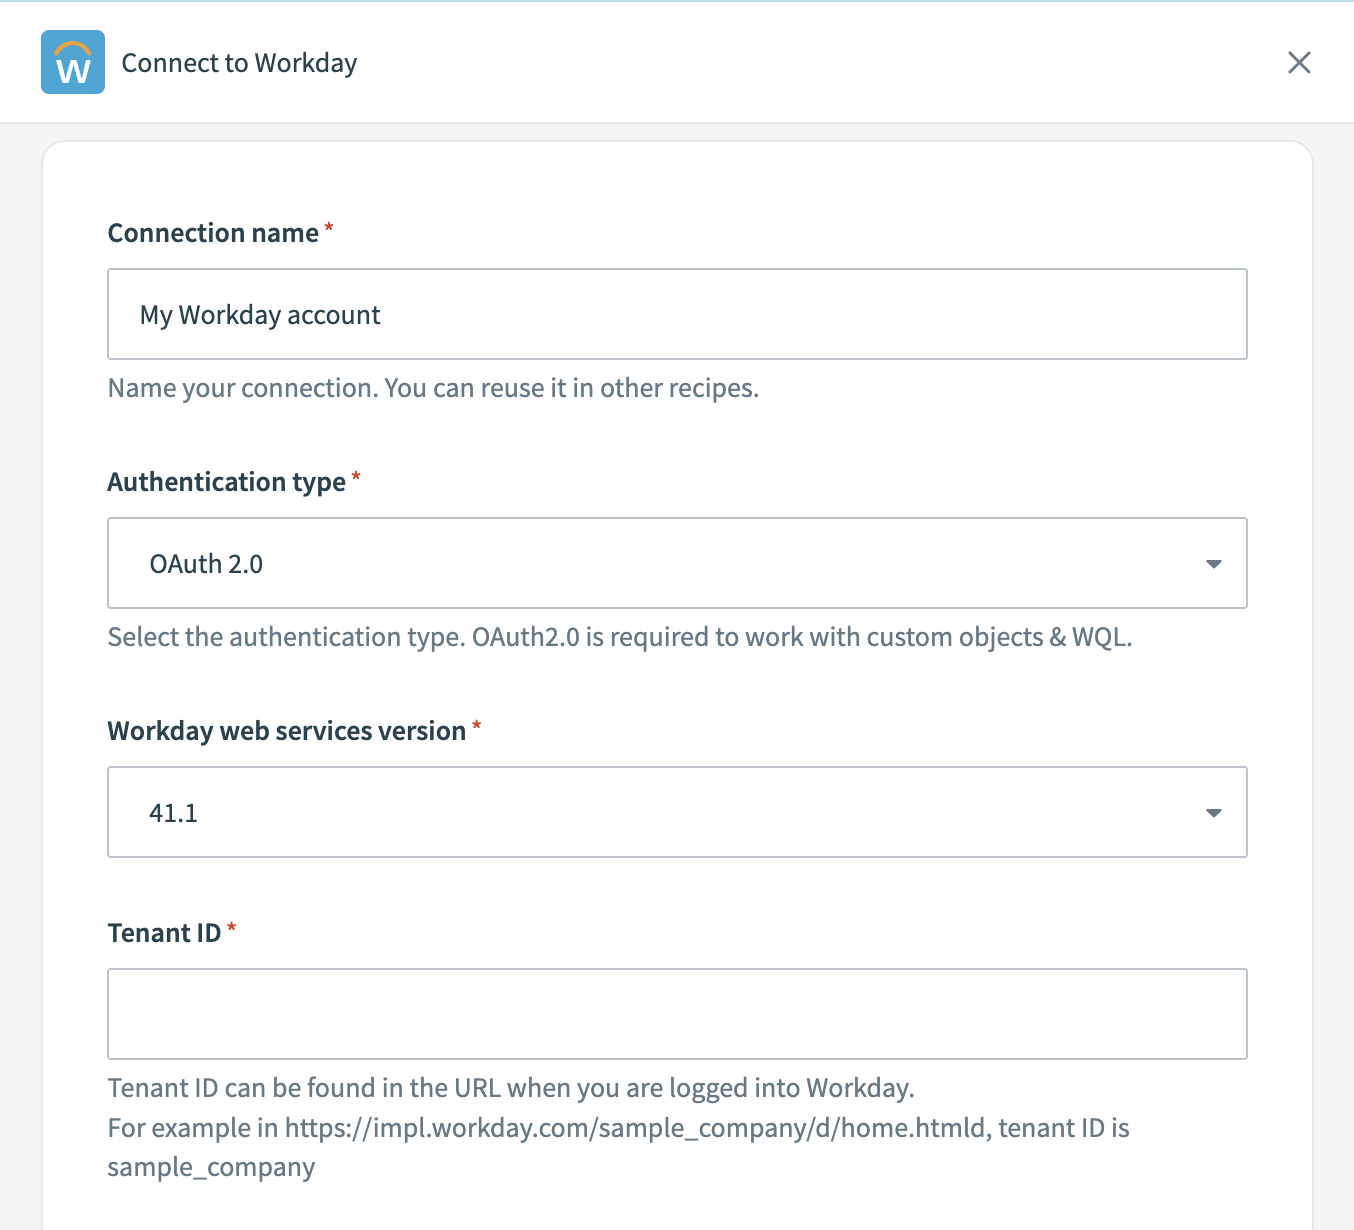 Label your connection
Choose OAuth 2.0 as the Authentication type. This method is required for working with custom objects and for querying data using Workday Query Language (WQL) with the Workday REST API.
Select the Workday web services version appropriate for your Workday tenant. We recommend choosing the newest version available for access to the latest features and updates.
Locate and enter your Tenant ID from the URL when logged into Workday. For example, in https://impl.workday.com/sample_company/d/home.htmld, the tenant ID is sample_company.
Provide the WSDL URL associated with your Workday services.
Enter the Client ID and Client Secret from your API client settings.
If using an API client for integrations, input your Refresh token.
Enter your Authorization endpoint and Token endpoint from your API Client settings to complete the OAuth flow.
Select the Workday tenant timezone that matches your Workday tenant's settings. By default, Workday uses Pacific Standard Time (PST).
To configure the Advanced XML payload for multiple ID values, click Advanced settings.
By default, when constructing the XML from your input, Workato wraps each value in fields with multiple values within its own container.
For example:
<languages><language>english</language></languages><languages><language>chinese</language></languages>
If you set the value to Yes, Workato unwraps these values, presenting them in a single container:
<languages><language>english</language><language>chinese</language></languages>
Consider enabling this when you encounter invalid payload errors.
Review the information you entered to ensure it is correct.
Click Connect to initiate the authorization process and complete the connection setup.
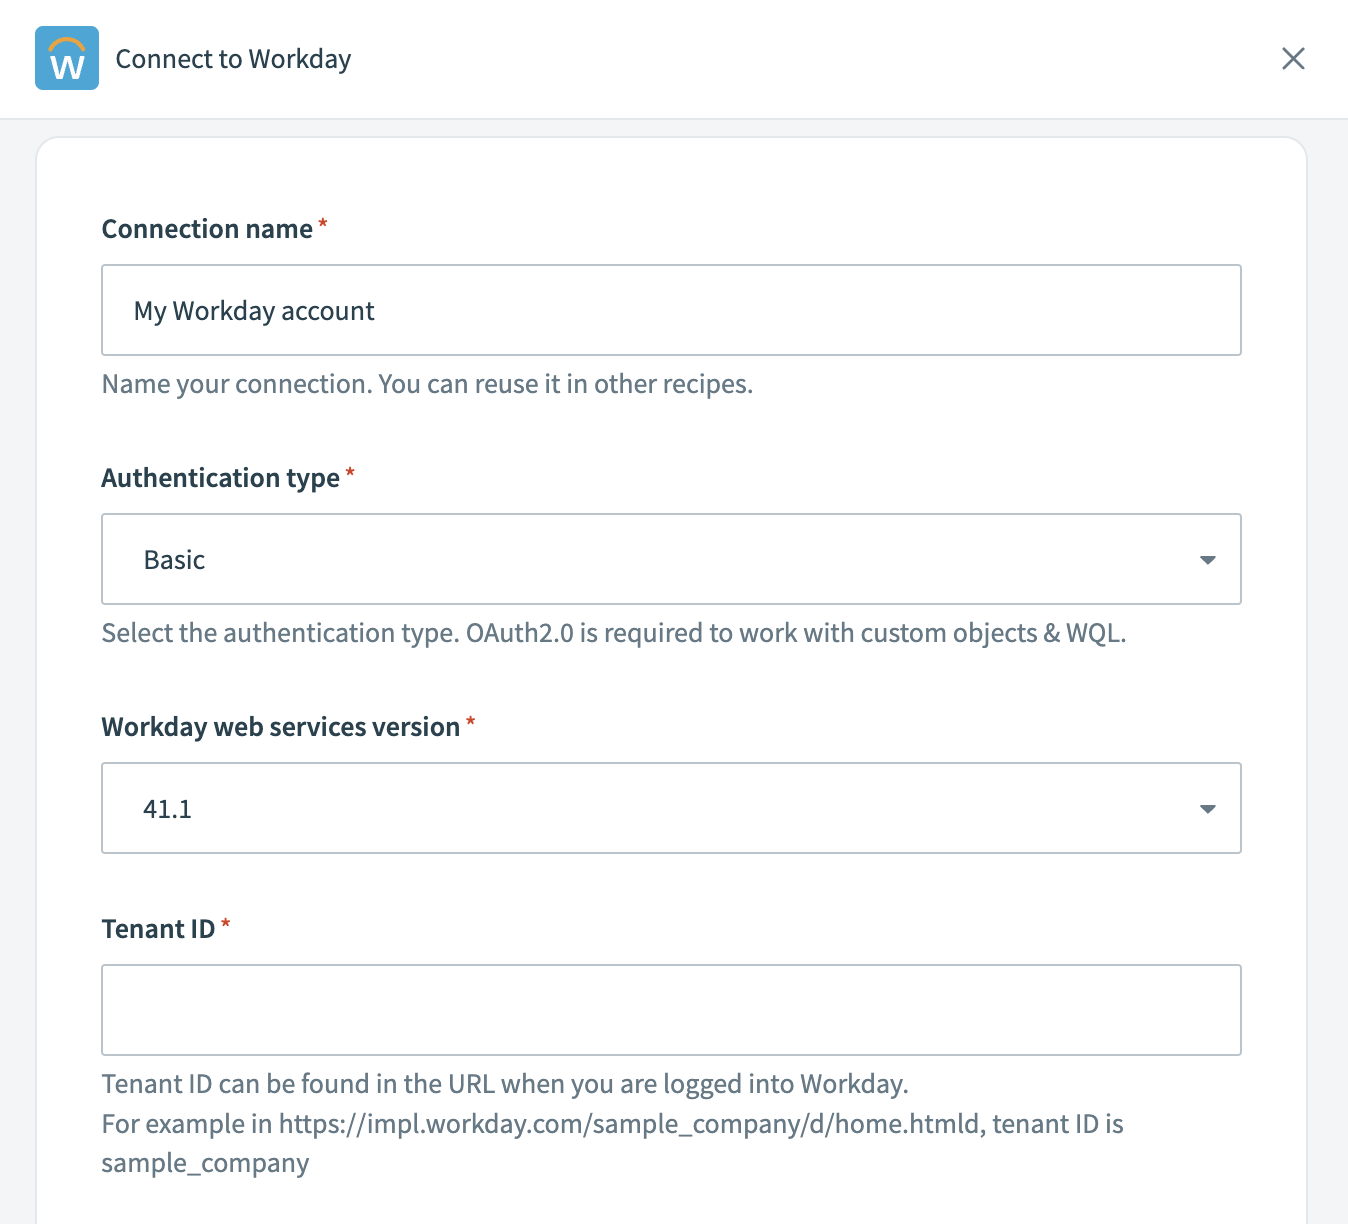
# Connection setup using basic authentication
To set up your Workday connection in Workato with basic authentication, complete the following steps:
Enter a unique Connection name to identify your Workday account in Workato.
 Label your connection
Select Basic as the Authentication type. This method uses your Workday username and password for integration.
Select the Workday web services version appropriate for your Workday tenant. We recommend choosing the newest version available to access the latest features and updates.
Locate and enter your Tenant ID from the URL when logged into Workday. For example, in https://impl.workday.com/sample_company/d/home.htmld, the tenant ID is sample_company.
Provide the WSDL URL associated with your Workday services.
Input your Workday Login name and Password.
Select your Workday tenant timezone that matches your Workday tenant's settings. By default, Workday uses Pacific Standard Time (PST).
Click Advanced settings if you need to configure the Advanced XML payload for multiple ID values. By default, fields with multiple values are wrapped within a container. You can set this option to yes to unwrap the values.
Review the information you entered to ensure it's correct.
Click Connect to initiate the authorization process and complete the connection setup.
# What's next
More details on the capabilities of the Workday connector can be found in the following sections:
# Triggers
- New/updated business object trigger
- New/updated business object batch trigger
- Scheduled report trigger
- Scheduled report using WQL trigger
# Actions
- Call operation action
- Get custom object action
- Get report action
- Get report using WQL action
- List custom object definitions action
- Create/update custom object action
# Wiki
Last updated: 4/18/2024, 2:42:46 AM