# Legacy slash commands
Slash commands using Slack's legacy Custom Integrations allows you to add slash commands to your workspace without having to create a Enterprise Workbot (i.e. a Slack app). However, legacy slash commands lack certain capabilities that come with the Enterprise Workbot slash commands. You can view a detailed comparison between the two in the Enterprise Workbot slash commands vs Legacy slash commands document.
To use this feature, you first need to add the slash command custom integration to your Slack workspace.
This custom integration will work in conjunction with Workbot to execute your recipes.
# Adding the Slash Commands custom integrations to your Slack workspace
To do so, head over to https://your-workspace.slack.com/apps/A0F82E8CA-slash-commands (opens new window) for example, https://workato.slack.com/apps/A0F82E8CA-slash-commands (opens new window).
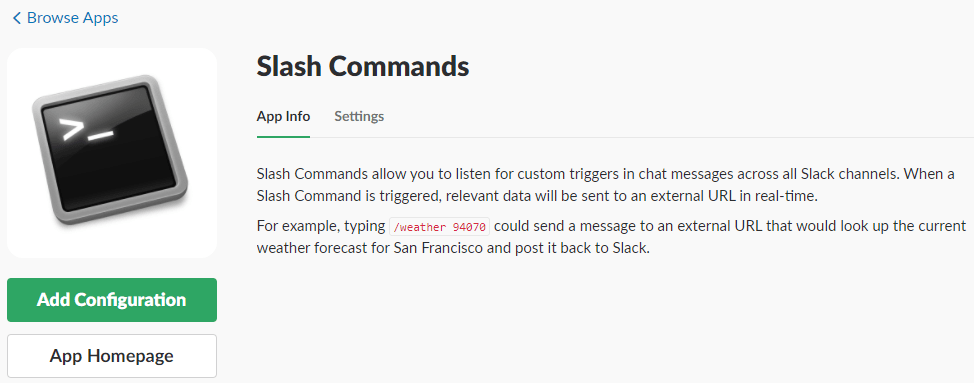
Select Add Configuration. Key in the name of your slash command. Slash commands should be named after the function it performs, for example,
/createissue, /listusers, /showcustomers
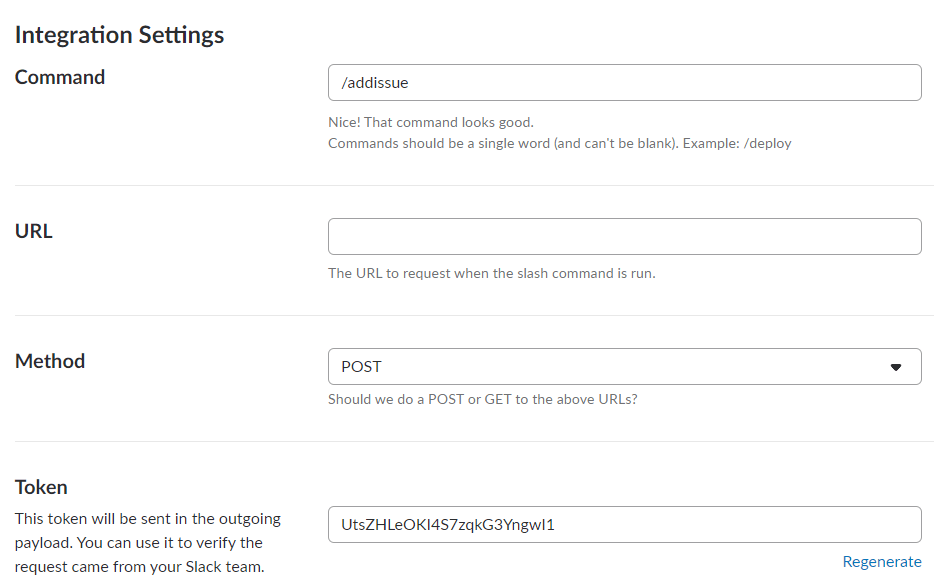
Next, select Add Slash Command Integration. You should now be at the Slash Command settings page. Scroll down to Integration Settings. Under Token, copy the value in the field for example, UtsZHLeOKI4S7zqkG3YngwI1 - we'll need this when configuring the Workbot connection in Workato. Keep this tab open - we'll come back to it later.
# Configuring the Workbot connection
From your Workato account, go to the Workbot connection you want to use slash commands with. Under the Advanced group, paste the Token value you copied earlier into the Slash commands verification tokens field. Click Connect and authorize the connection.
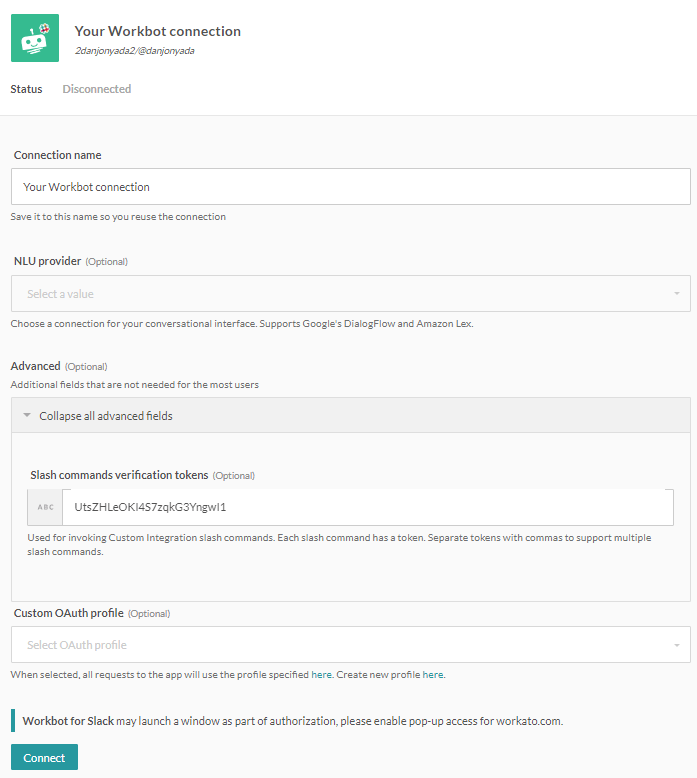 A Workbot connection can support multiple legacy slash commands by comma-separating multiple slash command verification tokens.
As we're not using an Enterprise Workbot here, leave Custom OAuth profile empty. However, a Workbot connection can use both a legacy slash command (using the Slash commands verification token) as well as an Enterprise Workbot with a Custom OAuth profile.
Done! Workbot is now connected to the custom integration slash command. Next, we need to configure the Workbot recipe to talk to the custom integration slash command.
# Getting started
To get started, fill in the post command trigger fields as you normally would. Next, move on to the slash command configuration group.
# Slash command configuration group
# Enable slash command
Toggle whether to enable slash command for this command trigger. When set to 'Yes', command can be invoked using a slash command.

# Command name
This is the name of your slash command. Slash commands should be named after the function it performs, for example,
/createissue, /listusers, /showcustomers
Slash command actions must start with a slash and contain no spaces. This slash command will also need to be created in your Enterprise Workbot in Slack, but we'll get to that later.

# Request URL
When slash commands are invoked from Slack, Slack will require a URL to send requests to. This request URL is generated by Workato, and will be needed when setting up your legacy slash command in Slack (we'll get to that later).
After Enable slash command is set to Yes, and a valid Command name is keyed in, then a Request URL is generated in the help box at the top of the post command trigger.

# Dialog for missing command input fields
Dialogs can't be invoked using legacy slash commands. To prompt a dialog to collect missing command input fields, use an Enterprise Workbot slash command.

If set to 'No', the command input fields will be collected from conversing with the user.

# Using slash commands with command input fields
If you've defined command input fields in your post command trigger, you can pass them into the slash command when you invoke it.
Command input fields in slash commands follow this format:
/slashcommand name1: value 1 name2: value 2 name3: value 3...
where name is the name of the command input field and value is the value of the field.
For example, in the JIRA create issue recipe above, we've defined Title and Description as command input fields. We can pass the respective values to the slash command invocation like so:
/createissue title: Button is misaligned description: At the registration page, the registration button is misaligned.
# Creating the legacy slash command on Slack
The trigger should now have all the info required to create the slash command in Slack.
Continuing from where we left off earlier (you kept the tab open, right?), you should now be at https://your-workspace.slack.com/apps/A0F82E8CA-slash-commands (opens new window), under Integration Settings.
- Under URL, paste in the URL from the recipe trigger earlier.

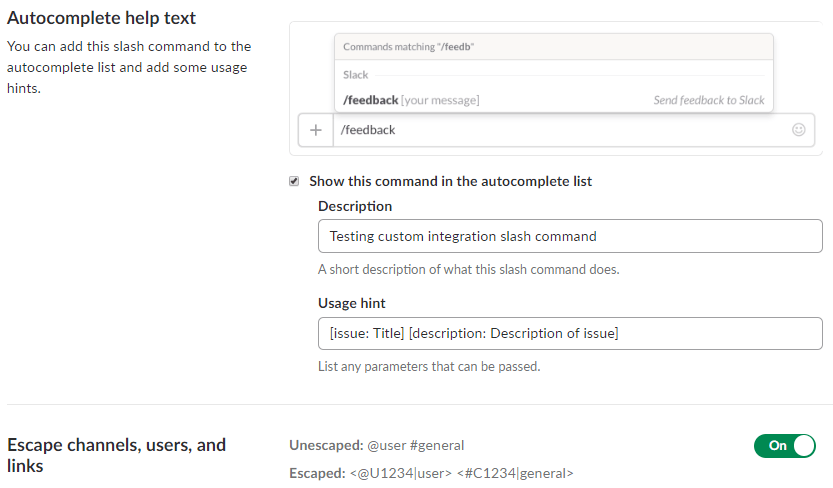
Next, scroll down to Autocomplete help text.
- Key in the Description. It should describe to the user how to use your slash command.
- Key in the Usage hint. It should describe how a user uses your slash command. Remember - you can pass command input fields into the slash command when it is invoked by following this format:
/slashcommand name1: value 1 name2: value 2 name3: value 3...
where name is the name of the command input field and value is the value of the field. Hence, the Usage hint should enclose the command input fields (and their values) with square brackets, i.e.:
/addissue [issue: Issue title] [description: Description of issue]
- Turn on Escape channels, users, and links sent to your app and
- Check the box for Translate global enterprise IDs to local workspace IDs.
Select Save Integration to finish configuring the custom integrations slash command.
Try it out! Head to your Slack workspace and invoke the slash command to trigger your Workbot recipes.
To read up on how to configure Enterprise Workbot slash commands, see the Configuring slash commands document.
Last updated: 5/21/2025, 5:22:32 AM