A2A Protocol
Agent2Agent (A2A) Protocol is an open standard that enables communication and collaboration between AI agents. A2A Protocol is the common language for agent interoperability with frameworks and different vendors.
This connector has the following capabilities:
- Workato recipes can communicate with any A2A-compliant AI agent server.
- Invoke AI agents as steps inside an automation workflow, wait for results, and act on the output.
- Cover the full range of integration patterns from synchronous blocking calls, to fire-and-check async workflows.
- Agents built on different frameworks can discover each other, delegate tasks, and exchange results over HTTP/JSON-RPC.
Refer to the A2A Protocol documentation for information about the protocol's core concepts.
A2A Protocol compatible agents
The following agents are compatible with the A2A Protocol connector:
| Agent | Framework | Authentication |
|---|---|---|
| Google ADK Purchasing Concierge | Google ADK (Python) | N/A |
| LangGraph / LangSmith A2A Endpoint | LangChain / LangGraph | Bearer token |
| CrewAI + Vertex AI | CrewAI + Gemini 2.5 | Google OAuth2 / Bearer |
| Amazon Bedrock AgentCore | AWS | AWS SigV4 / Bearer. Bedrock AgentCore connection using A2A Protocol requires additional configuration. |
| Azure AI Foundry A2A | Azure | Azure AD Bearer token |
| a2a-samples (GitHub) | Python or JS | Configurable |
Multi-agent architecture
A2A Protocol supports using multiple agents with the following architecture:
- One Agent Card per domain
- Distinct paths for each agent on the same server
- Separate Agent Cards for each agent on the same server
- One connection per agent. You must create separate connections for each agent.
Skills
Skills used in A2A Protocol connections are only shown in hint text on the Message input field. The connector doesn't send a skill ID or skill reference in the message payload.
Install A2A Protocol from the community library
Complete the following steps to install the A2A Protocol connector from the community library:
Complete the following steps to install the A2A Protocol connector from the community library:
Open the recipe editor and search for a connector. Alternatively, you can search for a connector in the community library.
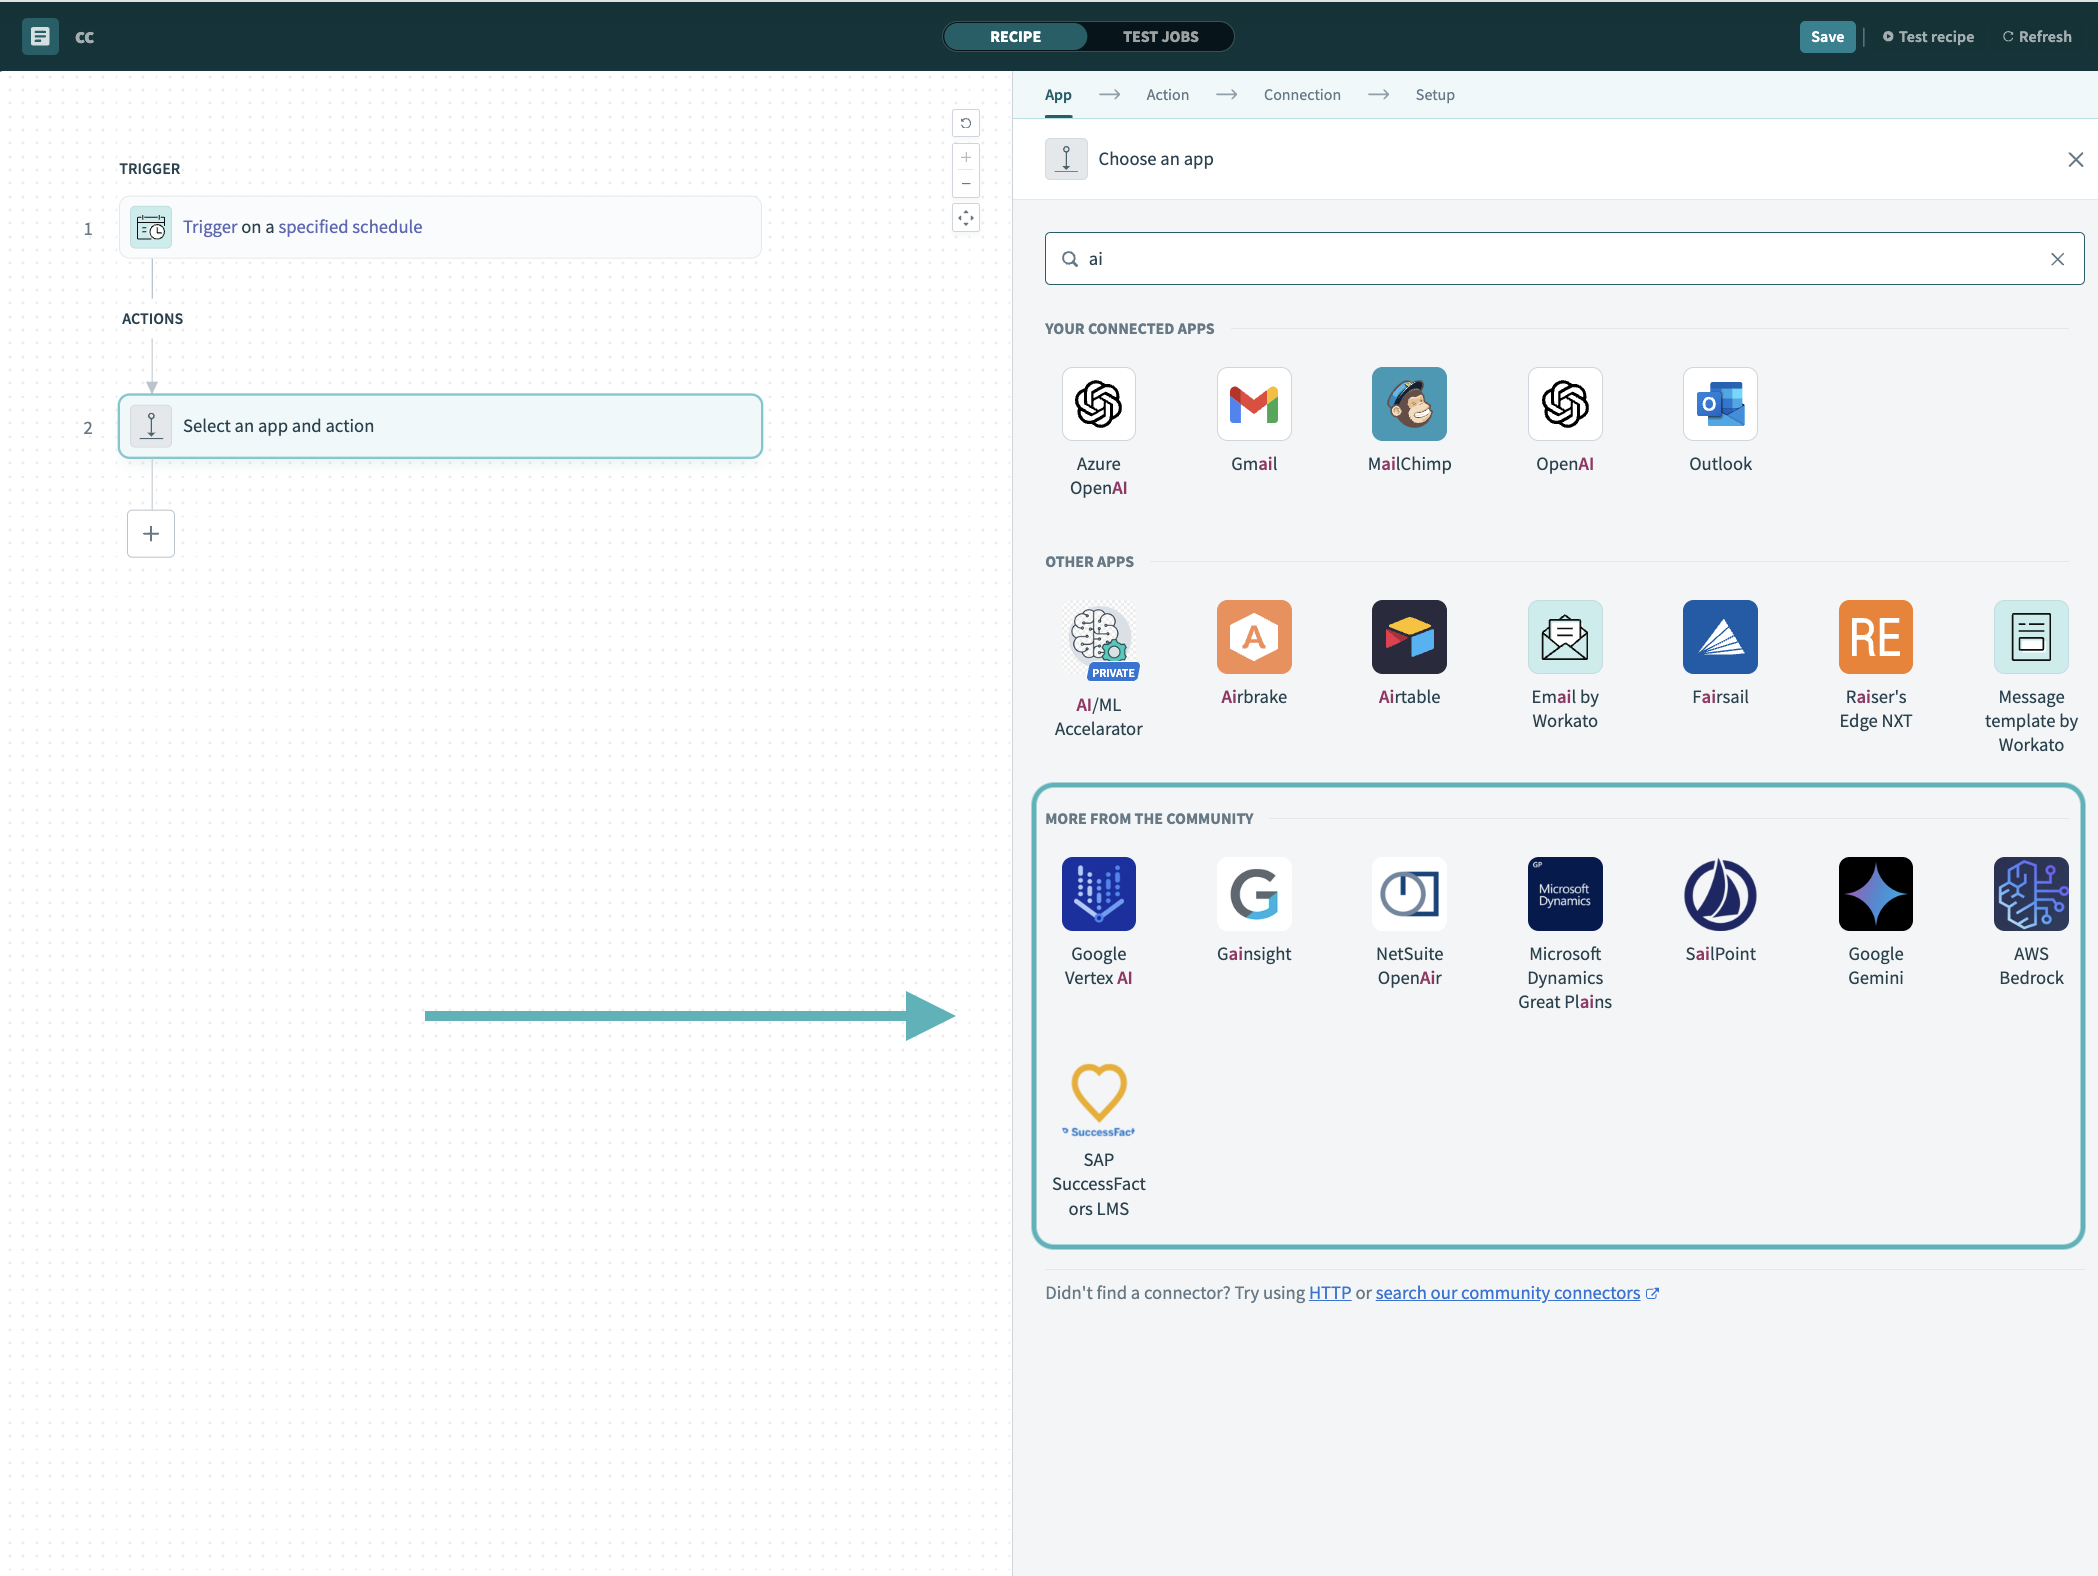 Search for community connectors in the recipe editor
Select the community connector you plan to install.
Click Install to install the connector from the community library.
 Click Install
Select Release connector. Alternatively, select Review code to review and modify the connector code before releasing it to the workspace.
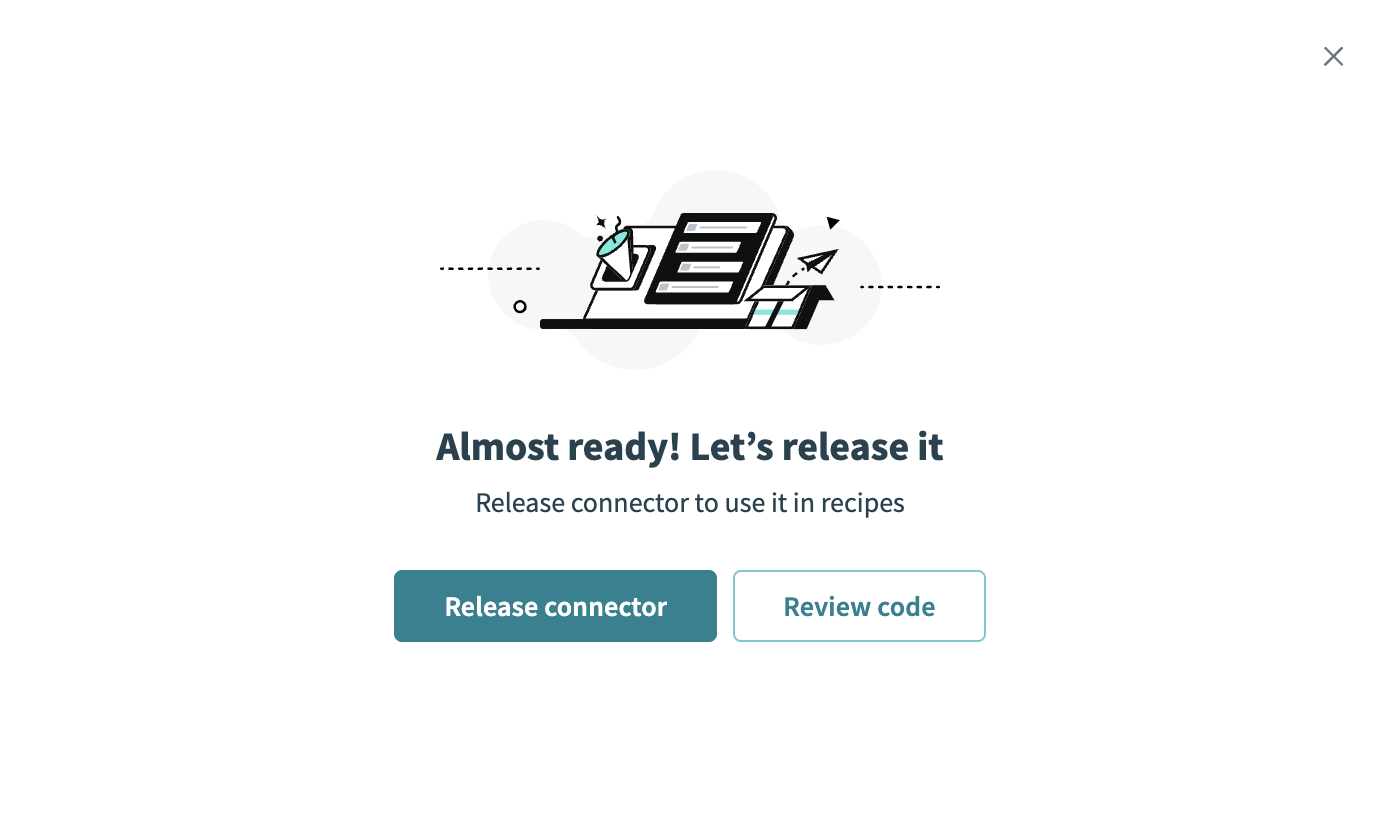 Release the connector
Summarize any changes you made to the connector, then click Release to allow workspace collaborators to use the connector in recipes.
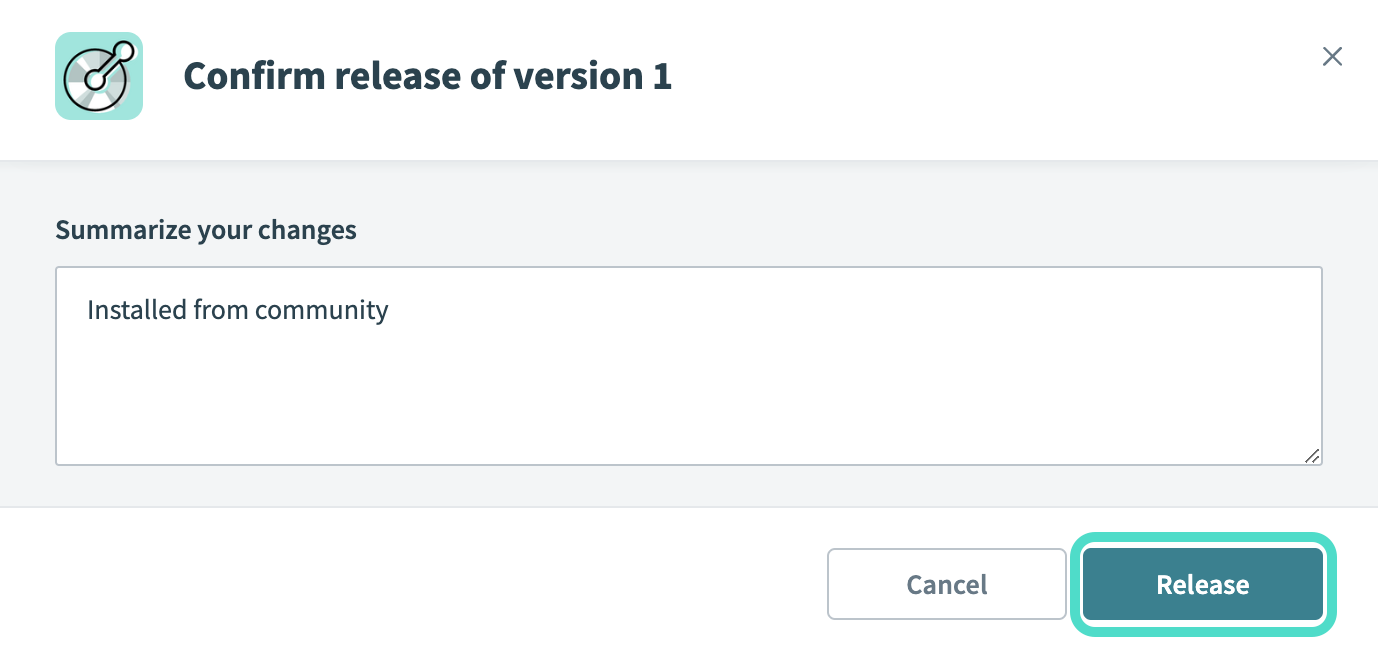 The Confirm release dialog
Obtain required credentials
Each agent defines its own authentication requirements. Review your agent's documentation to determine which authentication method it supports and how to obtain the required credentials. The following table includes A2A Protocol supported authentication methods:
| Authentication method | When to use | Required credentials |
|---|---|---|
| OAuth 2.0 client credentials | Use for server-to-server authentication. |
|
| OAuth 2.0 authorization code | Use for agents that act on behalf of the authenticated user. |
|
| Bearer token | Use for simple API gateways. | Bearer token |
| API key | Use for self-hosted or internal agents. | API key |
| None | Use if the API is public and doesn't require authentication. | None |
Register Workato as an OAuth client
OAuth 2.0 connections require you to register Workato as an OAuth client.
Complete the following steps to register Workato as an OAuth client in your A2A Protocol compliant agent:
Go to your application’s Developer or API settings page.
Create a new OAuth client or application.
Set the Redirect URI to: https://www.workato.com/oauth/callback
Copy the authentication values, such as Client ID, Client secret, Authorization URL, and Token URL from your application.
Verify your credentials
Test your credentials using a tool such as curl or Postman before establishing your connection to confirm your credentials are valid.
Ensure you can:
- Call the
/a2aendpoint successfully - Receive a valid JSON response
- Retrieve an access token (for OAuth connections)
Connect to A2A Protocol in Workato
Complete the following steps to set up an A2A Protocol connection in Workato:
Click Create > Connection.
Search for A2A Protocol and select it as your app.
Enter a name for your connection in the Connection name field.
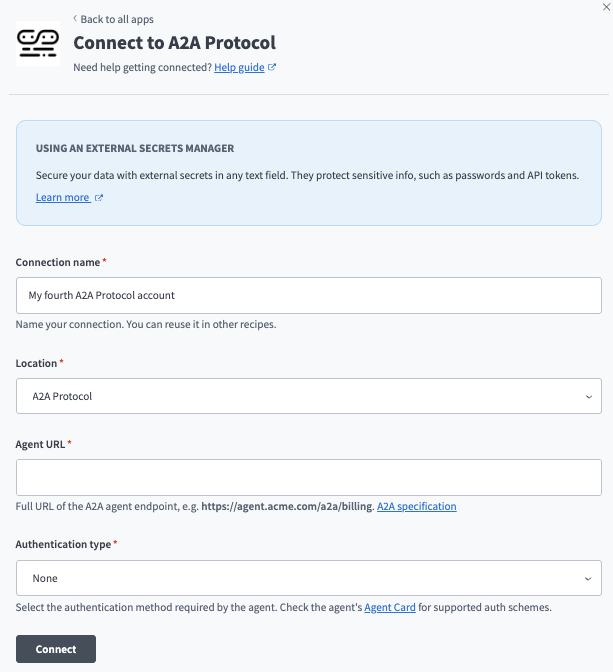 Set up your A2A Protocol connection
Use the Location drop-down menu to select the project where you plan to store the connection.
Enter the full URL of the A2A Protocol agent endpoint in the Agent URL field. For example, https://agent.acme.com/a2a/billing.
Use the Authentication type drop-down menu to select an authentication type and provide the required credentials for your selection.
Click Connect.
Last updated: