Gmail (Custom)
The Gmail (Custom) connector uses a Google service account to manage Gmail settings and messages on behalf of a domain user. This connector supports actions to forward addresses, delegate, configure vacation responder settings, configure IMAP and POP settings, and enable Pub/Sub notifications for new messages. Each action specifies the mailbox to act on through a User id field, so a single connection can manage any mailbox the service account is authorized to impersonate.
Install Gmail (Custom) from the community library
Complete the following steps to install the Gmail (Custom) connector from the community library:
Open the recipe editor and search for a connector. Alternatively, you can search for a connector in the community library.
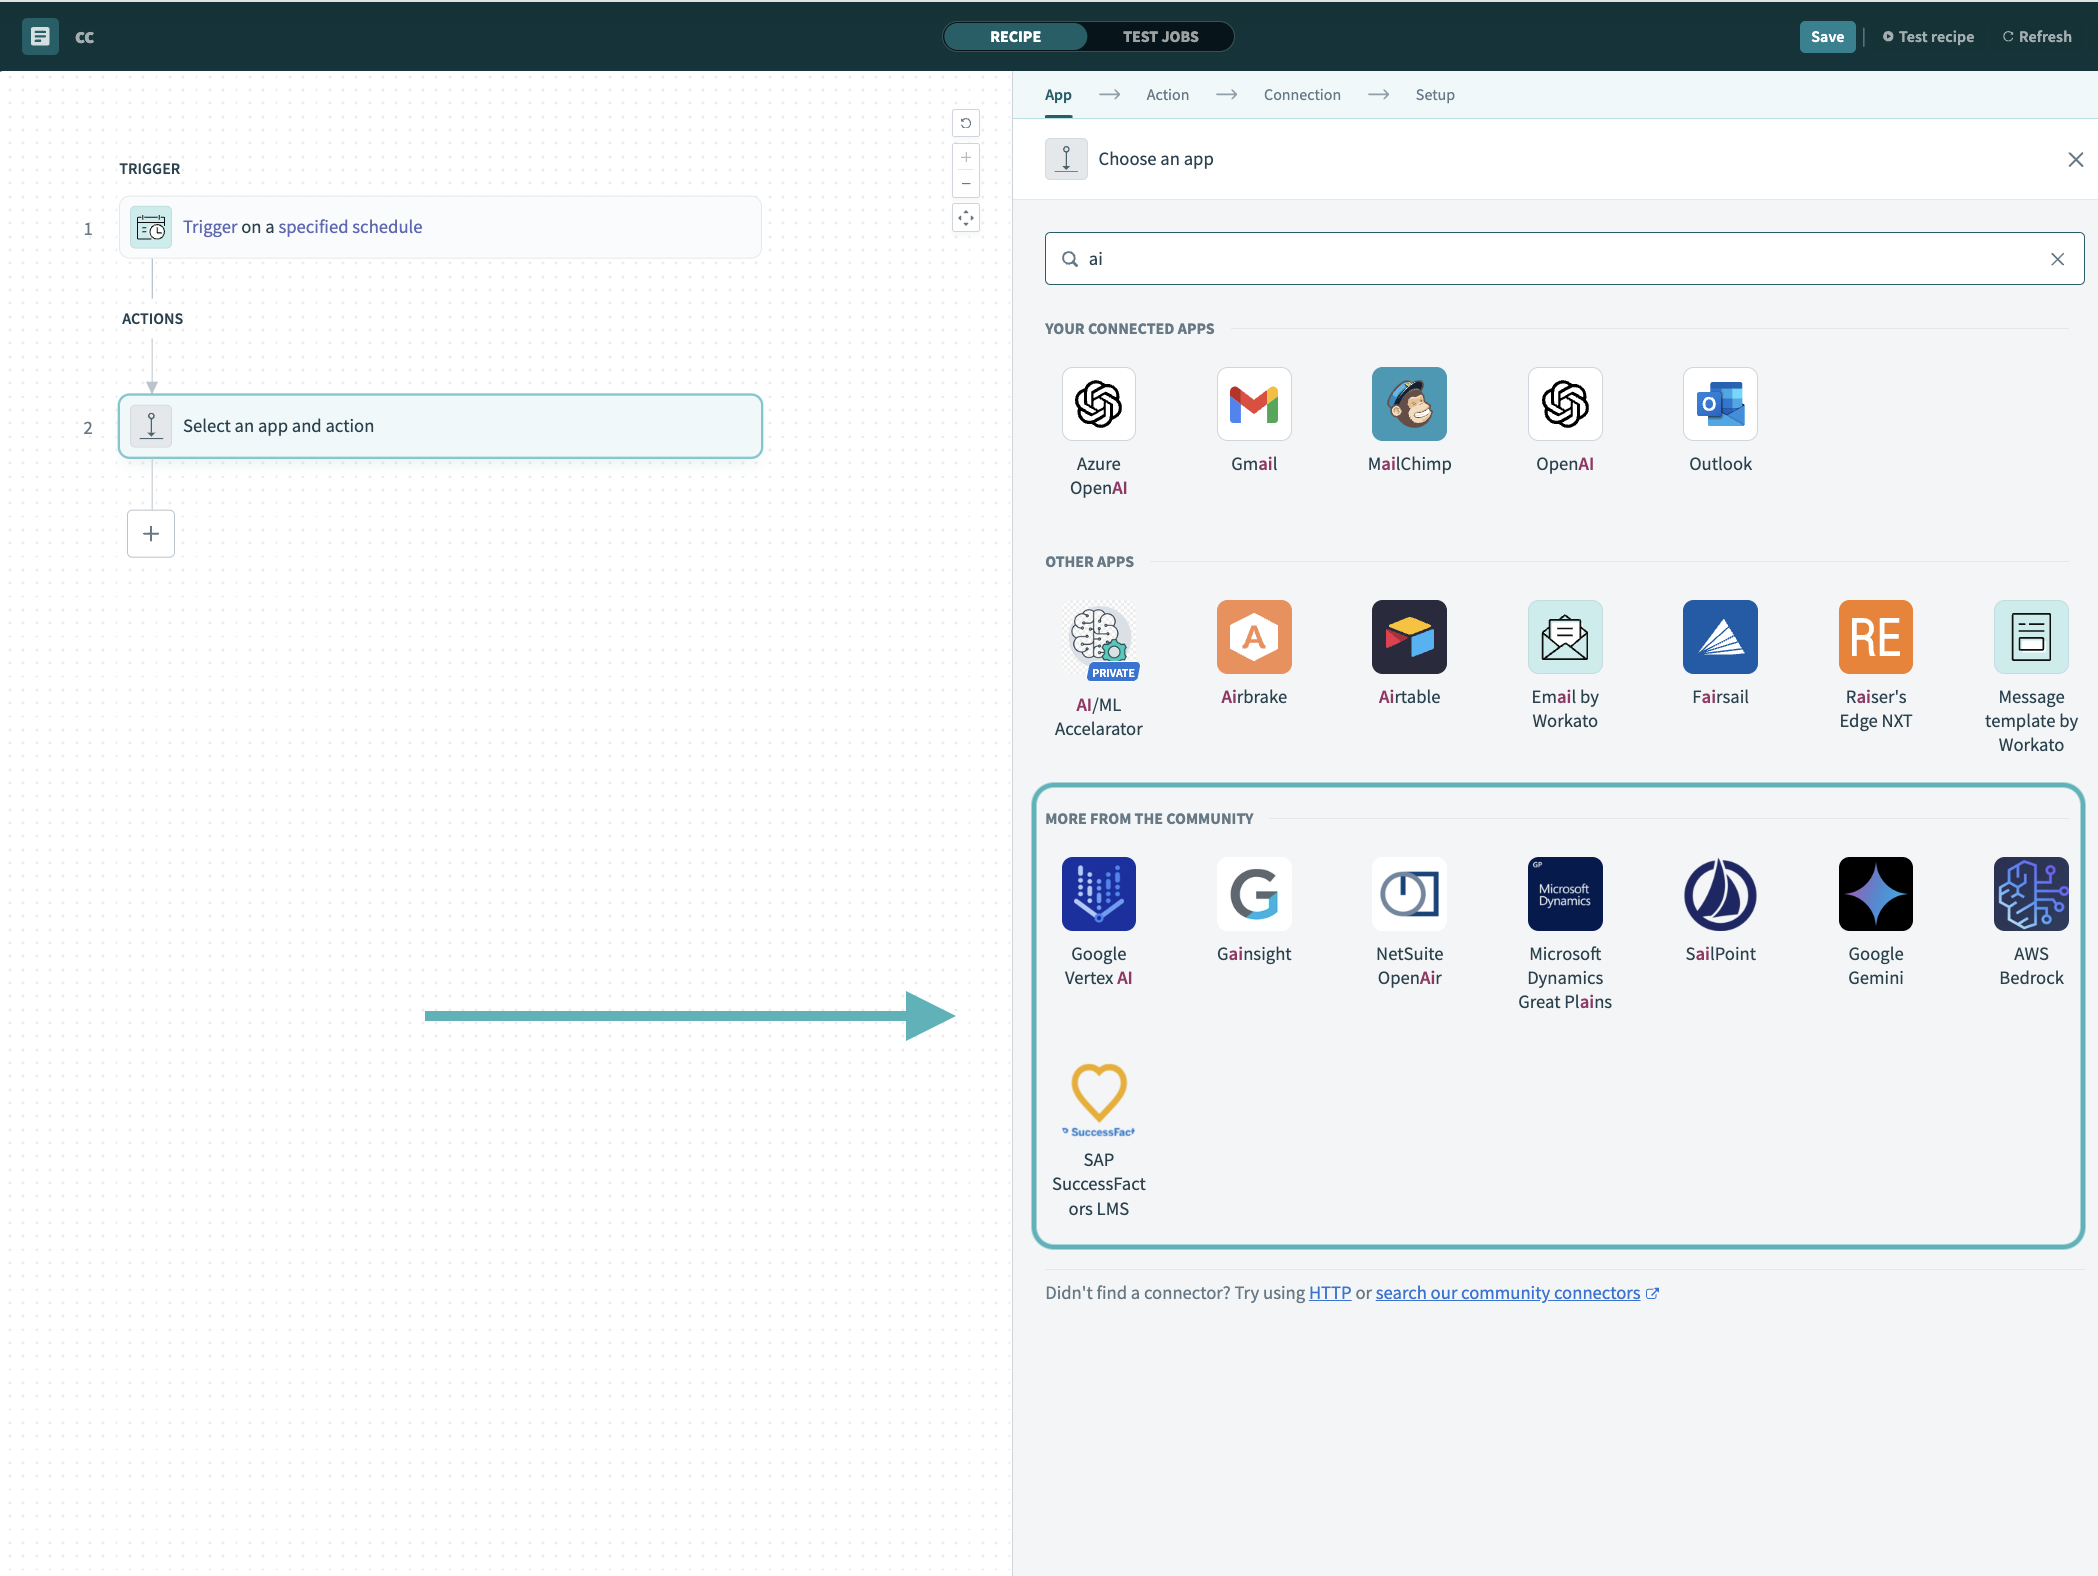 Search for community connectors in the recipe editor
Select the community connector you plan to install.
Click Install to install the connector from the community library.
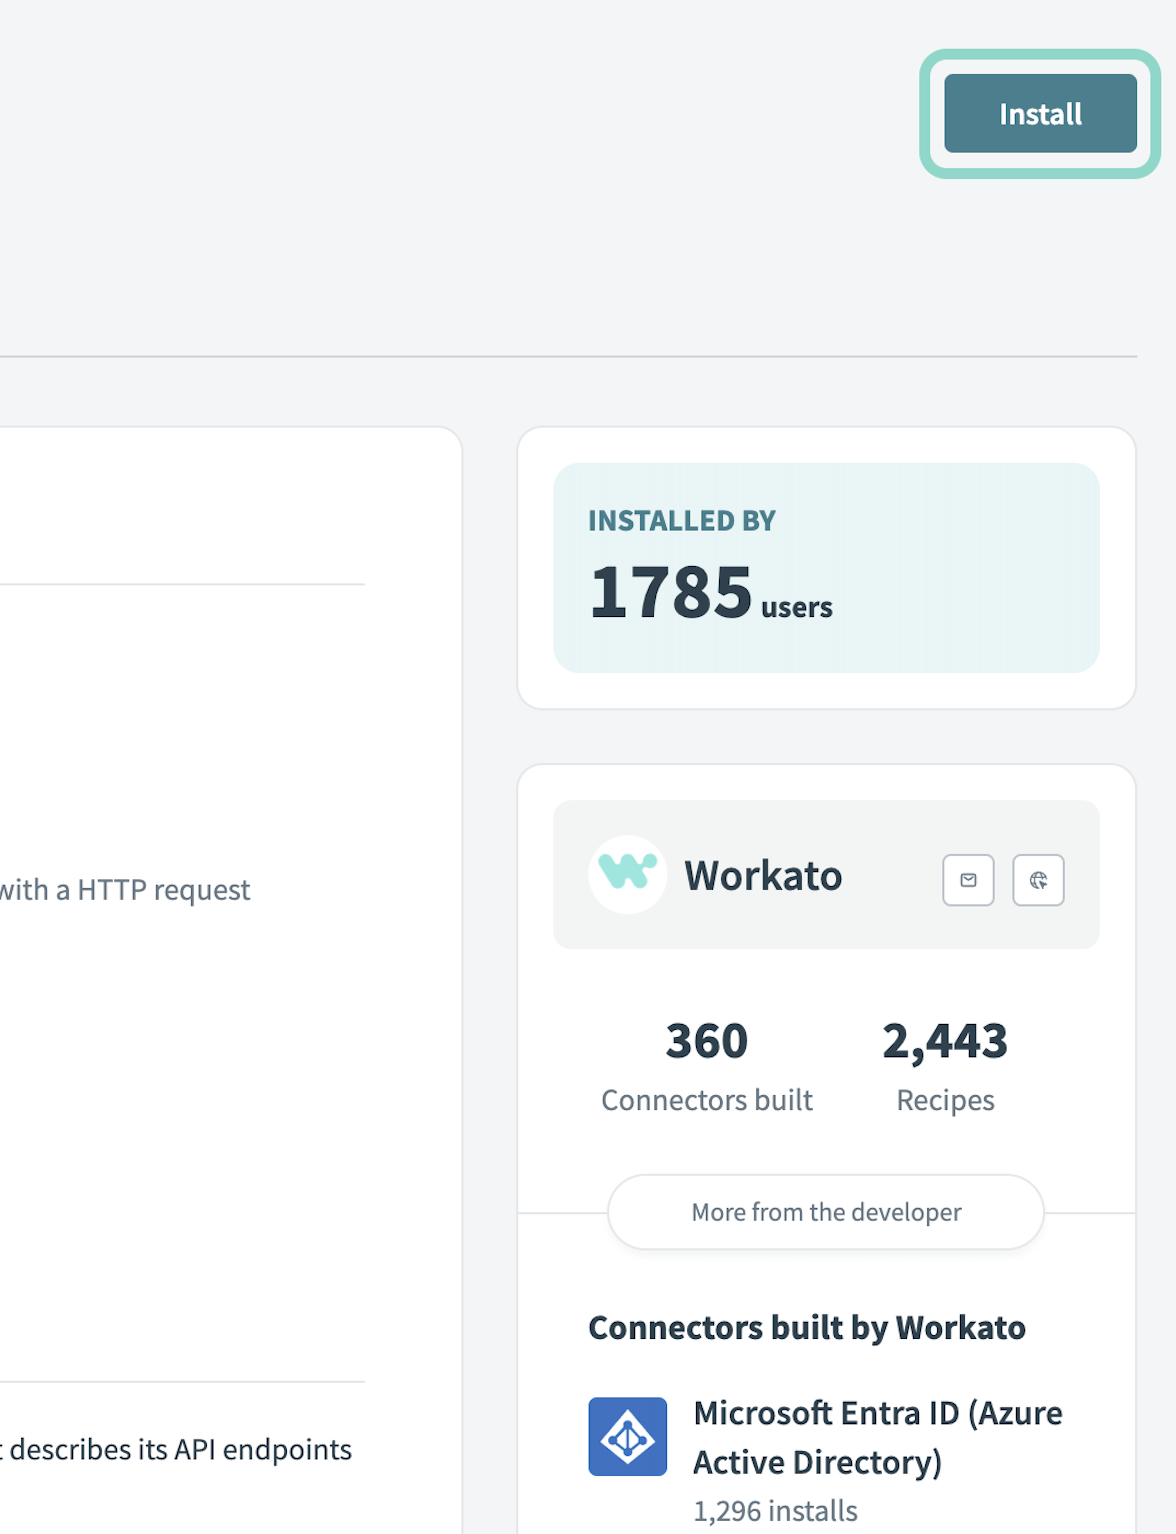 Click Install
Select Release connector. Alternatively, select Review code to review and modify the connector code before releasing it to the workspace.
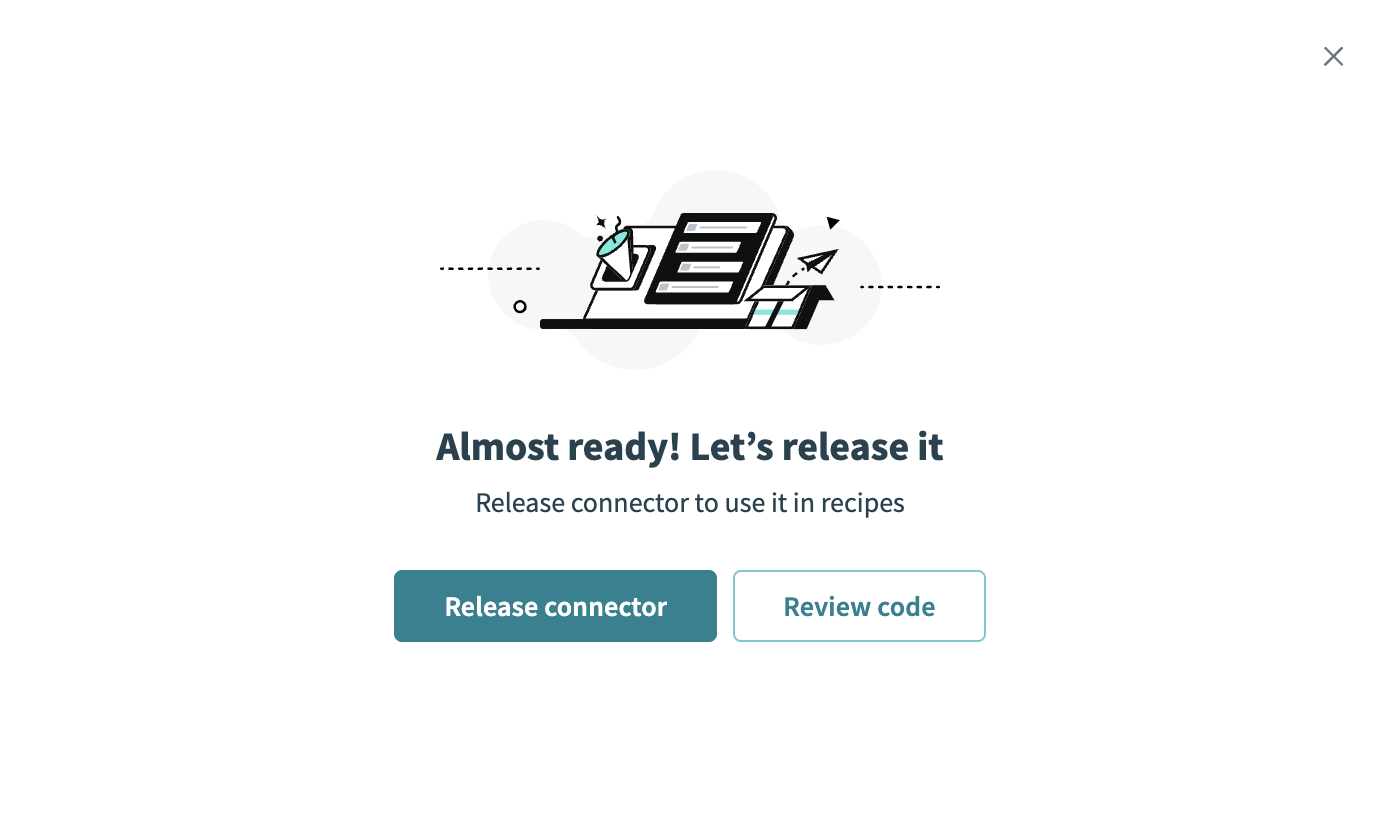 Release the connector
Summarize any changes you made to the connector, then click Release to allow workspace collaborators to use the connector in recipes.
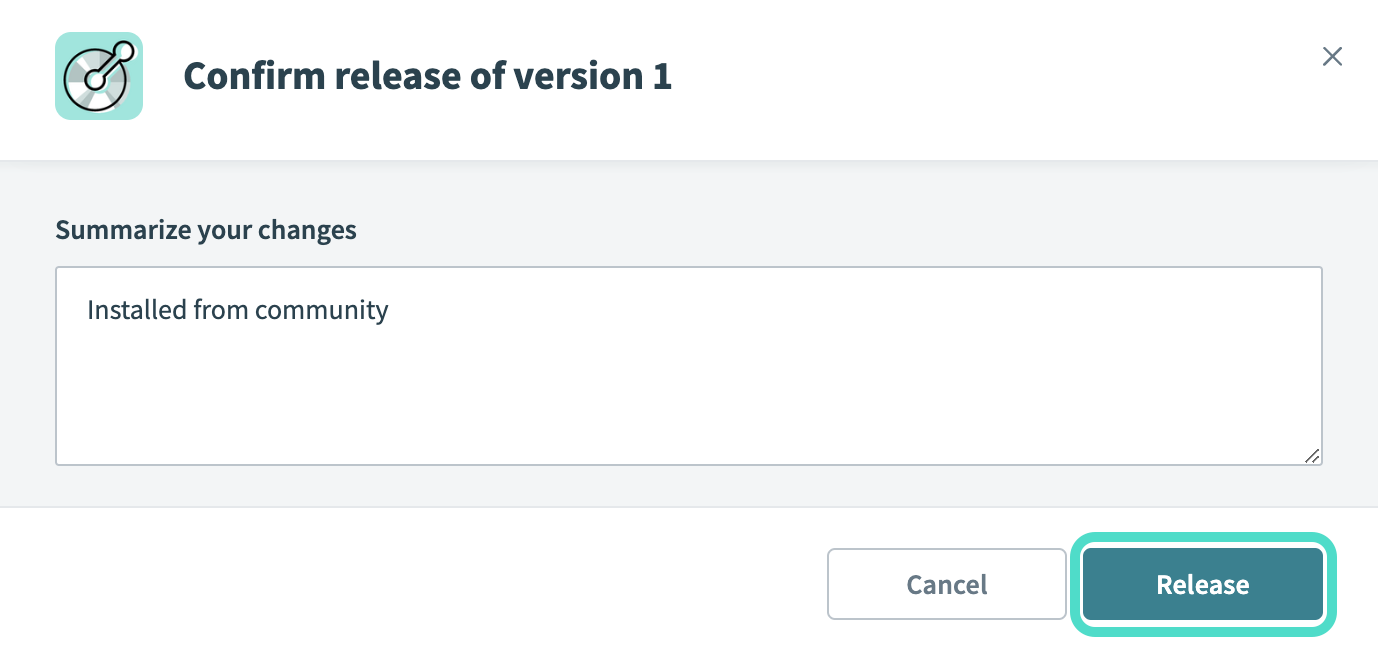 The Confirm release dialog
Connection setup
The Gmail (Custom) connector uses OAuth 2.0 authentication.
Gmail (Custom) setup
To connect to Gmail (Custom) in Workato, set up the following:
Set up your Google Cloud project
Complete the following steps to set up your Google Cloud project:
Log in to your Google Cloud Console.
Create or select an existing Google Cloud project.
Enable the Gmail API in the Google Cloud Console.
Click APIs & Services > Enabled APIs & Services.
Search for and select Gmail API in the search bar.
Click Enable.
Set up your service account
Complete the following steps to create a service account with domain-wide delegation:
Log in to your Google Cloud Console.
Click Select or create a New Project in the project dropdown.
Go to IAM & Admin > Service Accounts and click Create Service Account.
Enter a name for the service account in the Name field.
Click Create and Continue > Done.
Click on your newly created service account and go to the Keys tab.
Click Add Key > Create New Key.
Download the service account JSON key file.
In the Google Admin console, authorize the service account's client ID and grant the following OAuth scopes:
https://www.googleapis.com/auth/gmail.settings.sharinghttps://mail.google.com/https://www.googleapis.com/auth/gmail.modifyhttps://www.googleapis.com/auth/gmail.readonlyhttps://www.googleapis.com/auth/gmail.settings.basic
Super admin access is required to authorize the service account's client ID and grant domain-wide delegation. Refer to the Google Workspace admin help documentation for more information.
Connect to Gmail (Custom) using OAuth 2.0
Complete the following steps to connect to Gmail (Custom) in Workato:
Click Create > Connection or press C twice.
Search for and select Gmail (Custom) as your connection on the New connection page.
Provide a unique name for your connection in the Connection name field.
Use the Location drop-down menu to select the project where you plan to store the connection.
Enter the client_email value from the service account JSON key in the Issuer field.
Enter your JSON private key in the Private key field. Refer to Google's service account documentation to learn more about service accounts.
Click Connect.
Last updated: