Veeva Vault
Veeva Vault is a cloud-based content and data management platform built for the life sciences industry. It powers clinical, regulatory, quality, commercial, and CRM operations for pharma, biotech, and medical device companies.
The Veeva Vault connector is fully dynamic and works with all active Vault objects in your tenant, including standard objects (such as Product, Account, Country, and User) and custom objects. Field schemas are fetched from Vault's metadata API at design time, so the recipe editor always reflects your actual Vault configuration.
Use the Veeva Vault connector to:
- Retrieve, create, or update documents and data records stored in Veeva Vault.
- Streamline workflows by integrating Vault actions into approval, review, or data submission processes.
- Track audit logs, system events, or record changes to help meet regulatory requirements.
- Synchronize or exchange information between Vault and other applications such as CRM, ERP, or cloud storage.
You can also use custom actions to build a custom HTTP request to any Veeva Vault REST endpoint. The request is authenticated with the active session. Refer to the Veeva Vault API documentation for endpoint details.
Install Veeva Vault from the community library
Complete the following steps to install the Veeva Vault connector from the community library:
Open the recipe editor and search for a connector. Alternatively, you can search for a connector in the community library.
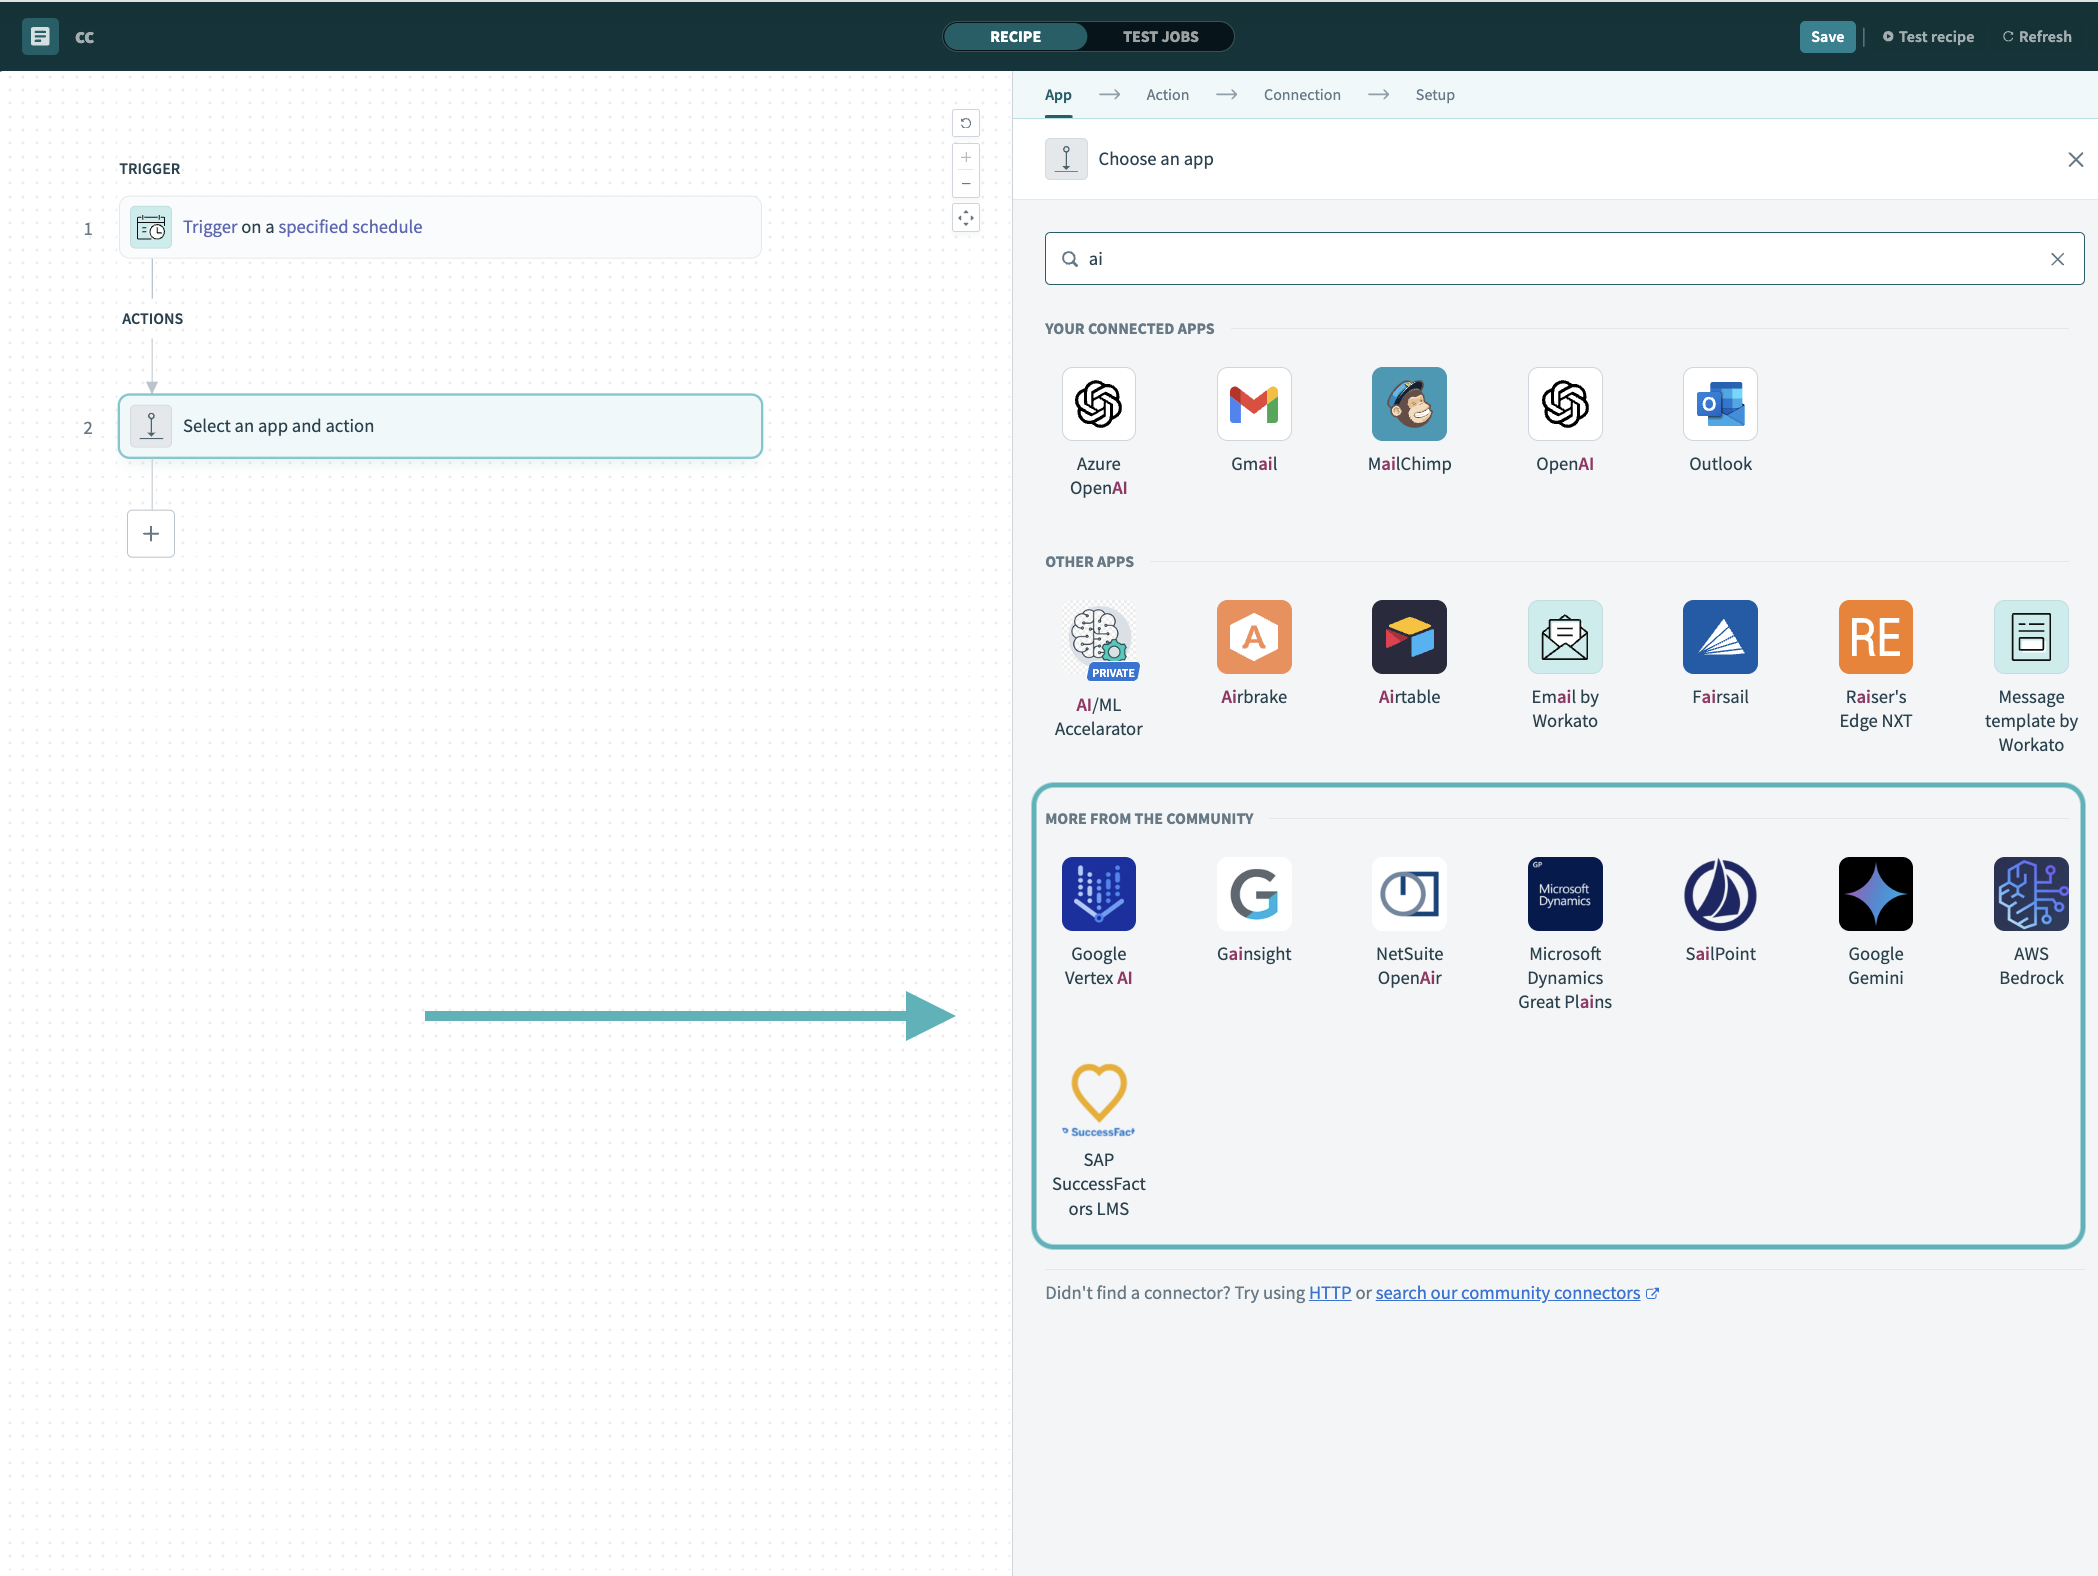 Search for community connectors in the recipe editor
Select the community connector you plan to install.
Click Install to install the connector from the community library.
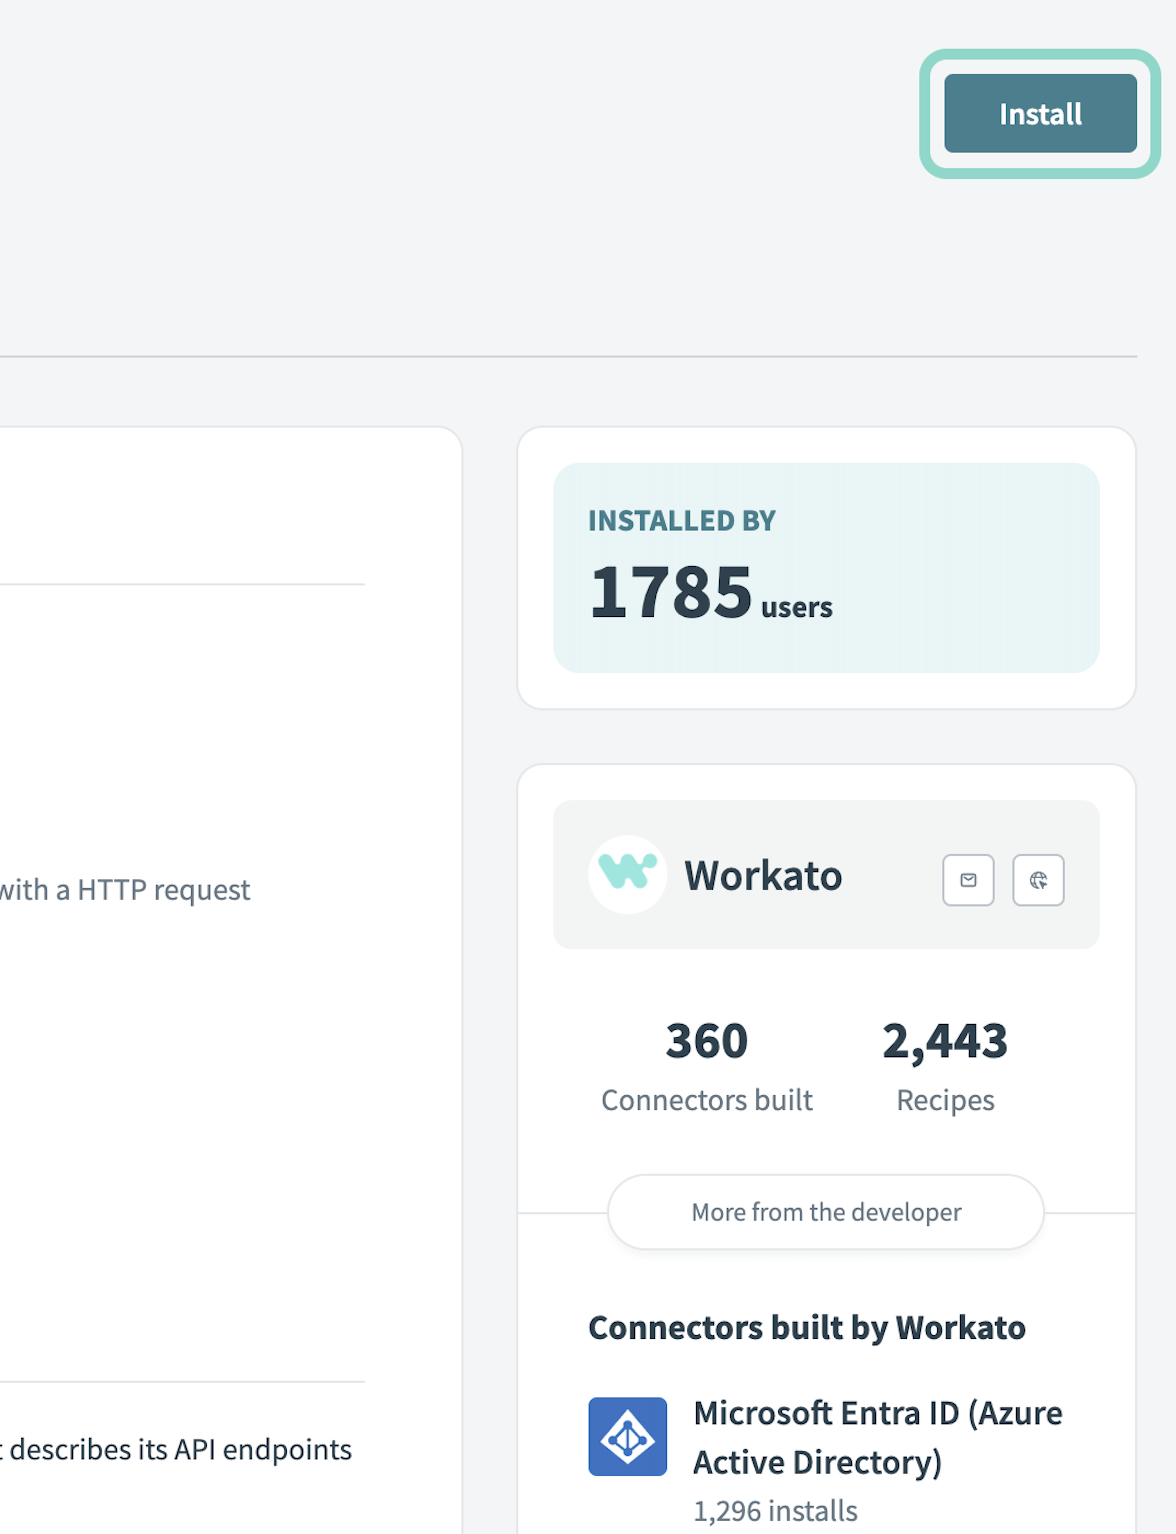 Click Install
Select Release connector. Alternatively, select Review code to review and modify the connector code before releasing it to the workspace.
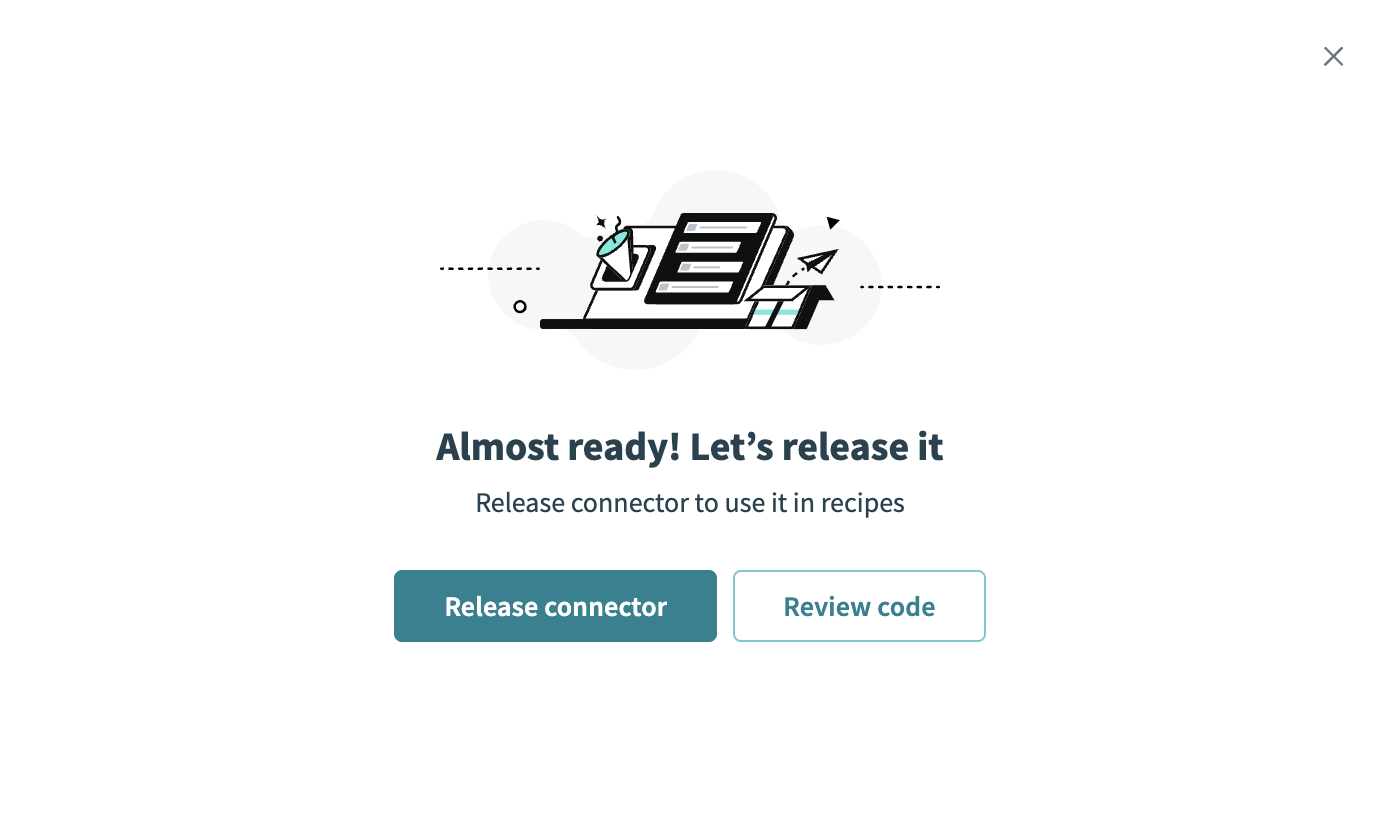 Release the connector
Summarize any changes you made to the connector, then click Release to allow workspace collaborators to use the connector in recipes.
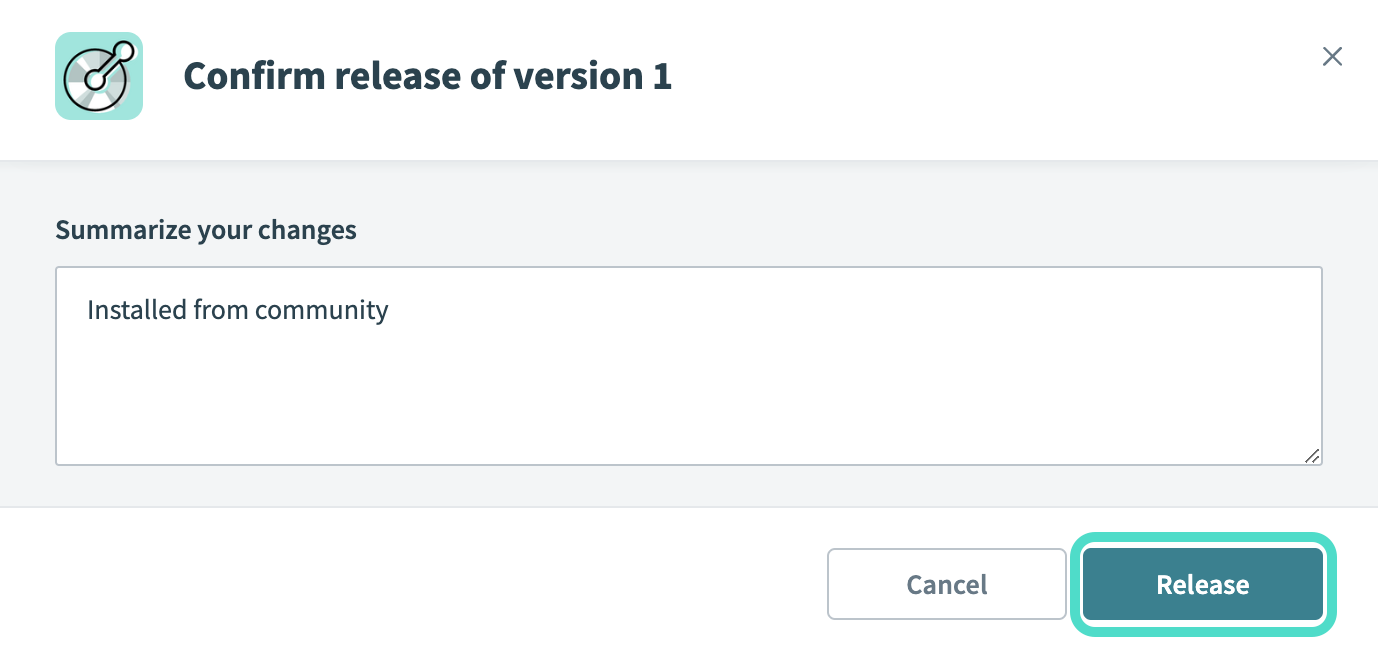 The Confirm release dialog
Connection setup
The Veeva Vault connector supports the following authentication types:
Basic authentication
Use basic authentication to connect to Veeva Vault.
Connect to Veeva Vault using basic authentication
Basic authentication uses your Vault username and password to authenticate.
Click Create > Connection or press C twice.
Search for Veeva Vault and select it as your app.
Provide a name for your connection in the Connection name field.
Use the Location drop-down menu to select the project where you plan to store the connection.
Enter your Vault domain in the Vault DNS field, for example myvault.veevavault.com. Don't include https:// or a trailing slash.
Select Basic authentication from the Authentication type drop-down menu.
Optional. Select an option from the API version drop-down menu. Defaults to the latest generally available (GA) version. The connector supports the latest GA version and up to two prior GA versions.
Enter your Vault username (typically your email address) in the Username field.
Enter your Vault password in the Password field.
Click Connect.
OAuth 2.0 OpenID authentication
Use OAuth 2.0 OpenID authentication to connect to Veeva Vault.
Veeva Vault setup
Complete the following steps to set up Veeva Vault for OAuth 2.0 OpenID authentication:
OPTIONALLY USE MICROSOFT ENTRA ID
You can optionally configure Microsoft Entra ID with OAuth 2.0 OpenID. Refer to the Veeva Vault documentation for more information.
Go to Admin > Settings > OAuth 2.0 / OpenID Connect Profiles.
Click Create.
Enter a Label and Name for the profile.
Choose a Status for the profile. It's best practice to leave the profile as Inactive until configuration is complete.
Optional. Add a description of the profile.
Under OAuth 2.0 / OpenID Connect Configuration, upload your AS metadata with the Upload AS Metadata button.
Select an Authorization Server Provider from the drop-down. Starting with 20R2.2, the ADFS / Azure AD option is split into two: ADFS and Azure AD (Microsoft Entra ID). ADFS exposes the value as ADFS, while Azure AD exposes the value as Azure.
Optional. If you selected ADFS in the previous step, choose the Preferred Authentication Library. The default value is MSAL (ADFS 2019 or later). We recommend selecting MSAL for ADFS 2019 or later, and ADAL otherwise. Vault File Manager uses this setting to load the appropriate Microsoft Authentication Library at runtime. Selecting the wrong option may prevent the use of advanced configuration options on the IdP side, such as custom claims.
Optional. Enter an Access Token JWKS Endpoint. This option is only available when you select PingFederate in the previous step. This field has a 500-character limit.
Select an Identity Claim. Choose Identity is in the "sub" claim to allow the AS to provide the unique user identifier in the sub claim of the id_token or access_token by default. If you select Identity is in another claim, enter the alternative claim key in the Claim field. This field has a 100-character limit.
Select a User ID Type, either Vault User Name or Federated ID.
Optional. Select the Perform strict Audience Restriction validation checkbox to enable audience restriction validation.
Optional. Under Client Applications, click Add and complete the required fields to set up client ID mappings between authorization servers and client applications.
Click Save.
Connect to Veeva Vault using OAuth 2.0 OpenID authentication
Complete the following steps to set up OAuth 2.0 OpenID authentication connection to Veeva Vault in Workato:
Click Create > Connection or press C twice.
Search for Veeva Vault and select it as your app.
Provide a name for your connection in the Connection name field.
Use the Location drop-down menu to select the project where you plan to store the connection.
Enter your Vault domain in the Vault DNS field, for example myvault.veevavault.com. Don't include https:// or a trailing slash.
Select OAuth 2.0 OpenID authentication from the Authentication type drop-down menu.
Optional. Select an option from the API version drop-down menu. Defaults to the latest generally available (GA) version. The connector supports the latest GA version and up to two prior GA versions.
Enter the OAuth 2.0 OpenID profile ID configured in your Vault (oauth_oidc_profile_id in the Vault API docs) in the OAuth profile ID field.
Enter the OAuth 2.0 token endpoint from your identity provider in the IdP token endpoint field. For example, for Microsoft Entra ID: https://login.microsoftonline.com/{tenant}/oauth2/v2.0/token.
Enter the OAuth 2.0 client ID issued by your identity provider in the Client ID field.
Enter the OAuth 2.0 client secret issued by your identity provider in the Client secret field.
Optional. Enter the OAuth 2.0 scope in the Scope field. For example, for Microsoft Entra ID client credentials, use {your-client-id}/.default.
Click Connect.
Last updated: