Build your first connector
This guide demonstrates how to build a custom connector with the Connector SDK and the Star Wars API (SWAPI). SWAPI provides free access to information about Star Wars characters, vehicles, and other resources.
Create a custom connector
Complete the following steps to create a new custom connector:
Sign in to your Workato account.
Go to Tools > Connector SDK.
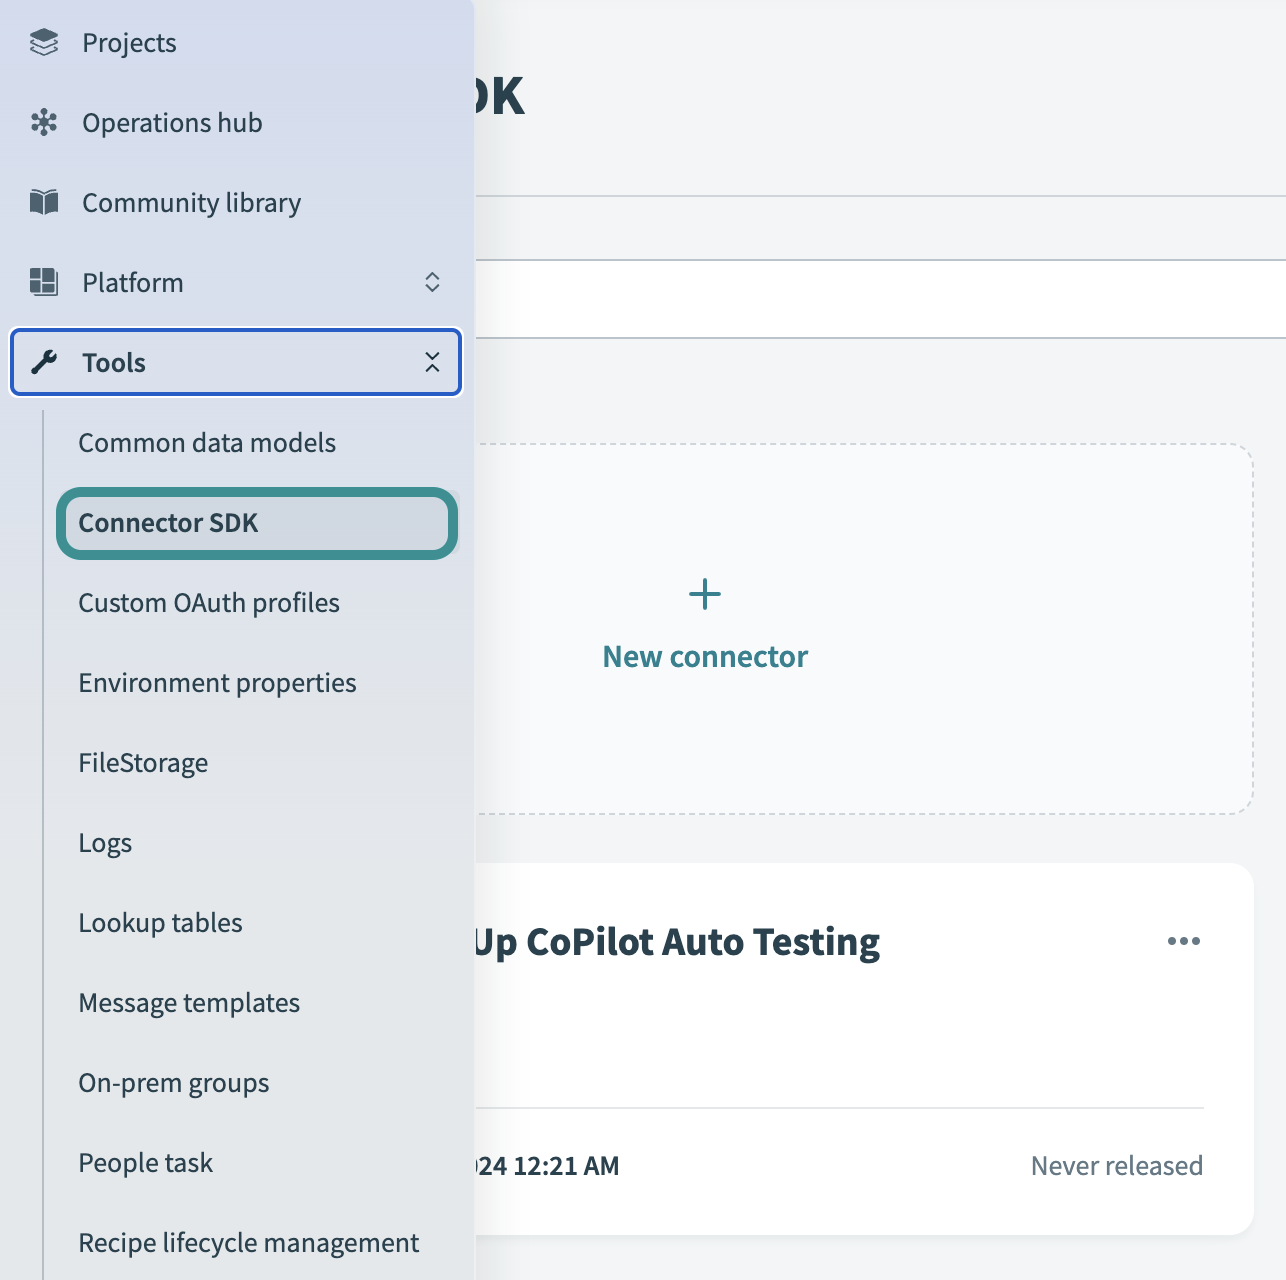 Go to Tools > Connector SDK
Click Create connector to open the Connector SDK wizard.
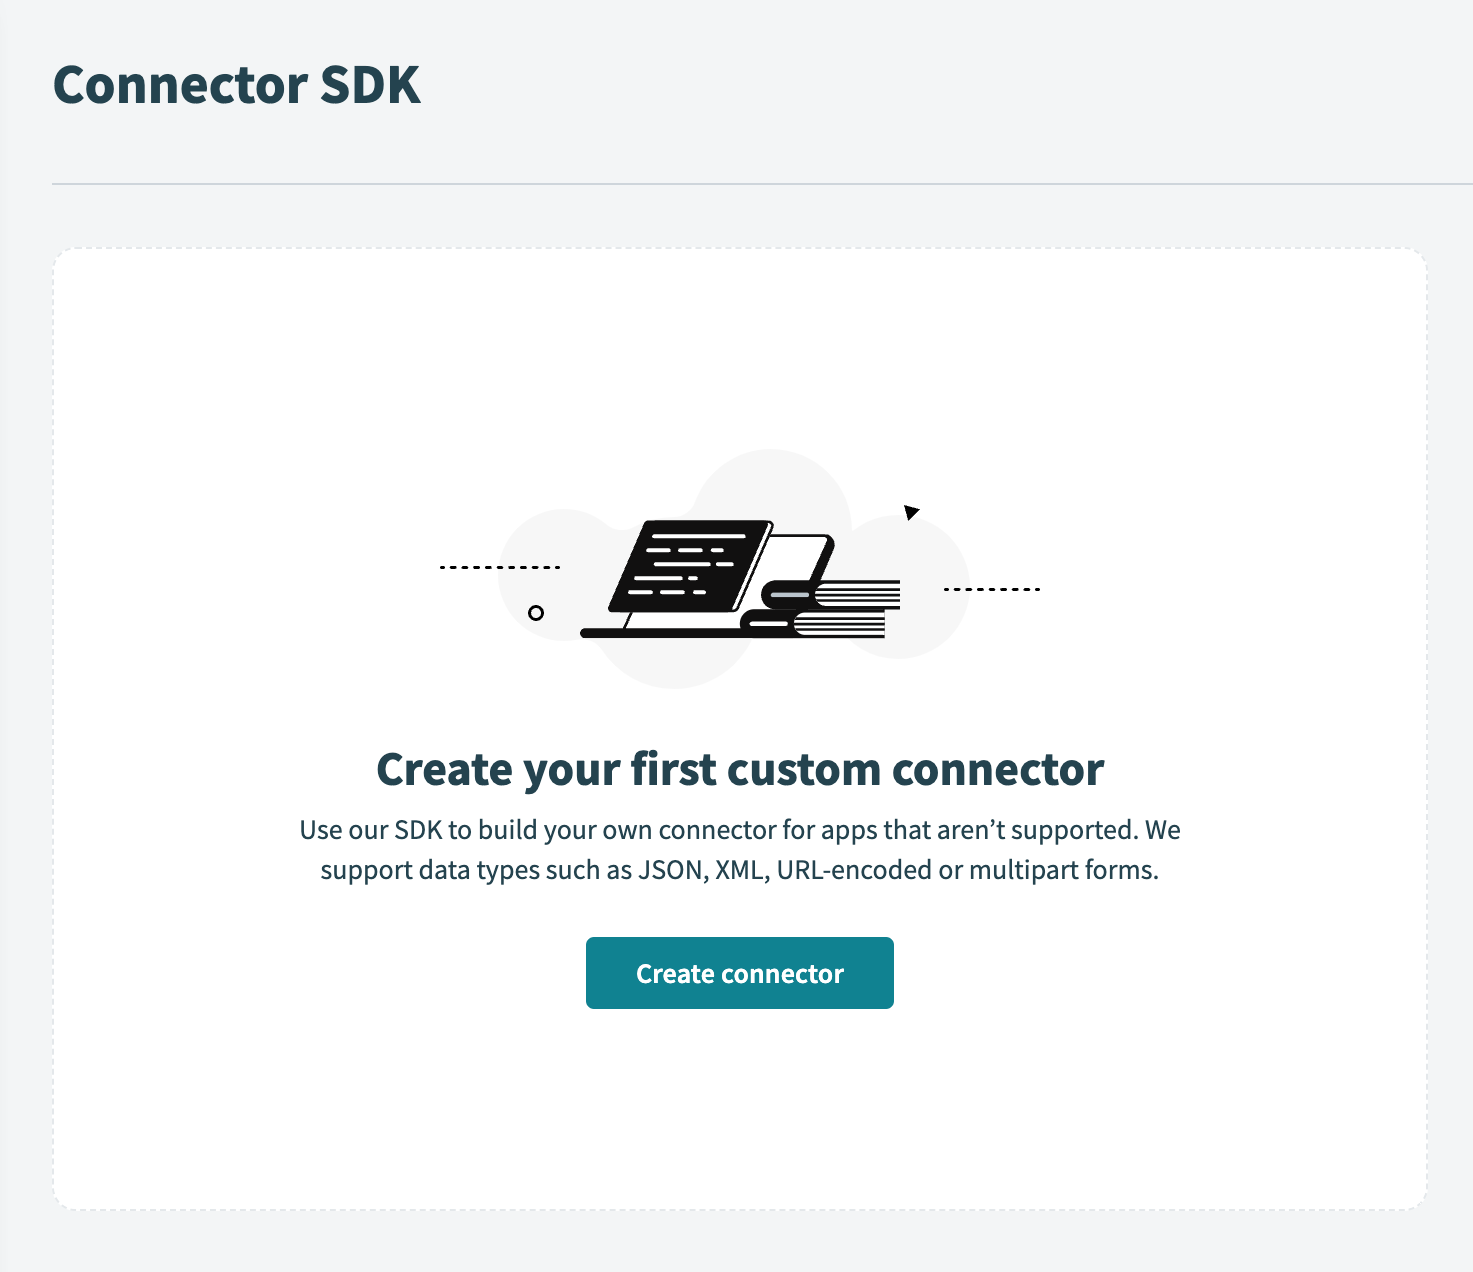 Click Create connector
Select Get guided from a Workato template as your starting point, then click Next.
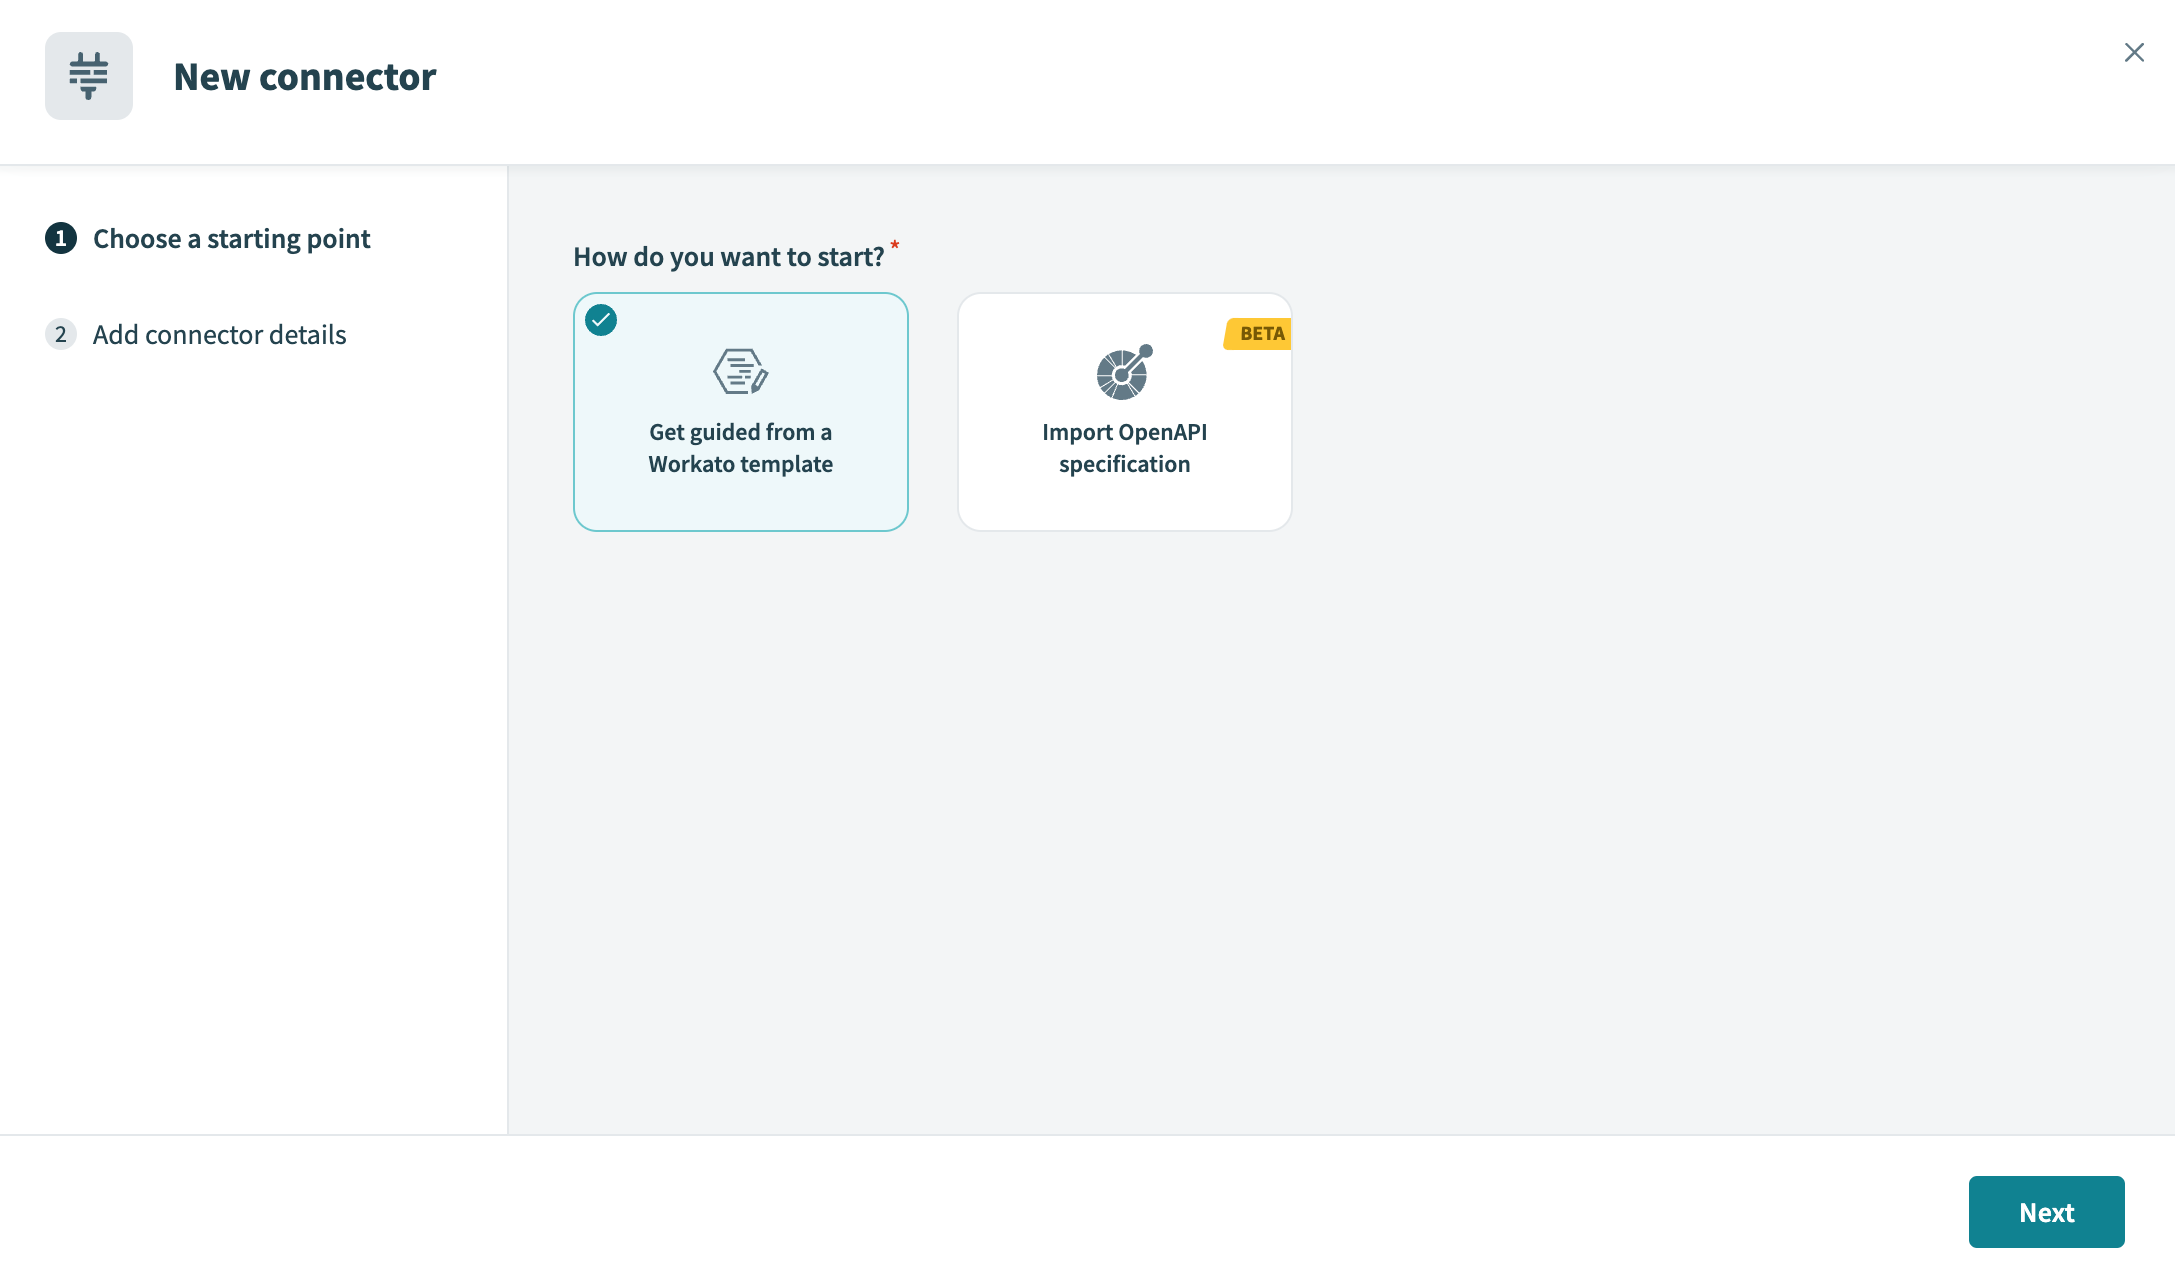 Select your starting point
Enter Star Wars Information in the What application is this connector for? field.
Drag and drop a PNG or JPG file to the Add a logo field, or click upload from device.
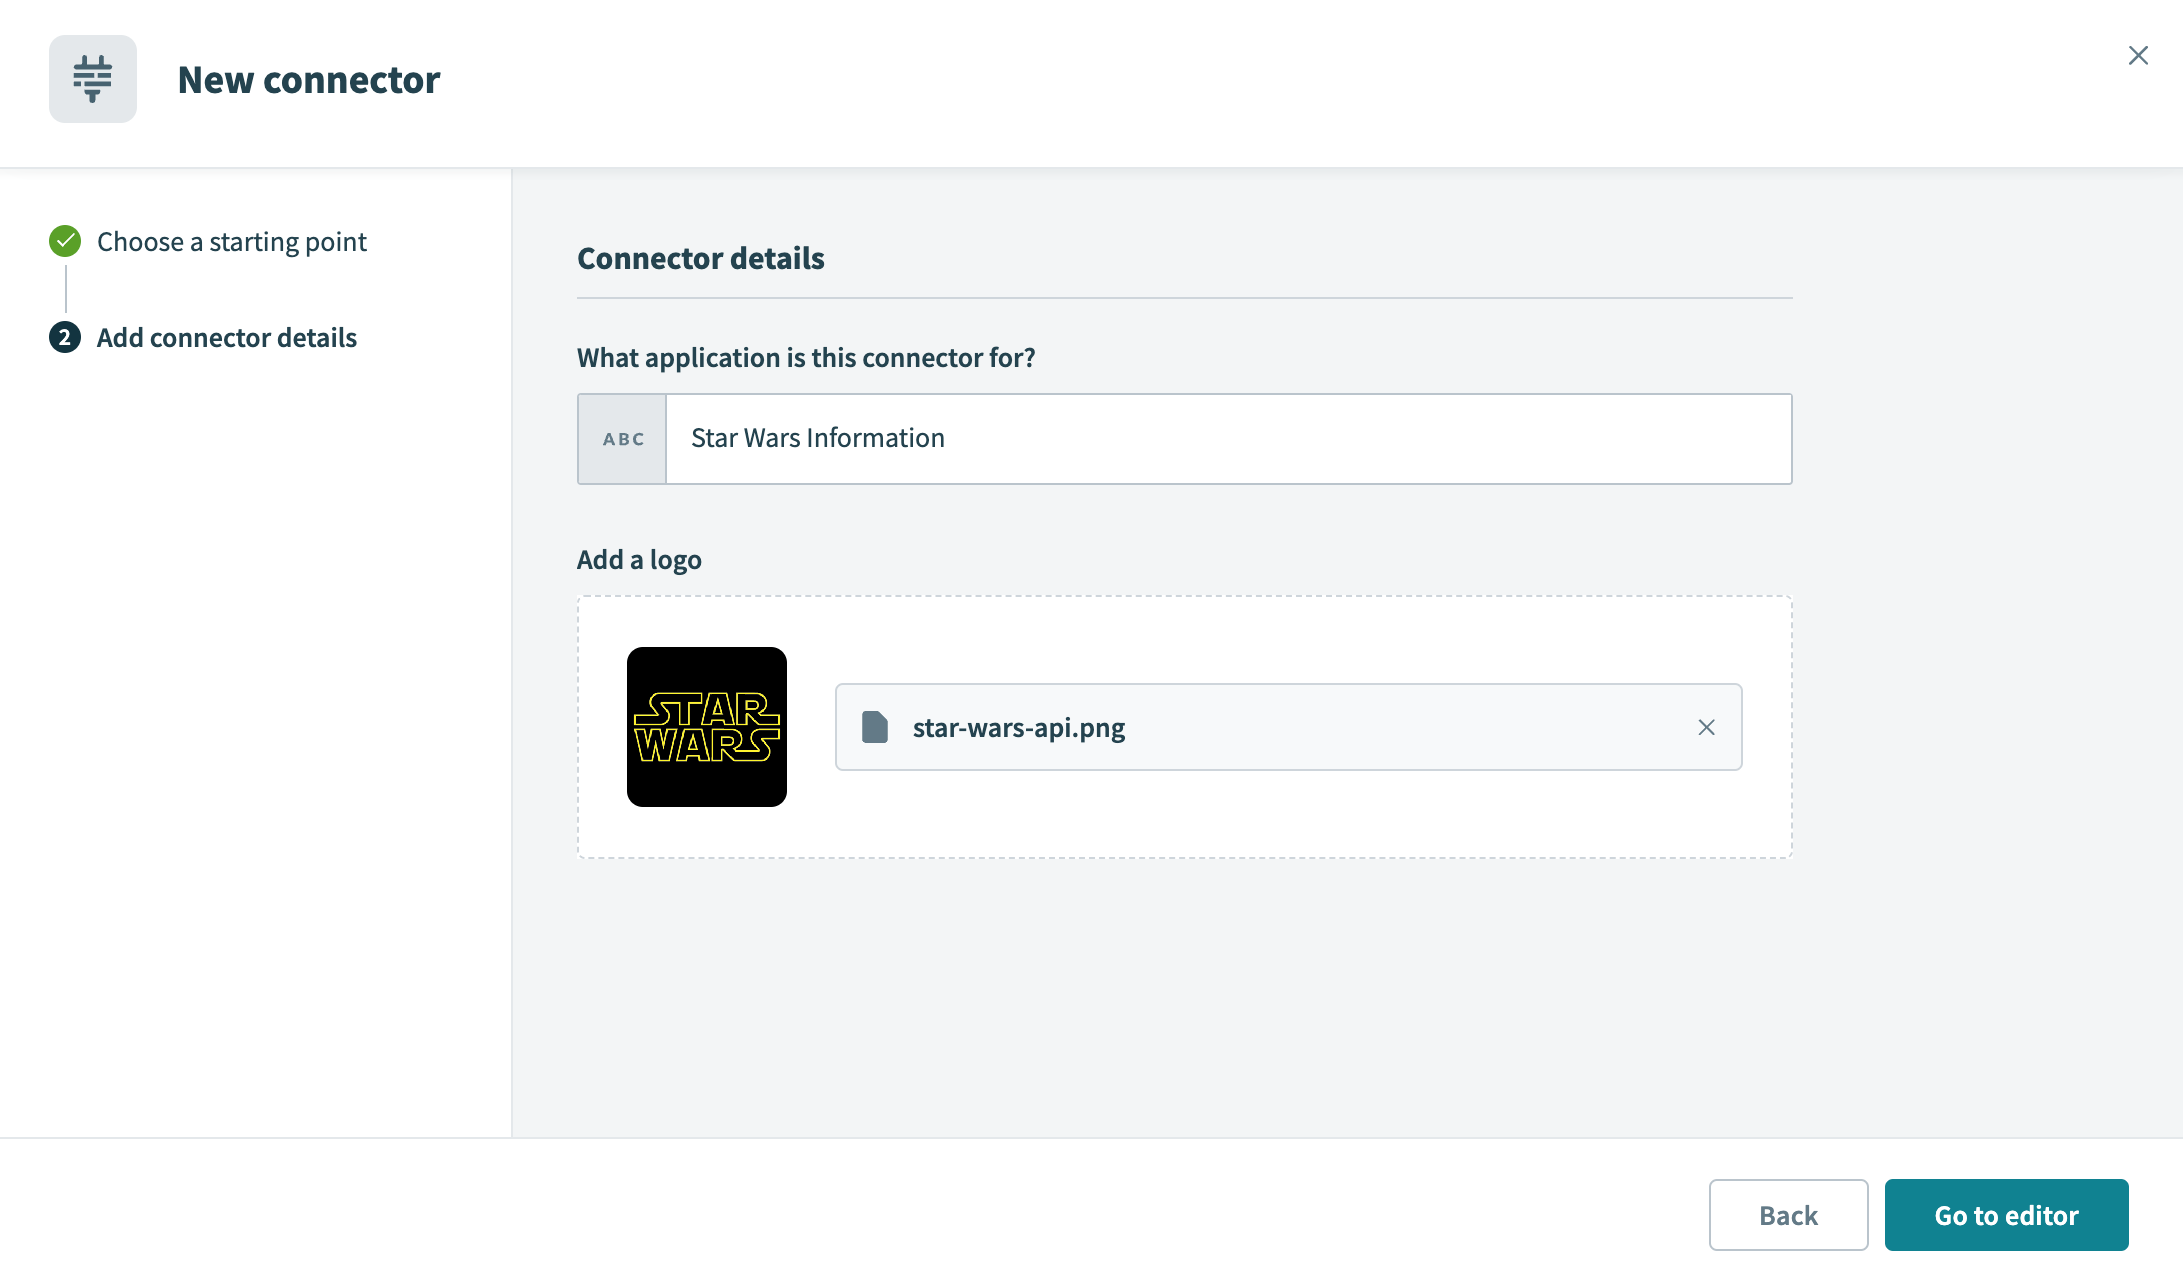 Fill in the name of your custom connector
Click Go to editor.
After these steps, the Connector SDK opens, where you can define the connection details and configure your connector.
Create a connection
To connect to an API, you must first identify its required authentication method. Since SWAPI doesn't require authentication, you can send requests to SWAPI without verifying your identity.
Complete the following steps to create a SWAPI connection:
Open the Source code tab.
Copy and paste the following code snippet into the code editor:
{
  title: 'Star Wars Information',

  connection: {
    fields: [
      {
        name: "object",
        hint: "Enter the object you plan to use to test your connection.",
      }
    ]
  },

  test: lambda do |connection|
    get("https://swapi.tech/api/#{connection["object"]}")
  end,

  # More code below but hidden for now!
}
How does this code snippet work?
This code snippet includes the following keys:
connection- Defines the input fields that appear when users connect to your connector.
fields- Declares input fields. You can use the user input collected inside this key in other parts of the custom connector code.
test- Declares the test that runs when a user clicks Connect. This key allows Workato to provide feedback on whether the connection succeeds or fails.
What does this test do?
The SWAPI connector sends a GET request to a specified URL endpoint, and the test succeeds if the request returns a 200 status code. The test key defines this functionality, using the get() function to execute the request.
In this example, your input determines the target URL for the HTTP call. The snippet references your input through the connection key, specifically connection["object"].
Enter a name in the Connection name field.
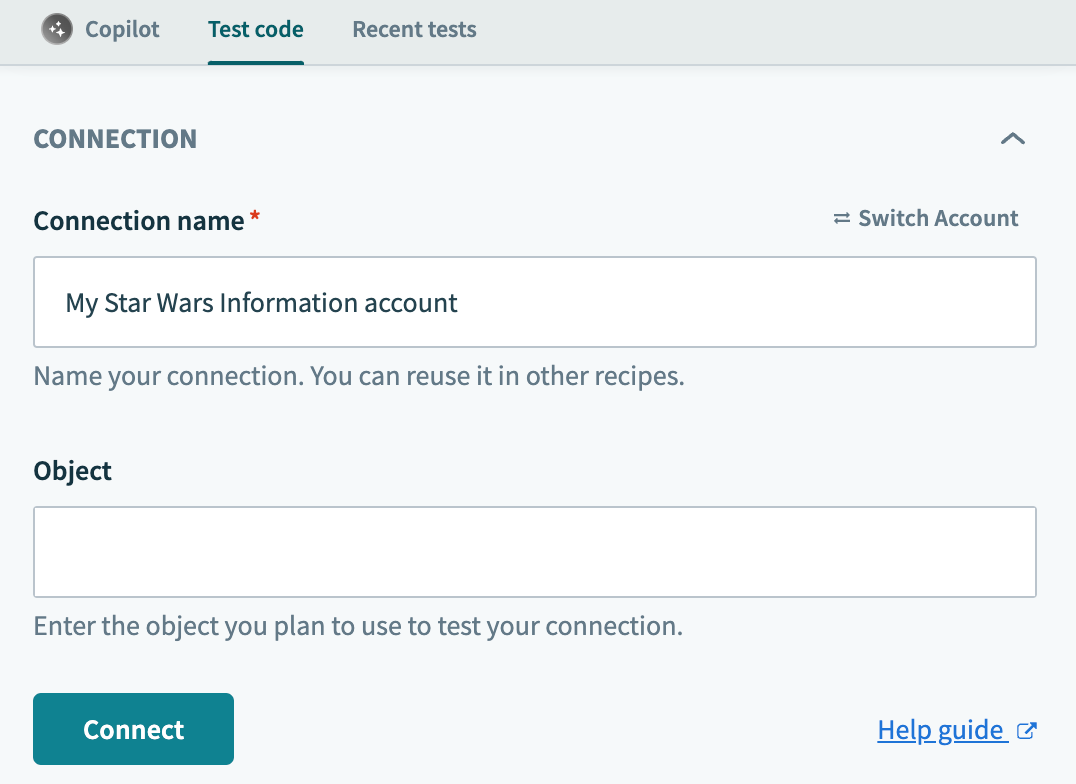 Example of input fields for connection setup
Enter one of the following valid inputs in the Object field:
filmspeopleplanetsspeciesstarshipsvehicles
Click Connect to establish the connection. A successful connection displays the following confirmation:
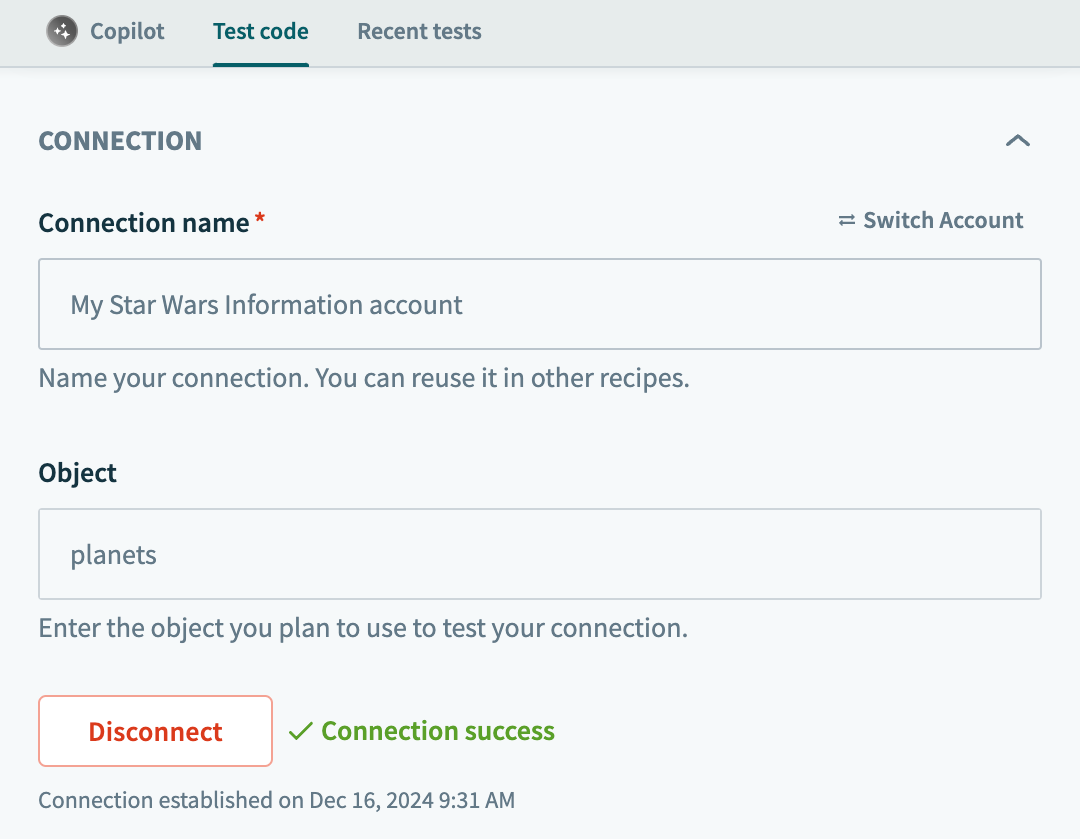 Successful connection
Create an SDK connection for MCP verified user access
MCP verified user access only supports connections that use OAuth 2.0 authorization code grant. This connection type redirects the end user to an external application to authorize access before Workato stores the user's credentials.
Complete the following steps to create the connection:
Open the Source code tab.
Copy and paste the following code snippet into the code editor:
{
  title: 'Example App',

  connection: {
    fields: [
      {
        name: 'host',
        label: 'Host',
        hint: 'e.g. https://your-instance.example.com',
        optional: false
      },
      {
        name: 'client_id',
        label: 'Client ID',
        optional: false
      },
      {
        name: 'client_secret',
        label: 'Client secret',
        control_type: 'password',
        optional: false,
        preserve_in_runtime_connection: true
      }
    ],

    authorization: {
      type: 'oauth2',

      authorization_url: lambda do |connection|
        "#{connection['host']}/oauth/authorize?client_id=#{connection['client_id']}&response_type=code"
      end,

      acquire: lambda do |connection, auth_code, redirect_uri|
        response = post("#{connection['host']}/oauth/token").
                     payload(client_id: connection['client_id'],
                             client_secret: connection['client_secret'],
                             grant_type: 'authorization_code',
                             code: auth_code,
                             redirect_uri: redirect_uri).
                     request_format_www_form_urlencoded

        [response, nil, nil]
      end,

      refresh: lambda do |connection, refresh_token|
        post("#{connection['host']}/oauth/token").
          payload(client_id: connection['client_id'],
                  client_secret: connection['client_secret'],
                  grant_type: 'refresh_token',
                  refresh_token: refresh_token).
          request_format_www_form_urlencoded
      end,

      detect_on: [401],

      apply: lambda do |connection, access_token|
        headers('Authorization' => "Bearer #{access_token}")
      end
    },

    base_uri: lambda do |connection|
      connection['host']
    end
  },

  test: lambda do |connection|
    get('/api/me')
  end,

  # More code below but hidden for now!
}
How does this code snippet work?
fields- Declares the connection input fields:
host,client_id, andclient_secret. MCP verified user access requires OAuth 2.0 authorization code grant with aclient_secretthat usescontrol_type: 'password'to mask the value in the UI. authorization- Declares the OAuth 2.0 authorization code grant flow.
authorization_urlbuilds the URL the end user is redirected to.acquireexchanges the returned authorization code for an access token.refreshexchanges a refresh token for a new access token.applyattaches the access token to every request the connector makes. base_uri- Declares the base URL for requests, built from the
hostfield. test- Declares the test that runs when a user clicks Connect.
Why does client_secret set preserve_in_runtime_connection: true?
Refer to Configure fields for runtime user connections for a full explanation of this property.
Enter a name in the Connection name field.
Enter the host, client ID, and client secret for your test application.
Click Connect. Workato redirects you to the external application to authorize access, then redirects you back to Workato. Workato displays a confirmation message after the connection succeeds.
Configure fields for runtime user connections
An end user authenticates through MCP verified user access. Workato then creates a runtime user connection and copies settings from the source connection you configured. Fields that use control_type: 'password' aren't copied to the runtime user connection by default. This protects credentials, such as API secrets, that shouldn't be shared across every end user's copy of the connection.
If each runtime user connection requires the same password field value, such as a shared client_secret for the OAuth 2.0 token exchange, you must explicitly preserve the value. Set preserve_in_runtime_connection on the field definition to control how Workato copies the value:
| Value | Behavior |
|---|---|
true | Always copies this field's value to the runtime connection, even if it uses control_type: 'password'. |
false | Never copies this field's value to the runtime connection, regardless of depth or nesting. |
nil (default, omitted) | Default behavior: password fields are stripped, and all other fields are copied. |
For example:
{
  name: 'client_secret',
  label: 'Client secret',
  control_type: 'password',
  optional: false,
  preserve_in_runtime_connection: true
}
REVIEW BEFORE SETTING preserve_in_runtime_connection: true ON PASSWORD FIELDS
Only set preserve_in_runtime_connection: true on a password field if every end user requires the value in their runtime user connection. Copying a shared secret to every runtime user connection increases exposure if a single runtime connection is compromised.
Create an action
SWAPI allows you to retrieve information about Star Wars such as people, planets, and films. This example demonstrates how to build an action named Get person by ID that retrieves information about a Star Wars character. You can access and use the returned information in subsequent recipe steps with datapills.
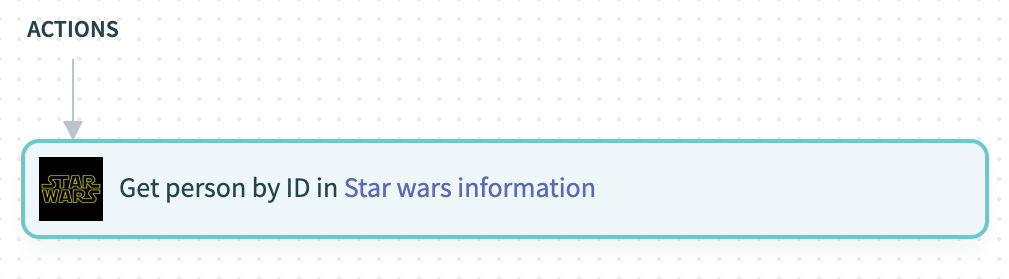 Create the Get person by ID action
Complete the following steps to create an action:
Replace the existing code in the Source code tab with the following snippet:
{
  title: 'Star Wars Information',

  connection: {
    fields: [
      {
        name: "object",
        hint: "Enter the object you plan to use to test your connection.",
      }
    ]
  },

  test: lambda do |connection|
    get("https://swapi.tech/api/#{connection["object"]}")
  end,

  actions: {
    get_person_by_id: {
      input_fields: lambda do
          [{
            name: 'id',
            label: 'Person ID',
            type: 'integer',
            default: '1',
            optional: false
          }]
        end,

      execute: lambda do | connection, input |
        get("https://swapi.tech/api/people/#{input["id"]}")
      end,

      output_fields: lambda do
          [{
              name: "message",
              label: "Message",
              type: "string"
            },
            {
              name: "result",
              label: "Result",
              type: "object",
              properties: [{
                  name: "properties",
                  label: "Properties",
                  type: "object",
                  properties: [{
                      name: "height",
                      label: "Height",
                      type: "string"
                    },
                    {
                      name: "mass",
                      label: "Mass",
                      type: "string"
                    },
                    {
                      name: "hair_color",
                      label: "Hair color",
                      type: "string"
                    },
                    {
                      name: "skin_color",
                      label: "Skin color",
                      type: "string"
                    },
                    {
                      name: "eye_color",
                      label: "Eye color",
                      type: "string"
                    },
                    {
                      name: "birth_year",
                      label: "Birth year",
                      type: "string"
                    },
                    {
                      name: "gender",
                      label: "Gender",
                      type: "string"
                    },
                    {
                      name: "created",
                      label: "Date created",
                      type: "date_time"
                    },
                    {
                      name: "edited",
                      label: "Date edited",
                      type: "date_time"
                    },
                    {
                      name: "name",
                      label: "Person name",
                      type: "string"
                    },
                    {
                      name: "homeworld",
                      label: "Homeworld",
                      type: "string"
                    },
                    {
                      name: "url",
                      label: "URL",
                      type: "string"
                    }
                  ]
                },
                {
                  name: "description",
                  label: "Description",
                  type: "string"
                },
                {
                  name: "_id",
                  type: "string"
                },
                {
                  name: "uid",
                  type: "string"
                },
                {
                  name: "__v",
                  type: "integer"
                }
              ]
            }
          ]
        end,
    },
  }
}
How does this code snippet work?
This code snippet includes the following keys:
actions- Declares a new action. Use indentation to ensure your code is readable.
get_person_by_id- Defines the Get person by ID action. The action name inherits this key, replacing underscores (
_) with spaces. Ensure the key name accurately reflects the action's purpose. Don't use spaces in the key name. input_fields- Declares the input fields that appear when users configure your action during recipe building. This example includes a single input field named
id. Thelabelvariable defines the name displayed to users, whiletypespecifies the data type. Settingoptionaltofalsemakes this field mandatory.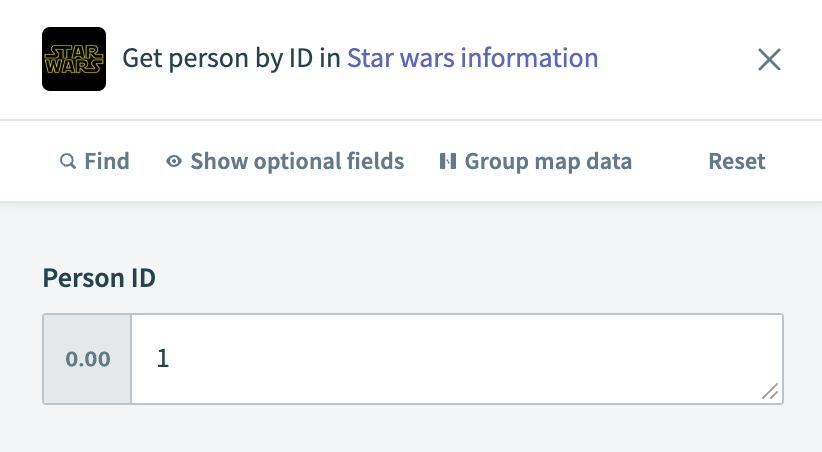
execute- Declares the HTTP request, target URL, and additional actions required for the recipe. The placeholder
#{input["id"]}dynamically captures the user-provided ID, appending it to the target URL to retrieve the character's information. output_fields- Declares the datapills returned by the action. These output fields should match the JSON object returned by the
GETrequest specified in theexecutekey.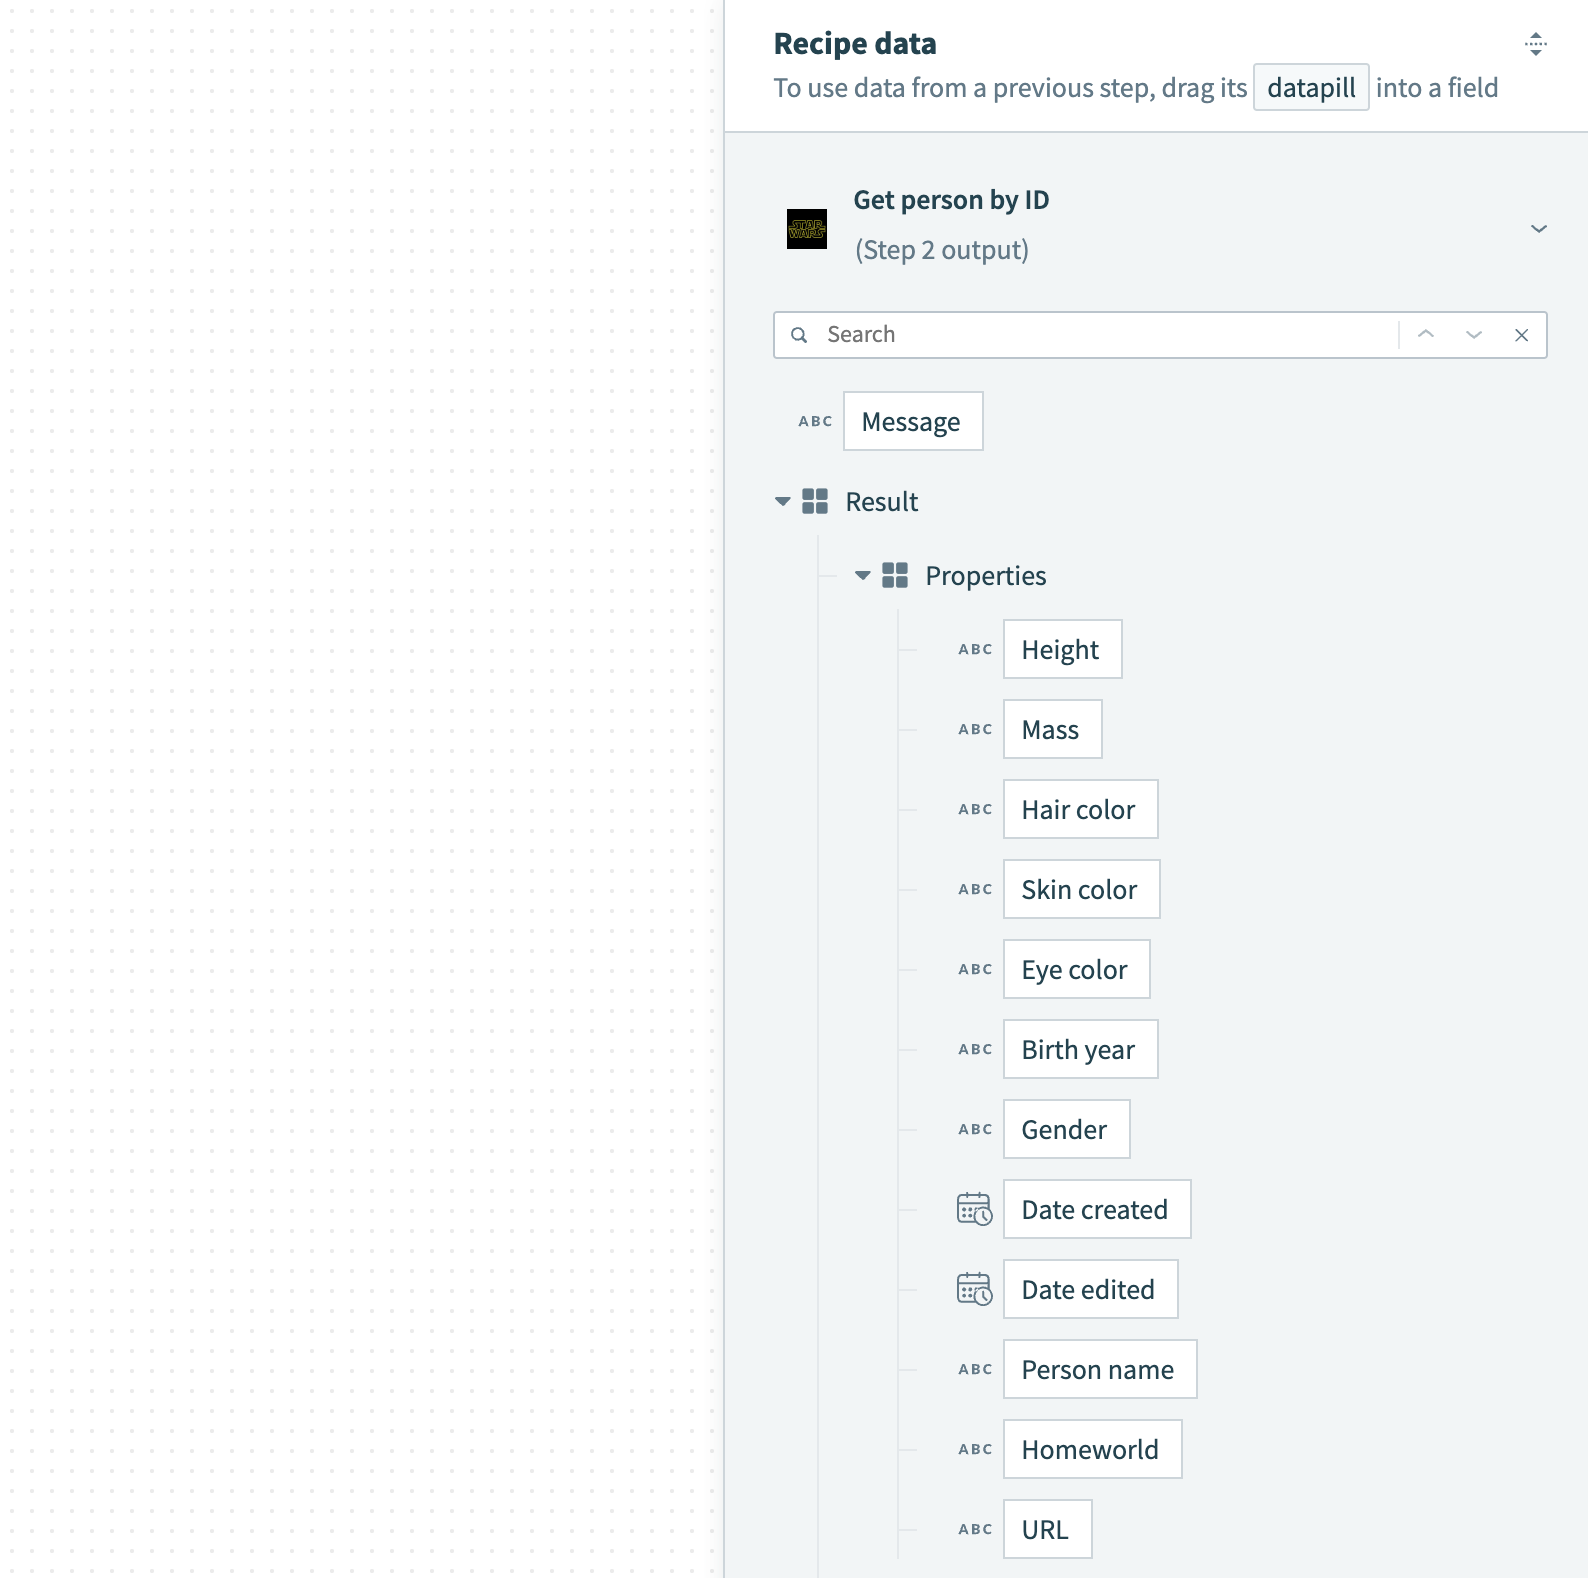
How can I define a nested array or object?
To define an array, set the type to array. This tells Workato to expect a collection of multiple values. Use the of attribute to specify the data type of the array's items. For example, set of to string for arrays containing URLs.
Test your action
Complete the following steps to test your action:
Go to the Test code tab.
Select the Get person by ID action.
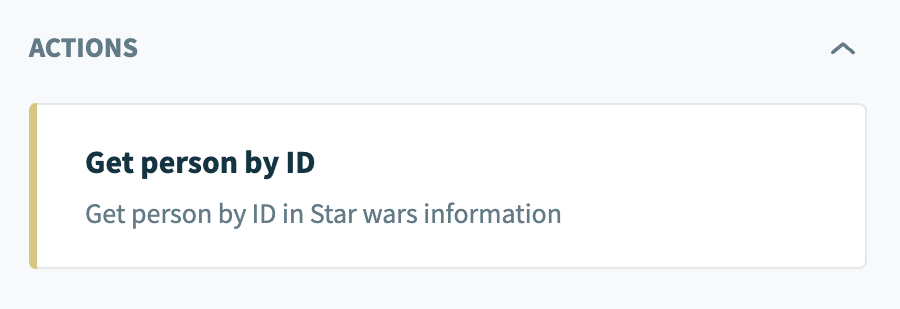 Select the Get person by ID action
Enter the ID of the Star Wars character you plan to retrieve information for in the Person ID field. For example, enter 1 to retrieve information about Luke Skywalker.
 Fill in the Person ID field
Click Test action. The Recent tests tab opens.
Click the Output tab to view the output of the Get person by ID action. The following screenshot displays a successful test:
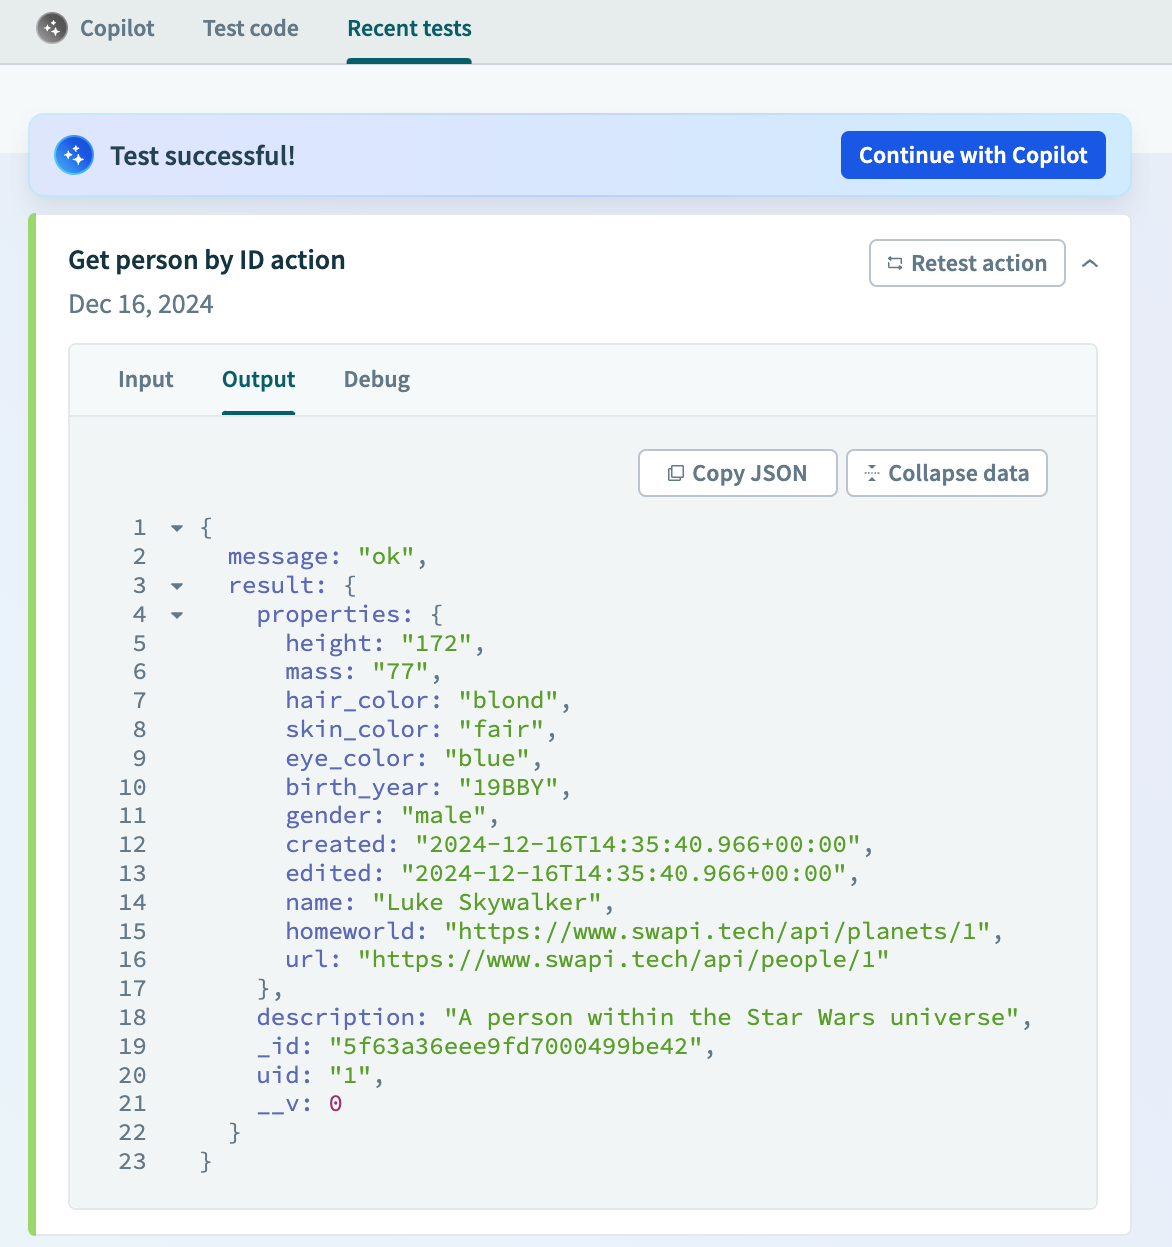 View the output
A successful test indicates that no errors occurred during recipe execution. However, it doesn't rule out the possibility of other issues, such as logic errors.
Use your custom connector in a recipe
You can now use the SWAPI connector and the action you created in any recipe. Search for the SWAPI connector when selecting an application to get started.
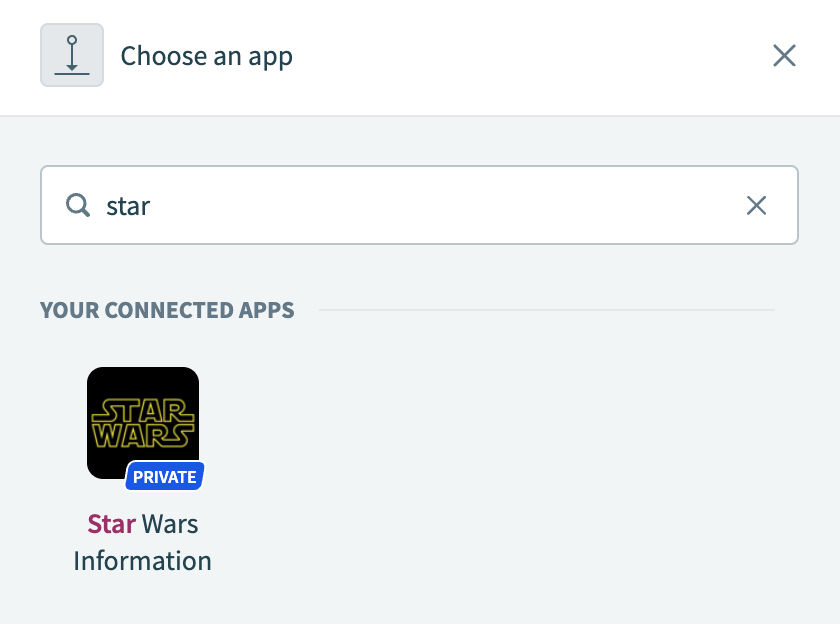 Select the Star Wars Information connector
Last updated: