Decision tables
Decision tables are an industry-standard tool for automating business rules that involve multiple conditions and a large number of possible combinations. The table's row-based format helps you verify that all possible conditions are covered in complex workflows.
Workato decision tables receive inputs from a preceding connected node, such as a Model Inputs node, another decision table, or a conditional branch. Each row in a decision table defines a complete rule, with conditions and corresponding outputs. The table evaluates rows in sequence. It begins at the top and checks each row to determine whether the input values meet all specified conditions. The table stops evaluation when the input values match all conditions in a row and returns the row's Output values for further processing by the model.
The table returns a Default output for each output field if no row matches. You configure these defaults during table setup. The outputs from a decision table are available as inputs for the next node in the model.
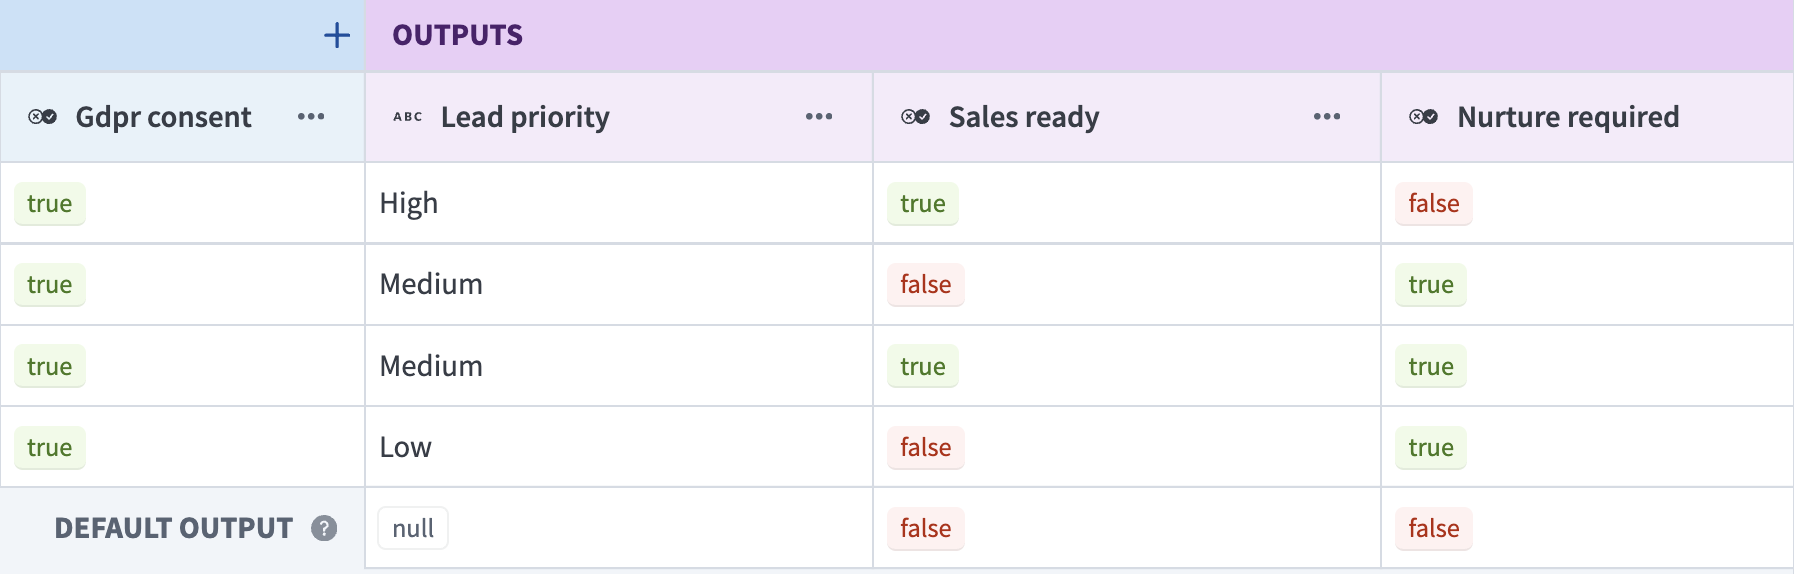
 Example decision table for routing marketing leads
ADDITIONAL RESOURCES
Refer to the following articles for more information about decision tables:
- Decision models: An overview of decision models and their components.
- Set up a decision model: Model creation and configuration instructions.
- Model fields: Information about model fields and how data moves through a decision model.
- Decision models connector: Information about recipe integration.
Limitations
Each decision table supports a maximum 2,000 rows, 20 input columns, and 20 output columns.
Create a decision table
Complete the following steps to create a decision table:
Go to the toolbar and drag a Decision table node into the model builder.
Click and drag between edges to configure the order of nodes. You can hover over a node connection and click Delete edge to remove it.
 Add the node to the model flow
Select the Decision table node.
Optional. Edit the automatically generated table Name.
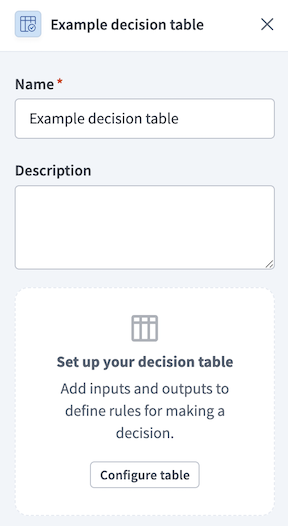 Decision model node configuration
Optional. Enter a Description for the table.
Click Configure table to open the decision table.
Click + (Add inputs). Inputs provide data to evaluate using the table's business rules.
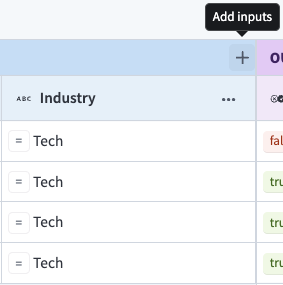 Click + (Add inputs)
Select existing fields or create a new input field:
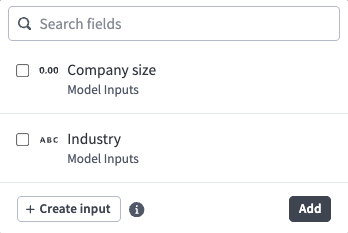 Select fields for the table to evaluate
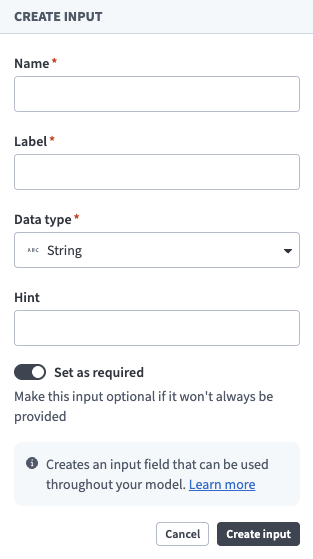 Input field configuration
Click + (Add outputs). Output fields pass values to the next node based on the table's decisions.
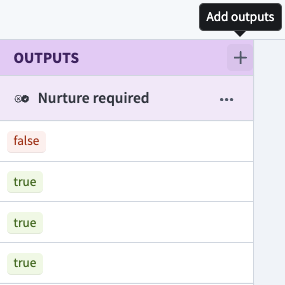 Click + (Add outputs)
Select existing fields or create a new model field:
 Select fields to pass from this table to the next node
Configure decision table rules
Complete the following steps to configure a decision table rule:
Select the Decision table node to configure. Decision model node configuration
Click Configure table to open the decision table.
Create a new rule using one of the following methods:
- Click +.
- Press
ShiftandEnter. - Press
Ctrland click on a row's number, then click Insert rule above or Insert rule below.
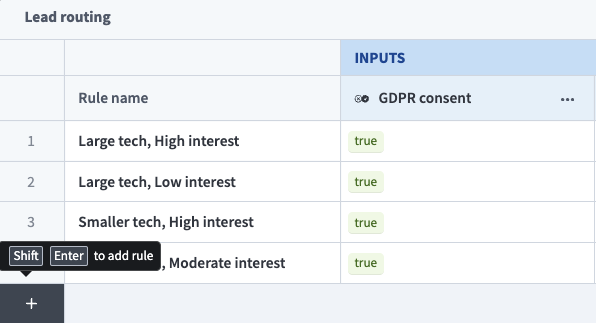 Create a new rule
Optional. Enter a name for the rule in the Rule name column. Naming rules helps verify coverage and simplifies maintenance.
Complete the following steps to configure cells in the Conditions section:
Select the cell to configure.
Select an operator from the drop-down menu. Refer to the Available operators section to see the operators available for each data type. Cells default to the any operator, which matches any inputs provided.
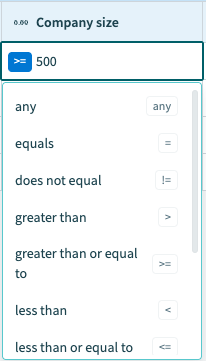 Select an operator from the drop-down menu
Enter a value to compare against the input using the operator.
Enter output values for rules in the Outputs section.
Optional. Enter a Default output to return for each output field if no rules match the inputs provided or if the matching rule's output cell is blank. Meaningful default outputs help when your rules don't cover all possible inputs, or when inputs change unexpectedly as your workflows develop.
 Enter a Default output for each output field
Available operators
The operators available for a condition vary depending on the column's data type.
String
The following operators are available for the String data type:
- Any
- Contains
- Does not contain
- Starts with
- Does not start with
- Ends with
- Does not end with
- Equals
- Does not equal
- Is present
- Is not present
Number
The following operators are available for the Number data type:
- Any
- Equals
- Does not equal
- Greater than
- Greater than or equal to
- Less than
- Less than or equal to
- Is present
- Is not present
- Is between
- Is not between
Integer
The following operators are available for the Integer data type:
- Any
- Equals
- Does not equal
- Greater than
- Greater than or equal to
- Less than
- Less than or equal to
- Is present
- Is not present
- Is between
- Is not between
Boolean
The following operators are available for the Boolean data type:
- Any
- Is true
- Is false
Date
The following operators are available for the Date data type:
- Any
- Equals
- Does not equal
- Is before
- Is after
- Is on or before
- Is on or after
- Is present
- Is not present
- Is between
- Is not between
Date time
The following operators are available for the Date time data type:
- Any
- Equals
- Does not equal
- Is before
- Is after
- Is on or before
- Is on or after
- Is present
- Is not present
- Is between
- Is not between
Last updated: