Email (Custom) OPA
Email (Custom) OPA is a utility connector that sends and receives email over SMTP, IMAP, and POP3 through a Java extension on your on-prem agent. It provides the same actions and triggers as the Email (Custom) connector, for deployments that need to route email traffic through an on-prem agent instead of connecting directly.
Install Email (Custom) OPA from the community library
Complete the following steps to install the Email (Custom) OPA connector from the community library:
Open the recipe editor and search for a connector. Alternatively, you can search for a connector in the community library.
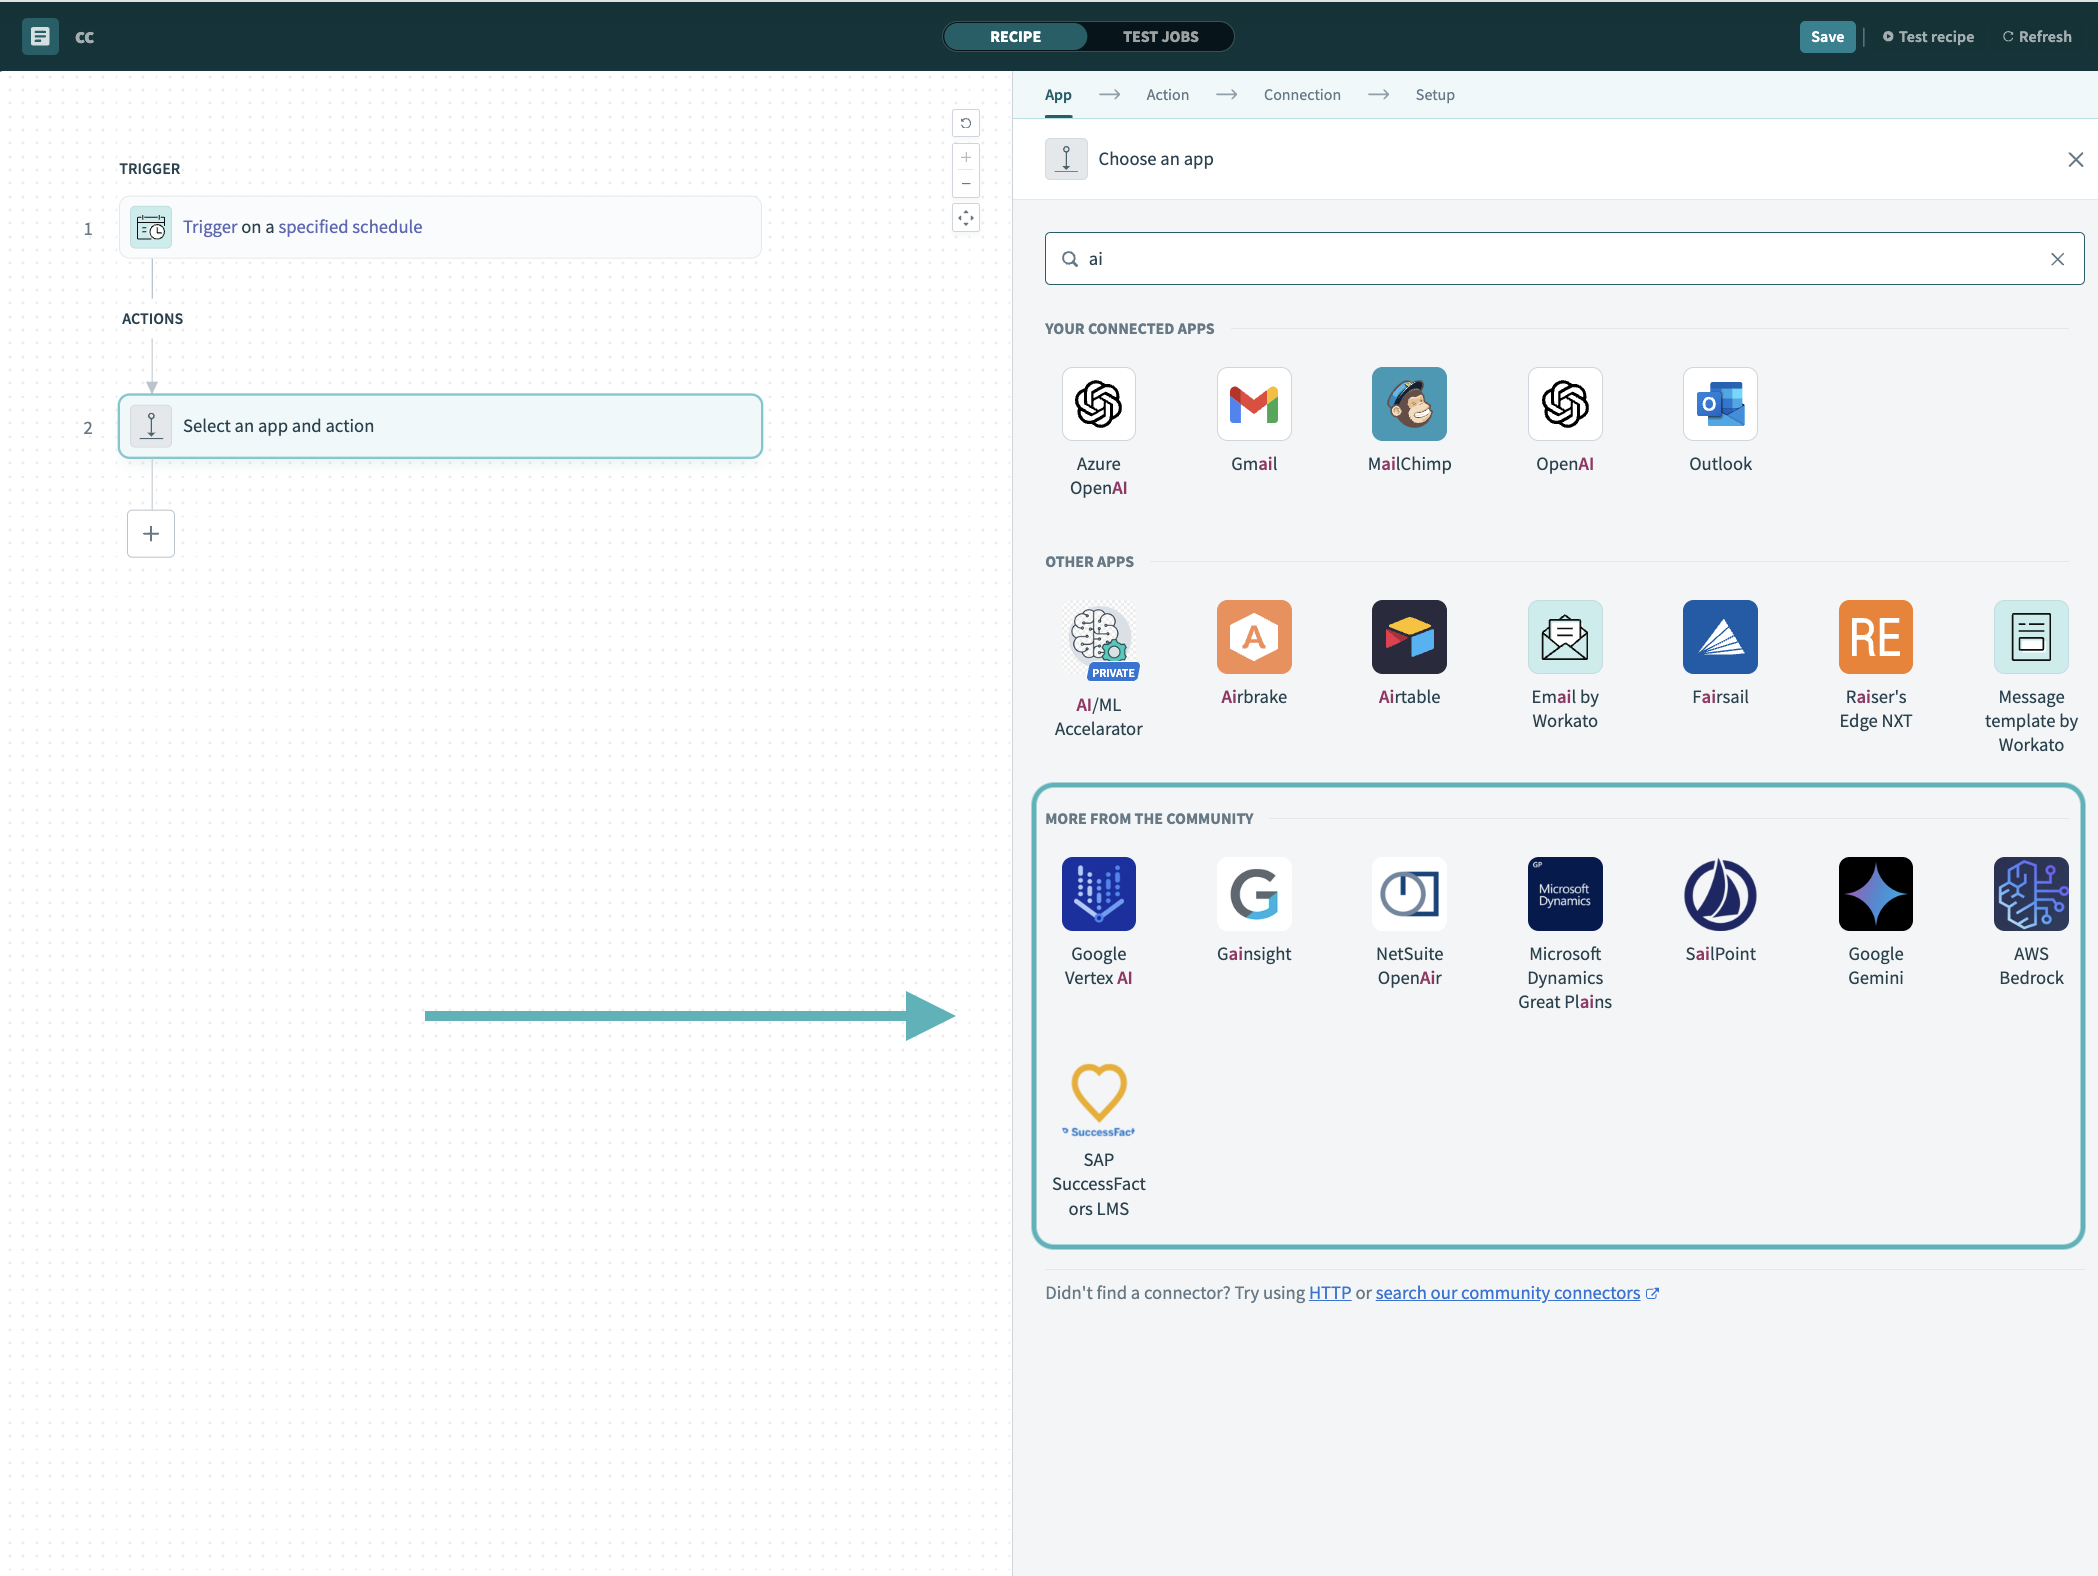 Search for community connectors in the recipe editor
Select the community connector you plan to install.
Click Install to install the connector from the community library.
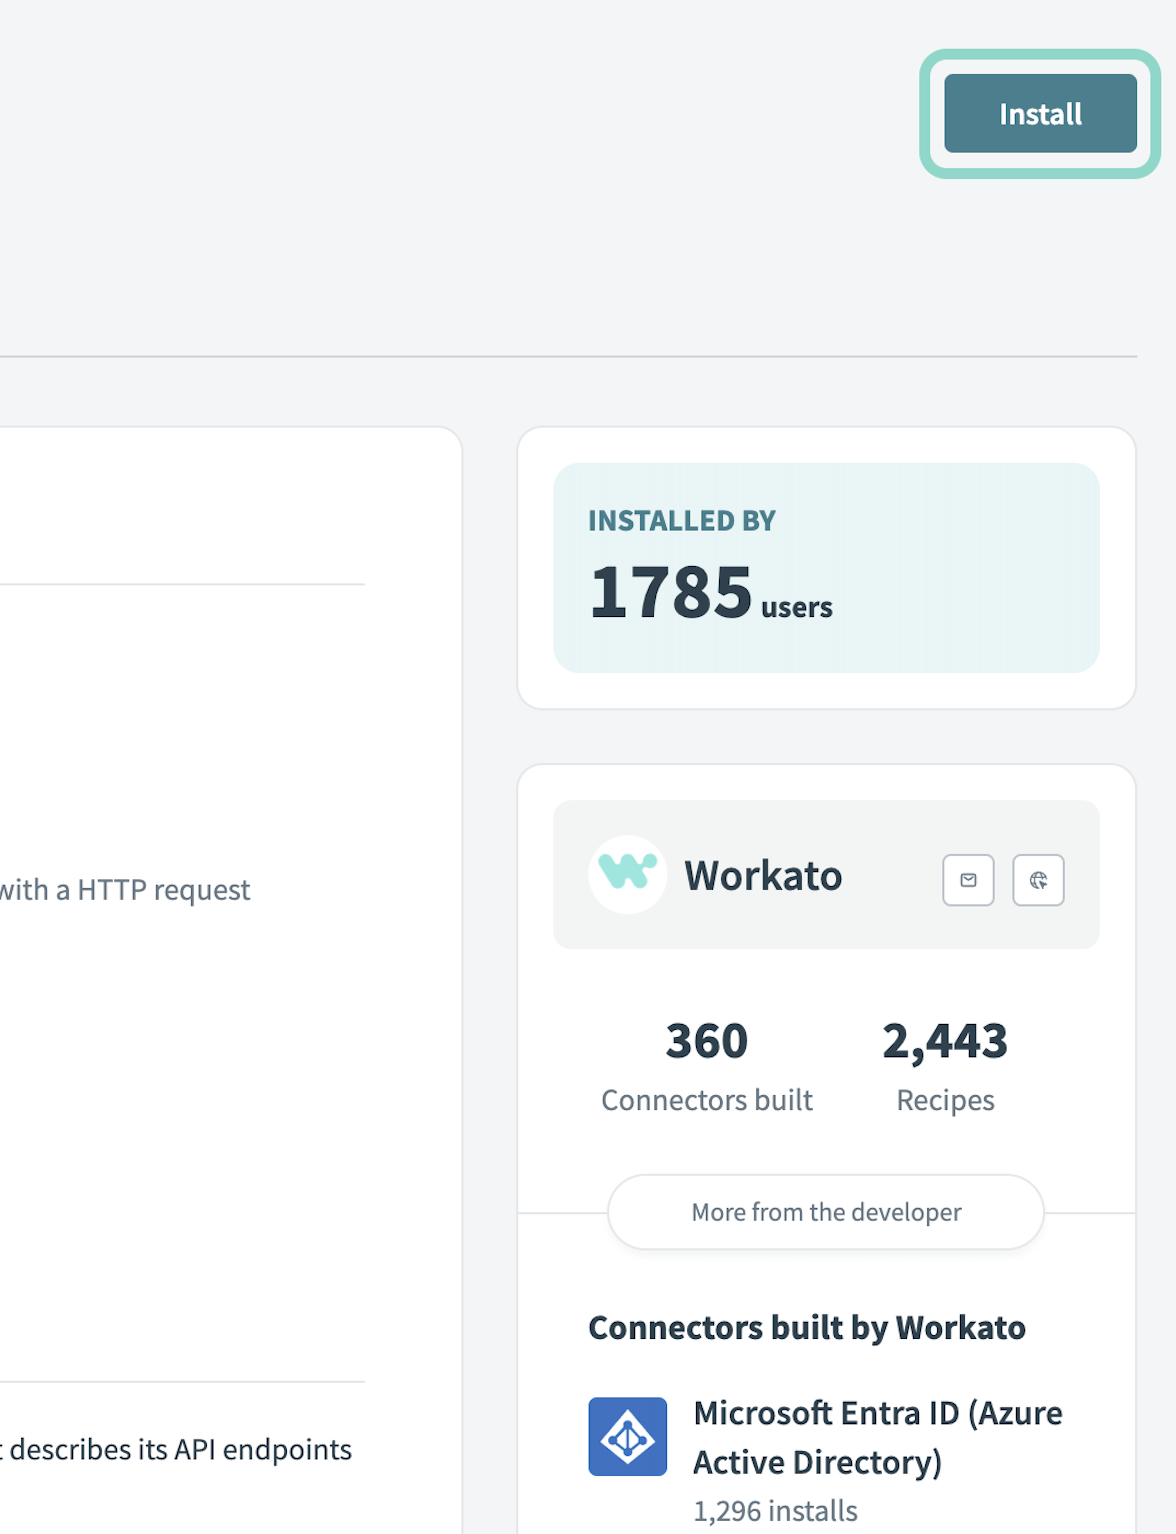 Click Install
Select Release connector. Alternatively, select Review code to review and modify the connector code before releasing it to the workspace.
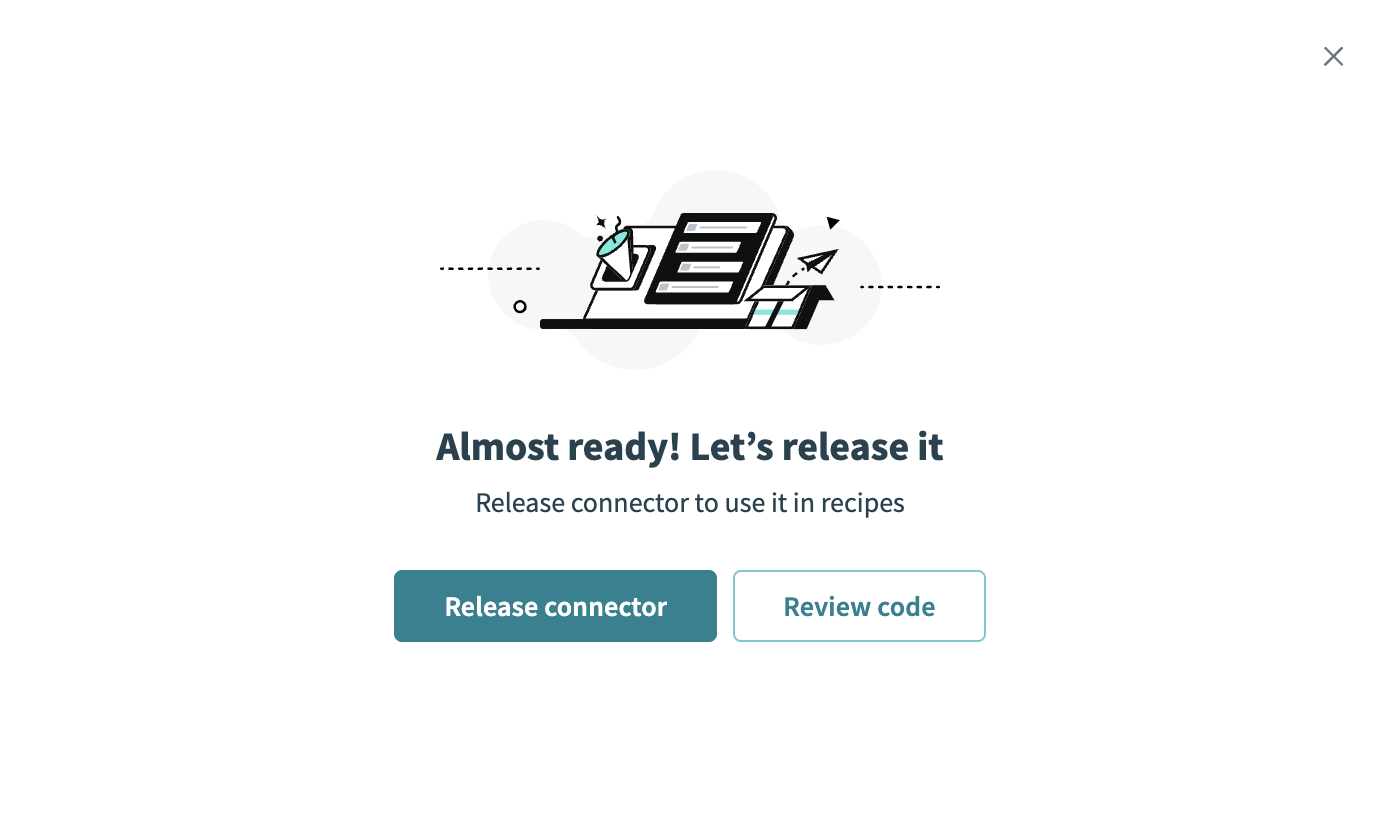 Release the connector
Summarize any changes you made to the connector, then click Release to allow workspace collaborators to use the connector in recipes.
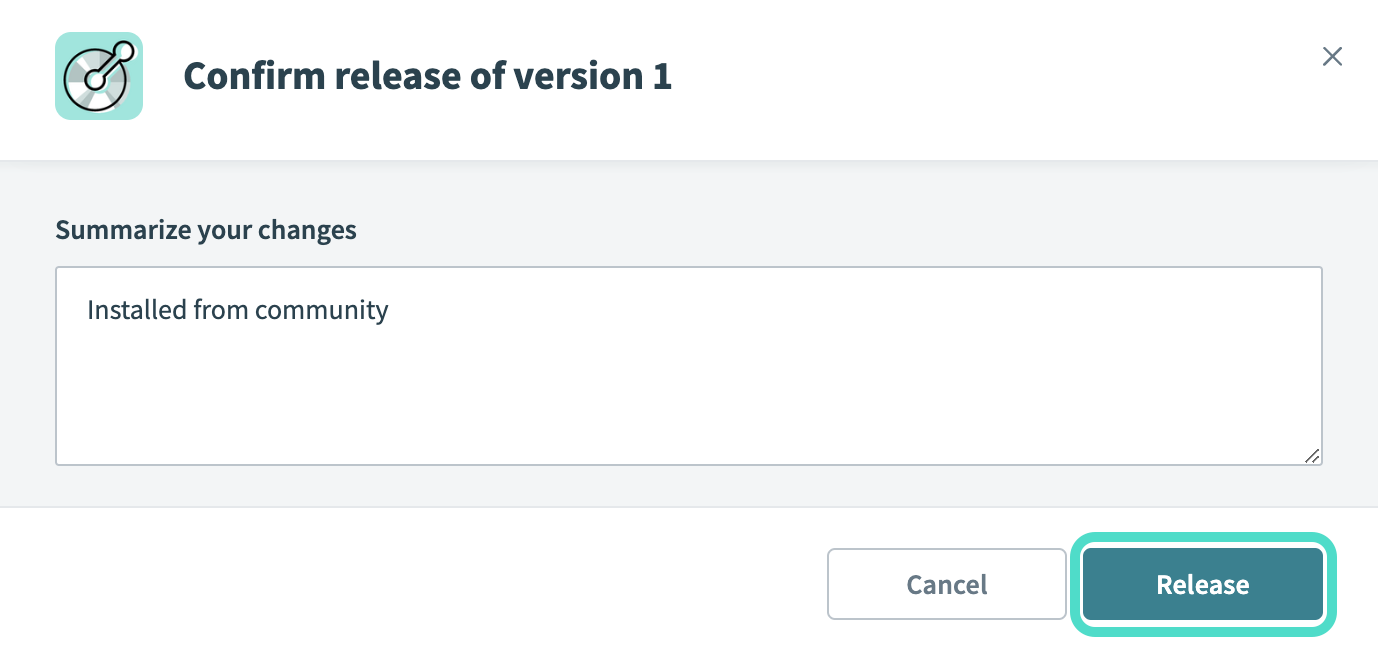 The Confirm release dialog
Connection setup
Install the extension on your on-prem agent and have your email account's username, password, and SMTP, IMAP, or POP3 server details ready before you connect Email (Custom) OPA in Workato.
Install the Email (Custom) OPA extension
Complete the following steps to install the extension on your on-prem agent:
Install an on-prem agent and connect it to your Workato workspace.
Download the Email (Custom) OPA extension, extract the JAR file, and place it in your on-prem agent's extension folder, for example ext/.
Add the extension's classpath and profile name to your on-prem agent's conf/config.yml file:
server:
  classpath: /path/to/workato-opa/ext
extensions:
  email_custom:
    controllerClass: com.workato.extension.email.ExtensionController
email_custom is the profile name. Use the same value in the connection's OPA profile field.
Restart the on-prem agent to apply the extension and configuration changes.
Connect to Email (Custom) OPA
Complete the following steps to set up an Email (Custom) OPA connection in Workato:
Click Create > Connection or press C twice.
Search for and select Email (Custom) OPA as your app.
Provide a name for your connection in the Connection name field.
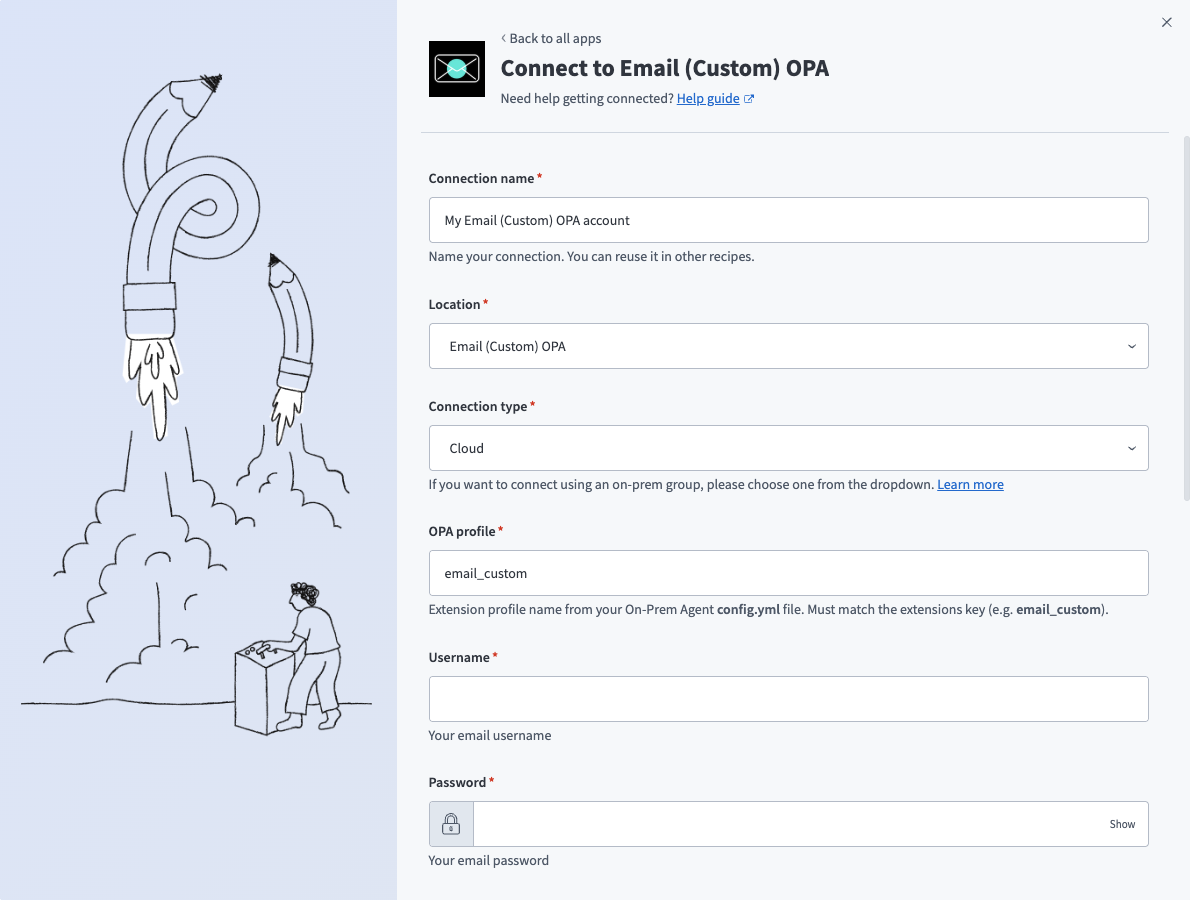 Email (Custom) OPA connection setup
Use the Location drop-down menu to select the project where you plan to store the connection.
Use the Connection type drop-down menu to select the on-prem group running your extension. This connector requires an on-prem agent and doesn't support a direct cloud connection. Refer to On-prem group for more information.
Enter the OPA profile name you configured in config.yml, for example email_custom.
Enter your email account's Username and Password.
Enter the SMTP Server and SMTP Port, for example smtp.example.com and 587.
Use the STARTTLS for SMTP? drop-down menu to select whether your mail server uses STARTTLS for SMTP.
Optional. Use the Receiving protocol drop-down menu to select IMAP or POP3, then enter the matching server, port, and SSL/TLS fields:
- For IMAP, enter the IMAP Server and IMAP Port, and use the Enable SSL/TLS for IMAP? drop-down menu to select whether your server uses SSL/TLS.
- For POP3, enter the POP3 Server and POP3 Port, and use the Enable SSL/TLS for POP3? drop-down menu to select whether your server uses SSL/TLS.
Optional. Expand Advanced settings and enter a Max connections per mailbox value between 4 and 20. Defaults to 10 if left blank.
Click Connect.
Last updated: