GitLab
GitLab is an open-source platform built around Git. It provides a comprehensive set of tools and features to manage Git repositories, project planning, continuous integration/continuous deployment (CI/CD), code review, issue tracking, and more.
API version
The GitLab connector uses the GitLab REST API.
Install GitLab from the community library
Complete the following steps to install the GitLab connector from the community library:
Open the recipe editor and search for a connector. Alternatively, you can search for a connector in the community library.
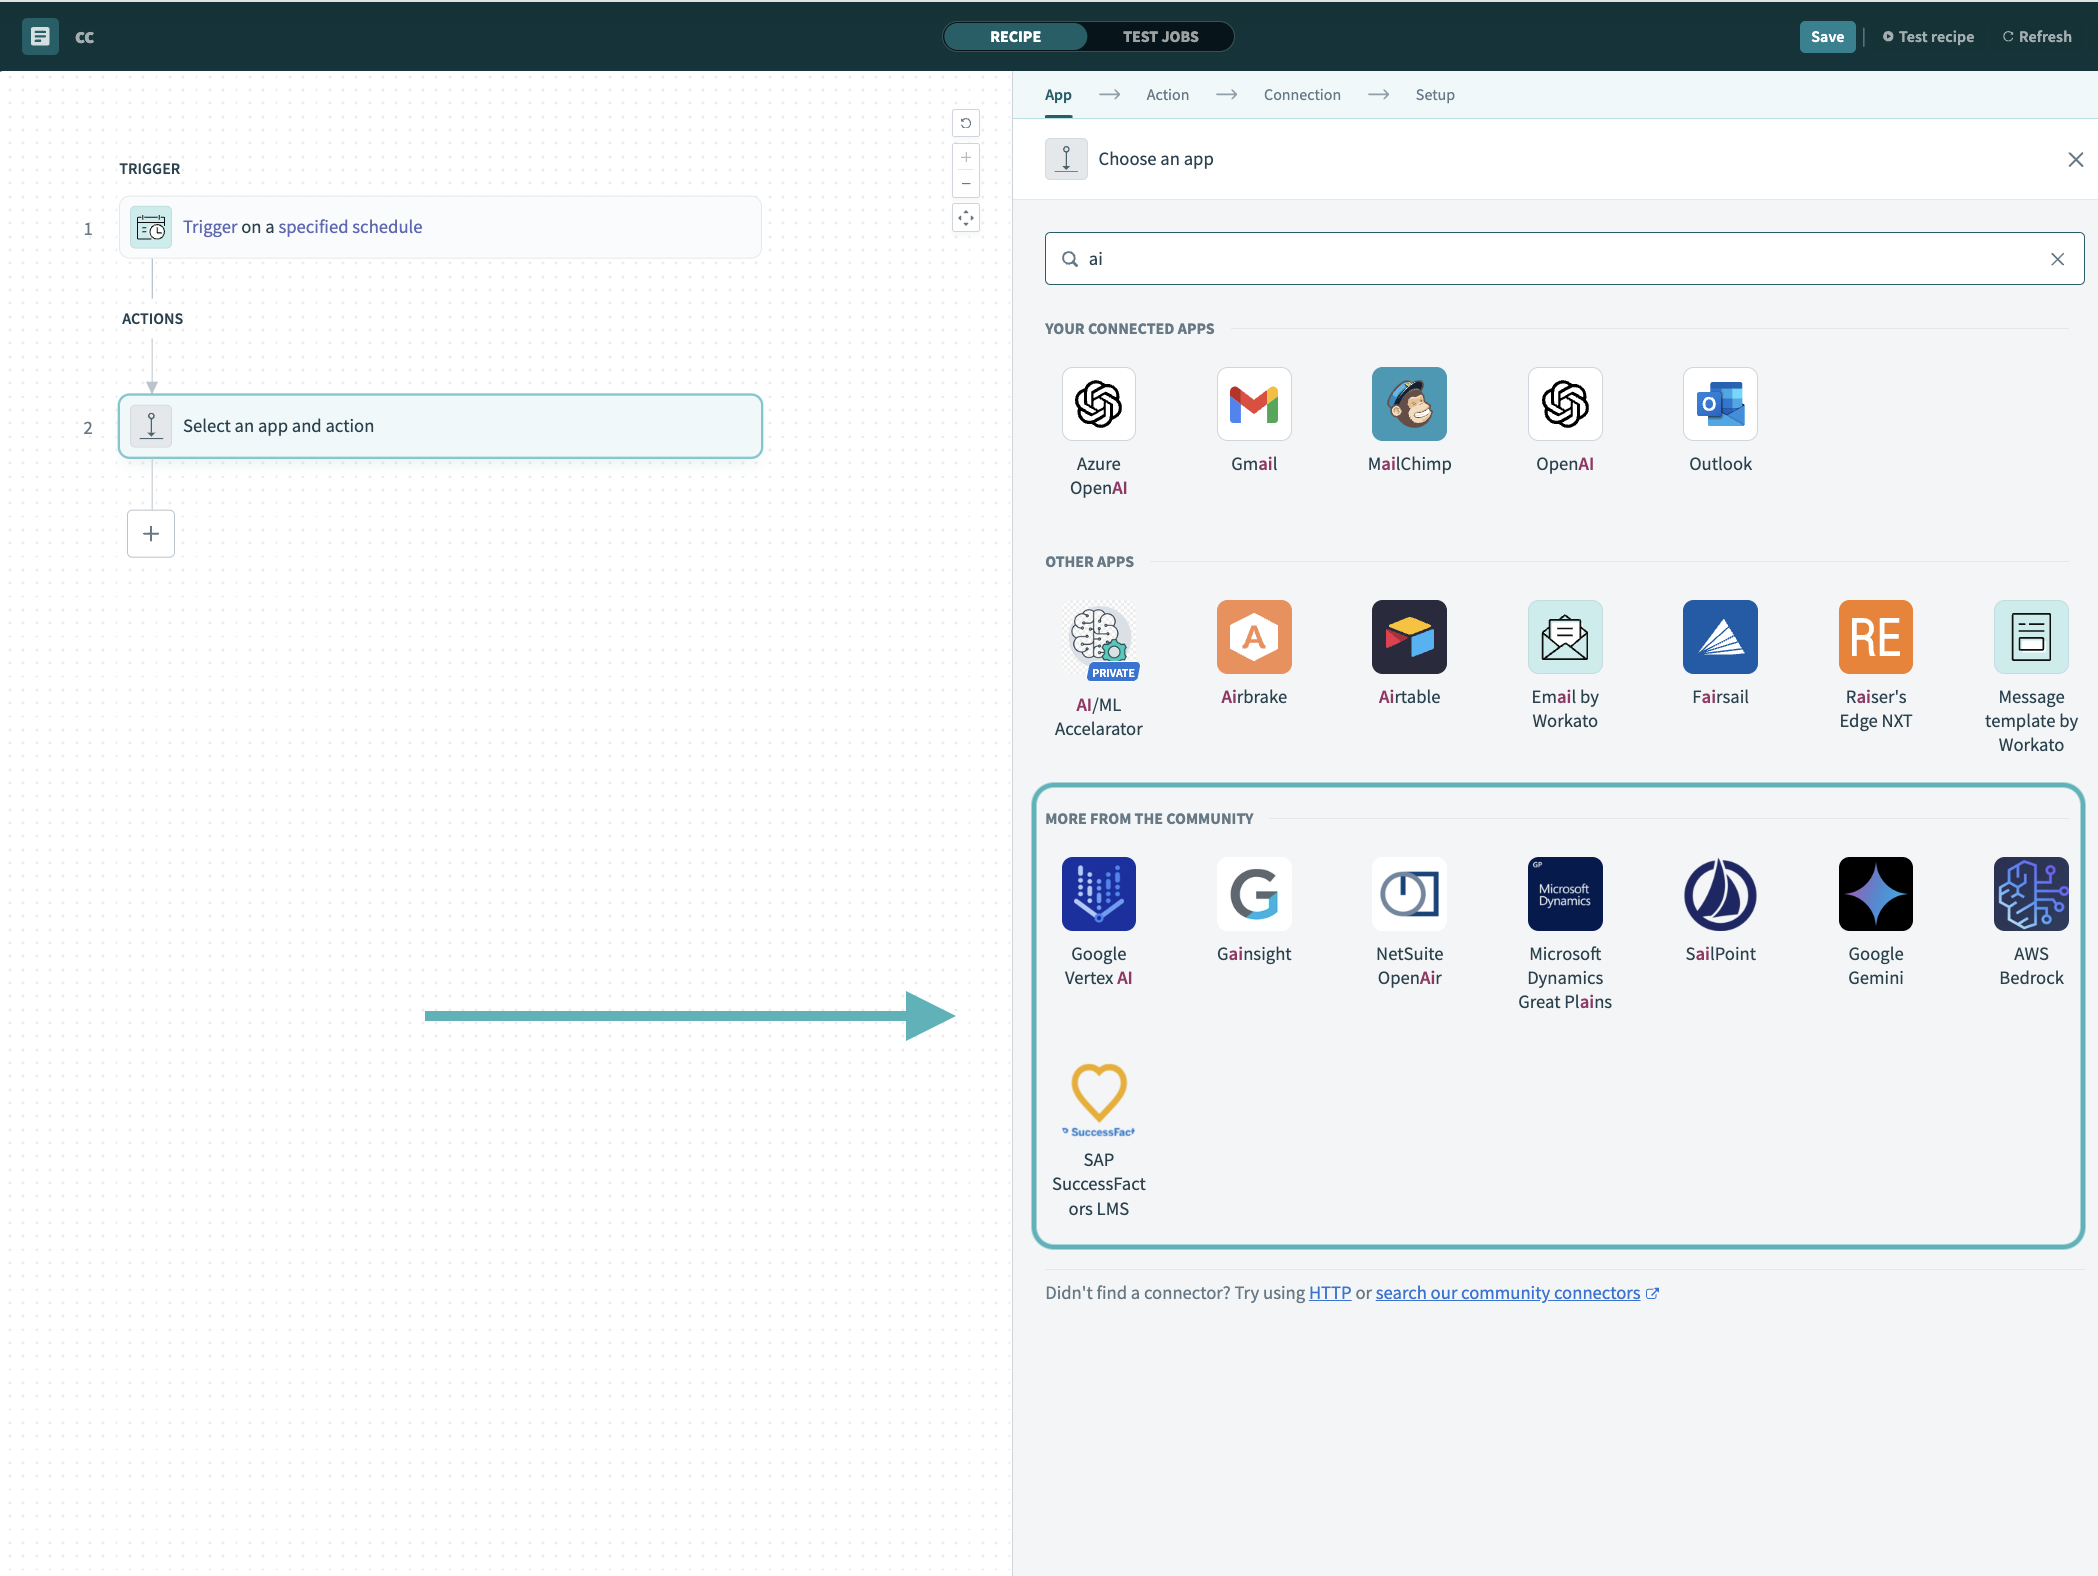 Search for community connectors in the recipe editor
Select the community connector you plan to install.
Click Install to install the connector from the community library.
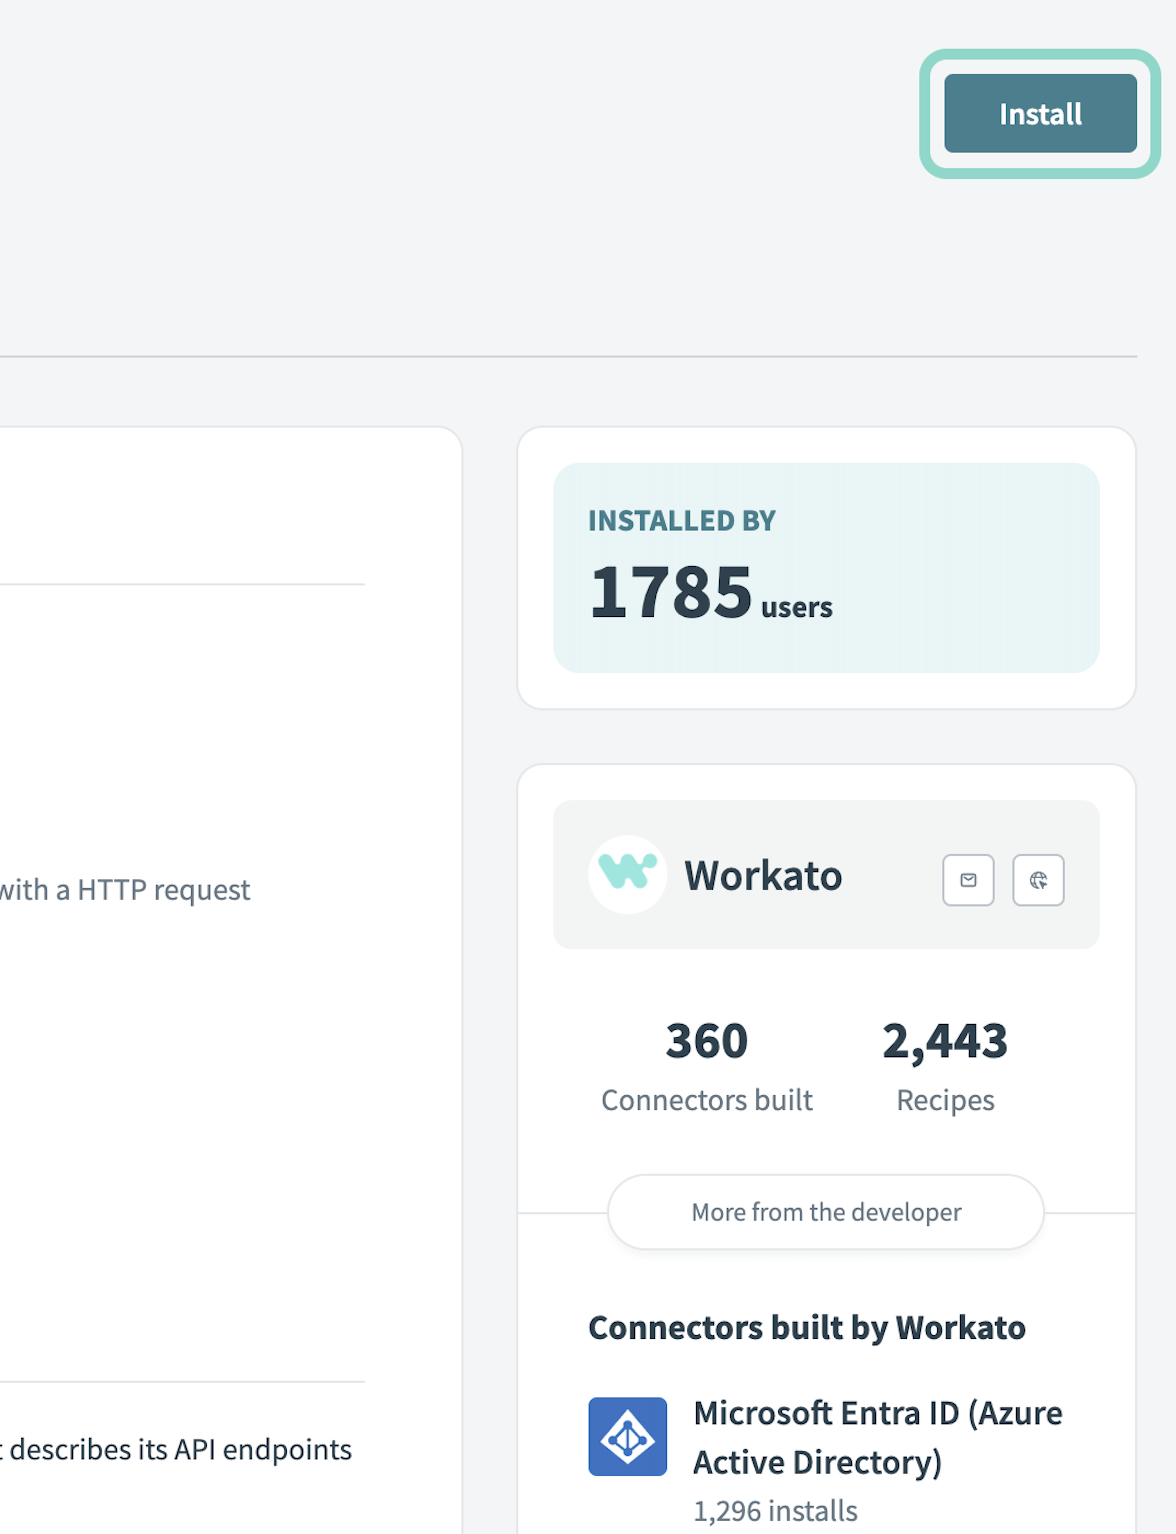 Click Install
Select Release connector. Alternatively, select Review code to review and modify the connector code before releasing it to the workspace.
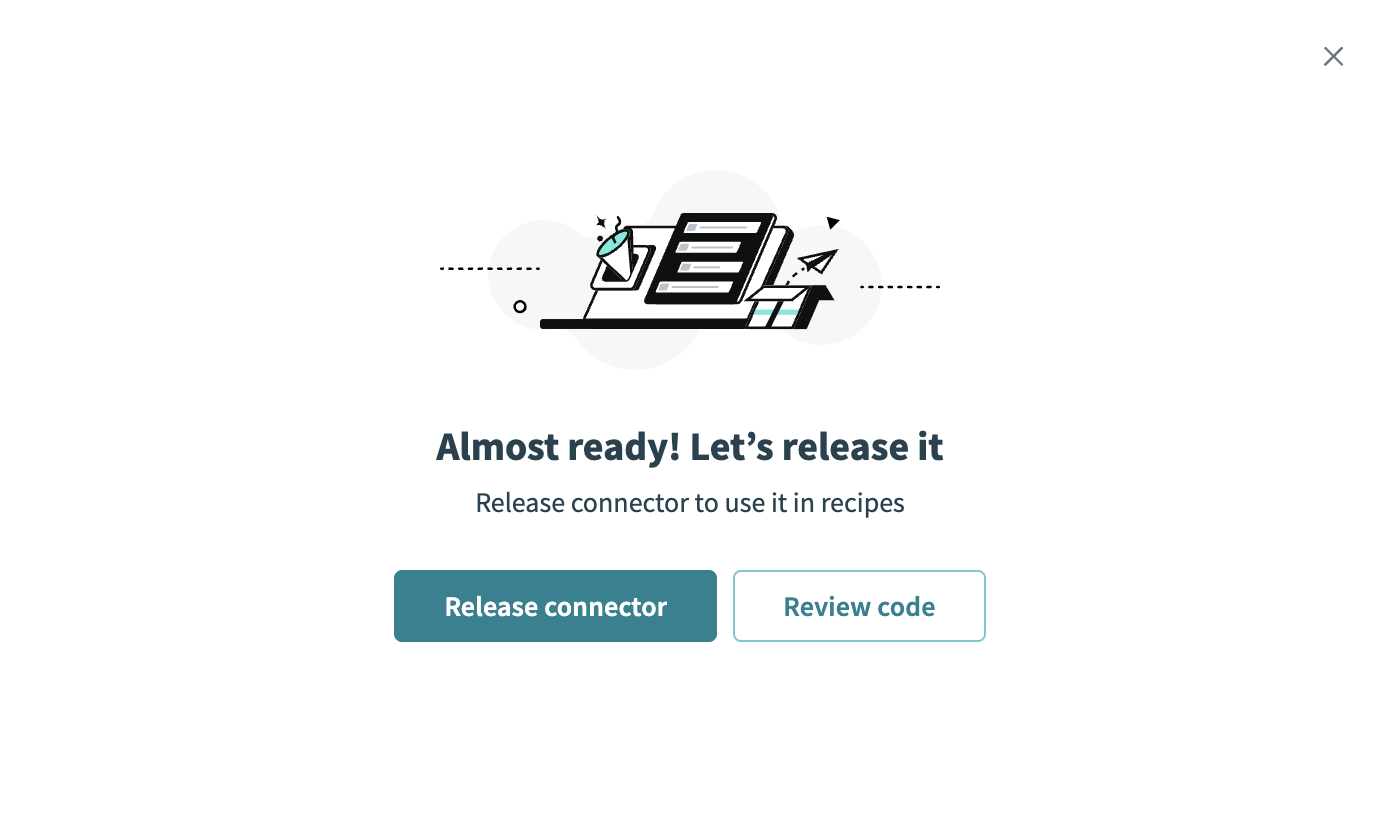 Release the connector
Summarize any changes you made to the connector, then click Release to allow workspace collaborators to use the connector in recipes.
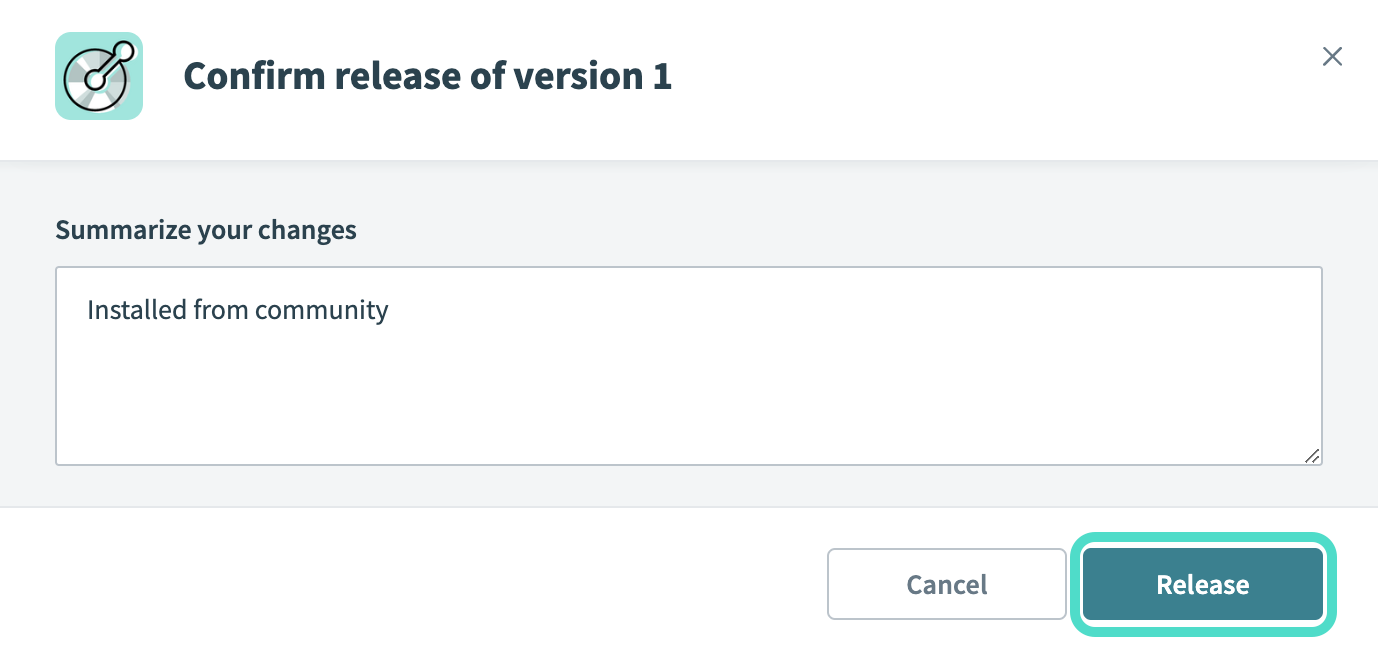 The Confirm release dialog
Connection setup
The GitLab connector supports the following authentication types:
Minimum scopes
You must add the following minimum scopes to connect to GitLab:
apiread_apicreate_runnermanage_runnerread_repositoryread_userwrite_repositoryread_registrywrite_registry
Personal access token authentication
You must create a personal access token in GitLab to use this authentication method.
GitLab setup for personal access token authentication
Complete the following steps to set up GitLab for personal access token authentication:
Select your avatar.
Click Edit profile.
Click Access > Personal access tokens in the sidebar.
Use the Generate token drop-down menu to select Legacy token.
Enter a Token name.
Optional. Enter a Token description.
Enter an Expiration date for the token, or leave this field blank to use the default of 365 days from today (the maximum).
Select the personal access token scopes. Refer to Minimum scopes for more information.
Click Generate token.
Copy and save the personal access token for use in Workato.
SAVE YOUR TOKEN
You can't view it again after you leave or refresh the page. If you lose the token, you must generate a new one.
Connect to GitLab with personal access token authentication
Complete the following steps to set up a personal access token connection to GitLab in Workato:
Click Create > Connection.
Search for GitLab and select it as your app.
Enter a name for the connection in the Connection name field.
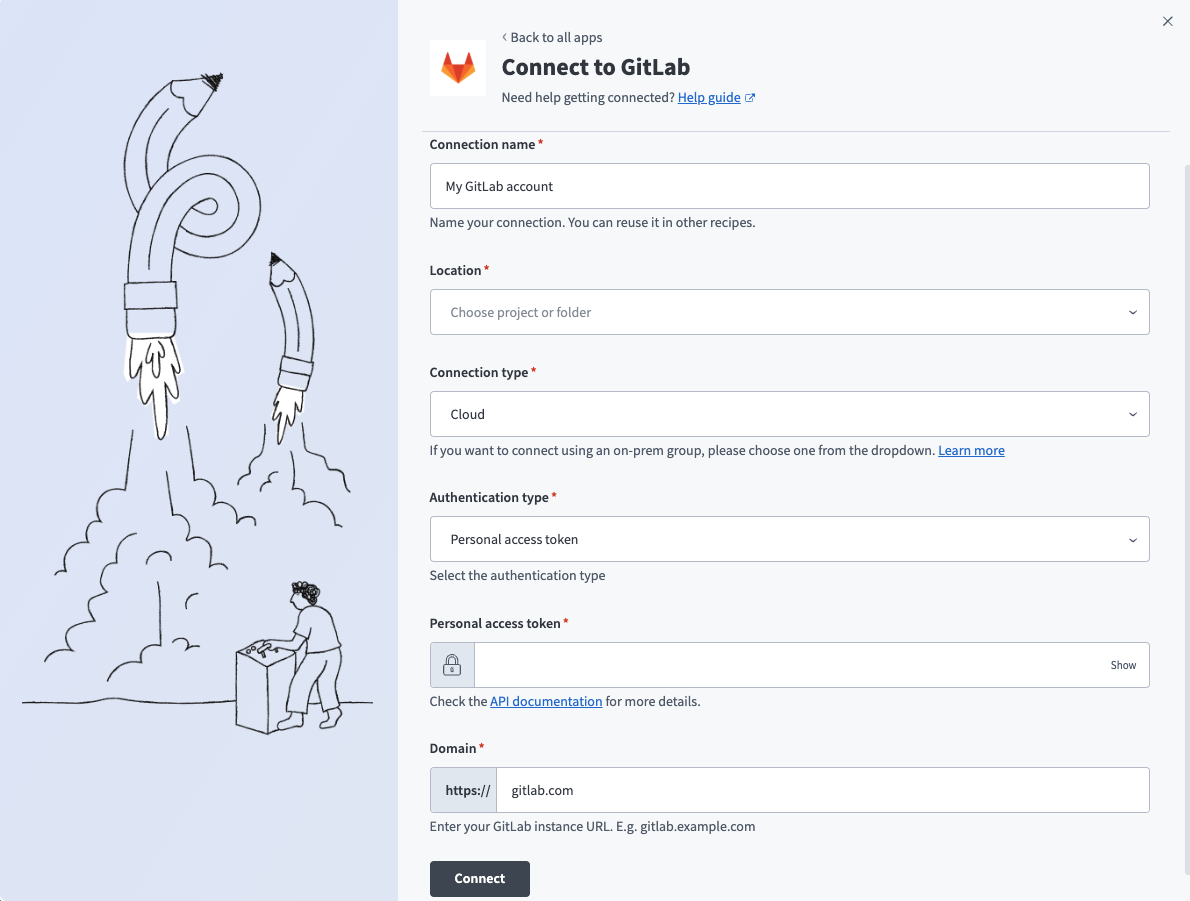 GitLab personal access token connection
Use the Location drop-down menu to select the project where you plan to store the connection.
Use the Connection type drop-down menu to select the connection type.
Use the Authentication type drop-down menu to select Personal access token.
Enter the Personal access token. Refer to GitLab setup for personal access token authentication for more information.
Enter the Domain. This is your GitLab instance URL. For example, gitlab.example.com.
Click Connect.
OAuth 2.0 authentication
You must generate credentials in GitLab to use this authentication method.
GitLab setup for OAuth 2.0 authentication
Complete the following steps to set up GitLab for OAuth 2.0 authentication:
Select your avatar.
Click Edit profile.
Click Access > Applications in the sidebar.
Click Add new application.
Enter a Name for the new application.
Enter https://www.workato.com/oauth/callback for the Redirect URI.
Select the Scopes required for your application. Refer to Minimum scopes for more information.
Click Save application.
Copy and save the Application ID and Secret for use in Workato.
SAVE YOUR SECRET
You can't view it again after you leave or refresh the page. If you lose the secret, you must generate a new one.
Connect to GitLab with OAuth 2.0 authentication
Complete the following steps to set up an OAuth 2.0 connection to GitLab in Workato:
Click Create > Connection.
Search for GitLab and select it as your app.
Enter a name for the connection in the Connection name field.
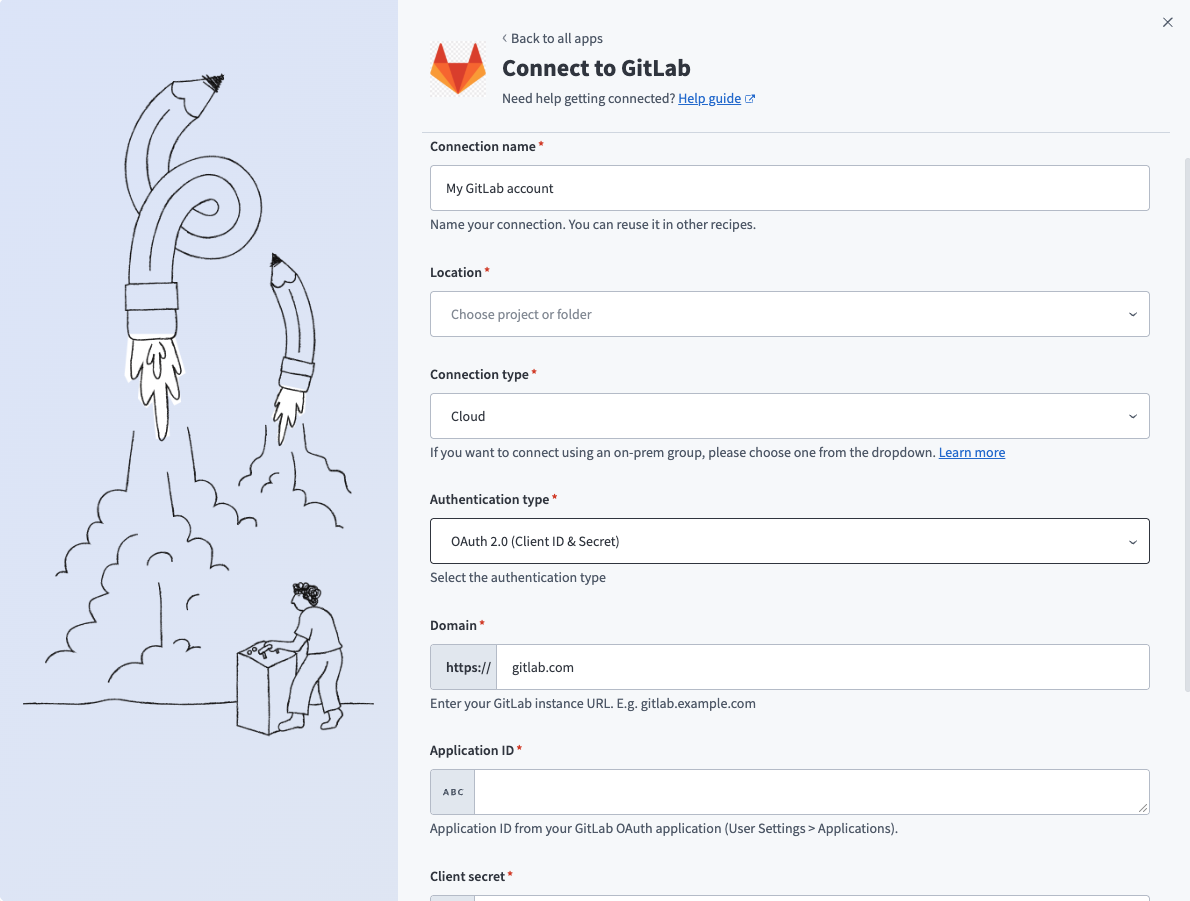 GitLab OAuth 2.0 connection
Use the Location drop-down menu to select the project where you plan to store the connection.
Use the Connection type drop-down menu to select the connection type.
Use the Authentication type drop-down menu to select OAuth 2.0 (Client ID & Secret).
Enter the Domain. This is your GitLab instance URL. For example, gitlab.example.com.
Enter the Application ID and Client secret. Refer to GitLab setup for OAuth 2.0 authentication for more information.
Select the Scopes. Refer to Minimum scopes for more information.
Click Connect.
Click Authorize <your app name> to authorize the connection.
Password grant authentication
Use your GitLab account username and password for this authentication method.
Connect to GitLab with password grant authentication
Complete the following steps to set up a password grant connection to GitLab in Workato:
Click Create > Connection.
Search for GitLab and select it as your app.
Enter a name for the connection in the Connection name field.
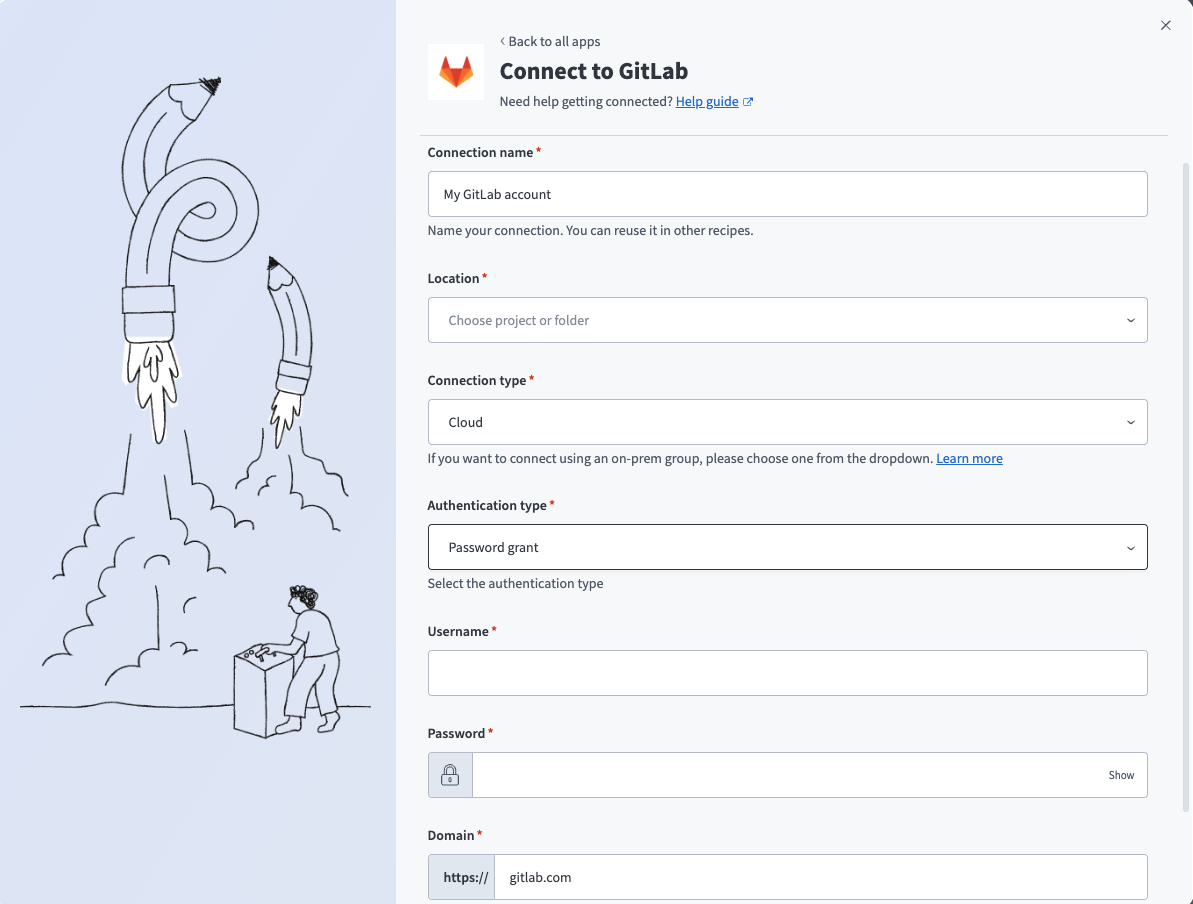 GitLab password grant connection
Use the Location drop-down menu to select the project where you plan to store the connection.
Use the Connection type drop-down menu to select the connection type.
Use the Authentication type drop-down menu to select Password grant.
Enter the Username and Password.
Enter the Domain. This is your GitLab instance URL. For example, gitlab.example.com.
Click Connect.
Last updated: