HL7
HL7, or Health Level Seven, is a set of international standards for the exchange, integration, sharing, and retrieval of electronic health information. HL7 messages are a key component of this standard, and serve as the format for exchanging information between healthcare applications. These messages are structured in a way that allows different systems to understand and interpret the data consistently. You can use HL7 messages for various purposes, including transmitting patient demographic information, laboratory results, clinical observations, and administrative data.
The HL7 Workato connector allows you to send and receive HL7 messages in different versions, and includes a corresponding OPA extension.
Prerequisites
You must have the following prerequisites to set up an HL7 connection in Workato:
- An on-prem agent (OPA) that uses a connection profile. Cloud profiles don't support extensions. Refer to the Add an agent guide for setup instructions.
- Version 17 or higher of the Java Development Kit (JDK), if you're using an OPA version lower than 23.0.
- The HL7 extension installed on your OPA.
- The HL7 connector installed from the community library.
Install the Java Development Kit (JDK)
OPA versions lower than 23.0 require version 17 or higher of the Java Development Kit (JDK).
Refer to JDK distributions to install the JDK, or complete the following steps to validate an existing JDK installation:
JDK_DIRECTORY PLACEHOLDER
The remainder of this guide uses [JDK_DIRECTORY] as a placeholder for the path to your JDK installation directory. The JDK installs in the following locations by default:
- Linux:
/usr/lib/java - Ubuntu:
/usr/share/java/ - Windows:
C:\Program Files\Java\jdk-<release> - Mac: Location varies based on distribution. For example:
/Library/Java/JavaVirtualMachines/jdk-17.jdk/Contents/Home
Confirm the installation succeeded by listing the JDK folder contents.
Check for the javac binary to confirm that the installation is a JDK and not a JRE.
Confirm the JDK is version 17 or higher.
Install the HL7 extension
The HL7 extension enables an on-prem agent (OPA) that uses a connection profile to send and receive HL7 messages. Complete the following steps to install and configure the extension on your OPA:
OPA_DIRECTORY PLACEHOLDER
The remainder of this guide uses [OPA_DIRECTORY] as a placeholder for the path to your OPA installation directory. The following are common directory locations:
- Unix-like operating systems:
/opt/workato - Windows:
C:\Program Files\Workato Agent - Mac: Location varies.
Complete the following steps to download and extract the HL7 extension package into the [OPA_DIRECTORY]/ext folder:
Update the [OPA_DIRECTORY]/conf/config.yml OPA configuration file with the following information:
server:
  classpath: ext # Set the classpath to the path of the folder where the HL7 extension JAR files are located

extensions:
  # HL7-Profile including a listener to receive messages
  hl7: # Name of the connection profile to be used, when creating a connection
    controllerClass: com.workato.extension.hl7.ExtensionController
    localPort: 1011 # Listening port to receive messages
    webhookURL: https://webhooks.workato.com/users/... # The webhook URL to receive the HL7 message
    remotePort: 1011 # Port to send messages
    remoteHost: localhost # Hostname to send messages
    tls: false
    # Encoding used for sending and receiving messages. Possible values UTF-8, ISO-8859-1, UTF-16, ...
    # encoding: ISO-8859-1

# HL7-Profile WITHOUT a listener, which allows you to send messages only
  hl7_no_listener:
    controllerClass: com.workato.extension.hl7.ExtensionController
    remotePort: 1011
    remoteHost: localhost
    tls: false
    # Encoding used for sending and receiving messages. Possible values UTF-8, ISO-8859-1, UTF-16, ...
# encoding: ISO-8859-1Install the HL7 connector
Complete the following steps to install the HL7 connector from the community library:
Open the recipe editor and search for a connector. Alternatively, you can search for a connector in the community library.
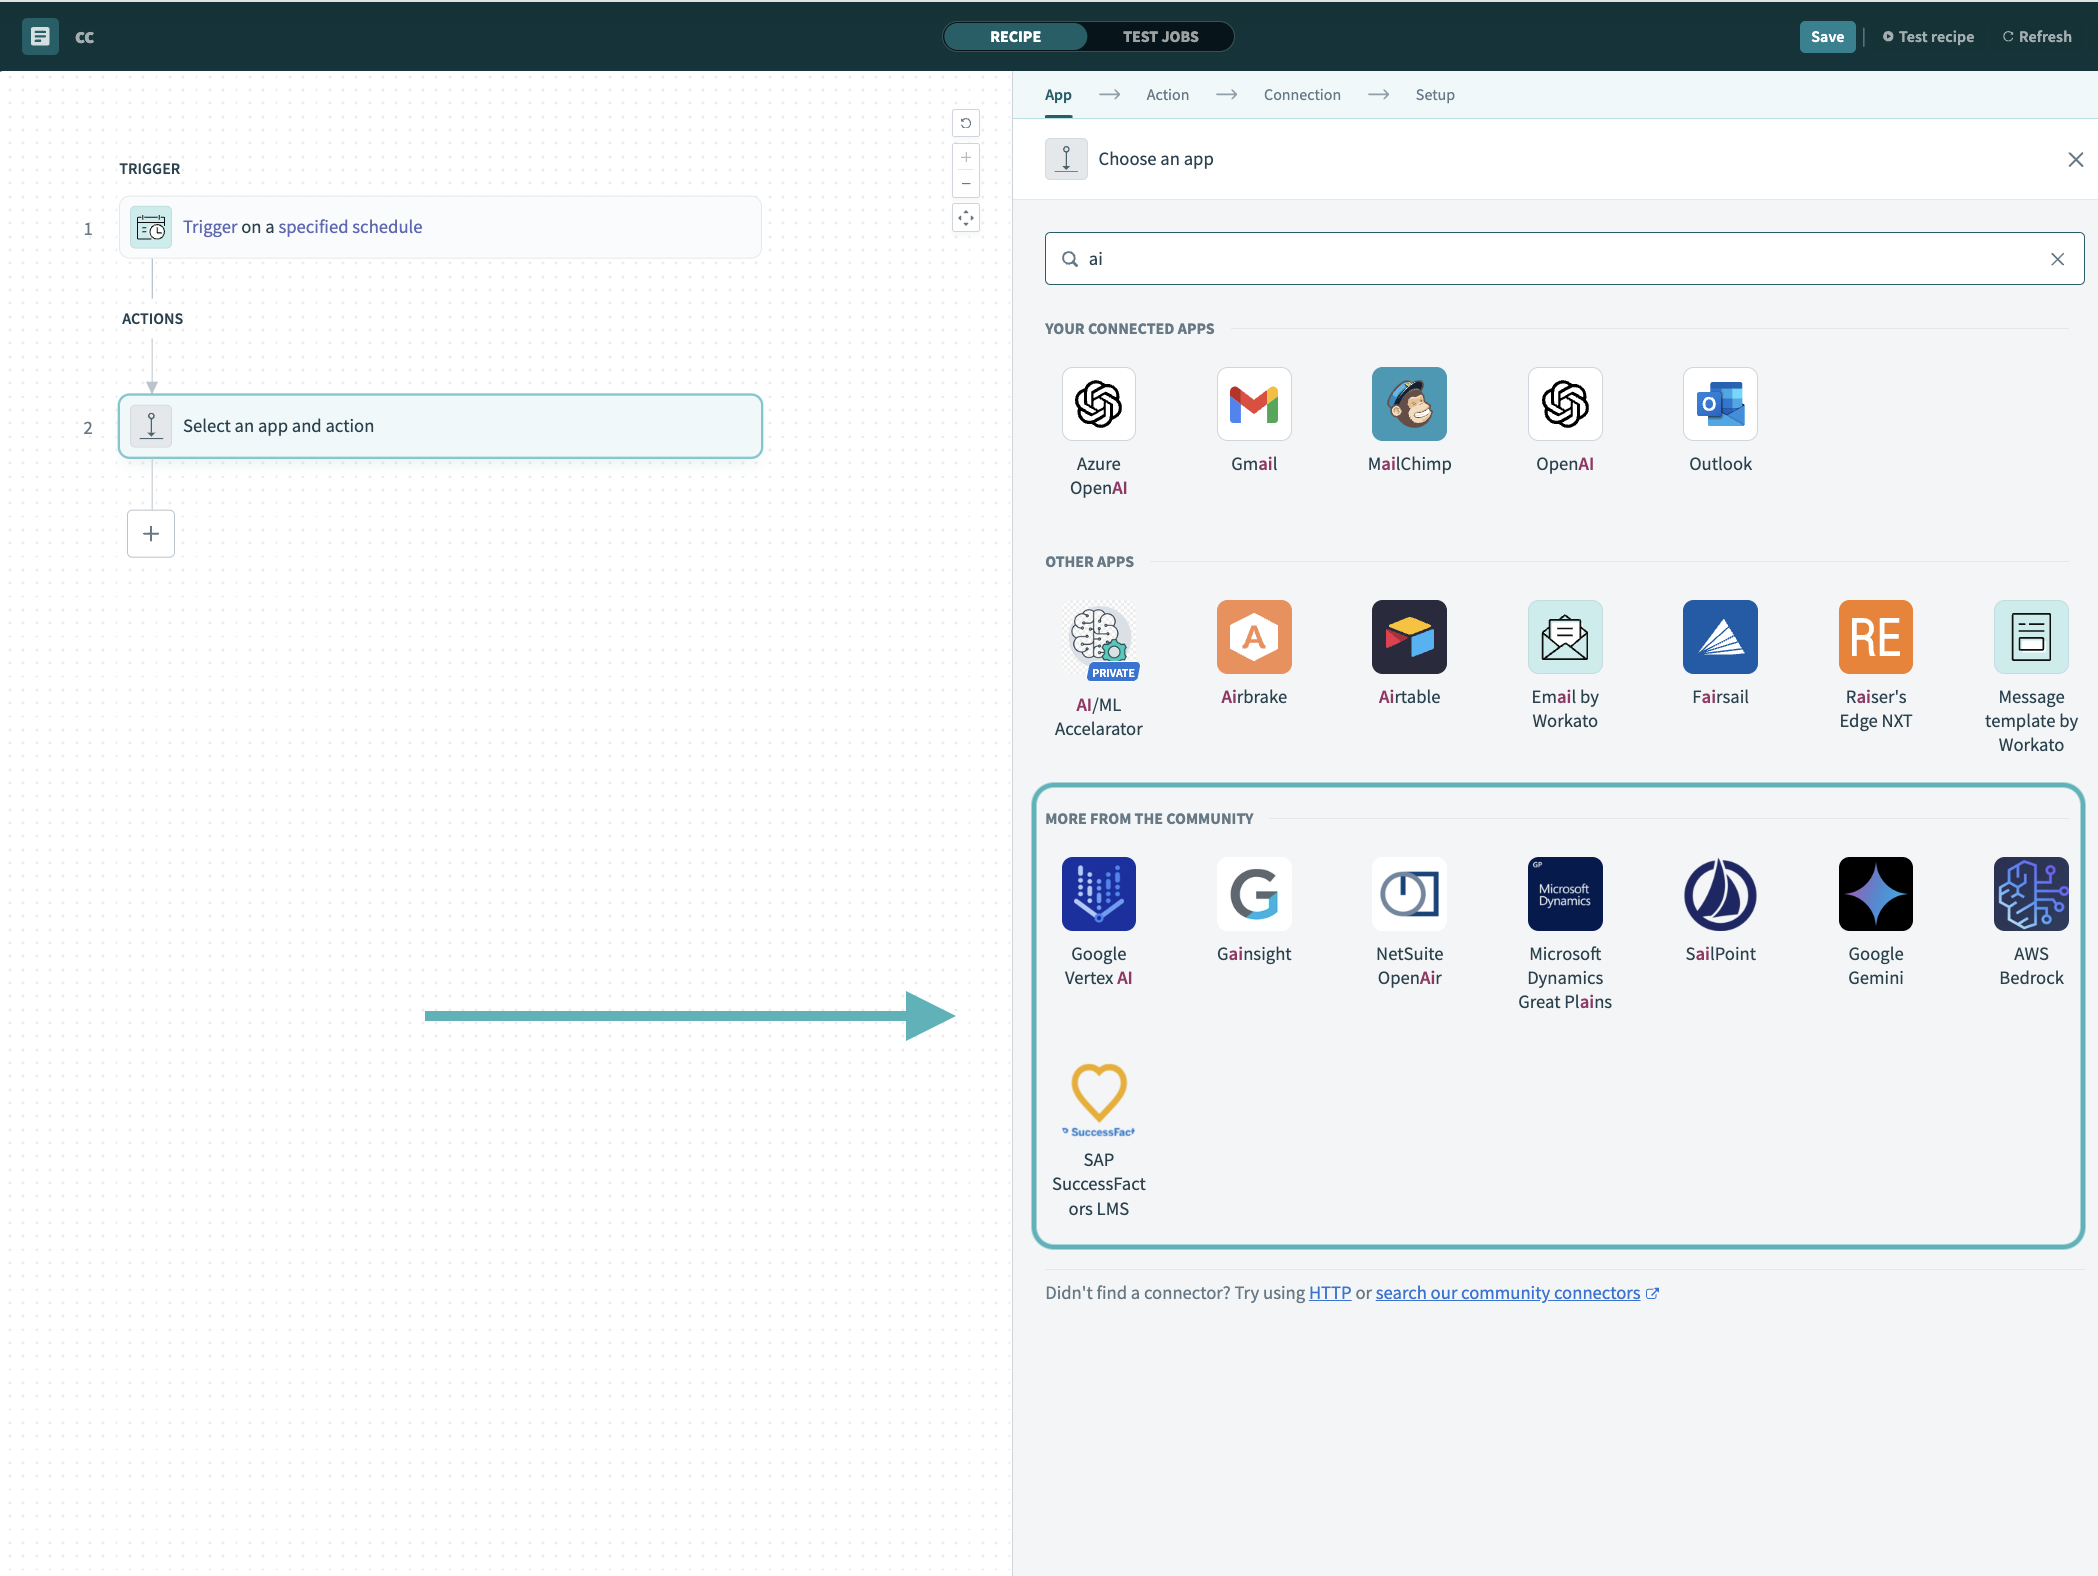 Search for community connectors in the recipe editor
Select the community connector you plan to install.
Click Install to install the connector from the community library.
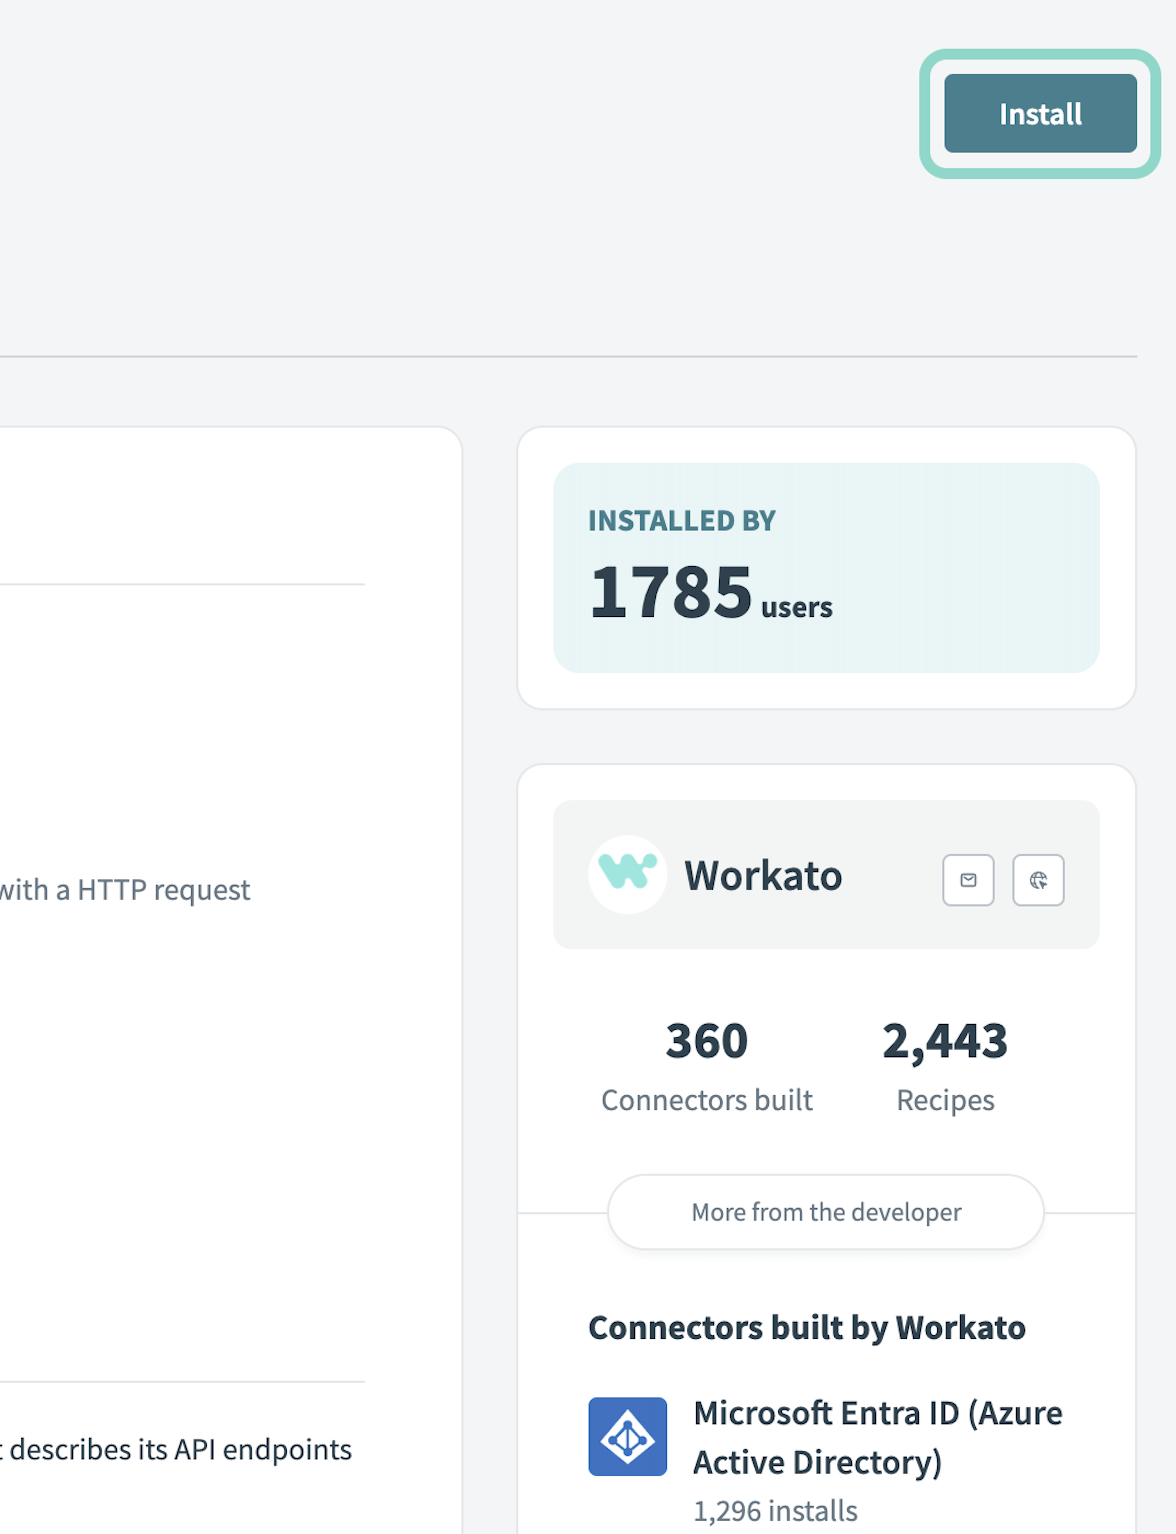 Click Install
Select Release connector. Alternatively, select Review code to review and modify the connector code before releasing it to the workspace.
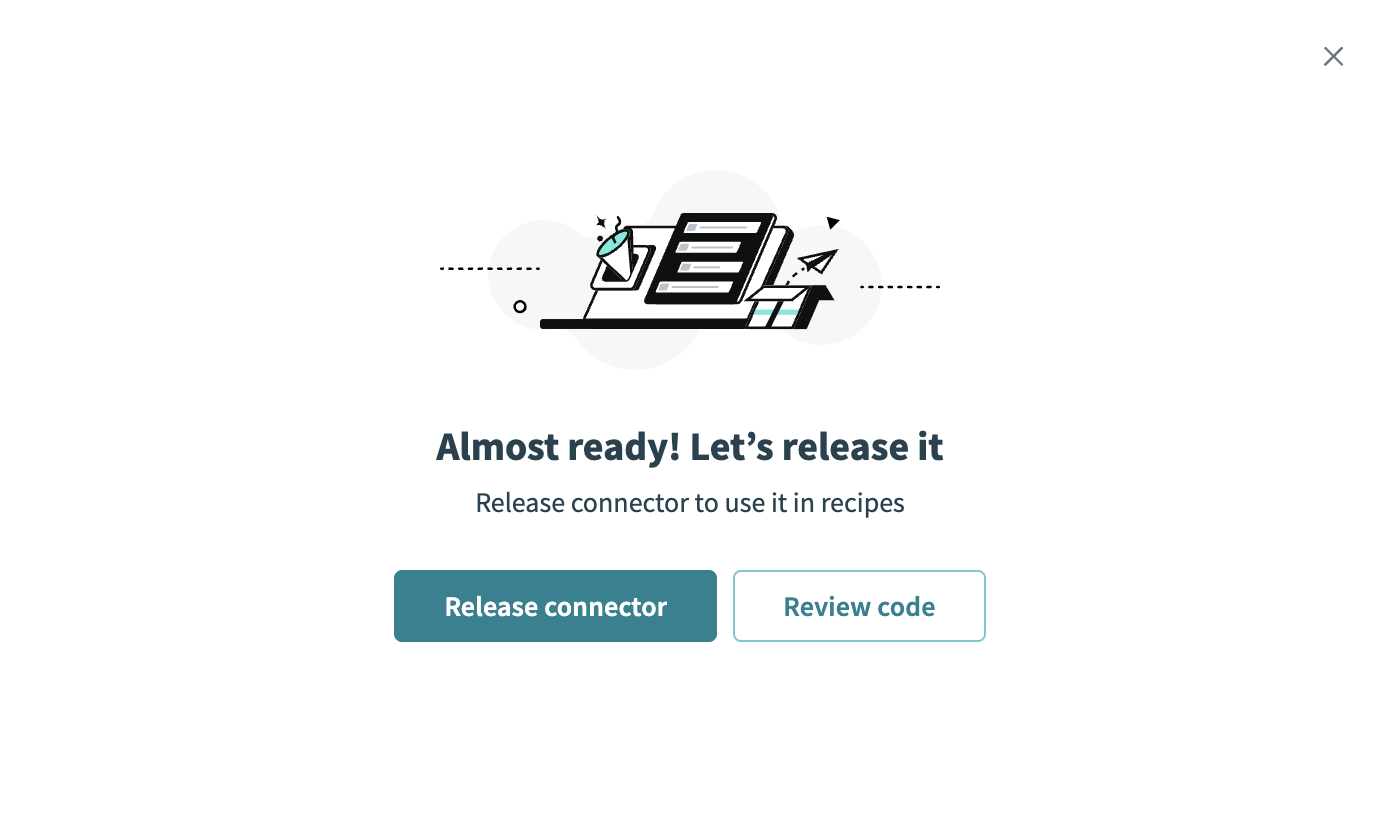 Release the connector
Summarize any changes you made to the connector, then click Release to allow workspace collaborators to use the connector in recipes.
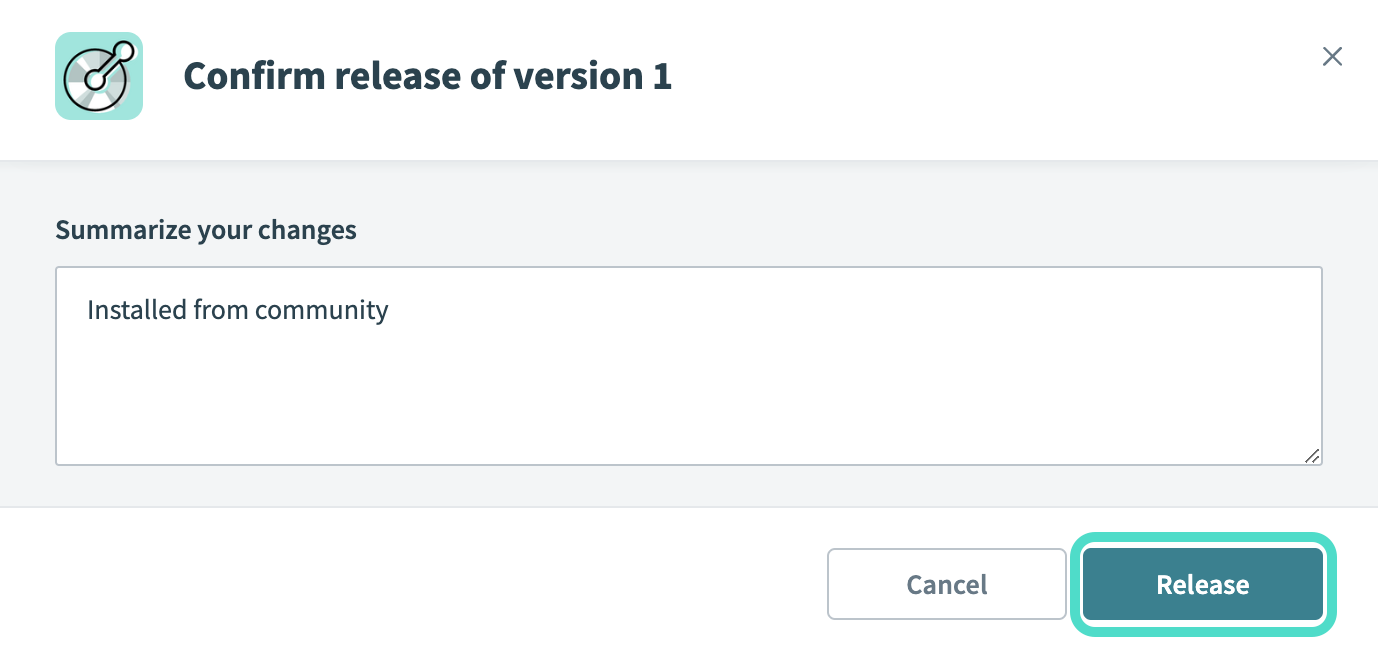 The Confirm release dialog
Connection setup
Complete the following steps to create an HL7 connection in Workato:
Provide a Connection name that identifies which HL7 instance Workato is connected to. 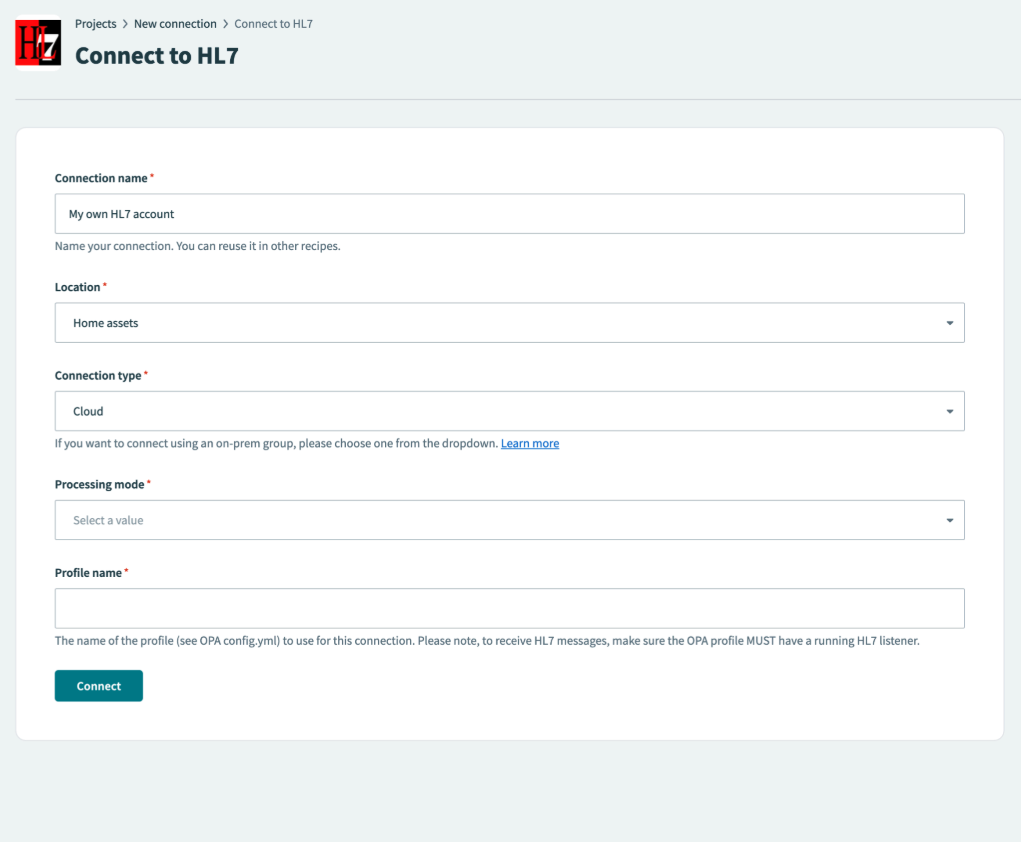 HL7 connection configuration
Use the Location drop-down menu to select the project where you plan to store the connection.
Use the Connection type drop-down menu to select an on-prem group that contains the HL7 extension.
Use the Processing mode drop-down menu to select the HL7 processing ID you plan to use. Options are: Debugging, Production, and Training.
Provide your Profile name. To receive HL7 messages, the OPA profile MUST have a running HL7 listener.
Click Connect.
Last updated: