Microsoft Teams
Microsoft Teams is a central, digital collaboration platform that integrates workspace chat, video conferencing, file storage, and application integration into one hub. It's designed for hybrid work, allowing teams to communicate, share files, and manage projects in real-time across desktop, mobile, and web.
Install Microsoft Teams from the community library
Complete the following steps to install the Microsoft Teams connector from the community library:
Open the recipe editor and search for a connector. Alternatively, you can search for a connector in the community library.
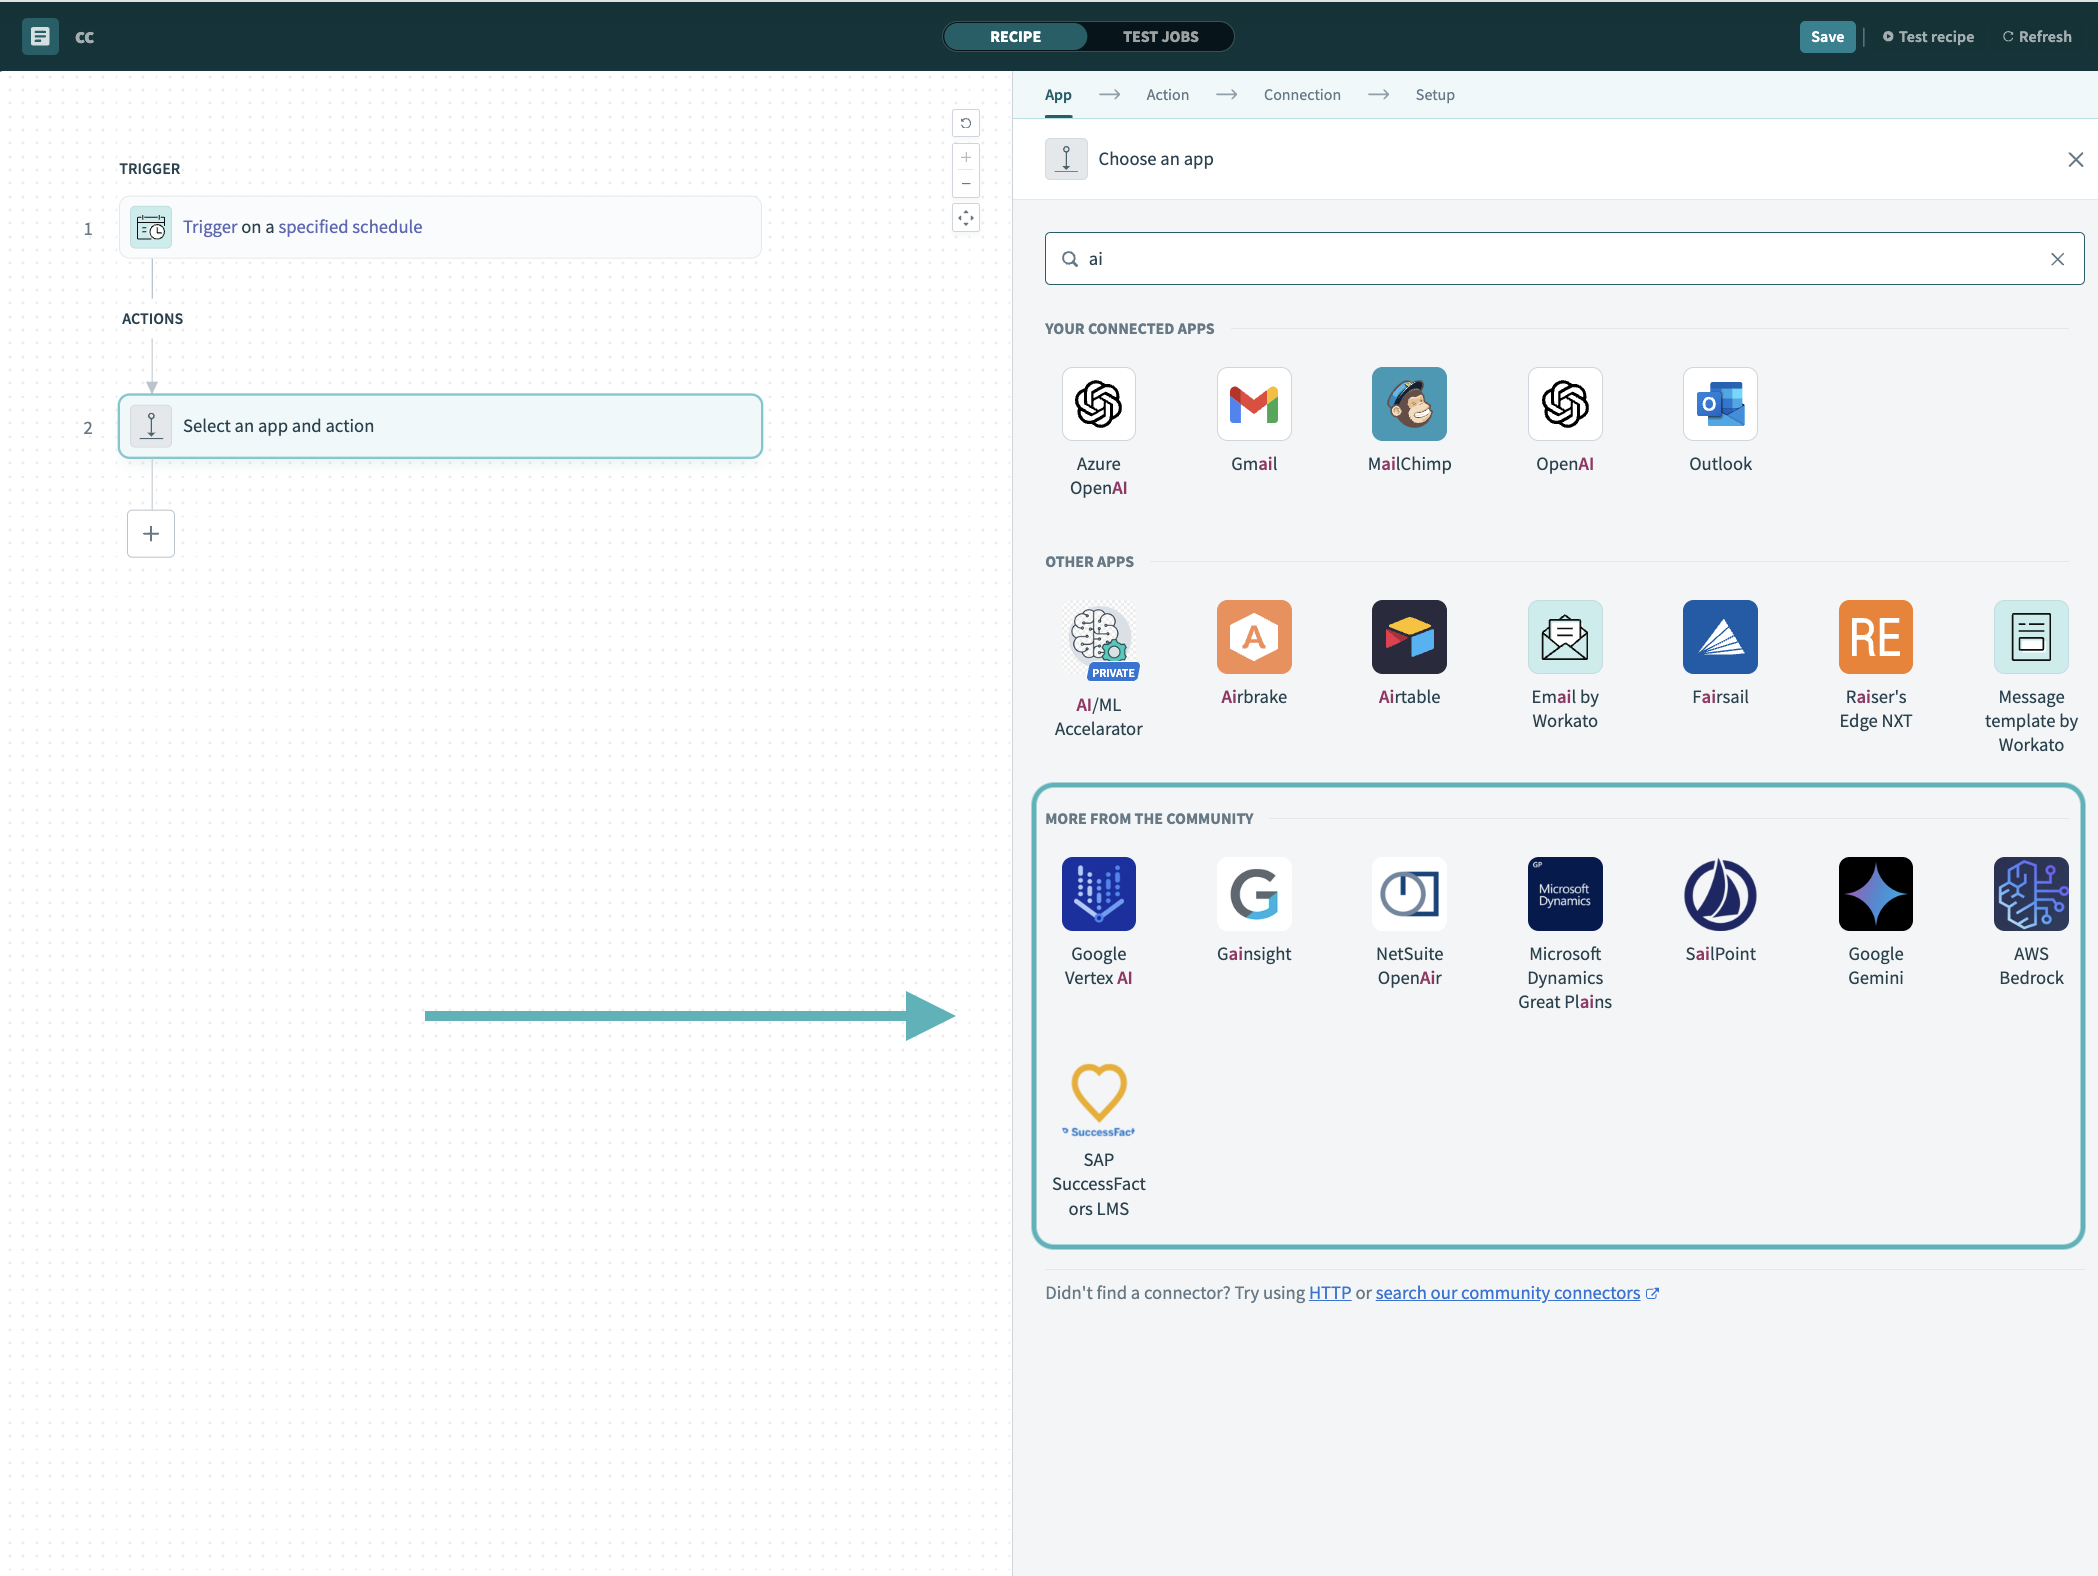 Search for community connectors in the recipe editor
Select the community connector you plan to install.
Click Install to install the connector from the community library.
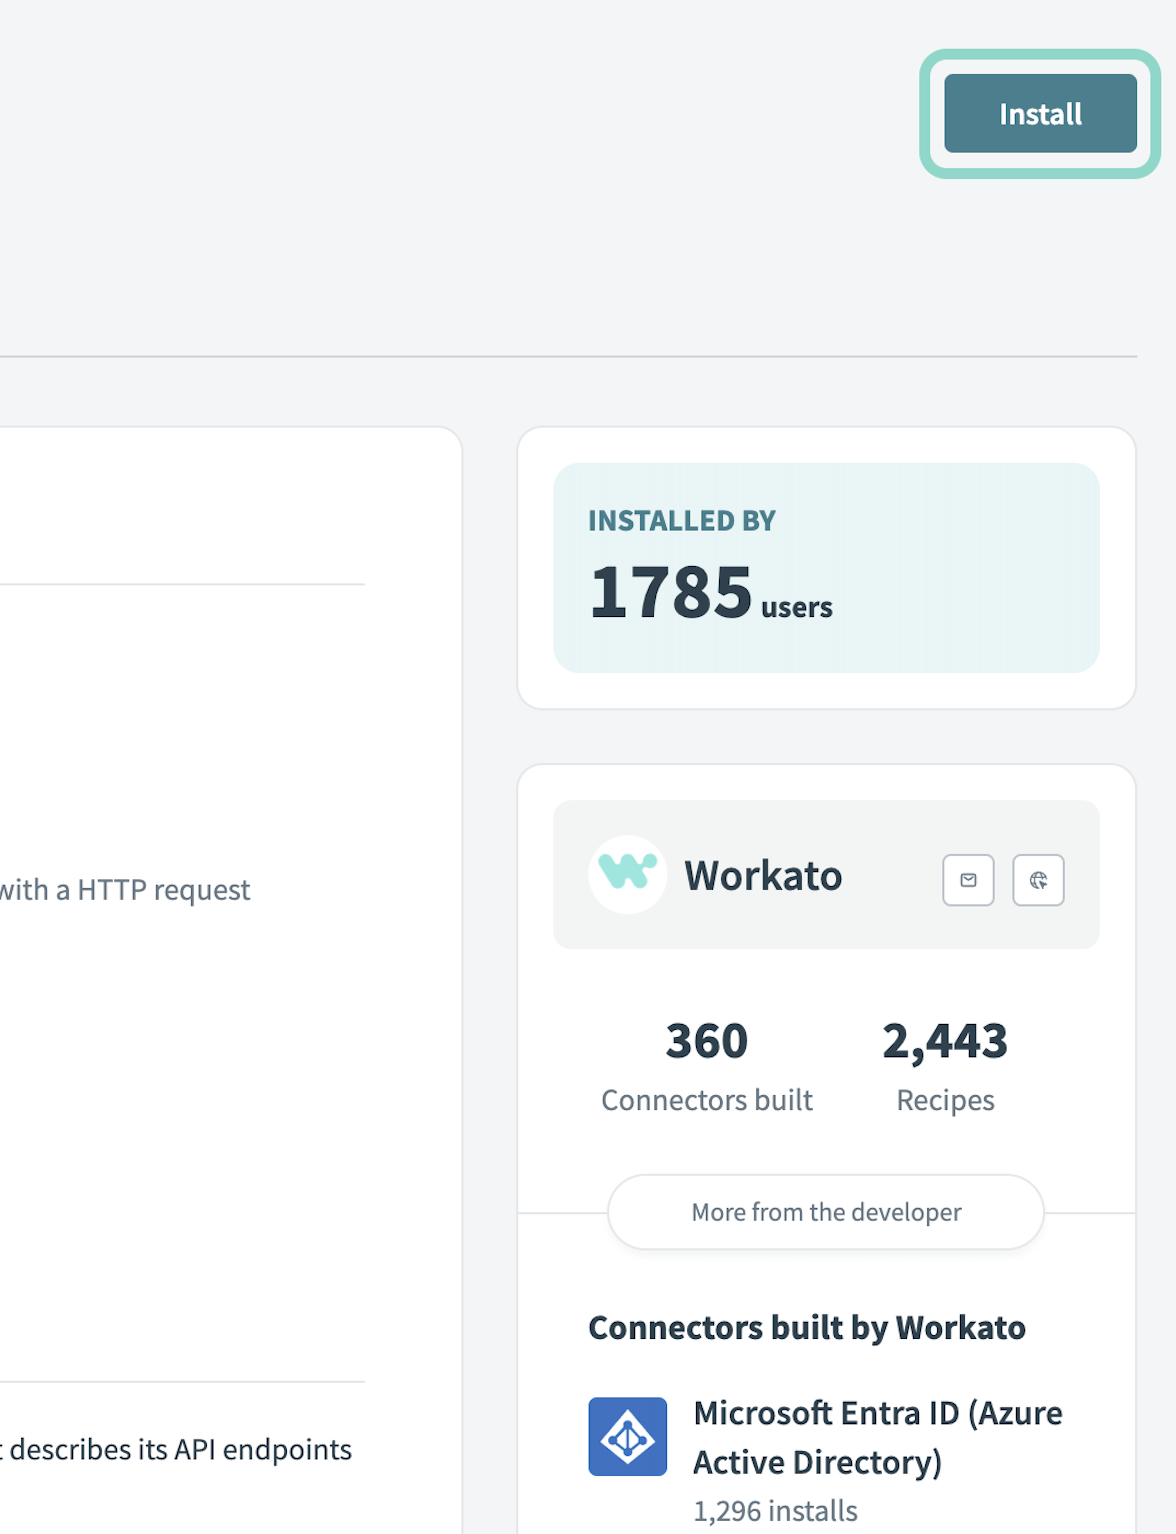 Click Install
Select Release connector. Alternatively, select Review code to review and modify the connector code before releasing it to the workspace.
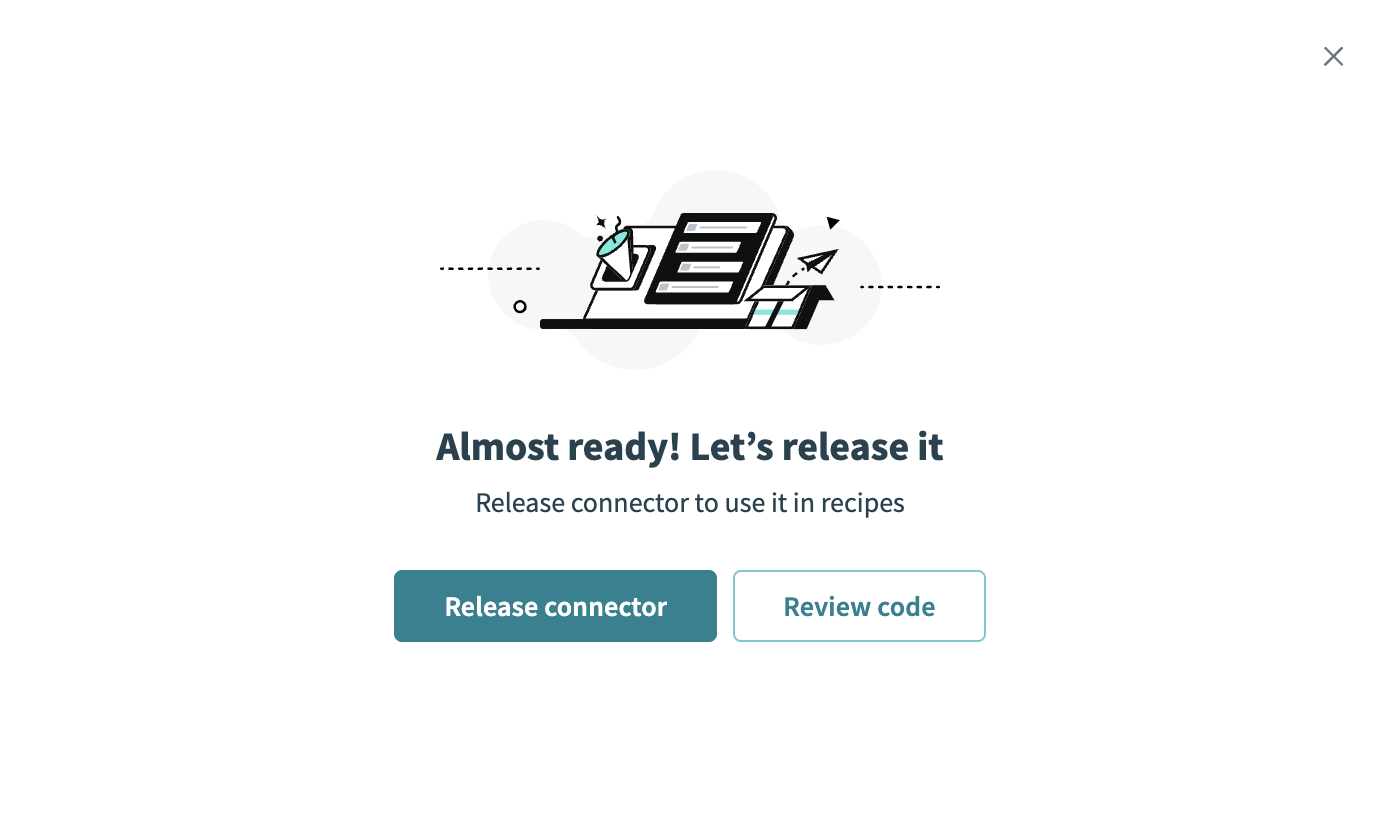 Release the connector
Summarize any changes you made to the connector, then click Release to allow workspace collaborators to use the connector in recipes.
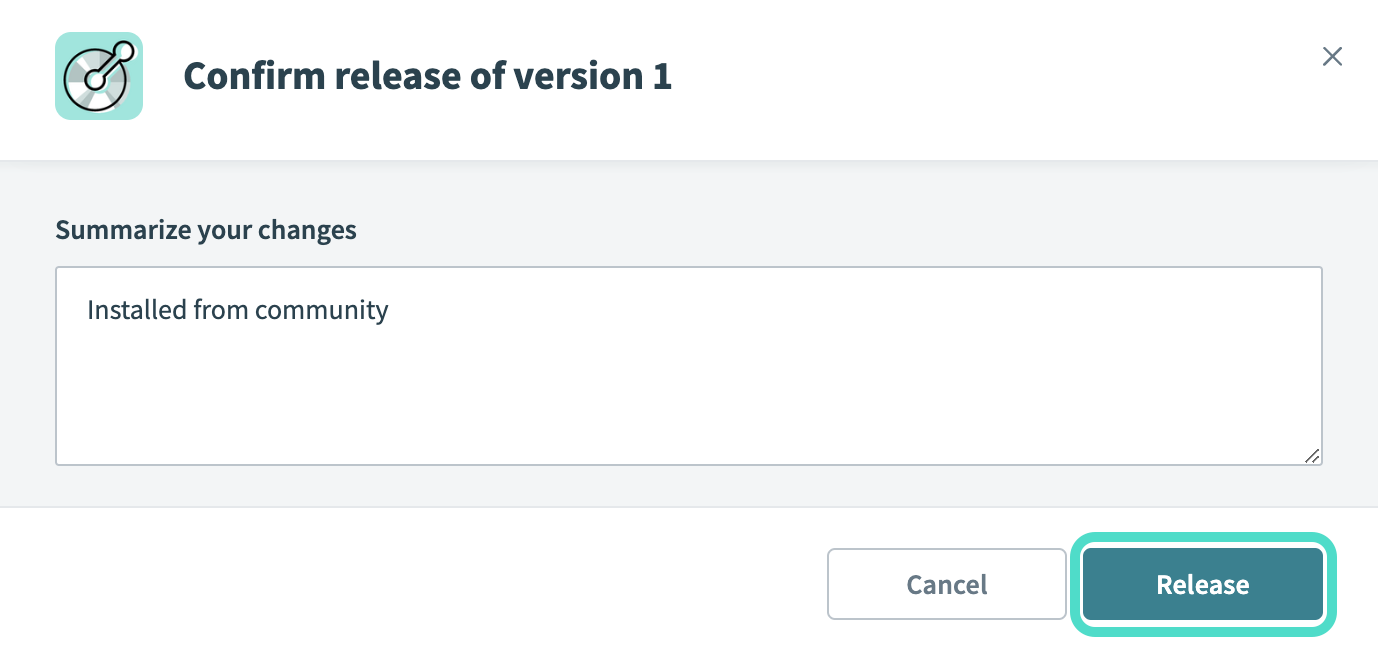 The Confirm release dialog
Connection setup
The Microsoft Teams connector supports the following authentication types:
- Authorization code grant authentication (OAuth 2.0)
- Client credentials-based authentication (OAuth 2.0): Only available for tenant-specific connections
MICROSOFT MFA ENFORCEMENT
Microsoft is rolling out mandatory multifactor authentication (MFA) gradually to different applications and accounts in phases. This enforcement continues throughout 2025 and beyond. Refer to the Microsoft Mandatory multifactor authentication for Azure and admin portals documentation for more information.
We strongly recommend enabling MFA now for all Microsoft accounts used with Workato to avoid service disruptions from short-notice enforcement changes.
Complete the following steps to maintain uninterrupted service:
Enable MFA for your Microsoft organization following the Microsoft MFA setup guide. Refer to Set up multifactor authentication for Microsoft 365 for more information.
Reconnect your Microsoft connection in Workato.
Complete the OAuth flow with MFA when prompted.
Test your recipes to ensure they work with the updated connection.
Minimum scopes
The Microsoft Teams connector requires the following scopes. You must assign these permissions to the Workato app as Delegated permissions in the Azure portal.
Channel.ReadBasic.AllChannelMessage.Read.AllChannelMessage.SendChat.ReadChat.ReadWriteChatMessage.SendTeam.ReadBasic.AllUser.Readoffline_access
Authorization code grant authentication (OAuth 2.0)
Use the Tenant ID/Domain value with tenant-specific account types.
Microsoft Teams setup for authorization code grant authentication
Complete the following steps to set up Microsoft Teams for authorization code grant authentication:
- Register the Workato app in the Azure portal
- Assign permissions to your app
- Obtain the Directory (tenant) ID from the Azure portal
Register the Workato app in the Azure portal
View register the Workato app in the Azure portal steps
Complete the following steps to register the Workato app in the Azure portal:
Sign in to the Azure portal.
Select App registrations > + New registration.
Enter a unique name for the application.
Use the Supported account types drop-down menu to select an account type.
Select Web from the Select a platform drop-down menu.
Use the following URI for the Redirect URI:
https://www.workato.com/oauth/callbackSelect Register.
Assign permissions to your app
View assign permissions to your app steps
Complete the following steps to assign permissions to your app:
Select Manage > API permissions in the navigation sidebar.
Click + Add a permission and select Microsoft Graph APIs.
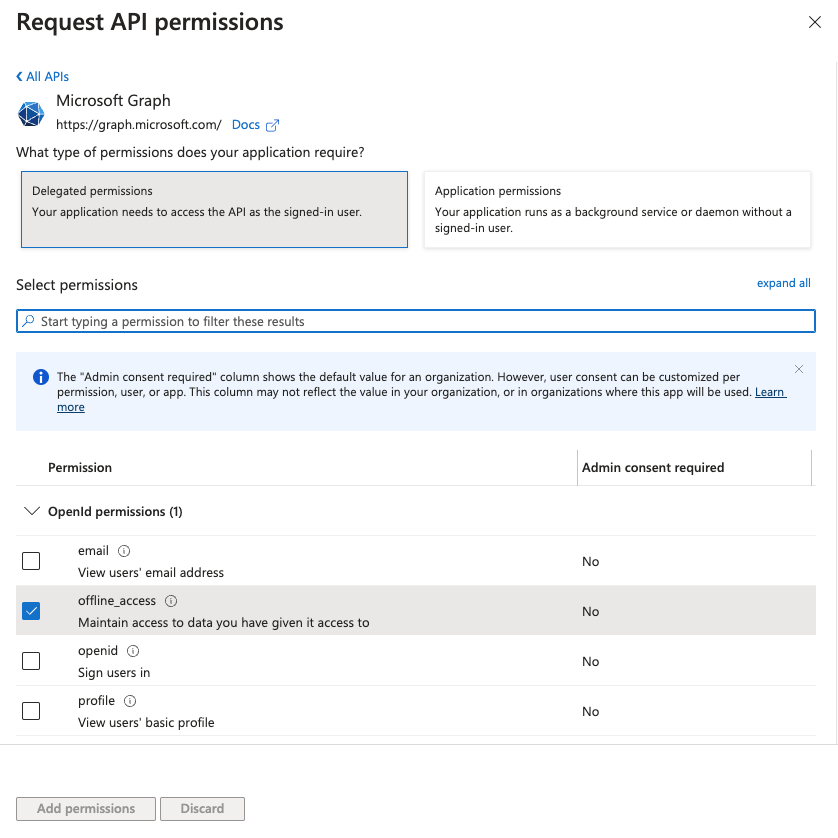 Add permissions
Add the required permissions. You must assign Application or Delegated permissions, depending on your connection type.
Add permissions
Click Add permissions.
Admin consent is required for specific permissions.
Obtain the Directory (tenant) ID from the Azure portal
View obtain the Directory (tenant) ID from the Azure portal steps
Complete the following steps to obtain the Directory (tenant) ID from the Azure portal:
Go to the Overview > Essentials section.
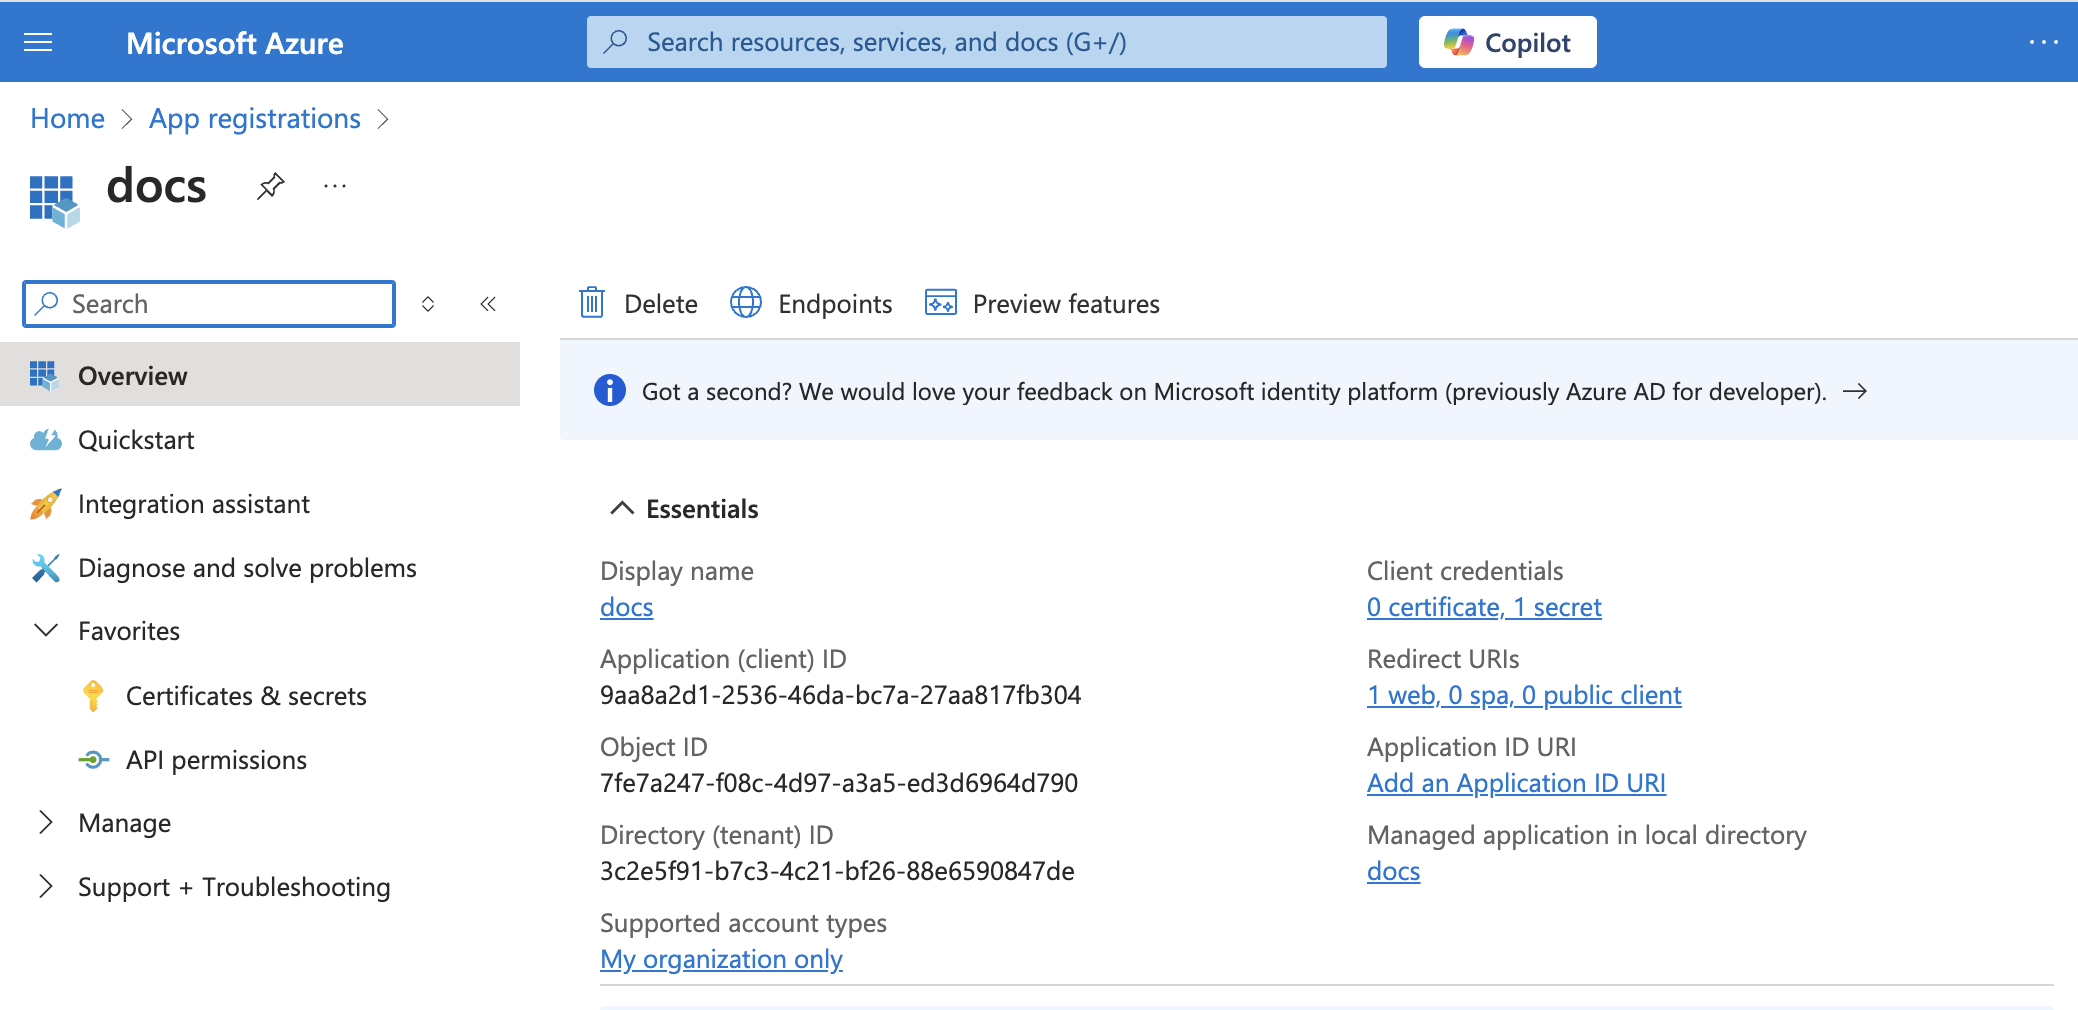 App details
Copy and save the Directory (tenant) ID for use in Workato.
Connect to Microsoft Teams with authorization code grant authentication
View connect to Microsoft Teams with authorization code grant authentication steps
Complete the following steps to set up an authorization code grant connection to Microsoft Teams in Workato:
Click Create > Connection.
Search for Microsoft Teams and select it as your app.
Enter a name for your connection in the Connection name field.
Use the Location drop-down menu to select the project where you plan to store the connection.
Use the Connection account type drop-down menu to select the type of account you plan to use. The available choices are Common and Tenant-specific.
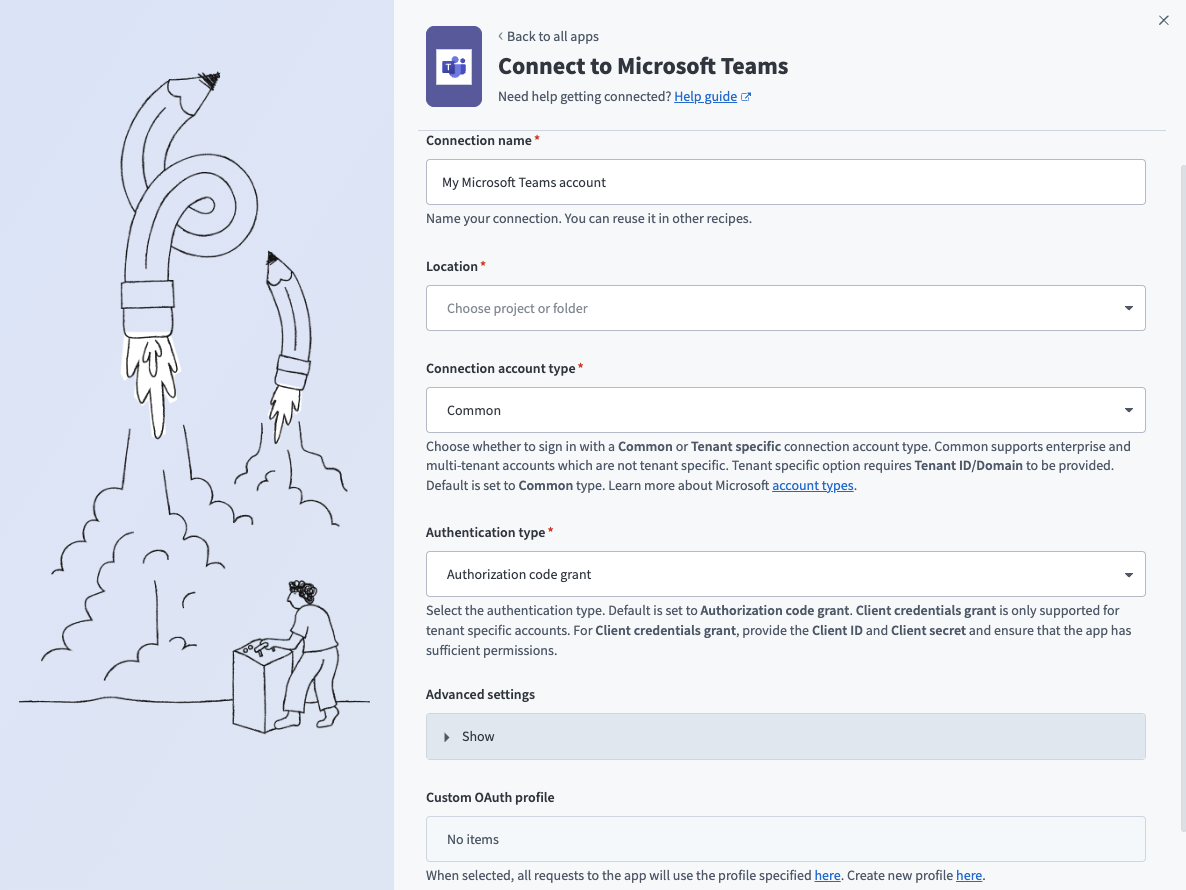 Microsoft Teams Common connection setup
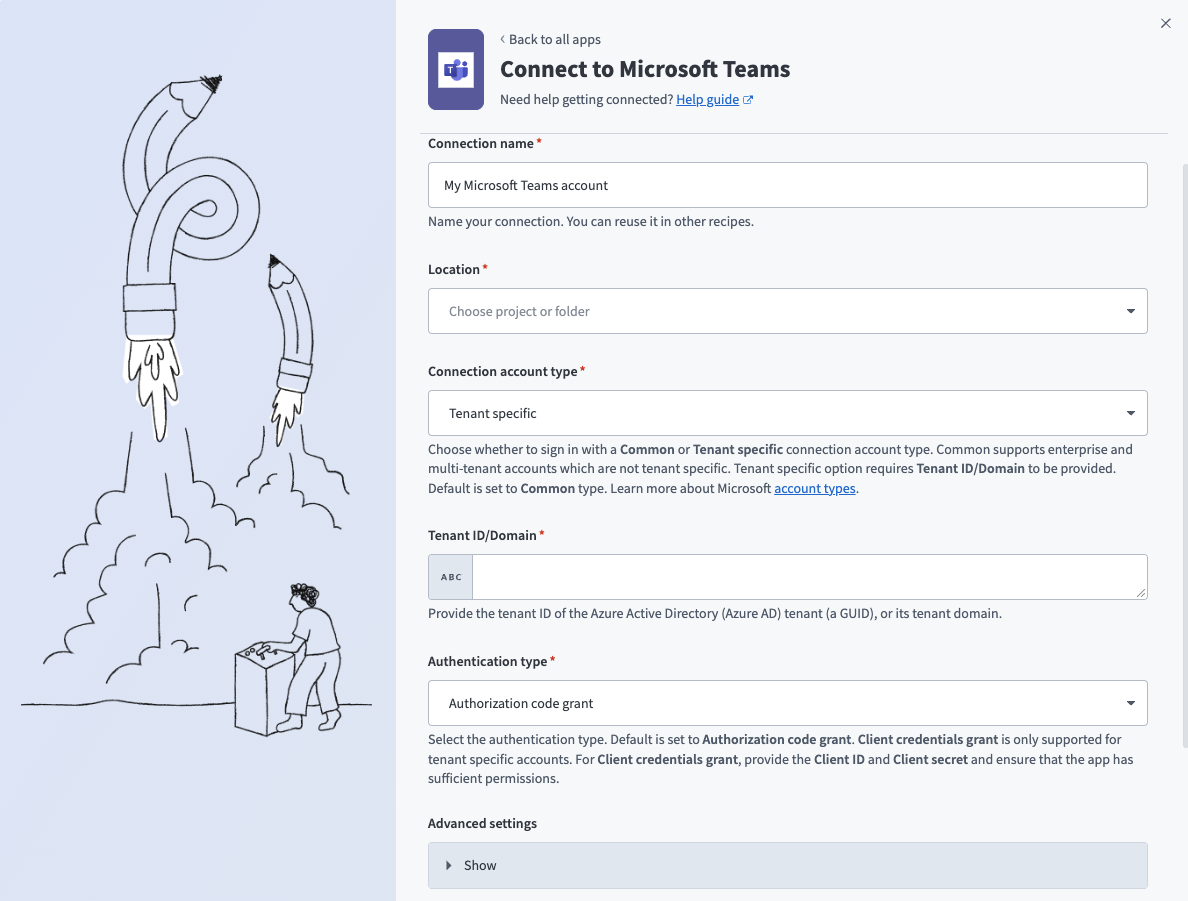 Microsoft Teams Tenant specific connection setup
Use the Authentication type drop-down menu to select Authorization code grant.
Optional. The connector requests a set of scopes necessary for all triggers and actions to function properly by default. Go to the Advanced settings section to manually select the permissions instead. The minimum permissions required to establish a connection are User.Read and offline_access. Workato always requests these permissions regardless of the permissions you select. Refer to Minimum scopes for more information.
Optional. Use the Custom OAuth profile drop-down menu to select a custom OAuth profile for your connection.
Click Sign in with Microsoft.
Client credentials-based authentication (OAuth 2.0)
This authentication type requires the following values:
- Tenant ID/Domain
- User ID
- Client ID
- Client Secret
COMPATIBLE AUTHENTICATION
Client credentials-based authentication is only compatible with tenant-specific connections.
Microsoft Teams setup for client credentials-based authentication (OAuth 2.0)
Complete the following steps to set up Microsoft Teams for client credentials-based authentication:
- Register the Workato app in the Azure portal
- Assign permissions to your app
- Generate a client secret
- Obtain the Application (client) ID, Object ID, and Directory (tenant) ID from the Azure portal
- Obtain the User ID from the Azure portal
Register the Workato app in the Azure portal
View register the Workato app in the Azure portal steps
Complete the following steps to register the Workato app in the Azure portal:
Sign in to the Azure portal.
Select App registrations > + New registration.
Enter a unique name for the application.
Use the Supported account types drop-down menu to select an account type.
Select Web from the Select a platform drop-down menu.
Use the following URI for the Redirect URI:
https://www.workato.com/oauth/callbackSelect Register.
Assign permissions to your app
View assign permissions to your app steps
Complete the following steps to assign permissions to your app:
Select Manage > API permissions in the navigation sidebar.
Click + Add a permission and select Microsoft Graph APIs.
Add permissions
Add the required permissions. You must assign Application or Delegated permissions, depending on your connection type.
Add permissions
Click Add permissions.
Admin consent is required for specific permissions.
Generate a client secret
View generate a client secret steps
Complete the following steps to generate a client secret:
Go to Manage > Certificates & Secrets > Client secrets.
Click + New client secret.
Provide a Description for the client secret and specify an Expires date.
Click Add.
Copy and save the client secret Value—not the Secret ID—for use in Workato.
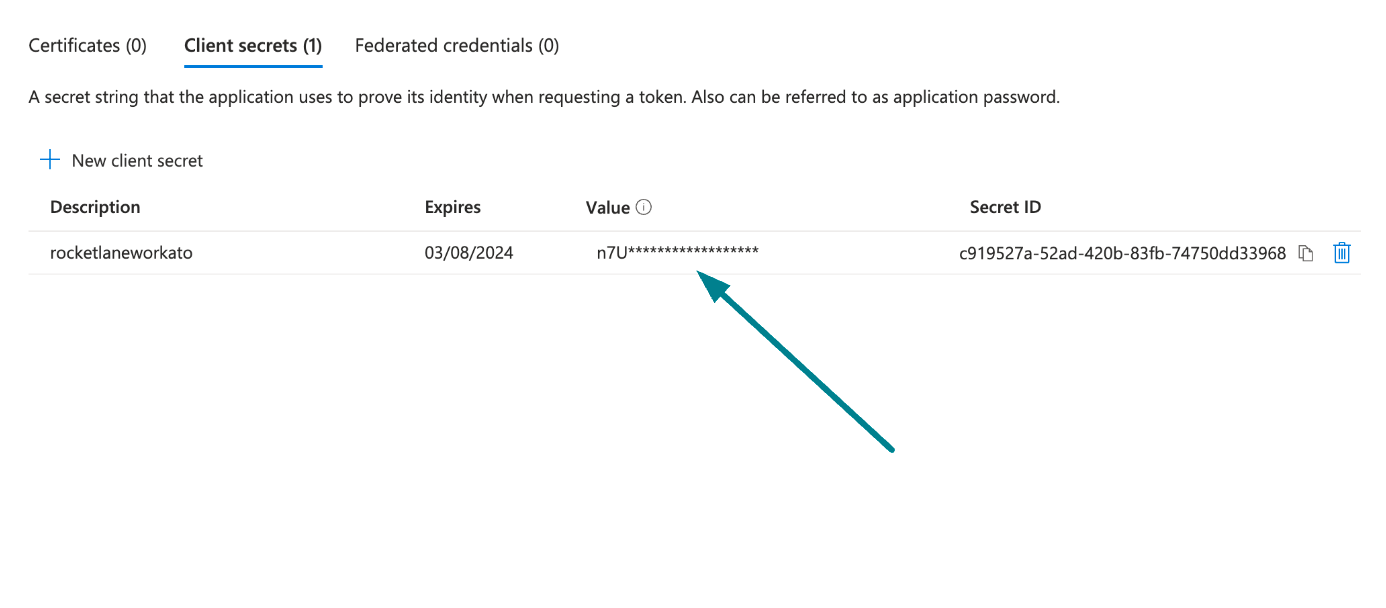 Copy and save the client secret value
Obtain the Application (client) ID, Object ID, and Directory (tenant) ID from the Azure portal
View obtain the Application (client) ID, Object ID, and Directory (tenant) ID from the Azure portal steps
Complete the following steps to obtain the Application ID, Object ID, and Directory (tenant) ID from the Azure portal:
Go to the Overview > Essentials section.
App details
Copy and save the Application (client) ID, Object ID, and Directory (tenant) ID for use in Workato.
Obtain the User ID from the Azure portal
View obtain the User ID from the Azure portal steps
Complete the following steps to obtain the User ID from the Azure portal:
Go to Home > Users to obtain the User ID.
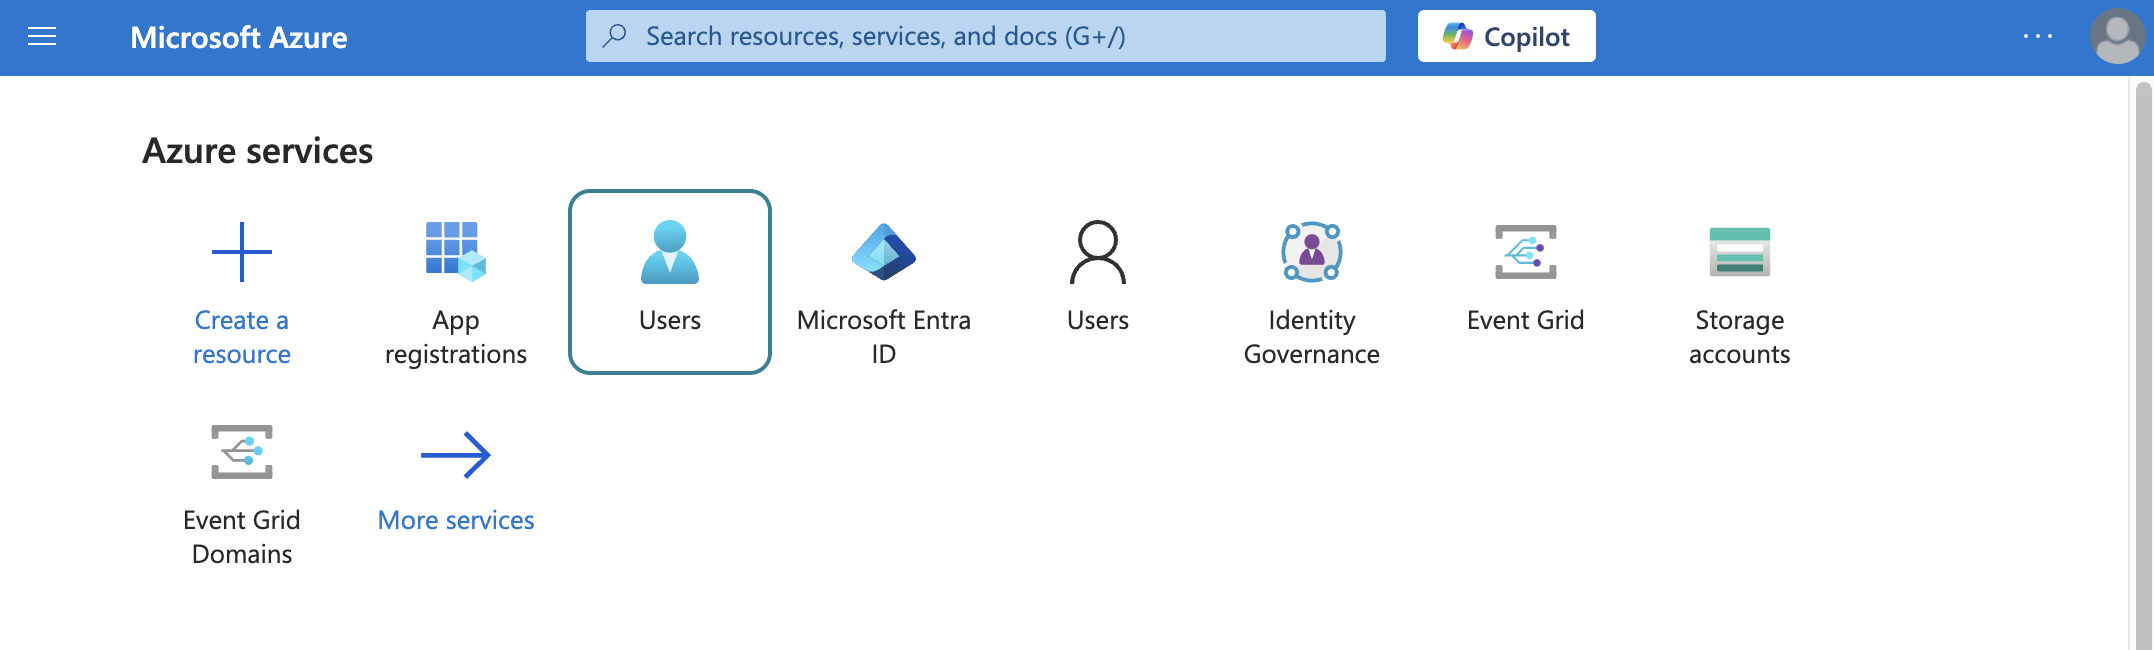 Select users
Search for and select the default user you plan to use to perform operations. This user doesn't establish the connection but is required for performing certain operations that an app can't perform. It's also required in picklists to pull user data. For example, the folder picklist populates folders belonging to the default user.
Copy and save the User principal name. Use this value as the User ID in Workato.
Connect to Microsoft Teams with client credentials-based authentication
View connect to Microsoft Teams with client credentials-based authentication steps
Complete the following steps to set up a client credentials-based connection to Microsoft Teams in Workato:
Click Create > Connection.
Search for Microsoft Teams and select it as your app.
Enter a name for your connection in the Connection name field.
Use the Location drop-down menu to select the project where you plan to store the connection.
Select Tenant specific as the Connection account type. This option is specifically designed for users who belong to a particular organization (tenant).
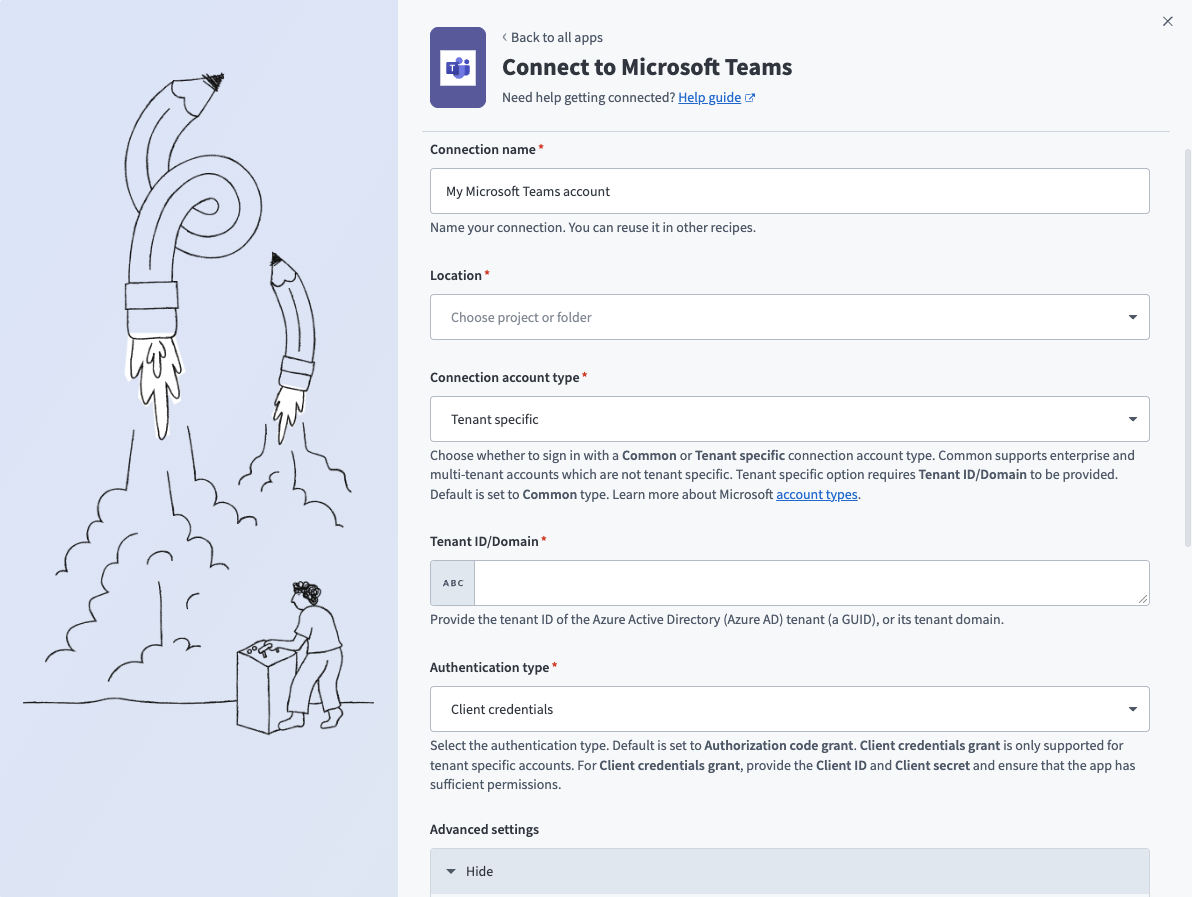 Microsoft Teams Tenant specific connection account type setup
Provide your Tenant ID/Domain. This is the Directory (tenant) ID for your app. Refer to Register an app in Azure for more information.
Use the Authentication type drop-down menu to select Client credentials.
Supply the User ID, Client ID, and Client secret for your app. Refer to Obtain the User ID from the Azure portal, Obtain the Application (client) ID, Object ID, and Directory (tenant) ID from the Azure portal, and Generate a client secret for more information.
Optional. Use the Custom OAuth profile drop-down menu to select a custom OAuth profile for your connection.
Click Sign in with Microsoft.
Connect Microsoft Entra ID to the Microsoft Teams connector
View connect Microsoft Entra ID to the Microsoft Teams connector steps
To connect to the Microsoft Teams connector using a Microsoft Entra ID account, ensure that all the consent requests are granted by admins.
Complete the following steps to grant admin consent using an admin account:
Sign in to your Azure portal and navigate to Enterprise Applications > Activity > Admin consent requests.
Approve the necessary consent requests.
Last updated: