Qdrant
Qdrant is an open-source vector database that stores embeddings with payloads and runs similarity search. The Qdrant connector lets you store, search, and manage vectors in Qdrant collections from Workato recipes.
Use the Qdrant connector to:
- Upsert points into a collection.
- Query the nearest points using an embedding from an upstream step.
- Scroll through points with pagination.
- Retrieve points by ID, or delete points by ID or filter.
- List collections, get collection details, and create collections.
EMBEDDINGS ARE CREATED UPSTREAM
Qdrant stores and searches vectors. It doesn't create them. Generate embeddings in a separate recipe step, such as an AI by Workato action, before you upsert or query points. Vector inputs are arrays of floats, not raw text.
Install Qdrant from the community library
Complete the following steps to install the Qdrant connector from the community library:
Open the recipe editor and search for a connector. Alternatively, you can search for a connector in the community library.
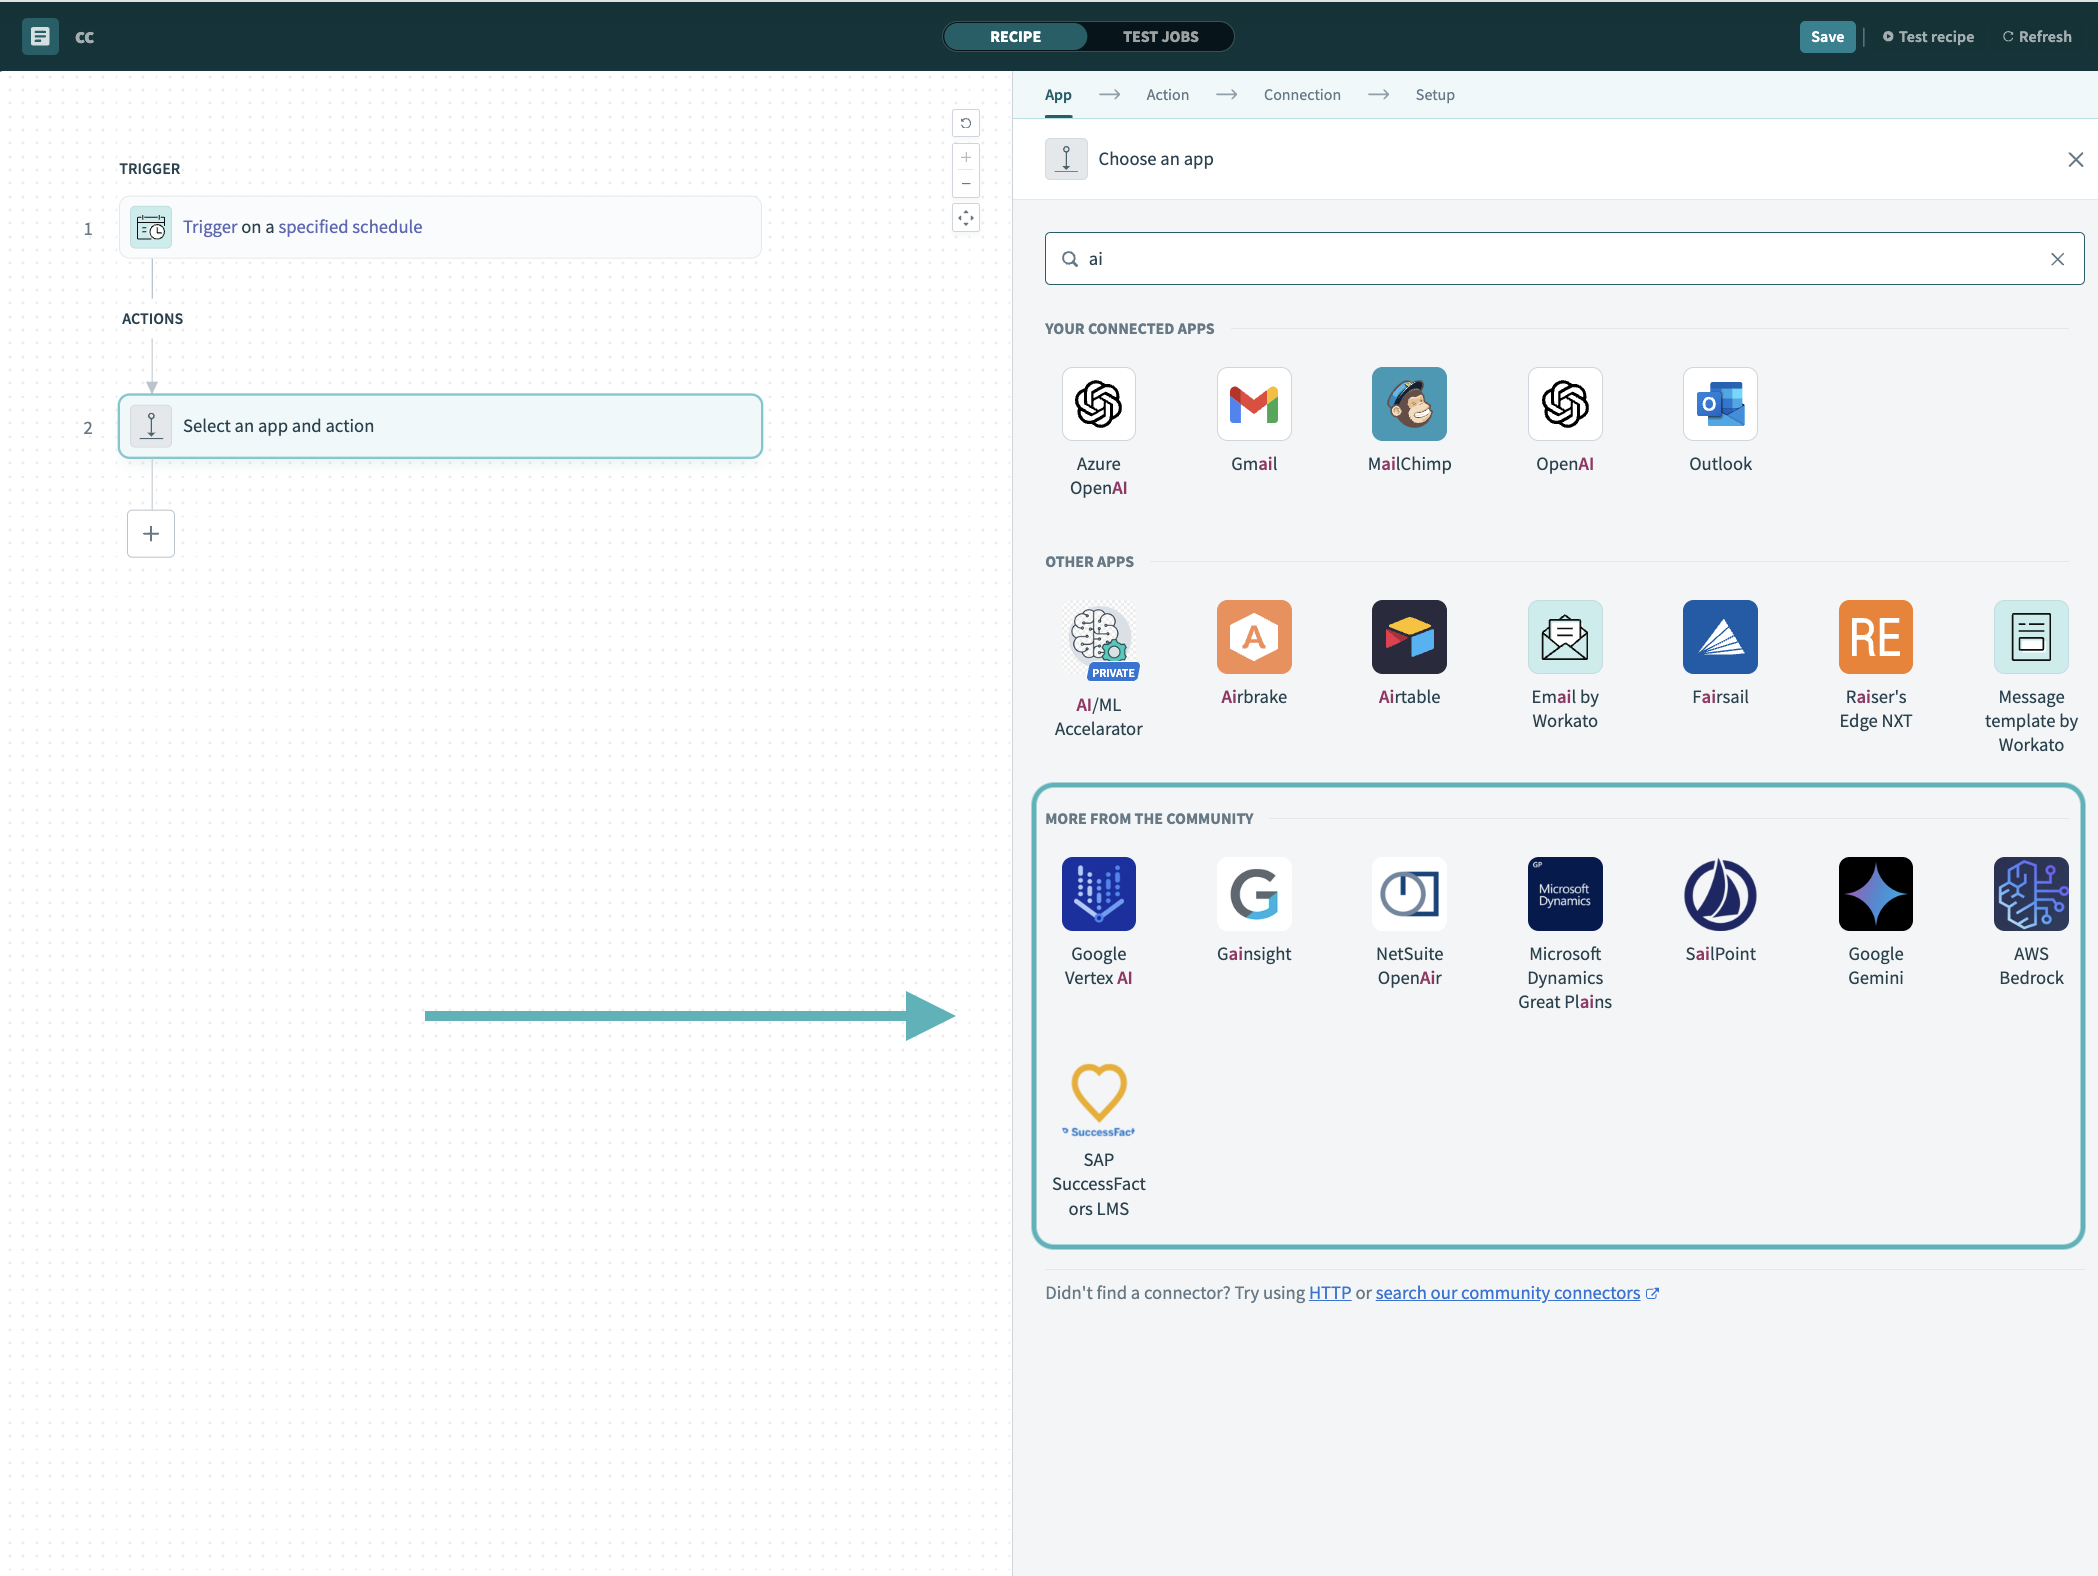 Search for community connectors in the recipe editor
Select the community connector you plan to install.
Click Install to install the connector from the community library.
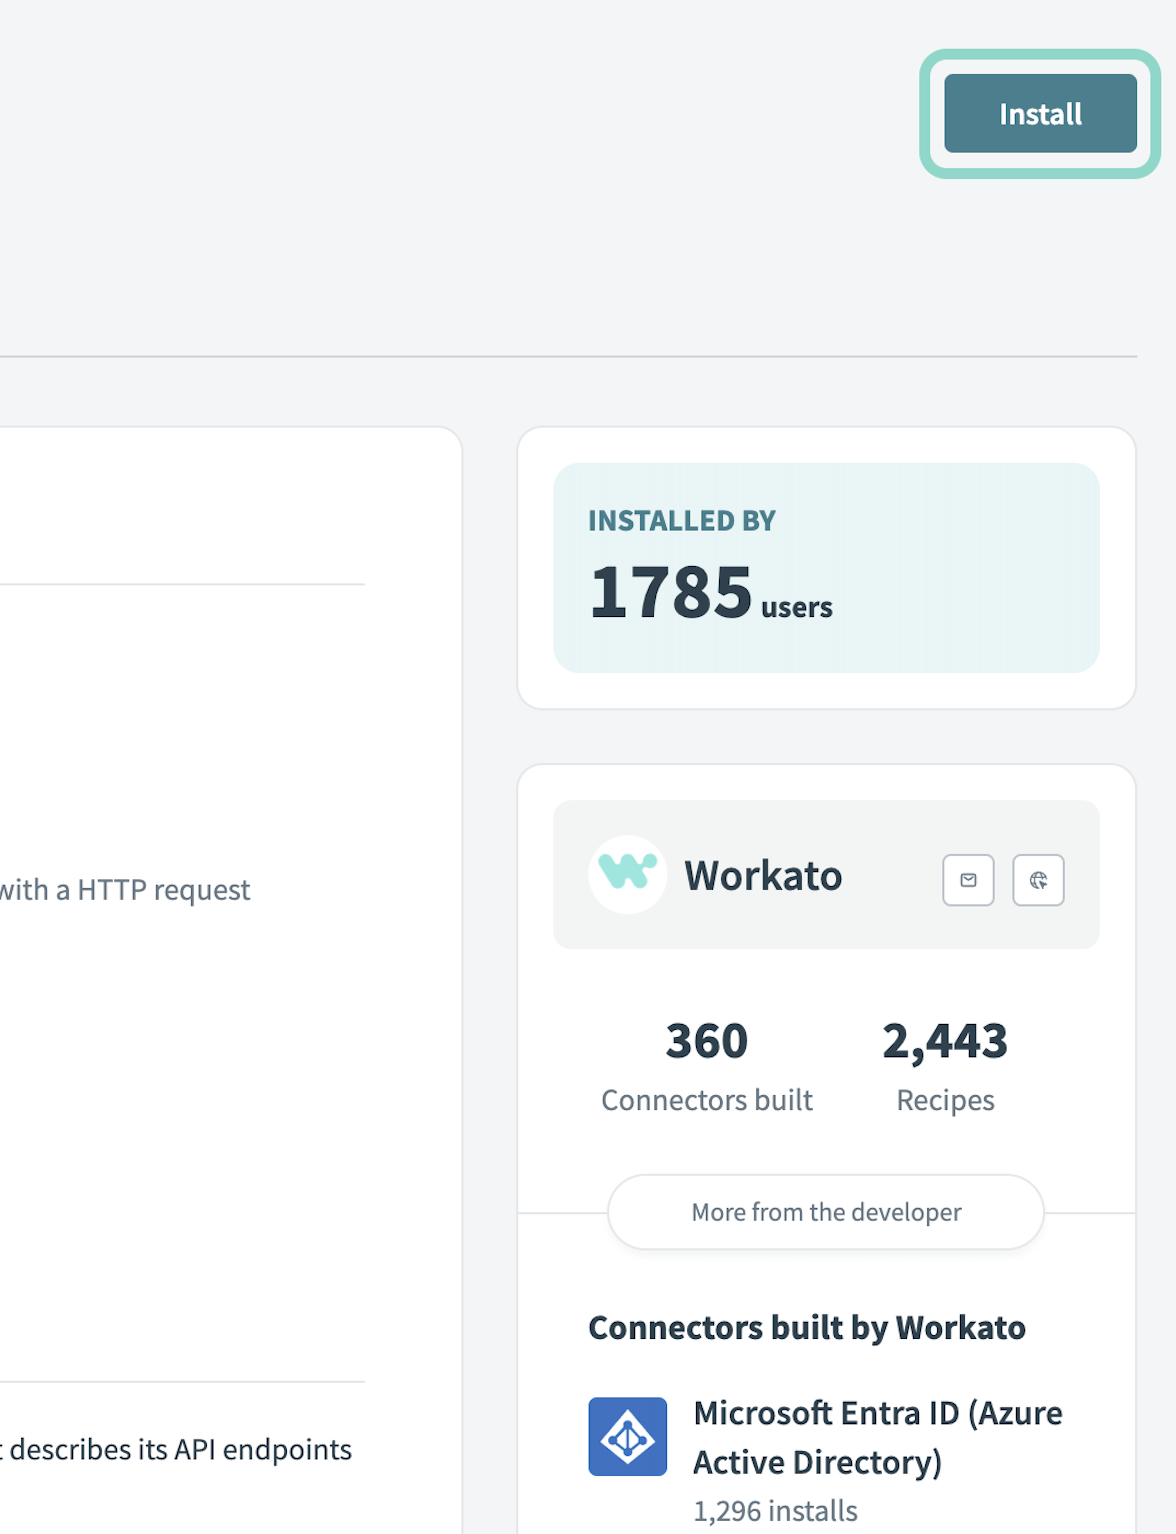 Click Install
Select Release connector. Alternatively, select Review code to review and modify the connector code before releasing it to the workspace.
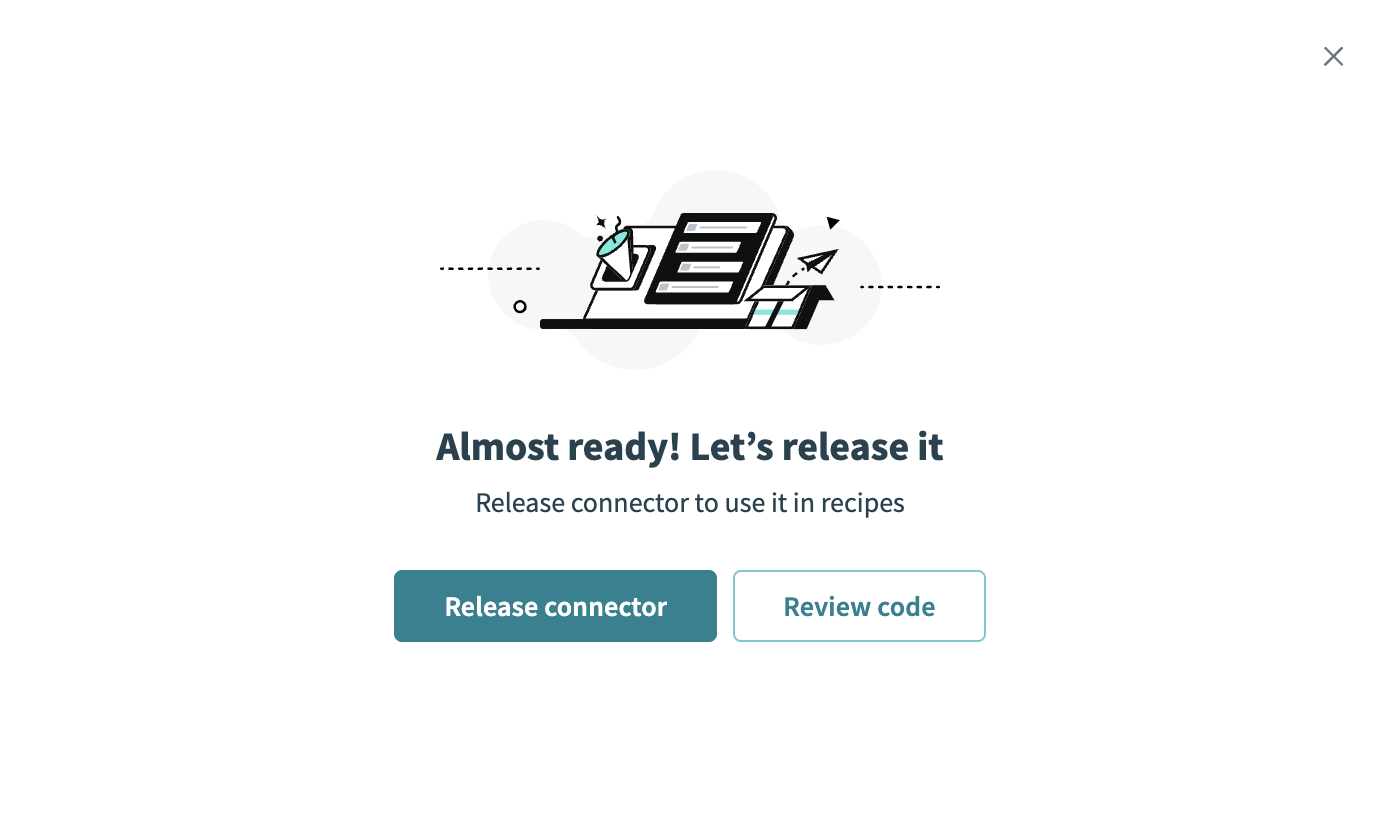 Release the connector
Summarize any changes you made to the connector, then click Release to allow workspace collaborators to use the connector in recipes.
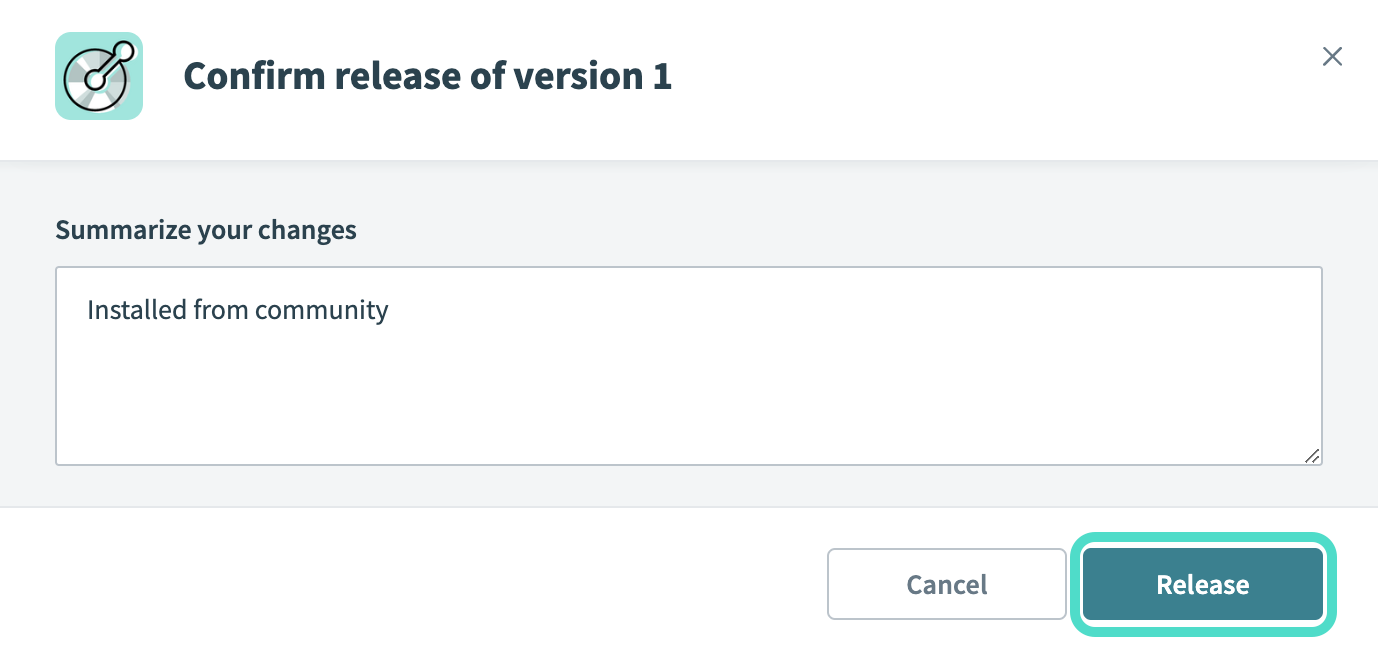 The Confirm release dialog
Connection setup
The Qdrant connector uses API key authentication.
Qdrant setup
How you retrieve the Qdrant cluster and API key depends on what type of Qdrant instance you have. Use the instructions that match your use case.
Qdrant Cloud
Sign in to the Qdrant Cloud console.
Create a cluster. Skip this step if you plan to use an existing cluster.
Click Clusters > Create on the cloud dashboard.
Enter a name for your cluster in the Name field.
Select a cloud provider to use in Qdrant.
Select your region in the Region drop-down menu.
Click Create.
Retrieve your cluster URL.
Click Clusters in the side navigation menu.
Select the cluster you plan to use.
Copy the Cluster URL. For example, https://xyz-example.region.provider.cloud.qdrant.io:6333.
Generate a database API key.
Go to the Clusters section in the side navigation menu.
Click API keys > Create database API key.
Copy the key to use in Workato.
Self-hosted Qdrant
Set the QDRANT__SERVICE__API_KEY environment variable on your instance. How you do this depends on the deployment method you choose, such as Docker CLI, Docker Compose, or Kubernetes. Refer to the Qdrant security guide for more information.
AUTHENTICATION NOT ENABLED BY DEFAULT
Self-hosted Qdrant instances don't have authentication enabled by default.
Enable TLS to prevent the key from being sent in plain text. How you do this depends on the deployment method you choose, such as Docker Compose or the config.yaml file. Refer to the Qdrant security guide for more information.
SELF-HOSTED INSTANCES MUST BE PUBLIC
Workato can't reach localhost or private network addresses. Expose your instance at a public address or through a tunnel, and use that address as the cluster URL. For example, https://qdrant.mycompany.com:6333.
Connect to Qdrant using API key authentication
Complete the following steps to set up a Qdrant connection in Workato:
Click Create > Connection.
Search for Qdrant and select it as your app.
Enter a name for your connection in the Connection name field.
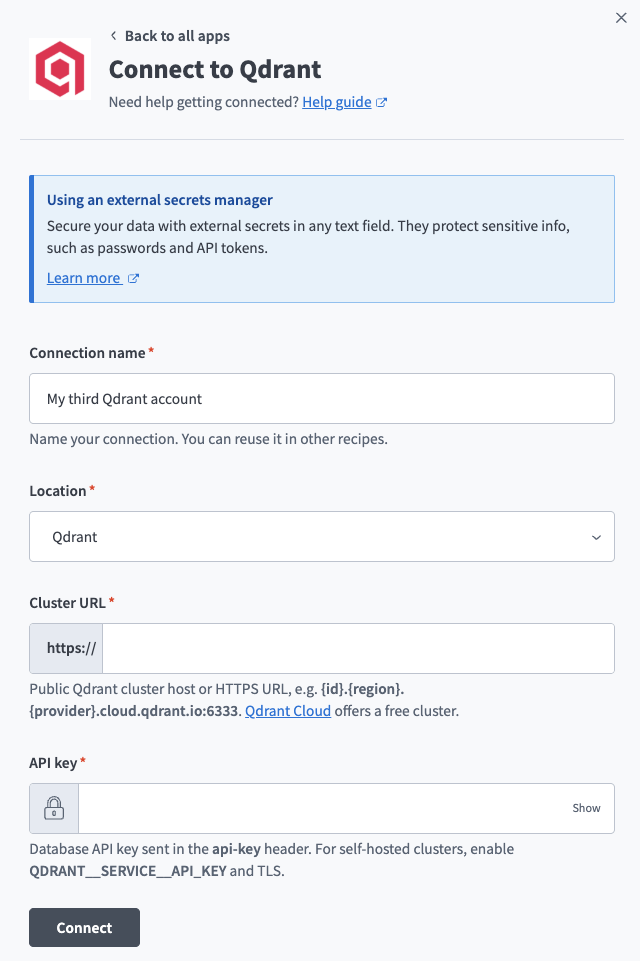 Qdrant connection setup
Use the Location drop-down menu to select the project where you plan to store the connection.
Enter the full URL of your Qdrant cluster, including the port, in the Cluster URL field. For example, https://xyz-example.region.provider.cloud.qdrant.io:6333.
Enter your database API key in the API key field.
Click Connect.
Last updated: