Ramp
Ramp automates finance operations so businesses spend less time and money on expenses. The Ramp connector lets you create, retrieve, update, delete, and search Ramp records directly from Workato recipes. Refer to the Ramp REST API documentation for endpoint details.
Use the Ramp connector to:
- Manage accounts, cards, and spend limits.
- Track transactions, receipts, and reimbursements.
- Manage departments, locations, and subsidiaries.
- Manage users, vendors, and merchants.
You can also use custom actions to build a custom HTTP request to any Ramp API endpoint.
Install Ramp from the community library
Complete the following steps to install the Ramp connector from the community library:
Open the recipe editor and search for a connector. Alternatively, you can search for a connector in the community library.
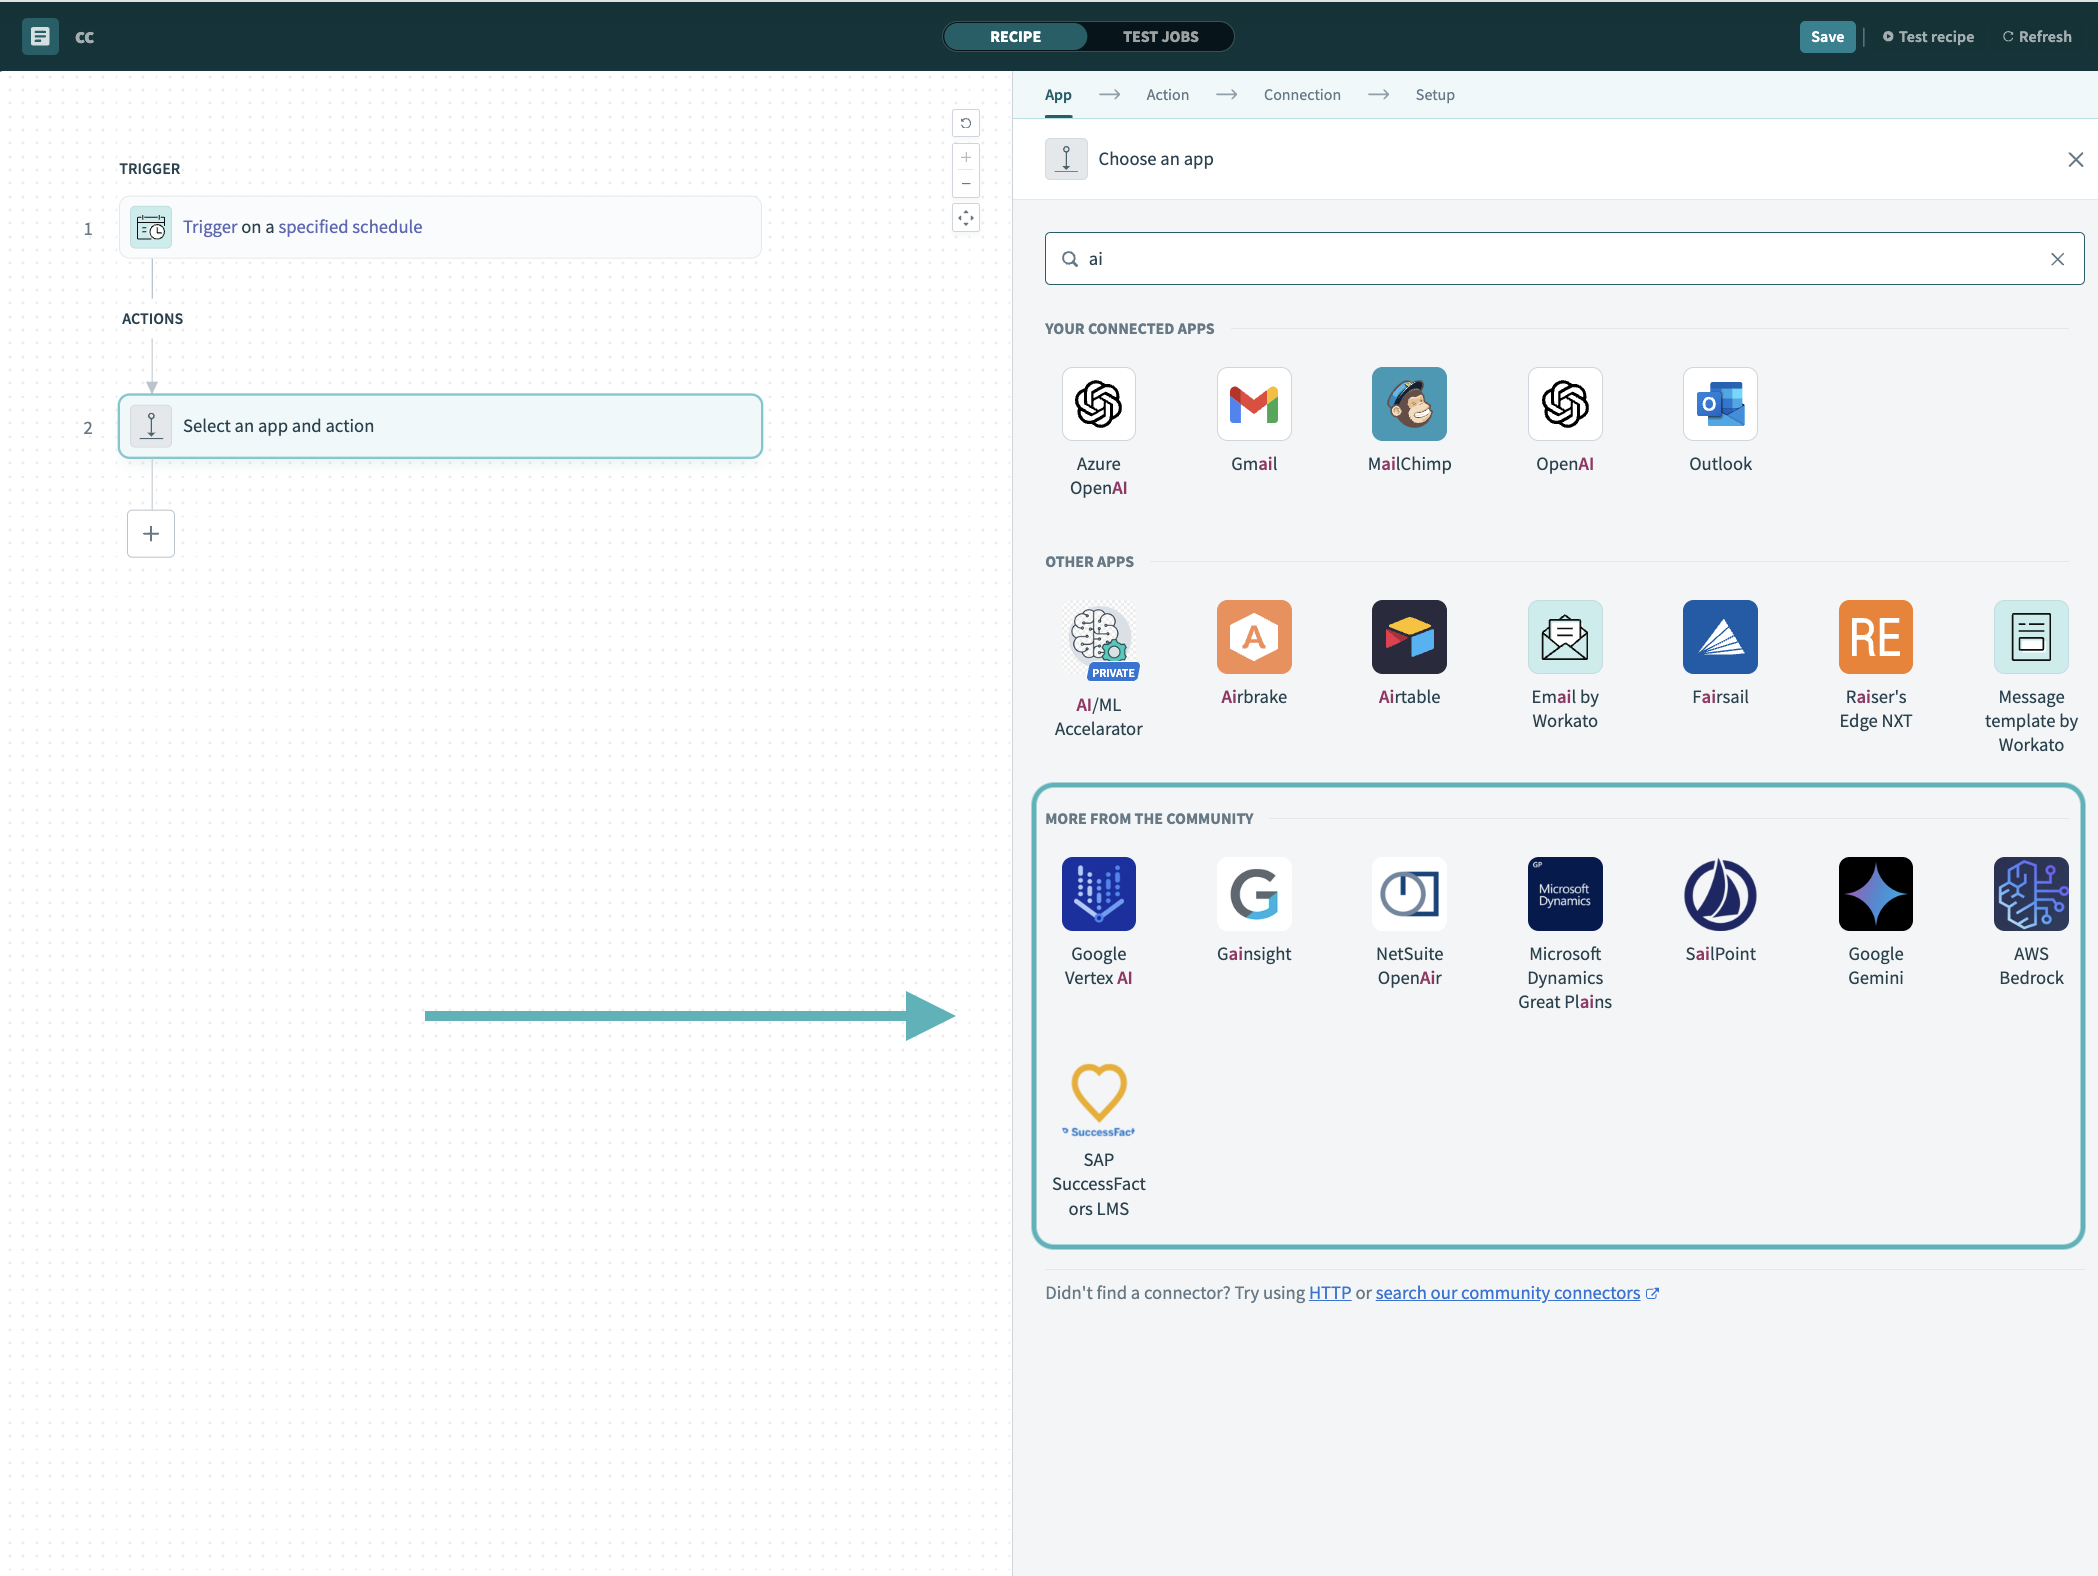 Search for community connectors in the recipe editor
Select the community connector you plan to install.
Click Install to install the connector from the community library.
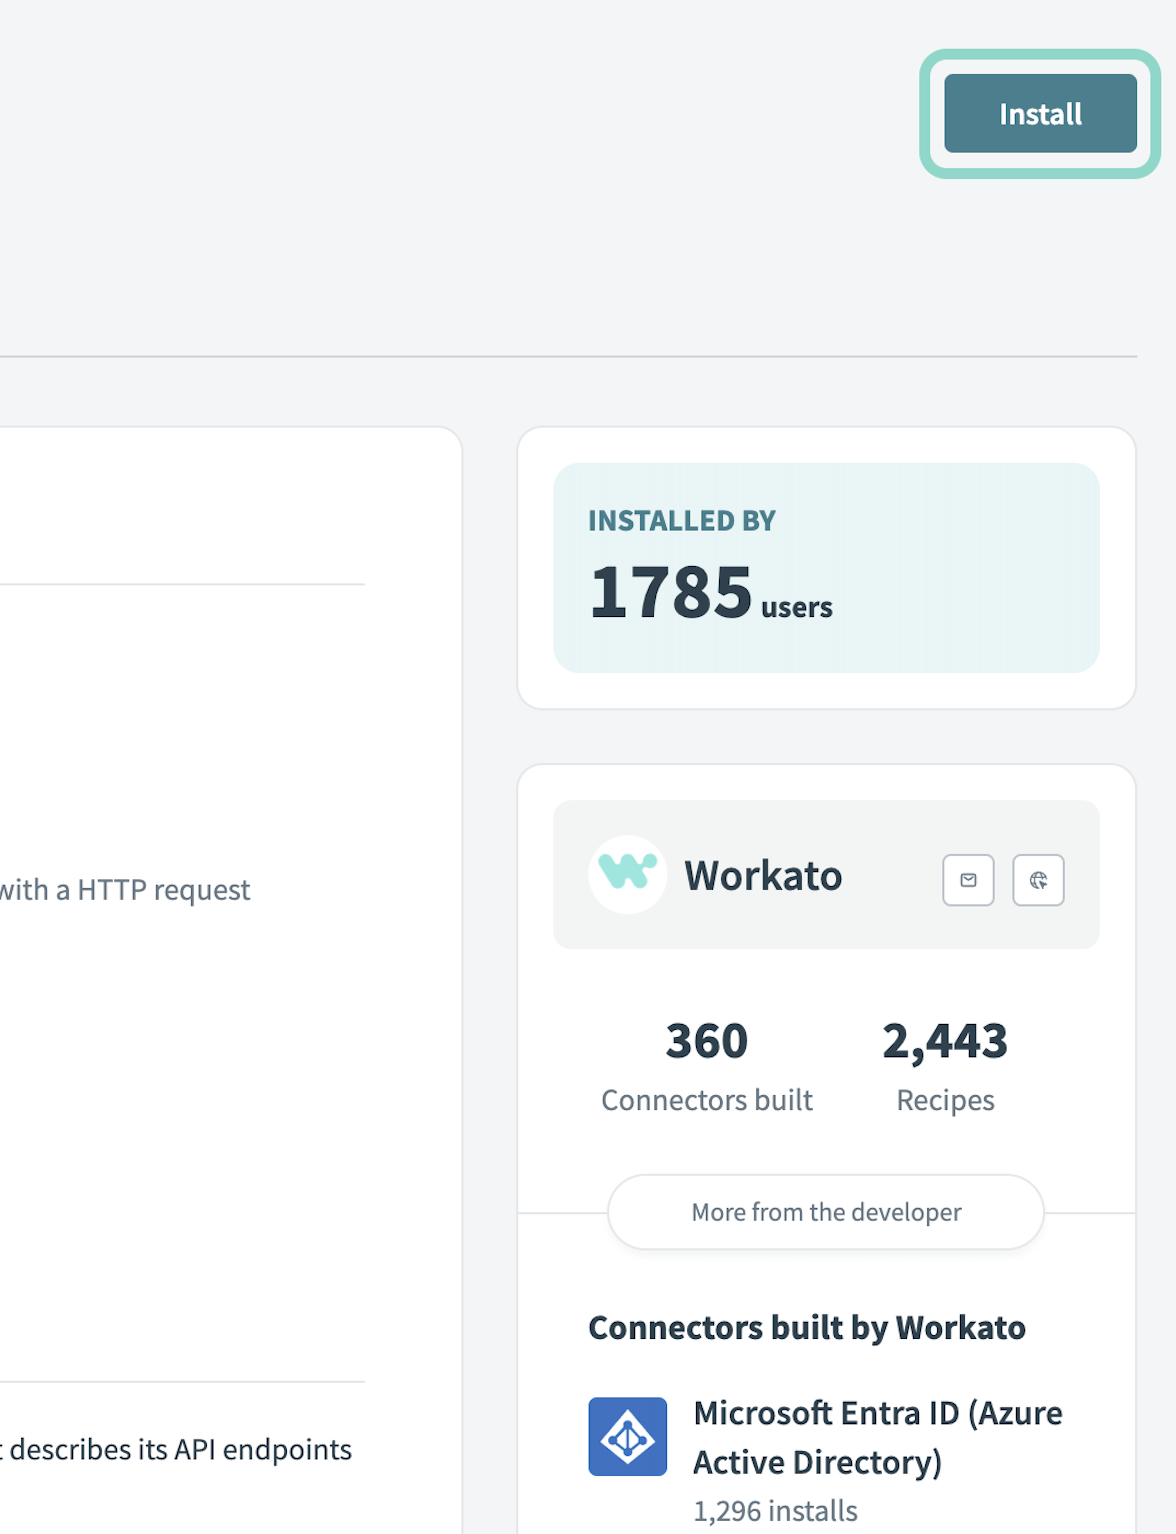 Click Install
Select Release connector. Alternatively, select Review code to review and modify the connector code before releasing it to the workspace.
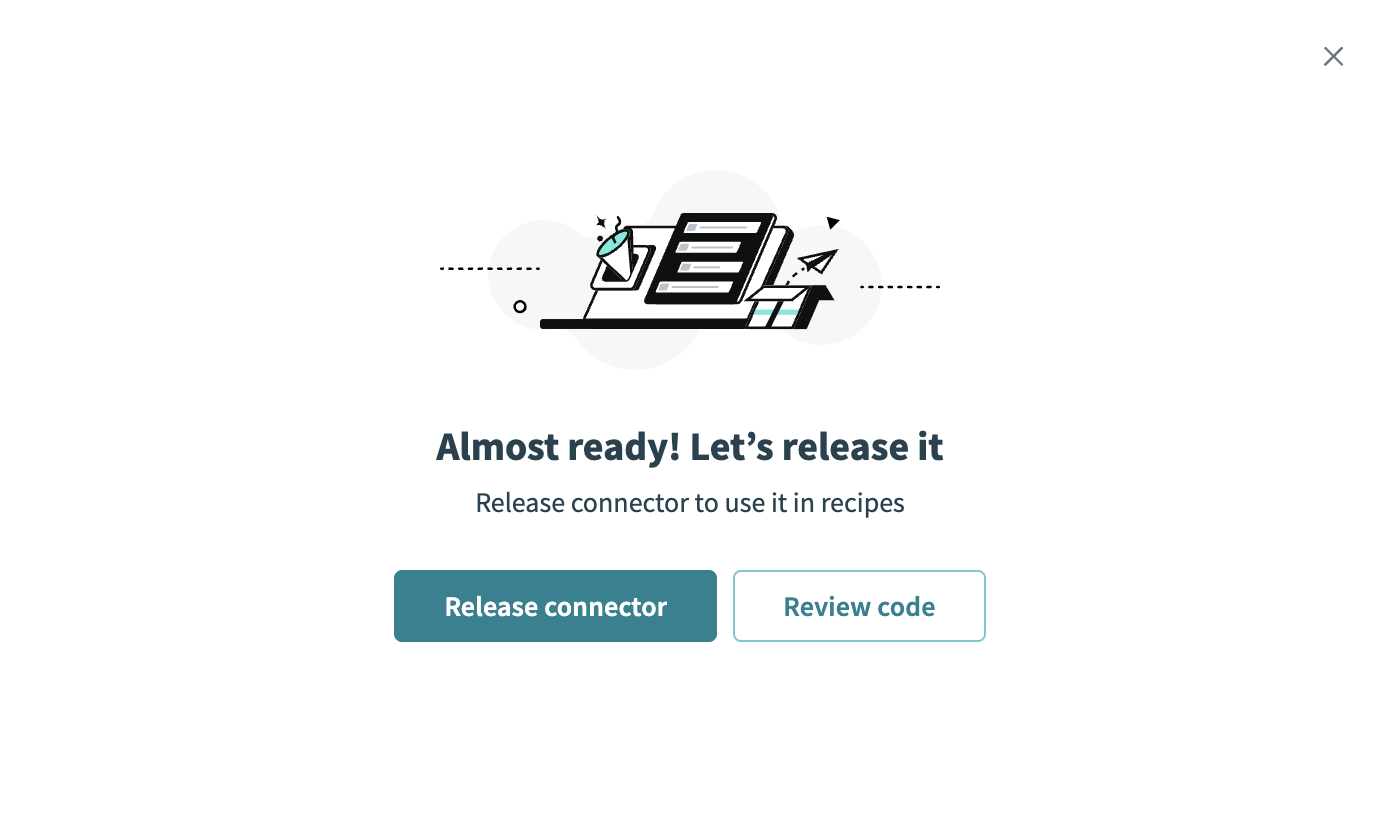 Release the connector
Summarize any changes you made to the connector, then click Release to allow workspace collaborators to use the connector in recipes.
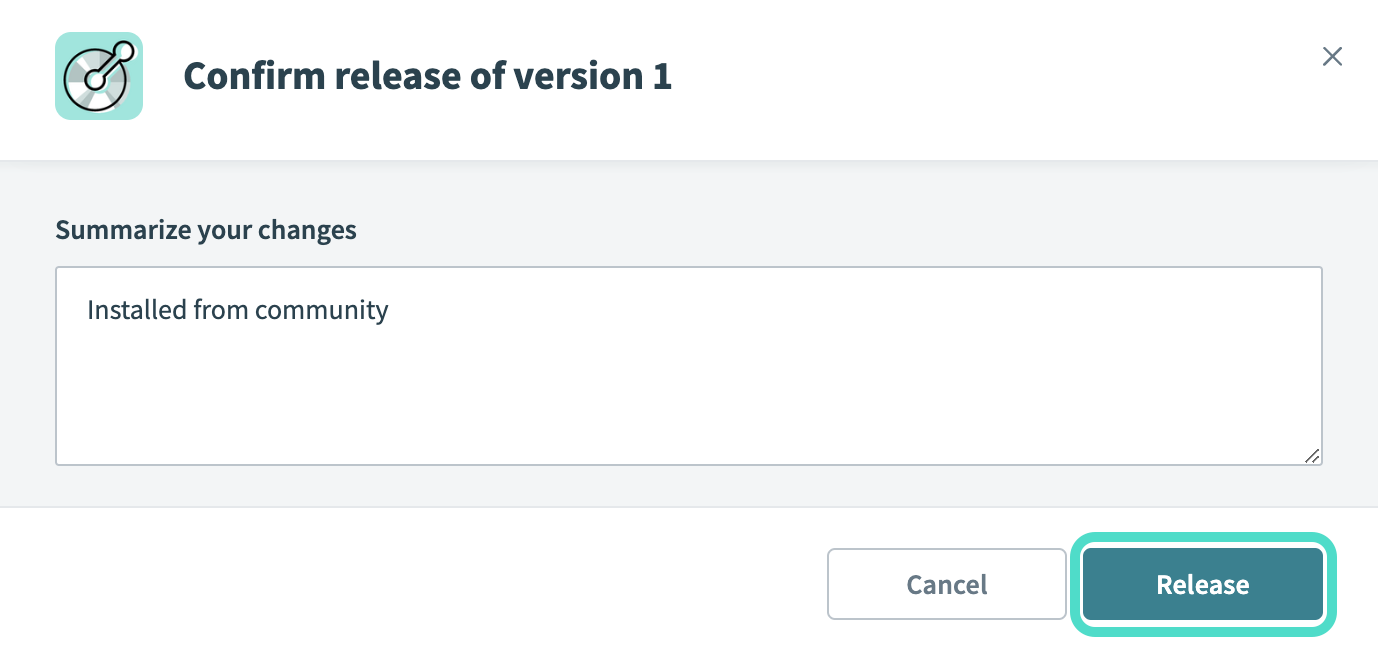 The Confirm release dialog
Connection setup
The Ramp connector supports the following authentication types:
Authorization code authentication
Use authorization code to connect as a specific Ramp user. Ramp redirects the user to sign in and approve access.
Ramp setup for authorization code authentication
Complete the following steps to create a Ramp app for authorization code authentication:
Open the Developer apps page in Ramp.
Click Start building for your first app, or Create new app for additional apps.
Enter a descriptive name for your app, for example Workato Integration.
Select the checkbox to accept Ramp's Developer Terms of Service.
Click Create app.
Select your newly created app.
Enable Authorization code and Refresh token under Grant types.
Optional. Go to Scopes and click Configure allowed scopes to select scopes.
Copy and save the Client ID and Client secret for use in Workato.
Connect to Ramp using authorization code
Complete the following steps to set up an authorization code connection to Ramp in Workato:
Click Create > Connection.
Search for Ramp and select it as your app.
Provide a name for your connection in the Connection name field.
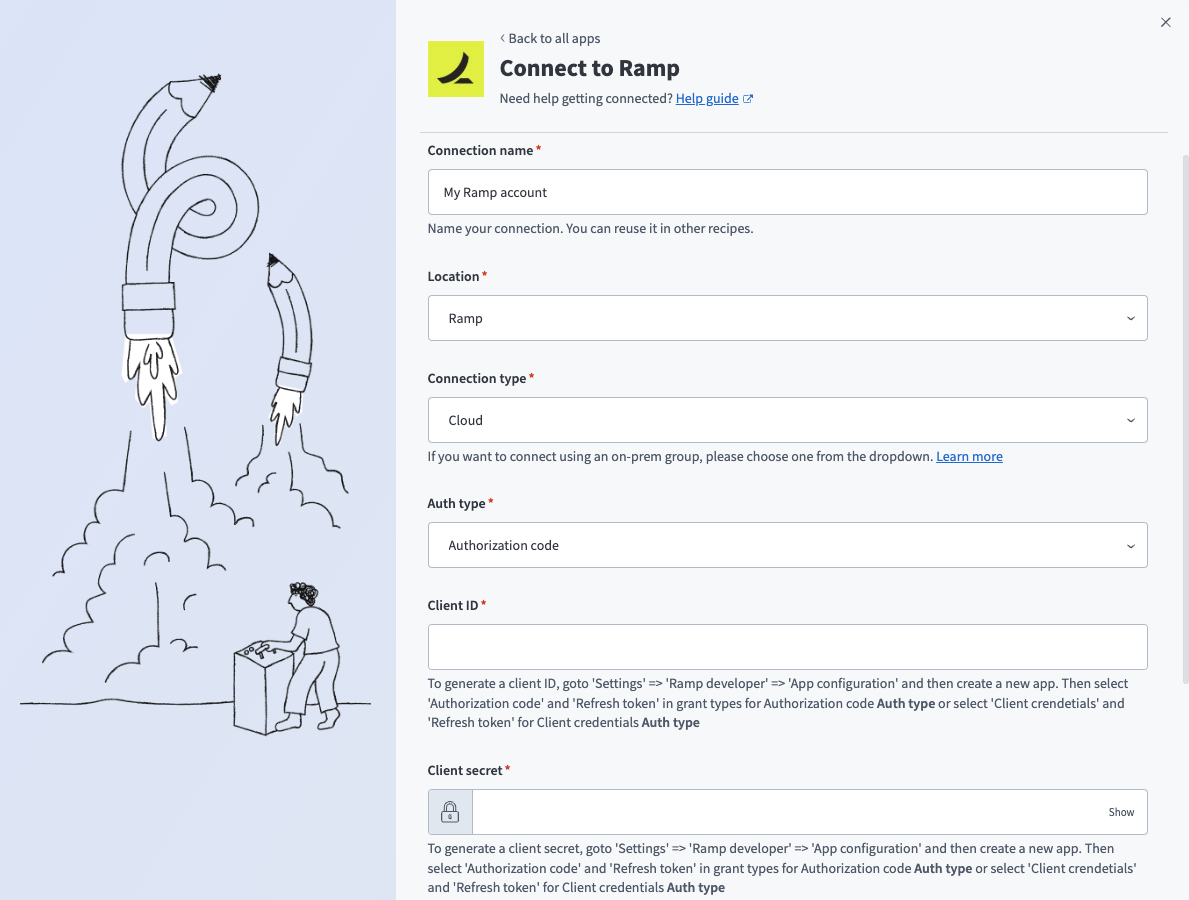 Ramp authorization code connection setup
Use the Location drop-down menu to select the project where you plan to store the connection.
Use the Connection type drop-down menu to select Cloud, or select an on-prem group to connect through an on-prem agent.
Use the Auth type drop-down menu to select Authorization code.
Enter the Client ID and Client secret. Refer to Ramp setup for authorization code authentication for more information.
Use the Environment drop-down menu to select Production or Sandbox.
Optional. Use the Scopes field to select one or more scopes. The connection is granted every available scope if you don't select any.
Click Connect.
Sign in to Ramp when prompted, and click Allow to grant access.
Client credentials authentication
Use client credentials to connect without a specific user, for server-to-server automation.
Ramp setup for client credentials authentication
Complete the following steps to create a Ramp app for client credentials authentication:
Open the Developer apps page in Ramp.
Click Start building for your first app, or Create new app for additional apps.
Enter a descriptive name for your app, for example Workato Integration.
Select the checkbox to accept Ramp's Developer Terms of Service.
Click Create app.
Select your newly created app.
Enable Client credentials under Grant types.
Optional. Go to Scopes and click Configure allowed scopes to select scopes.
Copy and save the Client ID and Client secret for use in Workato.
Connect to Ramp using client credentials
Complete the following steps to set up a client credentials connection to Ramp in Workato:
Click Create > Connection.
Search for Ramp and select it as your app.
Provide a name for your connection in the Connection name field.
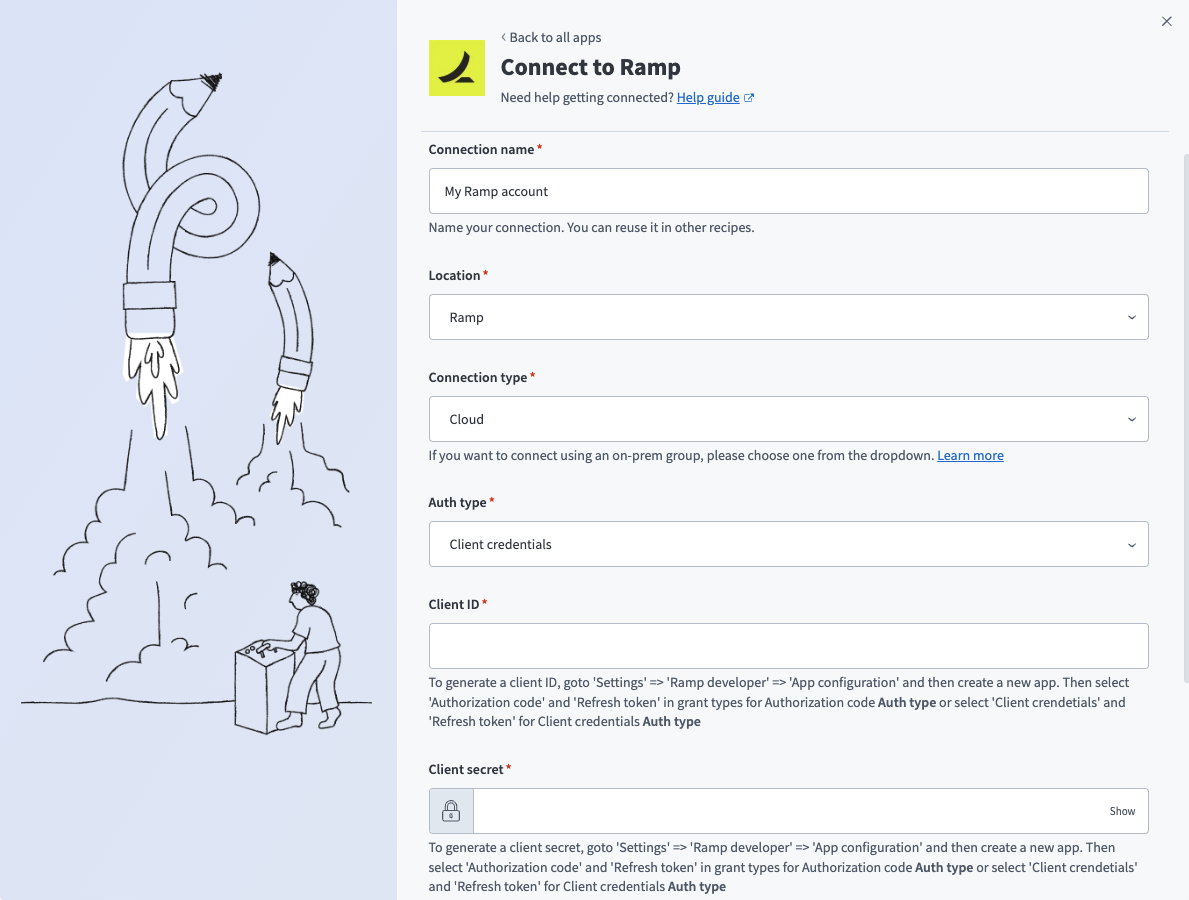 Ramp client credentials connection setup
Use the Location drop-down menu to select the project where you plan to store the connection.
Use the Connection type drop-down menu to select Cloud, or select an on-prem group to connect through an on-prem agent.
Use the Auth type drop-down menu to select Client credentials.
Enter the Client ID and Client secret. Refer to Ramp setup for client credentials authentication for more information.
Use the Environment drop-down menu to select Production or Sandbox.
Optional. Use the Scopes field to select one or more scopes. The connection is granted every available scope if you don't select any.
Click Connect.
Last updated: