SOAP universal connector
Workato's SOAP connector is a universal connector that lets you connect to any web service using WSDL descriptions. Use the SOAP connector if there isn't a web service-specific connector available and the web service provides a WSDL description.
Supported web service standards include:
- SOAP protocol bindings versions 1.1 and 1.2
- WSDL version 1.1 and XML Schema/XSD
- HTTP transport version 1.1 and 2.0
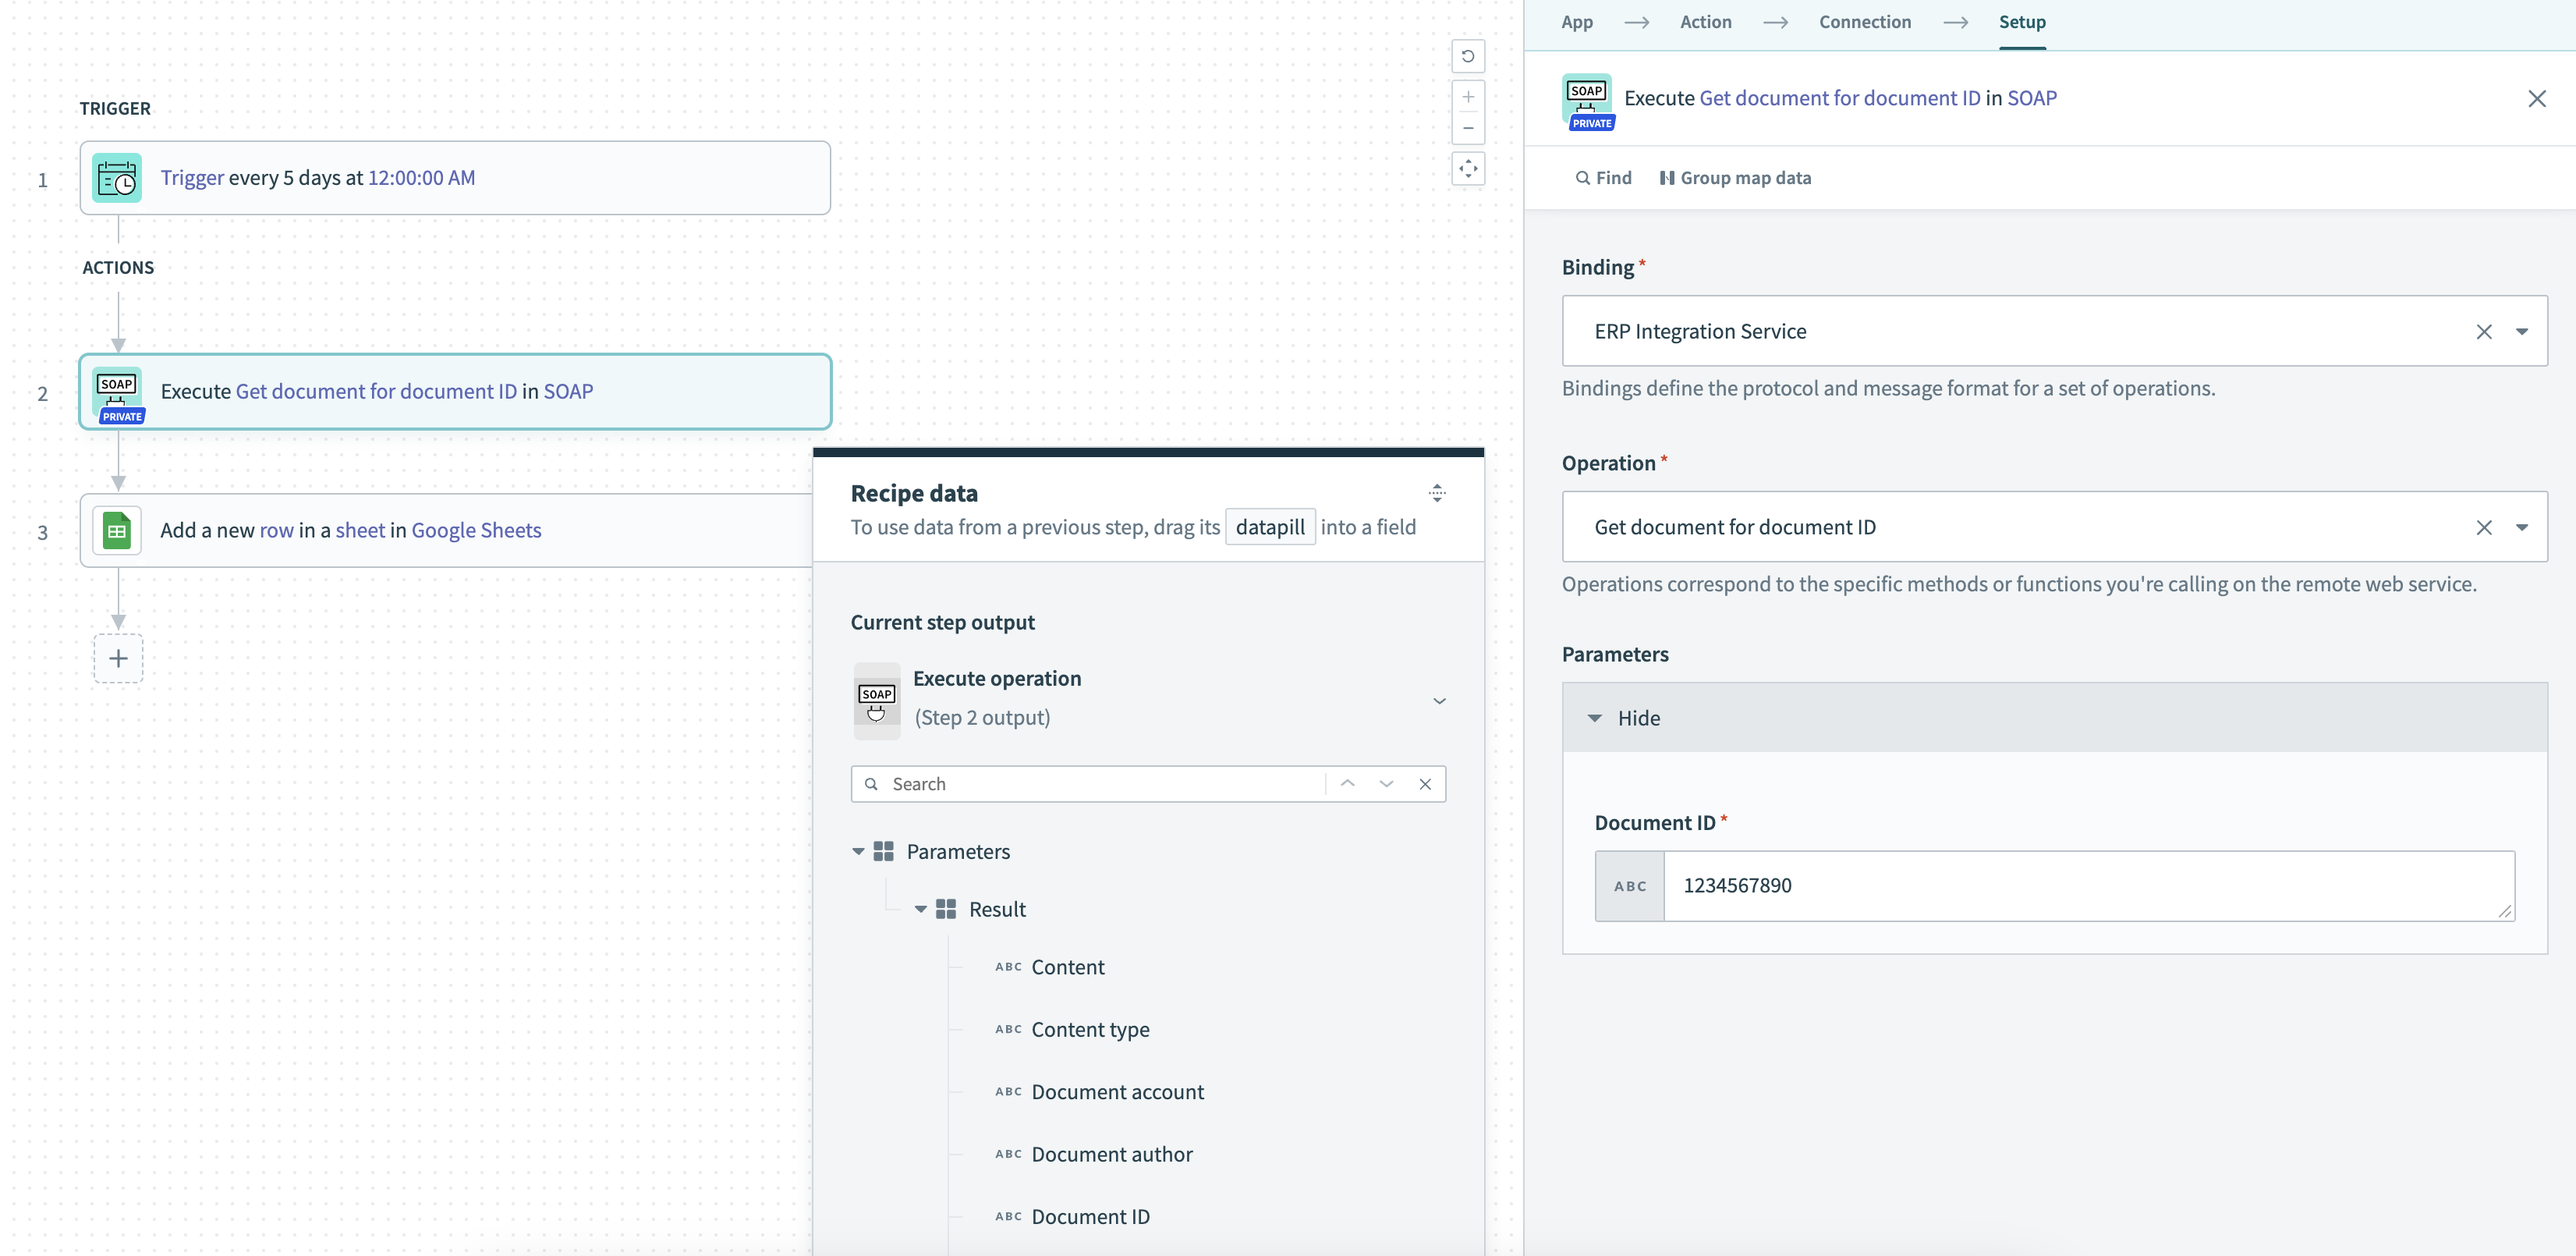 Example SOAP recipe
How the SOAP connector works
The SOAP connector uses an on-prem agent to access web services in both private networks and in the cloud. The agent's SOAP extension uses Apache CXF, which requires a JDK (Java Development Kit).
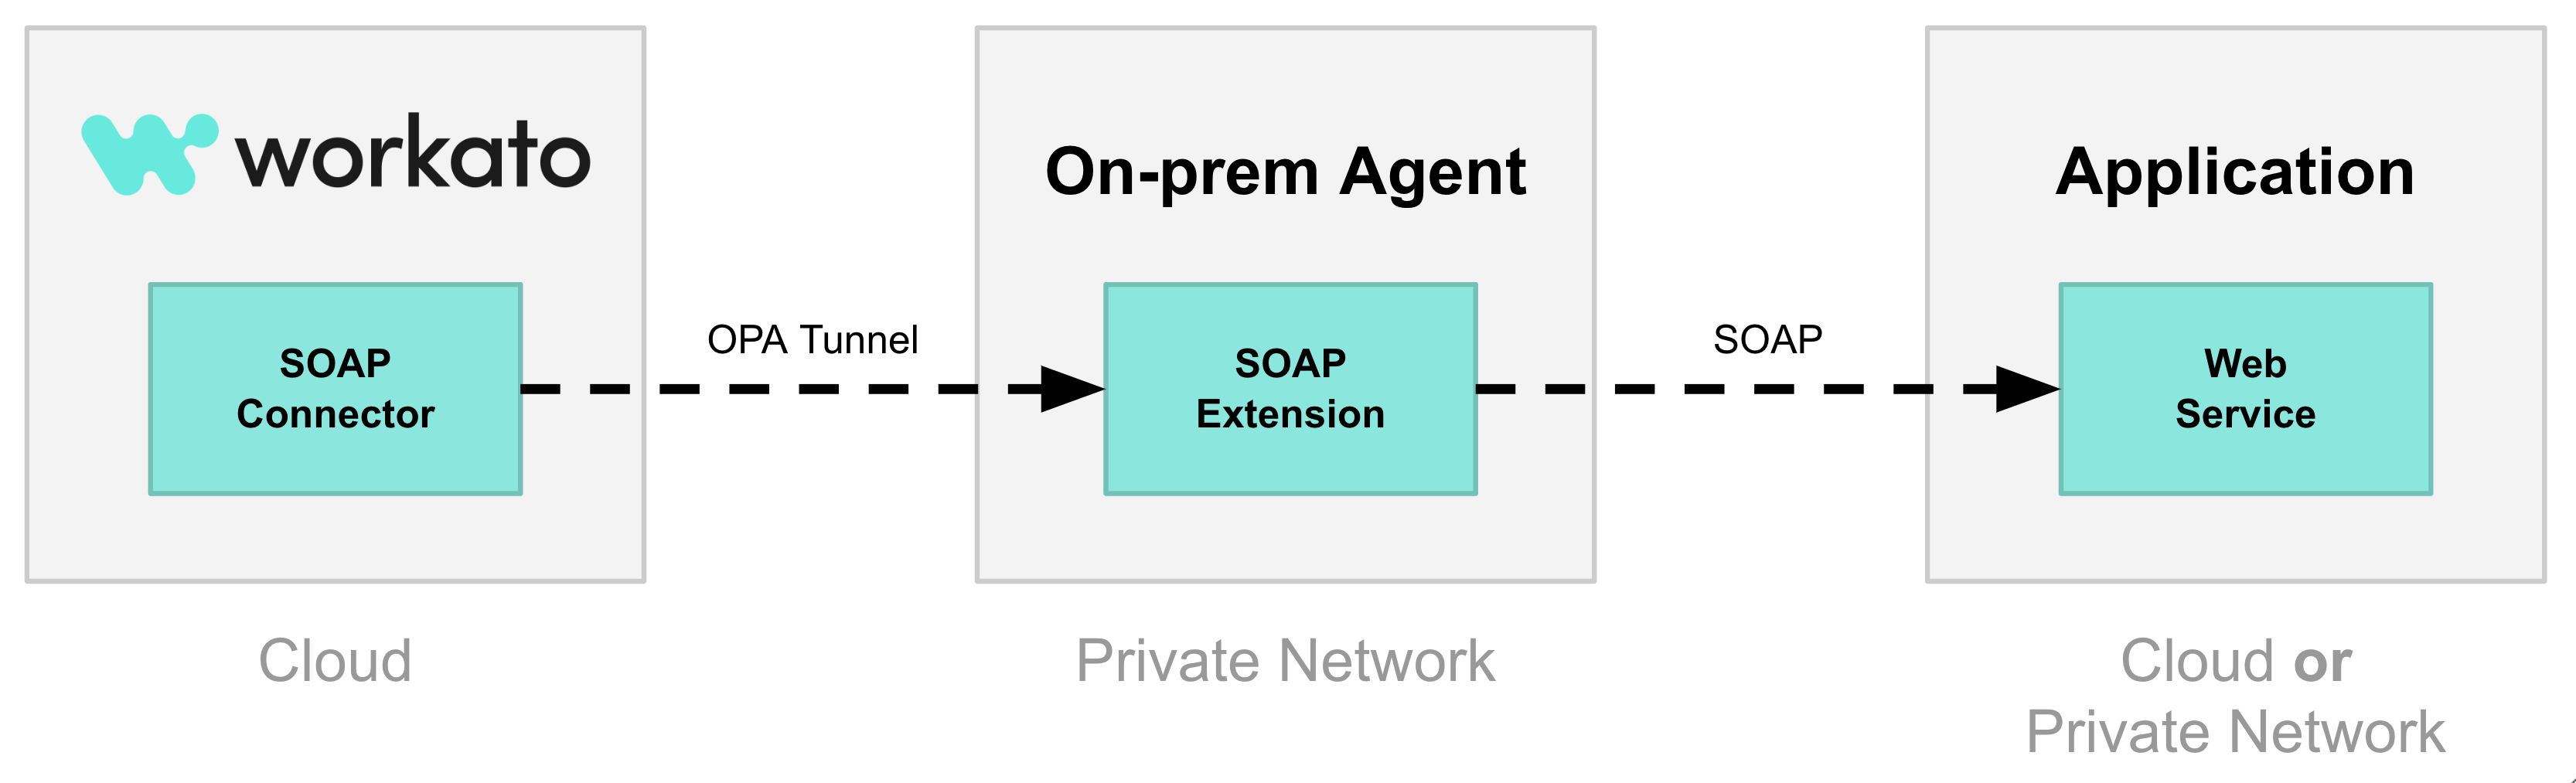 SOAP architecture
Prerequisites
You must have the following prerequisites to set up a SOAP connection in Workato:
- An on-prem agent (OPA) that uses a connection profile. Cloud profiles don't support extensions. Refer to the Add an agent guide for setup instructions.
- Version 17 or higher of the Java Development Kit (JDK), if you're using an OPA version lower than 23.0.
- The SOAP extension installed on your OPA.
- The SOAP connector installed from the community library.
Install the Java Development Kit (JDK)
OPA versions lower than 23.0 require version 17 or higher of the Java Development Kit (JDK).
Refer to JDK distributions to install the JDK, or complete the following steps to validate an existing JDK installation:
JDK_DIRECTORY PLACEHOLDER
The remainder of this guide uses [JDK_DIRECTORY] as a placeholder for the path to your JDK installation directory. The JDK installs in the following locations by default:
- Linux:
/usr/lib/java - Ubuntu:
/usr/share/java/ - Windows:
C:\Program Files\Java\jdk-<release> - Mac: Location varies based on distribution. For example:
/Library/Java/JavaVirtualMachines/jdk-17.jdk/Contents/Home
Confirm the installation succeeded by listing the JDK folder contents.
Check for the javac binary to confirm that the installation is a JDK and not a JRE.
Confirm the JDK is version 17 or higher.
Install the OPA extension
The SOAP extension enables an OPA that uses a connection profile to communicate with SOAP web services. Complete the following steps to install and configure the extension on your OPA:
OPA_DIRECTORY PLACEHOLDER
The remainder of this guide uses [OPA_DIRECTORY] as a placeholder for the path to your OPA installation directory. The following are common directory locations:
- Unix-like operating systems:
/opt/workato - Windows:
C:\Program Files\Workato Agent - Mac: Location varies.
Complete the following steps to download and extract the latest SOAP extension package into the [OPA_DIRECTORY]/ext folder:
Download the SOAP extension package
INSTALLATION ALTERNATIVES
Alternatively, you can download and install the package manually, or refer to the soap extension library to install older versions.
Complete the following steps to update the [OPA_DIRECTORY]/conf/config.yml configuration file:
Configure the OPA and the extension
Open [OPA_DIRECTORY]/conf/config.yml and set the classpath to the folder that contains the SOAP extension JAR files. For example, the following edit sets a relative path to the ext folder:
server:
classpath: extAdd the following to register the SOAP extension:
extensions:
   soap:
controllerClass: com.workato.extension.soap.ExtensionControllerAdd the following to set the JDK path explicitly if it's stored somewhere other than the JDK_HOME environment variable or the jdk.home system property, which the extension checks by default:
extensions:
   soap:
      controllerClass: com.workato.extension.soap.ExtensionController
jdkHome: [JDK_DIRECTORY]Install the SOAP connector
Complete the following steps to install the SOAP connector from the community library:
Open the recipe editor and search for a connector. Alternatively, you can search for a connector in the community library.
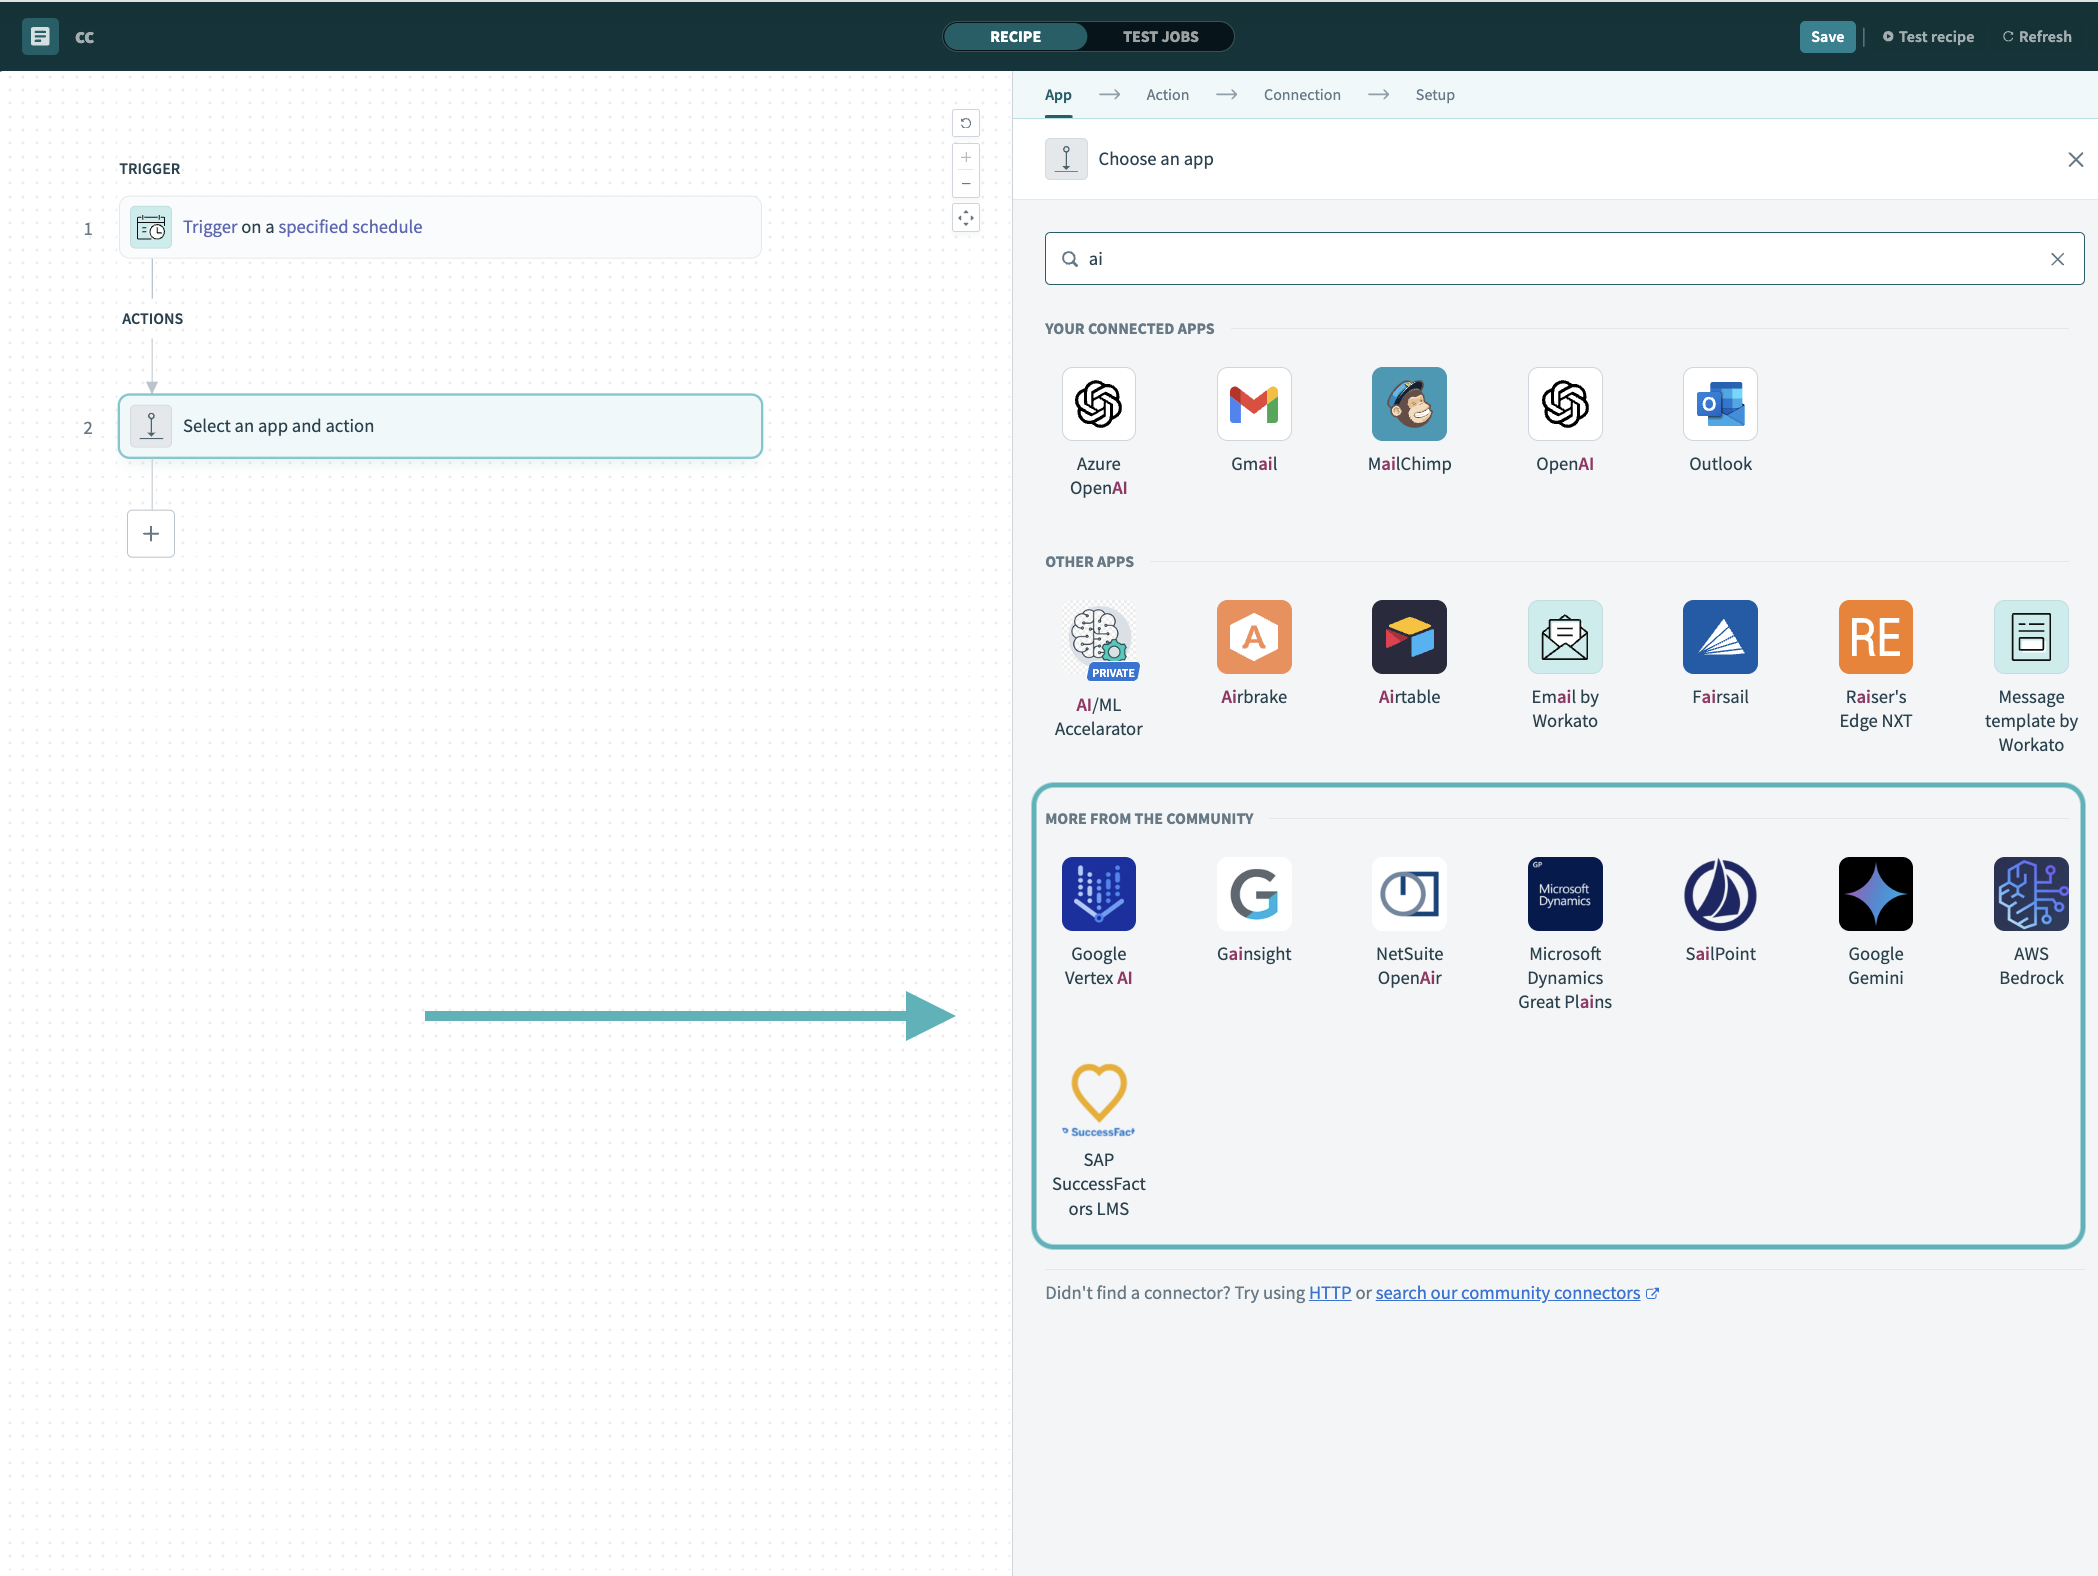 Search for community connectors in the recipe editor
Select the community connector you plan to install.
Click Install to install the connector from the community library.
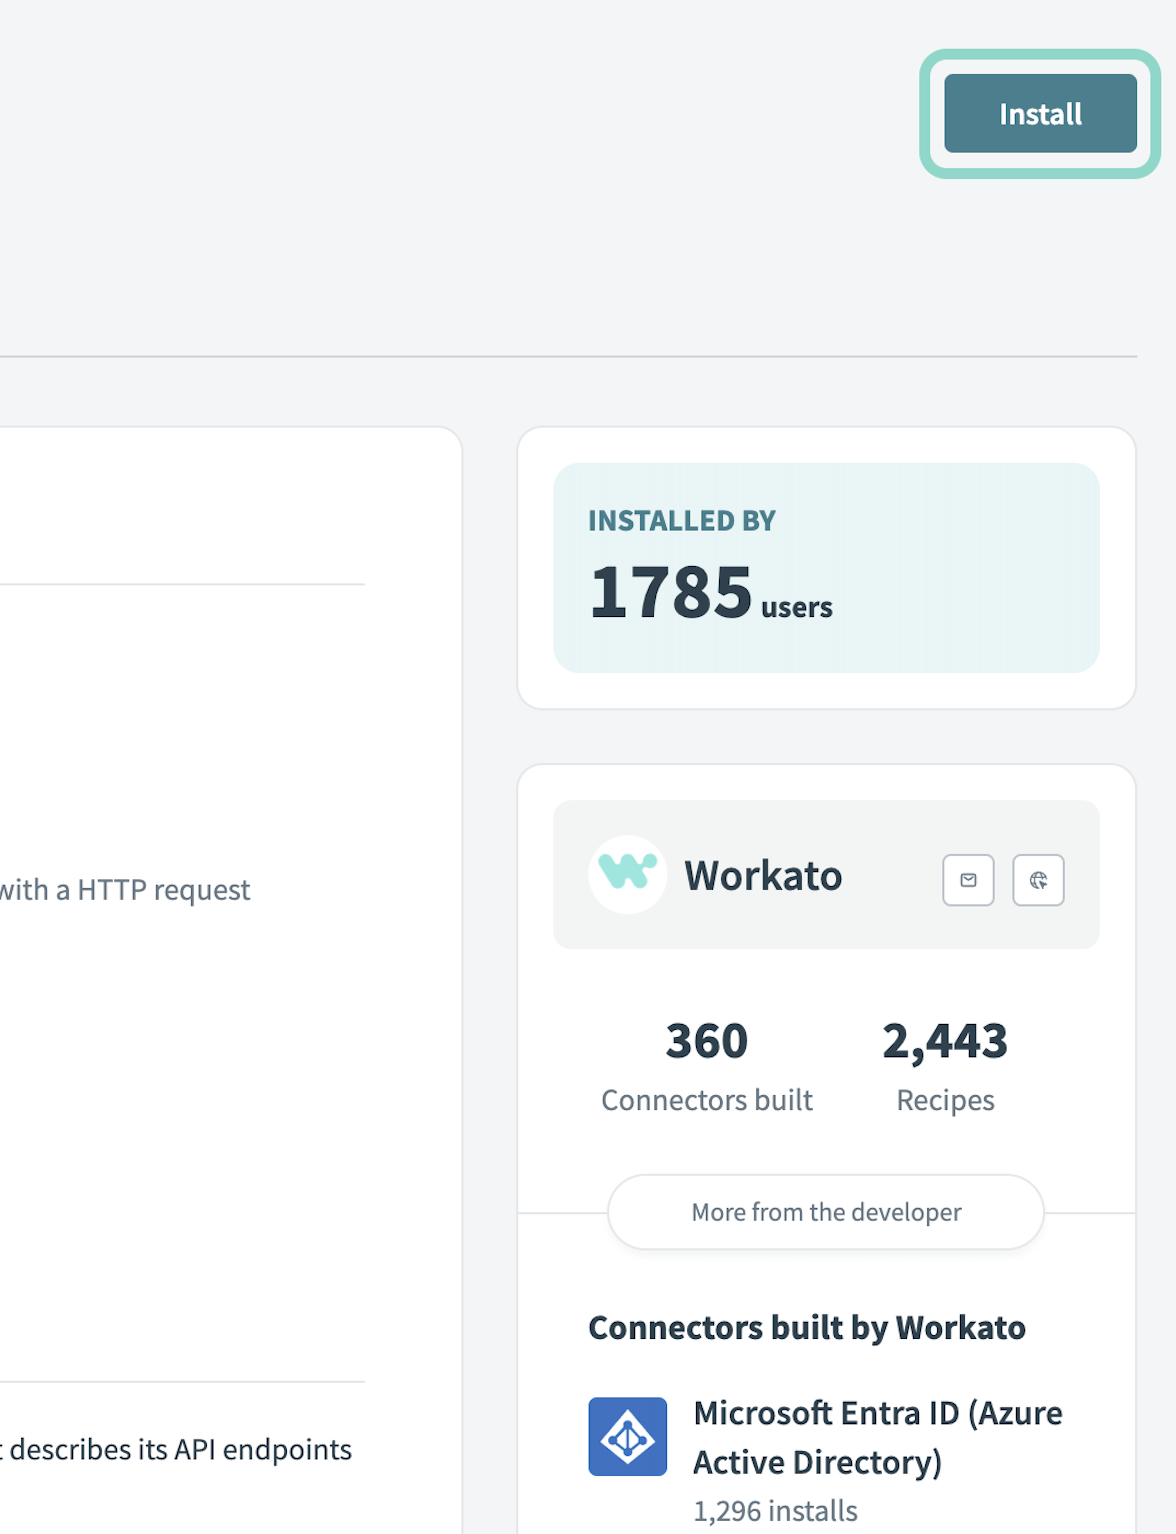 Click Install
Select Release connector. Alternatively, select Review code to review and modify the connector code before releasing it to the workspace.
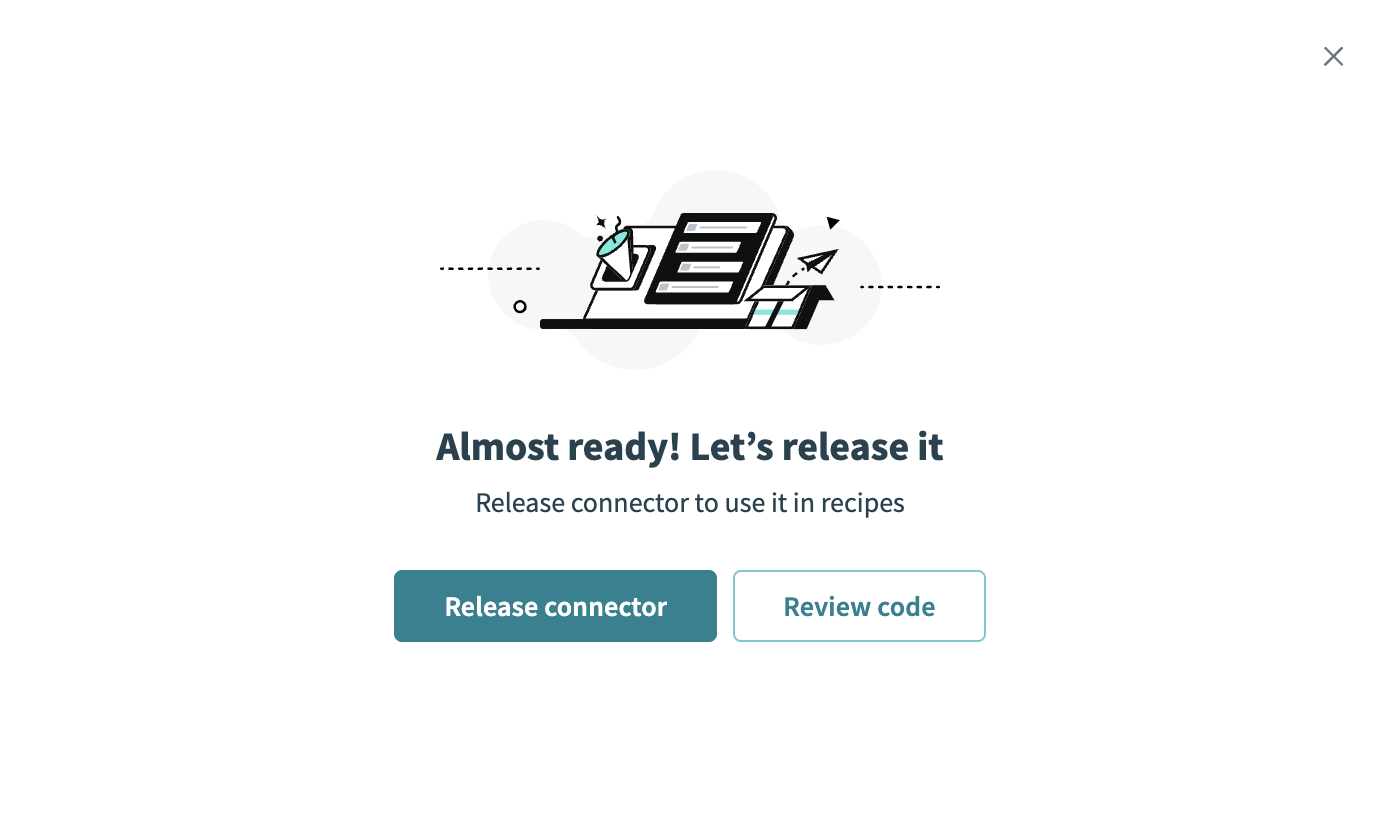 Release the connector
Summarize any changes you made to the connector, then click Release to allow workspace collaborators to use the connector in recipes.
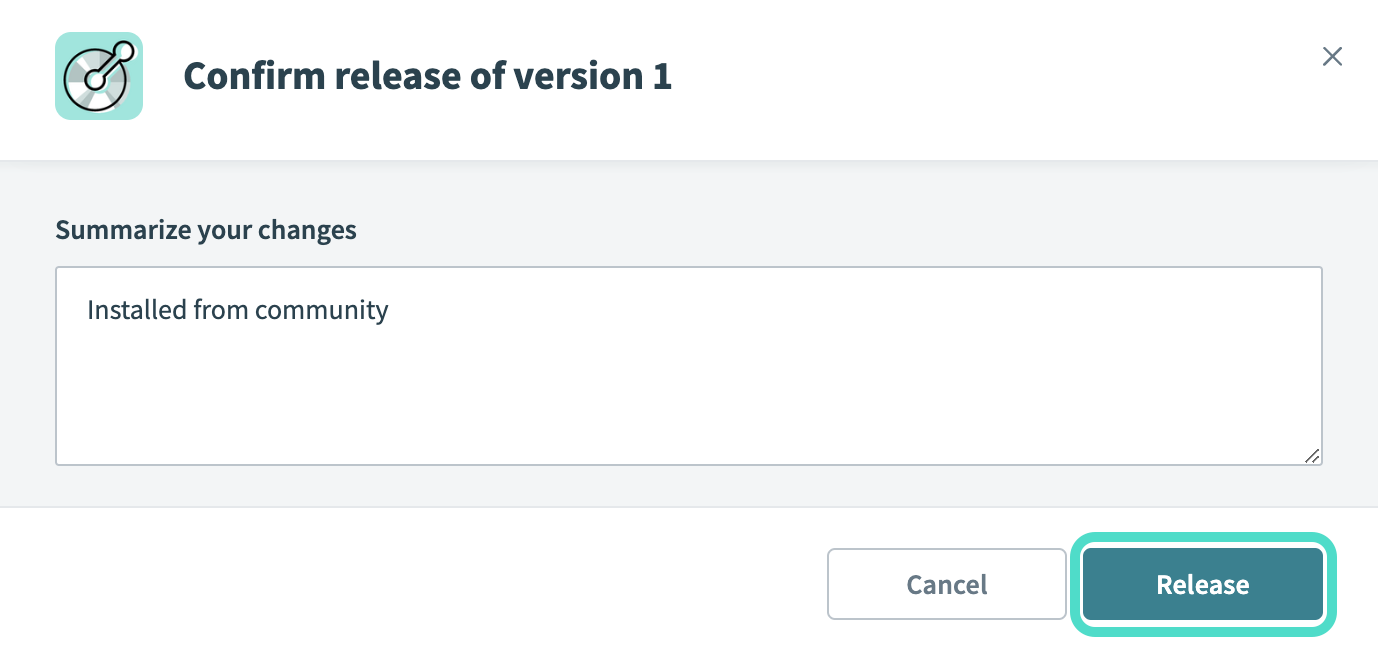 The Confirm release dialog
Connection setup
Complete the following steps to create a SOAP connection in Workato:
Click Create > Connection or press C twice.
Search for and select SOAP on the New connection page.
Enter a name for your connection in the Connection name field.
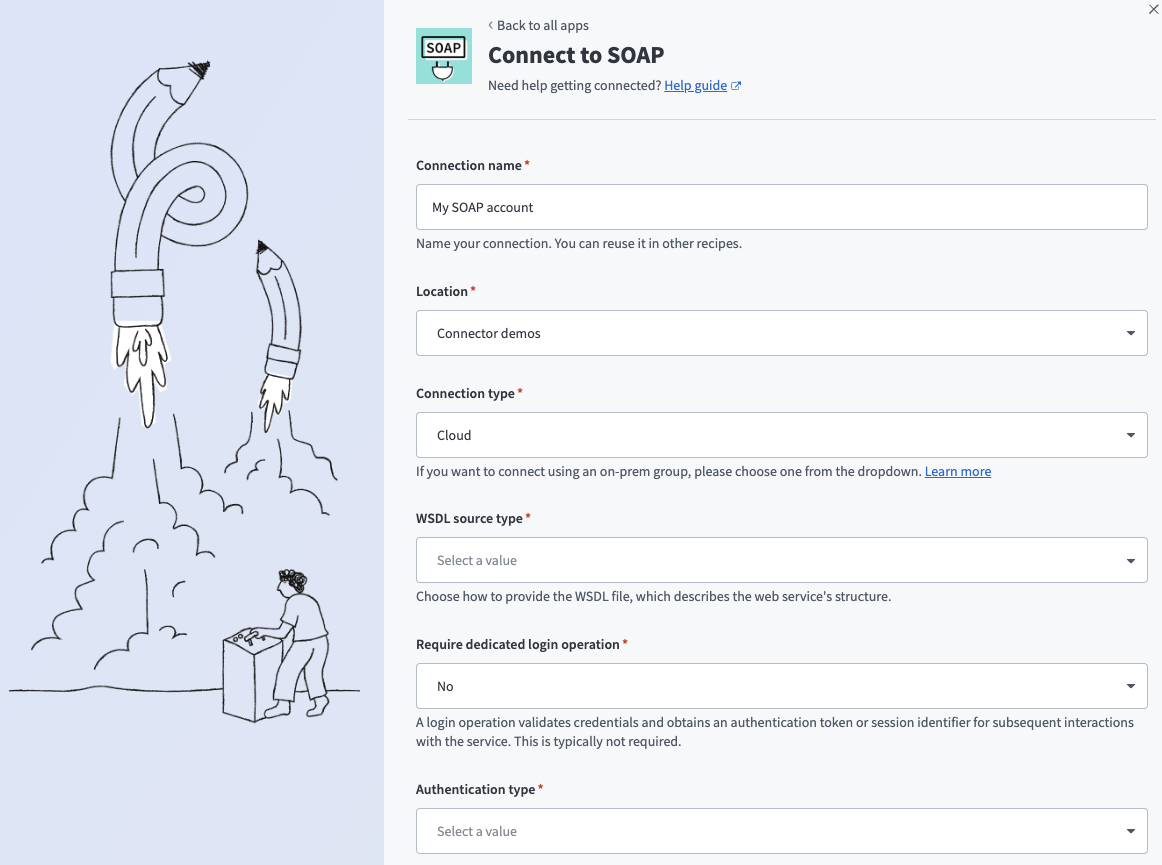 Setting up a SOAP connection
Use the Location drop-down menu to select the project where you plan to store the connection.
Use the Connection type drop-down menu to select an on-prem group that contains the SOAP extension.
Use the WSDL source type drop-down menu to select how to provide the WSDL file. The WSDL file defines the web service's interfaces, operations, and data types. Options include the following:
WSDL URL: The OPA loads the WSDL file from the URL. Typically, the URL is the SOAP web service with
WSDLas a query string. For example:https://<hostname>/<path>?WSDLFile content: Enter the content of the WSDL file directly. This must be a valid XML document that defines the SOAP web service.
File path: Enter the absolute or relative path of the WSDL file on the OPA. If it's relative, specify the absolute path of the directory containing the WSDL file in the
extensions.soap.wsdlBasesection of theconfig.ymlOPA configuration file. For example:yamlextensions: soap: wsdlBase: /opt/workato/ext/wsdl
Optional. Use the Require dedicated login operation drop-down menu to select whether the service requires a separate login call for subsequent operations. This typically isn't required. Defaults to No. Refer to Dedicated login operation for more information.
Use the Authentication type drop-down menu to select an authentication method. Refer to the SOAP authentication types guide for more information.
Optional. Expand the Advanced options section and complete the following steps to configure the optional fields:
Configure advanced options
Enter an address to send SOAP messages to in the Web service address field. Use this field if the WSDL file doesn't define the service address, or to override it.
Enter the maximum depth of input and output fields in the Max schema depth field. This determines how deep the connector traverses the schema tree and prevents overly expansive schema structures. Some fields may not be shown if the actual depth exceeds this value. Defaults to 15.
Enter the maximum number of recursions for a particular type within the schema structure in the Max type recursion field. This prevents infinite loops when a type is nested within itself. Defaults to 3.
Use the Record SOAP envelopes drop-down menu to select whether to record request and response SOAP envelopes and make them available in the job logs. Use this option for debugging.
Use the Trust all certificates drop-down menu to select whether to skip verification of the certificate the server presents. We recommend leaving this disabled in production environments.
Use the Trust all hostnames drop-down menu to select whether to skip verification of the hostname of the certificate the server presents. We recommend leaving this disabled in production environments.
Enter a pattern in the Datetime format field if the service requires a custom datetime format. Defaults to yyyy-MM-dd'T'HH:mm:ss'Z' (ISO 8601 in UTC). For example, 2023-07-04T22:00:00.000Z. Refer to the Java documentation for datetime pattern examples.
Enter the length of the connection timeout to use in seconds in the Connect timeout field. Defaults to 10 seconds.
Click Connect.
FURTHER READING
Last updated: