# Calendly
Calendly (opens new window) is a scheduling automation platform that allows users to easily book meetings and appointments online without the need for back-and-forth emails. It syncs with your calendar, allowing you to share a link where others can select a time that works for everyone.
# Prerequisites
To establish a Calendly connection in Workato, complete the steps that correspond to the authentication method you plan to use:
- If you plan to use a personal access token, create a personal access token.
- If you plan to use OAuth 2.0, generate an OAuth client ID and secret.
# Create a personal access token
Complete the following steps to create a personal access token:
Sign in (opens new window) to your Calendly account.
Search for and select API and webhooks (opens new window).
Generate a new token. If you don't have an existing personal access token, select Get a token now. If you already have one, select Generate new token.
Enter a token name and click Create token.
Click Copy token to retrieve the token.
# Generate an OAuth client ID and secret
Complete the following steps to generate your OAuth credentials:
Go to the Calendly Developer (opens new window) page.
Sign in to your developer account or create a new one.
DEVELOPER ACCOUNTS
Calendly developer accounts are separate from your Calendly user account.
Select your profile icon and go to My apps.
Click Create new app to create an OAuth application.
Enter the name of your application in the Name of app field. For example, Workato.
Select Web in the Kind of app field.
Select the environment you plan to associate your application with:
- Sandbox
- Production
Enter https://www.workato.com/oauth/callback in the Redirect URI field.
Click Save & continue.
Copy your Client ID, Client Secret, and Webhook signing key. Store these values securely, as you won't be able to access the Client ID and Client Secret again.
# How to connect to Calendly
The Calendly connector supports the following authentication methods:
# Personal access token
Complete the following steps to connect to Calendly using personal access token authentication:
Click Create > Connection or press C twice.
Search for and select Calendly as your connection on the New connection page.
Enter a name for your connection in the Connection name field.
Use the Location drop-down menu to select the project where you plan to store the connection.
Select Personal access token from the Authentication type drop-down menu.
Enter the token in the Personal access token field.
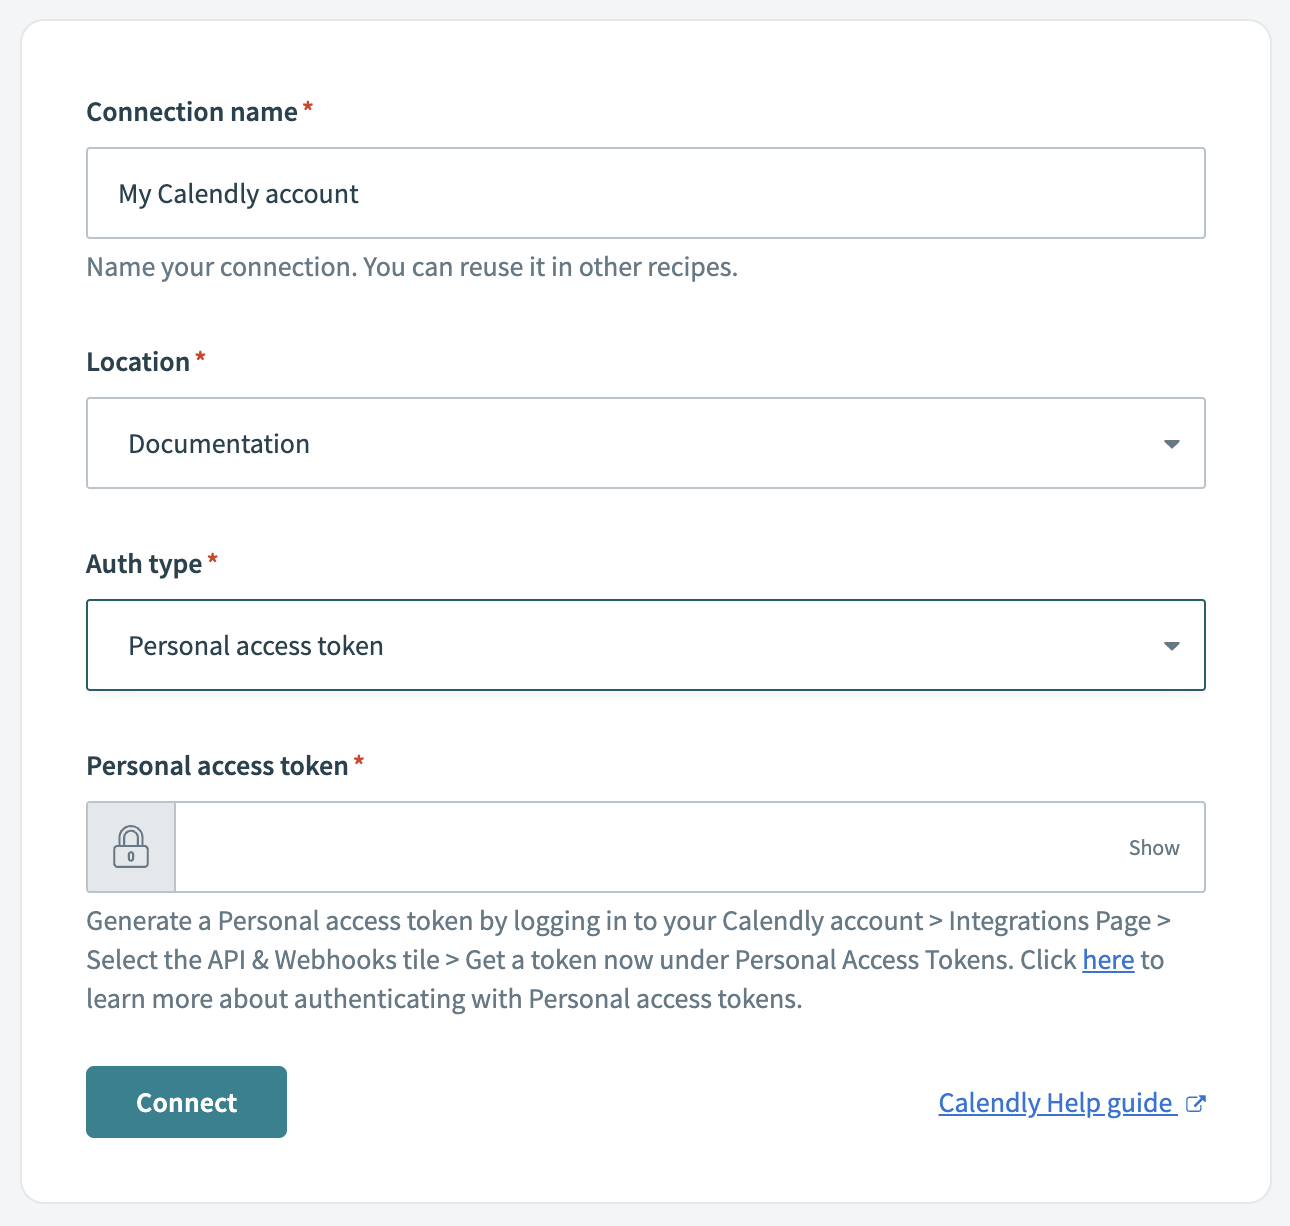 Connect to Calendly using personal access token authentication
Click Connect.
# OAuth 2.0
Complete the following steps to connect to Calendly using OAuth 2.0 authentication:
Click Create > Connection or press C twice.
Search for and select Calendly as your connection on the New connection page.
Enter a name for your connection in the Connection name field.
Use the Location drop-down menu to select the project where you plan to store the connection.
Select OAuth 2.0 from the Authentication type drop-down menu.
Enter the Client ID and associated Client secret in their respective fields.
 Connect to Calendly using OAuth 2.0 authentication
Click Connect.
Last updated: 4/30/2026, 3:06:08 PM