Add a SharePoint data source to Workato GO
The SharePoint data source enables Workato GO to index SharePoint documents, pages, files, and associated permissions. After the initial indexing, Workato GO syncs content and permission updates multiple times every hour. Connecting SharePoint as a data source allows your team to search across SharePoint site content directly from the Workato GO interface.
This data source configuration integrates Workato connector actions and runtime connections.
Prerequisites
You must have the following to use the SharePoint data source connector:
- An Azure portal account with sufficient permissions to register applications in Microsoft Entra ID (Azure AD).
- A Workato admin account in the GO workspace you plan to connect.
Register the Workato app in the Azure portal
Complete the following steps to register the Workato app and obtain the required values for client credentials grant connections.
Sign in to the Azure portal.
Go to App registrations and click + New registration.
Enter a unique name for the application.
Select Accounts in this organizational directory only in the Supported account types section. This is the recommended option for accessing organizational SharePoint data through client credentials.
SUPPORTED ACCOUNT TYPES
Select a different account type if your organization's requirements differ. Consult your Azure AD administrator if you are unsure which option to select.
Use the Select a platform drop-down menu to select Web.
Enter https://www.workato.com/oauth/callback in the Redirect URI field.
Click Register.
Assign API permissions to your app
Complete the following steps to assign the required API permissions to your registered app.
Go to Manage > API permissions in the navigation sidebar.
Add the Microsoft Graph application permissions. Click + Add a permission > Microsoft Graph > Application permissions, enable each permission listed in the Required API permissions section, then click Add permissions.
Add the Microsoft Graph delegated permission. Click + Add a permission > Microsoft Graph > Delegated permissions, enable User.Read, then click Add permissions.
Add the SharePoint application permissions. Click + Add a permission > SharePoint > Application permissions, enable each permission listed in the Required API permissions section, then click Add permissions.
Click Grant admin consent to authorize all permissions for your organization.
ADMIN CONSENT
If your Azure account doesn't have an admin role, ask the Azure AD administrator in your workspace to provision the scopes to your app on your behalf.
Required API permissions
Your registered app requires permissions from both Microsoft Graph and SharePoint. The following tables list the specific permissions you must enable for each service.
Microsoft Graph (Application permissions)
Enable the following application permissions for Microsoft Graph:
| Permission | Description | Admin consent required |
|---|---|---|
Directory.Read.All | Read directory data | Yes |
RoleManagement.Read.All | Read role management data for all RBAC providers | Yes |
RoleManagement.Read.Directory | Read all directory RBAC settings | Yes |
Sites.Manage.All | Create, edit, and delete items and lists in all site collections | Yes |
Sites.Read.All | Read items in all site collections | Yes |
User.Read.All | Read all users' full profiles | Yes |
Microsoft Graph (Delegated permissions)
Enable the following delegated permission for Microsoft Graph:
| Permission | Description | Admin consent required |
|---|---|---|
User.Read | Sign in and read user profile | No |
SharePoint (Application permissions)
Enable the following application permissions for SharePoint:
| Permission | Description | Admin consent required |
|---|---|---|
Sites.FullControl.All | Have full control of all site collections | Yes |
Sites.Read.All | Read items in all site collections | Yes |
Sites.ReadWrite.All | Read and write items in all site collections | Yes |
User.Read.All | Read user profiles | Yes |
Obtain the Application (client) ID and Directory (tenant) ID
You need these values when you configure the SharePoint connection in Workato.
Go to the Overview > Essentials section of your registered app in the Azure portal.
Copy the Application (client) ID and Directory (tenant) ID. Save these values for use when you configure the SharePoint connection in Workato.
STORE YOUR CREDENTIALS SECURELY
Treat these IDs like credentials. Store them securely and don't paste them into chat, tickets, or shared documents.
Generate a certificate and private key
You need a certificate and private key to authenticate using client credentials. You can generate these locally using OpenSSL or PowerShell.
Complete the following steps to generate a self-signed certificate with OpenSSL:
Open a terminal or another CLI (command-line interface) tool.
Create a 2048-bit RSA private key named domain.key:
openssl genrsa -out domain.key 2048Create a Certificate Signing Request (CSR) named domain.csr from the private key. Provide values for the required fields when prompted:
openssl req -key domain.key -new -out domain.csrCreate a self-signed certificate named domain.crt with your private key and CSR:
openssl x509 -signkey domain.key -in domain.csr -req -days 365 -out domain.crtOpen domain.crt and copy the entire certificate string, including the -----BEGIN CERTIFICATE----- and -----END CERTIFICATE----- lines. Use this as your Certificate value in Workato.
Open domain.key and copy the entire private key string, including the -----BEGIN PRIVATE KEY----- and -----END PRIVATE KEY----- lines. Use this as your Private key value in Workato.
Go to Manage > Certificates & secrets > Certificates in the Azure portal.
Click Upload certificate and select the domain.crt file.
Enter a description for the certificate.
Click Add.
Create a SharePoint connection
Create a SharePoint connection in Workato after you configure your app in the Azure portal. You must provide the Application (client) ID, Directory (tenant) ID, certificate, and private key from the preceding sections.
Complete the following steps to create a SharePoint connection:
Sign in to Workato.
Select the project where you plan to store the connection.
Click Create > Connection.
Search for Microsoft SharePoint and select it as your app on the New connection page.
Enter a descriptive name in the Connection name field.
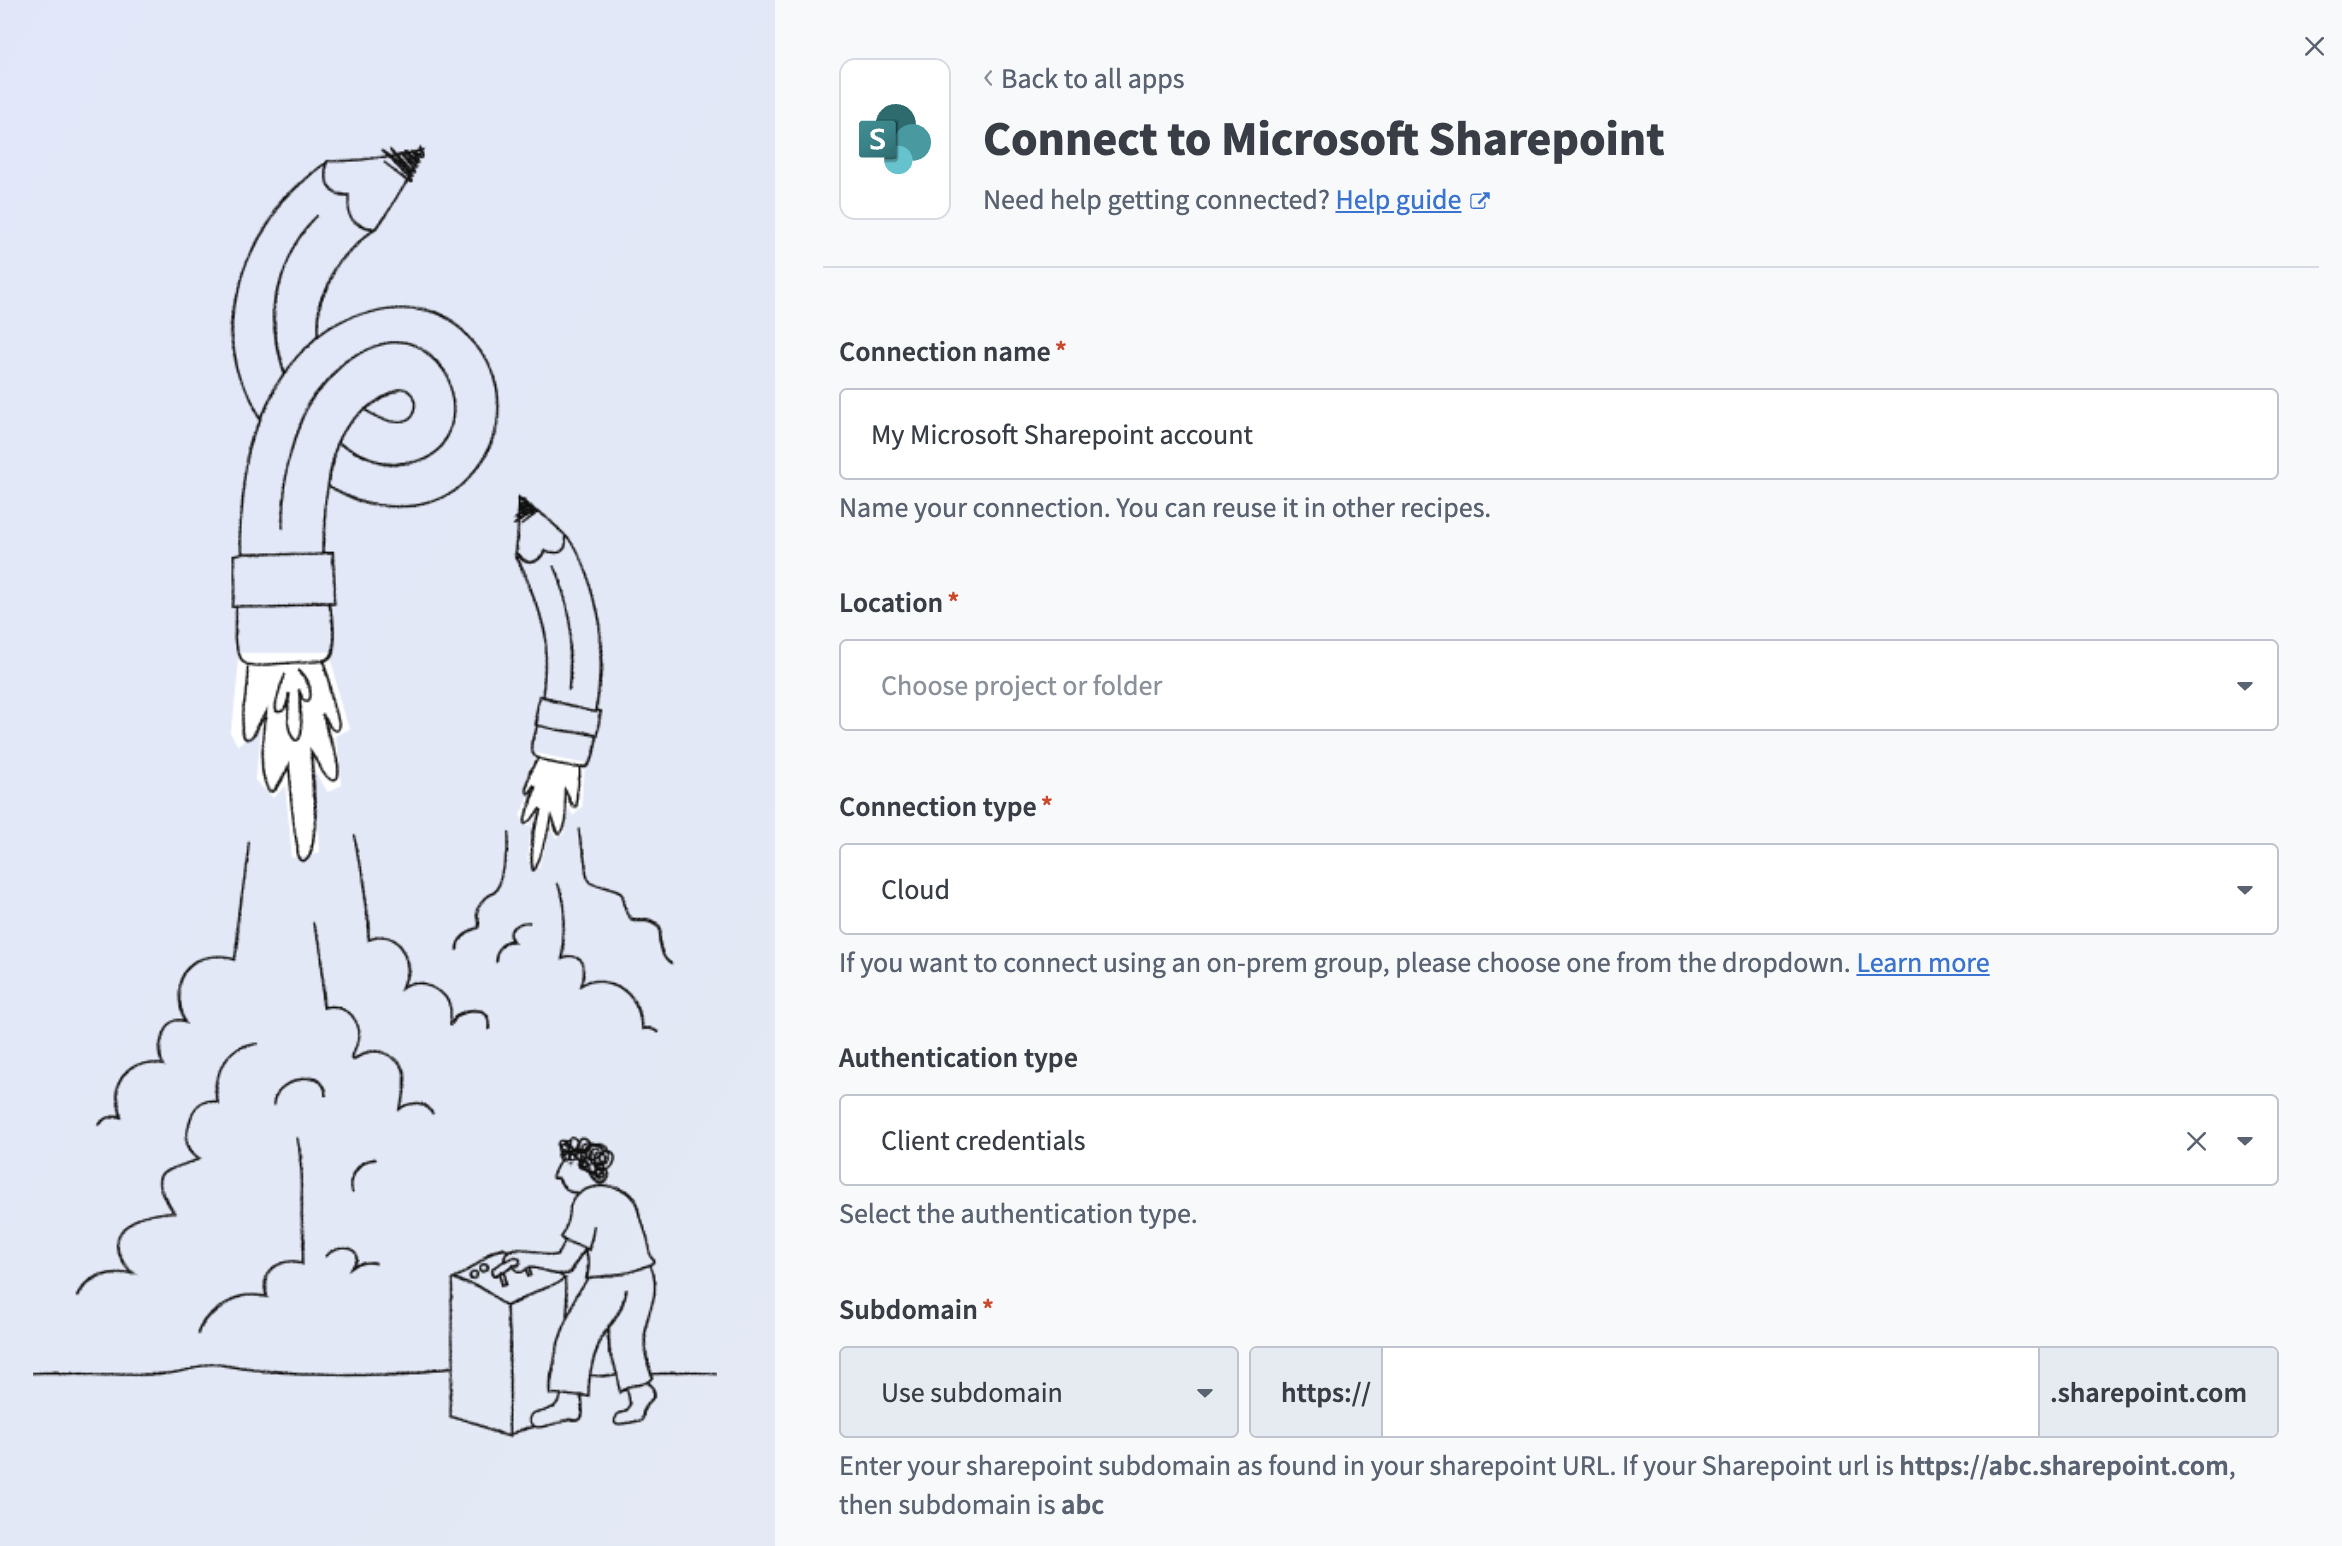 Connect to SharePoint
Use the Location drop-down menu to select the project where you plan to store the connection.
Use the Connection type drop-down menu to select Cloud. Alternatively, select an on-prem group if you plan to connect through an on-prem agent.
Use the Authentication type drop-down menu to select Client credentials.
Enter your SharePoint subdomain in the SharePoint Subdomain field. You can determine the subdomain from your SharePoint URL. For example, if your SharePoint URL is https://abc.sharepoint.com, the subdomain is abc.
Use the API scope drop-down menu to select SharePoint & Graph API.
Paste the Directory (tenant) ID you copied from the Azure portal in the Tenant ID field.
Paste the Application (client) ID you copied from the Azure portal in the Client ID field.
Paste the certificate string you generated in the preceding steps in the Certificate field.
Paste the private key string you generated in the preceding steps in the Private key field.
Enter the name of your SharePoint site in the Site name field. Enter the name as it appears in the site URL. For example, if the URL is https://company-name.sharepoint.com/sites/product, the site name is product.
SITE NAME
Use this field if you only have access to a specific site but not the home site. If you leave this field blank, Workato connects to your default home site.
Optional. Use the Custom OAuth profile drop-down menu to select a custom OAuth profile for your connection.
Click Sign in with Microsoft.
Add SharePoint as a data source
Complete the following steps to add SharePoint as a data source in Workato GO:
Sign in to your Workato GO account.
Expand the Admin menu in the sidebar and click Data sources.
Click Add Data Source. The Add Data Source page displays.
Select the SharePoint app.
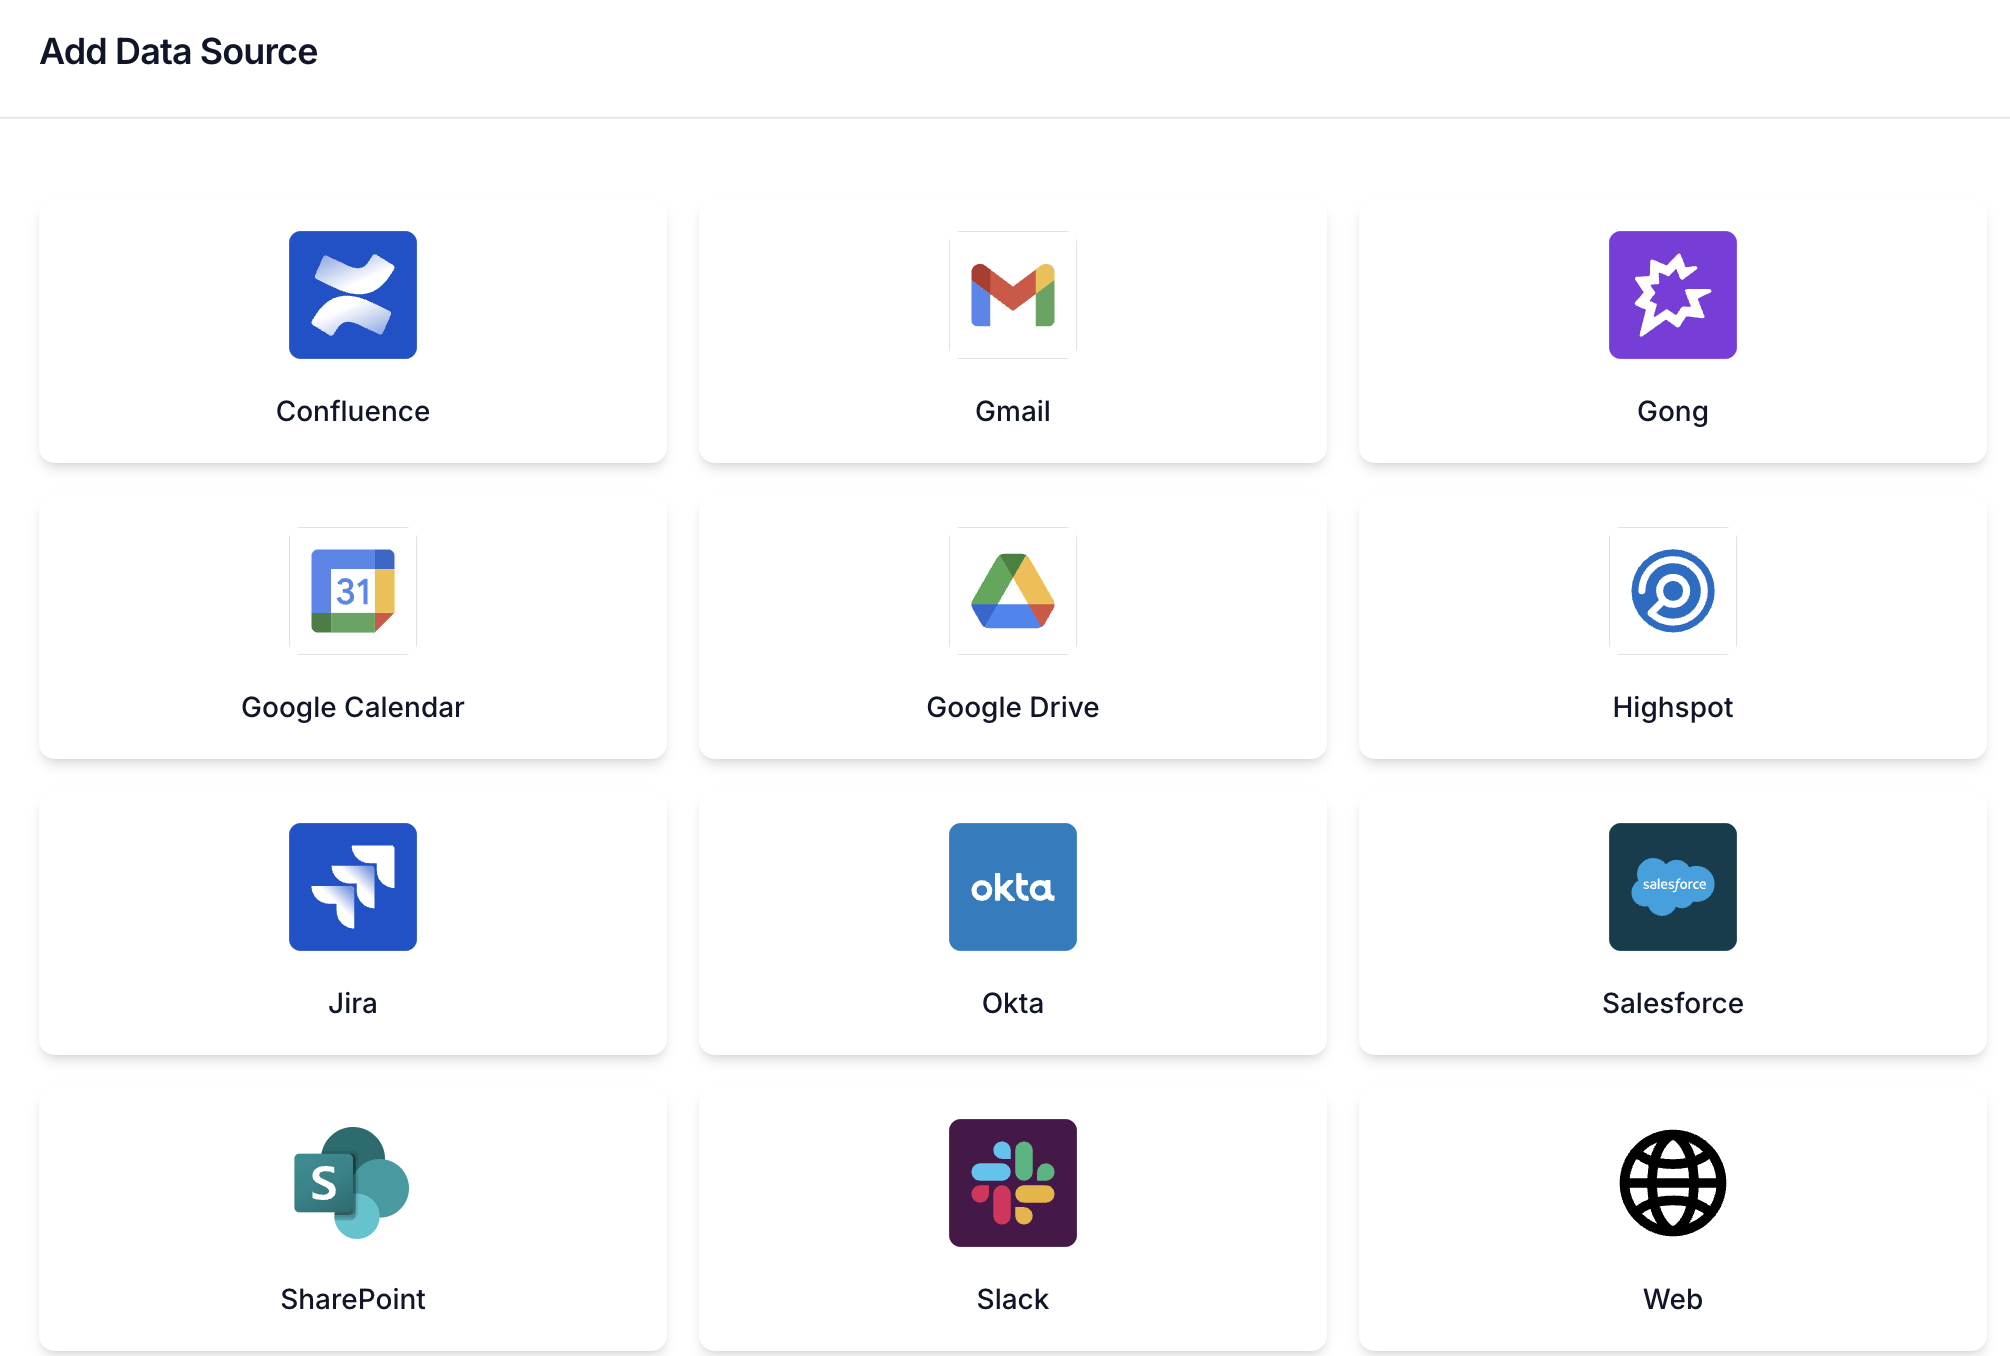 Add data source
Enter a descriptive name in the Name field. This name is how the data source appears to all teammates in Workato GO.
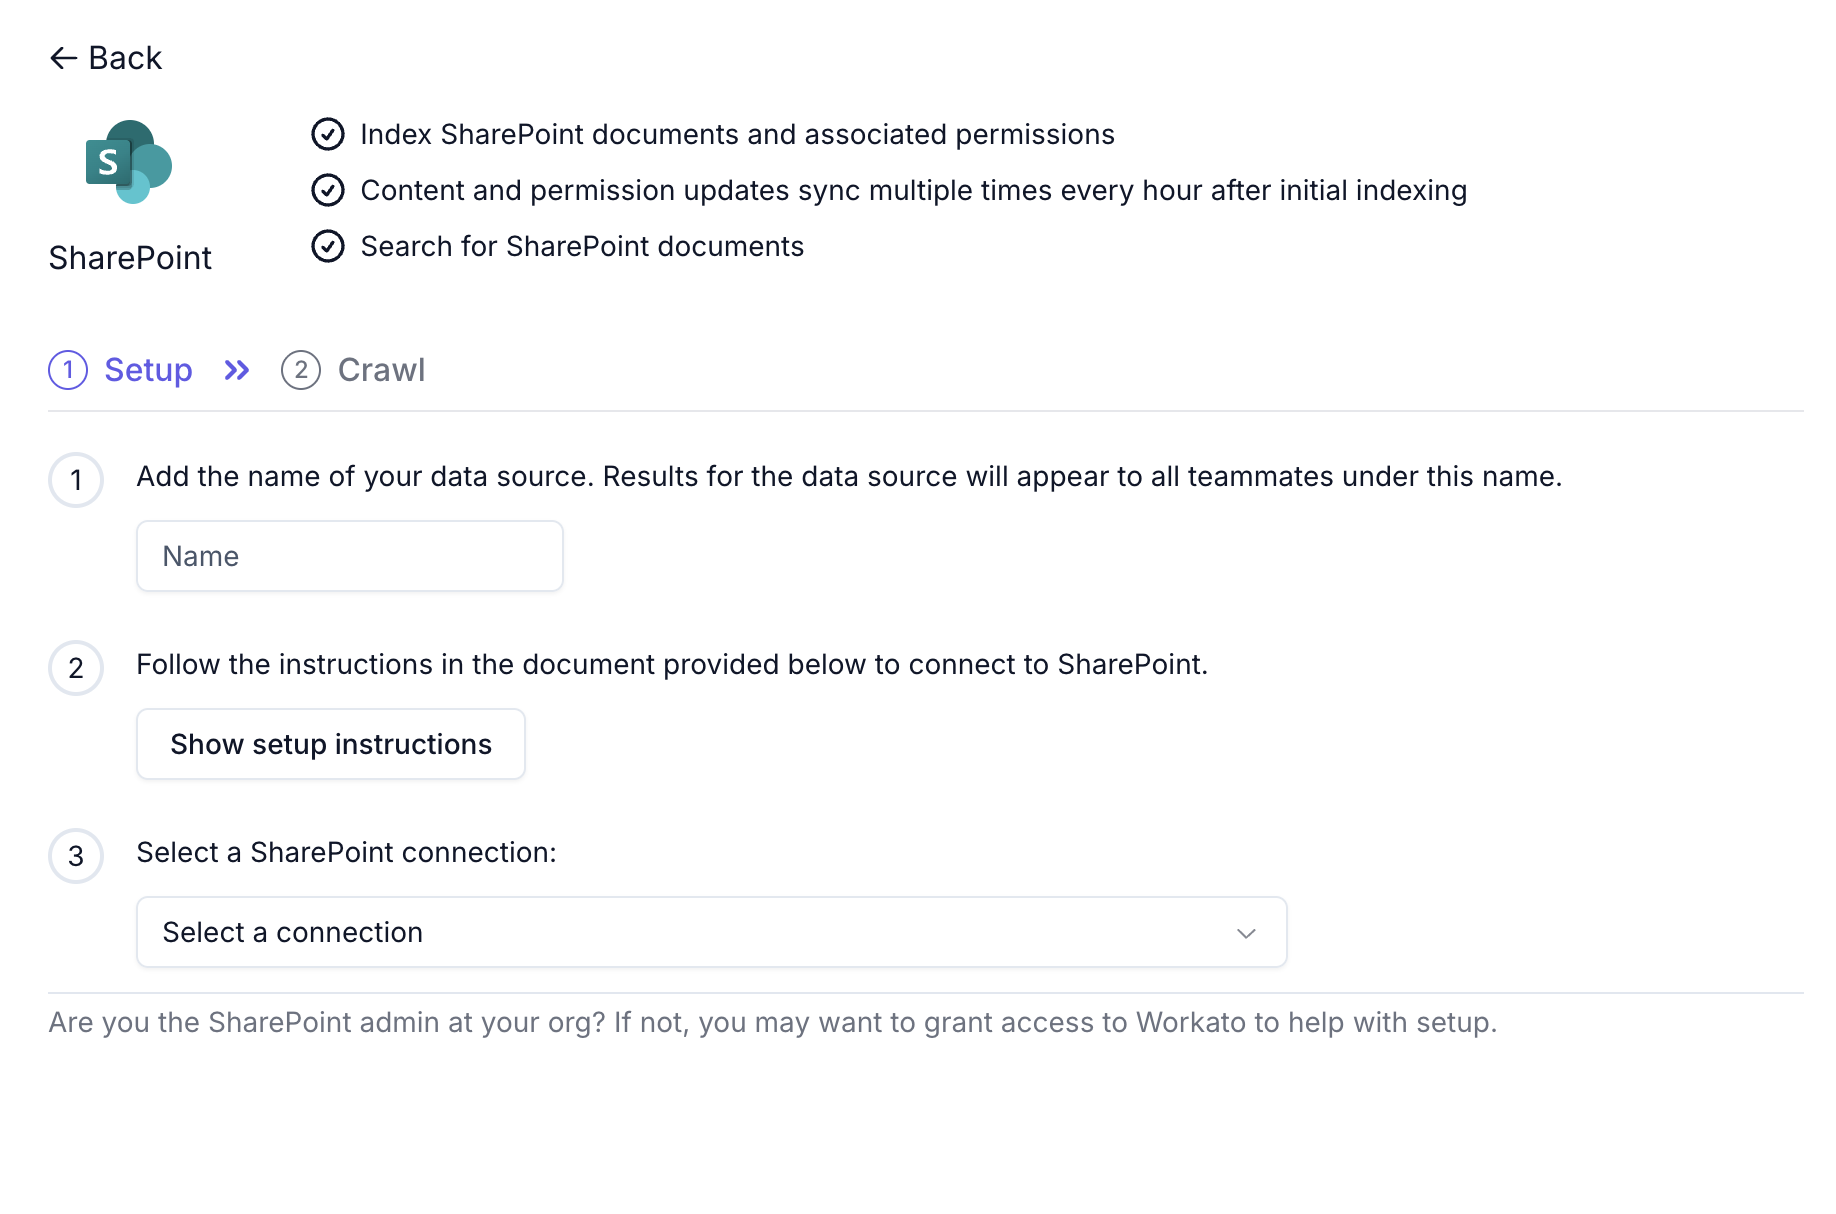 Configure SharePoint connection
Use the Select a SharePoint connection drop-down menu to select the connection you created in the preceding steps. Only connections with a green status indicator are healthy and ready to use. Connections with a pink or red indicator have authentication issues. Revisit the Create a SharePoint connection section before you select them.
Configure which SharePoint sites to include for crawling:
Select Allow specific sites to crawl only the sites you select, or select Block specific sites to crawl all sites except the ones you select. If you select Allow specific sites and don't select any sites, all sites are included.
Use the drop-down menu to search for and select sites from the list.
Click Next.
Select Crawl Now to start indexing your SharePoint content immediately, or select Do it later to defer the crawl.
Click Create.
Verify the data source
Complete the following steps to verify that the connection and API permissions are correctly configured after you create the data source:
Go to the Data Sources page and locate the SharePoint data source you created.
Click the three-dot menu on the data source row.
Select Check Connection.
Review the API Validation Results. All checks must show Success:
| Check | Expected |
|---|---|
| Graph Authentication API | Success |
| Graph Sites API | Success |
| Graph Users API | Success |
| Graph Groups API | Success |
| Rest Authentication API | Success |
| Rest Site Users API | Success |
| Rest Site Groups API | Success |
The overall status displays Connection Successful with the message "All required APIs are accessible and your credentials are valid."
TROUBLESHOOTING
If any check fails, revisit the Assign API permissions to your app section to ensure all required permissions are assigned and that admin consent has been granted. Then revisit the Create a SharePoint connection section to verify the connection credentials are correct.
Last updated: