Configure MySQL as a data pipeline source
Set up MySQL as a data pipeline source to extract and sync table records into your destination. Use this guide to set up a connection, configure your pipeline, add objects, and review known limitations.
Features supported
The following features are supported when you use MySQL as a pipeline source:
- On-prem connectivity: Connect to MySQL through an on-prem group. Cloud connections aren't supported for data pipelines.
- Table-level object selection: Select individual MySQL tables to sync as objects in your pipeline.
- Schema drift detection and handling: Detect and apply schema changes automatically with Auto-sync new fields, or keep the schema fixed with Block new fields.
- Configurable sync frequency: Schedule syncs on a time-based interval or cron expression. The minimum supported interval is 15 minutes.
Prerequisites
Connecting MySQL as a data pipeline source requires:
- A MySQL instance reachable from your on-prem agent host
- A MySQL user account granted
SELECTpermission on the tables you plan to sync. Refer to Permissions required to connect for setup steps. - The host, port, database name, username, and password for your MySQL instance
Permissions required to connect
At a minimum, the database user account must have the SELECT permission on the database you plan to sync.
Create a dedicated user for Workato and grant it read-only access to the target database. The following example grants SELECT on a database named HR_PROD to a new user workato:
CREATE USER 'workato' IDENTIFIED BY 'password';
GRANT SELECT ON `HR_PROD`.* TO 'workato';
Supported connection types
MySQL data pipelines support username and password authentication through an on-prem group. You must have a MySQL username and password to connect.
CLOUD CONNECTIONS NOT SUPPORTED
Cloud connections aren't supported as a data pipeline source for MySQL. You must select an on-prem group in the Connection type field.
Connect to MySQL
Complete the following steps to connect to MySQL:
Connect to MySQL
Select Create > Connection or press C twice.
Search for MySQL on the New connection page and select it.
Enter a name in the Connection name field.
Use the Location drop-down menu to select the project where you plan to store the connection.
Select an on-prem group in the Connection type field.
Don't select Cloud. Cloud connections aren't supported for MySQL as a data pipeline source and prevent objects from loading.
Enter the hostname of your MySQL instance in the Host field.
Enter the port number in the Port field. The default MySQL port is 3306.
Enter your MySQL username in the Username field.
Enter your MySQL password in the Password field.
Enter the name of the database to sync in the Database field.
Optional. Expand Advanced settings to configure the following:
Toggle Use improved datetime handling to enable enhanced handling of date, datetime, and timestamp data types. Defaults to true.
Set the Database timezone field to the local timezone of your database. Default is UTC.
Select Connect to verify and save the connection.
Configure the pipeline
Complete the following steps to configure MySQL as your data pipeline source:
Select Create > Data pipeline or press C+I.
Enter a name for the data pipeline in the Data pipeline name field.
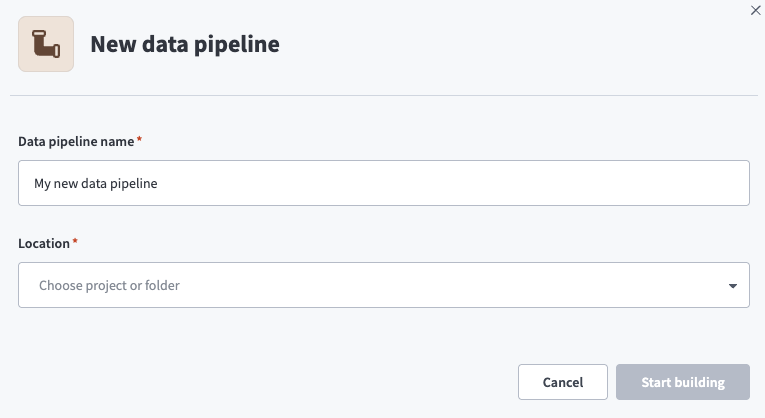 Data pipeline setup
Use the Location drop-down menu to select the project where you plan to store the data pipeline.
Click Start building.
Click the Extract new/updated records from source app trigger. This trigger defines how the pipeline retrieves data from MySQL.
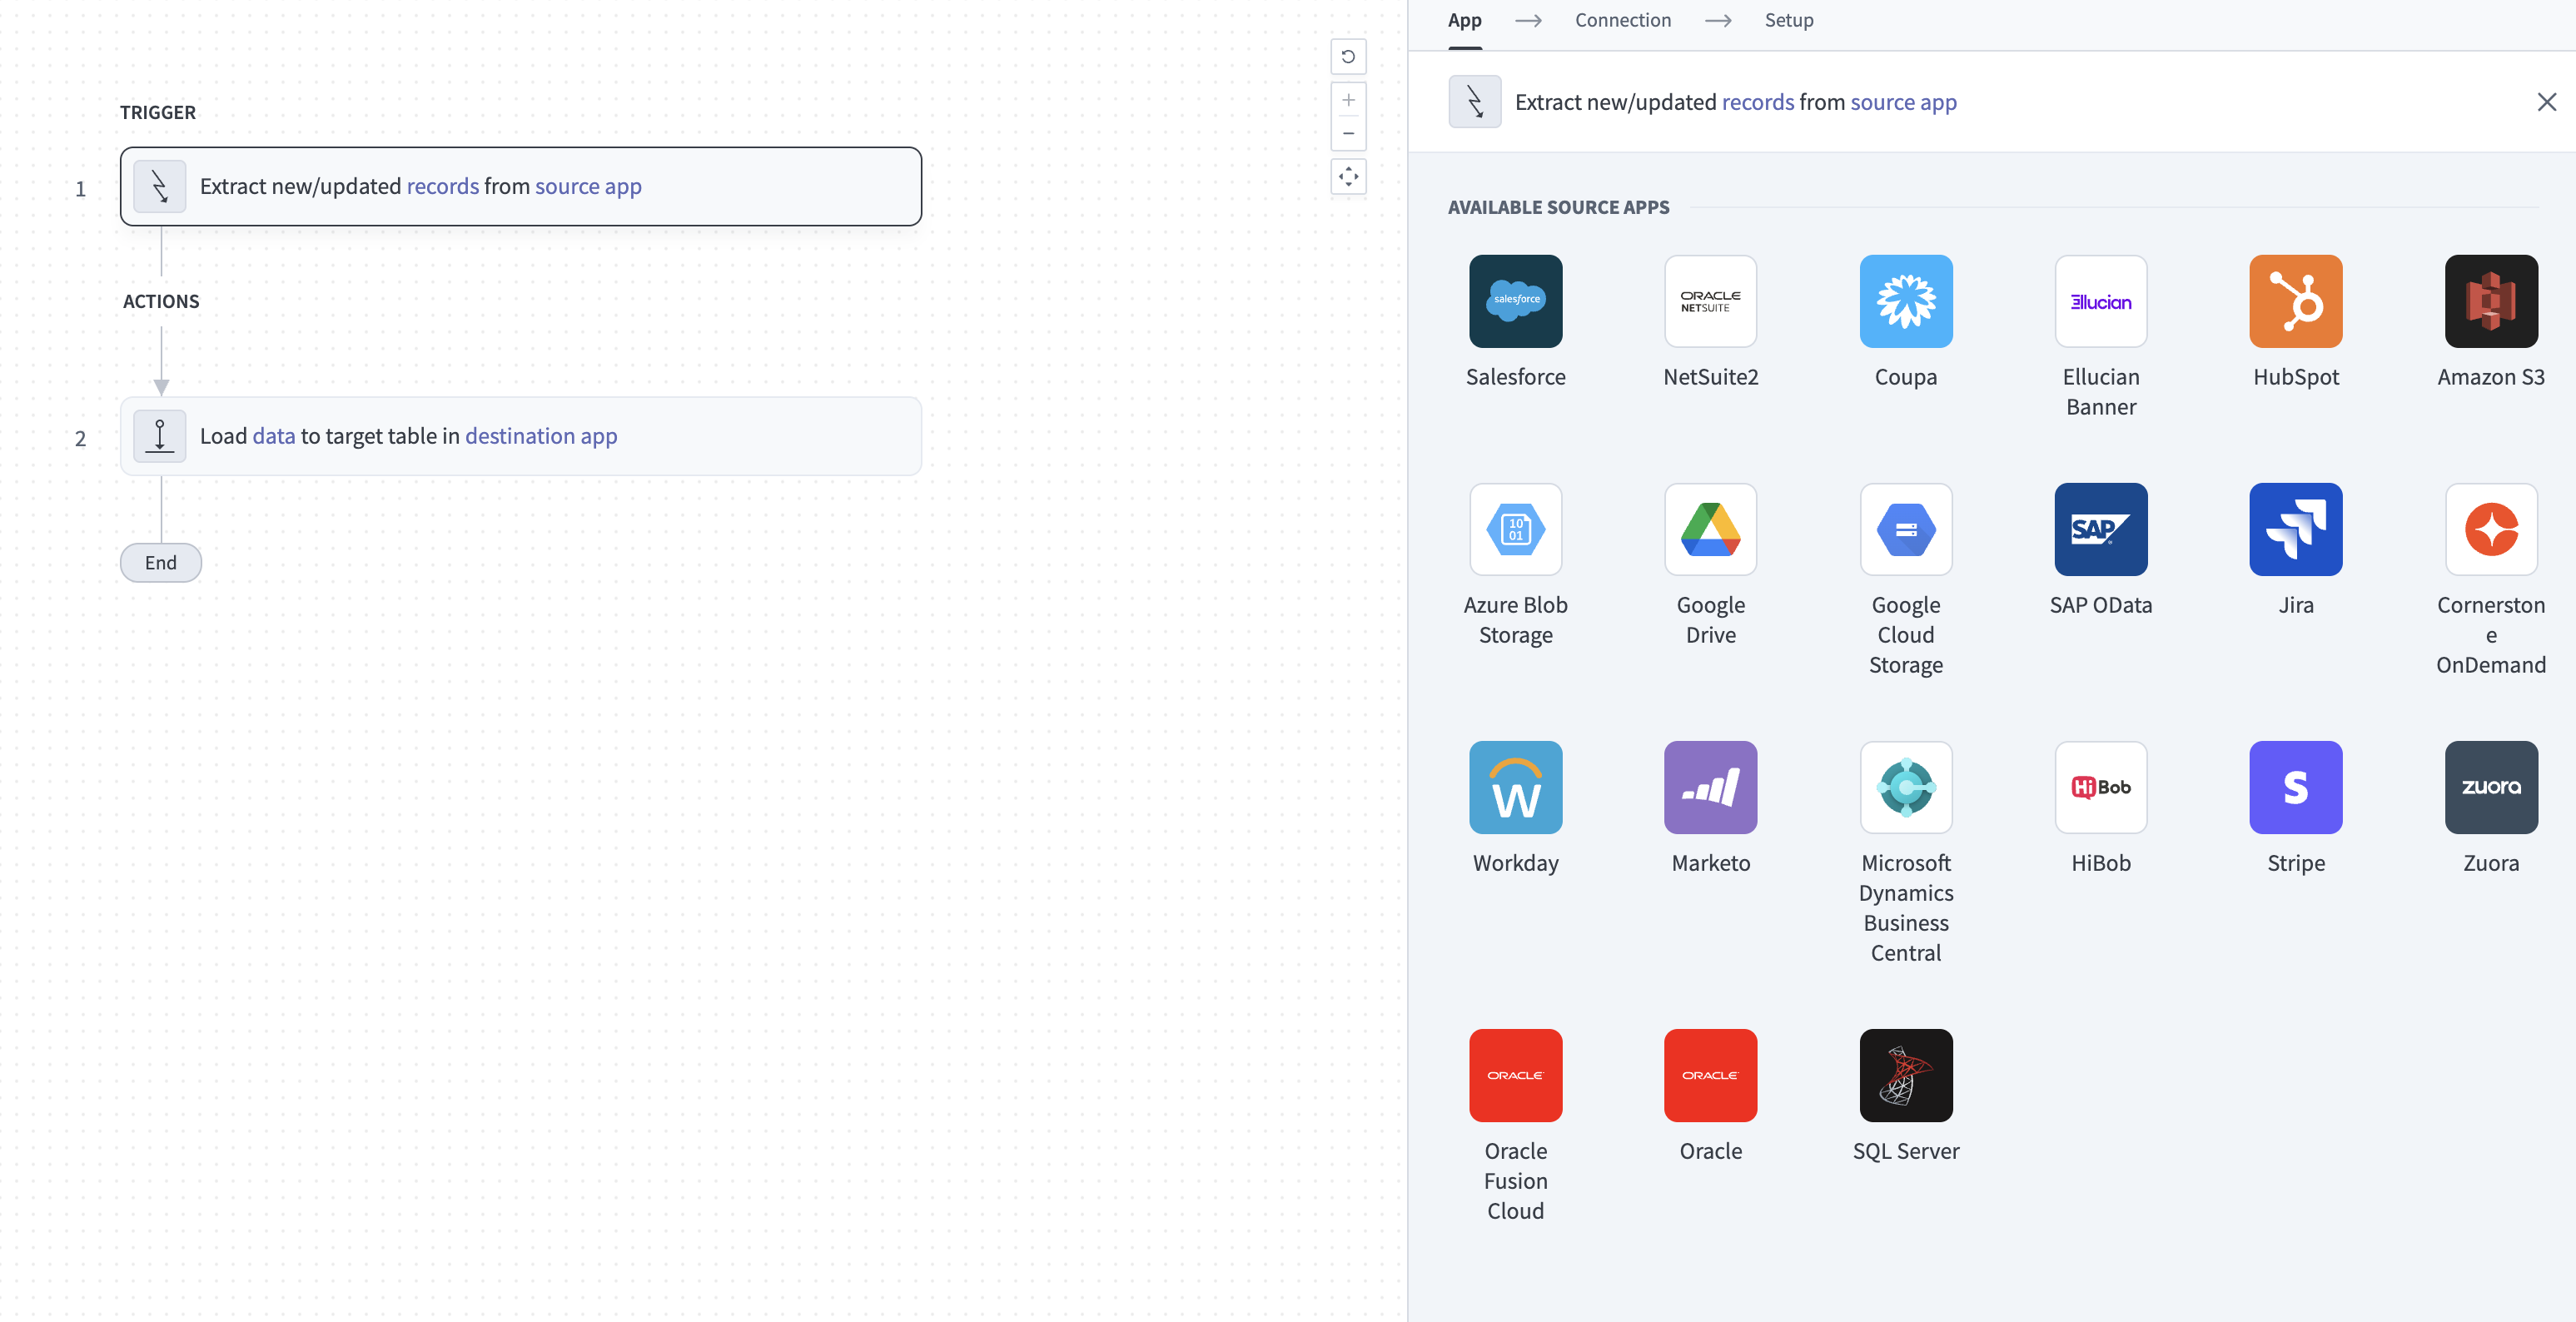 Configure the Extract new/updated records from source app trigger
Use the Your Connected Source Apps drop-down menu to select MySQL.
Choose the MySQL connection you plan to use for this pipeline. Alternatively, click + New connection to create a new connection.
Click Add object to open the Add new objects panel.
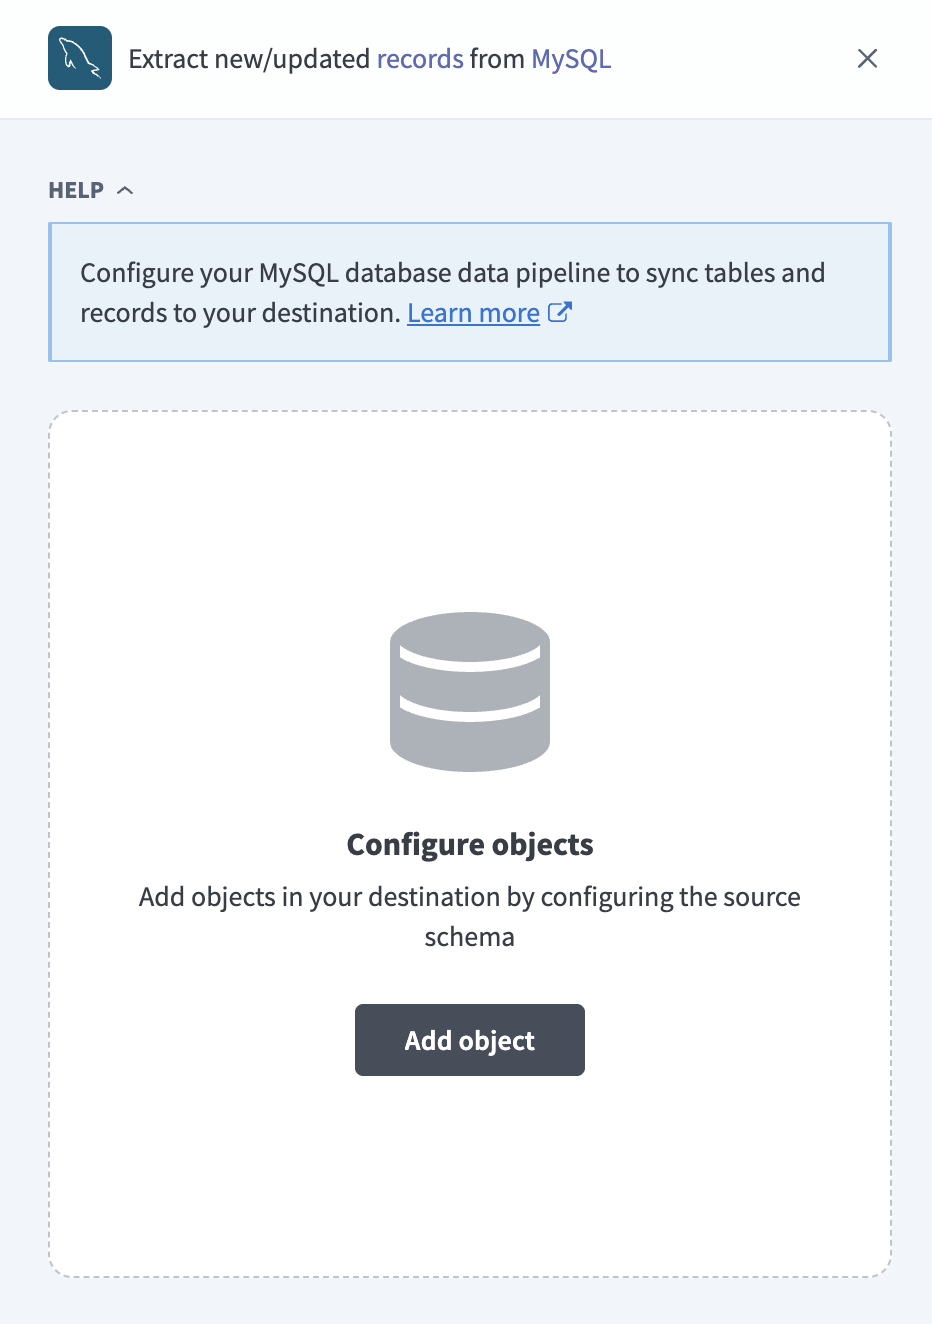 Add objects
Search or browse the list of available MySQL objects, select the objects to sync, and click Add.
Review and customize the schema for each selected object. The pipeline automatically fetches an object's schema when you select it. This ensures the destination matches the source.
Expand an object to view associated fields. Keep all fields selected to extract all available data, or deselect specific fields to exclude them from data extraction and schema replication.
Optional. Configure field-level data protection by expanding an object and choosing how to handle each field:
- Replicate as is: Data values at the source replicate identically to the destination.
- Hash: Hash sensitive data values in the field before syncing to your destination.
Workato recommends hashing personally identifiable information (PII) and other sensitive fields.
Click Add object again to add more objects. Repeat this step to include additional MySQL objects in your pipeline.
Use the Choose how to handle schema changes drop-down menu to select a schema drift handling option:
- Auto-sync new fields: Automatically detects and syncs new fields added in the source.
- Block new fields: Keeps the schema fixed after the pipeline starts. You must add new fields manually. This option may cause the destination to fall out of sync if the source schema updates.
Refer to Schema replication and schema drift management for more information.
Choose either a standard time-based schedule or define a custom cron expression in the Frequency field. This determines how often the pipeline syncs data from MySQL to the destination.
Supported objects
MySQL data pipelines sync data from tables in your connected database.
Limitations
The following limitations apply when you use MySQL as a data pipeline source:
Minimum sync frequency
The minimum supported sync interval is 15 minutes. You can't trigger syncs more frequently than this.
Last updated: