Action on file download/upload
The Run recipe action retrieves, modifies, or saves data in a third-party application and returns data to your Workflow app when a file is uploaded or downloaded in your app, keeping external systems and your Workflow app in sync in real time.
The Value changed trigger works with the Upload and Download modes of the file component. Refer to the File component properties for more information.
Configure a Run recipe action on file value change
Configuring a Run recipe action on file value change involves the following steps:
- Enable action on file value change
- Configure a recipe to process the uploaded or downloaded file
- Connect the recipe to page components
Enable action on file value change
Complete the following steps to enable a Recipe run action on file value change:
Create a new Workflow app or select an existing one.
Select a file component and go to the Action panel. The action's Trigger event is pre-selected as Value changed.
Use the Action drop-down menu to select Run recipe.
Use the Recipe drop-down menu to click Create recipe. This opens the Set up your recipe page in a new tab.
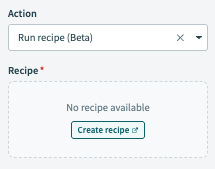 Action on file value change setup
Configure a recipe to process the uploaded or downloaded file
Enter a unique Name for this recipe.
Use the Location drop-down menu to ensure the recipe is in the same folder as your app page.
Click Start building.
Workato generates a recipe pre-configured with the New component event (real-time) trigger and the Return data to component action:
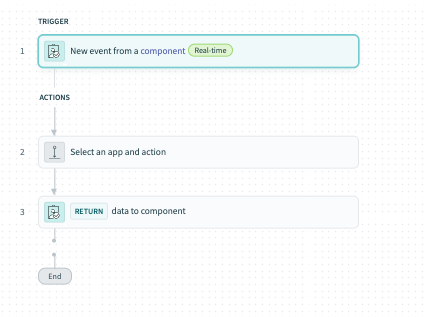 Recipe outline
Modify the New component event trigger
Select the New component event trigger.
Go to the Setup tab.
The setup tab displays the recipe's input and output parameters. Use them to receive data, such as files, from your page and return data back to it.
Go to Input parameters and click Add input parameters.
Define the file to pass to your recipe. You must provide the Name, Data type, and Optional status for each input parameter. You can also provide an optional Label and Hint.
Select File as the Data type to pass a file uploaded to your app to the recipe.
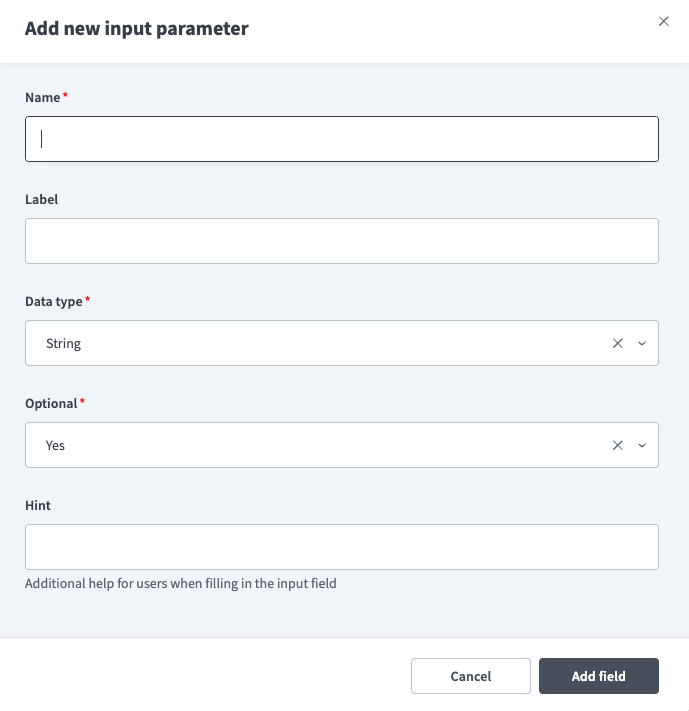 Configure input parameters
Go to Output schema and click Add field.
Define the recipe output if you plan to return data to your page. You must provide the Name, Data type, and Optional status for each output parameter. You can also provide an optional Label and Hint.
Select File as the Data type to return a file to your app.
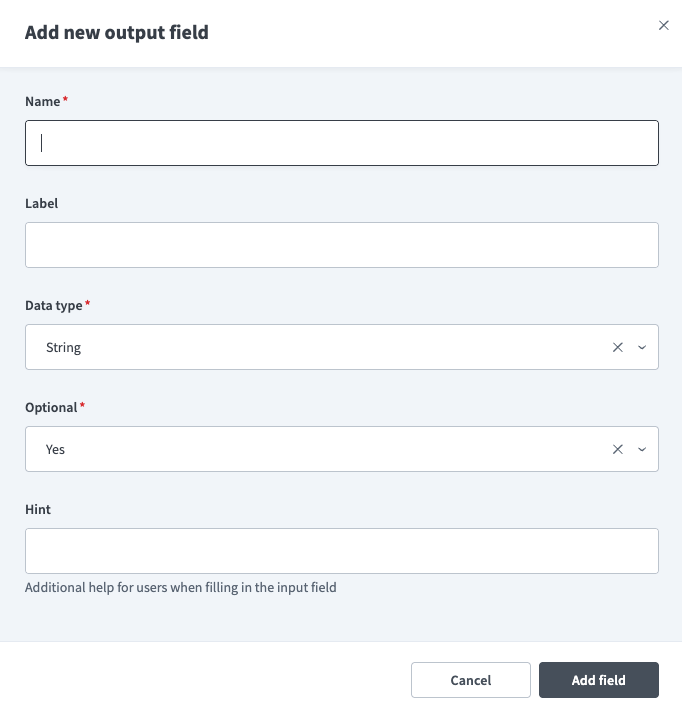 Configure the output schema
Configure an action in an app
Complete the following steps to configure one or more Action in an app steps to process the uploaded file. For example, you can save it to a data table, upload it to FileStorage, or process it in your recipe.
Click Select an app and action step in the recipe.
Search for and select the app you plan to use. A list of available actions for the app displays.
Select the action you plan to use, such as a file upload, download, or attachment action in a document storage or content management system.
Select the connection type you plan to use for the component event recipe.
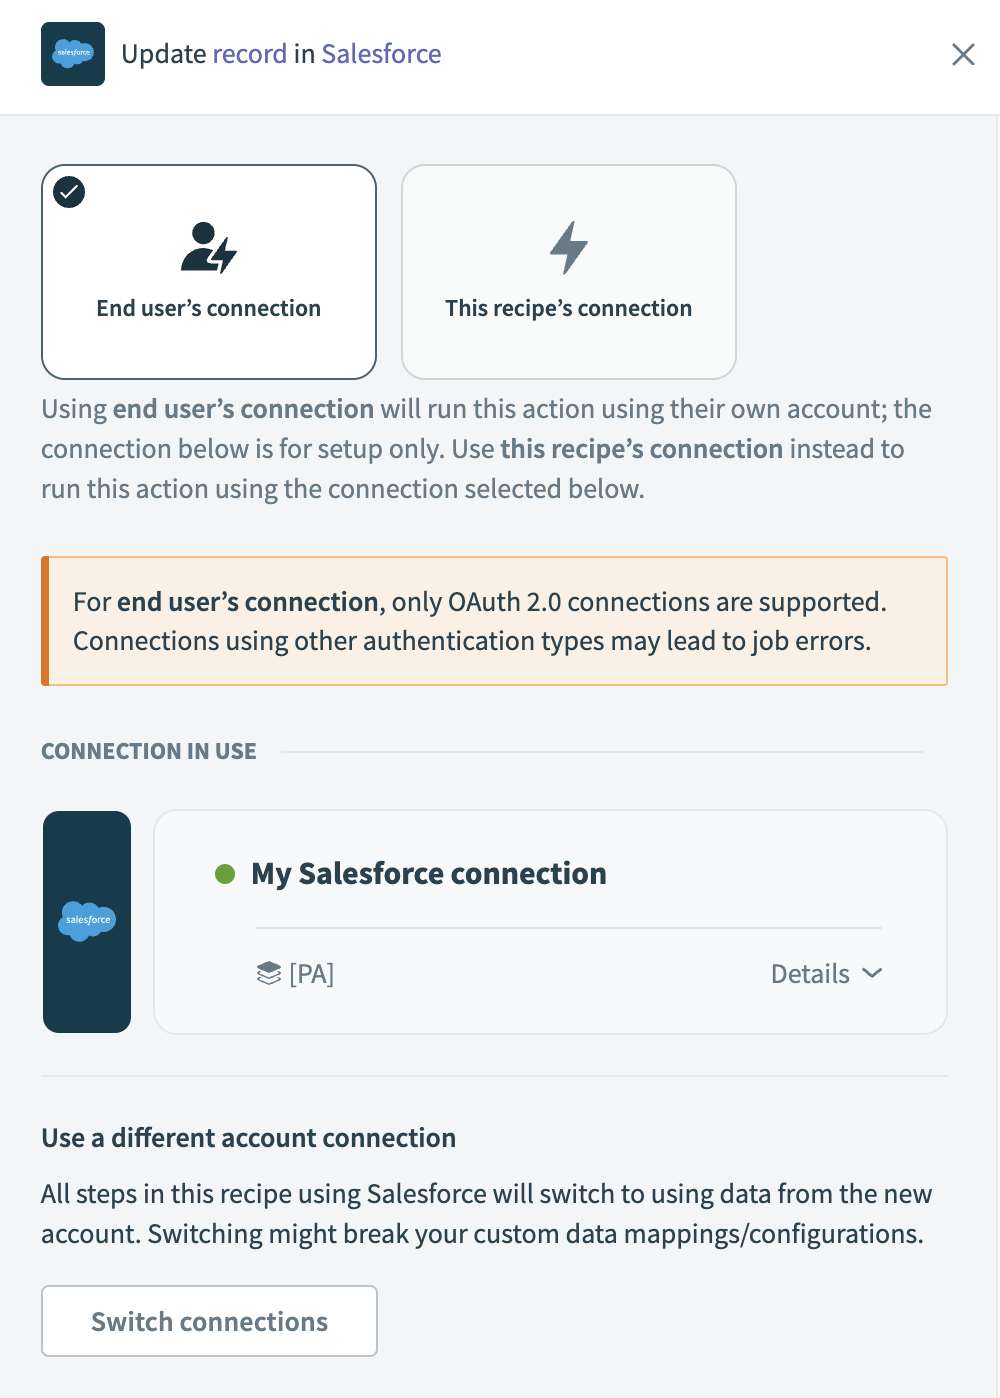 Choose a connection type
- End user's connection: Workflow apps recipes perform actions based on the identity and permissions of the user who connects to the application. End users authenticate with their own credentials to retrieve or modify data in an external app.
- This recipe's connection: This option uses the connection established by the recipe builder and follows the same principles as normal app connections.
Only app connections that use OAuth 2.0 authorization code grant are available for end user's connection. Refer to Verified user access for more information.
Select an existing connection or click + New connection to create a new connection.
Configure the action based on your requirements.
Map input parameters to the action as necessary. For example, map the File nameStep 1 or File contentsStep 1 datapills into the action's input fields to save or process the file.
Add additional steps as required.
Modify the Return data to component action
Complete the following steps to return recipe data to your app:
Select the Return data to component action.
Use the Consider this action as successful? drop-down to define whether the action completed successfully.
Go to the output section and map in recipe data to the provided output fields. This output matches the output fields defined in the New component event trigger.
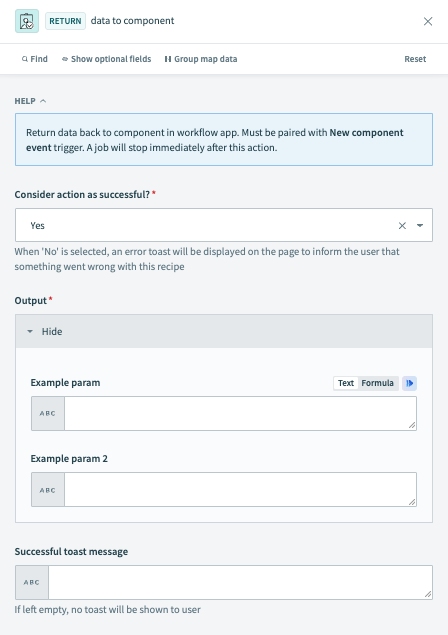 Return data to component
Click Save and Exit.
Connect the recipe to page components
Complete the following steps to map page data into the recipe and surface recipe output back to page components:
Return to the page editor and select a file component.
Define recipe input parameters
Select a file component.
Go to the Action panel.
Go to Recipe input parameters.
Use the Page data modal to map in File to process in your recipe.
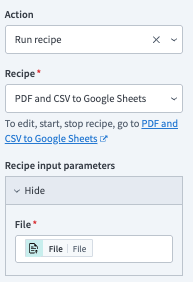 Define recipe input parameters
Use recipe output to set values
Select a file component.
Go to the Action panel.
Go to Recipe output to set value and click + Add item.
Use the Recipe output drop-down menu to select recipe output.
Use the Set value for drop-down menu to select a page component or variable to set the value for.
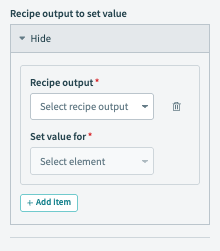 Populate variable values with recipe output
Click Save.
Last updated: