# Update Quickbase records from SFTP CSV files recipe
This use case guides you through connecting SFTP, CSV tools by Workato, and Quickbase to create a powerful automation.
# What does this recipe do?
This recipe fetches a CSV file from an SFTP server, parses the file content, and updates the corresponding records in a Quickbase table.
# How can I use this recipe?
This recipe can be applied in various ways to automate workflows, including but not limited to the following use cases:
- Inventory tracking: Regularly fetch inventory updates from a supplier’s SFTP server, allowing you to maintain accurate stock levels in your Quickbase database.
- Sales data management: Automate the import of daily sales reports from an SFTP server, ensuring that your Quickbase records are always up to date with the latest sales figures.
- Order processing: Regularly download order details from an SFTP server and update your order management system in Quickbase. This helps in streamlining order fulfillment and tracking.
- Customer information updates: Automatically update customer records based on new data received in a CSV file, ensuring that your team always has the most current information at their fingertips.
# Create your recipe
Complete the following steps to create a recipe that fetches a CSV file from an SFTP server, parses its content, and updates records in a Quickbase table:
USE CASES ARE INTENDED AS EXAMPLES ONLY
This use case serves as an example. Modifications to triggers, actions, or conditional logic may be necessary to adapt this recipe to your workflow.
Sign in to Workato.
Select the project where you plan to create the recipe.
Create connections for SFTP and Quickbase.
WORKATO UTILITY CONNECTORS DON'T REQUIRE SETUP
The CSV tools by Workato connector doesn't require connection setup.
Create a SFTP connection.
# Create a SFTP connection
This step creates an SFTP connection for your recipe.
# Using SSH keys for SFTP authentication
SFTP is built on the Secure Shell Protocol (SSH), which enables you to use SSH keys in your authentication flow. SSH keys can be used with a user ID and password or independently to authenticate Workato with your SFTP server. This enhances the security of your connection by using SSH encryption for your public and private keys.
# Connection setup
Complete the following steps to set up your SFTP connection:
Click Create > Connection.
Search for and select SFTP on the New connection page.
Provide a name for your connection in the Connection name field.
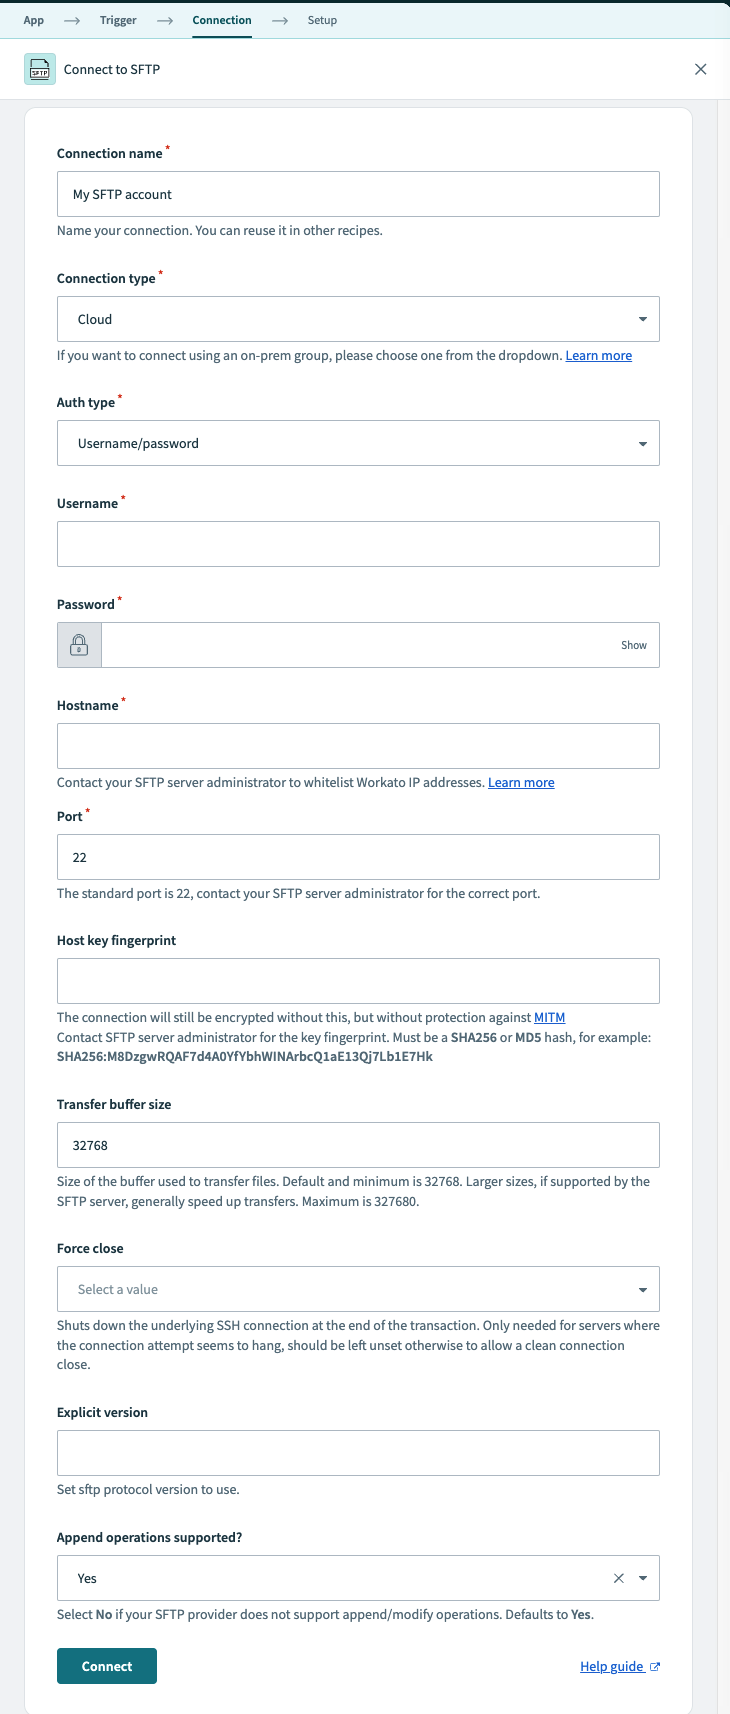 SFTP connection setup
Use the Location drop-down menu to select the project where you plan to store the connection.
Use the Connection type drop-down menu to select the connection method you plan to use. You can select your on-prem group name or select Cloud to use a direct connection.
Select the authentication method in the Auth type field. Available options include the following:
- Username/password
- Public/private key pair
- Public/private key pair and password
Enter the username for the SFTP server you plan to connect to in the Username field.
Provide additional authentication information based on your selection from the Auth type field:
Username/password or Public/private key pair and password authentication: Enter the password associated with the SFTP server username in the Password field.
Public/private key or Public/private key pair and password authentication: Enter the SSH private key for the SFTP server in the Private key field. The private key must be in OpenSSH format (opens new window). Specify
SecureShellPrivateKeyFormat.NewOpenSecureShellas the format parameter when saving the key. Refer to the Private key example format section for more information.
Enter your SFTP server address in the Hostname field.
Enter the port for the SFTP server in the Port field. The default port for SFTP is 22.
Optional. Enter the hash of the SSH public key in the Host key fingerprint field. Workato supports SHA256 and MD5 encryption. For on-premise connections, contact your SFTP server administrator to obtain the public key in Base64 format.
Optional. Enter the size of the buffer used for file transfers in the Transfer buffer size field.
Optional. Specify whether the SSH connection should be closed at the end of each transaction in the Force close field. Toggle this option if your SFTP server connection becomes unresponsive. Otherwise, leave it blank.
Optional. Set the SFTP protocol version to use in the Explicit version field.
Use the Append operations supported? drop-down menu to specify whether your SFTP provider supports append or modify operations. The default setting is Yes.
Click Connect.
Create a Quickbase connection.
# Create a Quickbase connection
This step creates a connection between Workato and your Quickbase account.
Workato supports the following authentication methods for connecting to Quickbase:
# User-token authentication
Click Create > Connection.
Search for and select Quickbase on the New connection page.
Provide a unique Connection name that identifies the Quickbase instance to which it is connected.
Use the Location drop-down menu to select the project where you plan to store the connection.
Enter your Quickbase subdomain. This is most often your company name.
Use the User-token authentication? drop-down menu to select Yes.
Provide your User token. Refer to the Generate a user token section for more information.
Click Connect.
# Username and password authentication
Click Create > Connection.
Search for and select Quickbase on the New connection page.
Provide a unique Connection name that identifies the Quickbase instance you plan to use.
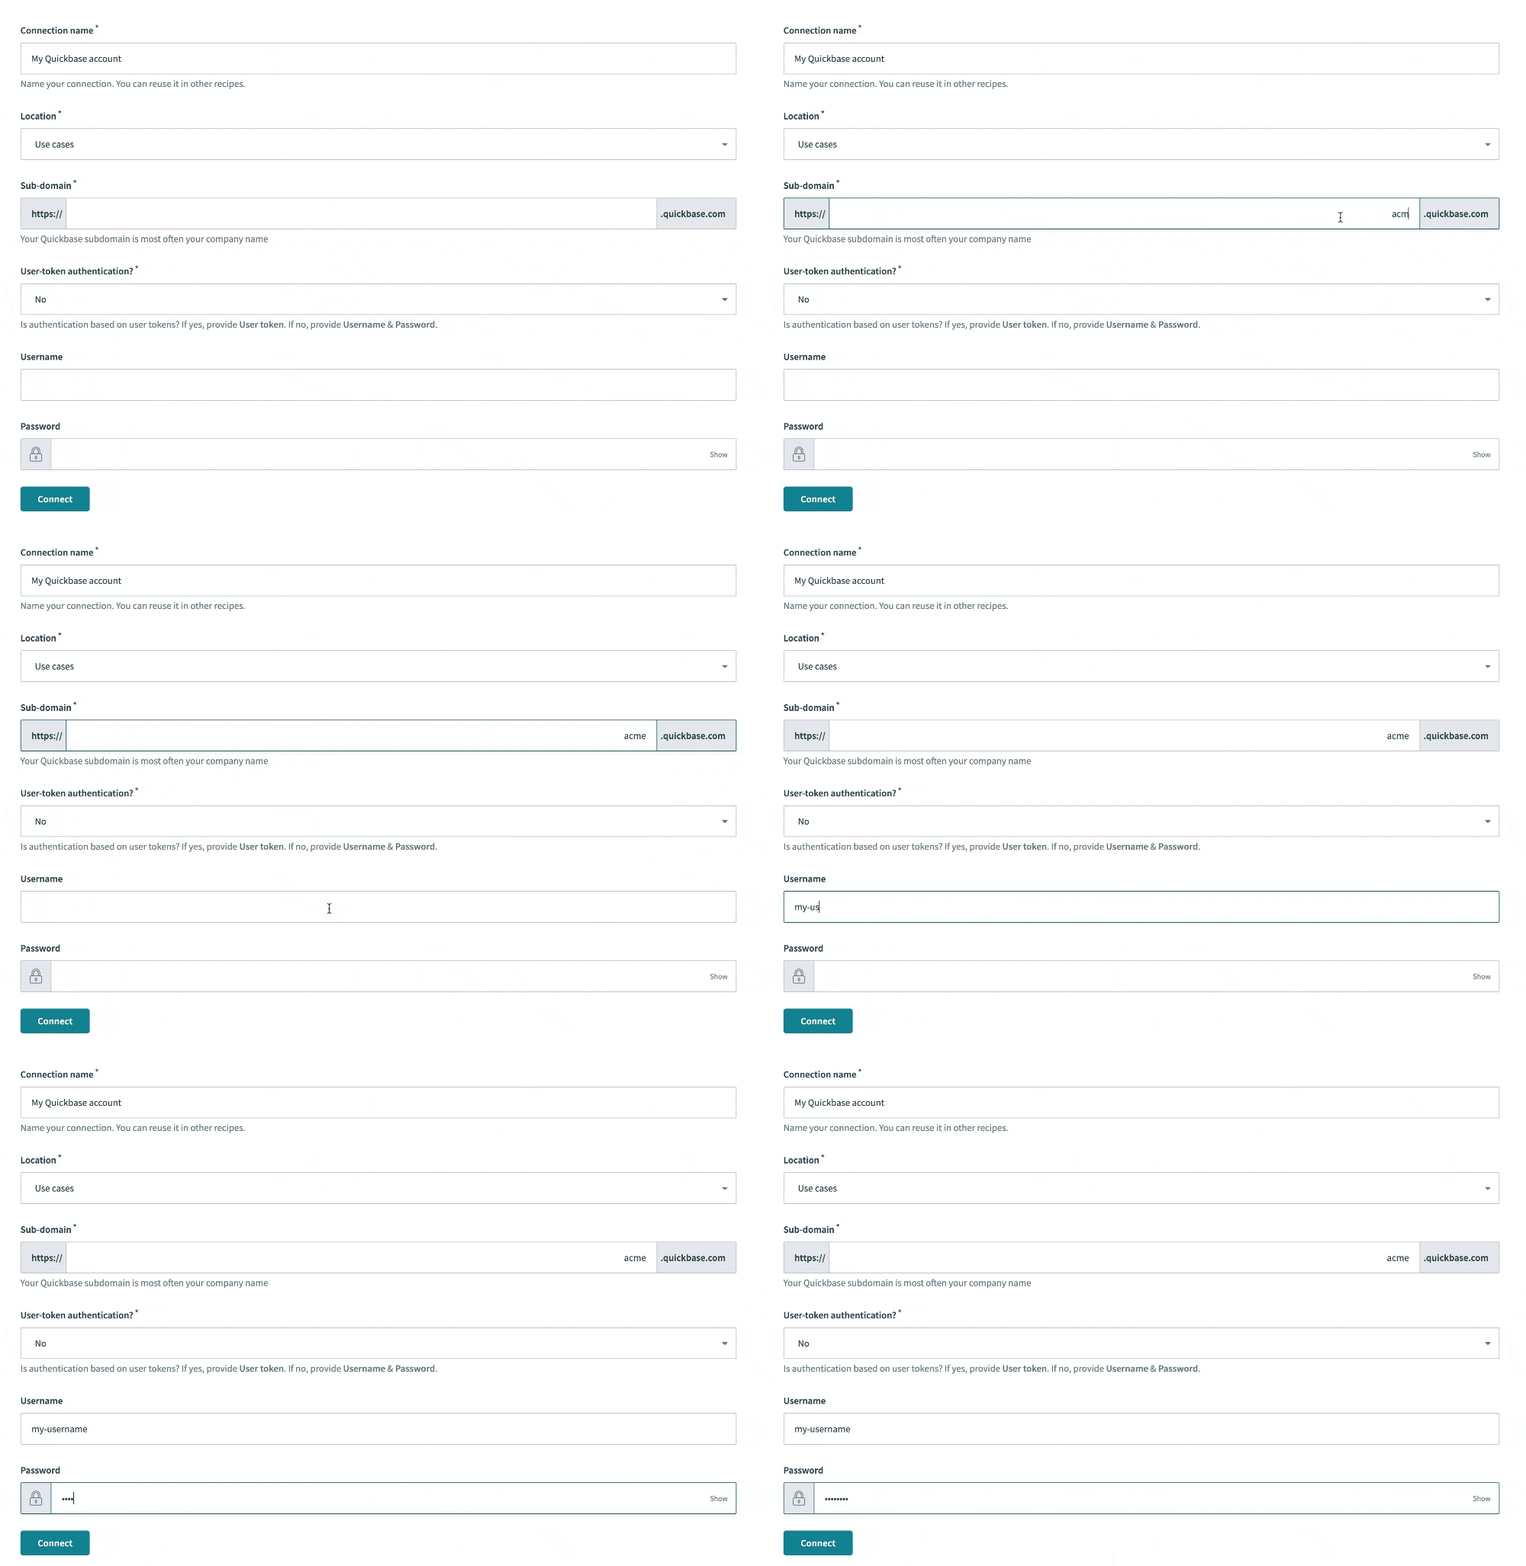 Set up your Quickbase connection with a username and password
Use the Location drop-down menu to select the project where you plan to store the connection.
Enter your Quickbase subdomain. This is most often your company name.
Use the User-token authentication? drop-down menu to select No.
Provide your Quickbase username and password.
Click Connect.
Go back to your project and click Create > Recipe.
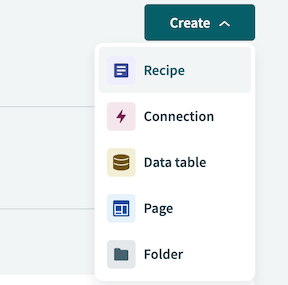 Create a new recipe
Enter a name for your recipe in the Name field.
Use the Location drop-down menu to select the project where you plan to store the recipe.
Click Start building.
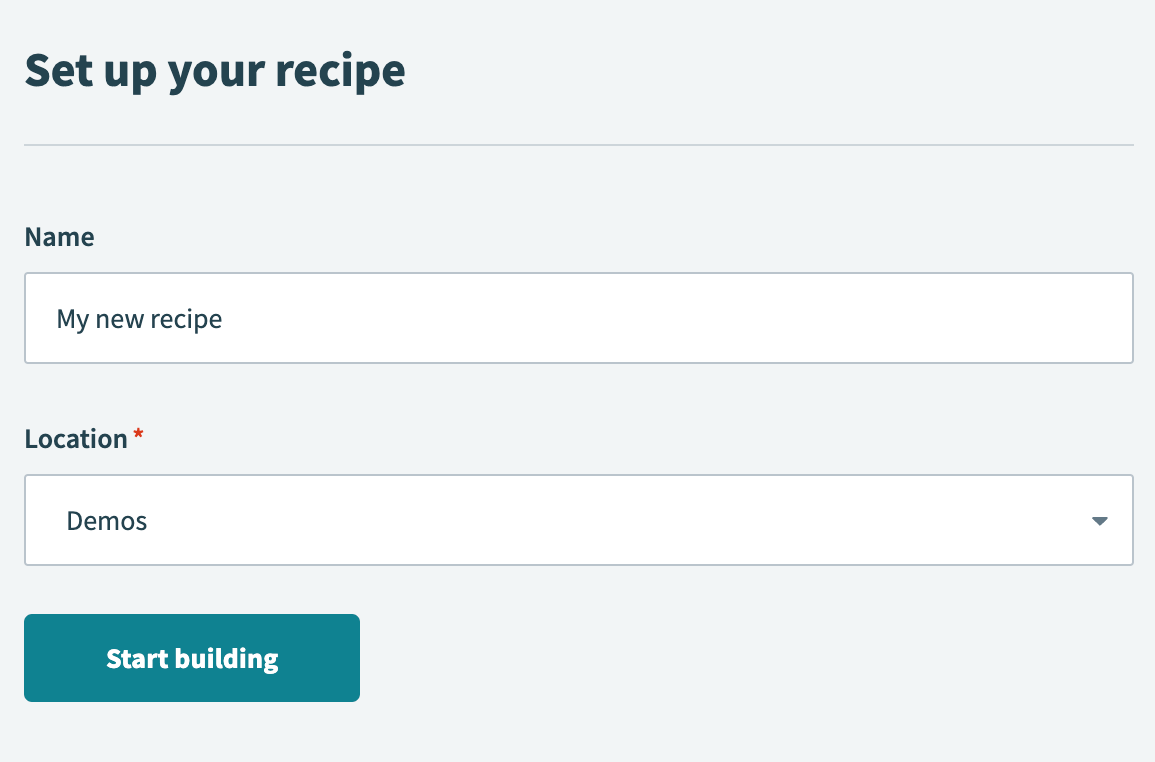 Start building your recipe
Click Pick a starting point, then select Run on a schedule. This creates a new recipe with the Scheduler by Workato New recurring event trigger. This trigger doesn't require a connection.
Set up your Scheduler by Workato New recurring event trigger.
# Set up Scheduler by Workato New recurring event trigger
This step sets the interval or custom schedule for how frequently this recipe should run.
Click the trigger in the recipe editor.
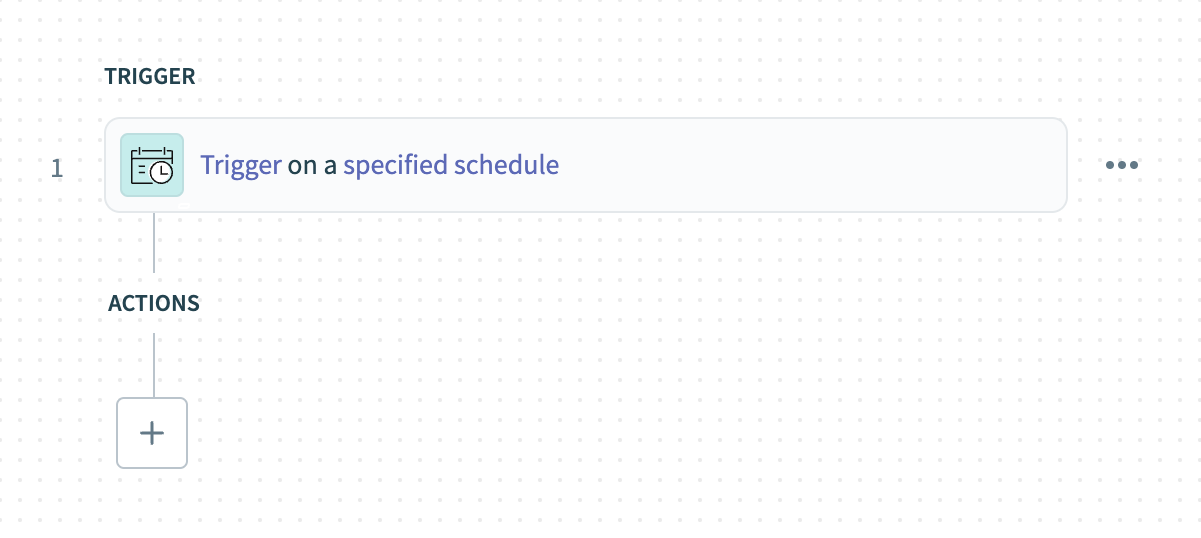 Click the trigger
Choose an interval or custom schedule in the Time unit field. Available options include Minutes, Hours, Days, Weeks, Months, or Custom schedule.
Specify how frequently this trigger should run. The field you configure depends on your selection in the Time unit field:
If Custom schedule is not selected: Define the repeat schedule in the Trigger every field. Enter whole numbers only. The minimum value accepted is five minutes.
If Custom schedule is selected: Enter the Cron expression in the following format:
[minute] [hour] [day of month] [month] [day of week]
Optional. Select the timezone in the Timezone field. If left blank, America/Los_Angeles is used.
Optional. Set the start date and time in the Start after field, or leave the field blank to activate the trigger immediately after starting the recipe. You can't change this value after you run or test the recipe.
Click Save.
Click + Add step and select Action in app.
 Click Add step > Add action in app
Set up your SFTP Download file action.
# Set up SFTP Download file action
This action retrieves the contents of a CSV file from your SFTP server.
Search for SFTP and select it as your app.
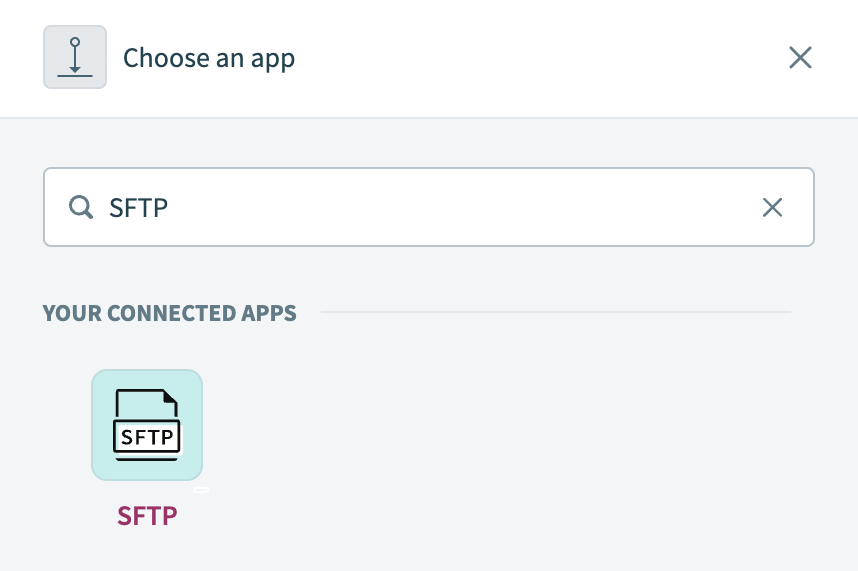 Choose SFTP as your app
Select the Download file action.
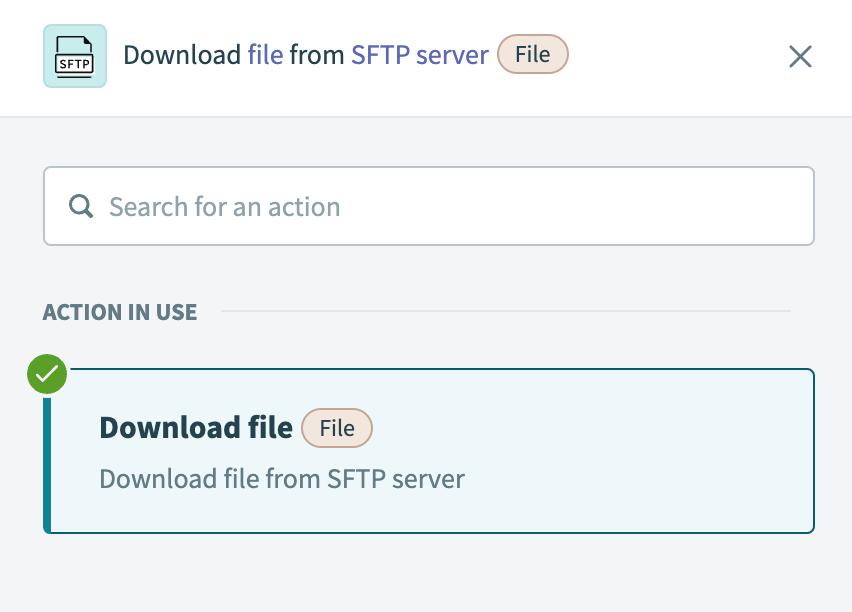 Select the Download file action
Select the SFTP connection you created in the preceding steps.
Enter the full path of the CSV file, including the file extension, in the File path field. For example, if your file is located at /sftp/Customer_orders.csv, enter this value in the field.
Optional. Choose the encoding value to set it explicitly in the Encoding drop-down menu.
Optional. Use the Download file in one go drop-down menu to determine whether the file should be downloaded in one go if your SFTP server doesn't support multi-part downloads. The maximum size supported is 200 MB. The default value is set to No. Don't select this option for larger file downloads.
Click Save.
Click + Add step and select Action in app.
Set up your CSV tools by Workato Parse CSV action.
# Set up CSV tools by Workato Parse CSV action
This action maps the file contents from the previous step (a CSV-formatted string) and parses the content into an array of lines. This action can convert up to 50,000 lines.
Search for CSV tools by Workato and select it as your app.
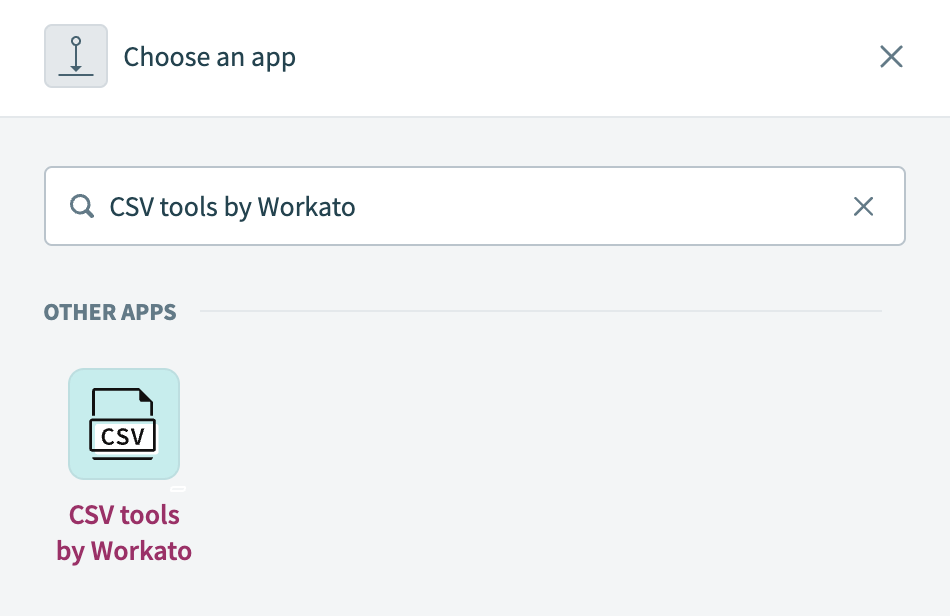 Choose CSV tools by Workato
Select the Parse CSV action.
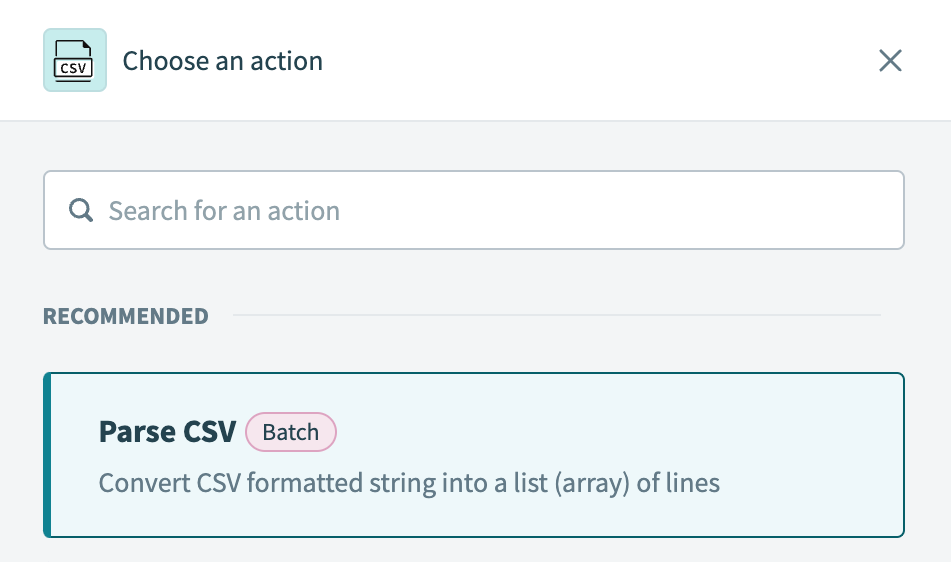 Select the Parse CSV action
Map the File contents Step 2 datapill to the CSV contents field.
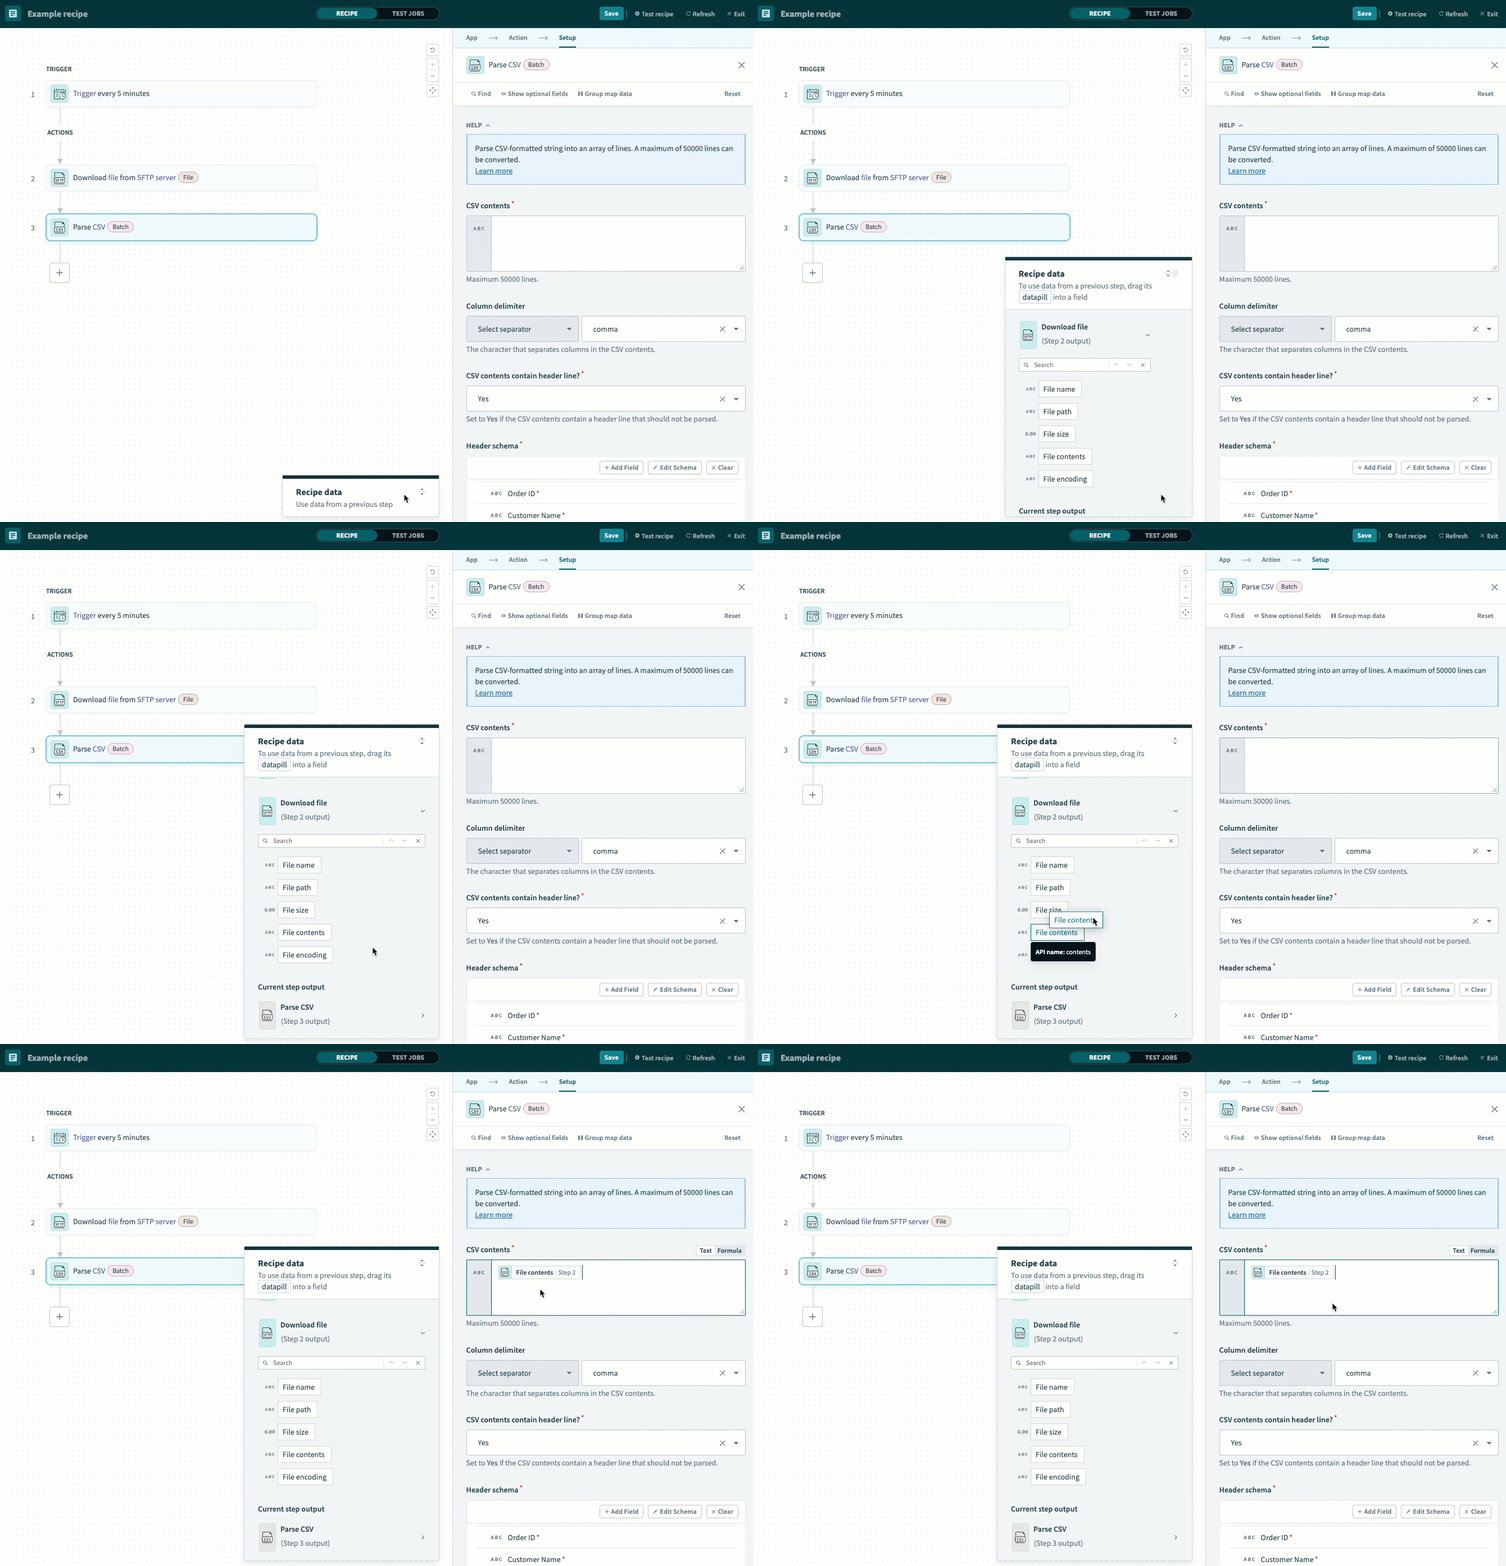 Map the File contents Step 2 datapill
Go to the Column delimiter field to select a separator or enter a custom character to define how columns are separated in the CSV contents.
Available options include comma, space, tab, colon, semicolon, and pipe.
Use the CSV contents contain header line? drop-down menu to specify whether the CSV contains a header line that should be excluded from parsing.
Describe the CSV columns in the Header schema. You can either upload a sample CSV file to input all column names at once or manually add column names by clicking Add column name.
This example uses the following schema:
Order ID,Customer Name,Customer Email,Product SKU,Product Name,Quantity Ordered,Order Status,Shipping Address,Order Total,Order Date
Optional. Specify how Workato should keep track of columns in the Keep track of columns by field. You can select Column order or Column name. Configure this field if your expected CSV contents have varying column order or names.
Optional. Specify the character used to quote CSV cell values in the Quote character field. Available options include Double quote, Single quote, and None. Choose None if no quote character is used.
Optional. Specify the encoding of the file in the Encoding of the file content field. By default, encoding is set to UTF-8.
Click Save.
Click + Add step and select Repeat for each.
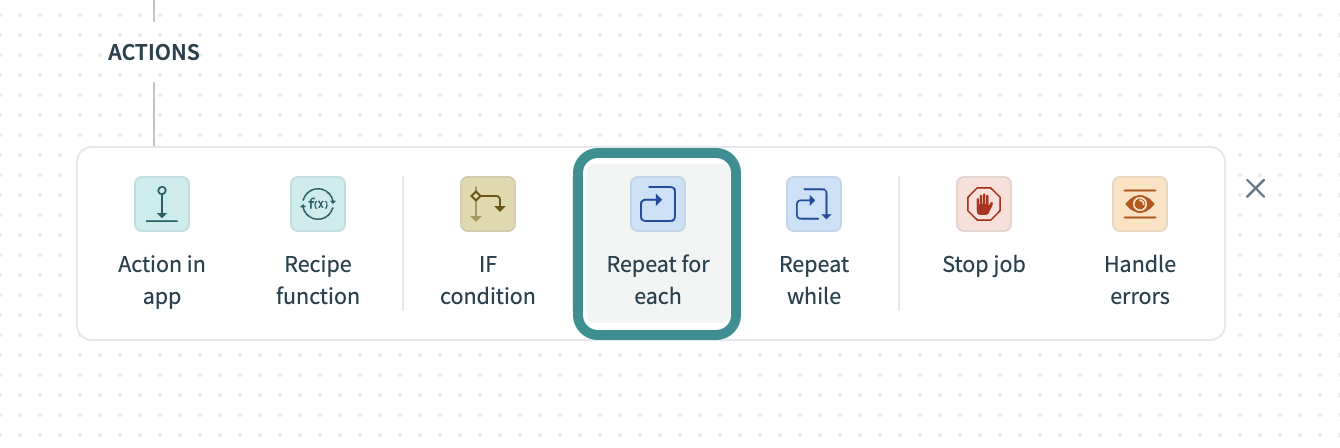 Click Add step > Repeat for each
How does the Repeat for each condition work?
# CSV and Quickbase repeat for each condition example
A Repeat for each loop repeats one or more actions for each item in a list. The loop ends automatically when the entire list is processed.
Set up your CSV and Quickbase repeat for each loop.
# Set up a CSV and Quickbase repeat for each loop
This step processes each line in the CSV file through a Repeat for each loop. After configuring the loop, you will define the action to take for each line. This recipe update records in a Quickbase table.
Map the Lines Step 3 datapill to the Input list field.
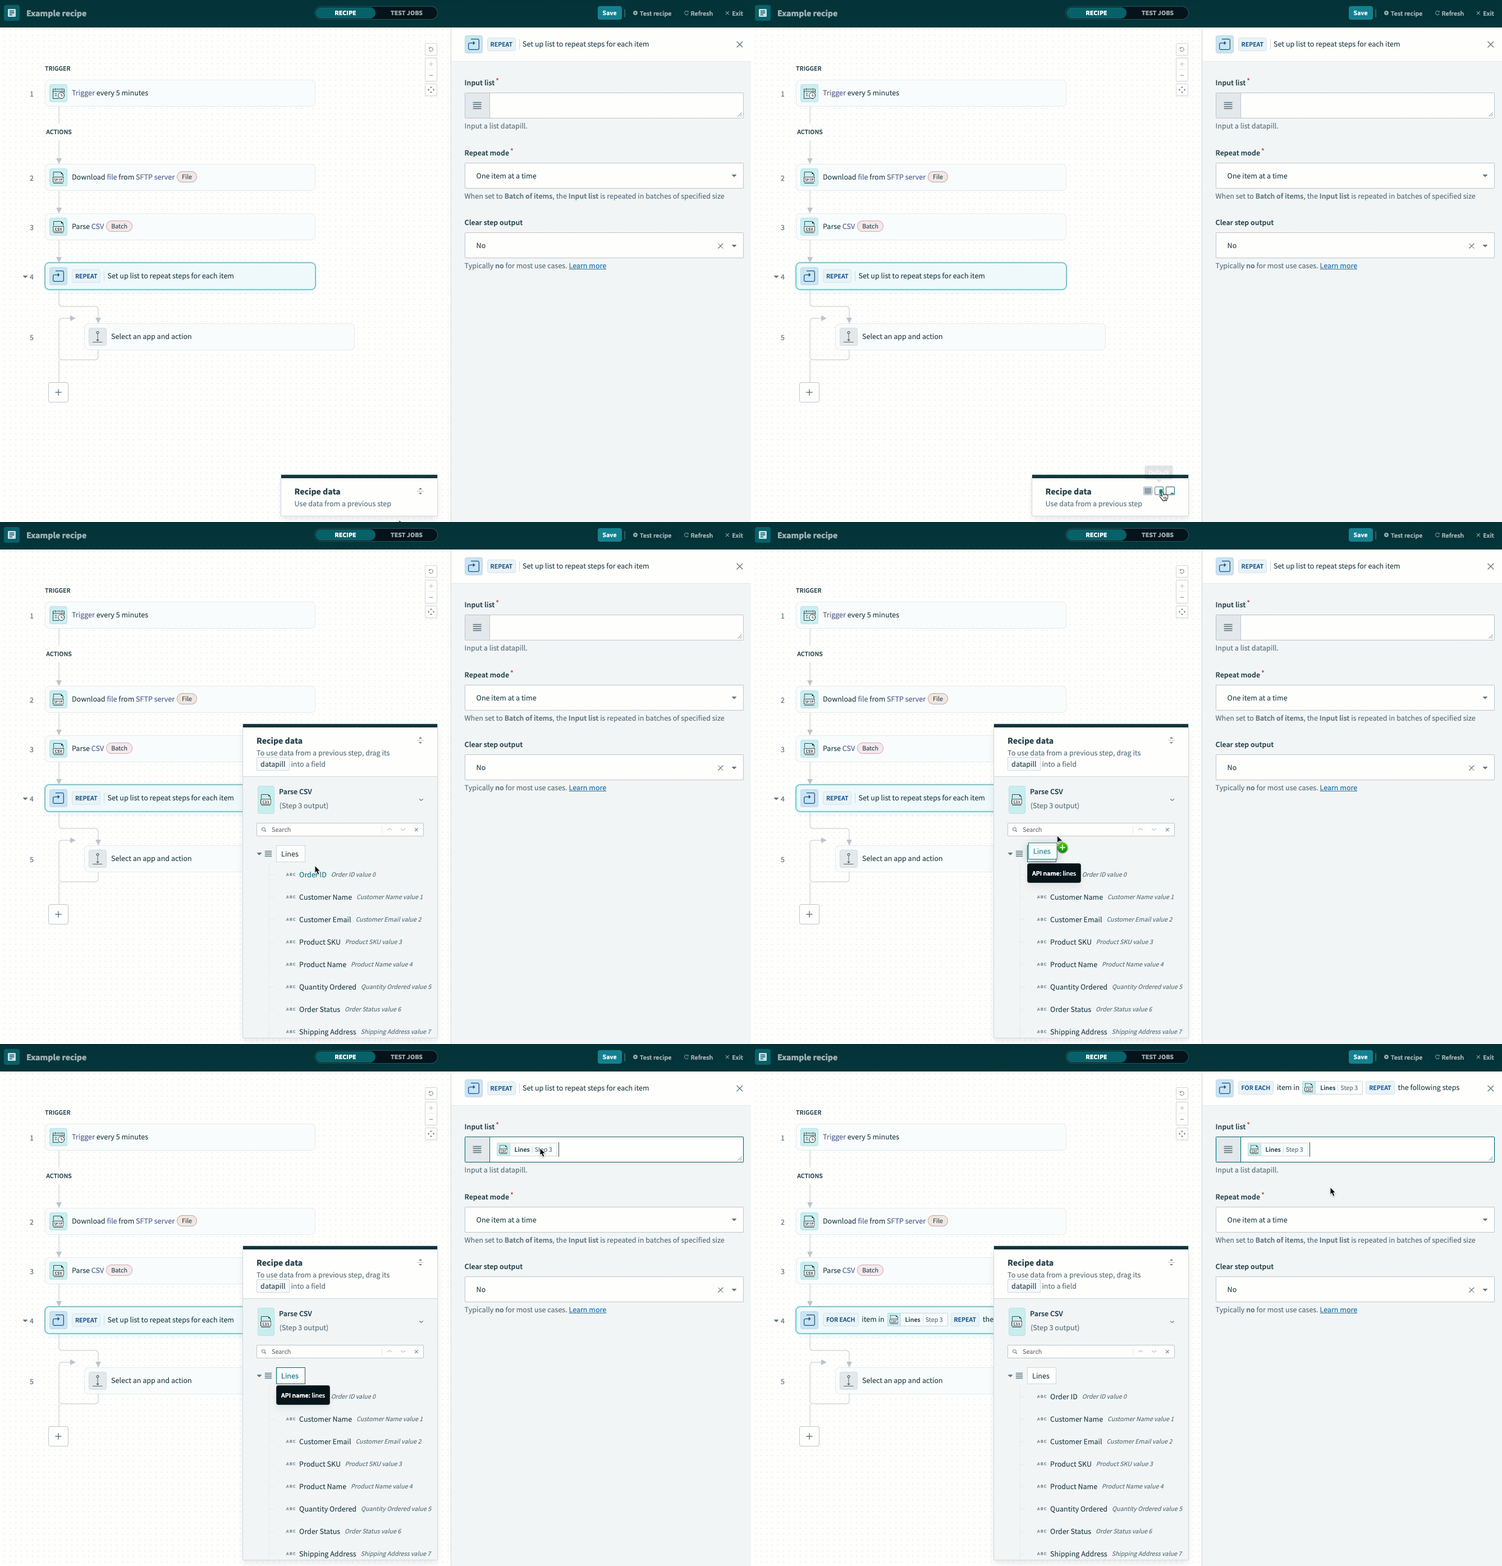 Map the Lines Step 3 datapill
Ensure One item at a time is selected in the Repeat mode field.
Ensure that No is selected in the Clear step output field.
Click Save.
Set up your Quickbase Update record action.
# Set up Quickbase Update record action
This step runs inside the Repeat for each loop. This action updates the corresponding record in the Quickbase table for each processed line from the parsed CSV file.
Click Select an app and action.
Search for Quickbase and select it as your app.
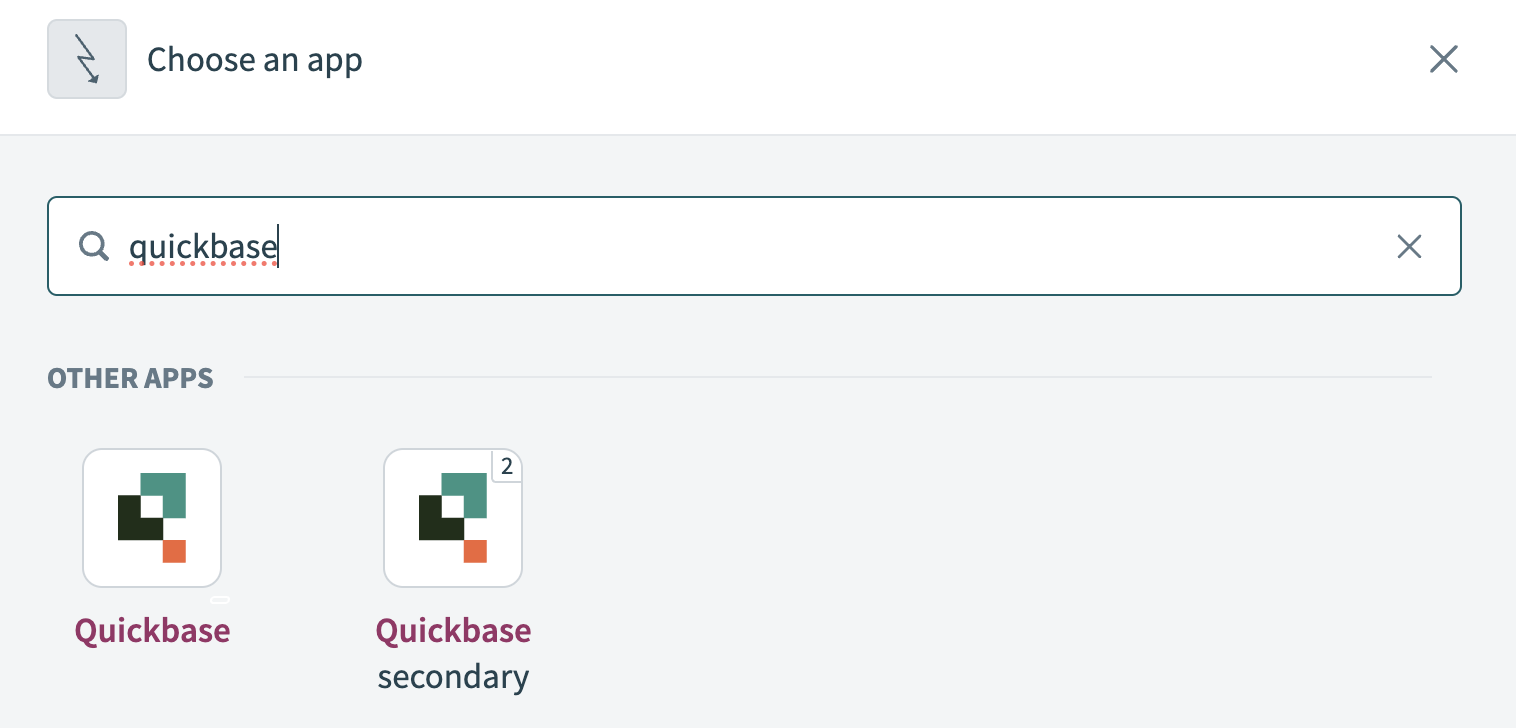 Choose Quickbase as your app
Select the Update record action.
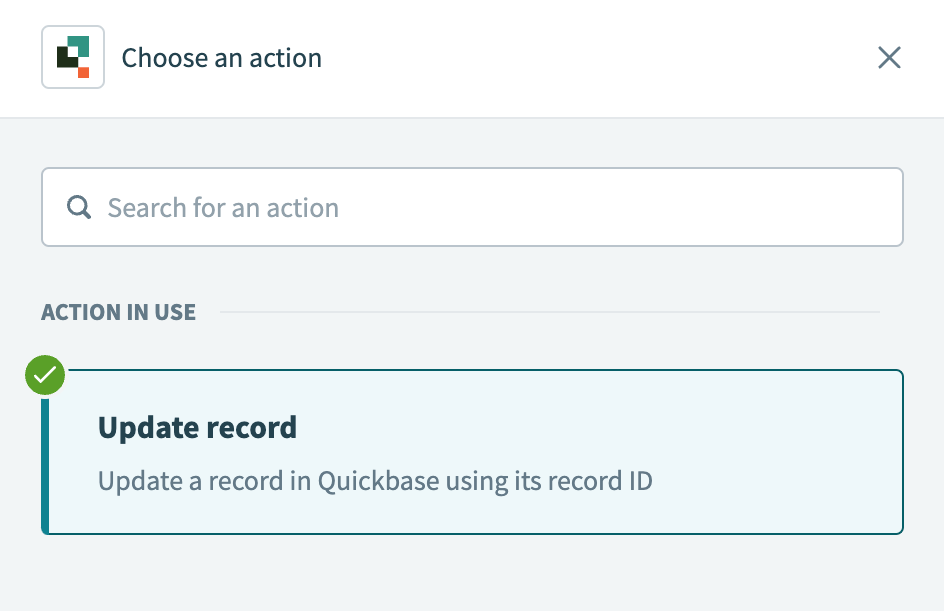 Select the Update record action
Select the Quickbase connection you created in the preceding steps.
Select an application from your Quickbase account in the Application drop-down menu.
Provide the Application token if the app is configured to require a token for data access.
Refer to the Quickbase documentation (opens new window) to learn how to retrieve your app token.
Select a table from the list or enter the table ID in the Table/Table ID field.
Use the Record ID field to specify the identifier or primary key of the record to be modified.
Use the Table field list drop-down menu to select the table fields you plan to update. Workato supports a maximum of 150 fields from a Quickbase table.
Map the datapills from the Foreach (Step 4 output) datatree to their respective fields. For example, map the Customer Name Step 4 datapill to the Customer Name field, and the Customer Email Step 4 datapill to the Customer Email field.
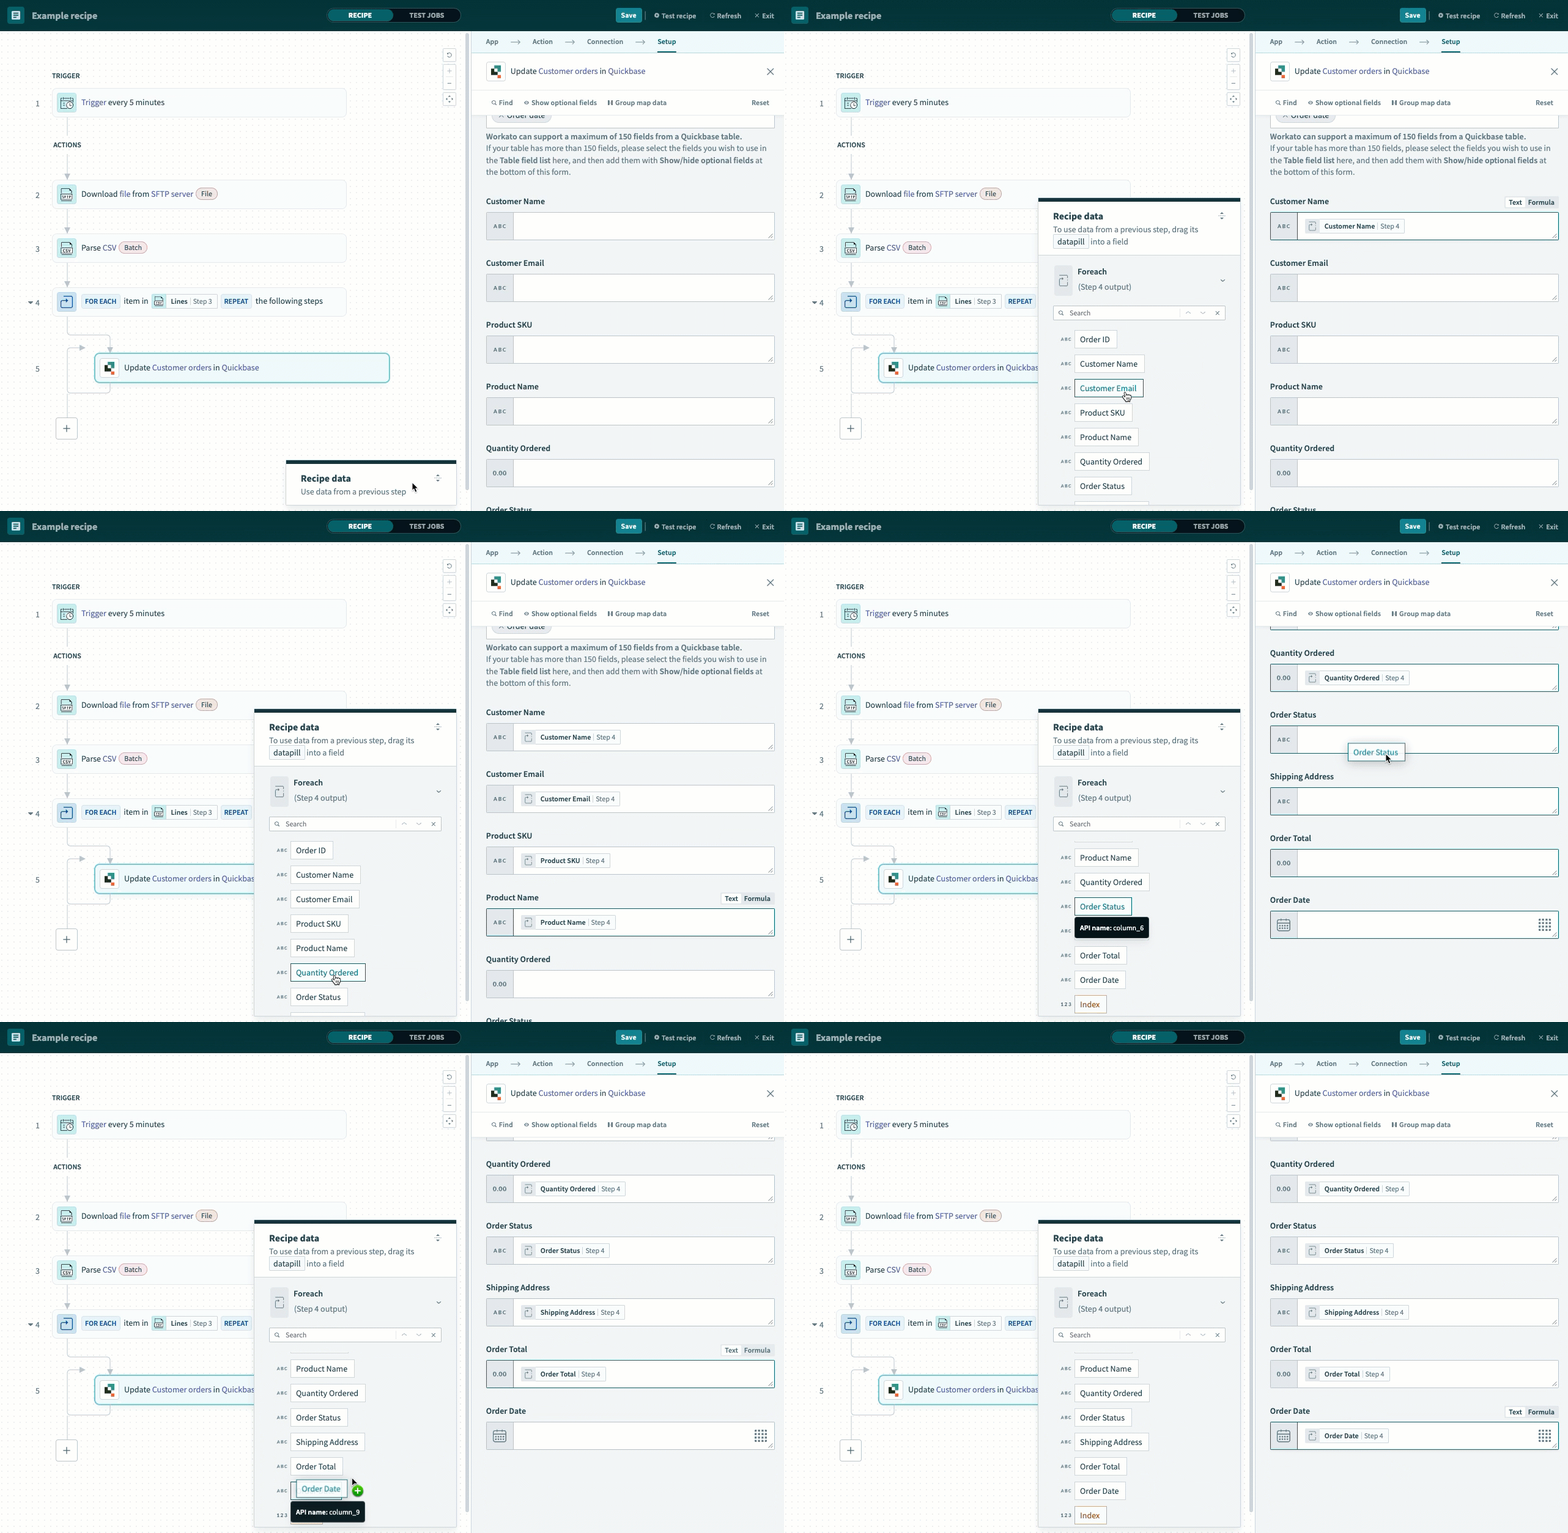 Map Repeat for each loop output
Click Save.
Your Update Quickbase records from SFTP CSV files recipe is ready to test and implement.
Last updated: 12/22/2025, 5:25:59 PM