# Provision Embedded Environments for customers
You must provision the Environments feature for each customer individually. You can define different roles in each environment for a single collaborator. Customer Managers have access to all environments with the same role.
ENVIRONMENTS PROVISIONING CANNOT BE UNDONE
After Environments are enabled for a customer, this configuration becomes a permanent account enhancement. It is not possible to revert to a single workspace setup.
# Provision Environments for existing customers
Sign in to your Workato account.
Click Manage customers in the sidebar navigation menu.
Select the customer you plan to provision Environments for in the Admin console customer table.
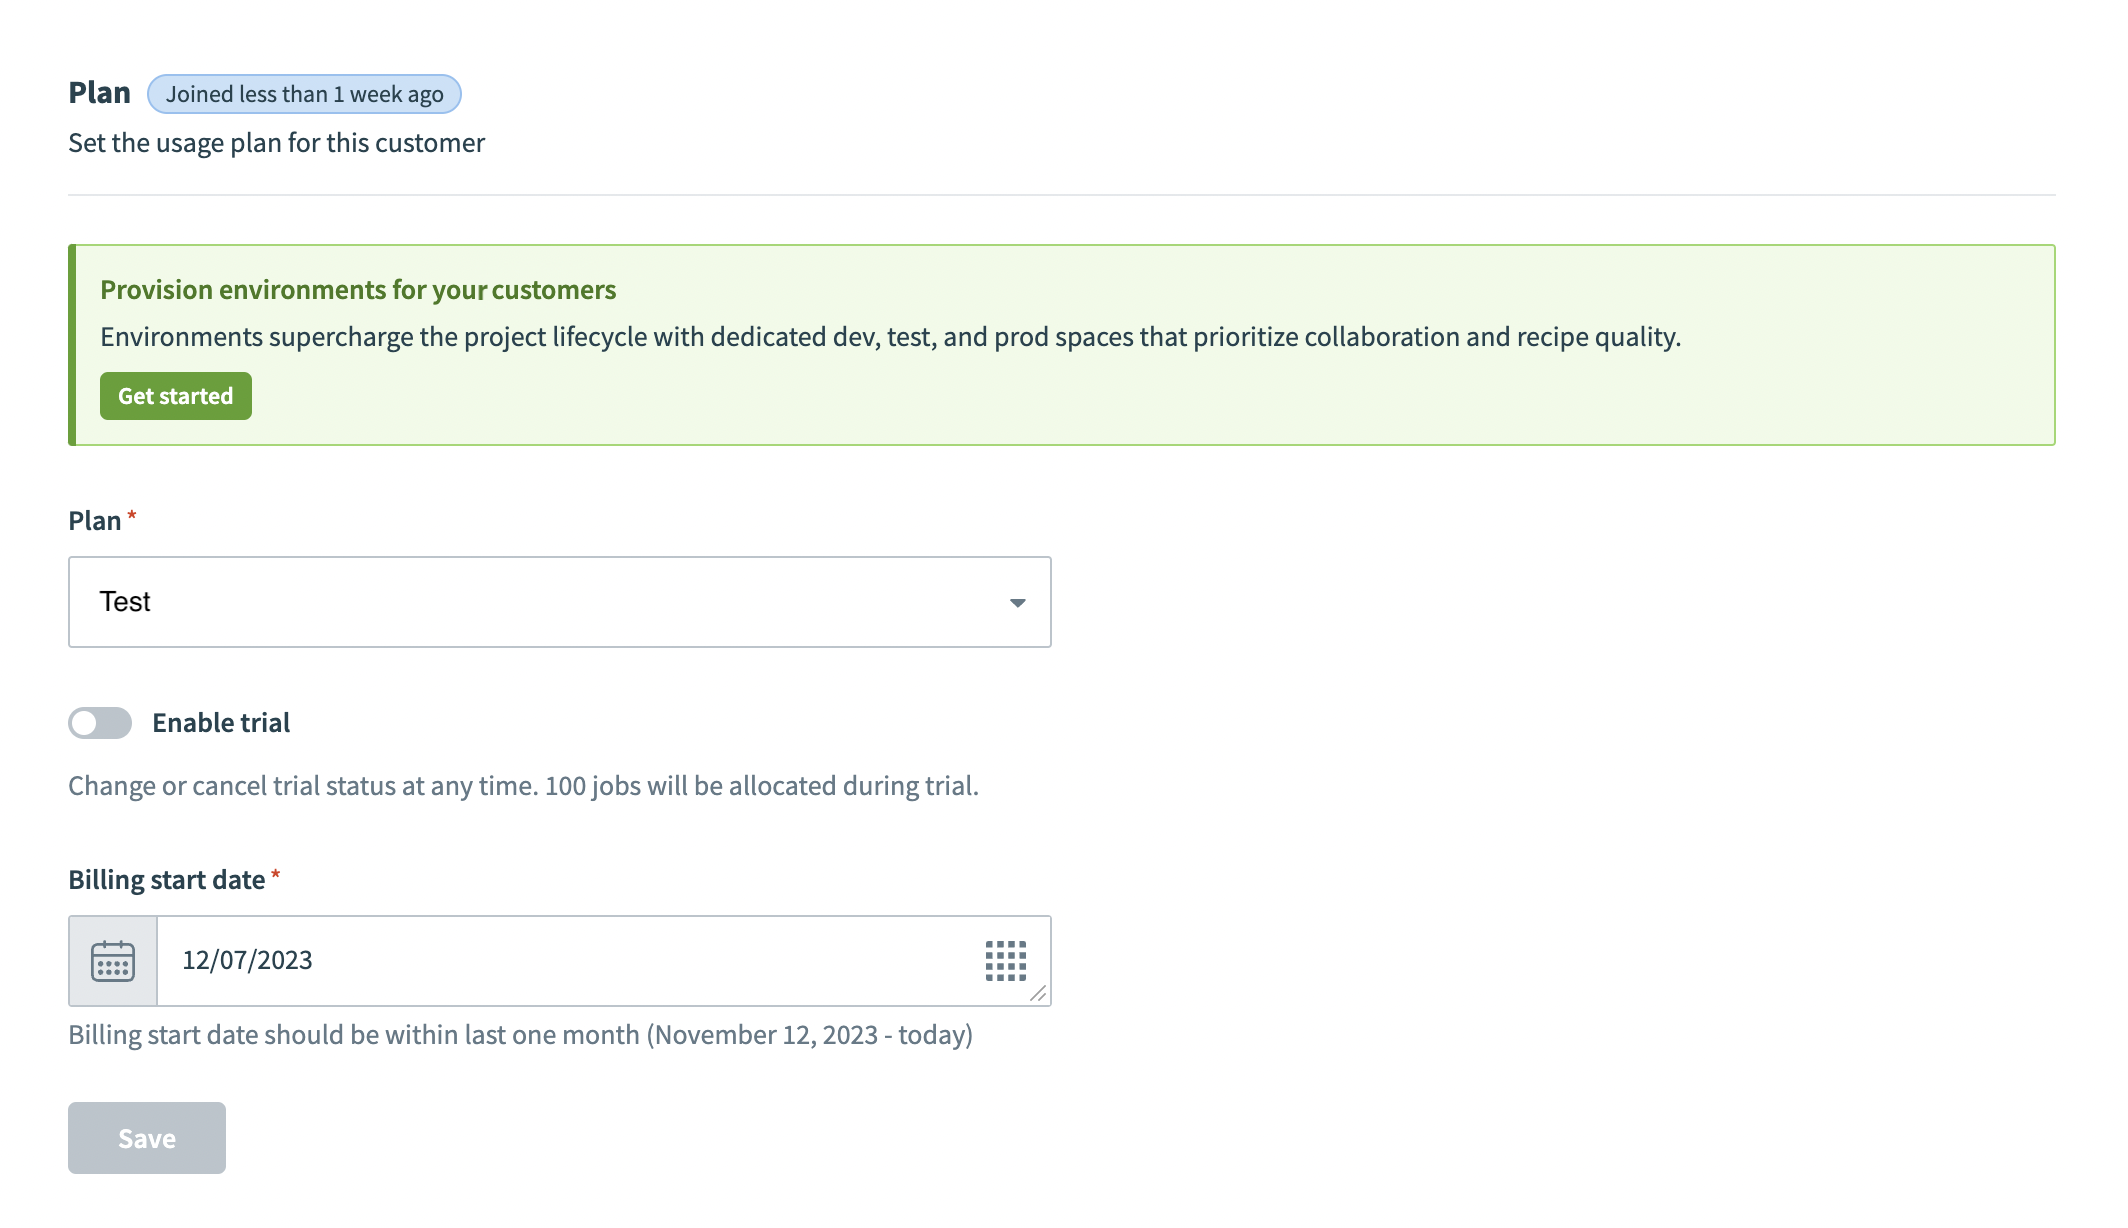
Click Settings > Plan.
Click Get started in the Provision environments for your customers box. The Provision Environments pop-up box opens with an overview of the Environments feature.
 Provision Environments to an existing customer
Click Provision environments in the pop-up box to confirm your selection.
VERIFY ACCESS POST-ENVIRONMENT PROVISIONING
After provisioning Environments for an existing customer, it is crucial to review and adjust Role-Based Access Control (RBAC) settings to ensure that your collaborators are granted the appropriate access across all environments (Development, Test, and Production).
After provisioning Environments for an existing customer, their pre-existing workspace becomes their Production workspace, which includes all running recipes. Additionally, empty Development and Test environments are created. Recipes don't stop running at any point during the process.
# Provision Environments for new customers
Sign in to your Workato account.
Click Manage customers in the sidebar navigation menu.
Click Add customer.
Enter a Name and Notification email, and select a Plan for the customer.
Ensure the Provision environments toggle is on.
Click Add customer.
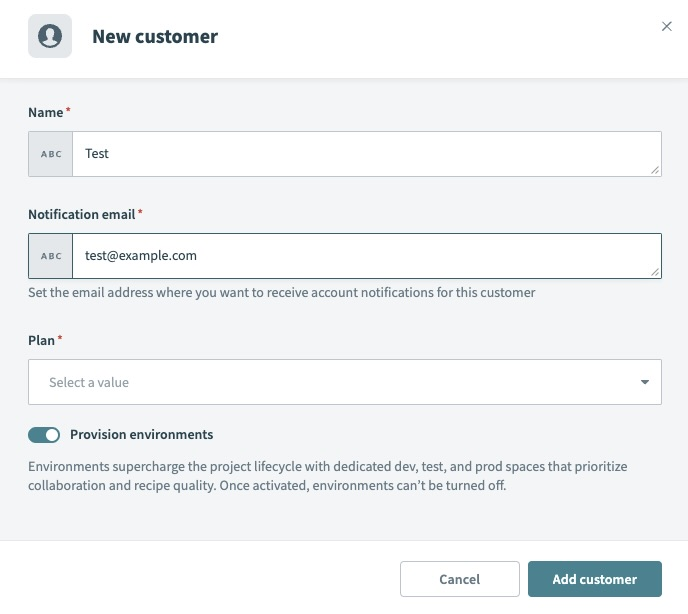 Provision Environments to a new customer
# Provision Environments programmatically
You can provision the Environments feature programmatically for managed customers by using the boolean parameter provision_environments. Set this parameter to true to provision the Environments feature for a managed customer.
# Sample request
curl -X POST 'https://www.workato.com/api/managed_users/:managed_user_id/' \
      -H 'Authorization: Bearer <api_token>'
Body
{
    "name":"Example managed customer",
    "notification_email": "[email protected]",
    "provision_environments": true
}
# Sample response
{
    "id": 209,
    "external_id": null,
    "name": "Example managed customer",
    "environments": [
        {
            "id": 211,
            "environment_type": "prod",
            "external_id": null
        },
        {
            "id": 210,
            "environment_type": "test",
            "external_id": null
        },
        {
            "id": 209,
            "environment_type": "dev",
            "external_id": null
        }
    ],
    "notification_email": "[email protected]",
    "full_embedding": null,
    "admin_notification_emails": "[email protected]",
    "error_notification_emails": "[email protected]",
    "plan_id": "wrike_integrate",
    "origin_url": null,
    "trial": false,
    "in_trial": false,
    "whitelisted_apps": [],
    "frame_ancestors": null,
    "created_at": "2024-05-17T00:48:23.454-07:00",
    "updated_at": "2024-05-17T00:48:23.454-07:00",
    "time_zone": "Pacific Time (US & Canada)",
    "auth_settings": {
        "type": "workato_auth"
    }
Last updated: 6/16/2025, 4:25:37 PM