# Application permissions for Enterprise Workbots
This guide describes how to authenticate and manage permissions for Workbot for Microsoft Teams using Application permissions (opens new window). This configuration is available for Enterprise Workbots only.
To use Application permissions, you must complete an additional setup in Microsoft Teams. This method secures connections more effectively than Delegated permissions. It enables setting up a Workato connection without requiring the user to have all the necessary application permissions, to be an Administrator, or to maintain a user-dependent connection (for example, the connection does not disconnect when the user logs out).
# Setup requirements
To set up Application permissions, you must have one of the following roles in your Microsoft organization:
- Application administrator
- Cloud application administrator
- Global administrator
- Privileged role administrator
You can view your role assignments in Microsoft (opens new window) by navigating to Users > {Your name} > Assigned roles.
WORKATO CONNECTION SETUP
You are not required to have one of the preceding roles to set up the connection in Workato if Application permissions are used. Completing the connection setup is a one-time task.
# How to set up Application permissions
To configure Application permissions, set up your bot app. Then, follow these steps to add the necessary permissions to your bot app:
Navigate to Microsoft Azure (opens new window).
Click App registrations and select your app.
Navigate to Manage > API permissions.
Click + Add a permission, then select Microsoft Graph > Application permissions.
Add the following permissions to your app:
MINIMUM PERMISSIONS
This guide describes the minimum permissions necessary to authenticate and operate Workbot in your workspace. You can add additional permissions to meet the requirements for your specific use case. For example, if you plan to use custom HTTP actions that require additional permissions, you can incorporate them at this stage.
AppCatalog.Read.All
- Graph API request:
/appCatalogs/teamsApps - Description: Proactive messages. Get the ID of the installed app.
- Link to docs (opens new window)
Channel.ReadBasic.All
- Graph API request:
/teams/{team-id}/channels - Description: Post message, channels drop-down.
- Link to docs (opens new window)
Organization.Read.All
- Graph API request:
GET /organization - Description: Get data about the organization where the bot is installed.
- Link to docs (opens new window)
TeamsAppInstallation.ReadWriteAndConsentSelfForUser.All
This permission provides access to the following Graph API endpoints:
- Graph API request:
GET /users/{user-id}/teamwork/installedApps - Description: Proactive messages, get the bot ID in a particular user scope
- Link to docs (opens new window)
- Graph API request:
POST /users/{user-id}/teamwork/installedApps - Description: Install the bot into the user scope
- Link to docs (opens new window)
- Graph API request:
GET /users/{user-id}/teamwork/installedApps/{app-installation-id}/chat - Description: Get chat ID between the user and installed app
- Link to docs (opens new window)
Team.ReadBasic.All
- Graph API request:
/teams - Description: Post message, teams drop-down
- Link to docs (opens new window)
User.Read.All
- Graph API request:
GET /users/id - Description: Get user information
- Link to docs (opens new window)
Click Add permissions to complete the process.
# Complete connections in Workato
PUBLISH YOUR APP
Before you can connect and activate your Workbot, your Microsoft Teams Admin must approve your request to publish your app to your organization. Without this approval, Workato displays an error when you try to establish a connection. Administrators can verify the approval status of your app in the Microsoft admin interface (opens new window).
In Workato, navigate to Connections, click Create, and select Connection from the list.
Search for Workbot for Microsoft Teams and select it from the available apps.
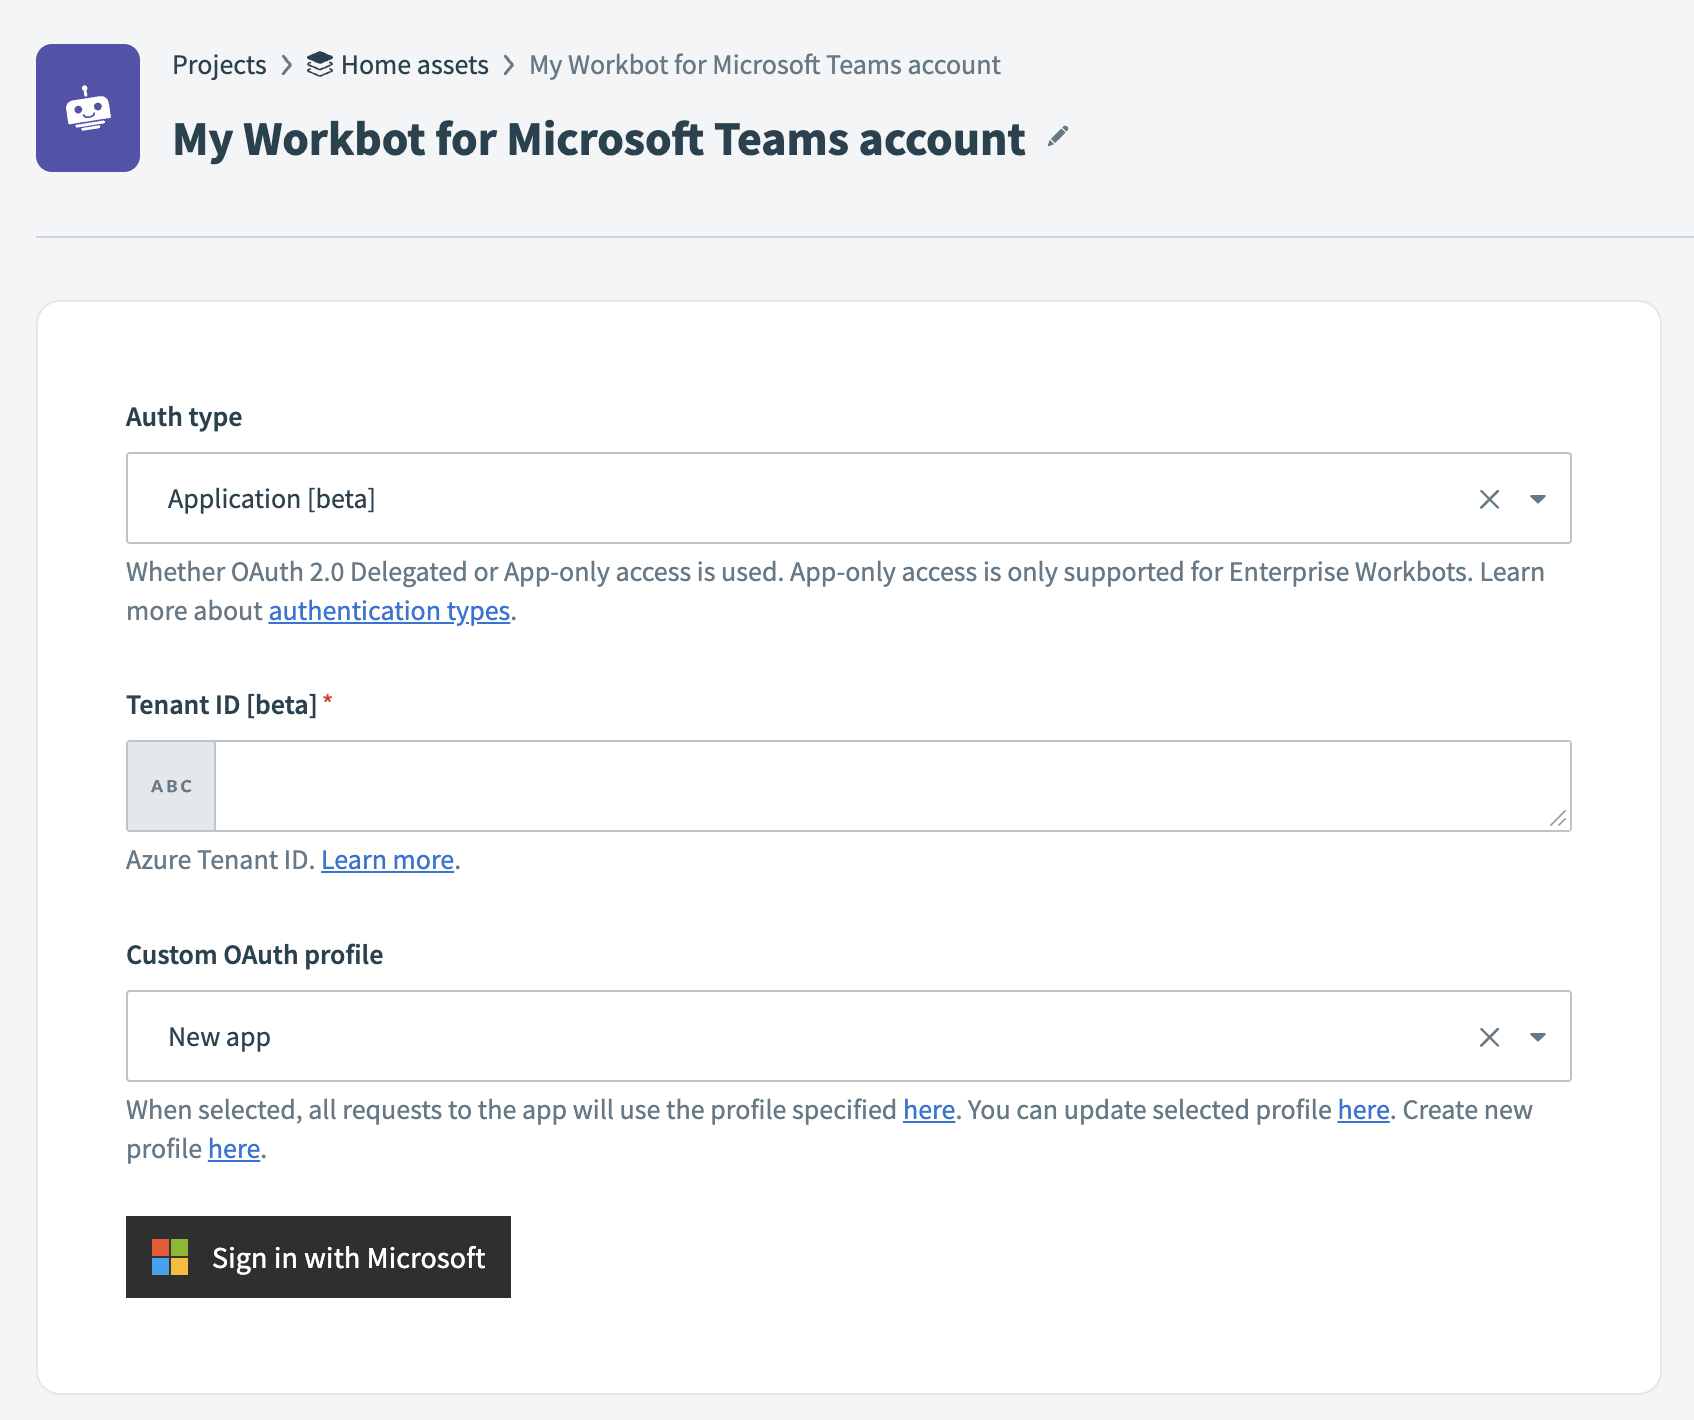
Complete the following fields to connect your bot:
Connection name
Provide a unique name for your connection. You can reuse it in multiple recipes.
Location
Choose a project or folder in which to store this connection.
Auth type
Select Application [beta].
Tenant ID [beta]
Provide your organization's Azure tenant ID. You can obtain this value by going to the Azure developer portal (opens new window), navigating to Microsoft Entra ID > Overview, and copying the Tenant ID. Note that the value of the Tenant ID is identical to the Directory ID. You can find this in the Azure developer portal (opens new window) in Settings > Directories + Subscriptions.
Custom OAuth profile
Select the Custom Oauth profile for your workbot.
Click Sign in with Microsoft. This button redirects you to the Microsoft developer portal where you can log in with your organizational credentials.
 Complete setup in Workato
Last updated: 5/21/2025, 5:22:32 AM