# JavaScript
JavaScript is a popular language for web development. The Workato JavaScript connector enables you to write custom JavaScript code as part of the recipe. You can take advantage of the power of JavaScript language to accomplish things like data transformation or invoke external services.
# JavaScript runtime
The Workato JavaScript connector runs on Node.js version 14. All JavaScript libraries included in the Node.js version 14 are available in the JavaScript action. Additionally, the following libraries are included:
- node_fetch (opens new window)
- lodash (opens new window)
- gRPC (opens new window)
- Google Protobuf (opens new window)
The Javascript action supports a runtime size up to 1 MB. Runtimes that exceed the 1 MB size limit continue to execute but may encounter memory limits. The JavaScript action times out after 30 seconds.
# Working with the JavaScript connector
# Input fields
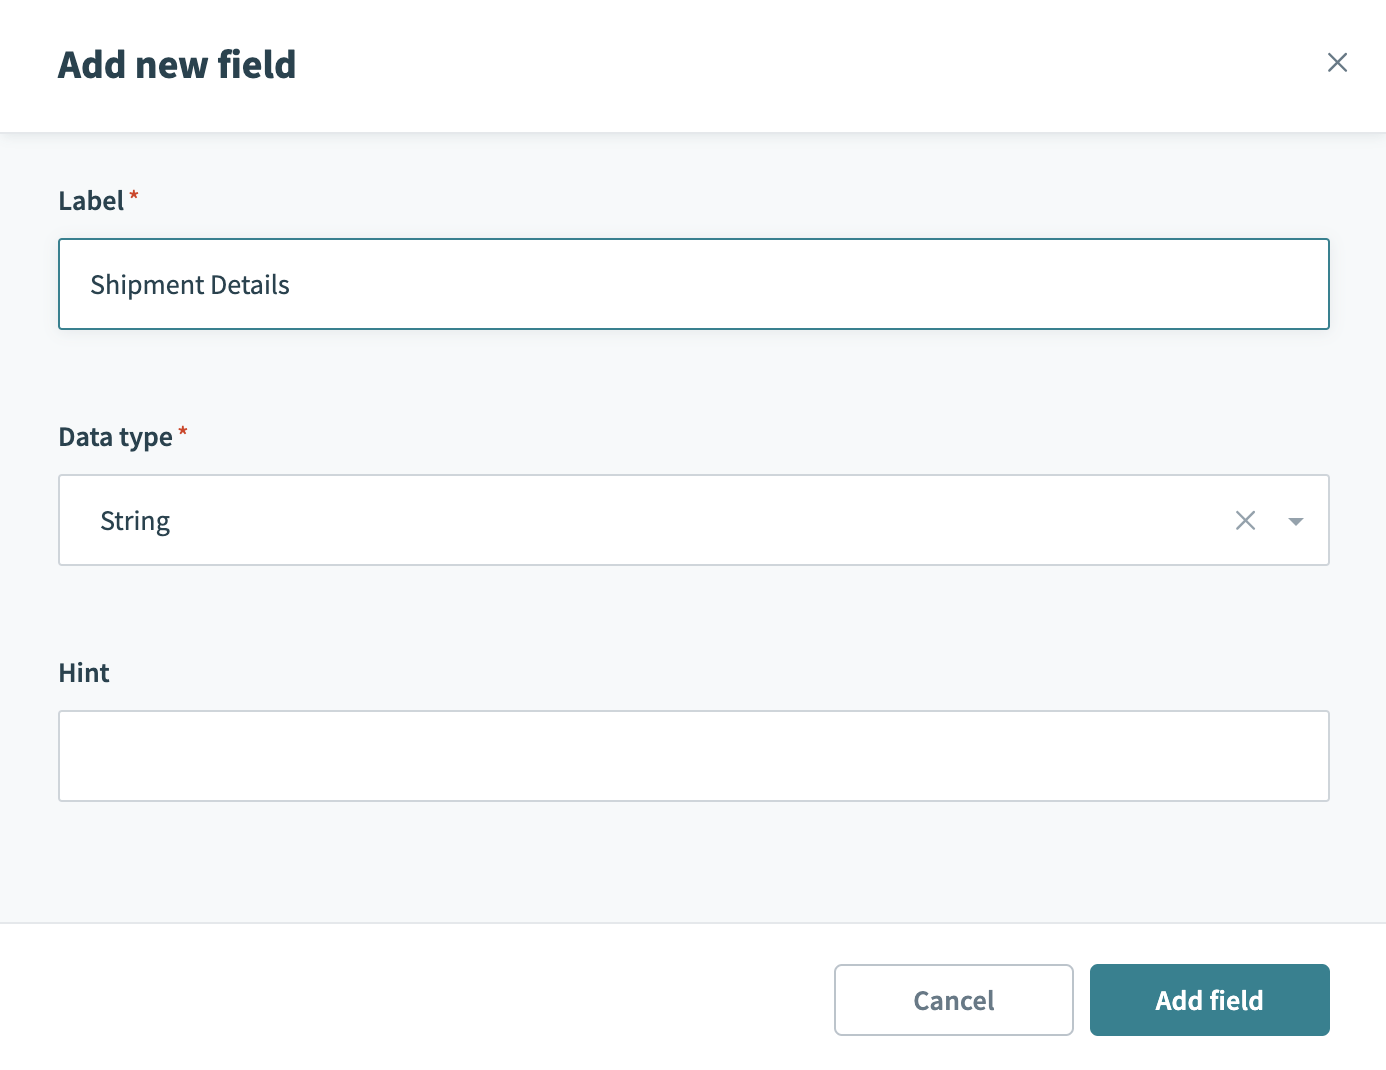
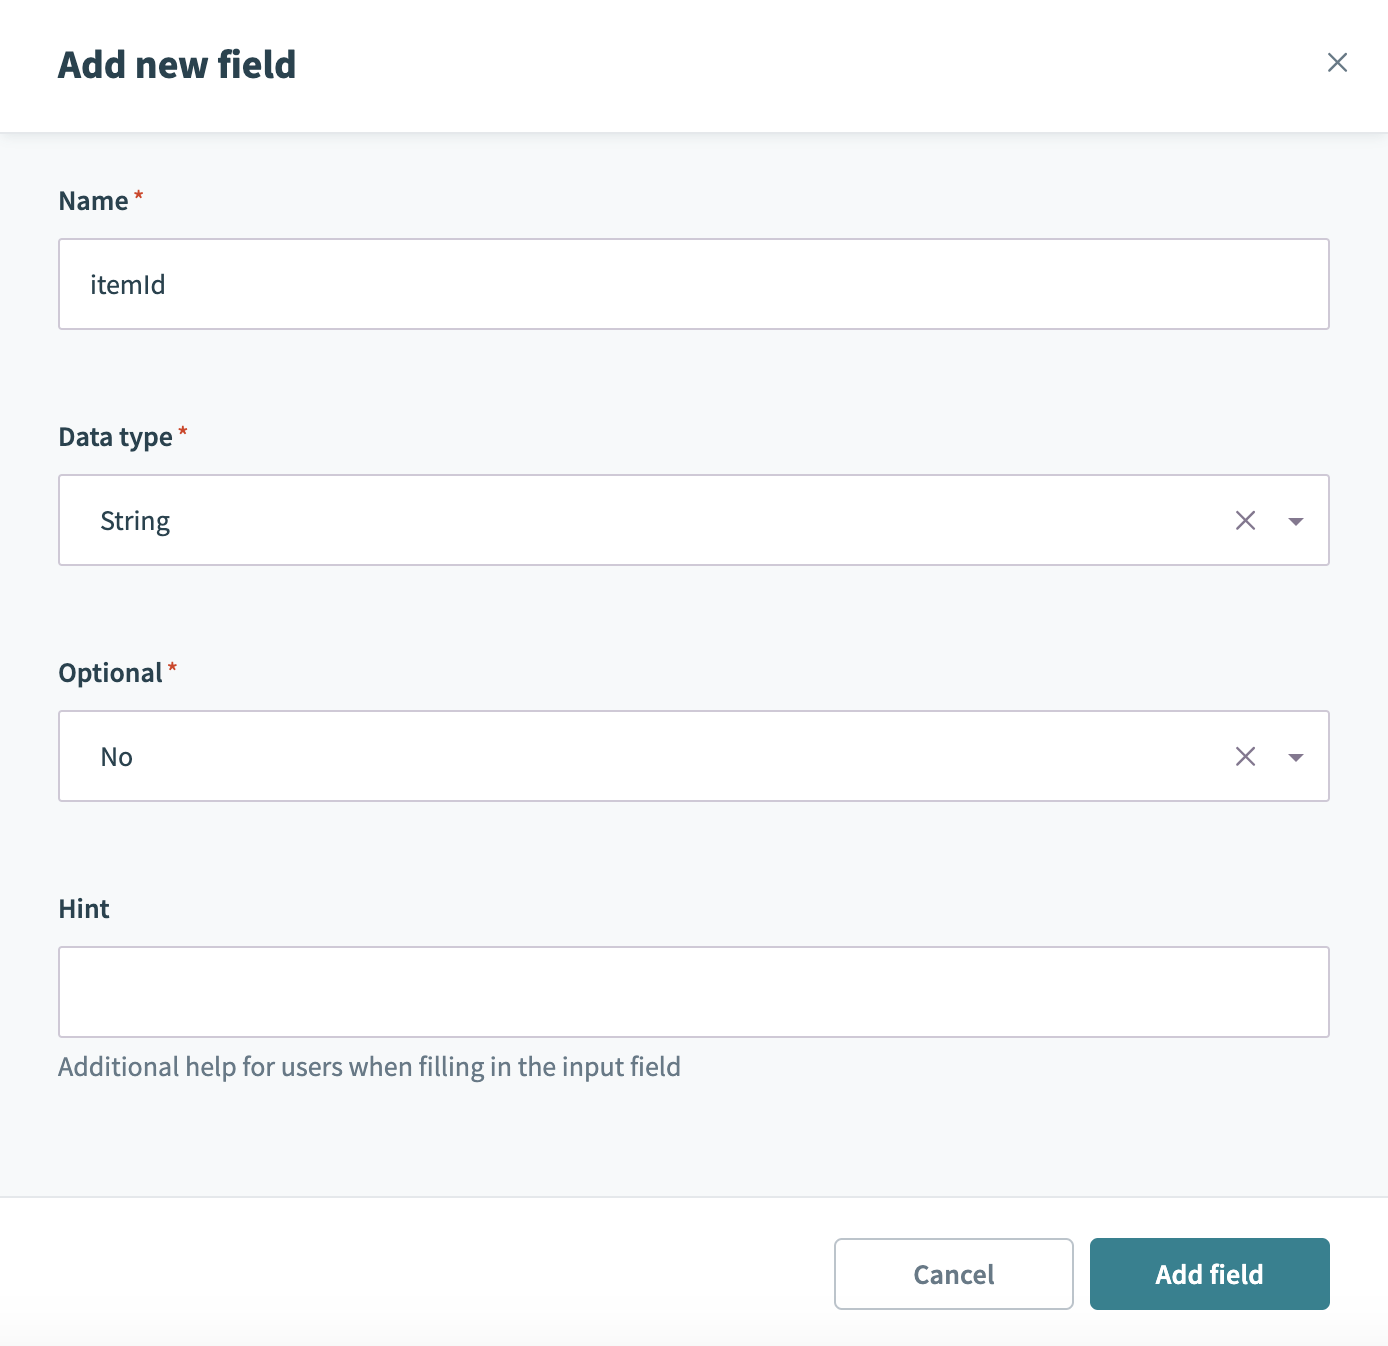
The first step in configuring the action is to define the input fields in the action. In the Input fields section, select Add field to add a new field. Repeat these steps for all the input fields you want to pass to your JavaScript code. Map the values to these input fields from previous steps in the recipe.
 Add input field
# Date input field
Input field of type Date is passed as String to the JavaScript code. It is recommended to consume such date input as follows:
exports.main = ({ when }) => {
  const whenDate = new Date(when);
  // use whenDate
}
# Output fields
When working with JavaScript execute action, you must define the output schema for the JavaScript being called. This output schema is used to build the output datatree. This datatree allows you to use the data returned from the JavaScript function in subsequent recipe actions.
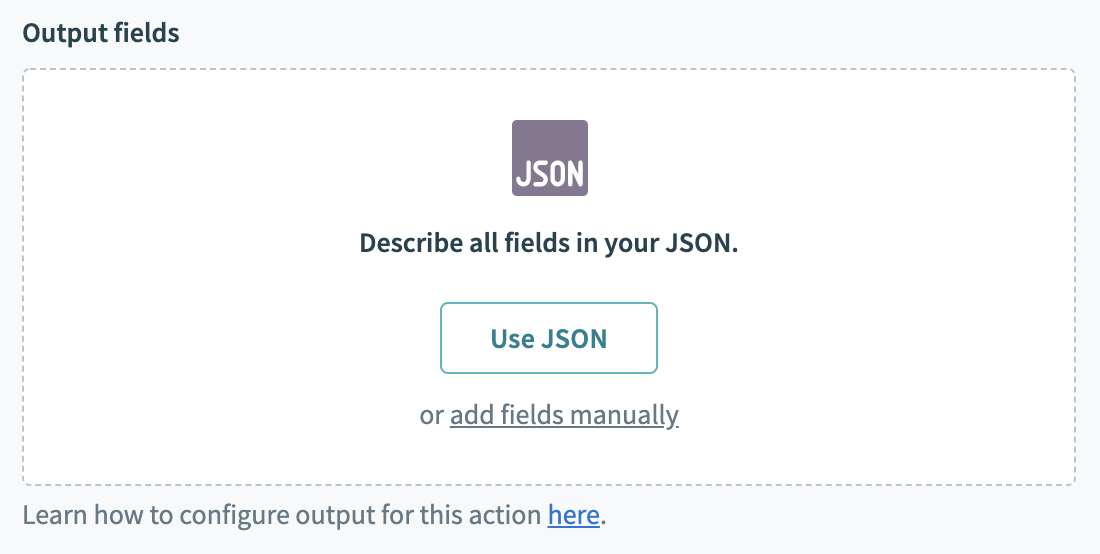
To define the output schema, provide a sample response to generate the schema. The schema defines the data type and structure of the output. There are 2 ways to configure the output schema:
- Use a sample JSON
- Manually define schema by adding fields
# Use JSON
 Sample JSON for schema generation
Let's define the output schema via sample JSON. Click the Use JSON button to bring up the schema generation wizard.
 Sample JSON for schema generation
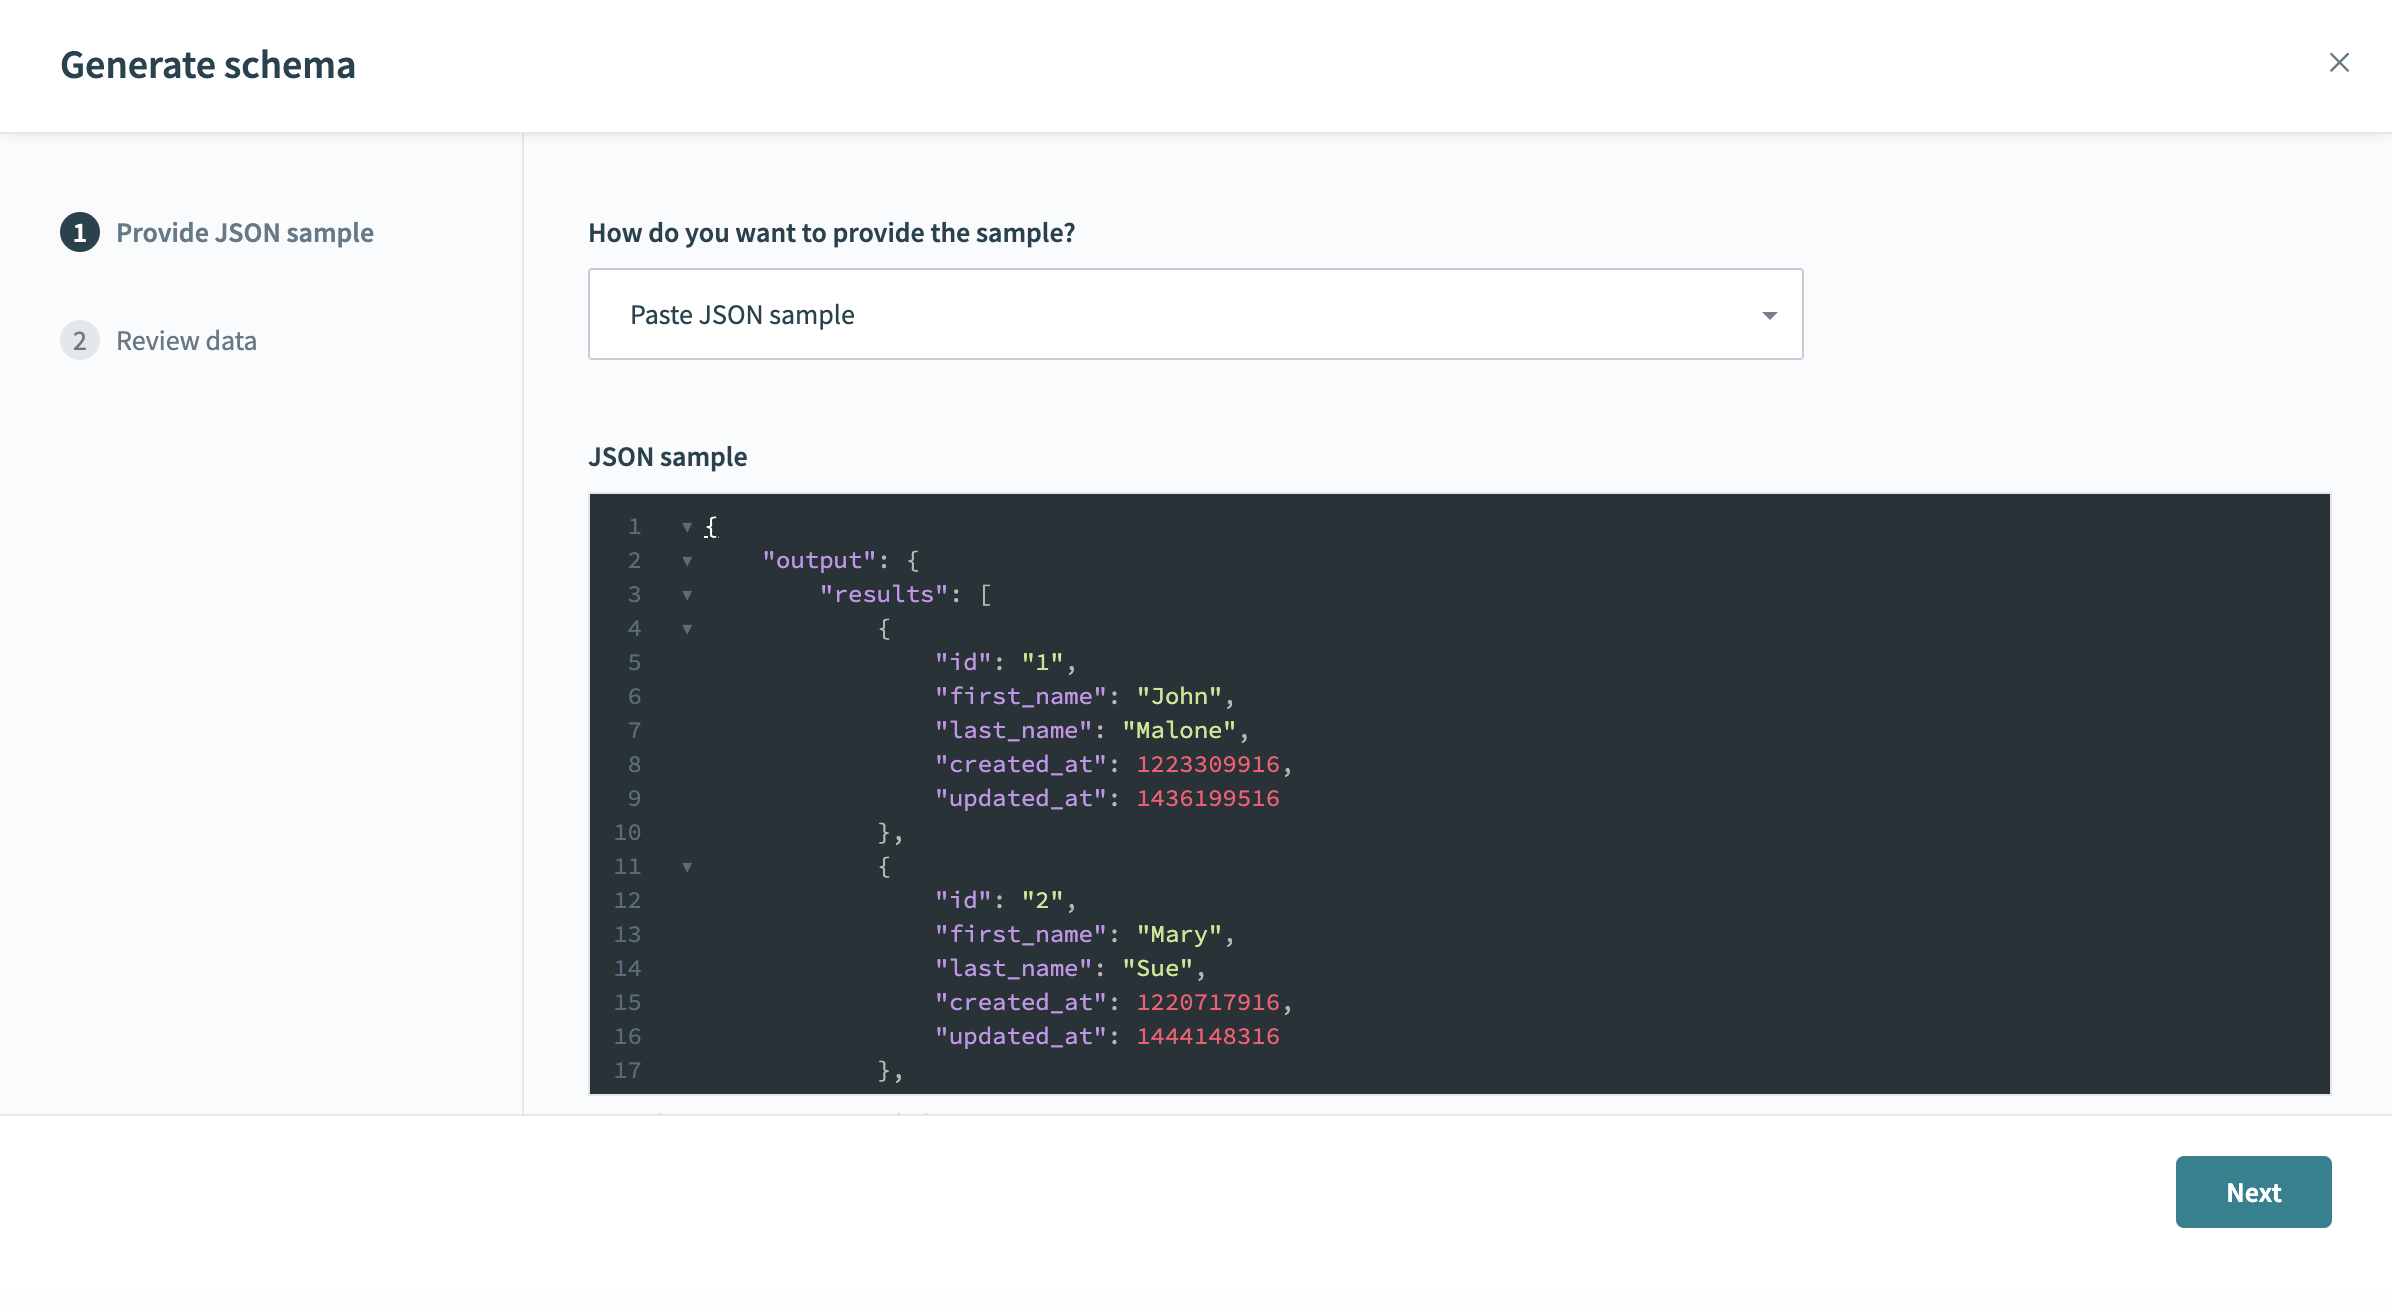
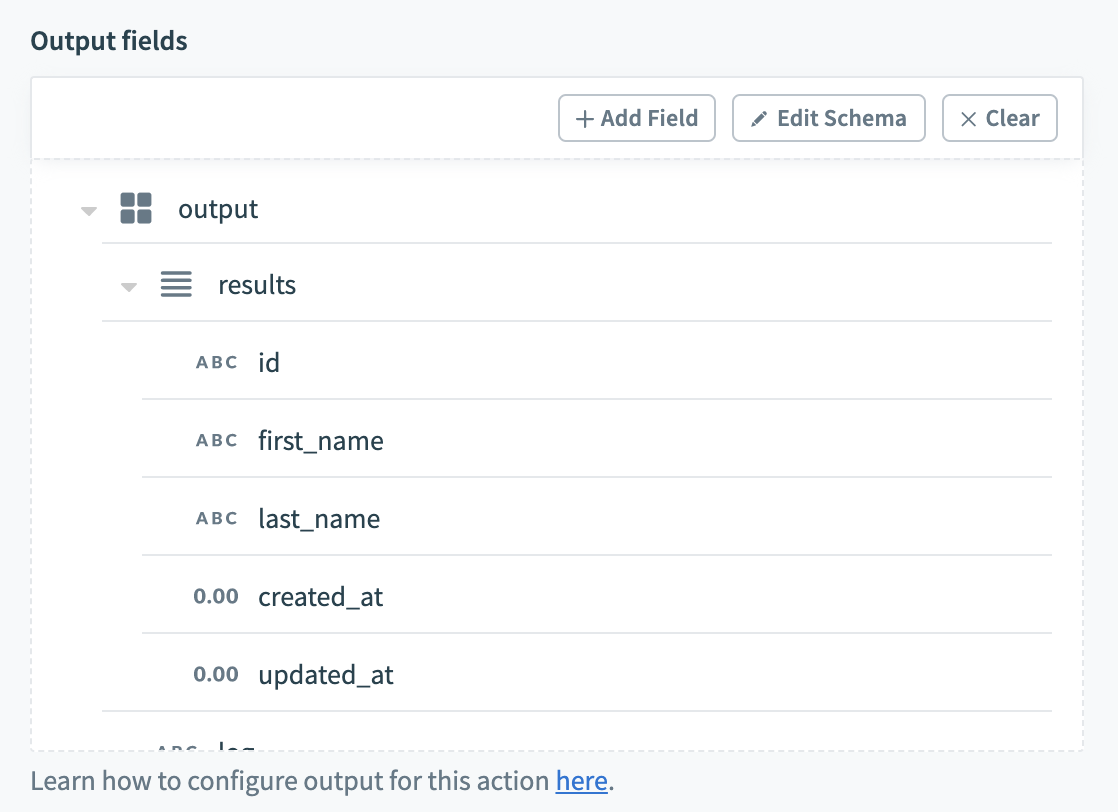
Paste the JSON sample in the window and click Next. Review the JSON sample and select Generate Schema. You should now see the output datatree in the Output fields.
 Output datatree generated from sample JSON
This datatree can be used in subsequent actions to consume the output from your JavaScript code.
# Define schema manually
Alternatively, you can define the schema by adding fields manually. Following data types are supported for the fields:
- String
- Number
- Integer
- Date
- Time
- Boolean
Select add fields manually to add a field. Provide the field name, select data type and whether its optional or not then click Add field.
 Add output field manually
Repeat the steps to as many fields as returned by the JavaScript code.
# The main function
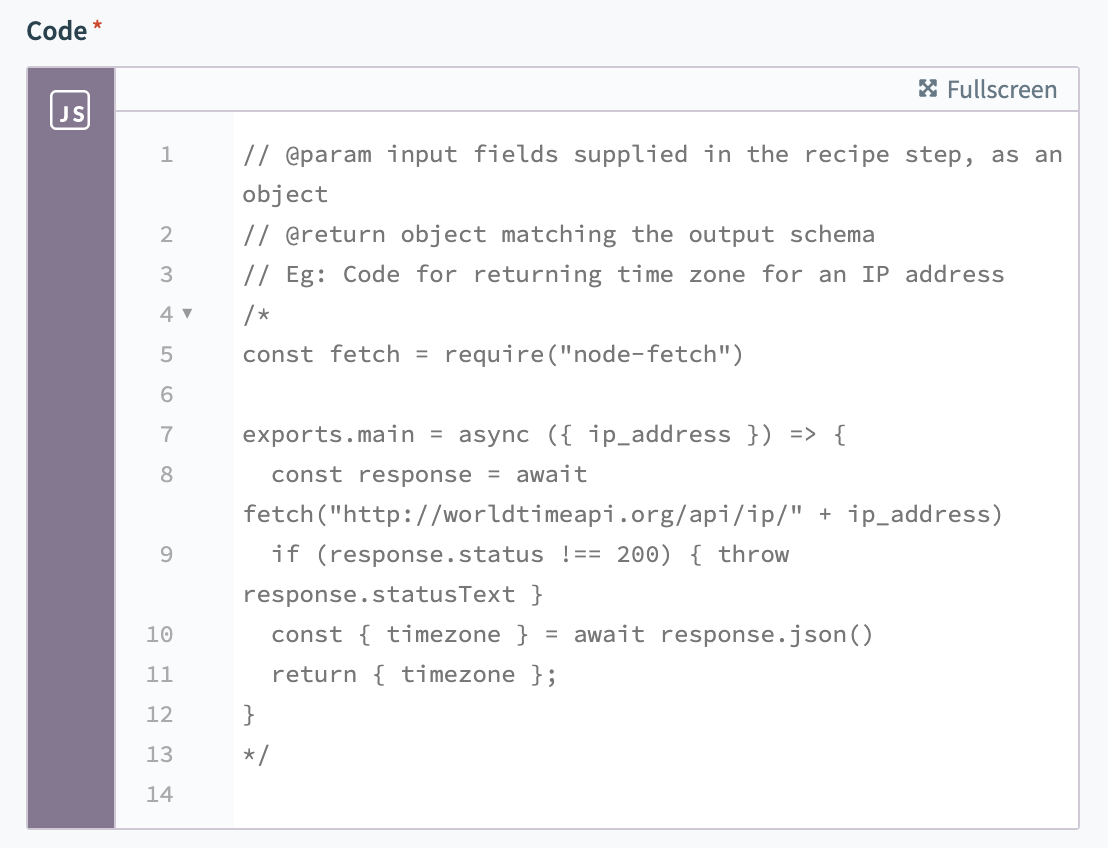
JavaScript connector requires your code to be in the exports.main function. By default, the sample code snippet is displayed in the code editor.
 Template code with exports.main function
The code must follow the CommonJS format and export the main function.
Example code below takes in the data as input, transforms the data and returns the output.
const fetch = require("node-fetch")

exports.main = ({ data }) => {
  const converter = new DataConverter();
  return converter.convert(data);
};
# Consuming gRPC services
gRPC (opens new window) is an open-source RPC framework. gRPC is used as a high-performance framework to implement client and server applications. The Workato JavaScript connector can be used to consume gRPC based services. This section describes the steps to implement the client code in JavaScript to invoke gRPC services. By default, gRPC uses Protocol Buffers (opens new window), Google’s mature open-source mechanism for serializing structured data.
The architecture for a typical gRPC service and JavaScript client in a Workato recipe looks like as follows.
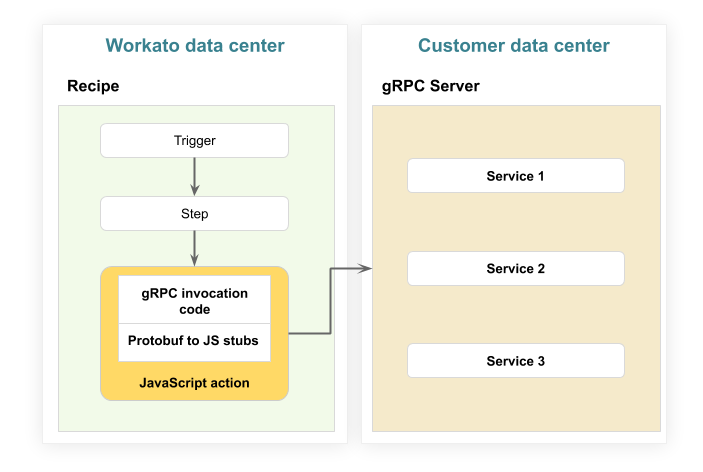 Architecture of Workato recipe and gRPC service
Before we describe the steps to invoke gRPC service, a word about the proto file (opens new window):
The first step when working with protocol buffers is to define the structure for the data you want to serialize in a proto file: this is an ordinary text file with a .proto extension. Protocol buffer data is structured as messages, where each message is a small logical record of information containing a series of name-value pairs called fields.
# Tools used
Install the grpc-tools, @grpc/grpc-js, google-protobuf and browserify packages.
npm i -g grpc-tools
npm i @grpc/grpc-js
npm i -g google-protobuf
npm i -g browserify
- grpc-tools (opens new window), npm grpc-tools (opens new window)
- npm @grpc/grpc-js (opens new window)
- npm google-protobuf (opens new window)
- browserify (opens new window), npm browserify (opens new window)
Follow the steps outlined below to generate the relevant stub code that must be copied and pasted in the JavaScript connector code editor.
- Get the gRPC interface definition files (proto files) for the service you want to invoke
- Convert the proto file to JavaScript stubs using
grpc-tools. The example below generates the gRPC stub for thecontacts.protoservice definition.
grpc_tools_node_protoc --js_out=import_style=commonjs,binary:. --grpc_out=generate_package_definition:. <your proto file.proto>
- Package and minify the generated code using
browserify
browserify . --external @grpc/grpc-js --external google-protobuf -o <your bundle name.js> --node --im -s <your client code.js>
Replace the command with the bundle name and the client code JavaScript file names in the browserify command.
- Copy and paste the minified gRPC stubs to JavaScript action code editor
- JavaScript connector requires your code to be in the
exports.mainfunction. By default, the sample code snippet is displayed in the code editor. - Use the generated client stub in your JavaScript code inside the
mainfunction.
Last updated: 4/18/2024, 10:24:27 PM