Sage Intacct
Sage Intacct is an accounting and financial management software that offers consolidation of information across business units, real-time analysis of financial operations, and compliance and auditing services.
Sage Intacct connectors
Workato provides two connectors for Sage Intacct:
- The platform connector, available by default.
- The community connector for Sage Intacct, which you must install from the community library.
Each connector supports a different set of object types for triggers and actions.
API version
This connector uses the Sage Intacct API.
How to connect to Sage Intacct on Workato
To establish the Sage Intacct integration workflow on Workato, you have to establish a connection between Workato and your Intacct instance.
This is a 2-step process.
- Configure the Intacct Web Services to accept Workato requests.
- Complete the Connection setup on Workato.
Intacct Web Services
Configuring Intacct Web Services requires the following steps:
- Ensure that your Intacct account is subscribed to Web Services. To add this to your list of subscription products, please contact your manager at Intacct. You should be provided the associated credentials for a XML Gateway/ API Access User.
- Next, set up a Web Services User in your Intacct instance for the integration access. Refer to Set up Web Services User on Intacct for more information.
- Lastly, authorize Workato to access Intacct Web Services. Refer to Authorize Workato on Intacct Web Services for more information.
Set up Integration System User for Workato
Workato recommends that you set up an Integration System User (ISU) on Intacct. This allows you to log all Workato integration and workflow processes on one dedicated ISU account. Furthermore, this allows you to exercise control over security policies for this integration system.
The ISU should have all the permissions needed to perform the required actions for your integration scenario. Otherwise, you may encounter Error: 403 during recipe building.
For security reasons, each ISU should be restricted to a single integration system (like Workato).
Setup Web Services User on Intacct
1. Add Web Services User
Go to Company > Admin tab > Web Services Users.
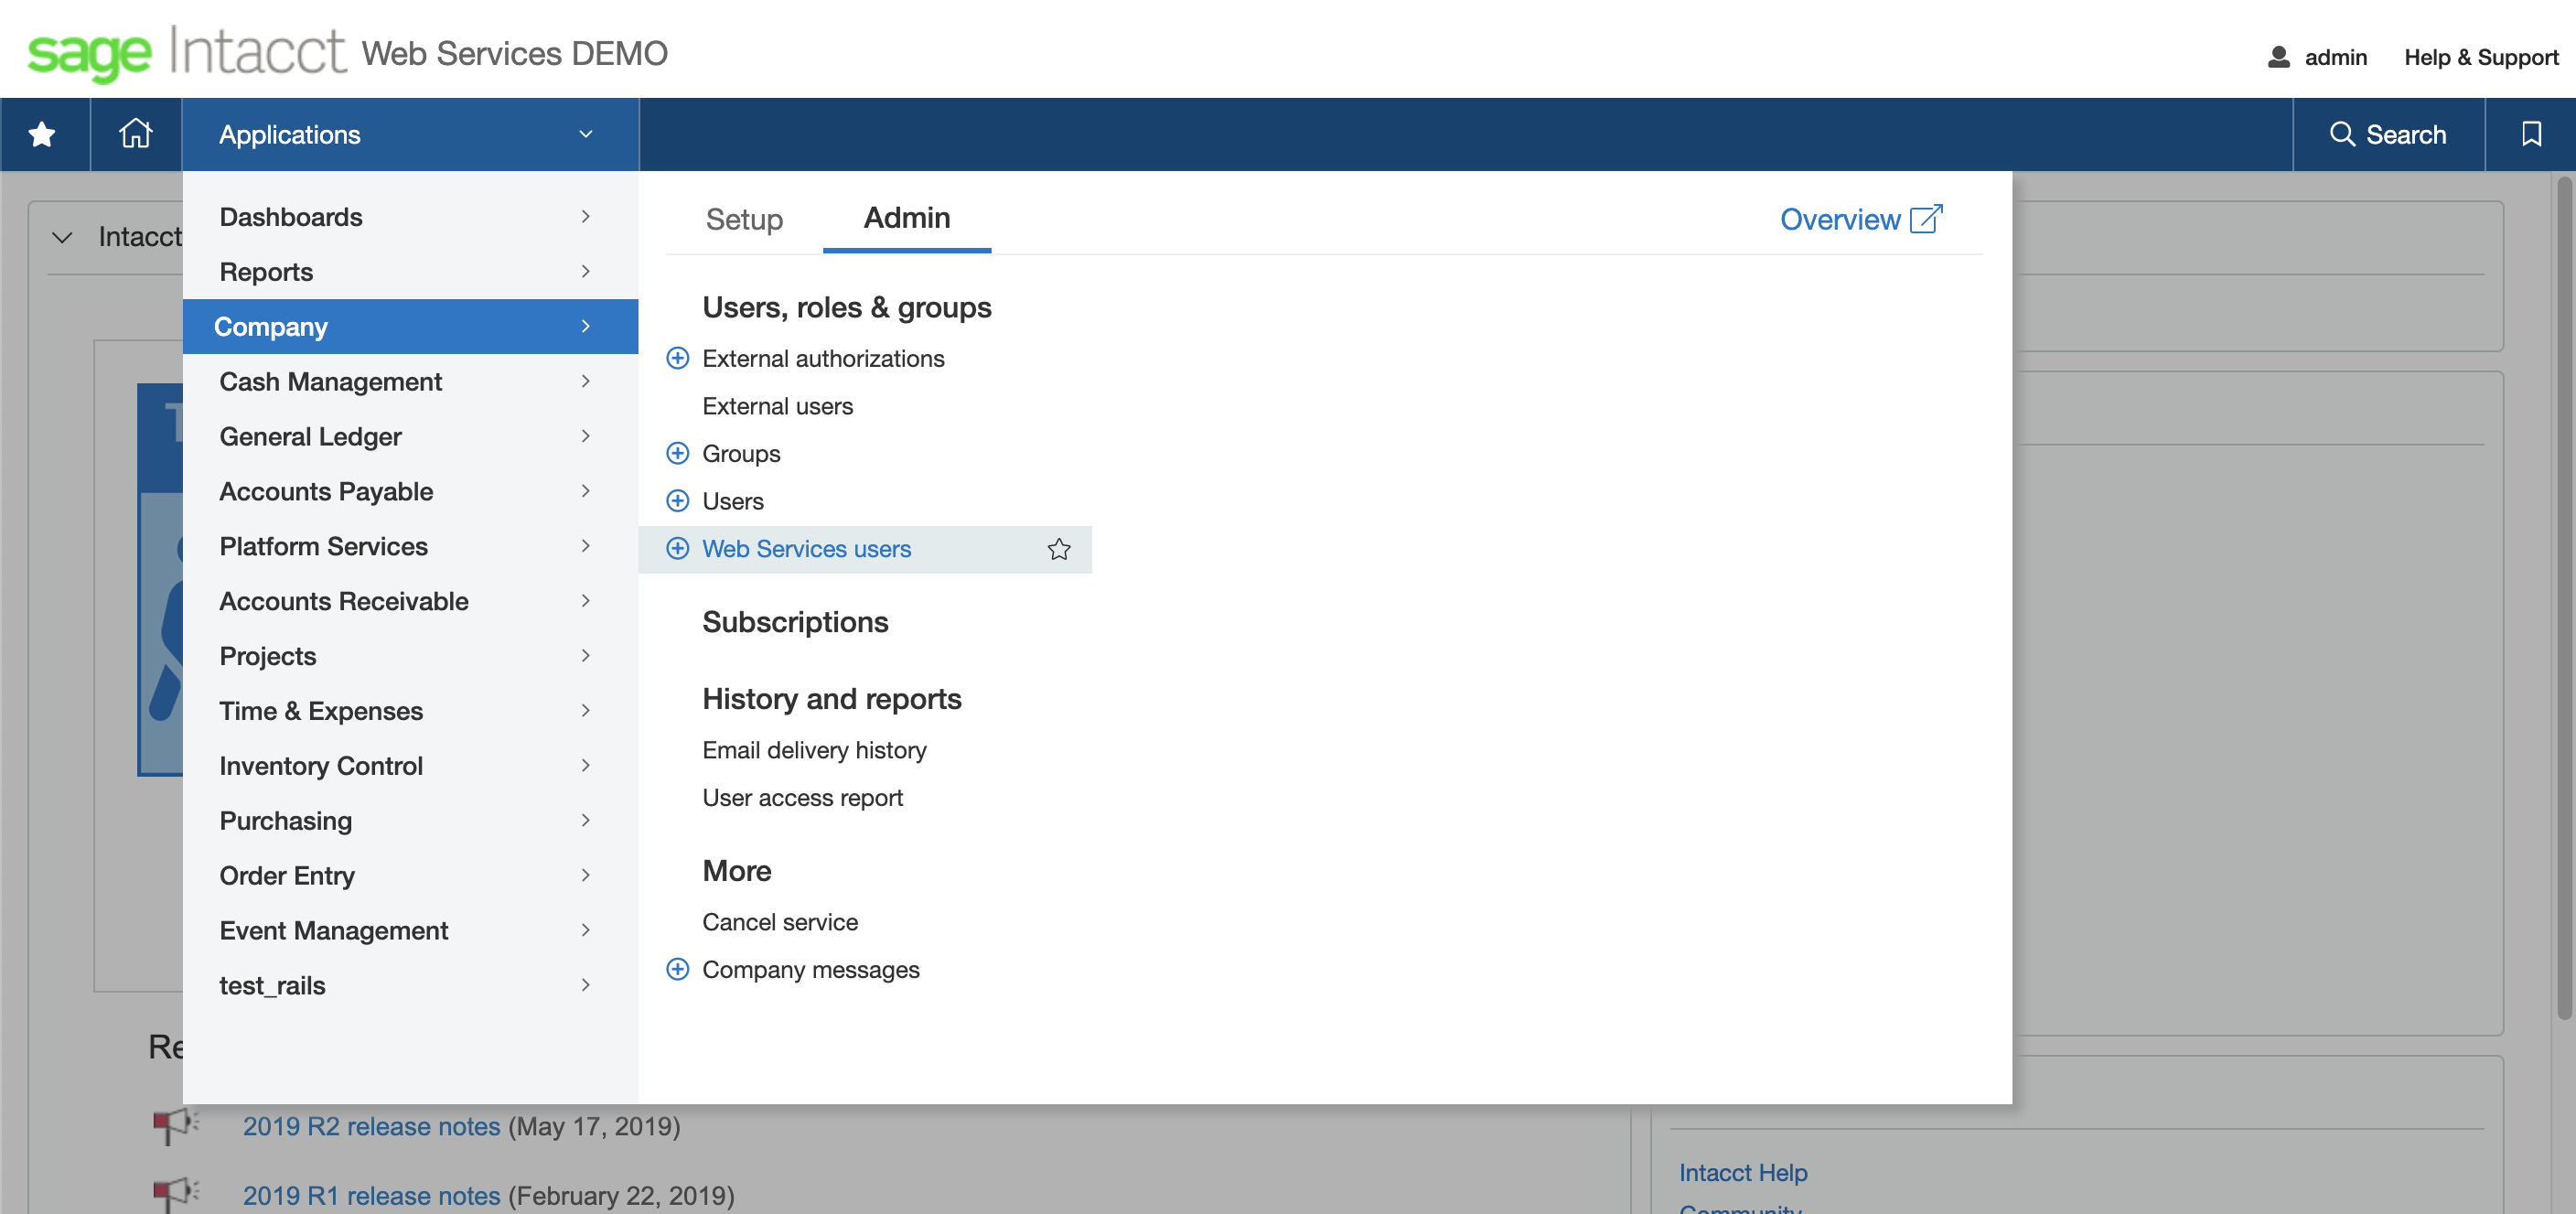 Find Web Services Users page
Select Add Web Services user.
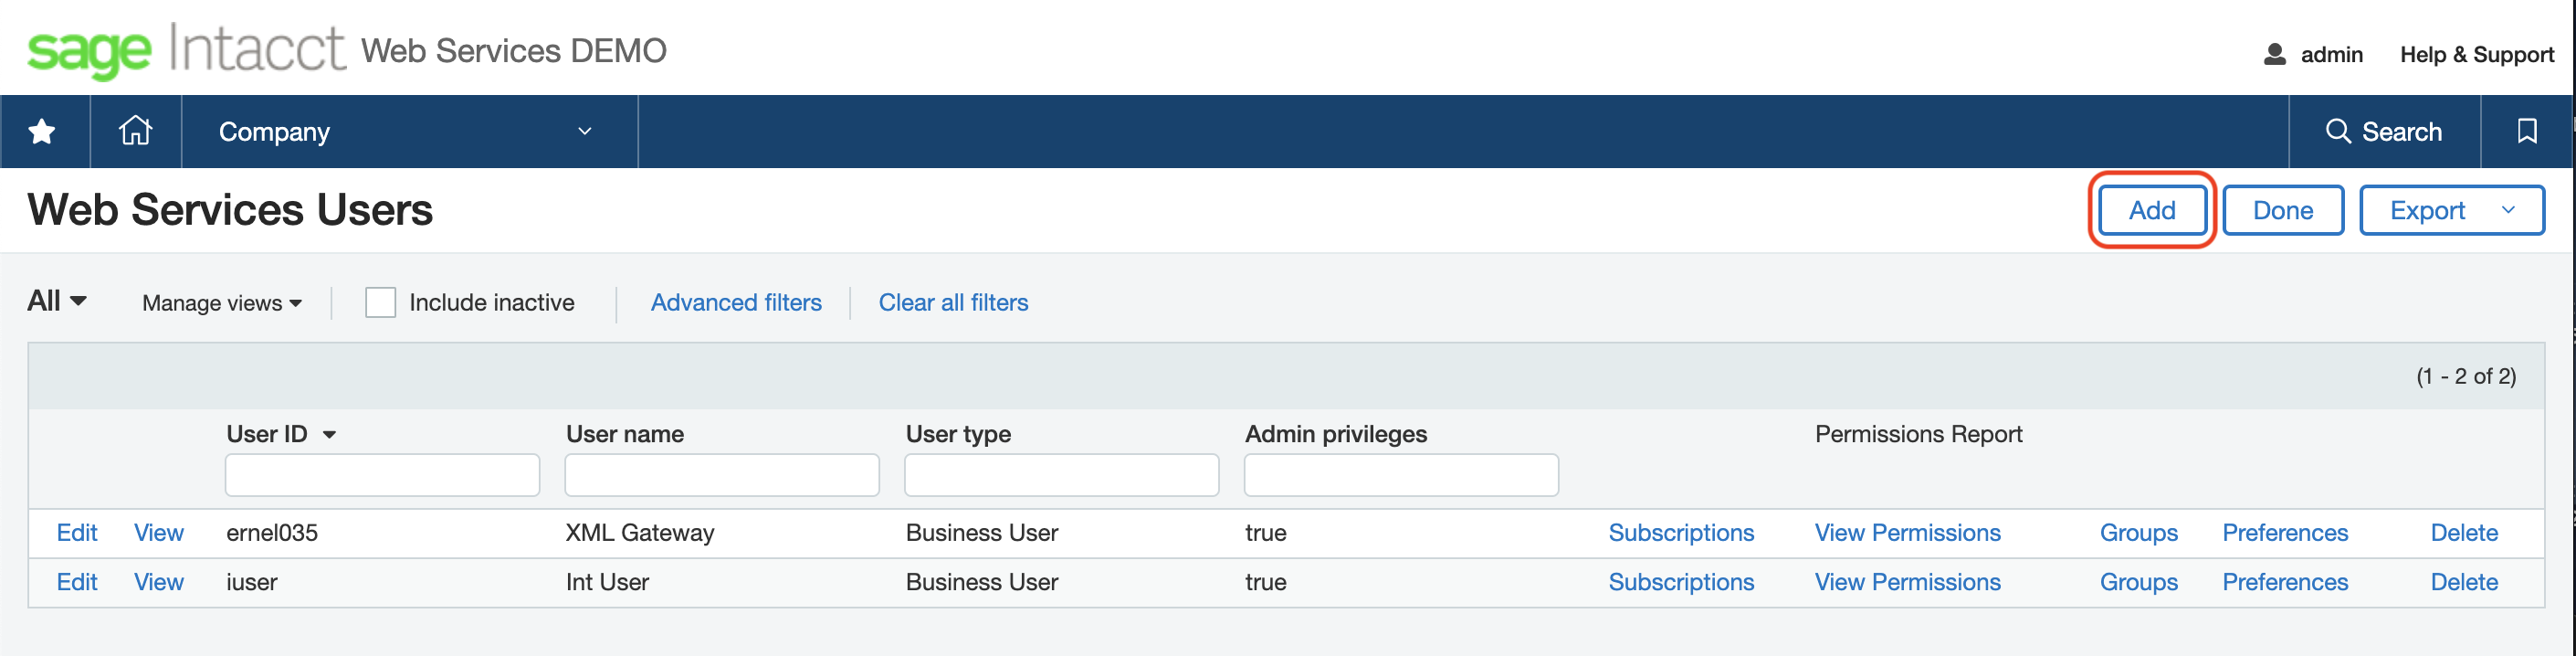 Add Web Services User
2. Configure Web Services User information
You will be required to complete the Web Services User Information form.
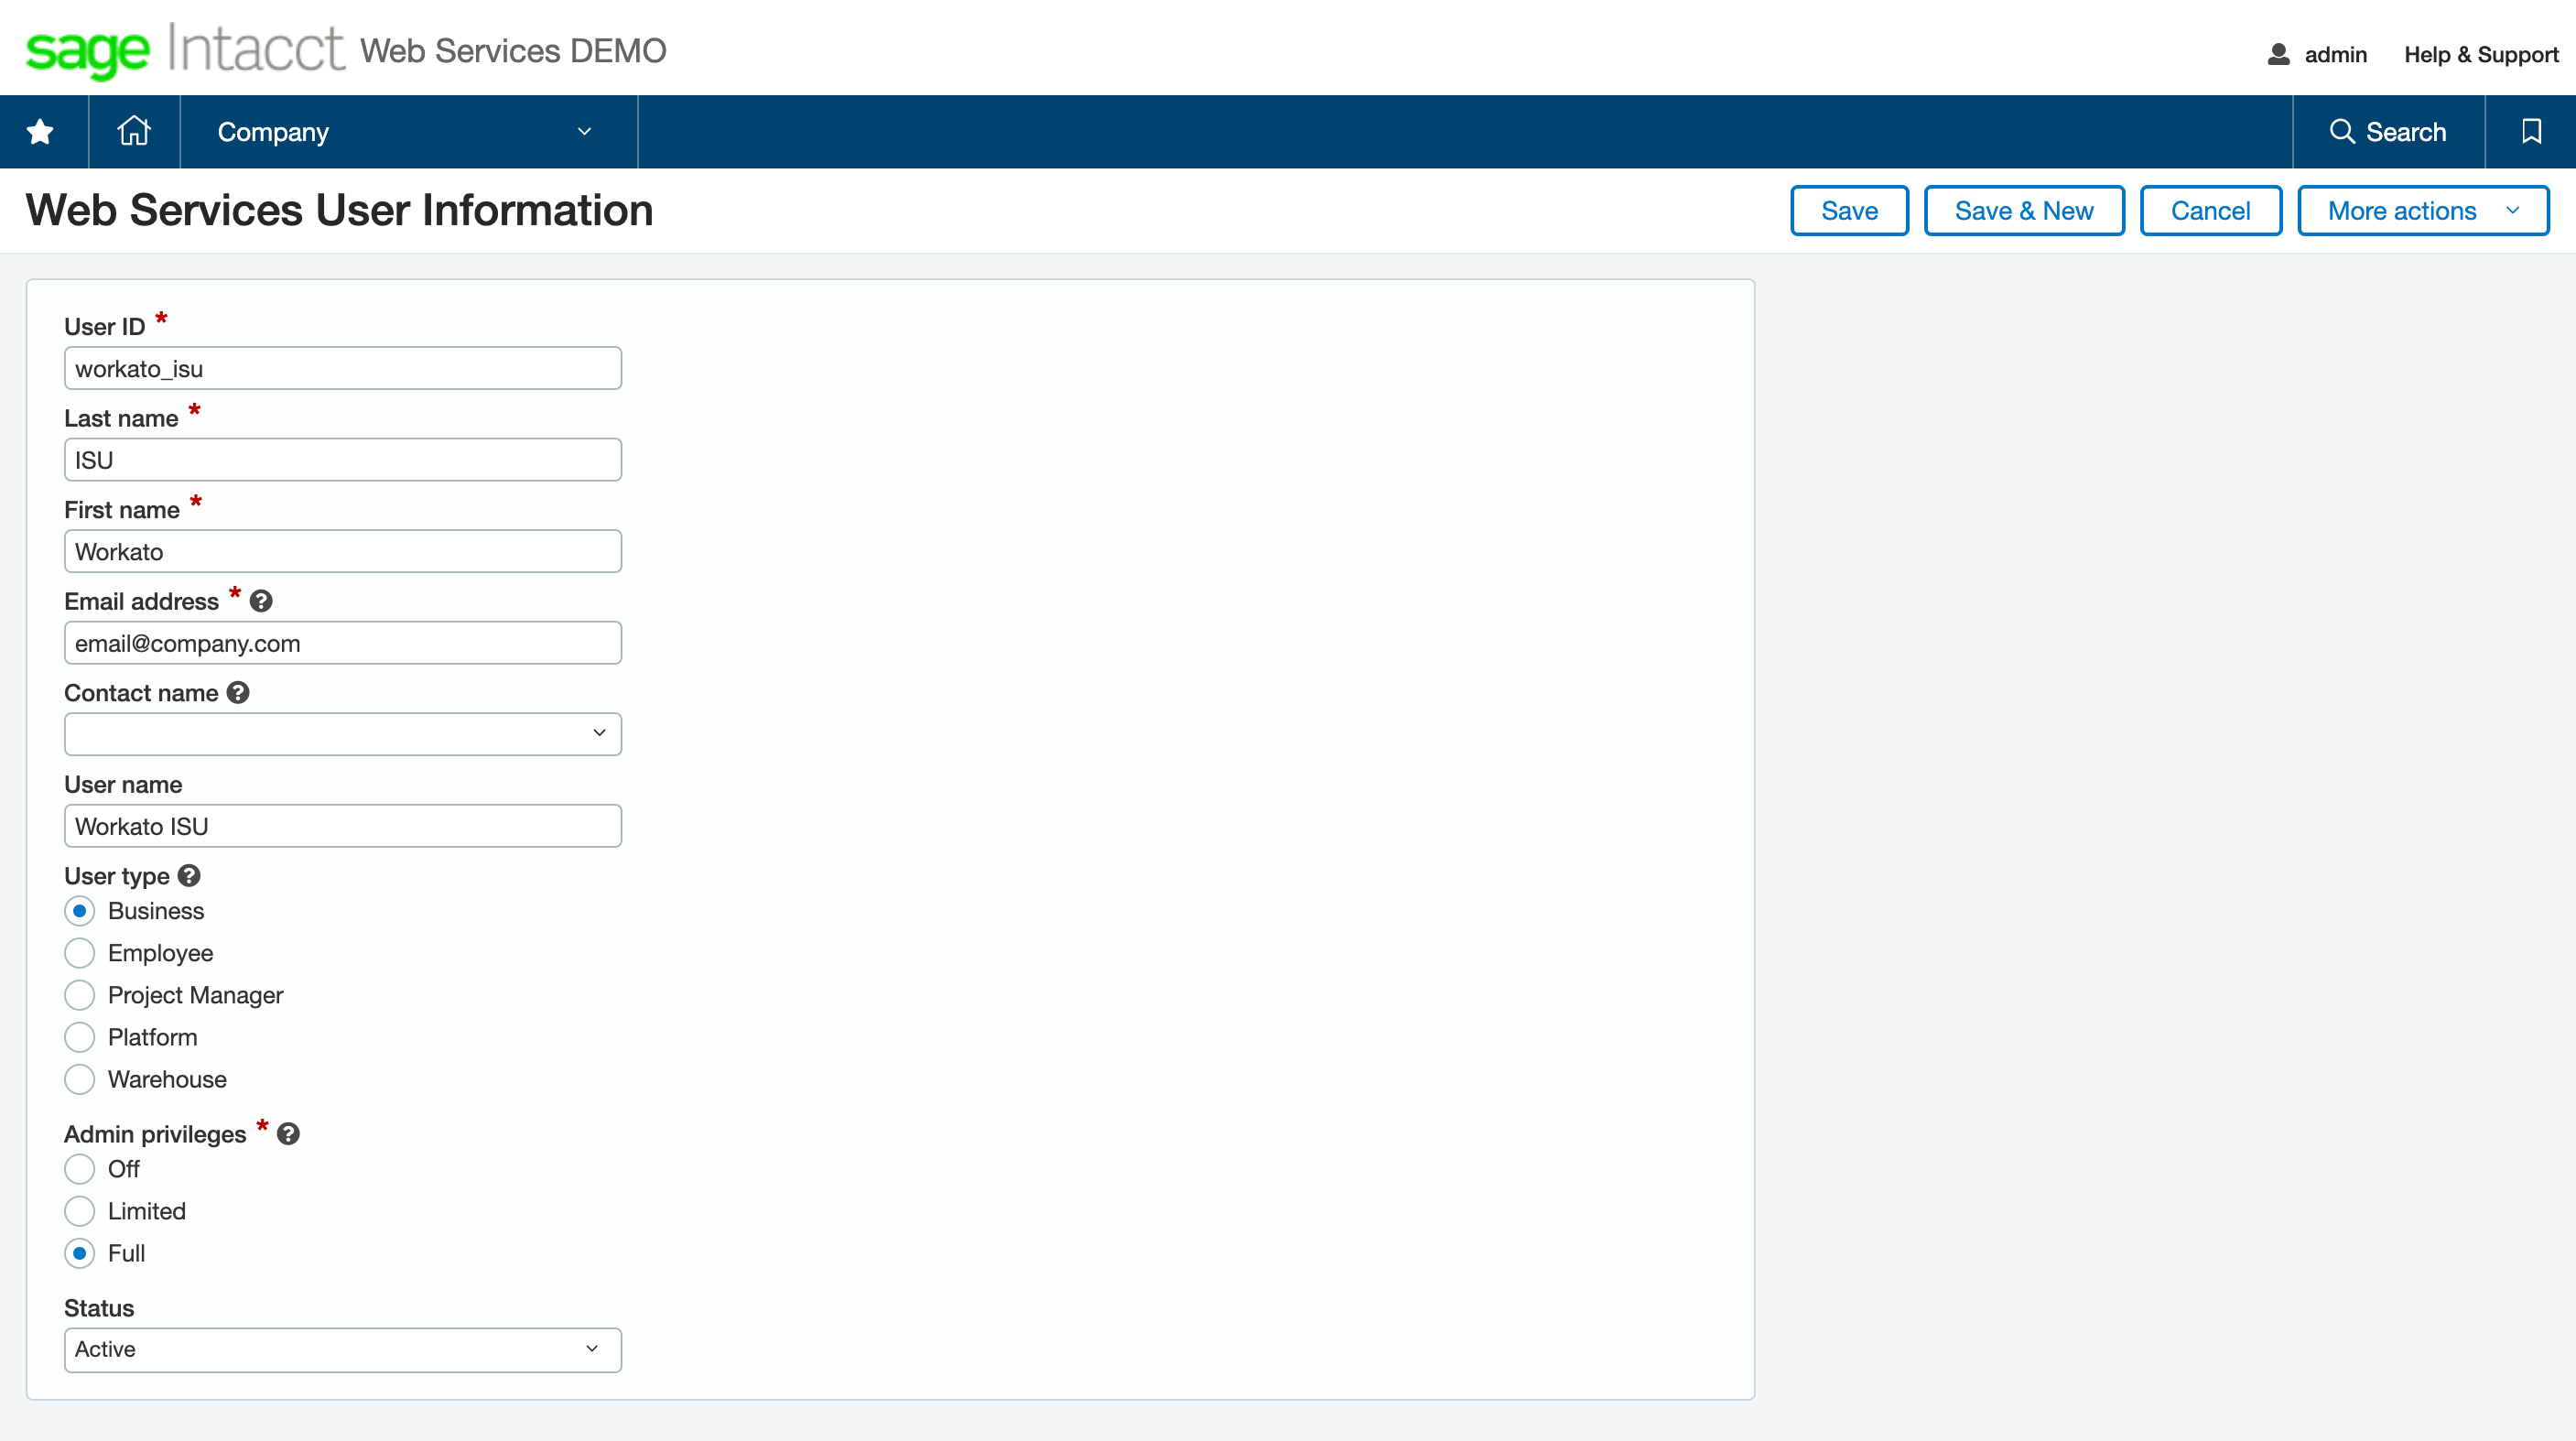 Add Web Services User information
| User field | Recommended input | Description |
|---|---|---|
| User ID | workato_isu | The login username. This will be used to set up Workato's Intacct connector. |
| Last name | - | This will be used to generate the User name field. |
| First name | - | This will be used to generate the User name field. |
| Email address | - | Assign a valid email to receive notifications. |
| Contact name | - | Retrieve contact details from an existing Intacct user. If you are creating a new WSU, leave this field blank. |
| User name | - | This is an auto-generated name field. |
| User type | Business | Define access and permissions for this ISU. |
| Admin Privileges | Full | Define the admin privileges to this account. Full privileges is required to subscribe to applications and modules. |
3. Include necessary applications and modules
Next, find Subscriptions.
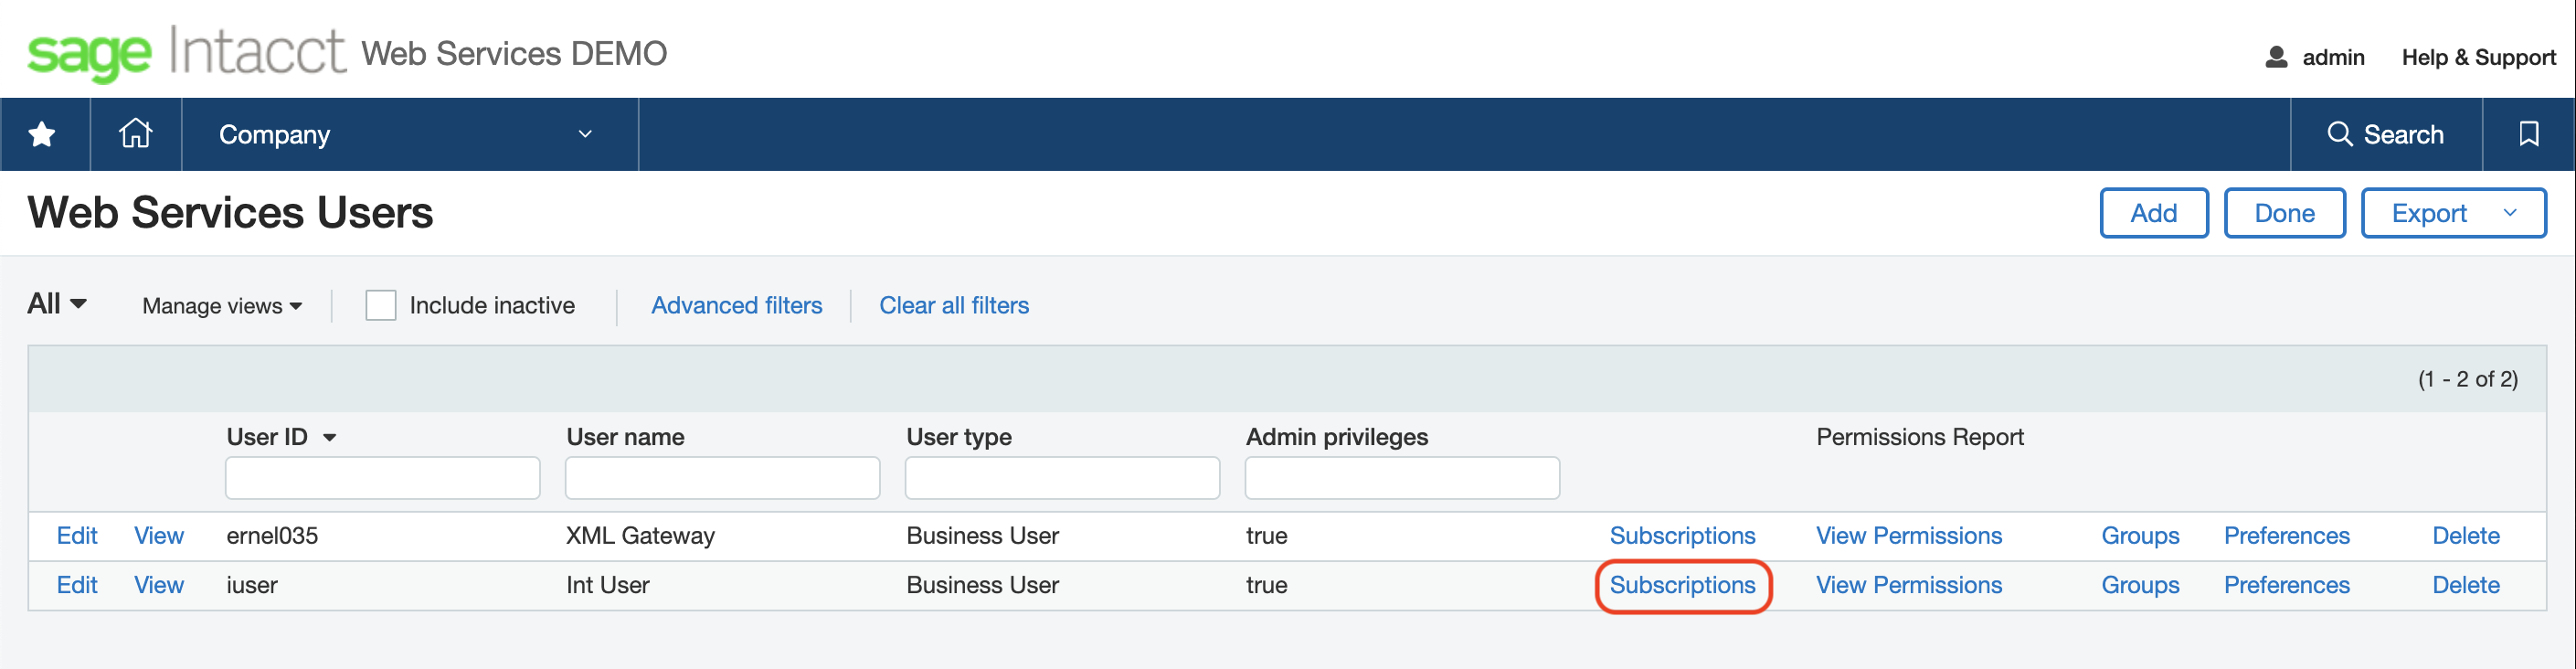 View subscriptions
Select all the applications and modules that will be required for your integration scenarios.
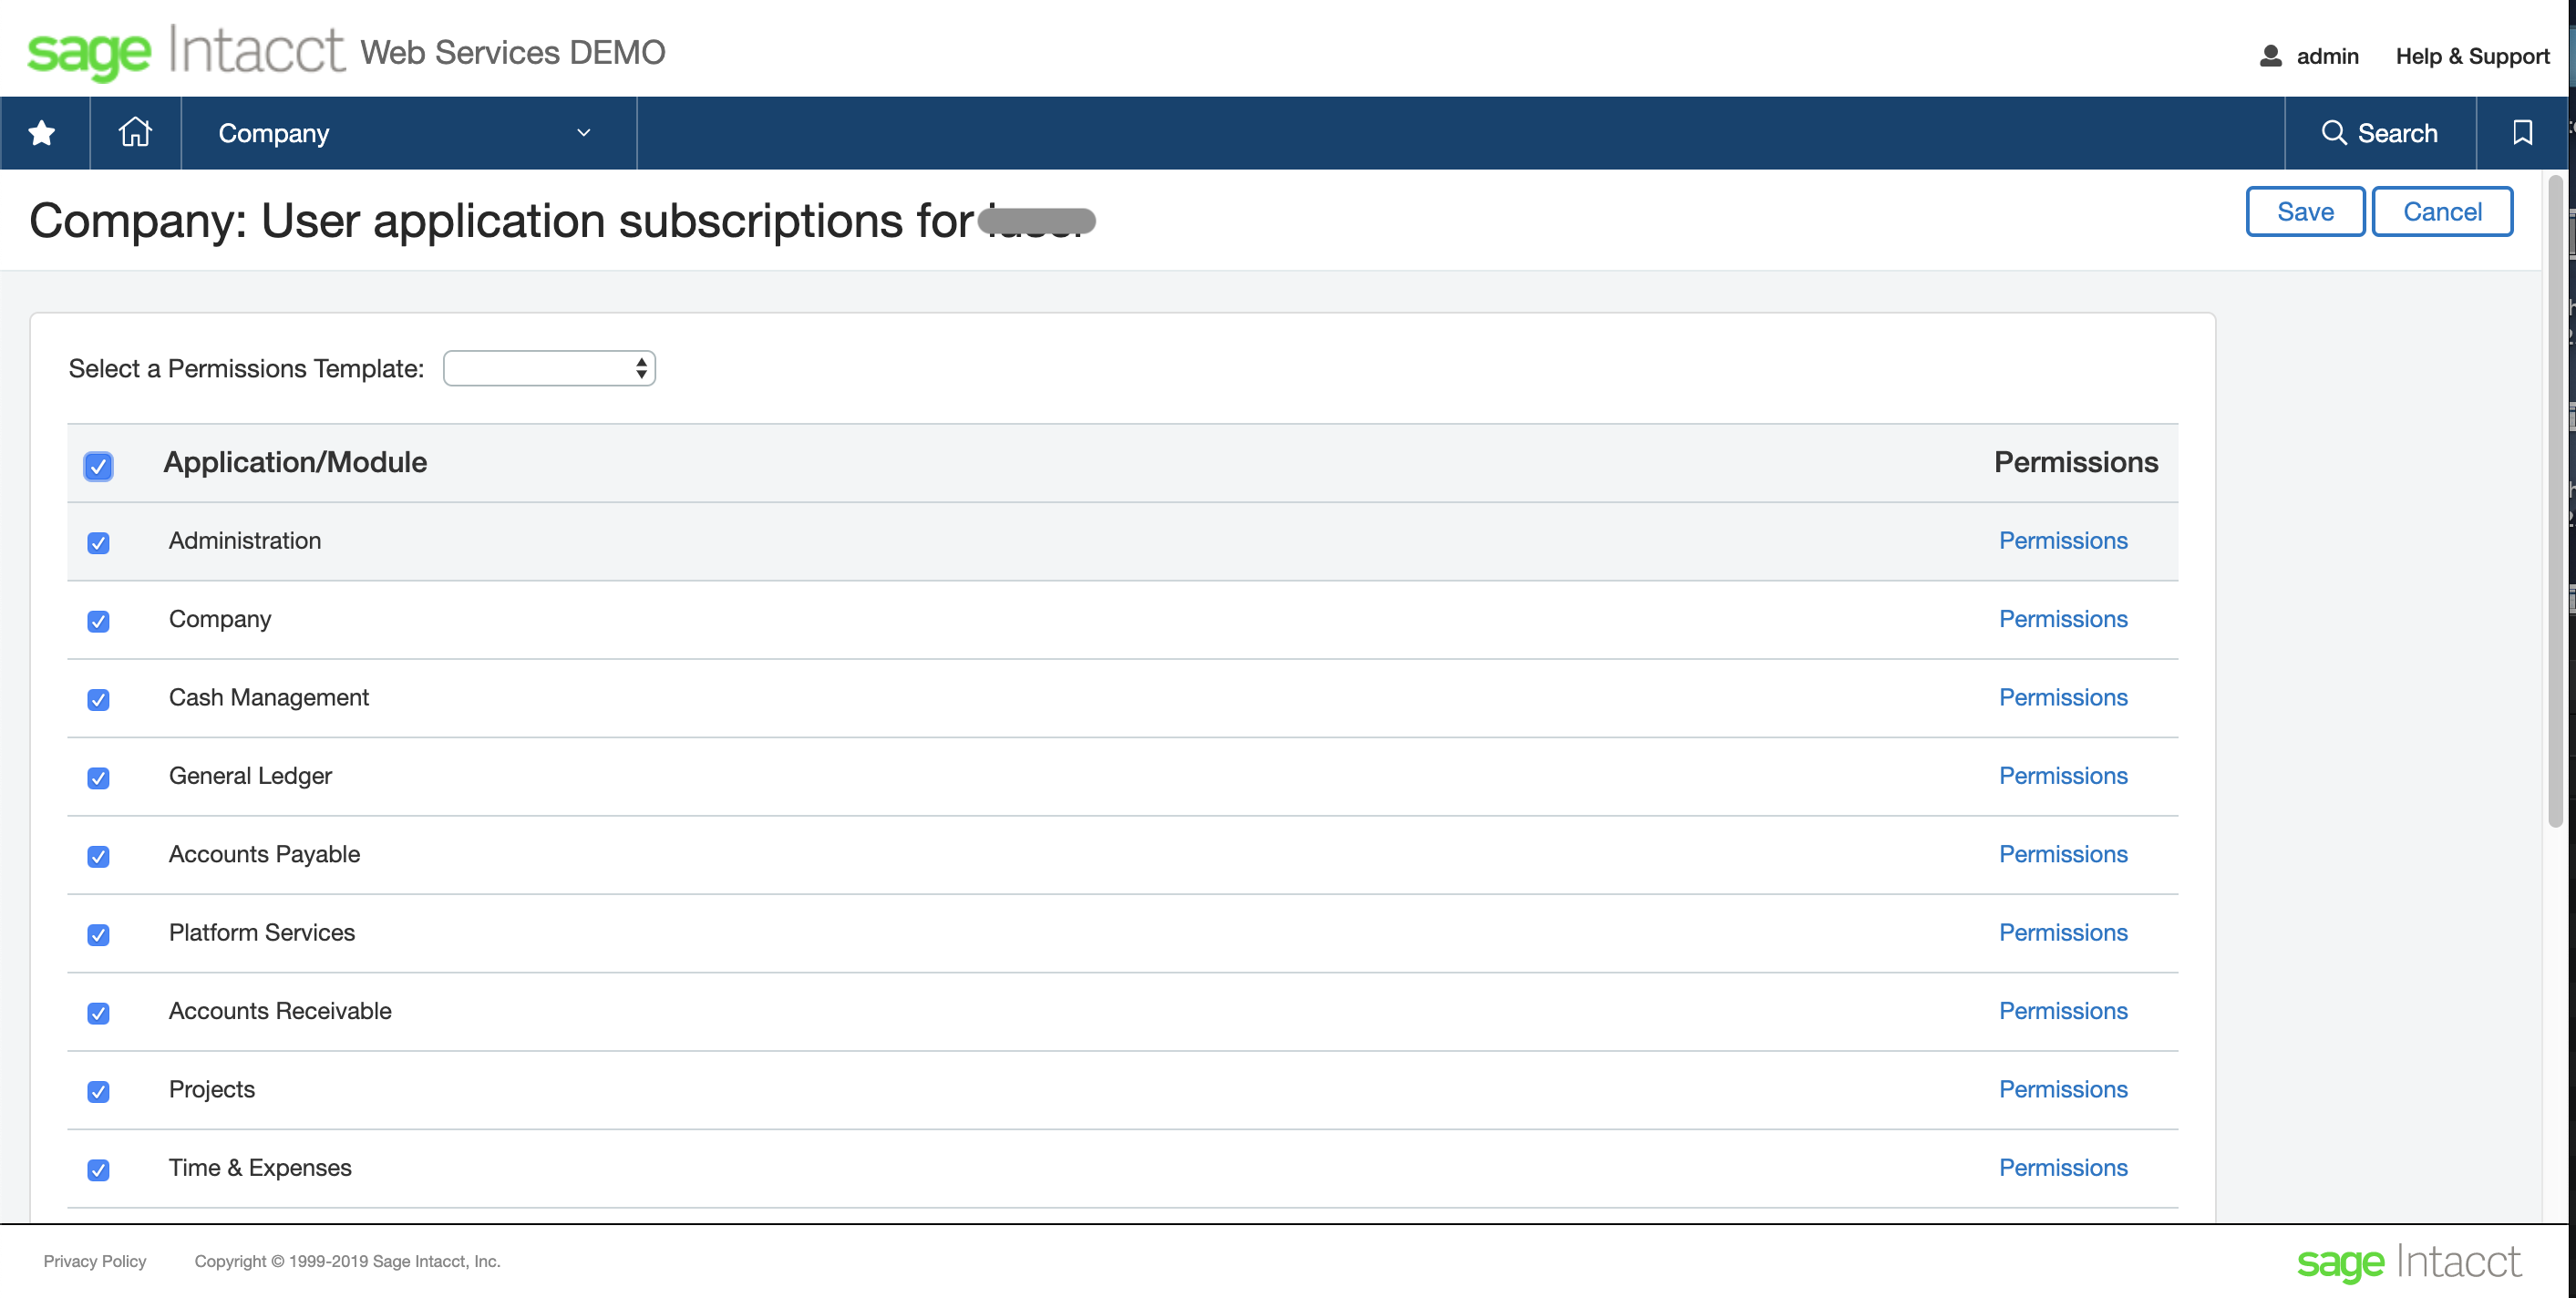 Select applications/modules
Authorize Workato on Intacct Web Services
According to the Intacct workflow, creating a WSU does not grant Workato access to the web service itself. It requires an additional sender ID credential which is required to send requests to the web service endpoint.
OBTAIN A SENDER ID
You can obtain a sender ID by contacting your Sage Intacct account representative.
Find Company > Setup tab > Company
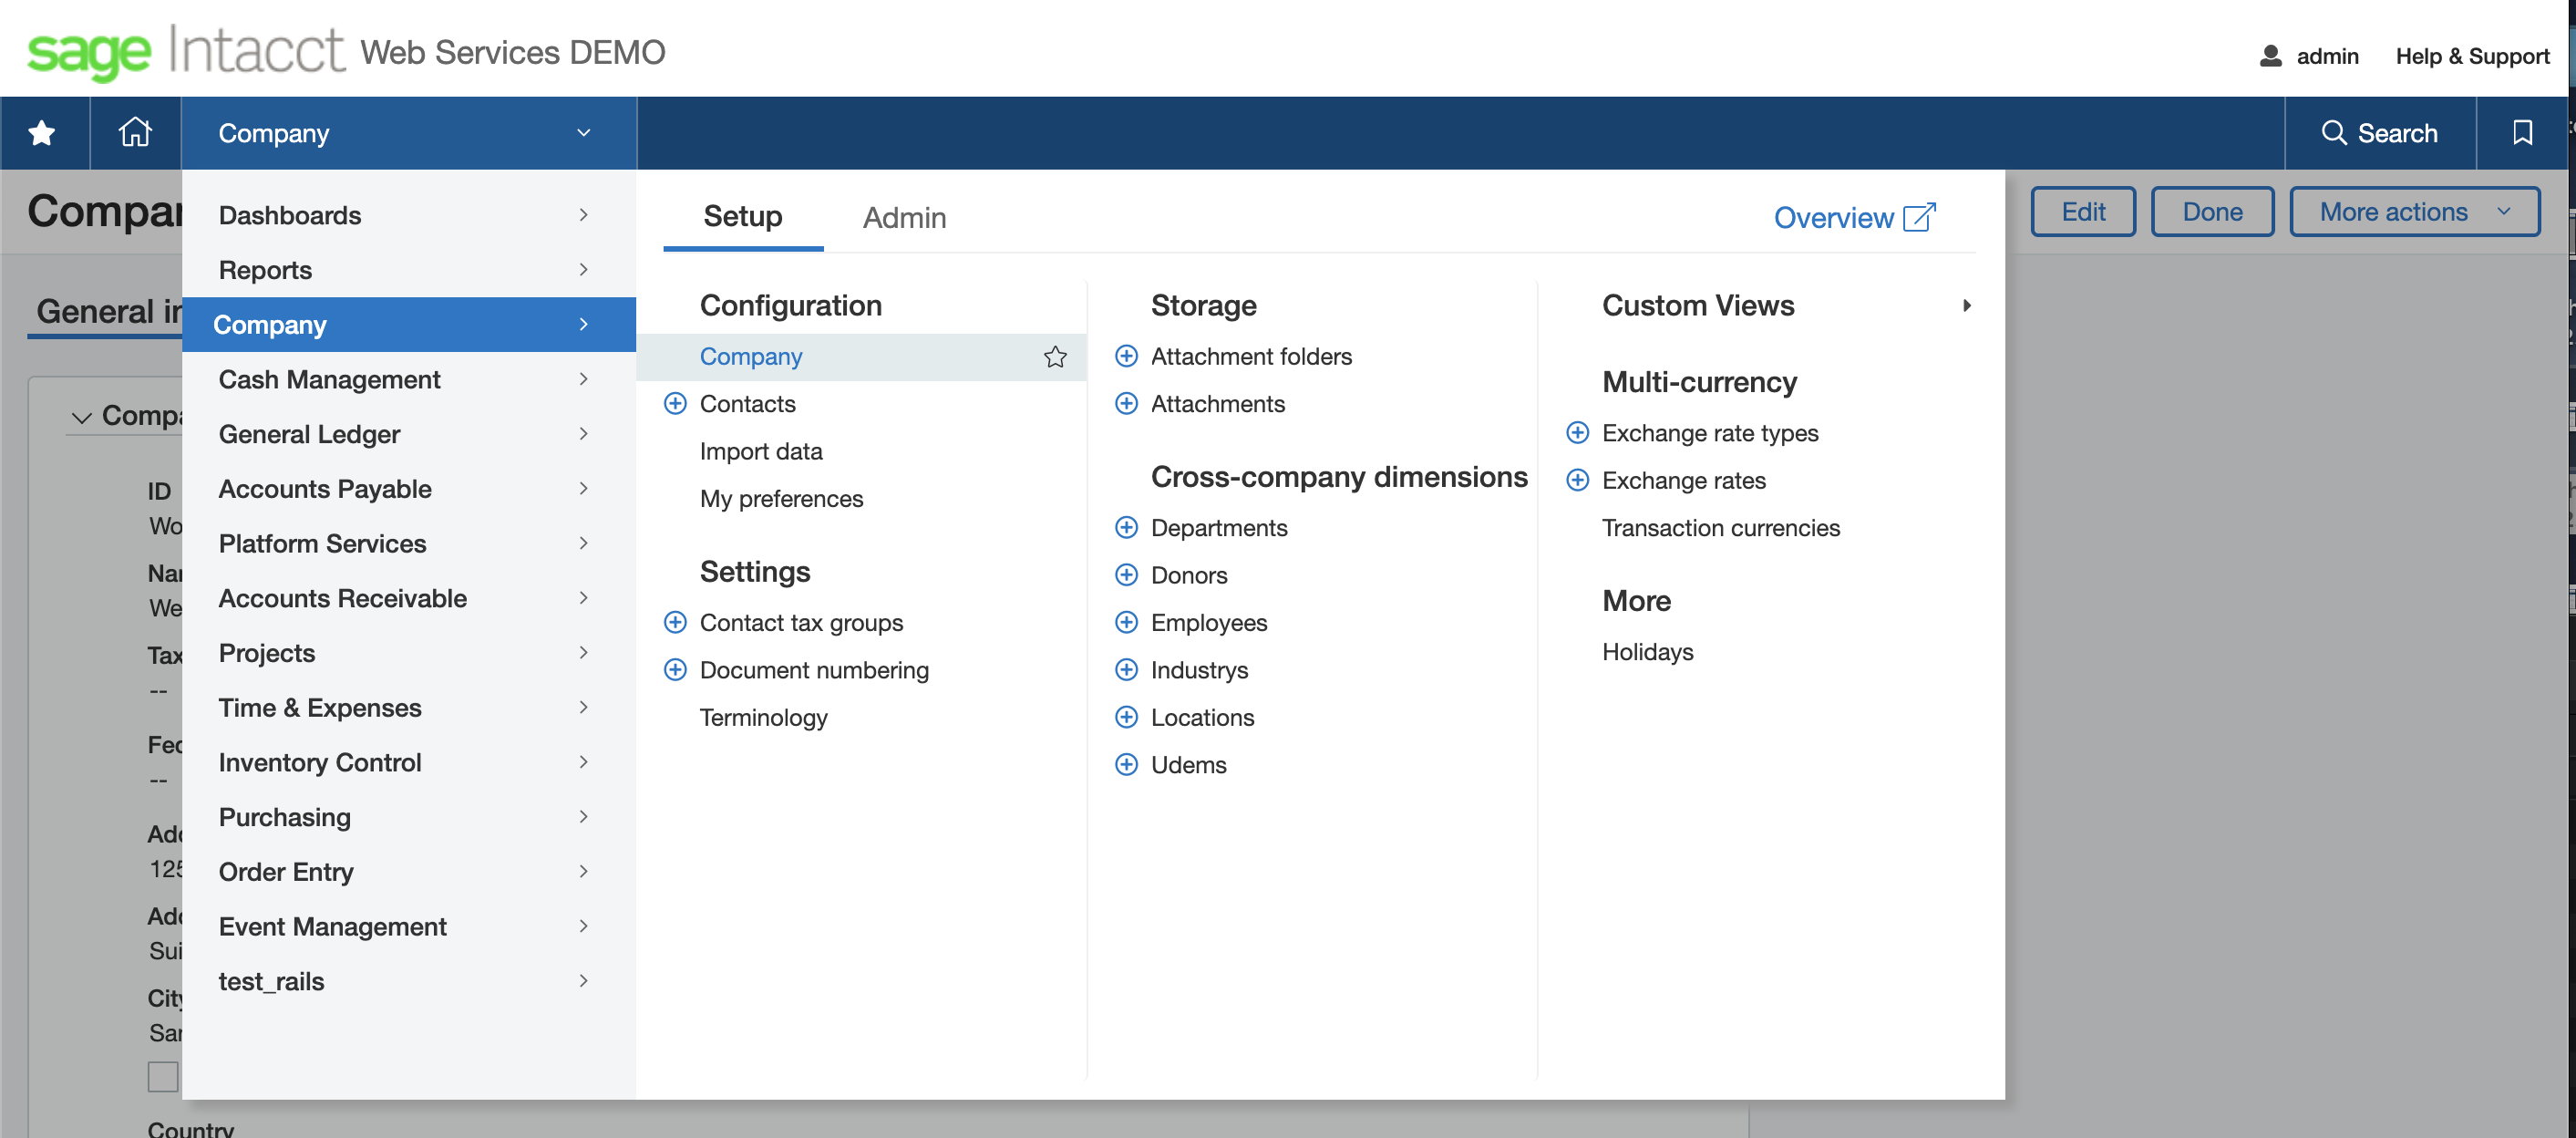 Locate Company Information
Select Edit, look under the Setup tab for Web Services authorizations.
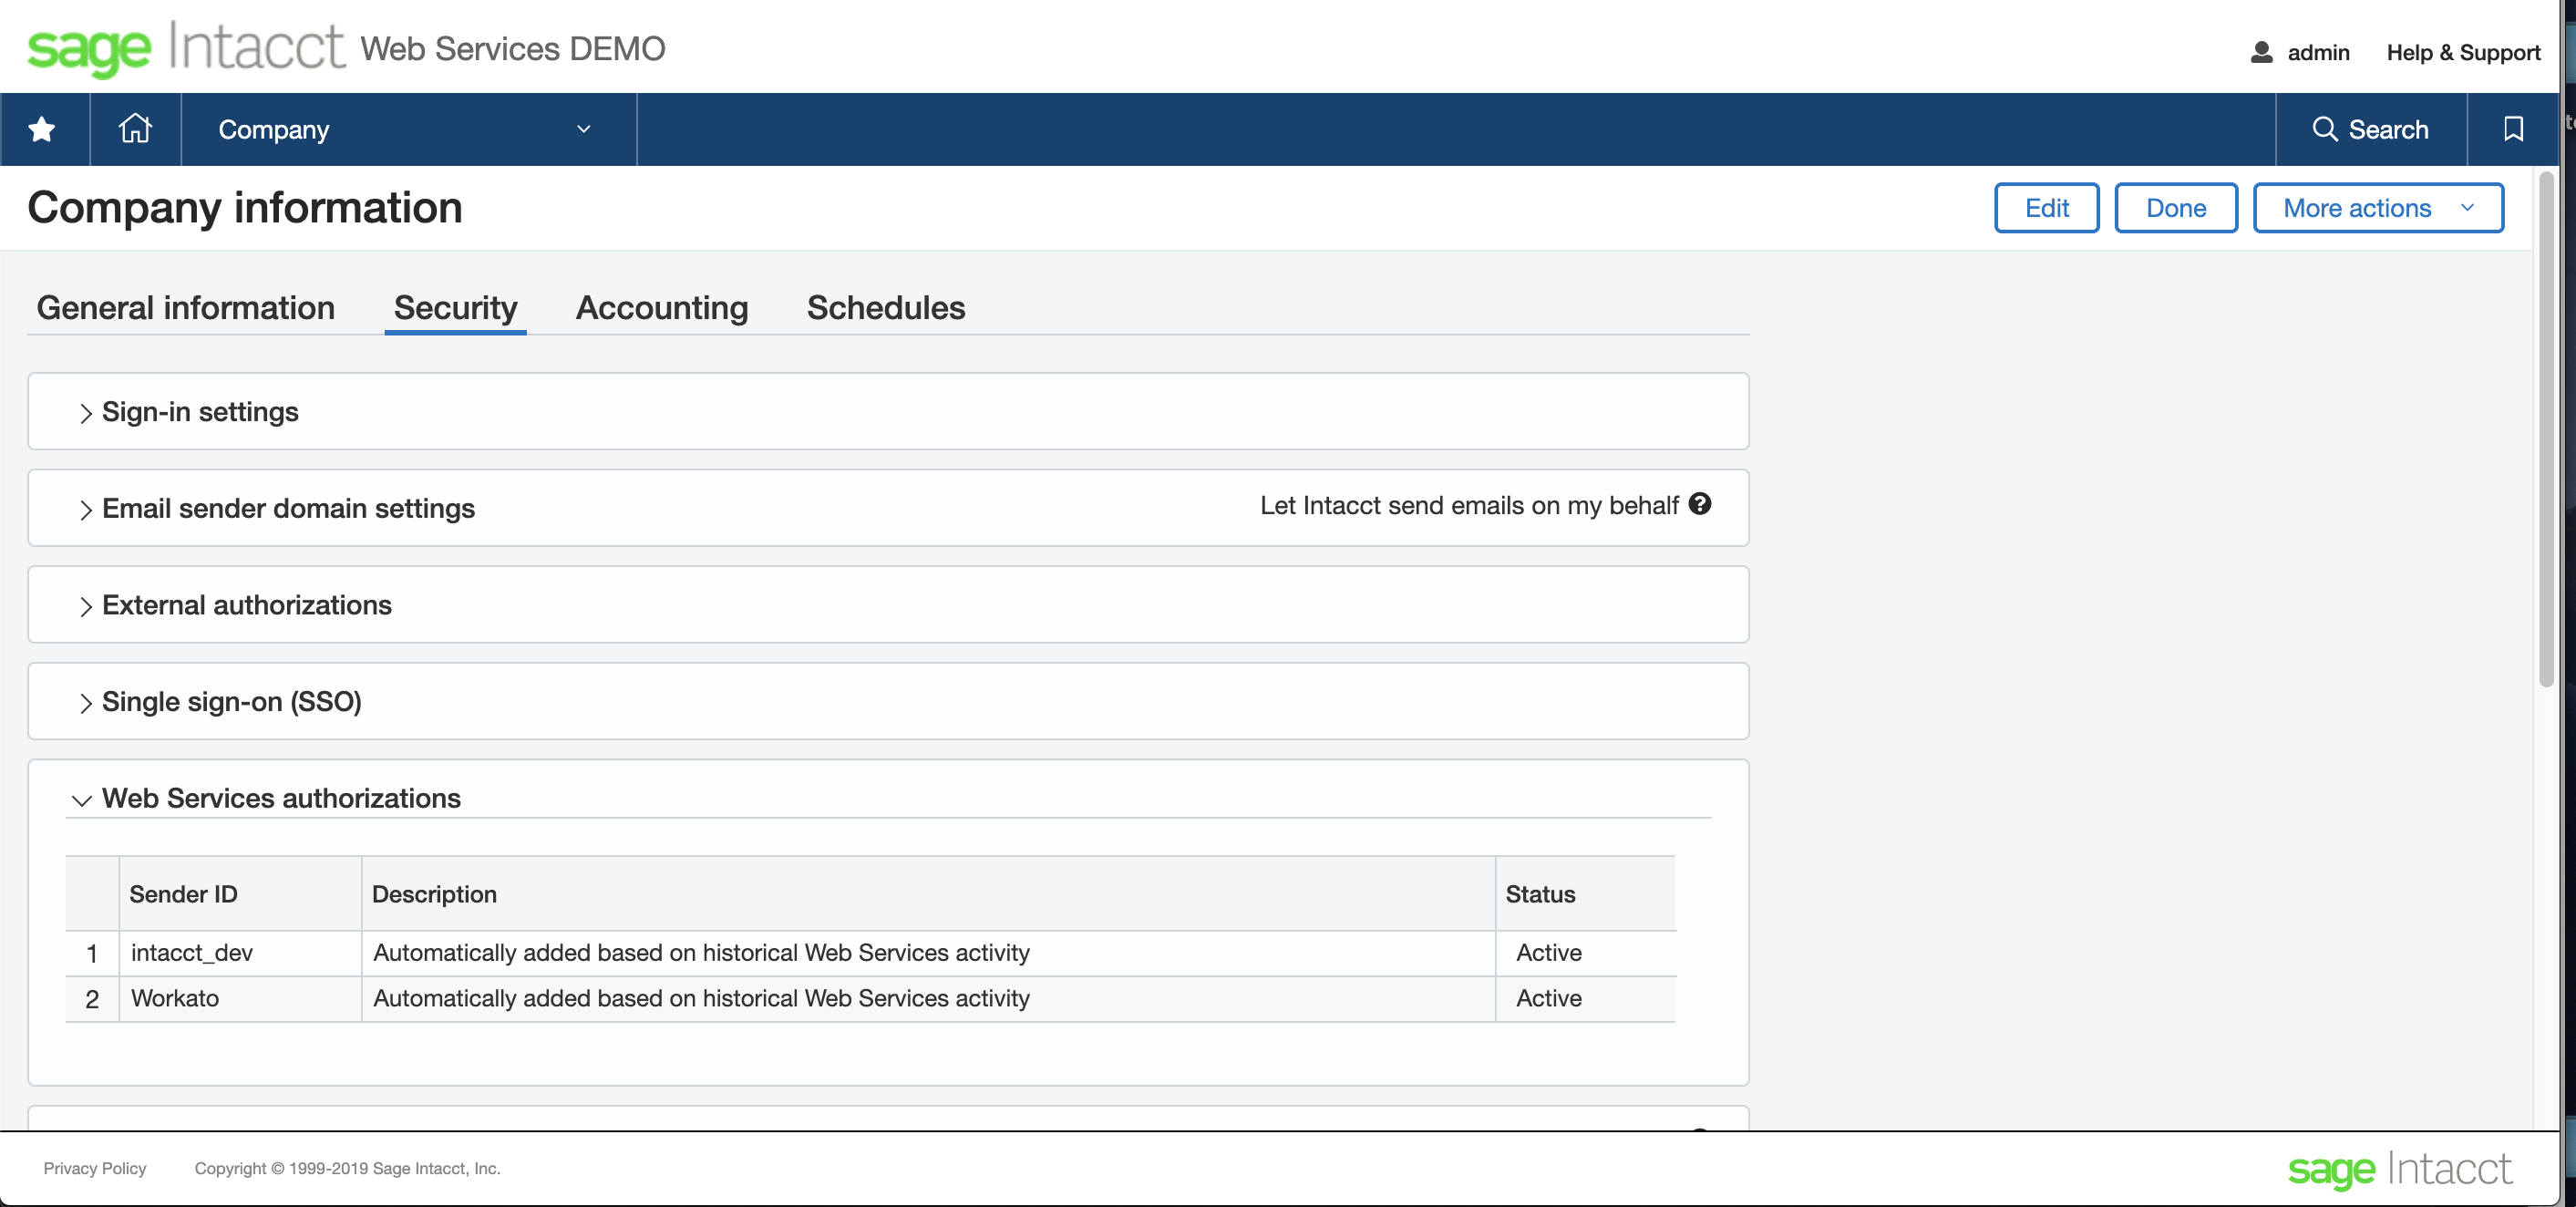 Locate Web Services authorizations
Click Add and configure the Web Services authorization according to the example below:
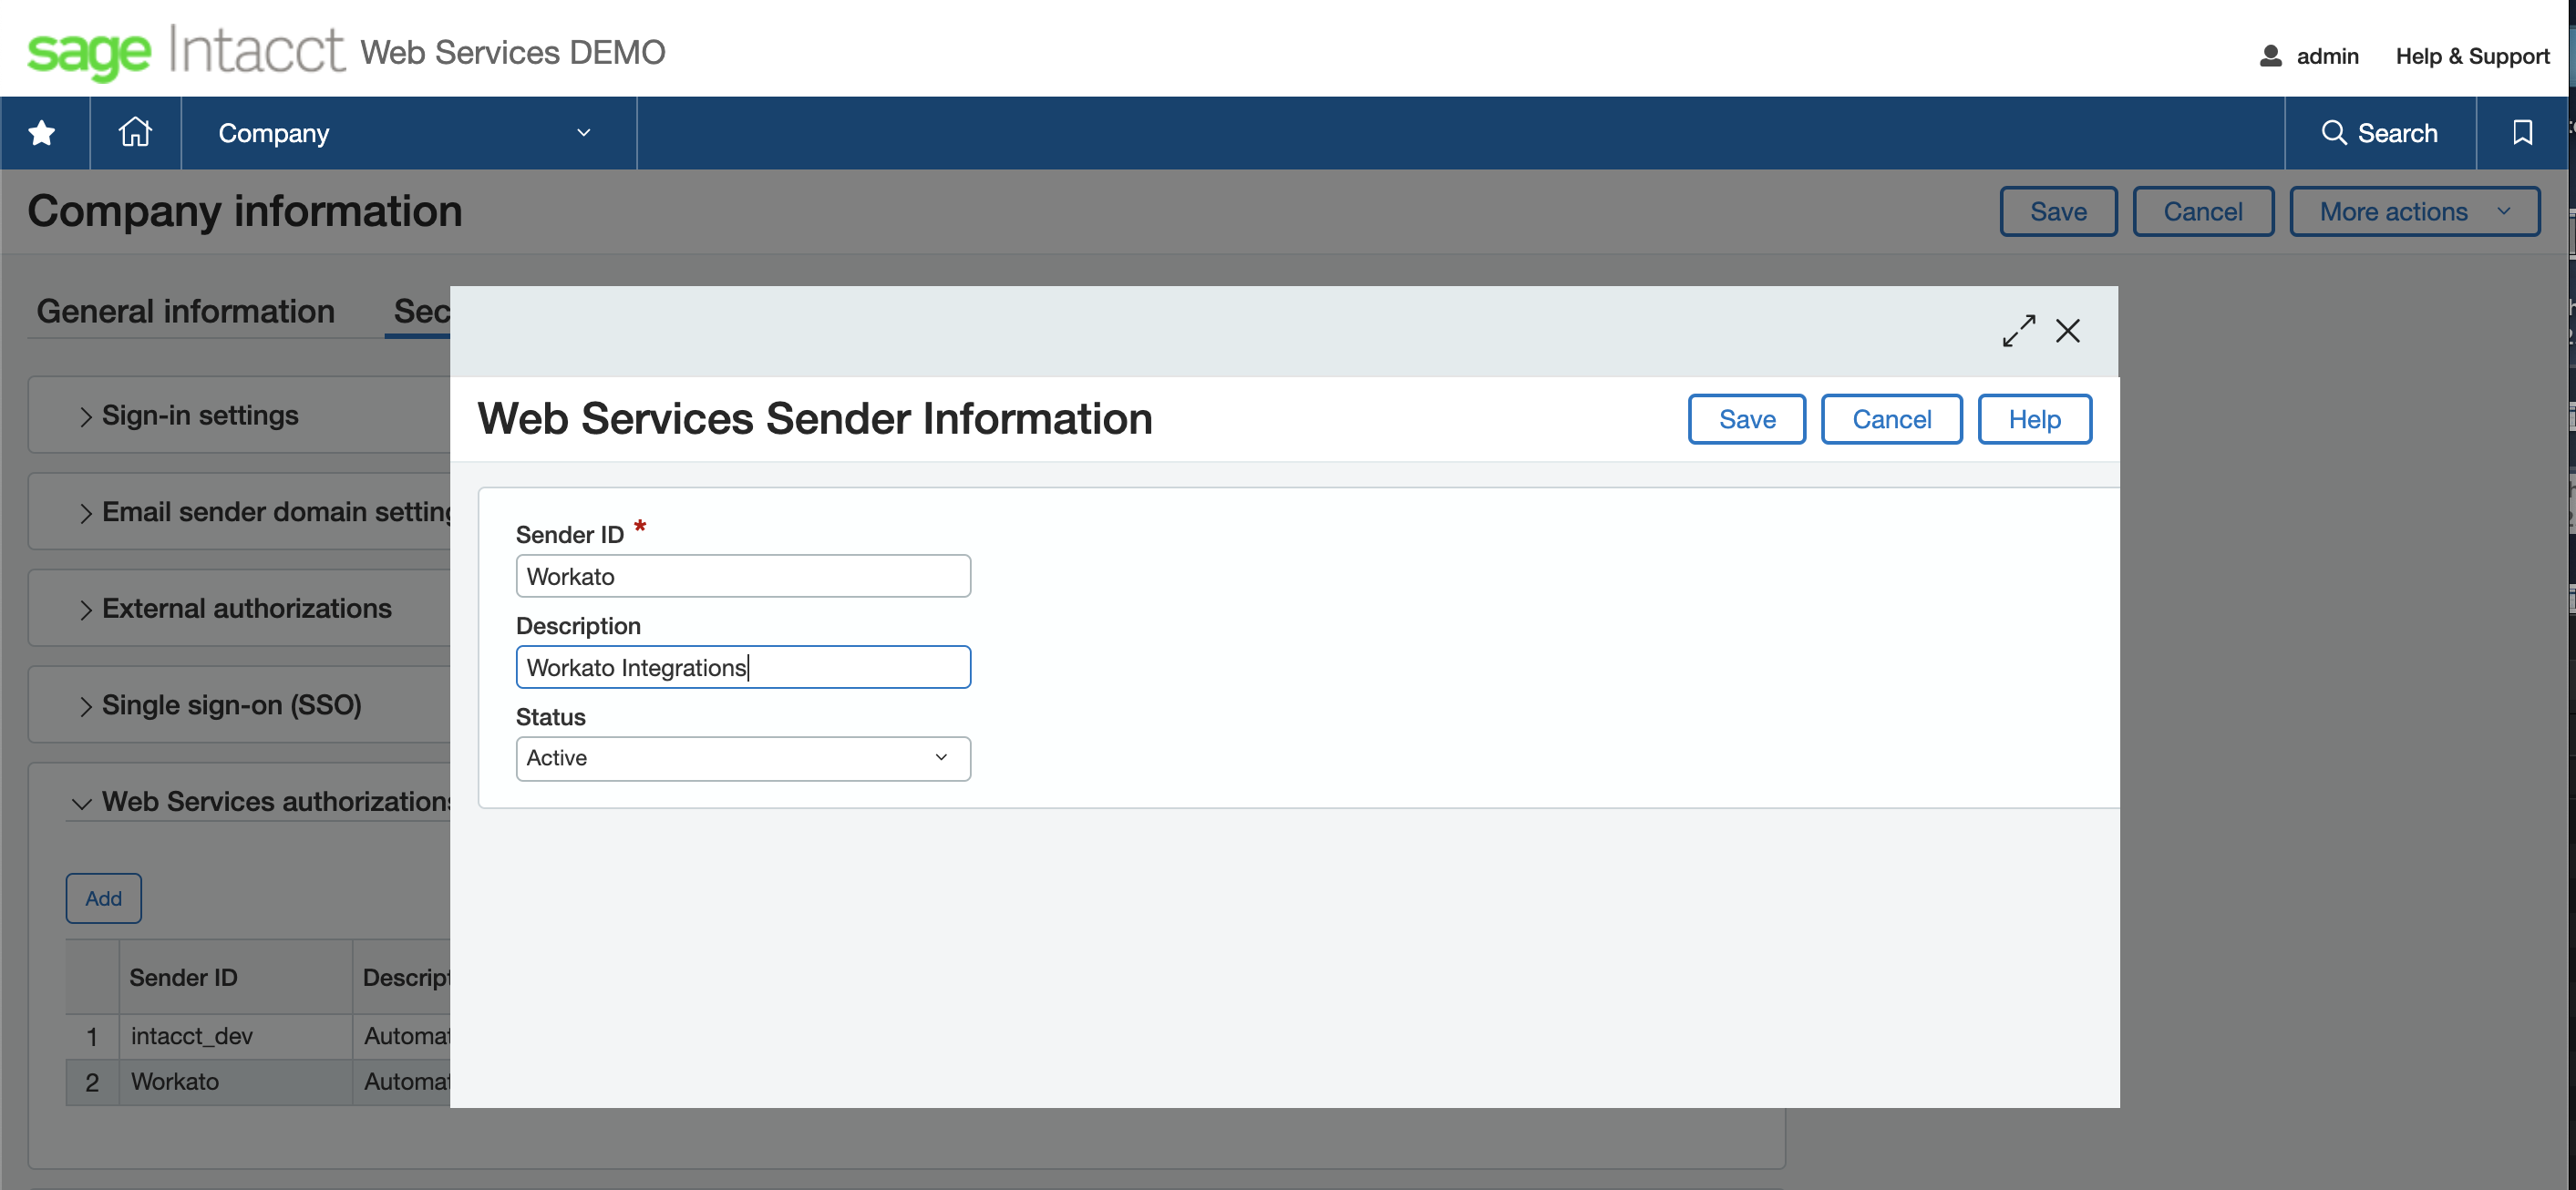 Adding Web Services authorization
| User field | Recommended input | Description |
|---|---|---|
| Sender ID | Workato | Sender IDs are case sensitive. |
| Description | - | Describe the purpose of the authorization. |
| Status | Active | Ensure that the status is set to Active, inactive sender ID's are not able to make Web Services requests. |
Connection Setup
To complete your Sage Intacct integration workflow, you have to connect Workato recipes to your Intacct instance. You can access this connection page from the Recipe's connection tab, or from the main App connections page on Workato.
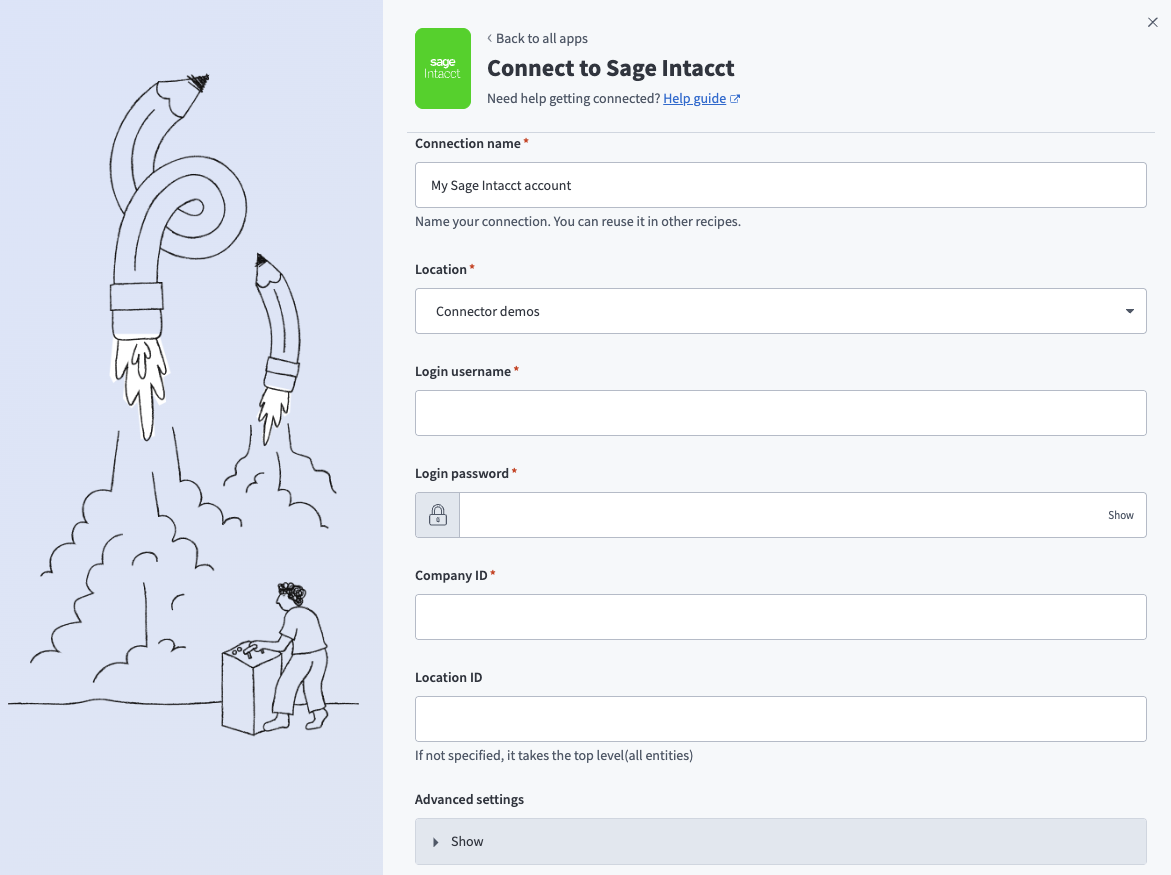 Workato connection setup
| Input Field | Description |
|---|---|
| Connection name | Give this connection a unique name that identifies which Intacct WSU it is connected to. |
| Login username | Provide the User ID of the WSU. |
| Login password | The login secret for your Intacct instance. |
| Company ID | The company ID for your Intacct instance. |
| Location ID | Location ID for an entity. If left blank, Workato will retrieve all entities. |
Triggers and actions
Sage Intacct triggers
- New AR payment trigger
- New contact trigger
- New expense trigger
- New invoice trigger
- New item trigger
- New project trigger
- New project task trigger
- New/updated AP bill trigger
- New/updated AP payment trigger
- New/updated contact trigger
- New/updated expense trigger
- New/updated GL account trigger
- New/updated item trigger
- New/updated object trigger
- New/updated project trigger
- New/updated project-task trigger
- New/updated purchase order trigger
- New/updated vendor trigger
Sage Intacct actions
Last updated: