Iterable
Iterable is the growth marketing platform that enables brands to create, execute, and optimize campaigns to power world-class customer engagement across email, push, SMS, in-app and more with unparalleled data flexibility.
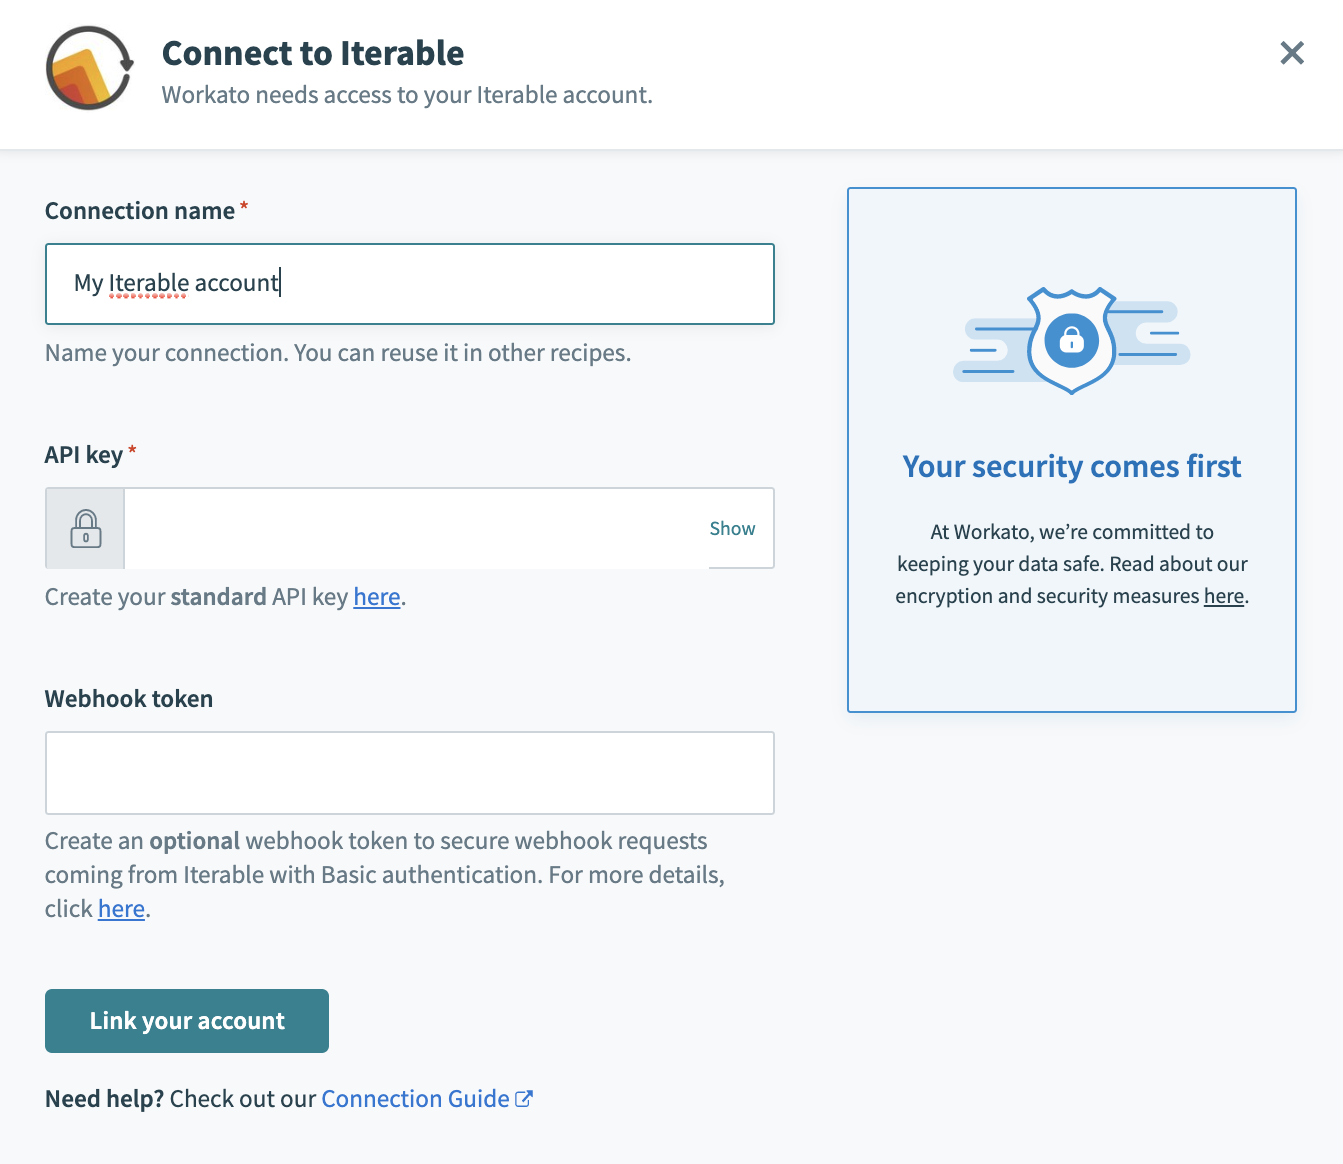
How to connect to Iterable on Workato
The connector uses API key authentication to connect Workato to Iterable.
| Field | Description |
|---|---|
| Connection name | Give this connection a recognizable name. On Workato, you can create multiple connections to the same App which can be dedicated to different teammates. |
| API key | Generate an API key on the Iterable API keys page |
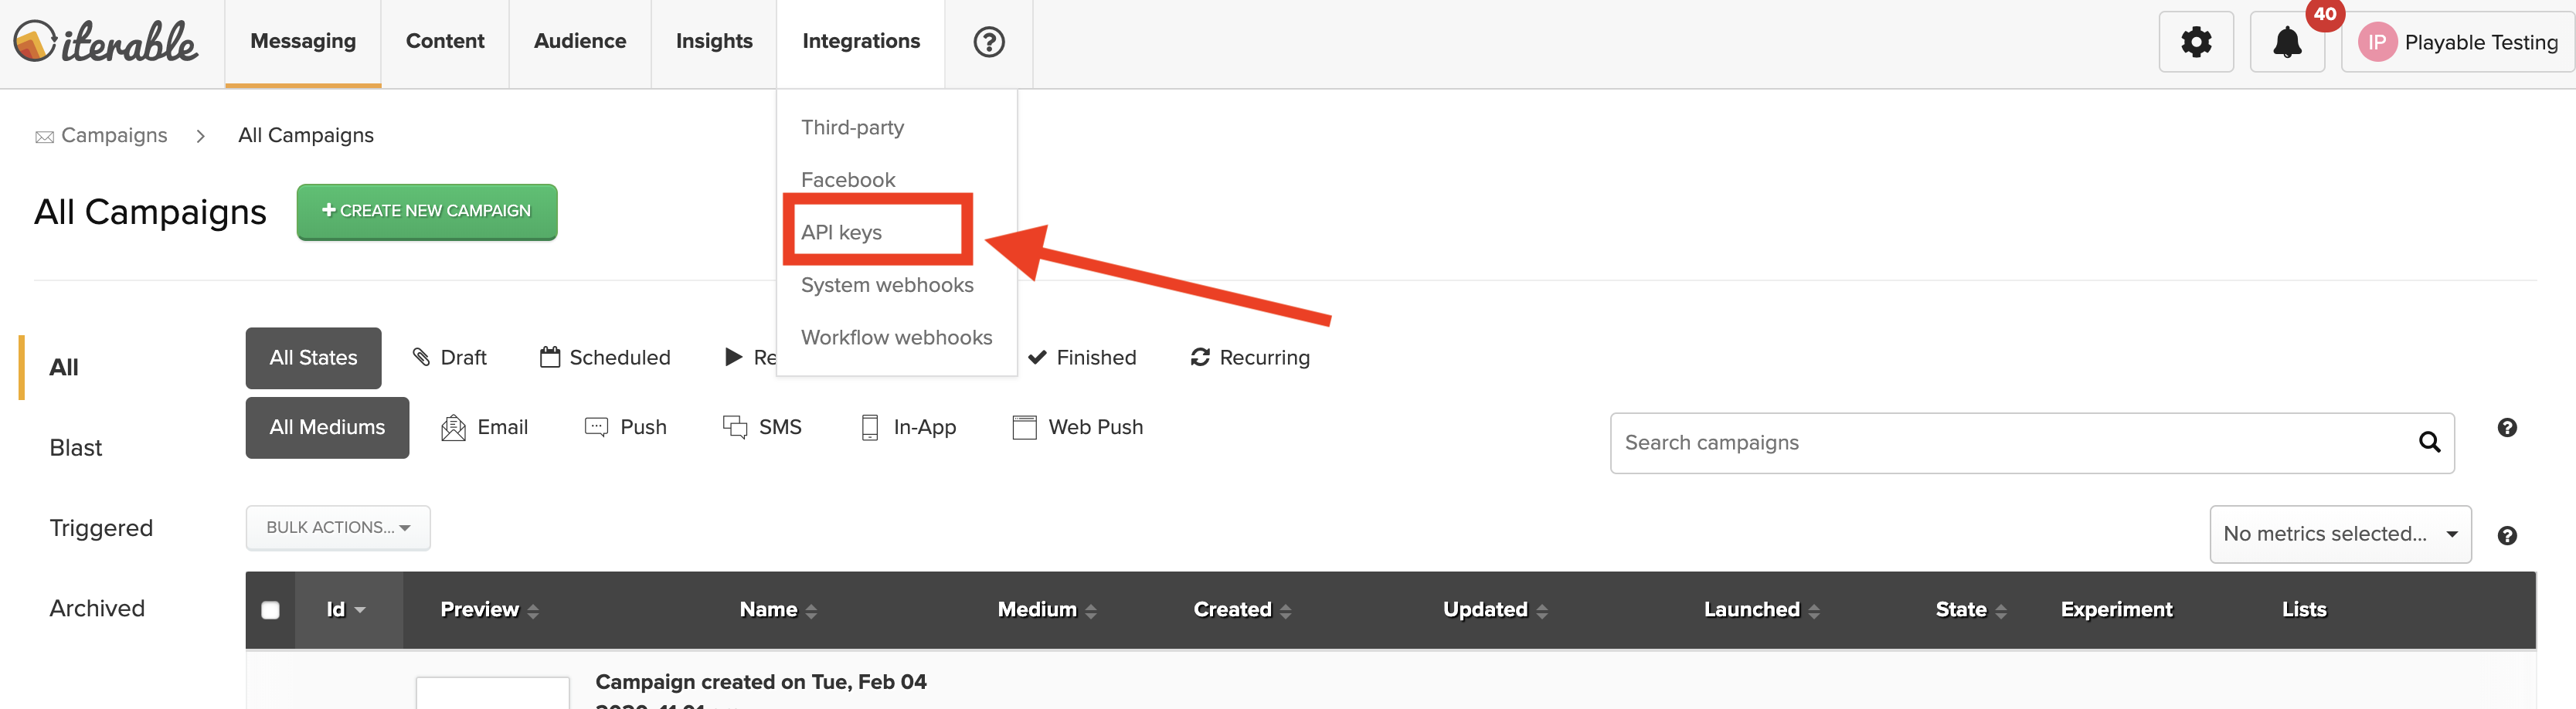
Generating an API key
- After logging into Iterable, head over to the “Integrations” tab in the top navigation bar and select the API key option in the drop-down.
- You’ll be brought to the view where you can generate a new API key for your Workato connector.
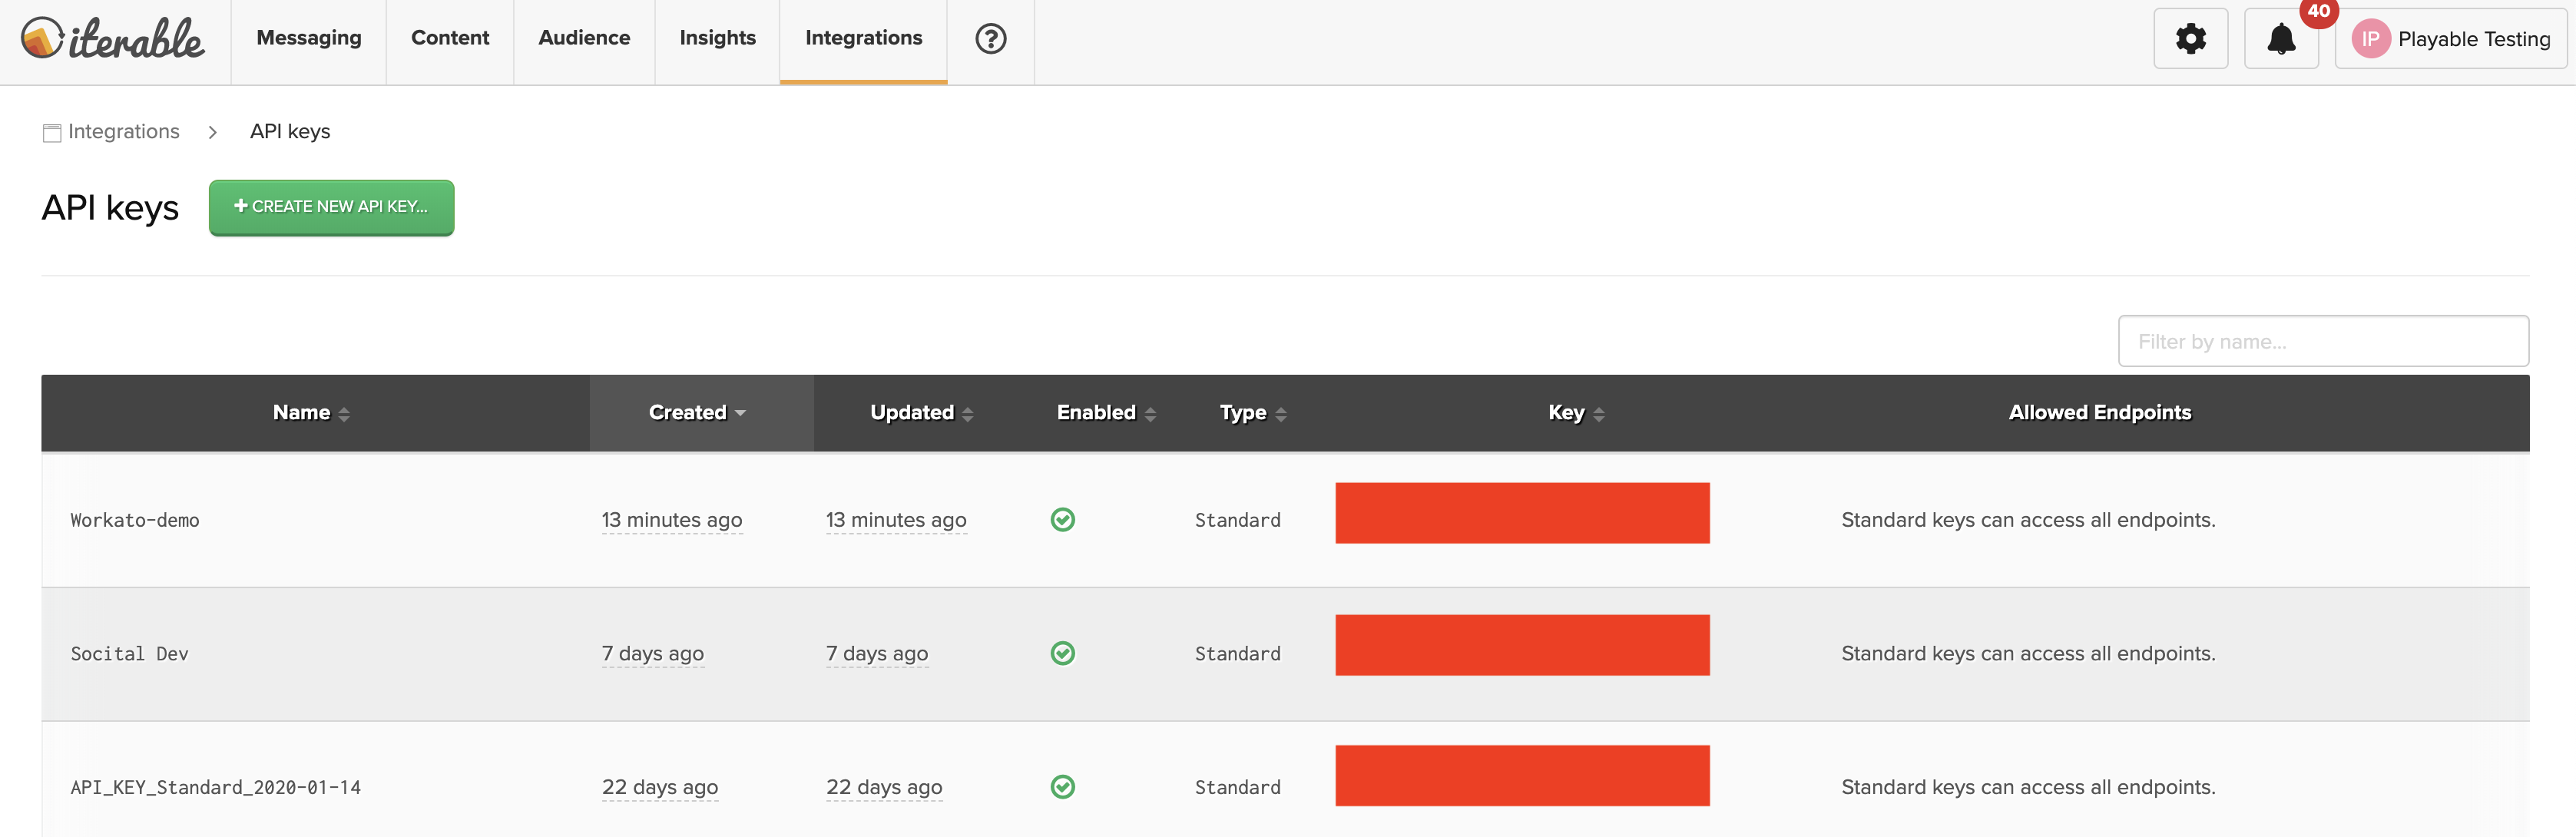
- Generate a Standard API key and give it a meaningful name. Here, we gave it the name, 'Workato-demo'. After this is done, simply provide the same key to the connector and you should be able to make a successful connection.
Generating System webhooks
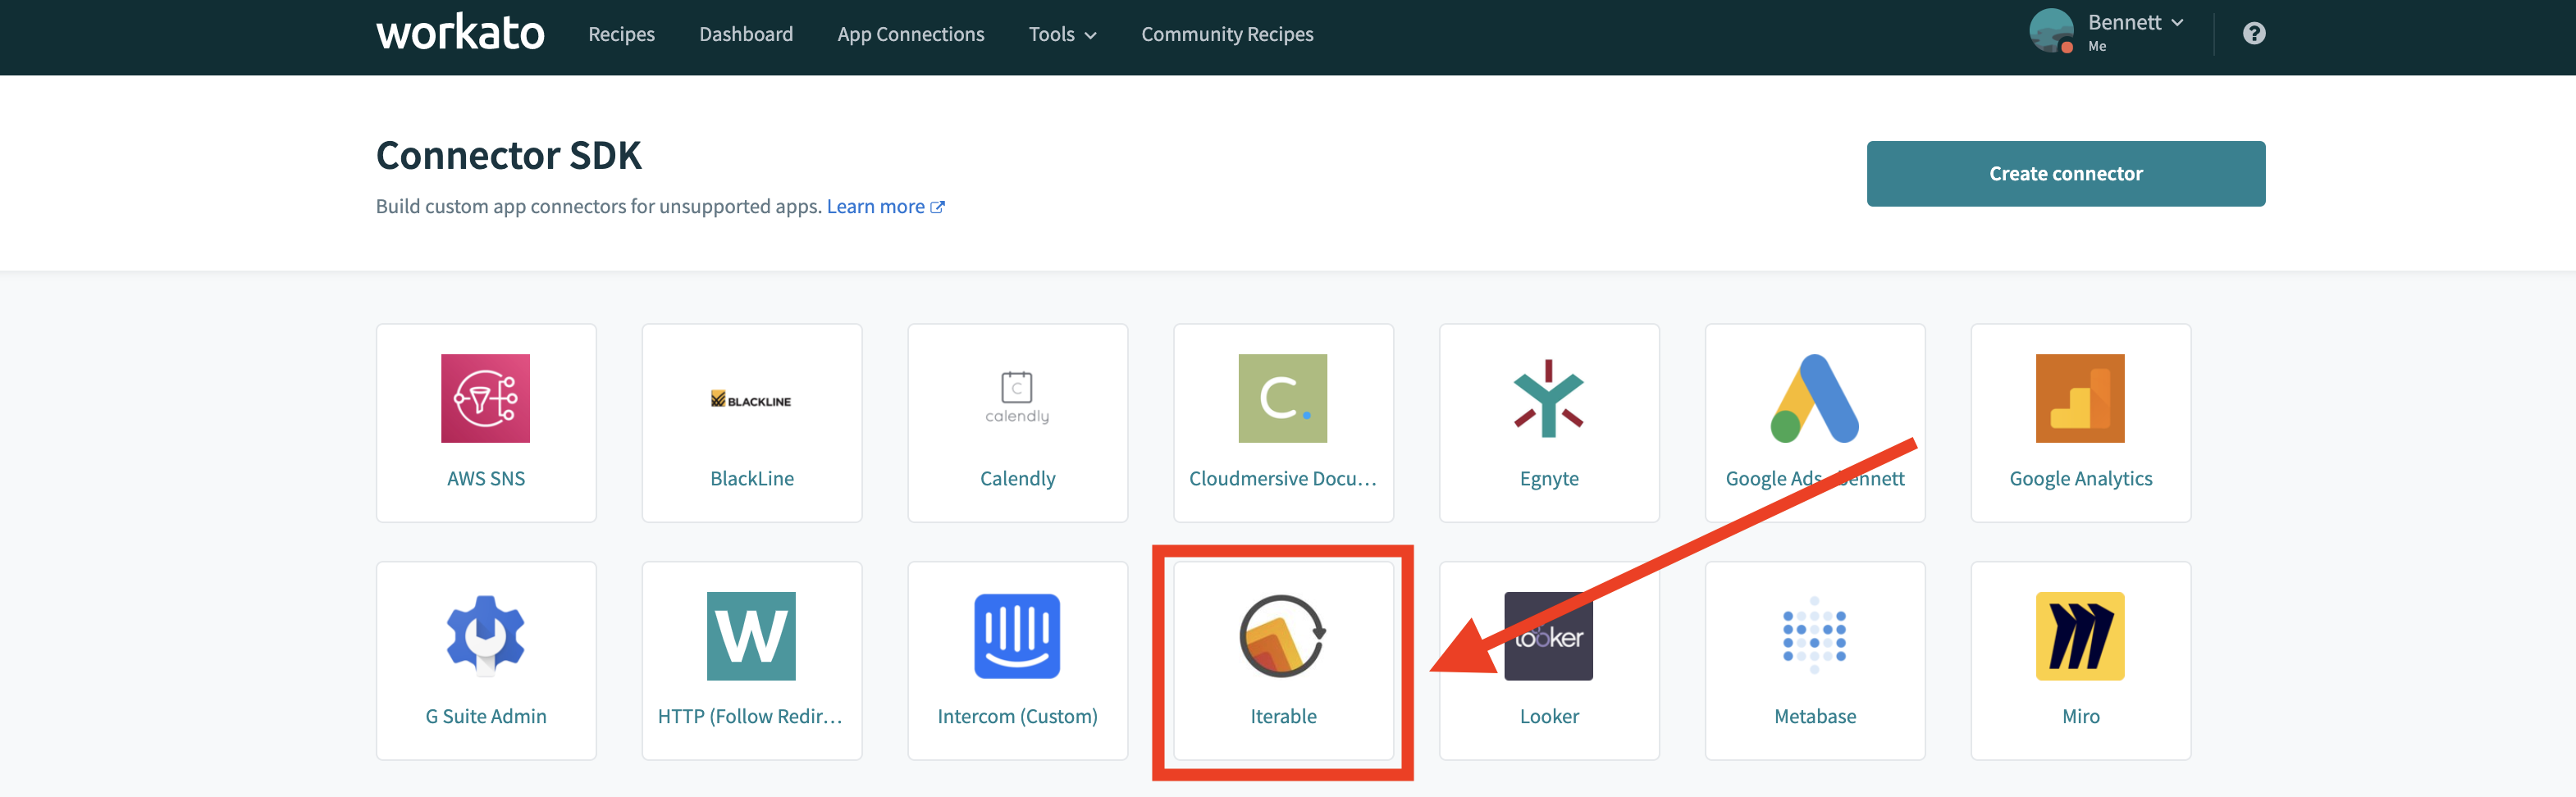
- Head over to the Iterable connector in Workato. Under the top navigation bar, select “tools” and select “connector SDK” from the drop-down.

- Find the Iterable connector in the list of custom connectors you have installed in your Workato workspace.
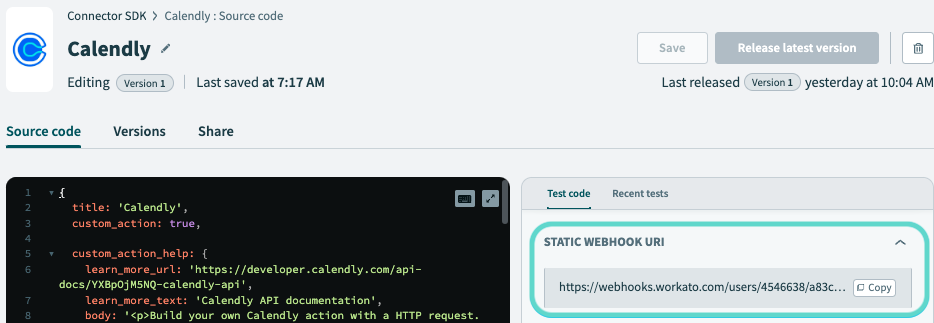
- To find the static webhook URI for your connector, navigate to Source code > Test code > Static webhook URI and copy the provided link.
- Workato supports system webhooks as well as custom and basic webhooks in Iterable. Head over to Iterable to configure your system and workflow webhooks.
- Follow this documentation to configure system webhooks in Iterable
- Follow this documentation to configure BASIC or CUSTOM workflow webhooks in Iterable
- When prompted for endpoints, provide the static webhook URI link copied from your Iterable connector. No authentication is needed. Next time these events are triggered in Iterable, your Iterable triggers can pick up these webhook events.
Triggers & Actions
The Iterable connector supports the following triggers and actions.
| Triggers | Actions |
|---|---|
| New Object | Add subscribers to list |
| New workflow | Bulk upsert users |
| Create list | |
| Get user by email | |
| List channels | |
| List project lists | |
| Send sms | |
| Track event | |
| Update user subscription | |
| Upsert user |
Triggers
After configuring the webhook URIs, you’ll now be able to configure your webhook triggers for both system webhooks and workflow webhooks.
New Object
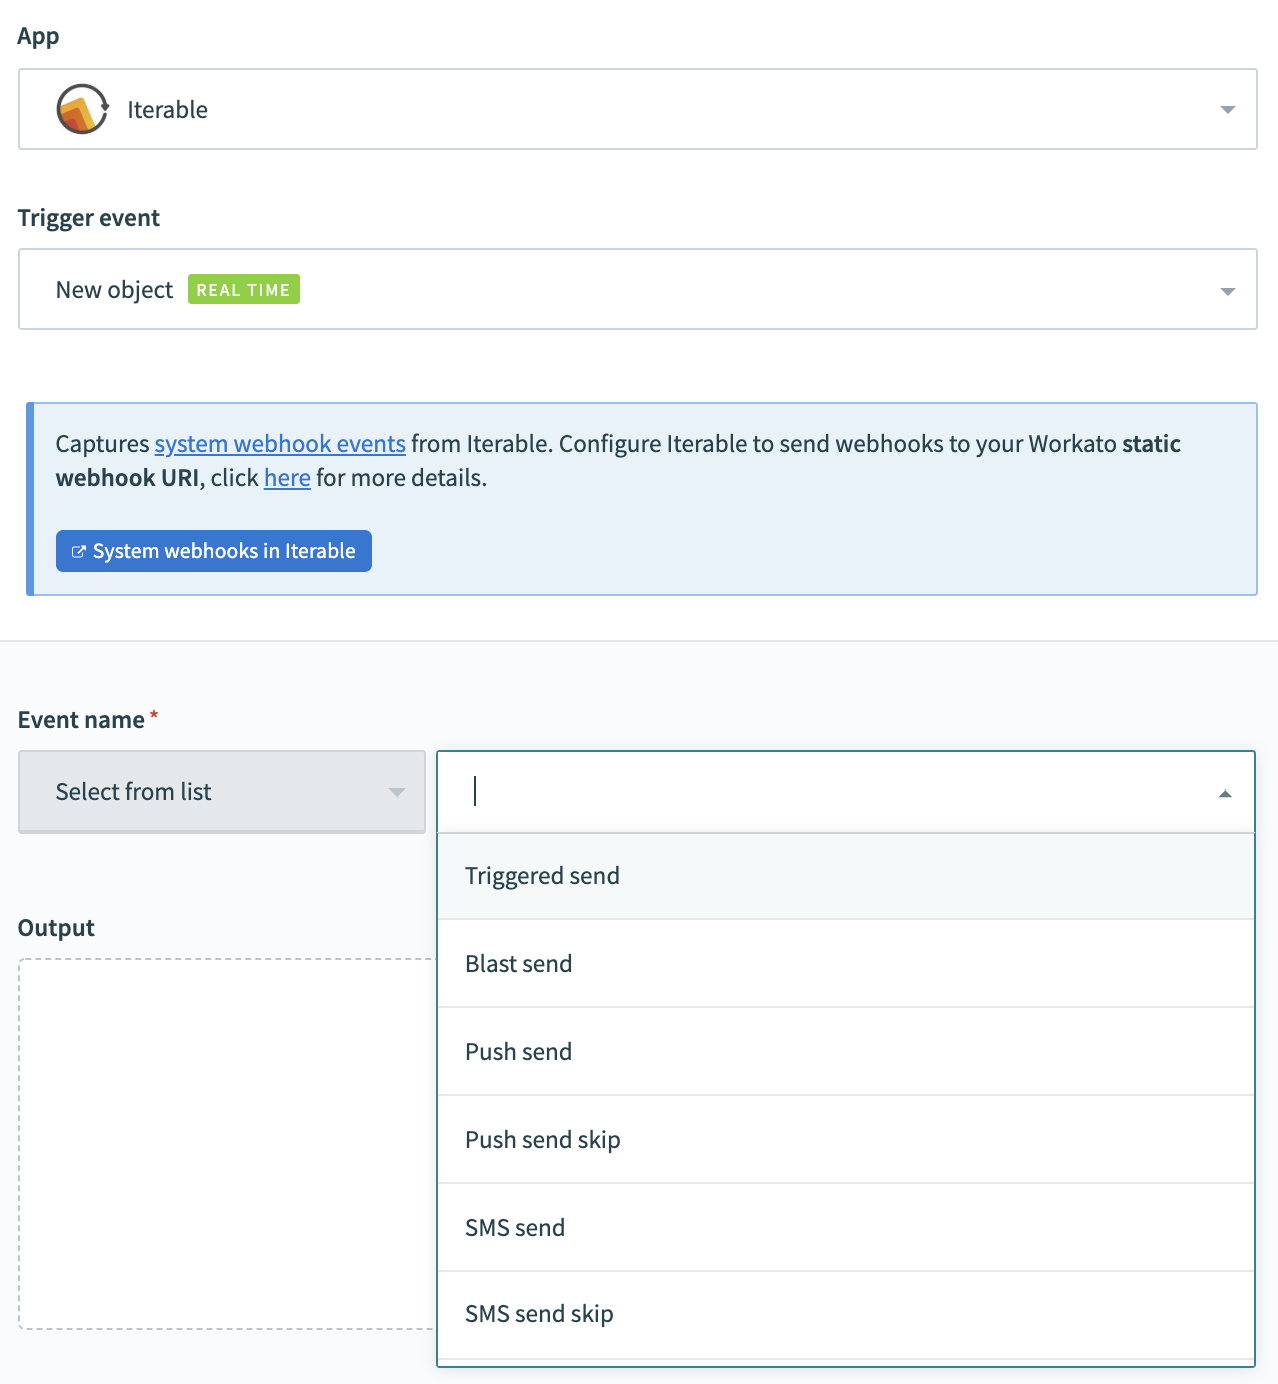
When configuring a new object trigger, first select the event you want to listen on. The system webhook registered should have the corresponding event enabled on the Iterable UI.
New Workflow
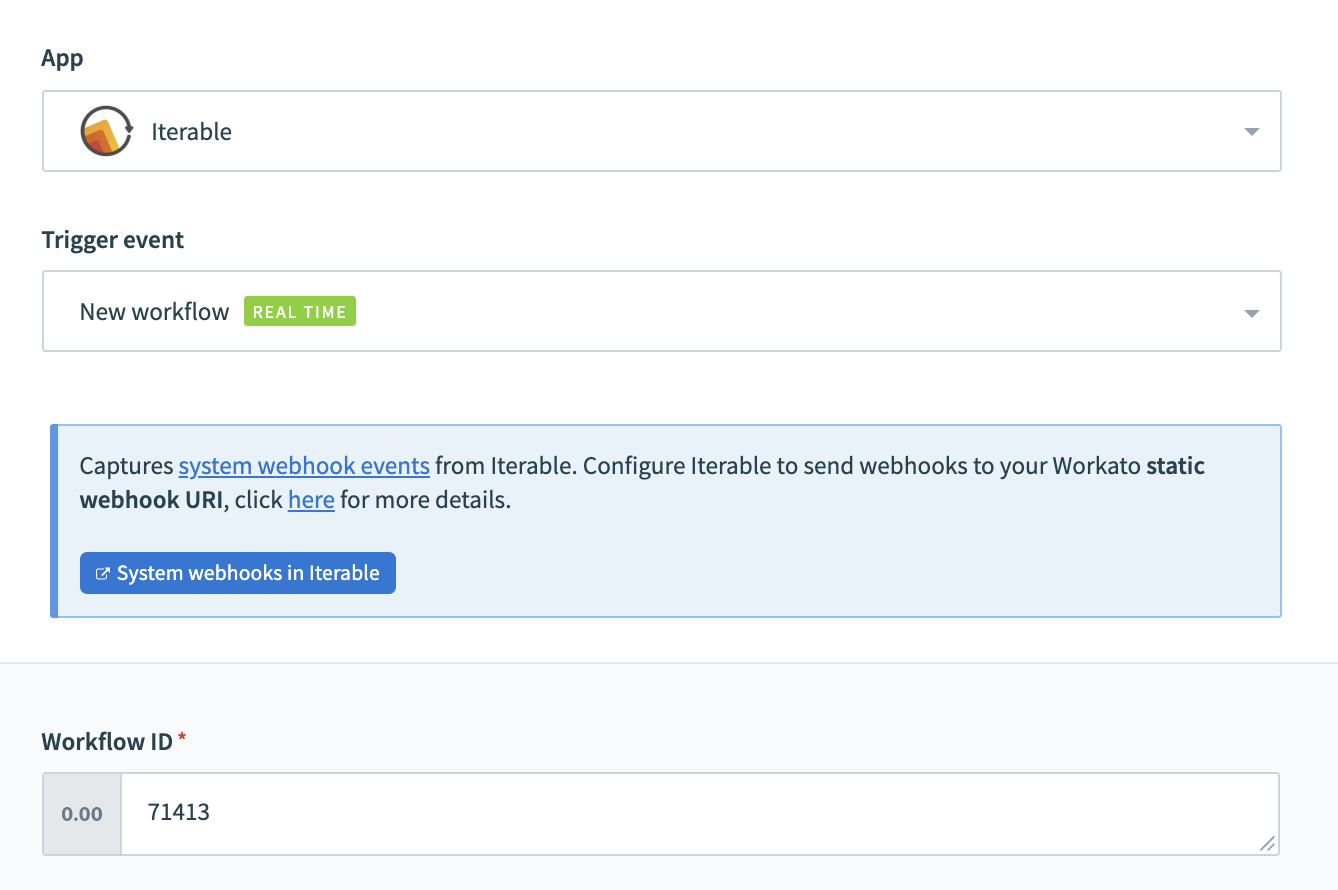
When configuring a new workflow trigger, provide us with the workflow ID which calls the webhook you have just made. This can be found in the URL of the workflow editor. I.e. if the url is https://app.iterable.com/workflows/1234/edit then the workflow ID is 1234.
Configuring expected webhook payloads
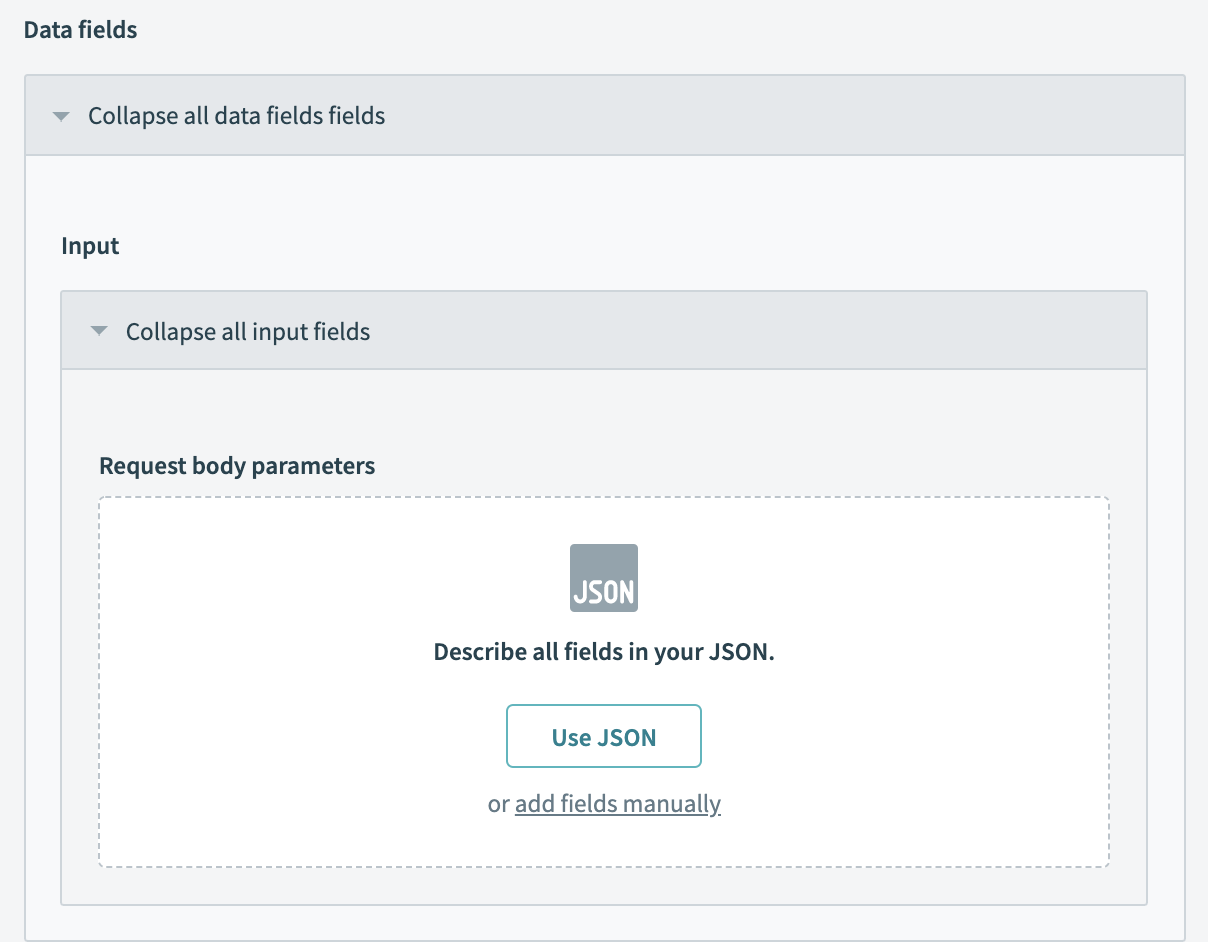
All triggers have a schema designer for you to define the expected webhook payload. Defining these fields allow you to use attributes in the payload in downstream actions. There are 2 ways to define the output field.
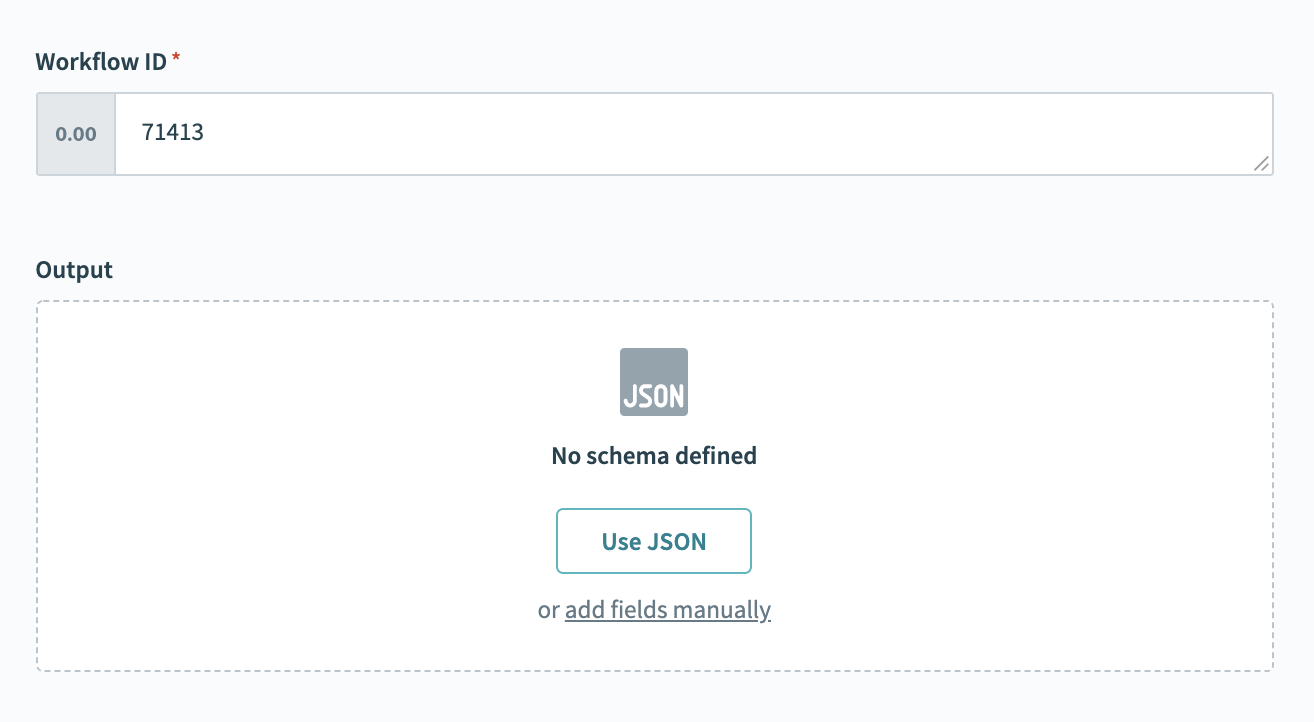
- Option 1
Start the recipe without configuring the output schema and send a test event to the trigger. You can then use the payload in the job history to observe the structure of the expected payload.
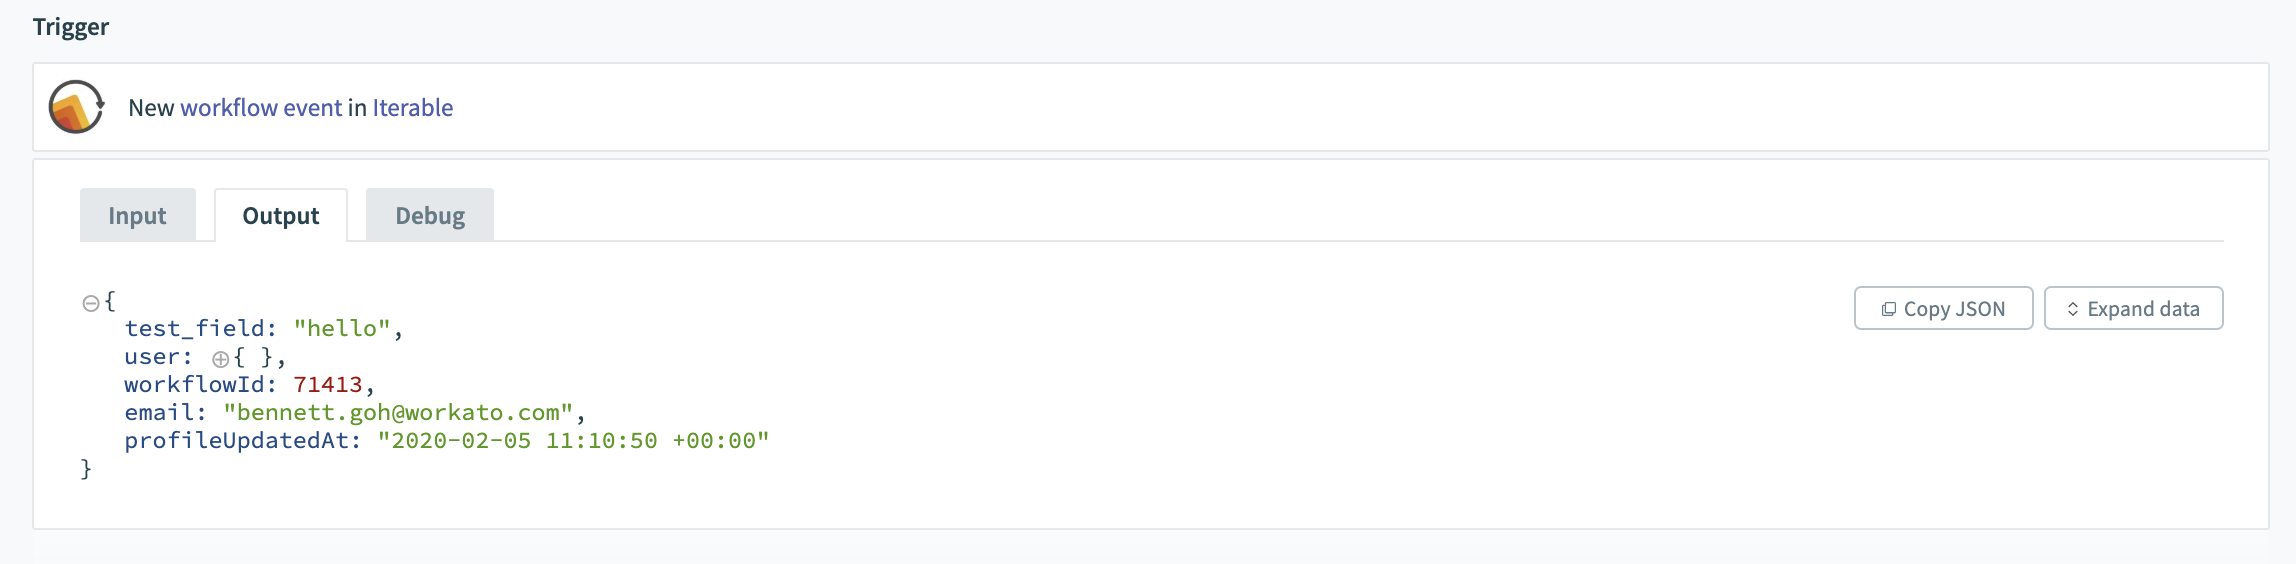
Copy this payload and paste that into the schema builder using the json wizard and all fields will be populated automatically.
- Option 2
Manually define the fields. The names in the fields must match the keys in the json payload exactly.
Actions
Actions in Workato allow you to create, update, and retrieve information about objects in Iterable. Use these actions to add or update user attributes, add people to lists or even send smses. Most inputs in the Iterable connector are self-explanatory and request inputs for standard fields in Iterable.
Working with the data fields input
Some actions in the Iterable connector will have an input field called “Data fields”. This is where users can configure and create or update objects in Iterable whilst also interacting with their custom fields.
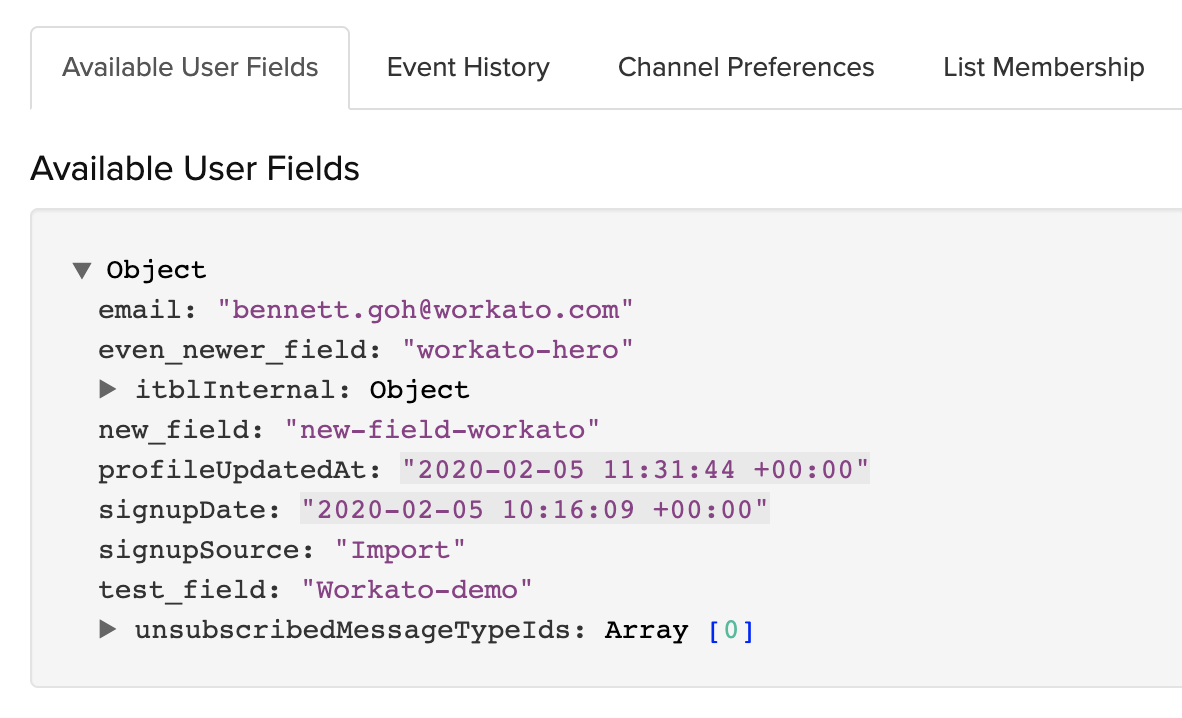
Users in Iterable are able to have custom attributes that can be created/updated during the creation or updating of the user. For example, we have this user below with fields “new_field” and “test_field”.
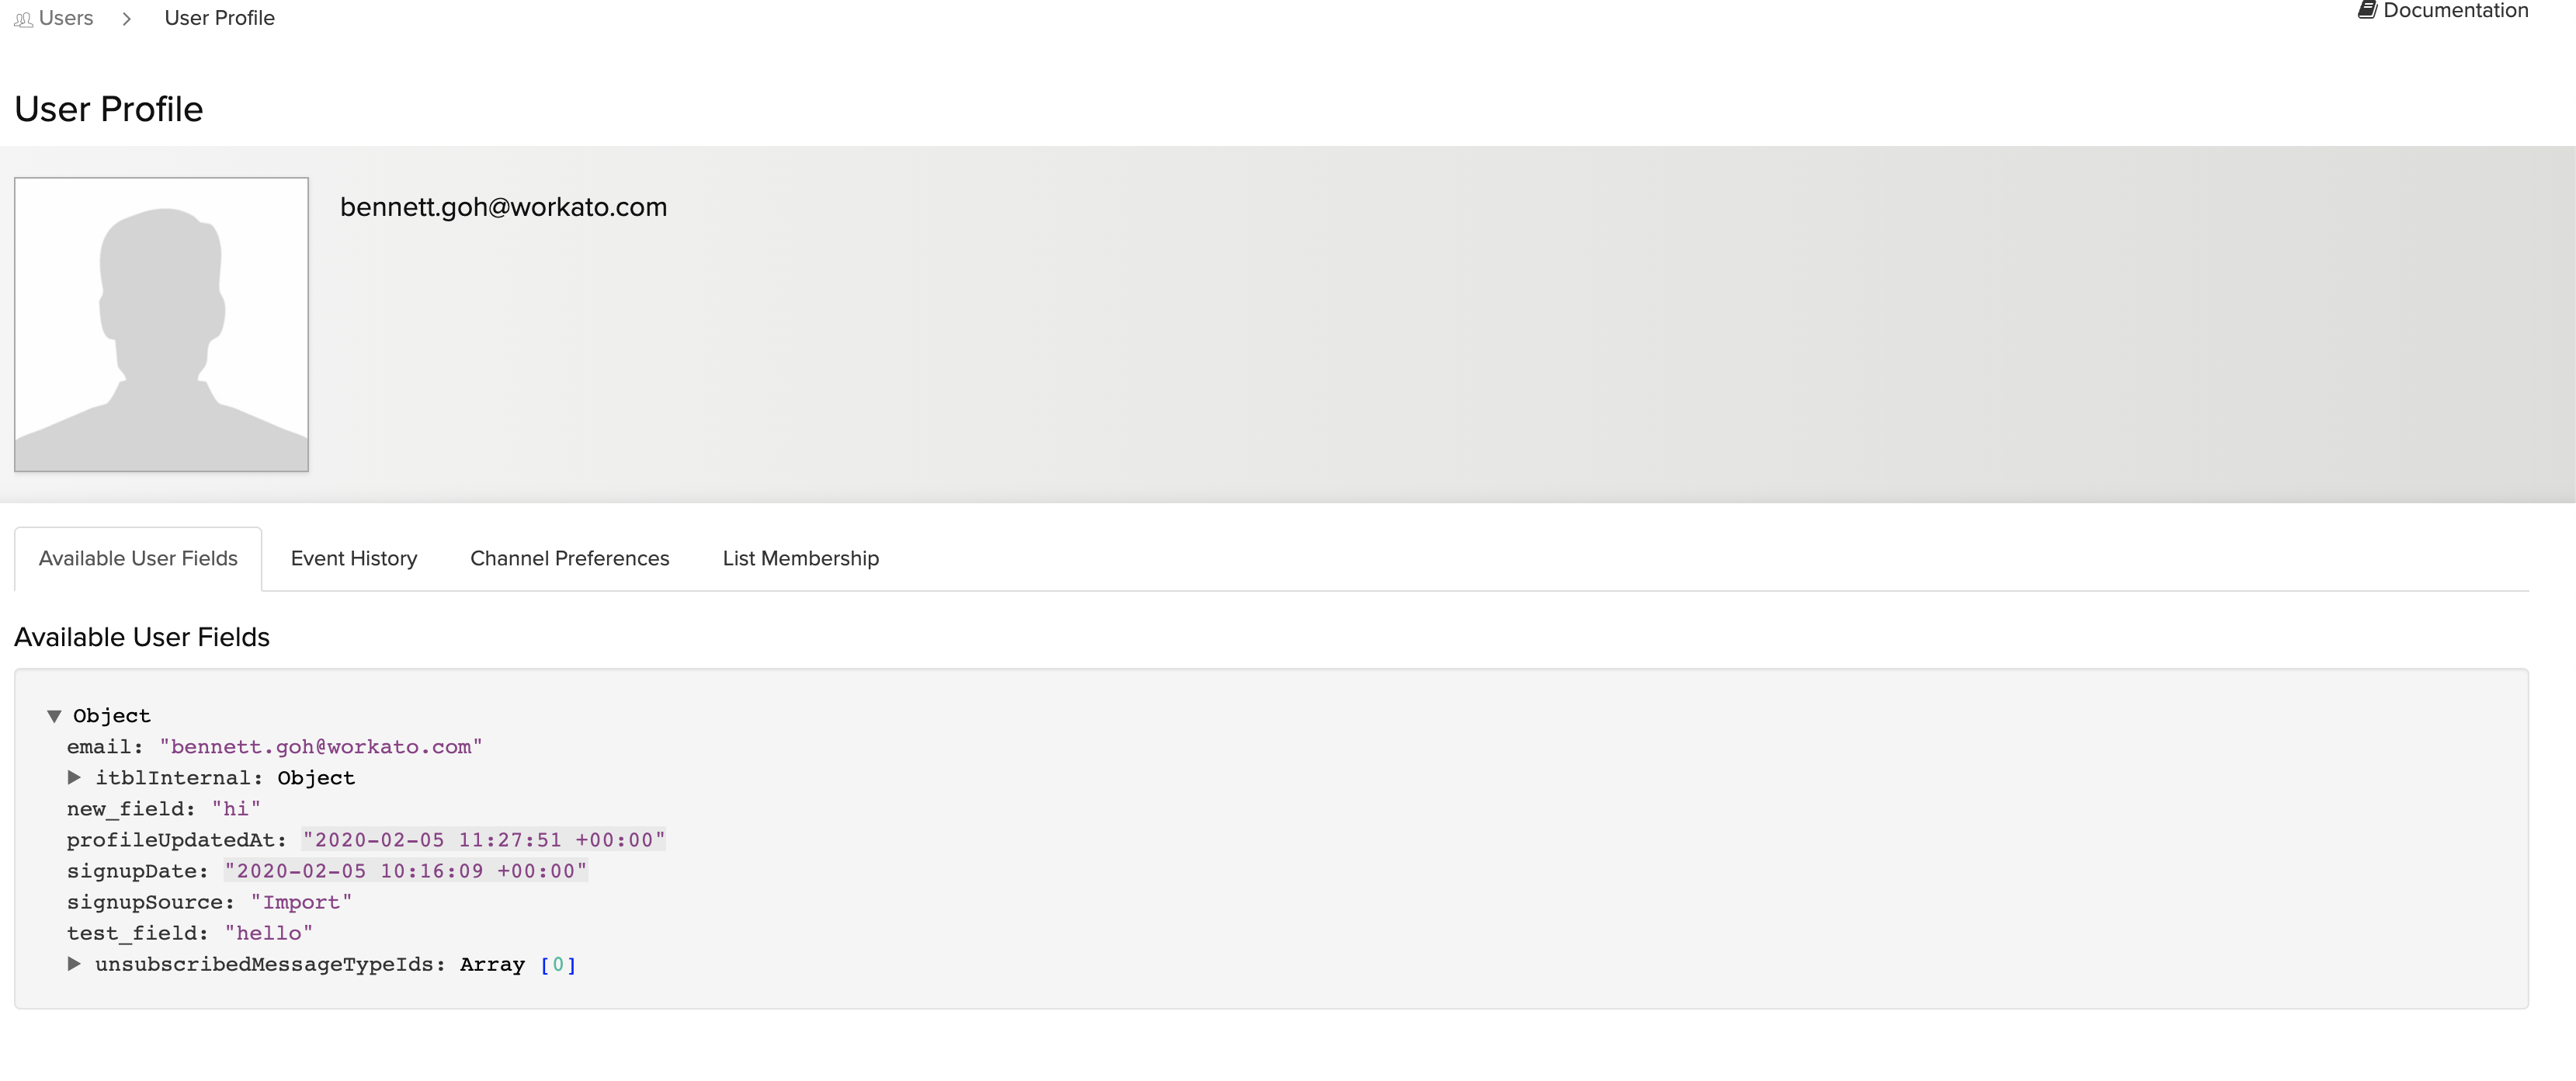
We can use the input field called “Data fields” to change the values in existing field or even add new field by first defining the names of the fields we want to update and then populating the input fields that appear below. The names defined must match exactly when defining the request body parameters.
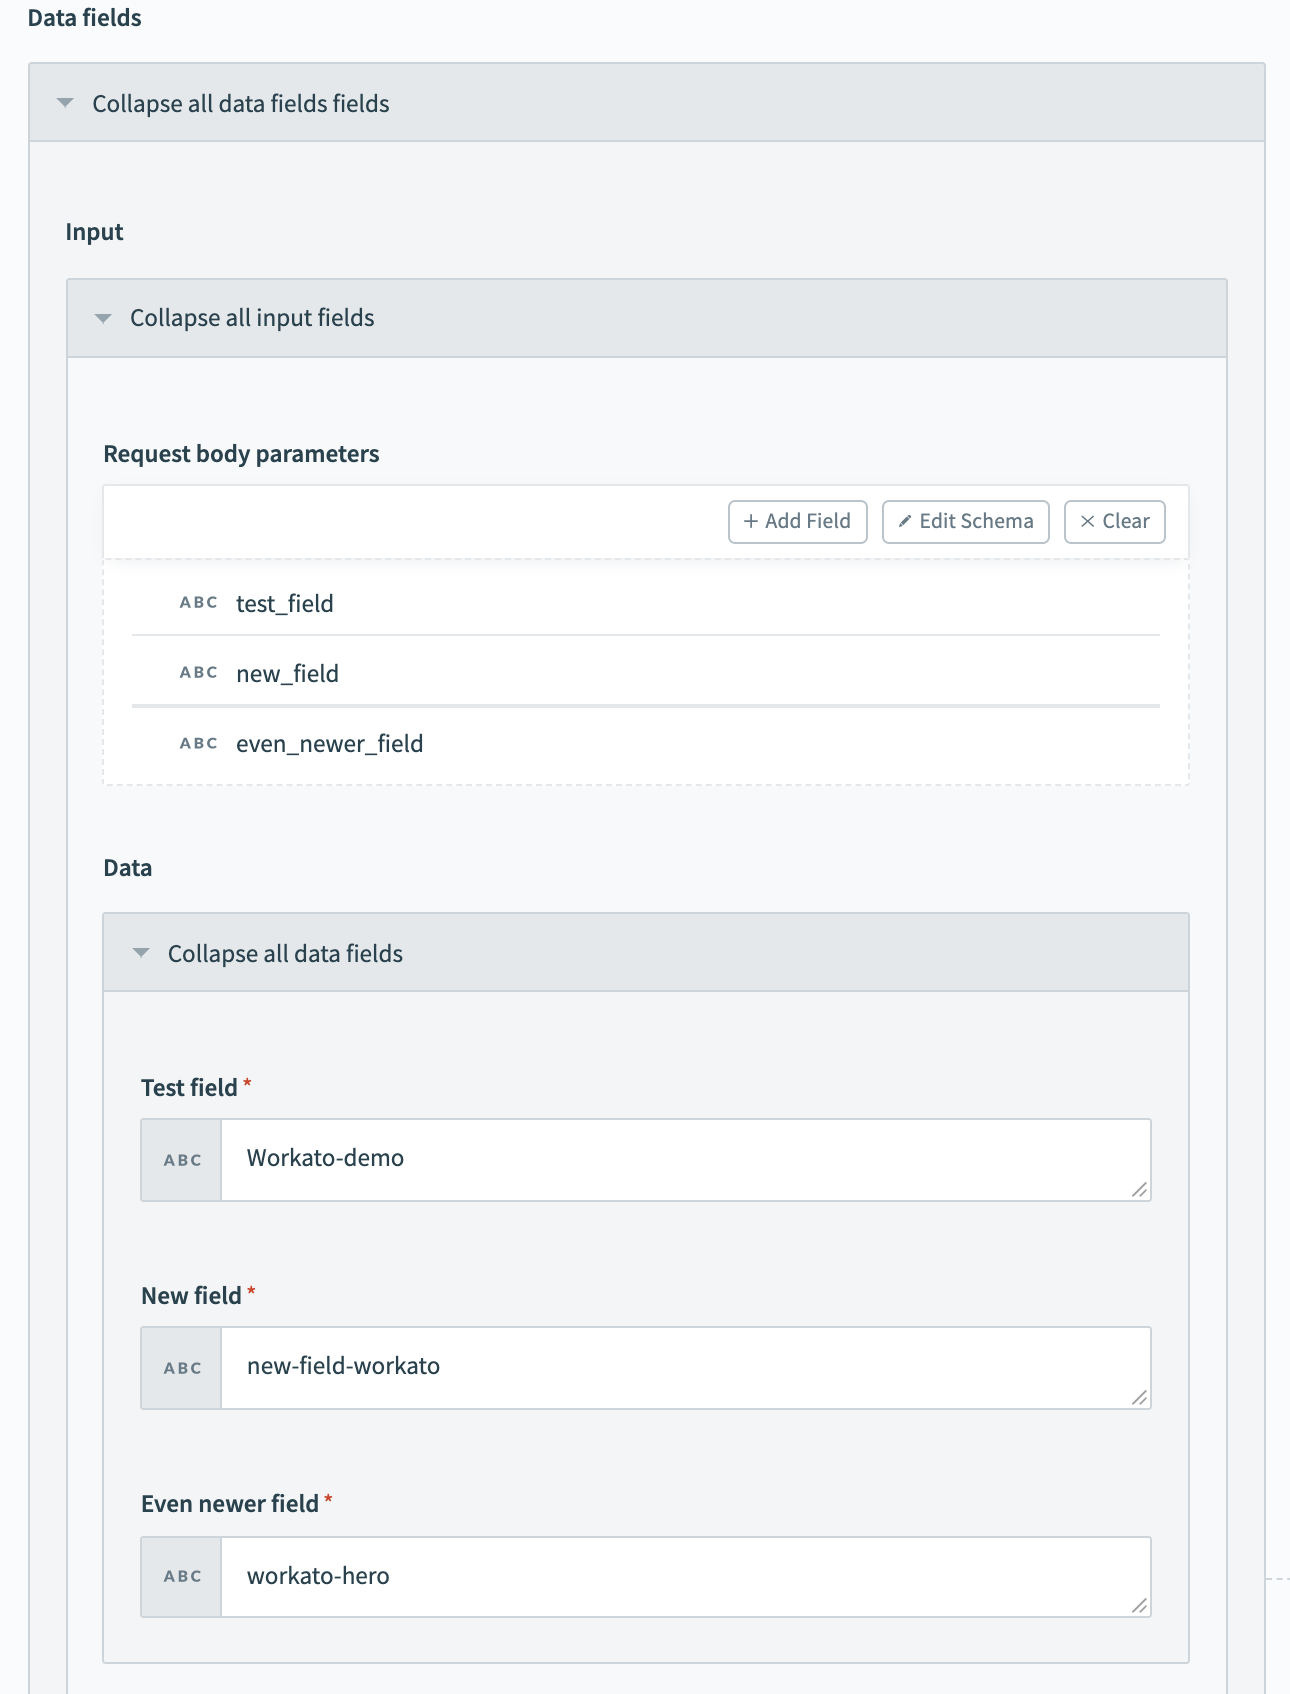
This results in the following object:
Last updated: