Upgrading An OpenAPI-based Connector's Source Code
Over time, new versions of the OpenAPI source code will be released. These updates can include new features, enhancements, and/or bug fixes.
When a new version of the OpenAPI is available, the following banner will display on the connector's source code page:

To take advantage of the updates, you'll need to apply the new version and re-release the connector in your workspace. How you perform the upgrade depends on whether you've customized the connector or not:
Prerequisites
To upgrade an OpenAPI connector's source code, you'll need:
Familiarity with the Workato Connector SDK. Refer to the SDK documentation for more info.
Privileges in Workato that allow you to:
- Modify SDK connections
For customized connectors, you'll need a file comparison tool like Diffchecker.
Upgrading A Non-Customized Connector
Sign into your Workato account, if you aren't already.
Navigate to Tools > Connector SDK.
Click the tile of the OpenAPI connector you want to upgrade.
In the An update is available! banner, click the Update connector button:
After reviewing the changes, click the Release latest version button in the top right corner of the page. This releases the new version of the connector in your workspace and allows it to be used in recipes.
In the window that displays, summarize the changes:
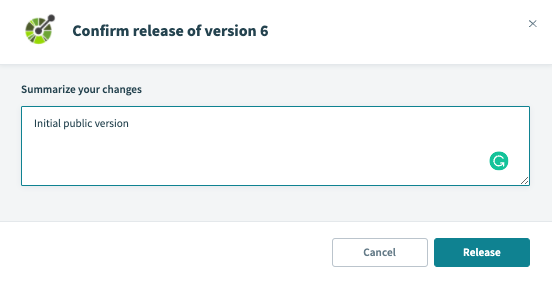
When finished, click Release.
If successful, a Successfully released version [X] banner will display.
Upgrading A Customized Connector
If you've customized your connector's source code, the upgrade process has some additional steps:
- Step 1: Retrieve code for both versions
- Step 2: Compare versions and resolve conflicts
- Step 3: Test the new version
- Step 4: Release the new version
This tutorial uses a file comparison tool - like the one built into GitHub - to identify differences between code versions. If you've used Workato's Recipe Diff feature, the concept is the same but for recipes.
In the image below, for example, is a text comparison of a file in GitHub:

Step 1: Retrieve Code For Both Versions
In this step, you'll retrieve your customized connector code and the source code for the new version.
Sign into your Workato account, if you aren't already.
Navigate to Tools > Connector SDK.
Click the tile of the OpenAPI connector you want to upgrade.
Select and copy the customized Source code to a convenient location, like a text file. You'll need this in the next step.
In the An update is available! banner, click the Update connector button. This will overwrite the customized source code with the new version:
Leave this page open for now - you'll need it in the next step.
Step 2: Compare Versions And Resolve Conflicts
In this step, you'll compare the code versions in your file comparison tool, apply changes, and resolve conflicts.
The instructions and examples in this section use Diffchecker, but you can use the file comparison tool you're comfortable with.
In your file comparison tool, copy and paste your customized code into the Original Text field.
Copy and paste the new version source code in the Changed Text field.
Your setup should be similar to this:

Click Find Difference.
Differences between the code versions will be highlighted. On a section-by-section basis, compare the versions and decide what to keep from your customized code and what to use from the new version code.
In the example below, we kept the title of our customized connector by merging it into the new version code:
Repeat the previous step until you've reviewed the entirety of the changes between the versions.
Step 3: Test The New Version
In this step, you'll use the SDK Test code tab to test the new version of the connector.
Note: At least one active connection is required to use the Test code tab.
In your file comparison tool, copy the new version of your customized code.
Navigate back to the browser window where the connector is open in your Workato account.
Paste the customized code into the Source code field.
In the Debug section, use the Connection and Actions options to test the new version.
Note: The Test code tab runs on the latest version of the code currently in the code editor. Before a test is run, unsaved changes will be saved and a new latest version of the connector will be created. A notification will display when this occurs.
When you've finished testing and resolving any issues, move onto releasing the new version.
Step 4: Release The New Version
In this step, you'll release the new version of the connector in your workspace. Releasing the new version allows it to be used in recipes.
After you've finished testing the new version, click the Release latest version button in the top right corner of the page.
In the window that displays, summarize the changes:
When finished, click Release.
If successful, a Successfully released version [X] banner will display.
Last updated: