Configure Confluence as a data pipeline source
Set up Confluence as a data pipeline source to extract spaces, pages, blog posts, comments, and related content from Confluence and sync them to your destination. Use this guide to prepare your Confluence credentials, connect Confluence to Workato, configure the pipeline, and understand the supported objects, sync modes, and limitations.
Features supported
The following features are supported when you use Confluence as a pipeline source:
- Confluence Cloud connectivity: Connects to your Confluence Cloud site over https.
- Full sync and incremental sync: Pages, blog posts, comments, and attachments support incremental sync based on their last modified timestamps. Audit logs sync incrementally based on event creation time. Other objects use a full sync on each run.
- Object-level selection: Choose which Confluence objects to include in your pipeline.
- Delete tracking: Pages, blog posts, and attachments that are moved to the trash or deleted in Confluence are marked as deleted in your destination. Refer to Delete tracking for more information.
- Schema drift detection and handling: Detect and apply schema changes automatically with Auto-sync new fields, or keep the schema fixed with Block new fields.
- Field-level data protection: Hash or replicate sensitive fields as is before the data reaches your destination.
- Configurable sync frequency: Schedule syncs on a time-based interval or with a cron expression. The minimum supported interval is 15 minutes.
Prerequisites
Complete the following requirements before you configure Confluence as a data pipeline source.
- A Confluence Cloud site, such as
yourcompany.atlassian.net - Credentials for your chosen authentication method:
- API token: An Atlassian account email address and an API token.
- OAuth 2.0: A client ID and client secret from an OAuth 2.0 app registered in the Atlassian Developer Console.
Supported connection types
Confluence data pipelines support the following authentication methods:
- API token: Authenticate with your Atlassian account email address and an API token. This is the recommended method for Confluence Cloud. Refer to API token authentication for setup steps.
- OAuth 2.0: Authenticate with an OAuth 2.0 authorization code grant using an app registered in the Atlassian Developer Console. Refer to OAuth 2.0 authentication for setup steps.
Connect to Confluence
Complete the following steps to connect Confluence:
Connect to Confluence
The Confluence connector supports the following authentication types:
API token authentication
You must generate an API token to use API token authentication.
Confluence setup for API token authentication
Complete the following steps to generate an API token in Confluence:
Go to the Atlassian API Tokens page.
Click Create API token.
Enter a Name and select an Expires on date.
Click Create.
Copy and save the API token for use in Workato.
Connect to Confluence with API token authentication
Complete the following steps to set up an API token connection to Confluence in Workato:
Click Create > Connection.
Search for Confluence and select it as your app.
Enter a name for your connection in the Connection name field.
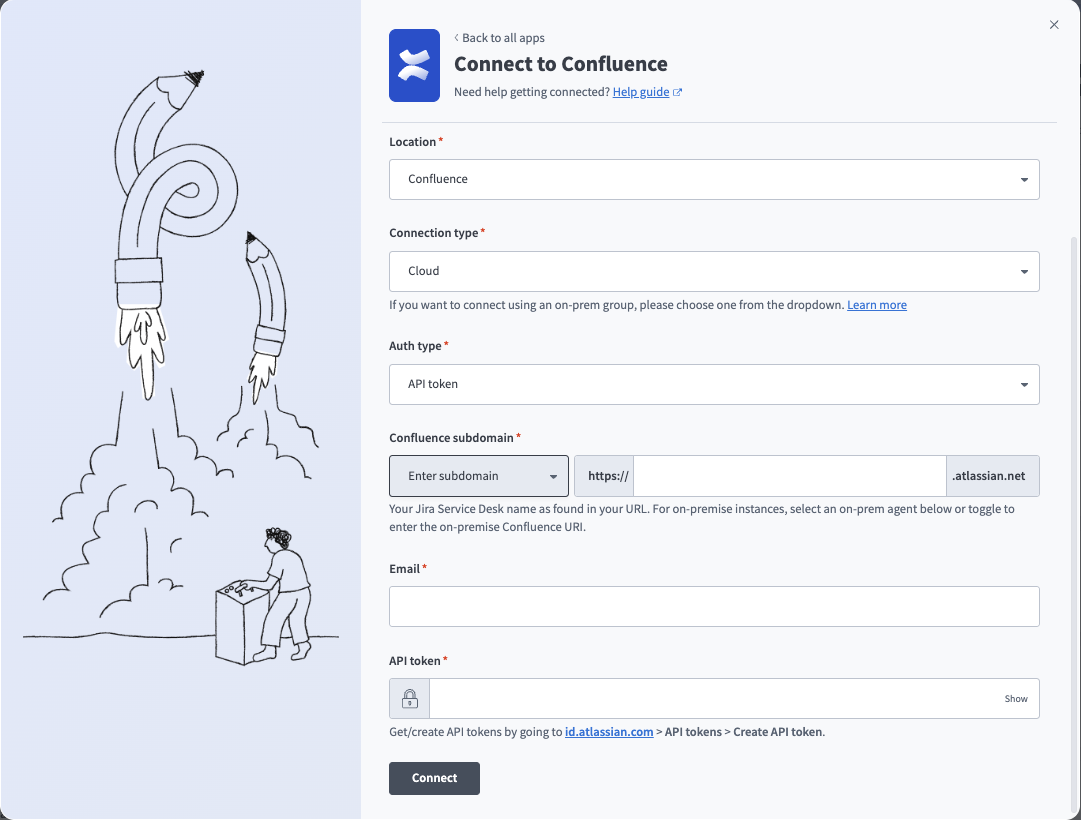 API token connection
Use the Location drop-down menu to select the project where you plan to store the connection.
Use the Connection type drop-down menu to select Cloud for Confluence cloud instances or the corresponding option for on-prem connections. Refer to Connections using an on-prem agent for more information.
Use the Auth type drop-down menu to select API token.
Enter your subdomain for cloud instances in the Confluence subdomain field. This is typically found in the Confluence URL. For example, your subdomain is acme if your URL is https://acme.atlassian.net.
Optionally, select Enter on-prem URI from the drop-down menu and enter your Confluence URI in the Confluence domain field. This is the root URI of your on-prem Confluence host. For example, https://confluence.intranet.acme.com:7654. You might need to add Workato's IP address to the allowlist to connect. Refer to IP allowlists for more information.
Enter your Email and API token.
Click Connect.
OAuth 2.0 authentication
You must generate a client ID and secret to use OAuth 2.0 authentication.
Confluence setup for OAuth 2.0 authentication
Complete the following steps to generate a client ID and secret in Confluence:
Log in to the Atlassian Developer Console.
Click Create > OAuth 2.0 integration.
Enter a Name.
Agree to the terms.
Click Create.
Click Authorization and then click Add.
Enter https://www.workato.com/oauth/callback in the Callback URL field and then click Save changes.
Click Permissions.
Click Add for the Confluence API.
Click Configure.
Click Edit Scopes under Classic scopes.
Select the following scopes:
read:confluence-content.allread:confluence-content.permissionread:confluence-content.summaryread:confluence-groupsread:confluence-propsread:confluence-space.summaryread:confluence-userreadonly:content.attachment:confluencesearch:confluence
Click Save.
Click Edit Scopes under Granular scopes.
Select the following scopes:
read:analytics.content:confluenceread:app-data:confluenceread:attachment:confluenceread:audit-log:confluenceread:blogpost:confluenceread:comment:confluenceread:configuration:confluenceread:content-details:confluenceread:content.metadata:confluenceread:content.property:confluenceread:content.restriction:confluenceread:content:confluenceread:custom-content:confluenceread:email-address:confluenceread:embed:confluenceread:group:confluenceread:hierarchical-content:confluenceread:inlinetask:confluenceread:label:confluenceread:page:confluenceread:relation:confluenceread:space-details:confluenceread:space.permission:confluenceread:space.property:confluenceread:space.setting:confluenceread:space:confluenceread:task:confluenceread:template:confluenceread:user.property:confluenceread:user:confluence
Click Save.
Select the following User Identity API scopes:
read:meread:account
Select Settings.
Copy and save the Client ID and Secret for use in Workato.
Connect to Confluence with OAuth 2.0 authentication
Complete the following steps to set up an OAuth 2.0 connection to Confluence in Workato:
Click Create > Connection.
Search for Confluence and select it as your app.
Enter a name for your connection in the Connection name field.
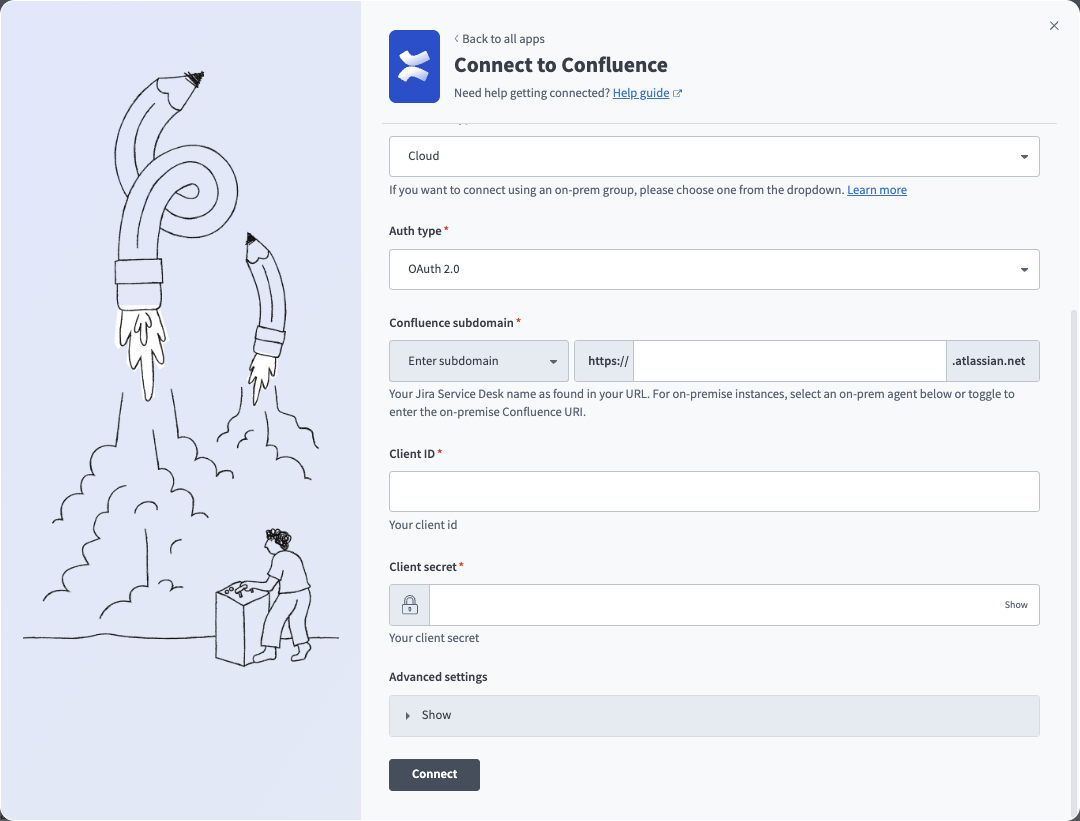 OAuth connection
Use the Location drop-down menu to select the project where you plan to store the connection.
Use the Connection type drop-down menu to select Cloud for Confluence cloud instances or the corresponding option for on-prem connections. Refer to Connections using an on-prem agent for more information.
Use the Auth type drop-down menu to select OAuth 2.0.
Enter your subdomain for cloud instances in the Confluence subdomain field. This is typically found in the Confluence URL. For example, your subdomain is acme if your URL is https://acme.atlassian.net.
Optionally, select Enter on-prem URI from the drop-down menu and enter your Confluence URI in the Confluence domain field. This is the root URI of your on-prem Confluence host. For example, https://confluence.intranet.acme.com:7654. You might need to add Workato's IP address to the allowlist to connect. Refer to IP allowlists for more information.
Enter the Client ID and Client secret.
Optionally, expand Advanced settings and select Classic scopes or Granular scopes.
Click Connect.
Choose a site from the Use app on drop-down menu. This is the Atlassian account your app accesses.
Click Accept.
Configure the pipeline
Complete the following steps to configure Confluence as your data pipeline source:
Select Create > Data pipeline or press C+I.
Enter a name for the data pipeline in the Data pipeline name field.
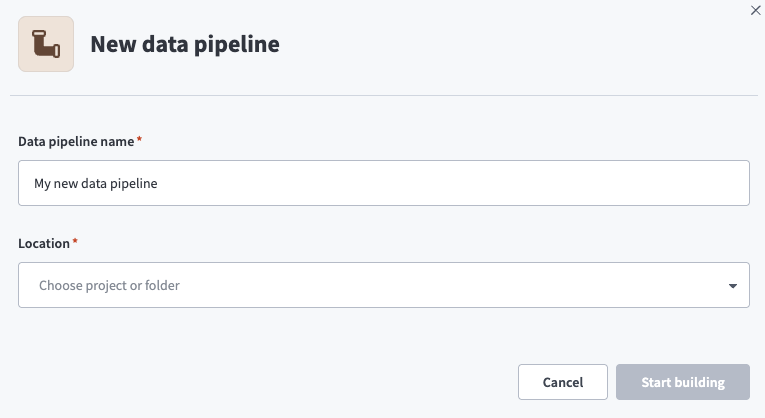 Data pipeline setup
Use the Location drop-down menu to select the project where you plan to store the data pipeline.
Click Start building.
Click the Extract new/updated records from source app trigger. This trigger defines how the pipeline retrieves data from Confluence.
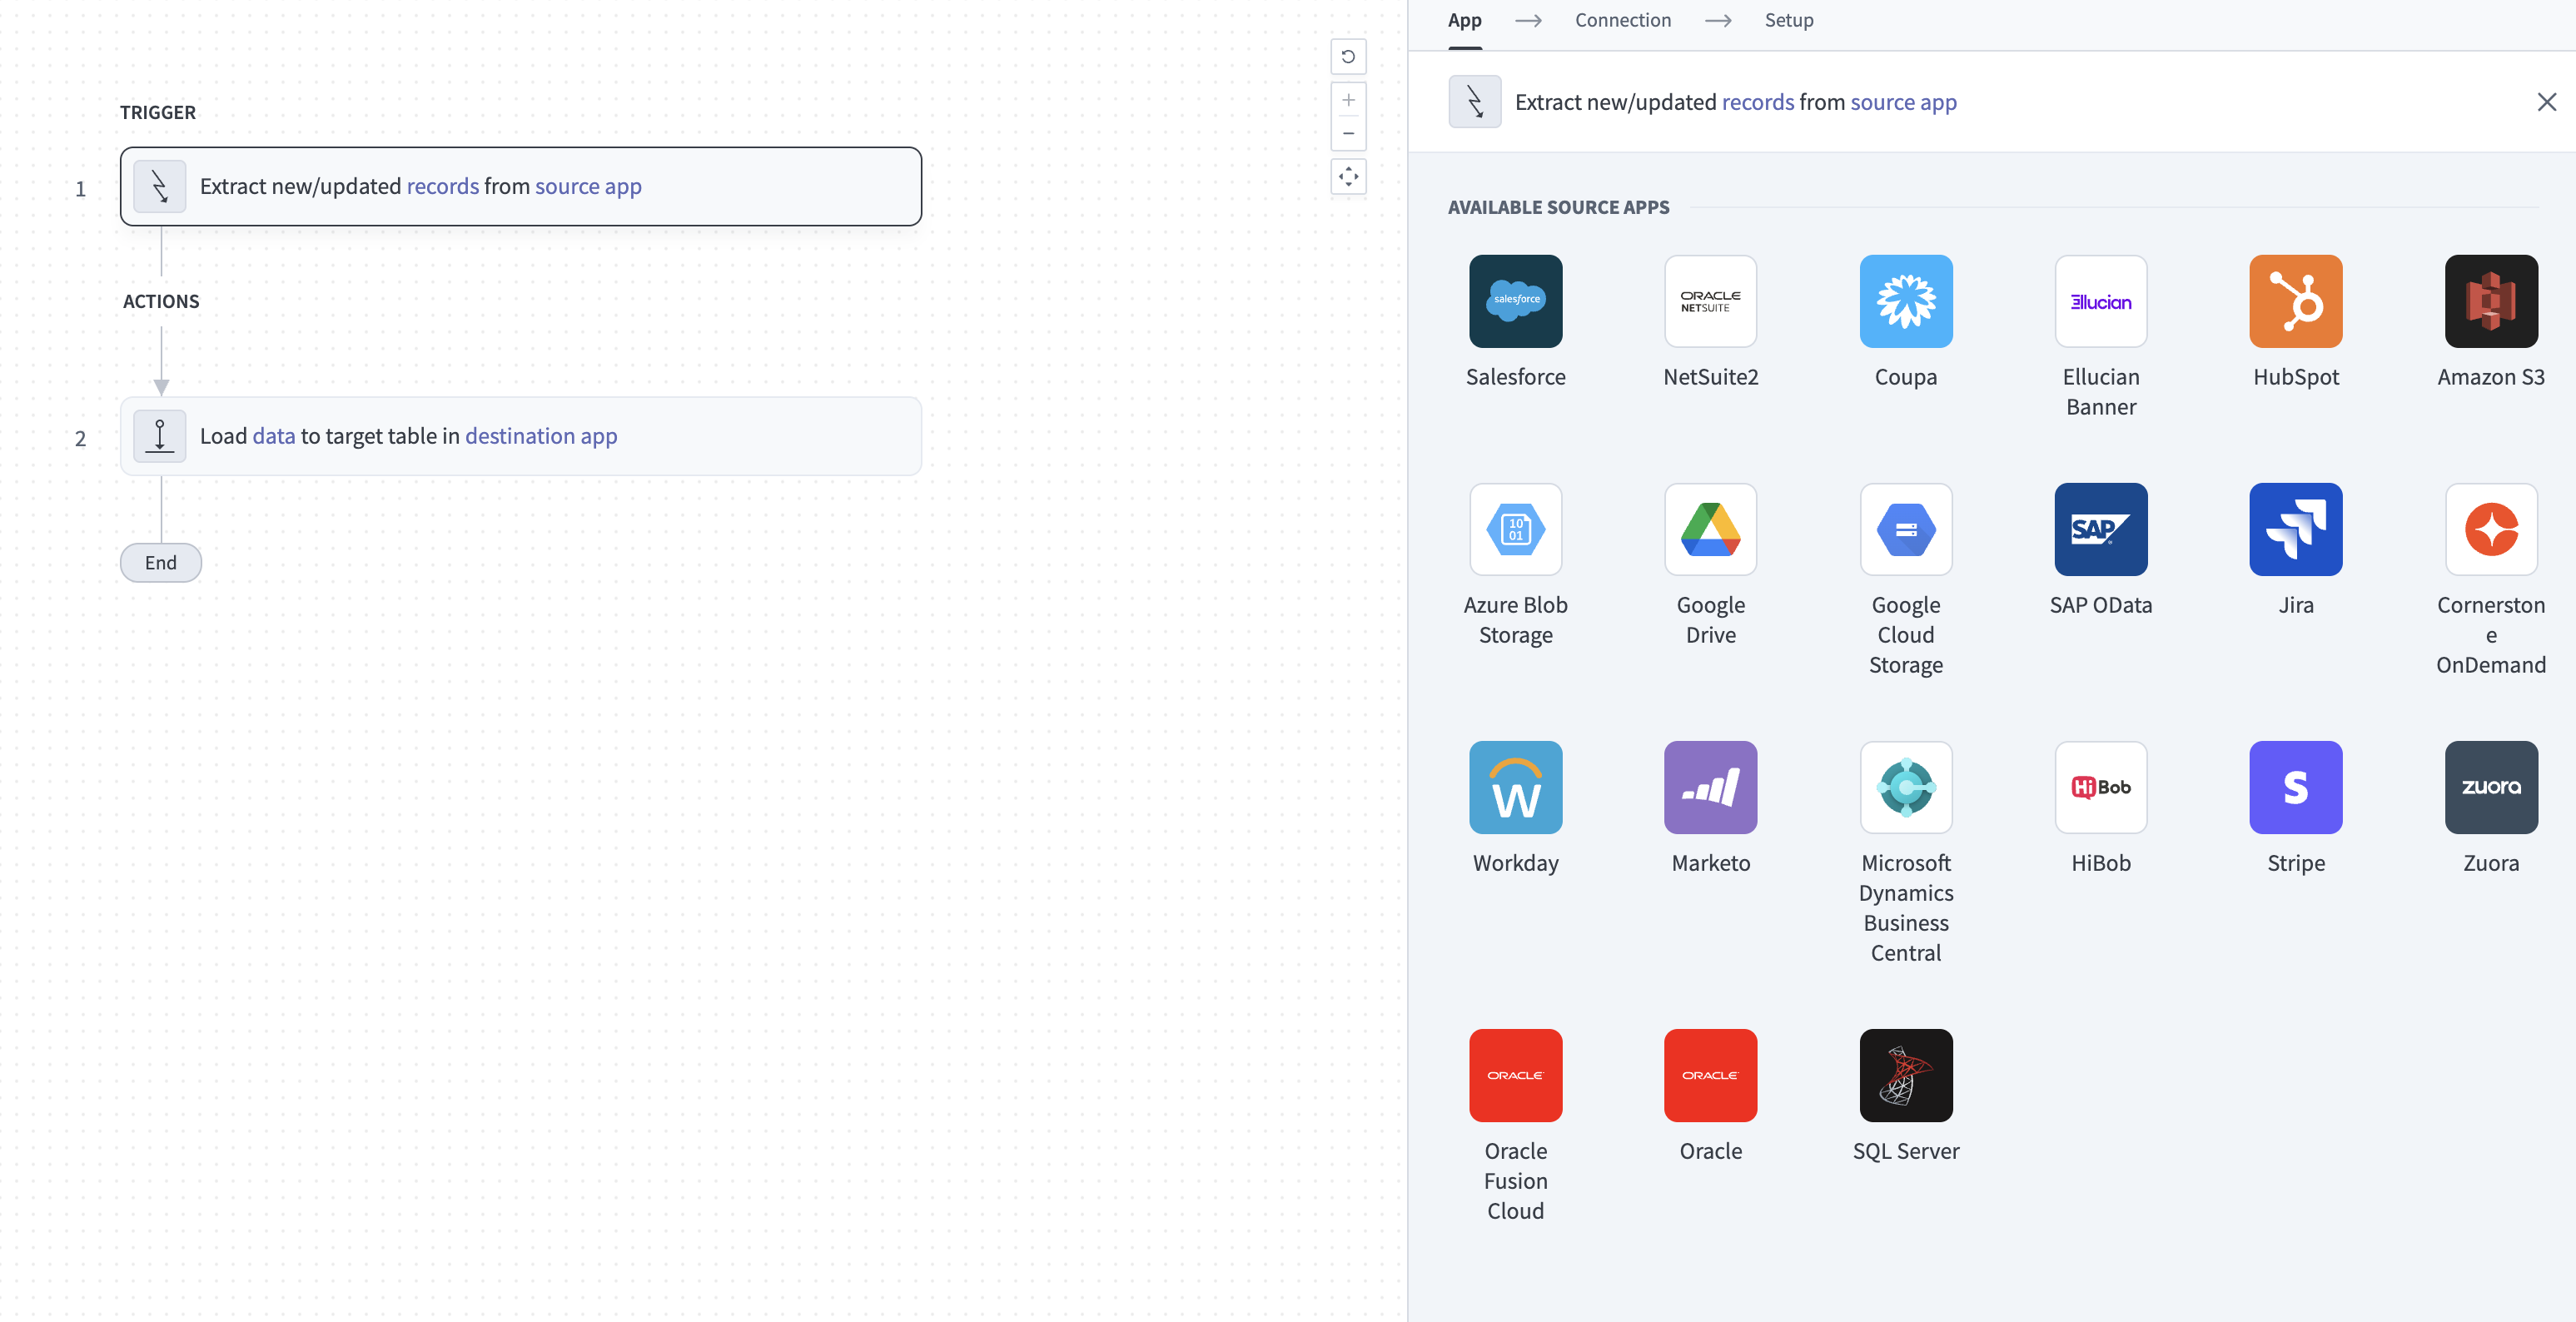 Configure the Extract new/updated records from source app trigger
Use the Your Connected Source Apps drop-down menu to select Confluence.
Choose the Confluence connection you plan to use for this pipeline. Alternatively, click + New connection to create a new connection.
Click Add object to open the Add new objects panel.
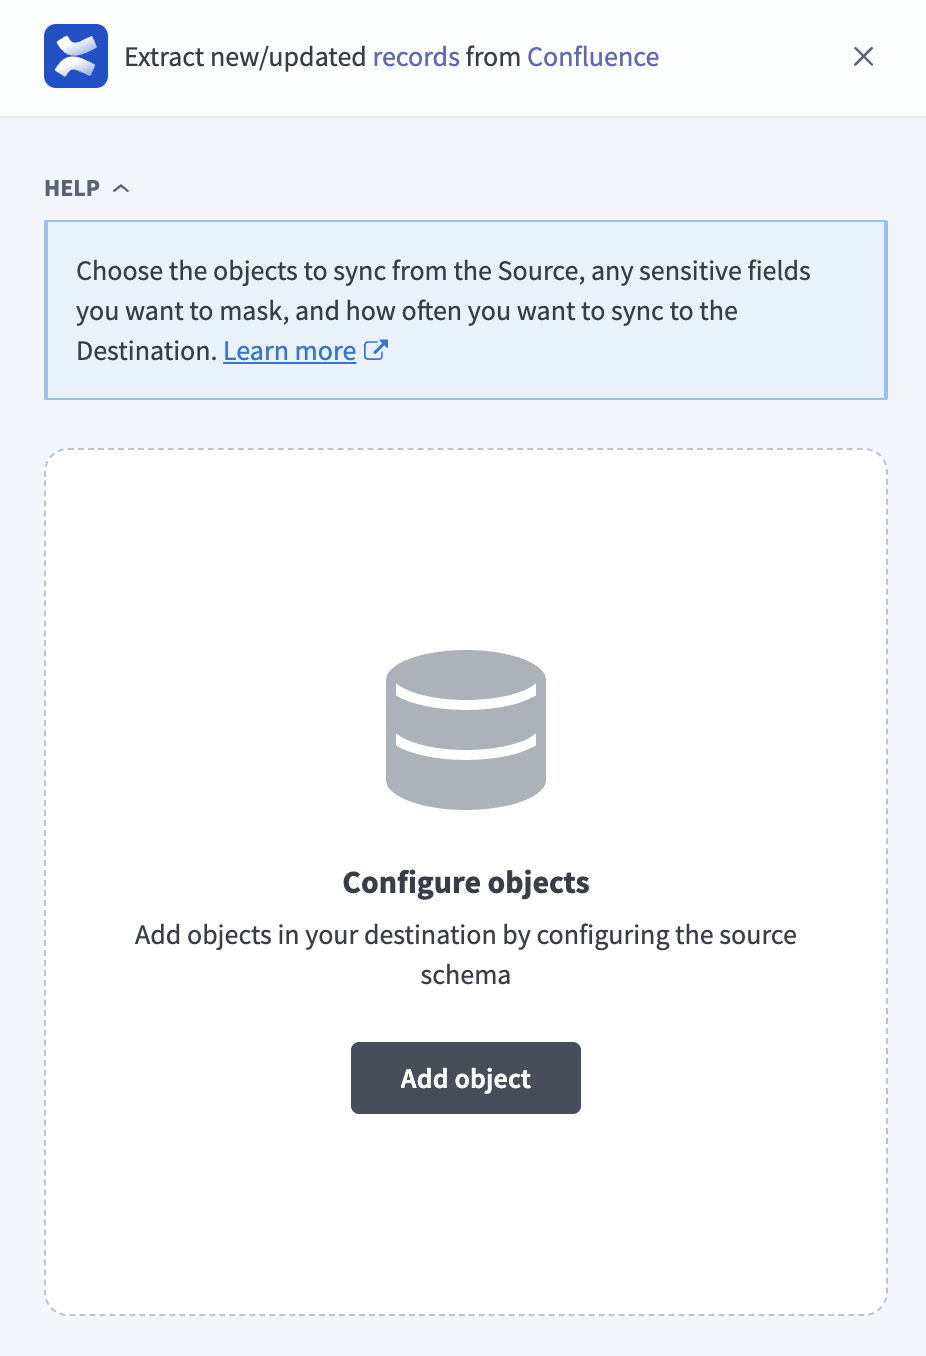 Add objects
Search or browse the list of available Confluence objects, select the objects you plan to sync, and click Add.
SYNC MODE DEFAULTS
Objects without a supported timestamp field sync in Full sync mode. Pages, blog posts, comments, attachments, and audit logs support the Incremental sync mode. Refer to Sync modes for more information.
Review and customize the schema for each selected object. The pipeline automatically fetches the object schema you select to ensure the destination matches the source.
Expand an object to view its fields. Keep all fields selected to extract all available data, or deselect specific fields to exclude data from extraction and schema replication.
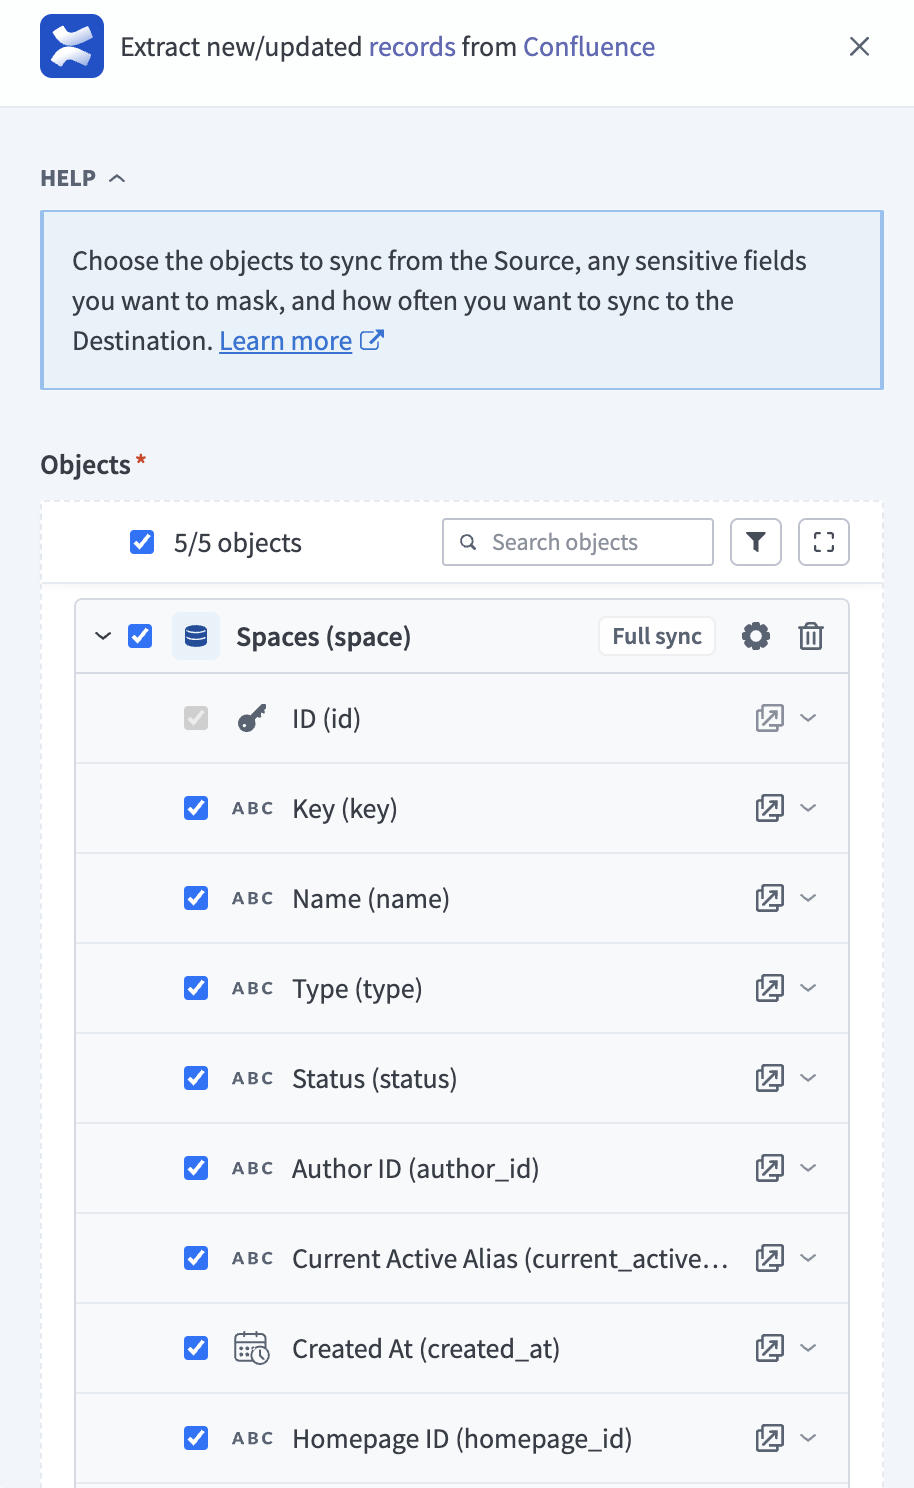 Expand objects
Optional. Configure field-level data protection by expanding an object and choosing how to handle each field:
- Replicate as is: Data values at the source replicate identically to the destination.
- Hash: Hash sensitive data values in the field before syncing to your destination.
Workato recommends hashing personally identifiable information (PII) and other sensitive fields.
Workato recommends hashing personally identifiable information (PII), such as user display names and email addresses.
Click Add object again to add more objects. Repeat this step to include additional Confluence objects in your pipeline.
Use the Choose how to handle schema changes drop-down menu to select a schema drift handling option:
- Auto-sync new fields: Automatically detects and syncs new fields added in the source.
- Block new fields: Keeps the schema fixed after the pipeline starts. You must add new fields manually. This option may cause the destination to fall out of sync if the source schema updates.
Refer to Schema replication and schema drift management for more information.
Optional. Enter a value in the Concurrency limit field to cap the number of concurrent operations. Leave the field blank to use the default quota set by Workato. The maximum value is 100.
Choose either a standard time-based schedule or define a custom cron expression in the Frequency field. This determines how often the pipeline syncs data from Confluence to the destination.
Supported objects
Confluence data pipelines sync data from the Confluence Cloud REST API. The following tables list the supported objects, grouped by category. Each object syncs as a separate table in your destination.
Content
| Object | Sync modes | Delete tracking |
|---|---|---|
Spaces (space) | Full sync | No |
Pages (page) | Full sync, incremental | Yes (soft) |
Page Versions (page_version) | Full sync | N/A (append-only) |
Blog Posts (blogpost) | Full sync, incremental | Yes (soft) |
Blog Post Versions (blogpost_version) | Full sync | N/A (append-only) |
Page Attachments (page_attachment) | Full sync, incremental | Yes (soft) |
Blog Post Attachments (blogpost_attachment) | Full sync, incremental | Yes (soft) |
Tasks (task) | Full sync | No |
Tasks doesn't support incremental sync because the Confluence API doesn't provide a filter for task modification times. Tasks use a full sync on every run so that edits and completions are captured.
Comments and labels
| Object | Sync modes | Delete tracking |
|---|---|---|
Page Footer Comments (page_footer_comment) | Full sync, incremental | No |
Page Inline Comments (page_inline_comment) | Full sync, incremental | No |
Labels (label) | Full sync | No |
Labels in Confluence are global tags shared across pages and blog posts. The Labels object syncs the full label catalog for your site rather than per-page label assignments.
Users and groups
| Object | Sync modes | Delete tracking |
|---|---|---|
Users (user) | Full sync | Yes (flags deactivated accounts) |
Groups (group) | Full sync | No |
Group Members (group_member) | Full sync | No |
For the Users object, the _workato_is_deleted column marks accounts that are no longer active in Atlassian, such as deactivated accounts, rather than deleted records.
Administration and properties
| Object | Sync modes | Delete tracking |
|---|---|---|
Space Permissions (space_permission) | Full sync | No |
Page Restrictions (page_restriction) | Full sync | No |
Audit Logs (audit_log) | Incremental | N/A (append-only) |
Content Properties (content_property) | Full sync | No |
Space Properties (space_property) | Full sync | No |
Templates (template) | Full sync | No |
Audit Logs returns data only when the connection authenticates as a Confluence site administrator. Connections without site administrator access receive a permissions error for this object.
Sync modes
Confluence data pipelines support full sync and incremental sync. The sync mode is configured per object when you add it to your pipeline. If no timestamp is detected for an object, the sync mode defaults to Full sync.
Full sync
A full sync reads all available records from Confluence for the selected object and overwrites the destination table. Use a full sync for objects where you need a complete snapshot on each run. Because each full sync replaces the destination table, deletions in Confluence are reflected for all objects that sync in this mode.
Incremental sync
An incremental sync extracts only records that have changed since the last successful run. Workato uses last modified timestamps as the incremental cursor for content objects, such as pages, blog posts, comments, and attachments, and event creation time for Audit Logs.
Delete tracking during incremental sync is supported for Pages, Blog Posts, Page Attachments, and Blog Post Attachments. Refer to Delete tracking for more information.
Refer to the Supported objects tables to see the sync modes each object supports.
Delete tracking
Confluence doesn't provide a change stream for deletions, so the pipeline detects deletions by listing trashed and deleted content directly.
Records for Pages, Blog Posts, Page Attachments, and Blog Post Attachments that are moved to the trash or deleted in Confluence sync to the destination with the synthetic _workato_is_deleted column set to true. Archived content is not treated as deleted: archived records keep _workato_is_deleted as false and carry the value archived in their status column.
The following behaviors apply to delete tracking:
- Deleted records re-sync on every incremental run: Confluence doesn't expose a deletion timestamp, so each incremental run re-extracts the full set of trashed and deleted records, even when no records changed. Extracted and loaded counts are equal on most runs. The loaded count can be slightly lower when the same record appears more than once in a single run, for example, when both the modified-date pass and the deletion sweep surface the same record. The destination deduplicates these records by ID.
- Comment deletions are not detected: The Confluence API doesn't expose deleted comments, so comment deletions can't sync to the destination.
- Historical deletions are excluded from bounded initial loads: If you set a start date in the When first started, this pipeline should pick up records from field, the initial load includes only deletions that occurred within that window. Deletions after the initial load are tracked normally.
Schema and data type handling
The following schema behaviors apply when you sync Confluence data.
Nested fields
Nested objects in Confluence API responses, such as version metadata, sync as string columns containing JSON. Top-level metadata, such as id, status, title, space_id, parent_id, and created_at, syncs as scalar columns.
Page hierarchy
Confluence pages are hierarchical. Each page record carries a parent_id column that identifies its parent page. Join records on parent_id in your destination to reconstruct the page tree.
Synthetic columns
Workato adds the following synthetic column to destination tables for specific objects:
| Column | Type | Purpose |
|---|---|---|
_workato_is_deleted | Boolean | Marks records that were trashed or deleted in Confluence. Applies to Pages, Blog Posts, Page Attachments, and Blog Post Attachments. For Users, this column marks accounts that are no longer active in Atlassian. |
Limitations
The following limitations apply when you use Confluence as a data pipeline source:
Attachment metadata only
Attachment objects sync metadata only. The pipeline doesn't download binary file content, such as the attached documents or images themselves.
API token expiry
Atlassian API tokens expire one year after creation. Generate a new token and update your connection before expiry to avoid authentication failures.
Minimum sync frequency
The minimum supported sync interval is 15 minutes.
Last updated: