MCP servers
MCP servers enable you to expose endpoints to AI agents as tools or sets of tools through a remote, cloud-based Model Context Protocol (MCP) server. Your API recipe collections and AI gateway collections generate unique, authenticated MCP URLs. You can add this MCP URL to your LLM settings to enable an AI agent to use your API endpoint collection to answer user prompts.
Watch a quick video guide: Getting started with MCP and Workato
FEATURE AVAILABILITY
MCP is available to all users in the US, EU, AU, JP, SG, IL, KR, and UK data centers. MCP servers are hosted in the US, EU, and APAC regions and respect data residency requirements where possible. MCP isn't available to workspaces in the CN data center. This reflects local regulatory requirements and Workato's commitment to data sovereignty and applies to our multi-tenant and Virtual Private Workato (VPW) offerings.
Contact your Customer Success representative if you're interested in using MCP or require additional information.
Create an MCP server
You can create an MCP server and add tools in the AI Hub.
NEED AN EXAMPLE?
Review the LLM, GitHub, and Workato Developer API use case for steps to create an MCP server integration that lets you create GitHub issues with natural-language commands in ChatGPT, Claude, or Cursor.
Watch a quick video guide: Search for leads in Salesforce with MCP
Create an MCP server with project assets
Complete the following steps to create an MCP server with project assets:
Sign in to your Workato account.
Go to AI Hub > Enterprise MCP and click + Create an MCP server. Alternatively, you can create an MCP server from the Projects page by clicking Create > MCP server or pressing C+M.
Go to the Start from scratch section and click New MCP server. Refer to Use a prebuilt MCP server if you plan to use a prebuilt MCP server template.
Select Project assets as your tool source.
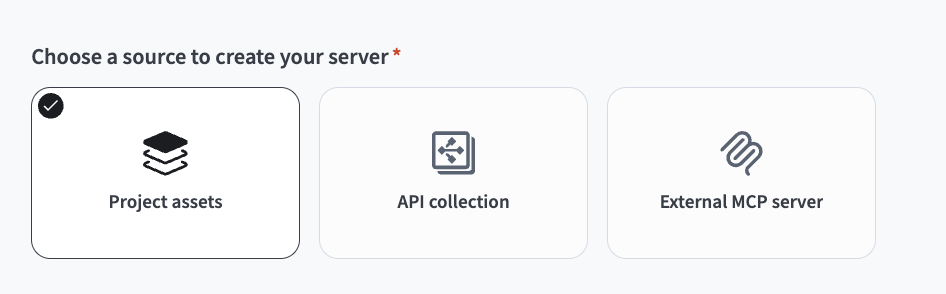 Select Project assets
Use the Project drop-down menu to select the project where you plan to store the MCP server.
Select the tools you plan to use.
Enter a name for your MCP server in the Server name field.
Optional. Enter instructions for the LLM to understand the purpose and goals for the MCP server in the Server instruction field.
Click Create MCP Server. The MCP server tools, description, remote MCP URL, and additional server information displays in the Overview tab.
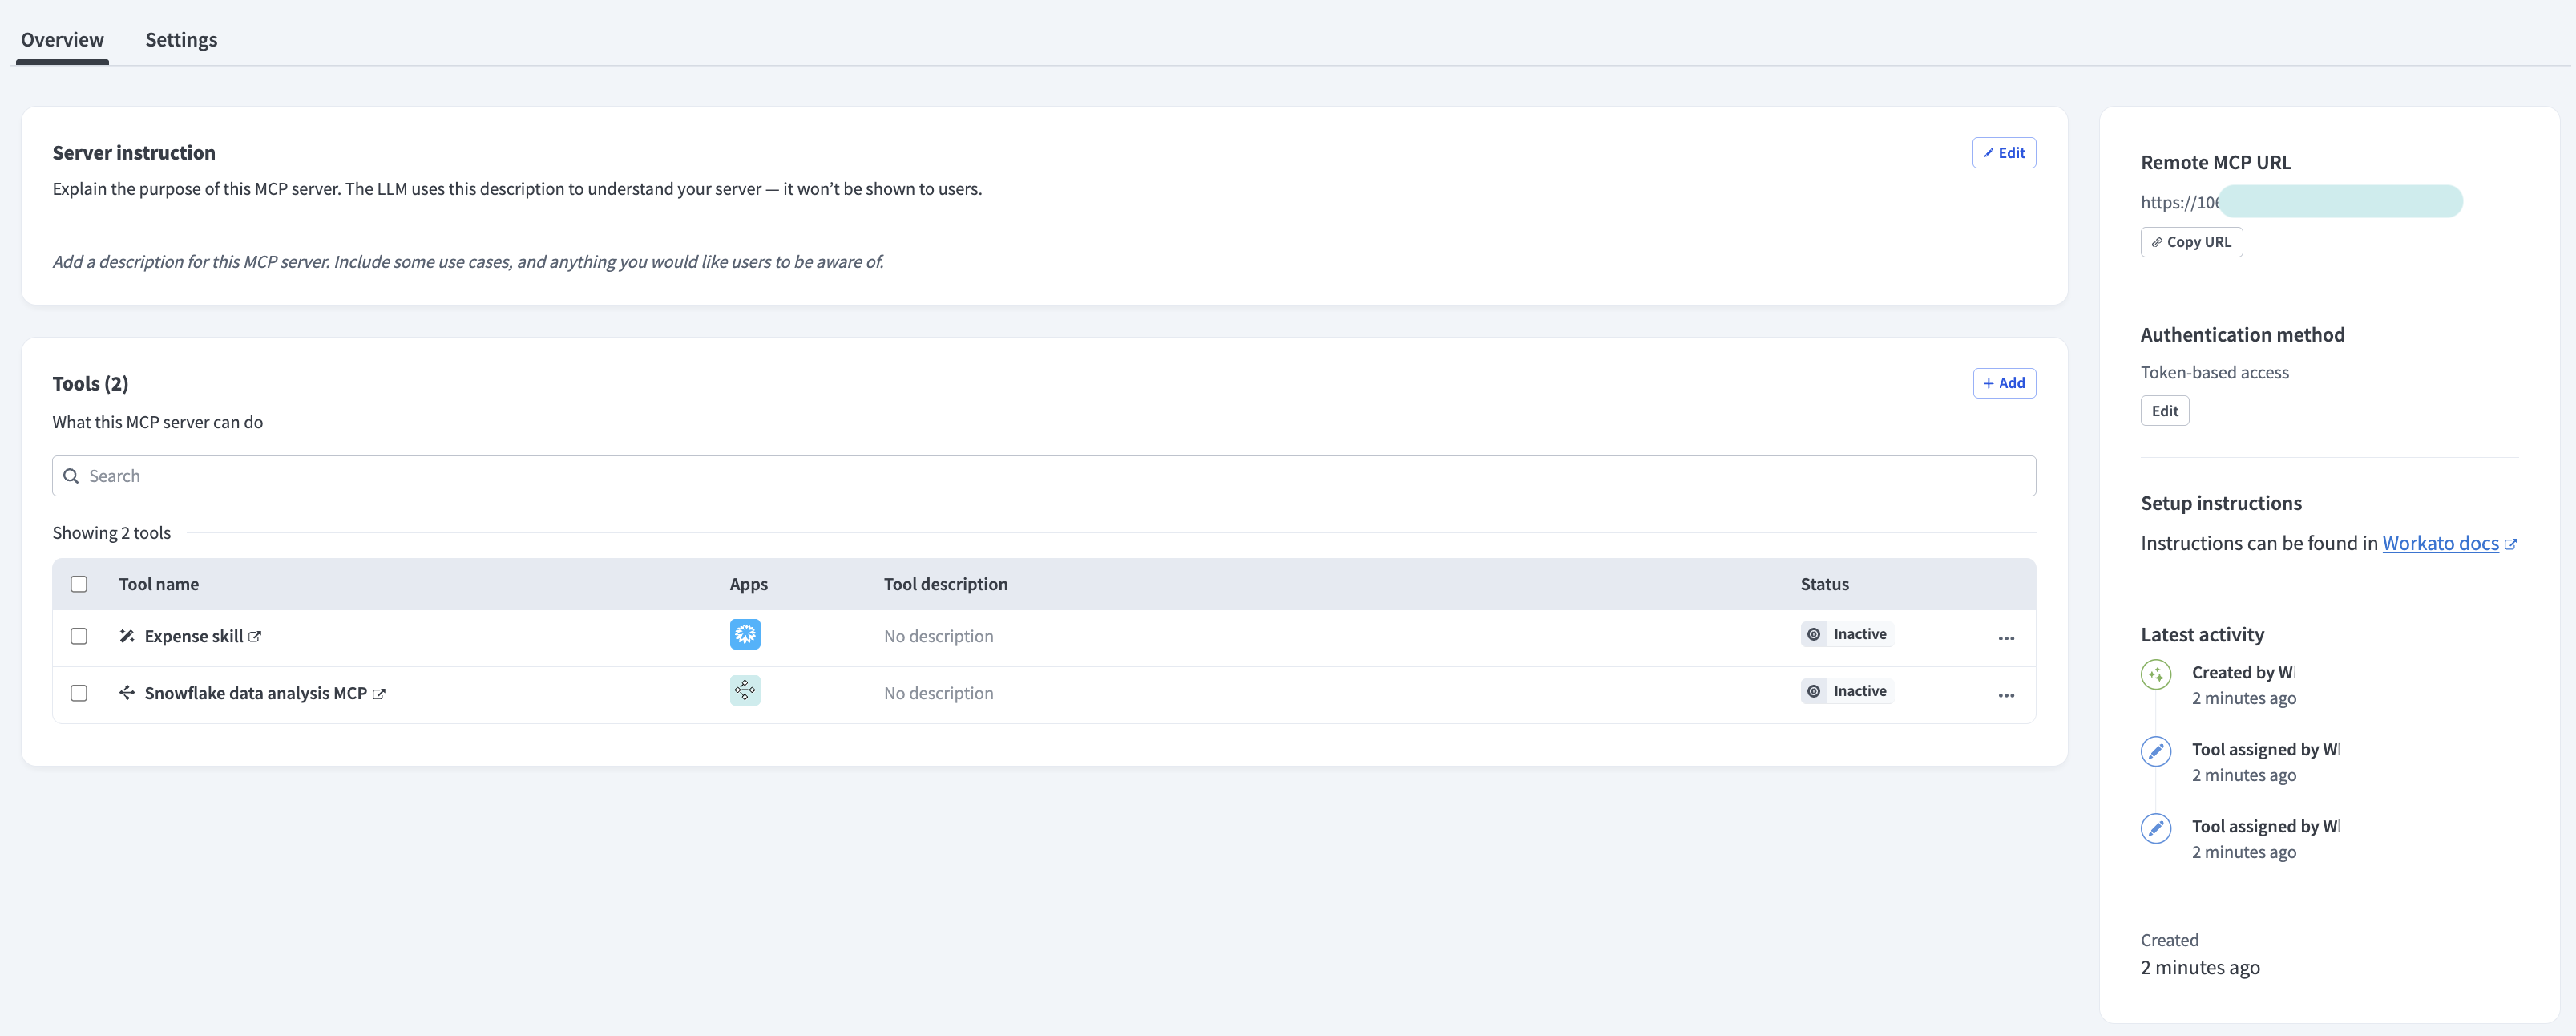 MCP server Overview tab admin view
Create an MCP server with an API collection
Complete the following steps to create an MCP with an API collection:
Sign in to your Workato account.
Go to AI Hub > Enterprise MCP and click + Create an MCP server. Alternatively, you can create an MCP server from the Projects page by clicking Create > MCP server or pressing C+M.
Go to the Start from scratch section and click New MCP server. Refer to Use a prebuilt MCP server if you plan to use a prebuilt MCP server template.
Select API collection as your tool source.
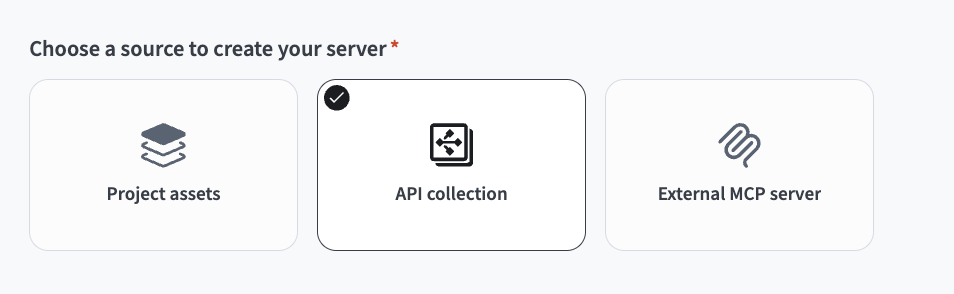 Select API collection
Select the API collection you plan to use.
Enter a name for your MCP server in the Server name field.
Use the Location to save this server drop-down menu to select the project that contains the assets you plan to use for the MCP server, such as skills or API recipes.
MCP SERVER ASSETS MUST BE IN THE SAME PROJECT
You must store all assets in the same project folder. Error messages display if you select an unsupported asset type.
Optional. Enter instructions for the LLM to understand the purpose and goals for the MCP server in the Server instruction field.
Click Create MCP Server. The MCP server tools, description, remote MCP URL, and additional server information displays in the Overview tab.
MCP server Overview tab admin view
Create a proxy MCP server
Complete the following steps to create a proxy MCP server:
Sign in to your Workato account.
Go to AI Hub > Enterprise MCP and click + Create an MCP server. Alternatively, you can create an MCP server from the Projects page by clicking Create > MCP server or pressing C+M.
Go to the Start from scratch section and click New MCP server. Refer to Use a prebuilt MCP server if you plan to use a prebuilt MCP server template.
Select External MCP Server as your tool source.
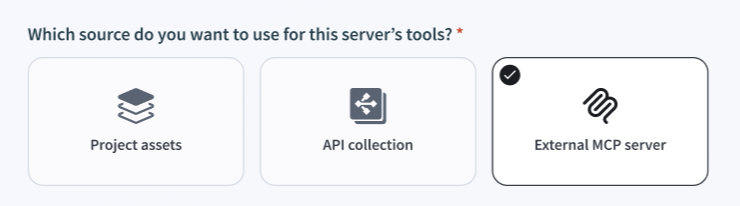 Select External MCP Server
Enter your proxy MCP server URL in the External MCP server URL field.
Use the Authentication Type drop-down menu to select the authentication method you plan to use:
OAuth 2.0
OAuth 2.0
Select OAuth 2.0.
Optional. Expand Custom Headers and click Add header if you plan to use custom headers.
Optional. Expand Custom Query Parameters and click Add query parameter if you plan to add query parameters to every request URL.
Click Connect.
OAUTH CLIENT ID METADATA DOCUMENT SUPPORT (CIMD)
Workato registers itself with the external server's authorization server automatically. Dynamic client registration (RFC 7591) is used when available. Otherwise Workato provides the OAuth Client ID Metadata Document hosted URL for the authorization server to fetch.
API Key (Header)
API key header
Select API Key (Header).
Enter the API key in the API Key field.
Enter the header name in the Custom Header Name field. Defaults to X-API-Key.
Optional. Expand Custom Headers and click Add header if you plan to use custom headers.
Optional. Expand Custom Query Parameters and click Add query parameter if you plan to add query parameters to every request URL.
Click Connect.
API Key (Query Parameter)
API key query parameter
Select API Key (Query Parameter).
Enter the API key in the API Key field.
Optional. Enter a name for the API key in the Query Parameter Name field. Defaults to api_key.
Optional. Expand Custom Headers and click Add header if you plan to use custom headers.
Optional. Expand Custom Query Parameters and click Add query parameter if you plan to add query parameters to every request URL.
Click Connect.
Bearer Token
Bearer token
Select Bearer Token.
Enter the bearer token in the Bearer Token field.
Optional. Expand Custom Headers and click Add header if you plan to use custom headers.
Optional. Expand Custom Query Parameters and click Add query parameter if you plan to add query parameters to every request URL.
Click Connect.
OAuth 2.0 with Client Registration
OAuth 2.0 with client registration
Optional. Expand Custom Headers and click Add header if you plan to use custom headers.
Optional. Expand Custom Query Parameters and click Add query parameter if you plan to add query parameters to every request URL.
Select OAuth 2.0 with Client Registration.
Enter your client ID in the OAuth Client ID field.
Optional. Enter your client secret in the OAuth Client Secret field.
Optional. Enter the OAuth scope you plan to use in the OAuth Scopes field. Scopes must be space separated.
Optional. Enter the OAuth authorization endpoint in the OAuth Authorization Endpoint field. Defaults to {server_url}/oauth/authorize.
Optional. Enter the OAuth token endpoint in the OAuth Token Endpoint field. Defaults to {server_url}/oauth/token.
Click Connect.
No Authentication
No authentication
Select No Authentication.
Optional. Expand Custom Headers and click Add header if you plan to use custom headers.
Optional. Expand Custom Query Parameters and click Add query parameter if you plan to add query parameters to every request URL.
Click Connect.
Enter a name for the MCP server in the Server name field.
Use the Location to save this server drop-down menu to select the project that contains the assets, such as skills or API recipes, that you plan to use for your MCP server.
MCP SERVER ASSETS MUST BE IN THE SAME PROJECT
You must store all assets in the same project folder. Error messages display if you select an unsupported asset type.
Click Create MCP Server. The MCP server tools, description, remote MCP URL, and additional server information displays in the Overview tab.
MCP server Overview tab admin view
Last updated: