MCP verified user access configuration
MCP verified user access requires the following configuration:
Workato Identity access method with assigned end user groups.
End user tool connection with OAuth 2.0 authorization code grant.
Refer to Create an SDK connection for MCP verified user access if you plan to use the Connector SDK with MCP verified user access.
Workato Identity configuration
Complete the following steps to configure Workato Identity for MCP verified user access:
MCP Workato Identity access method and end-user group configuration
Ensure that you have end-user group with assigned users in Workato Identity before following these steps.
Complete the following steps to set your MCP server access method to Workato Identity and add end-user groups:
Go to AI Hub > Enterprise MCP > Custom servers.
Click the MCP server you plan to use.
Click Settings > End user access.
Go to the Access Method section and ensure that Workato Identity is selected.
Click Add user groups.
 Click Add user groups
Use the User groups drop-down menu to select the user groups you plan to provide with access to the MCP server.
Click Add.
Configure an OAuth 2.0 authorization code grant connection
The End user's connection option only supports OAuth 2.0 connections.
Complete the following steps to set up an OAuth 2.0 connection:
Go to AI Hub > Enterprise MCP > Custom servers.
Click the MCP server you plan to use.
Select the tool you plan to use with the end user's connection. The recipe editor opens.
Click Edit.
Select the action step where you plan to add the connection.
Select End user's connection.
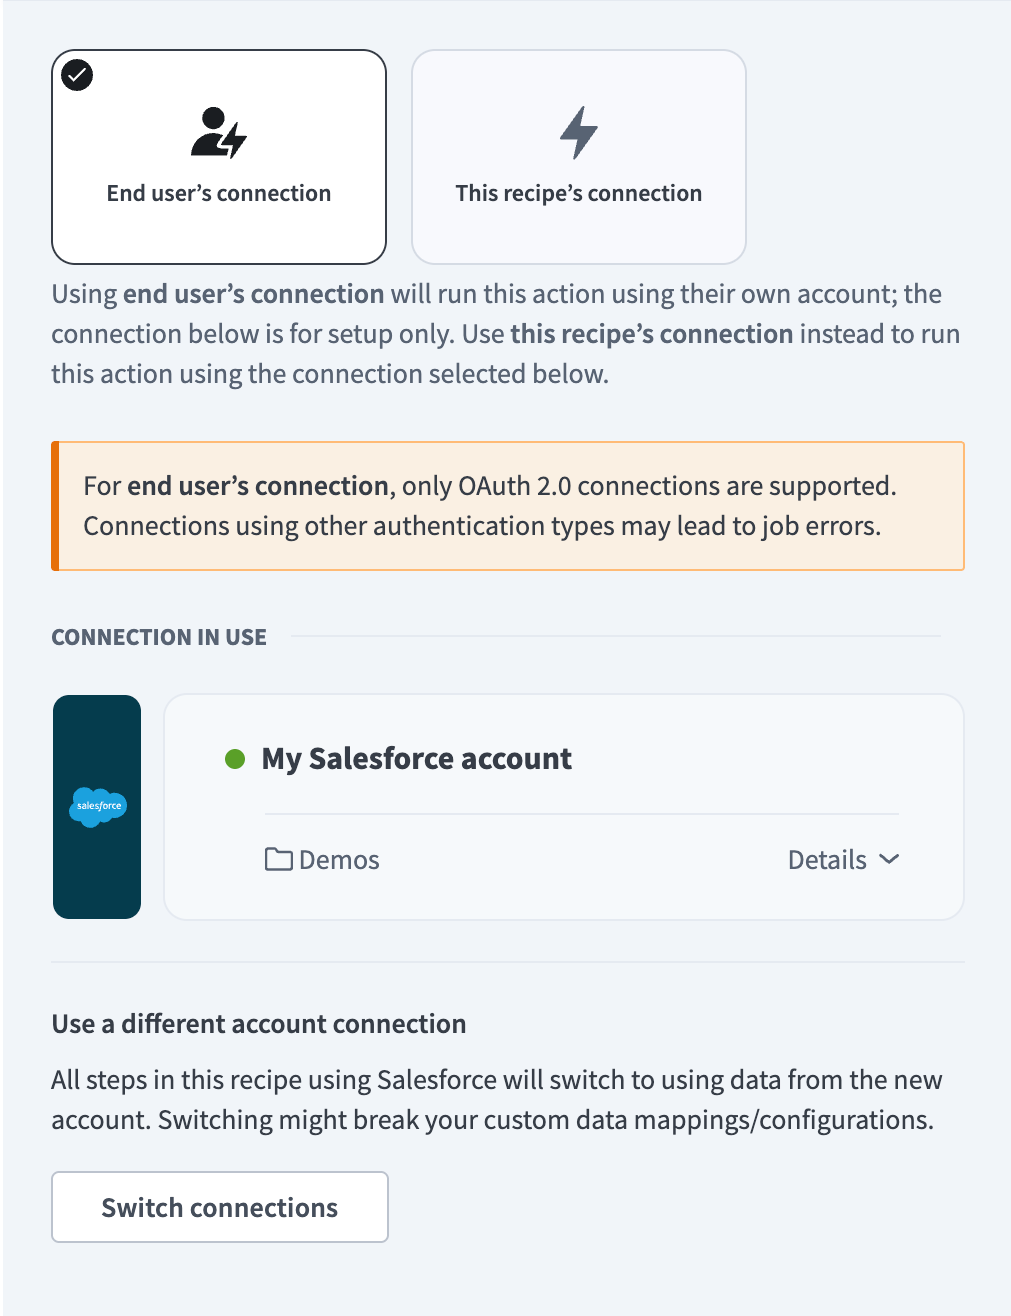 Select End user's connection
Provide a name for your connection in the Name field.
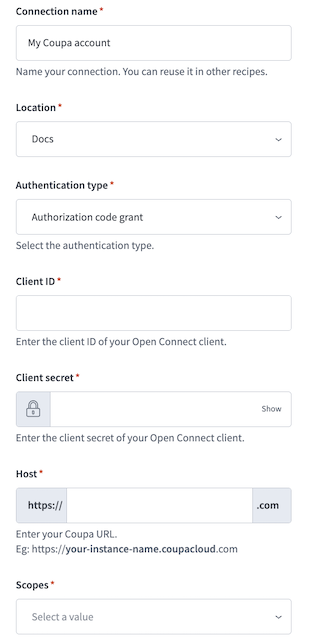 Authorization code grant connection example
Use the Location drop-down menu to select the project where you plan to store the connection.
Use the Authentication type drop-down menu to select Authorization code grant.
Enter your client ID in the Client ID field.
Enter your client secret in the Client secret field.
Provide your host or endpoint URL in the appropriate field. The required field name and value differ by application. For example, a Coupa connection requires the host URL in the Host field with the following URL format: https://your-instance-name.coupacloud.com.
Use the Scopes drop-down menu to select the scopes you plan to use for your connection.
Click Connect.
Last updated: