# Sync Greenhouse new hires to SAP SuccessFactors recipe
This use case guides you through connecting Greenhouse and SAP SuccessFactors OData to create a powerful automation.
# What does this recipe do?
This recipe monitors Greenhouse for new hires and creates new user accounts in SAP SuccessFactors in real time.
# Create your recipe
Complete the following steps to create a recipe that monitors Greenhouse for new hires and creates new user accounts in SAP SuccessFactors in real time:
USE CASES ARE INTENDED AS EXAMPLES ONLY
This use case serves as an example. Modifications to triggers, actions, or conditional logic may be necessary to adapt this recipe to your workflow.
Sign in to Workato.
Select the project where you plan to create the recipe.
Create connections for Greenhouse and SAP SuccessFactors OData:
Create a Greenhouse connection.
# Create a Greenhouse connection
This step creates a connection between Workato and your Greenhouse account.
Click Create > Connection.
Search for and select Greenhouse on the New connection page.
Provide a name for your connection in the Connection name field.
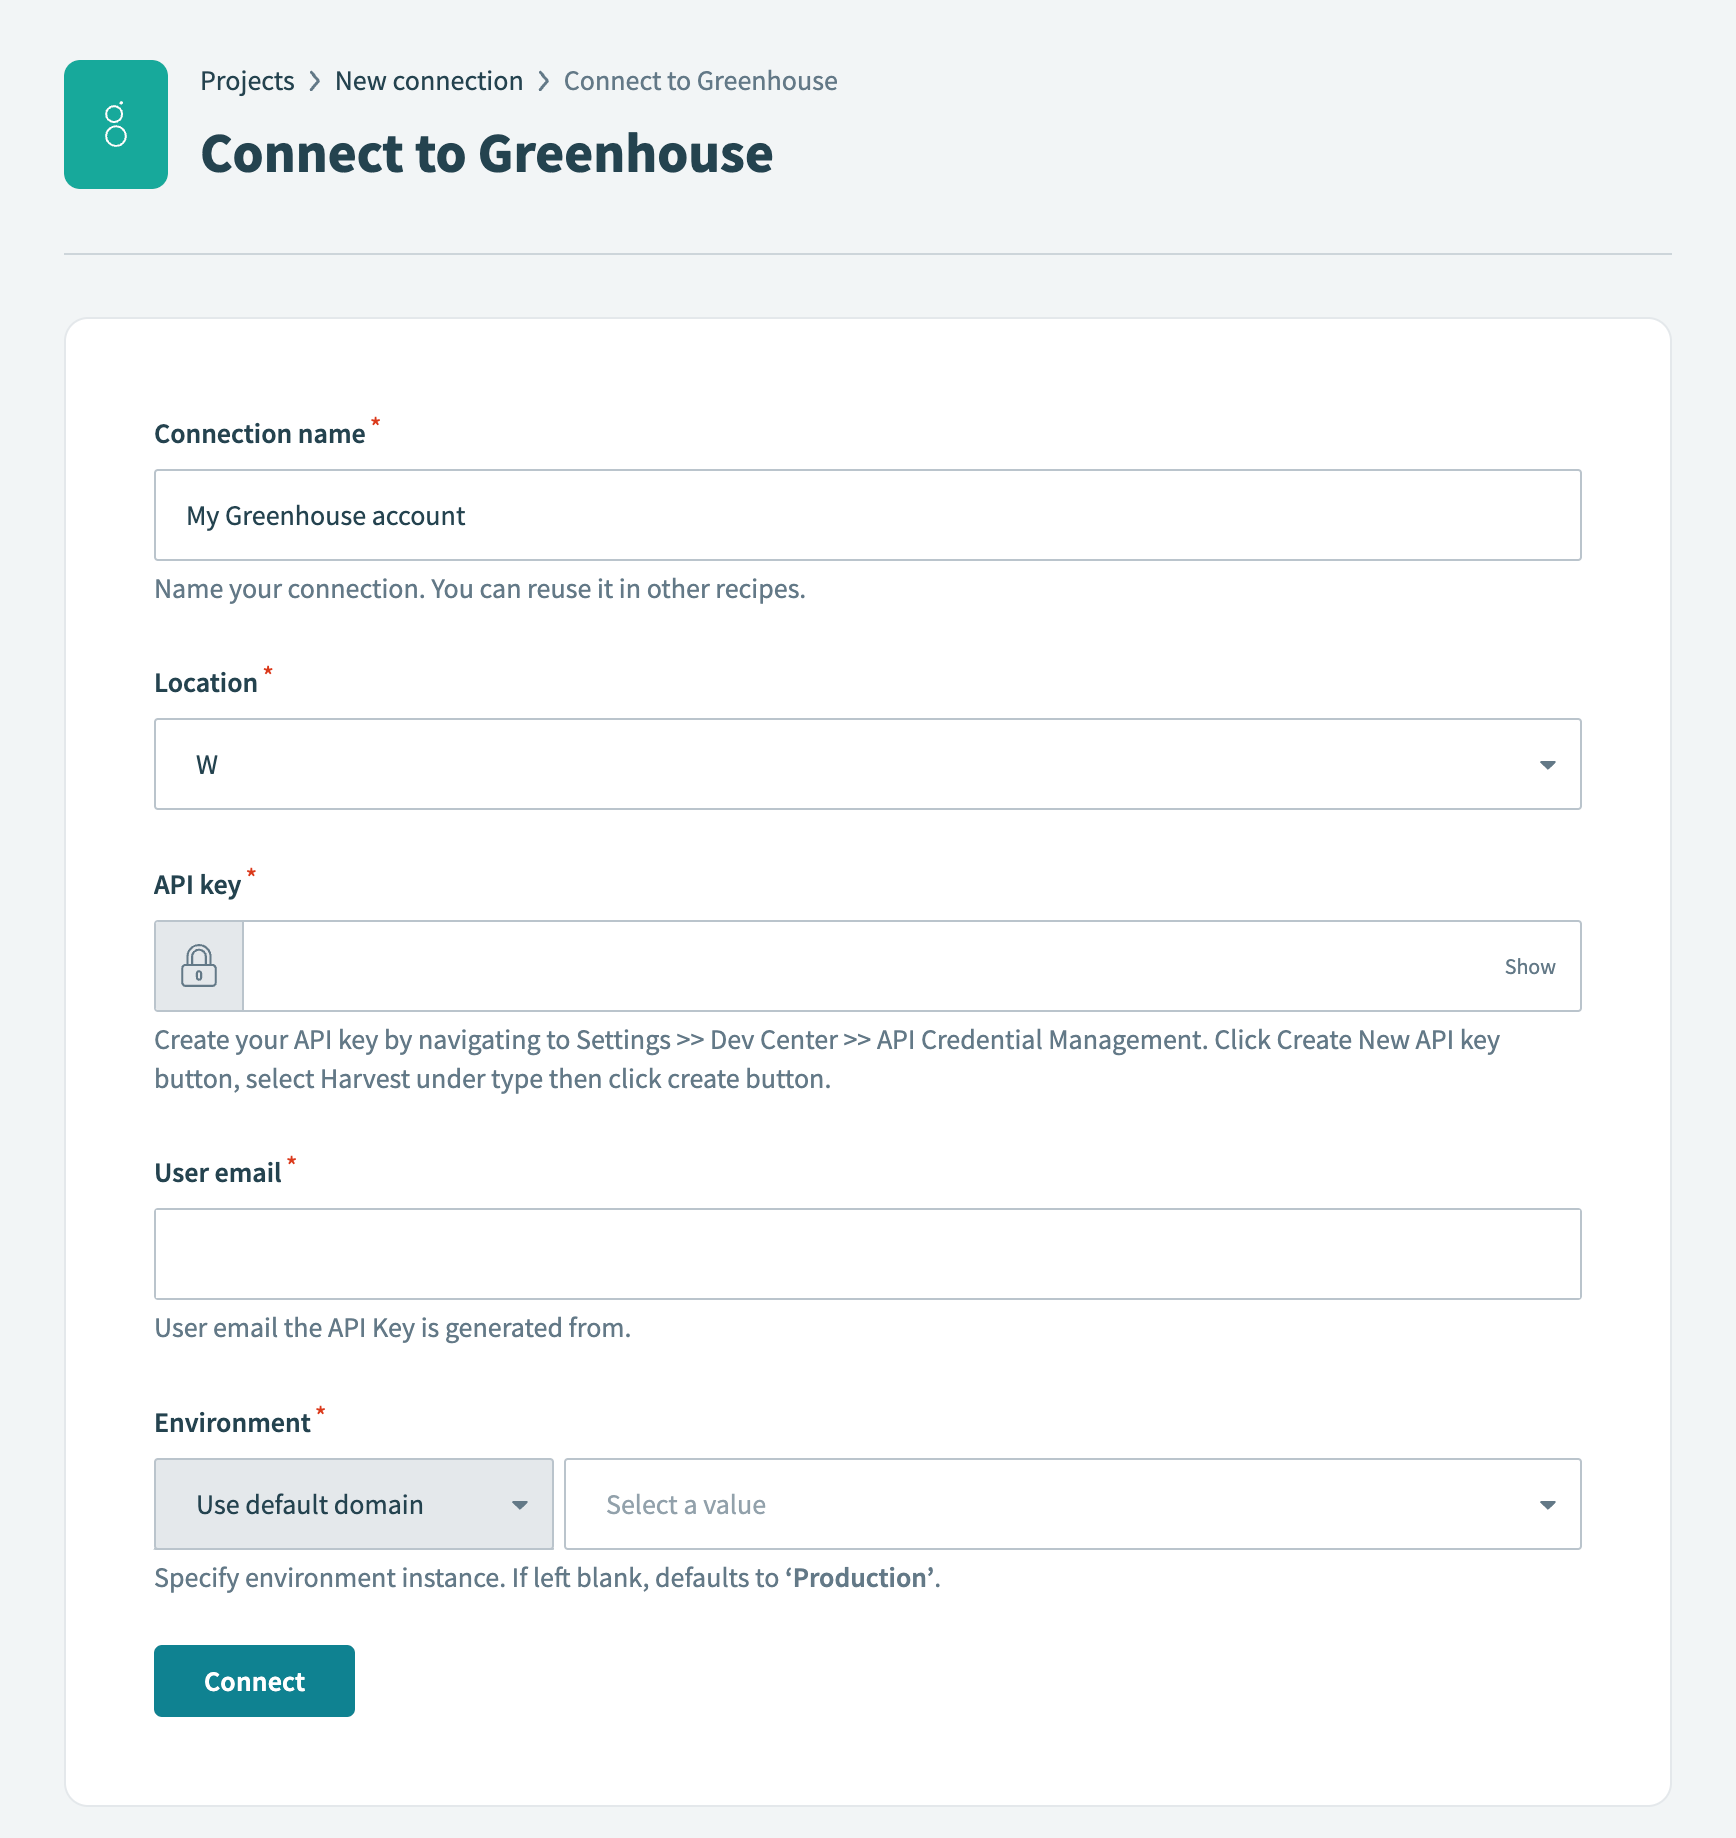 Greenhouse connection setup
Use the Location drop-down menu to select the project where you plan to store the connection.
Enter your API key in the API key field.
Complete the following steps in Greenhouse to create your API key if you haven't already:
Go to Configure > Dev Center > API Credential Management.
Click Create new API key.
Use the API type drop-down menu to select Harvest.
Search for and select Workato in the Partner field.
Enter a description for your API key in the Description field.
Click Manage permissions.
Click Copy to copy the API key.
Click I have stored the API key.
Keep the default permissions selected, or choose additional ones relevant to your use case in the Manage permissions section.
Click Save.
Enter the user email the API key is generated from in the User email field.
Use the Environment drop-down menu to specify the environment instance you are connecting to. The default is Production if left blank.
Click Connect.
Create a SAP SuccessFactors OData connection.
# Create a SAP SuccessFactors OData connection
This step creates a connection between Workato and your SAP SuccessFactors OData account.
Click Create > Connection.
Search for and select SAP SuccessFactors OData on the New connection page.
Provide a name for your connection in the Connection name field.
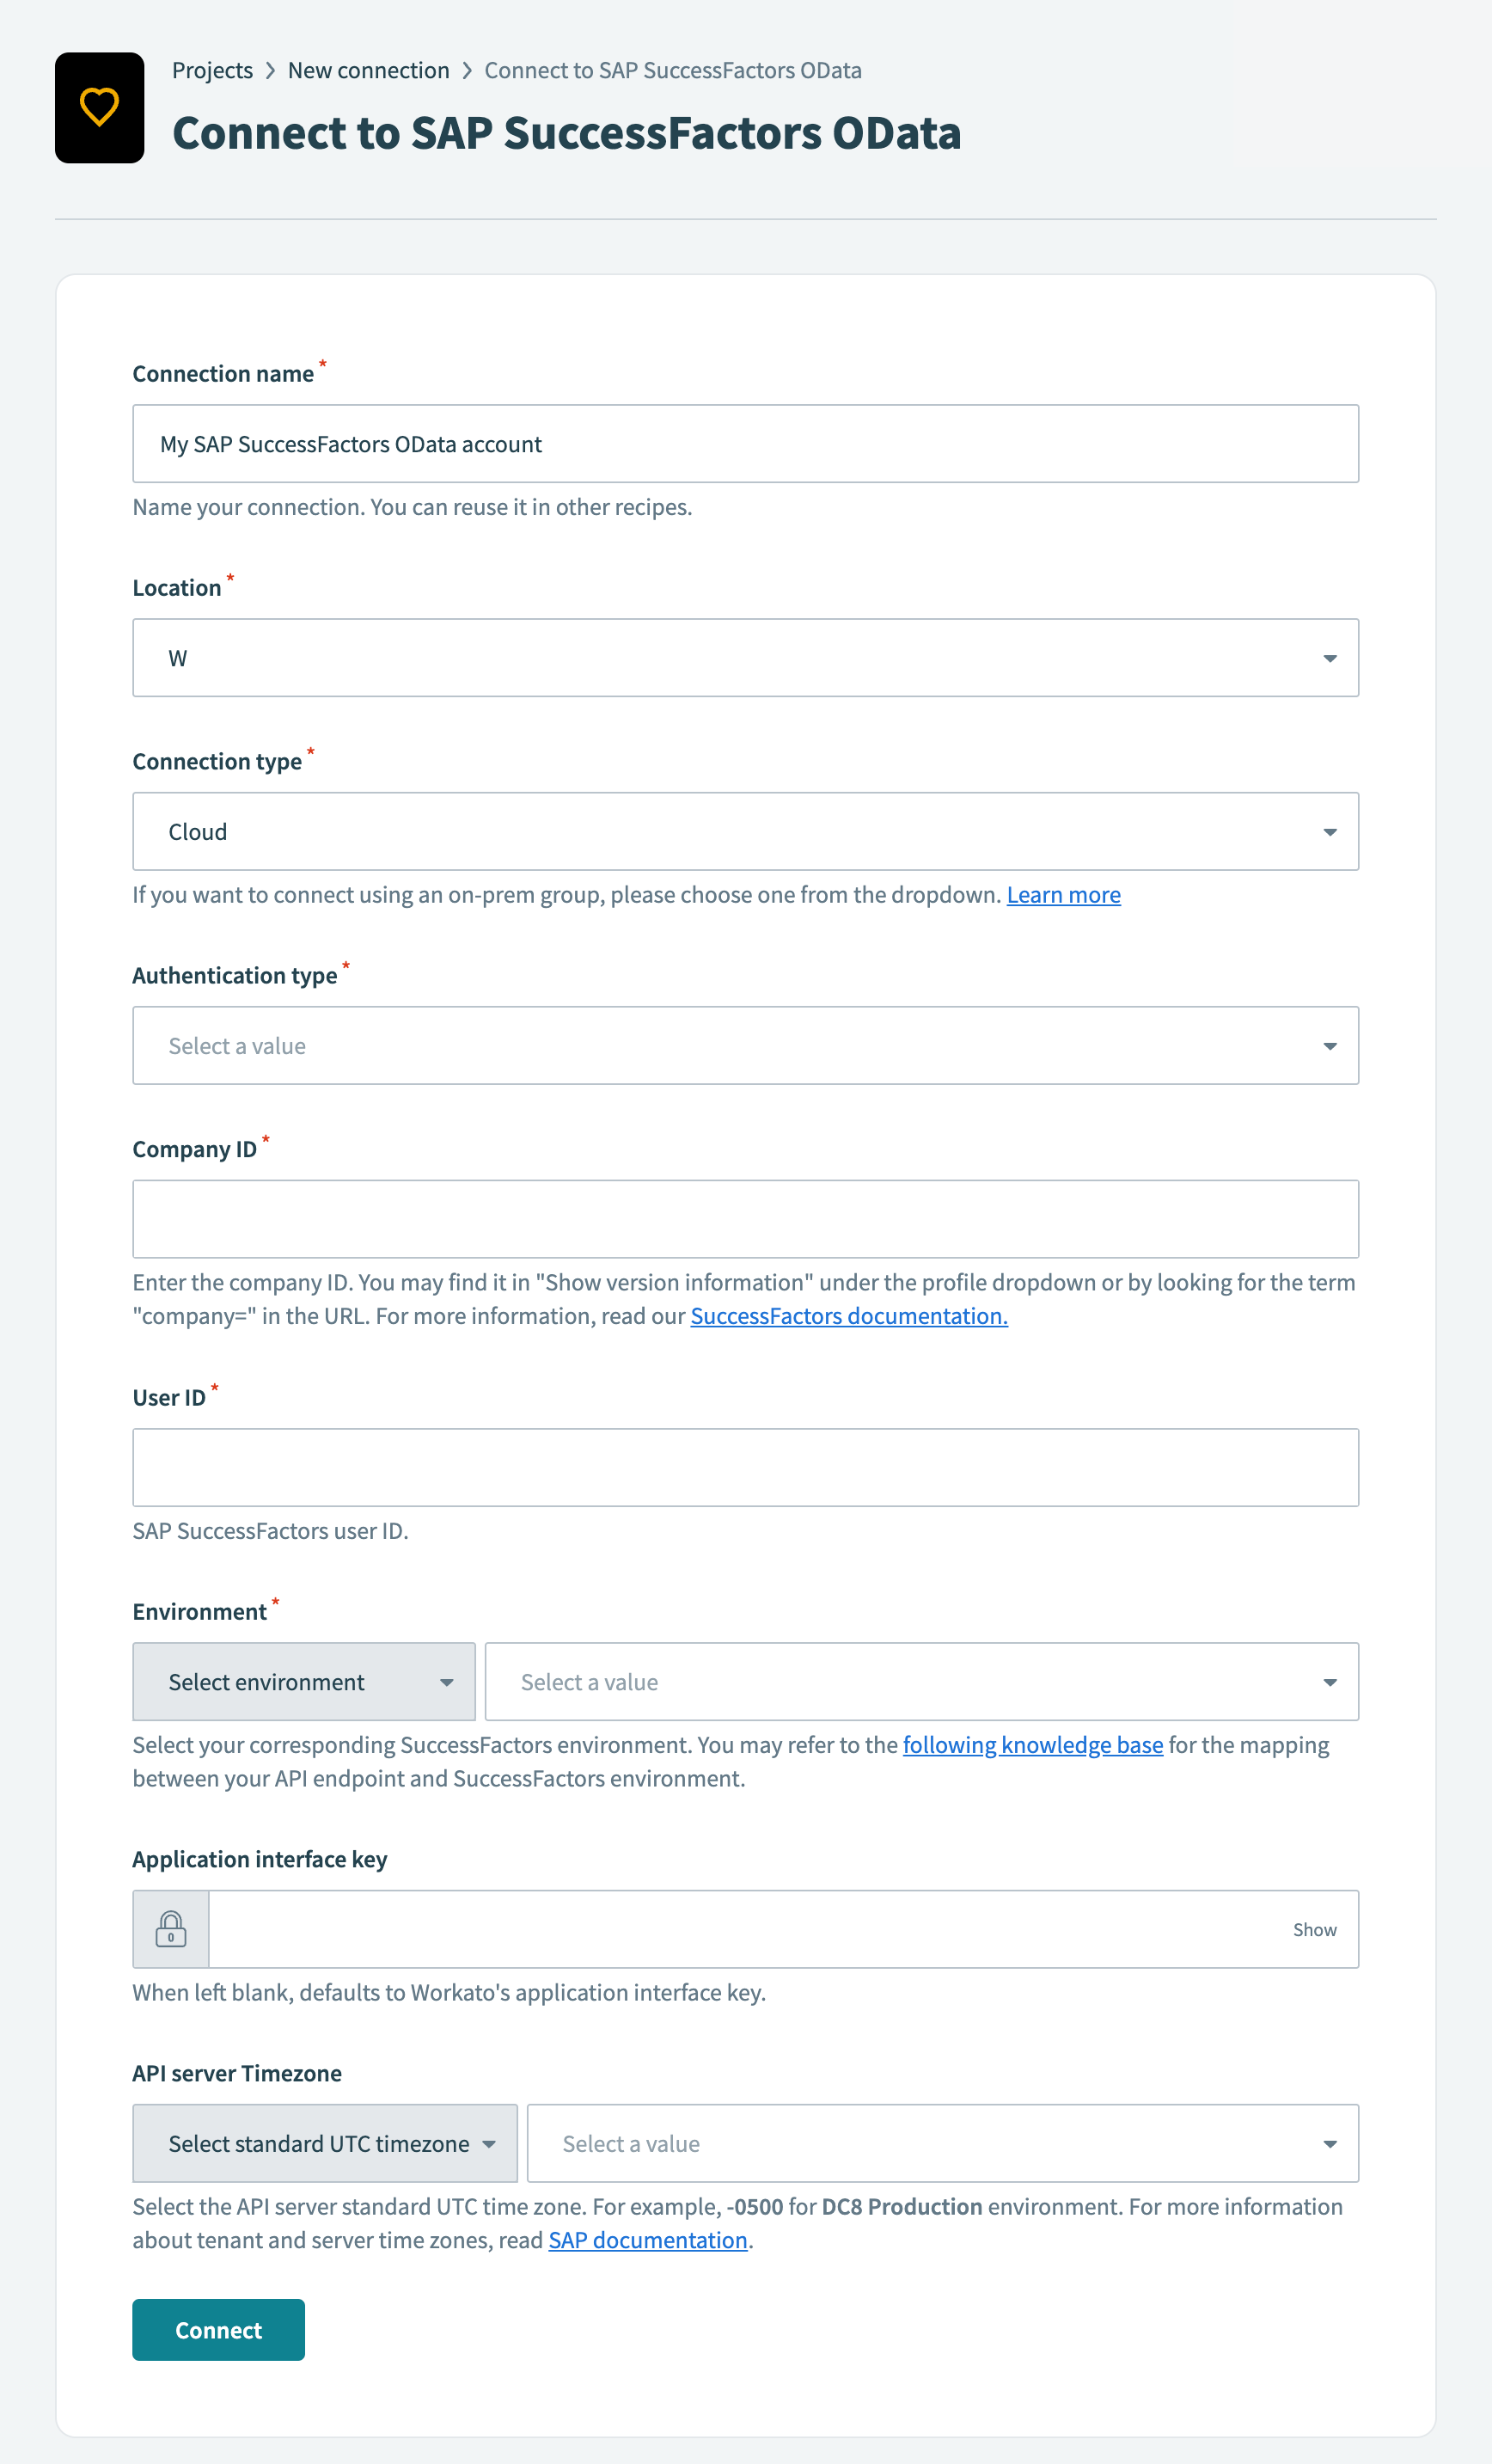 SAP SuccessFactors OData connection setup
Use the Location drop-down menu to select the project where you plan to store the connection.
Use the Connection type drop-down menu to select the connection method you plan to use. You can select your on-prem group name or select Cloud to use a direct connection.
Use the Authentication type drop-down menu to select your authentication method. Options include Basic and OAuth 2.0.
Enter the company ID in the Company ID field. The company ID is located in Show version information under the profile drop-down menu and in the URL after company=.
Enter your SAP SuccessFactors user ID in the User ID field.
Provide your authentication information.
Basic authentication
Enter your password in the Password field.
OAuth 2.0
Enter the OAuth client ID in the Client ID field.
Enter the X.509 private key used to sign the SAML assertion in the Private key field.
The private key can be from a self-signed X.509 certificate or one generated by SAP SuccessFactors. It is a base64-encoded string enclosed between -----BEGIN ENCRYPTED PRIVATE KEY----- and -----END ENCRYPTED PRIVATE KEY-----. Enter only the encoded string, excluding the beginning and ending lines, to avoid an error.
Use the Environment drop-down menu to select your corresponding SAP SuccessFactors environment. Refer to the List of SAP SuccessFactors API Servers (opens new window) for more information on the mapping between your API endpoint and SAP SuccessFactors environment.
Optional. Enter the application interface key in the Application interface key field. The default is Workato's application interface key if left blank.
Optional. Select the API server standard UTC time zone in the API server timezone field.
Click Connect.
Go back to your project and click Create > Recipe.
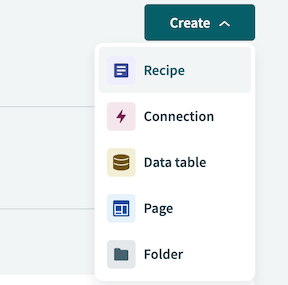 Create a new recipe
Enter a name for your recipe in the Name field.
Select the project where you plan to store the recipe from the Location drop-down menu.
Click Start building.
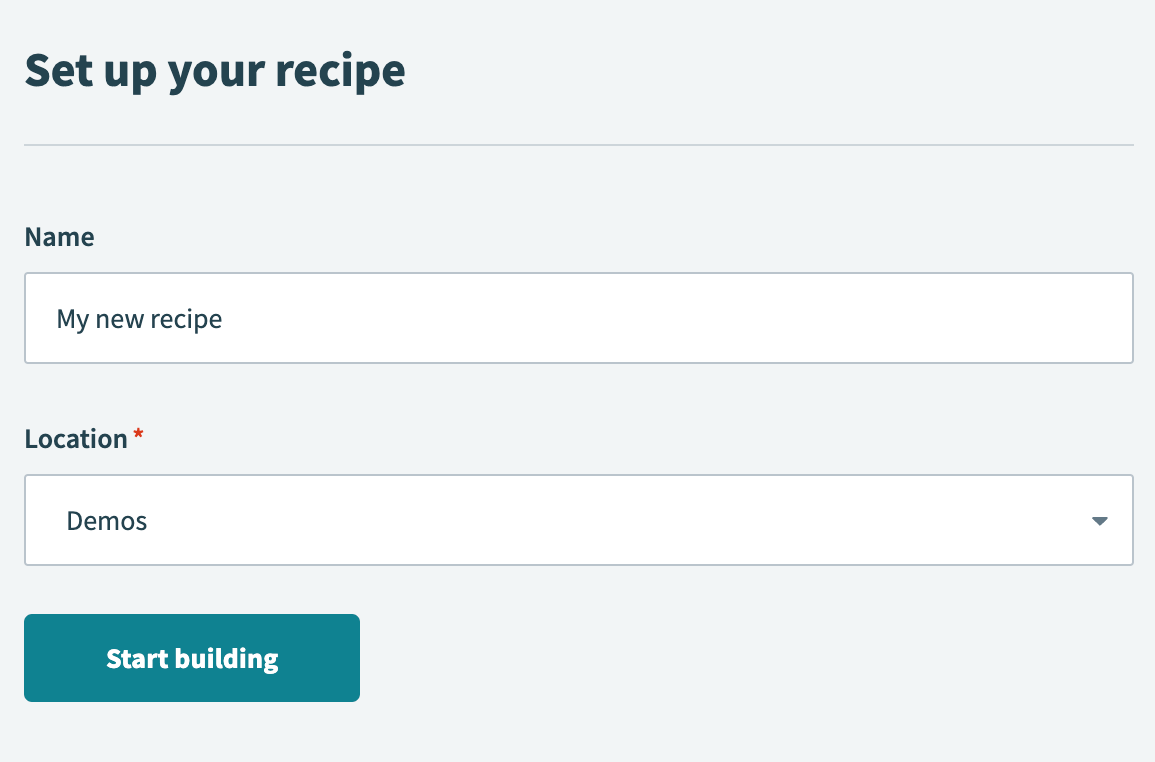 Start building your recipe
Click Pick a starting point, then select Trigger from an app.
Click Select an app and trigger event.
Set up your Greenhouse New event trigger.
# Set up Greenhouse New event trigger
This trigger monitors Greenhouse for new hires in real-time. You must set up a webhook in Greenhouse to complete the setup for this trigger.
Search for Greenhouse and select it as your app.
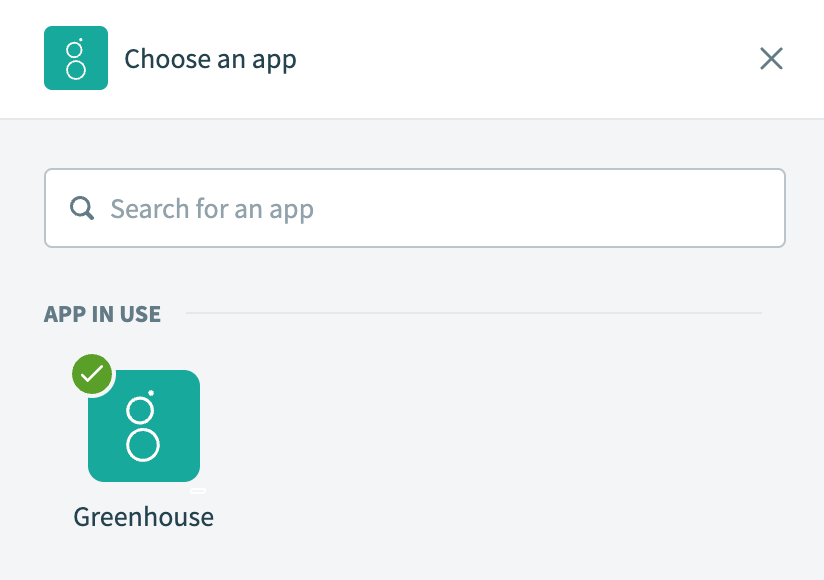 Choose Greenhouse
Select the New event trigger.
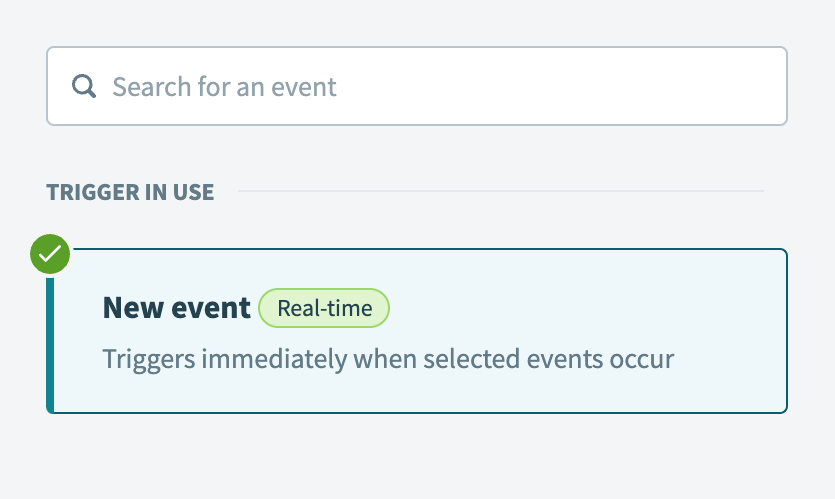 Select the New event real-time trigger
Select the Greenhouse connection you created in the preceding steps.
Use the Event category drop-down menu to select Candidate.
Use the Event drop-down menu to select Candidate hired.
Use a random string generator to create a secret key that is at least 32 characters long, and enter it in the Secret key field. Store this key in a secure location, as it is required to configure the webhook in Greenhouse.
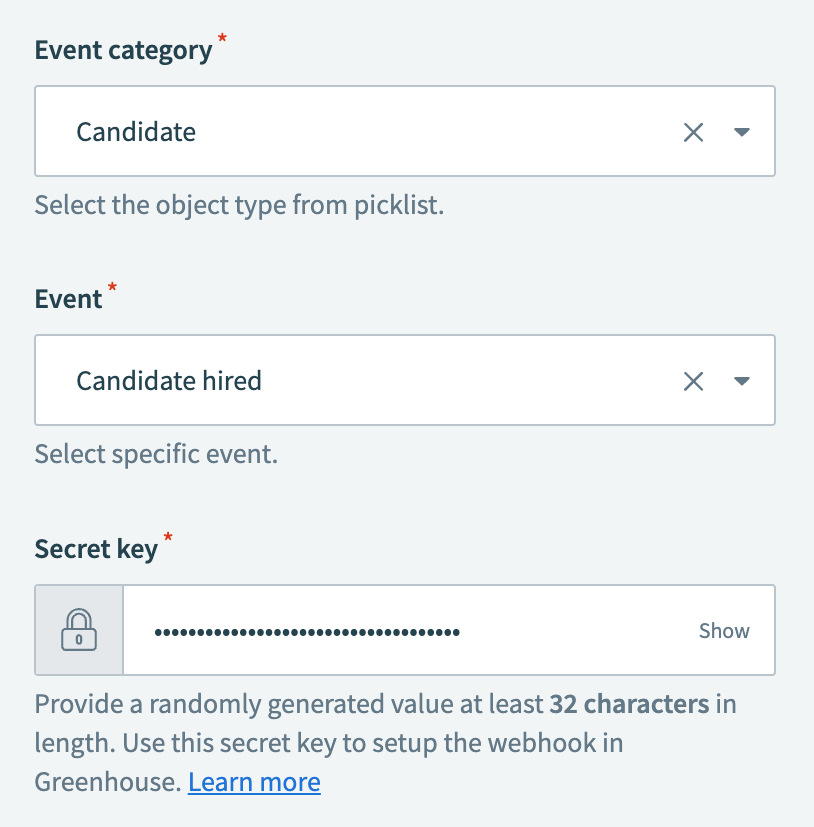 New candidate hired configuration
Copy the webhook endpoint URL provided in the help section of the recipe editor. This value is also required to configure the webhook in Greenhouse.
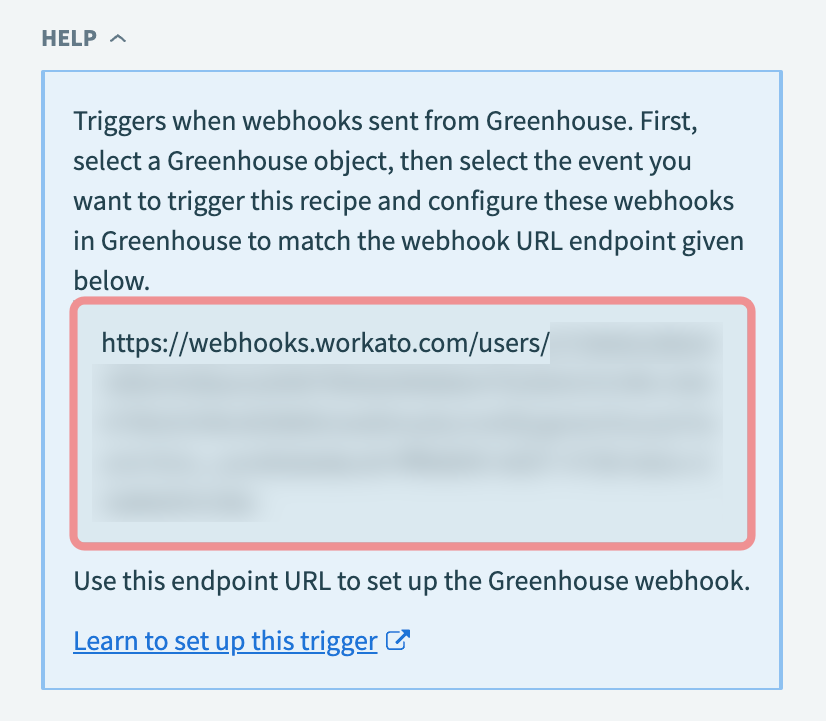 Copy the webhook endpoint URL
Click Save.
Sign in to your Greenhouse instance to create a webhook that corresponds to the New event trigger.
What is a webhook?
# Greenhouse webhook example
A webhook is a notification sent by an application to a target URL in real-time when a specified event occurs. You can choose which events trigger these notifications.
You must create a webhook in Greenhouse that sends data to Workato whenever a candidate is marked as hired for this recipe.
Set up your Greenhouse webhook.
# Set up a Greenhouse webhook
This webhook sends a notification to your Workato recipe each time a candidate is marked as hired in Greenhouse.
Go to Configure > Dev Center > Webhooks > Webhooks. The Create a new webhook page appears.
Provide a name for your webhook in the Name this webhook field.
Use the When drop-down menu to select Candidate hired. This field specifies the Greenhouse event that triggers the webhook.
Paste the webhook endpoint URL from Workato into the Endpoint URL field.
Enter the secret key you created when configuring the trigger in the Secret key field.
Click Create webhook.
Click + Add step and select Action in app.
 Click Add step > Add action in app
Set up your Greenhouse Get object by ID action (Candidate).
# Set up Greenhouse Get object by ID action (Candidate)
This step retrieves information about the candidate using the candidate ID.
Search for Greenhouse and select it as your app.
 Choose Greenhouse
Select the Get object by ID action.
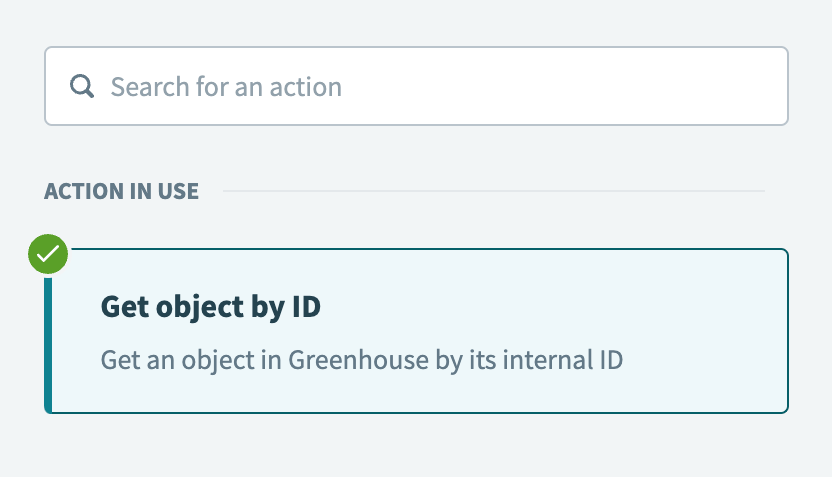 Select the Get object by ID action
Use the Object drop-down menu to select Candidate.
Map the Greenhouse ID Step 1 datapill (nested under the Candidate object) to the Candidate ID field.
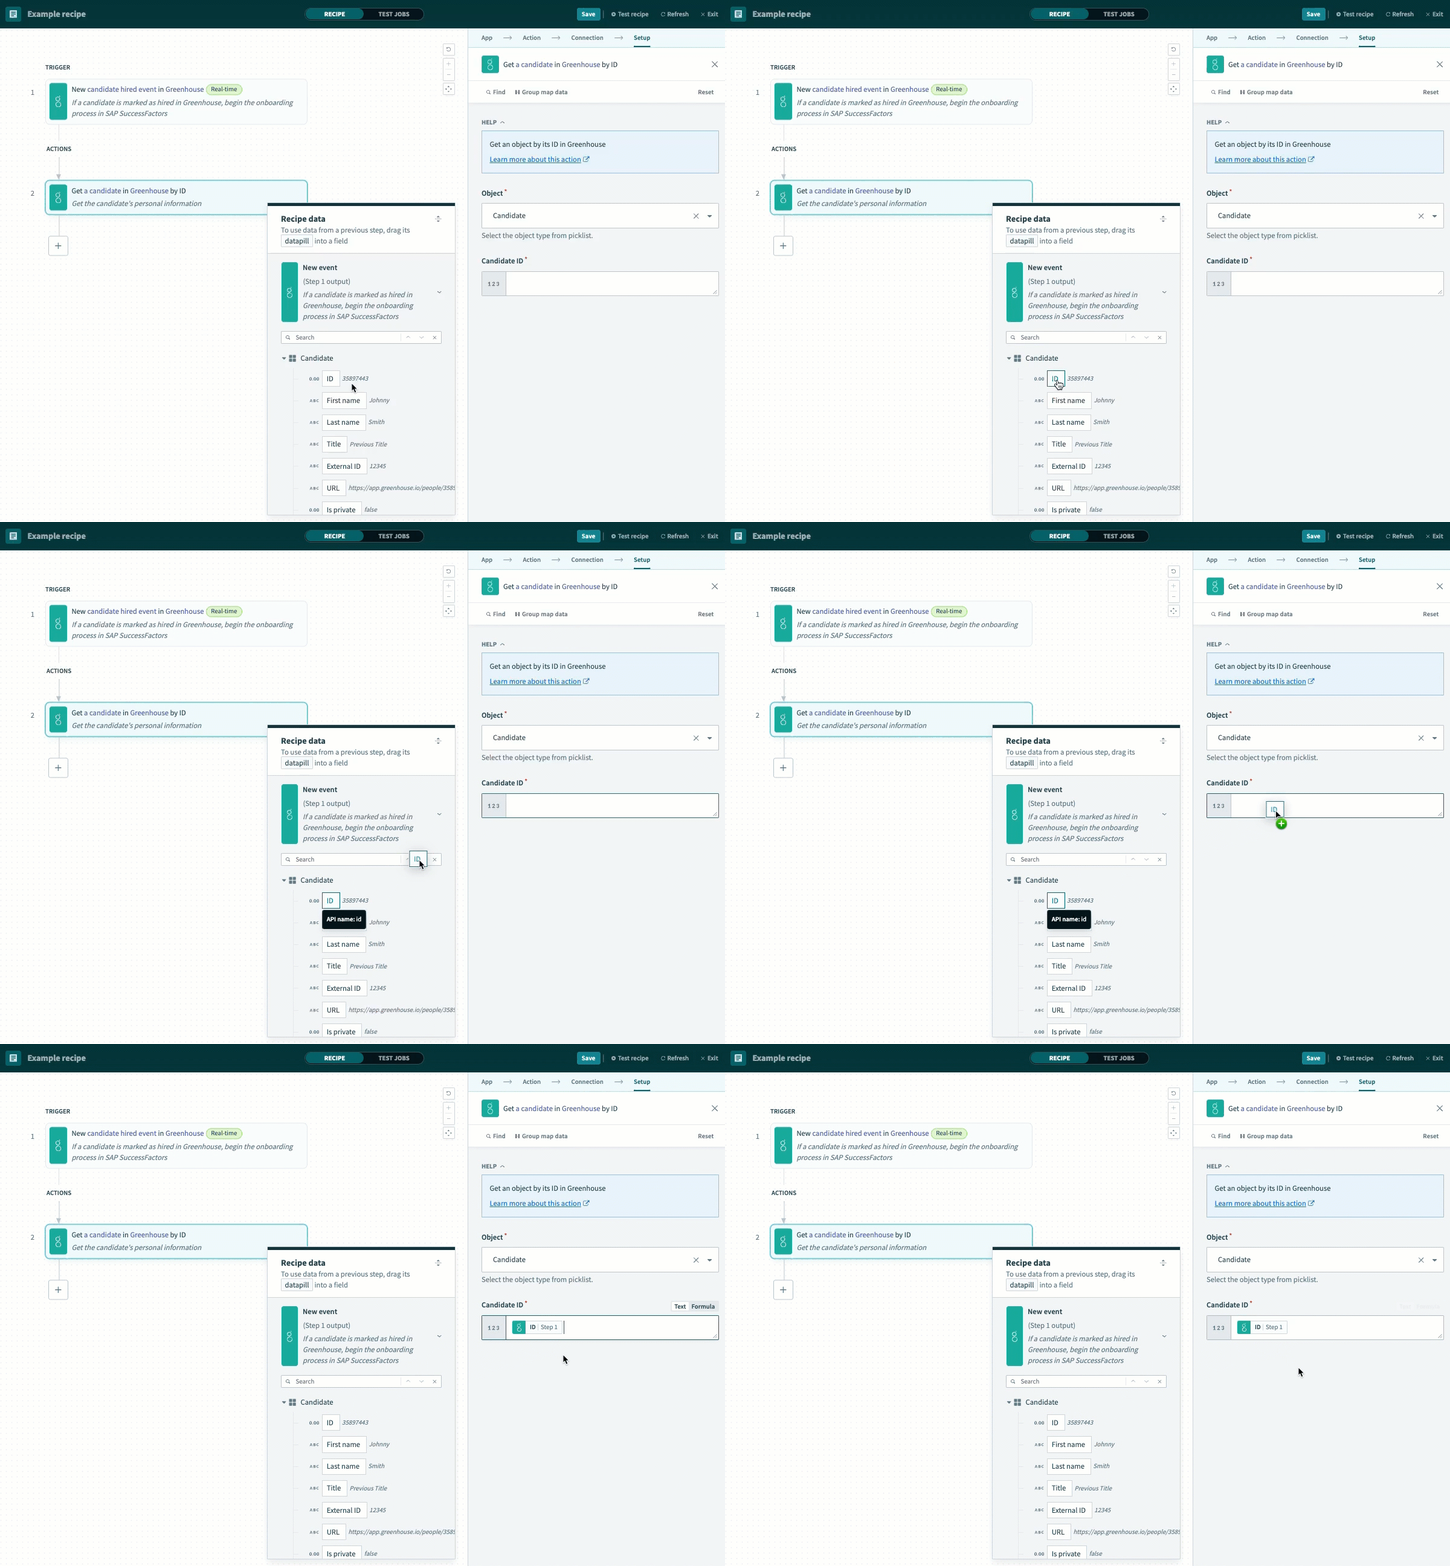 Map the candidate ID Step 1 datapill
Click Save.
Click + Add step and select Action in app.
Set up your Greenhouse Get object by ID action (Job).
# Set up Greenhouse Get object by ID action (Job)
This step retrieves information about the job using the job ID.
Search for Greenhouse and select it as your app.
 Choose Greenhouse
Select the Get object by ID action.
 Select the Get object by ID action
Use the Object drop-down menu to select Job.
Map the Greenhouse ID Step 1 datapill (nested under the Jobs array) to the Job ID field.
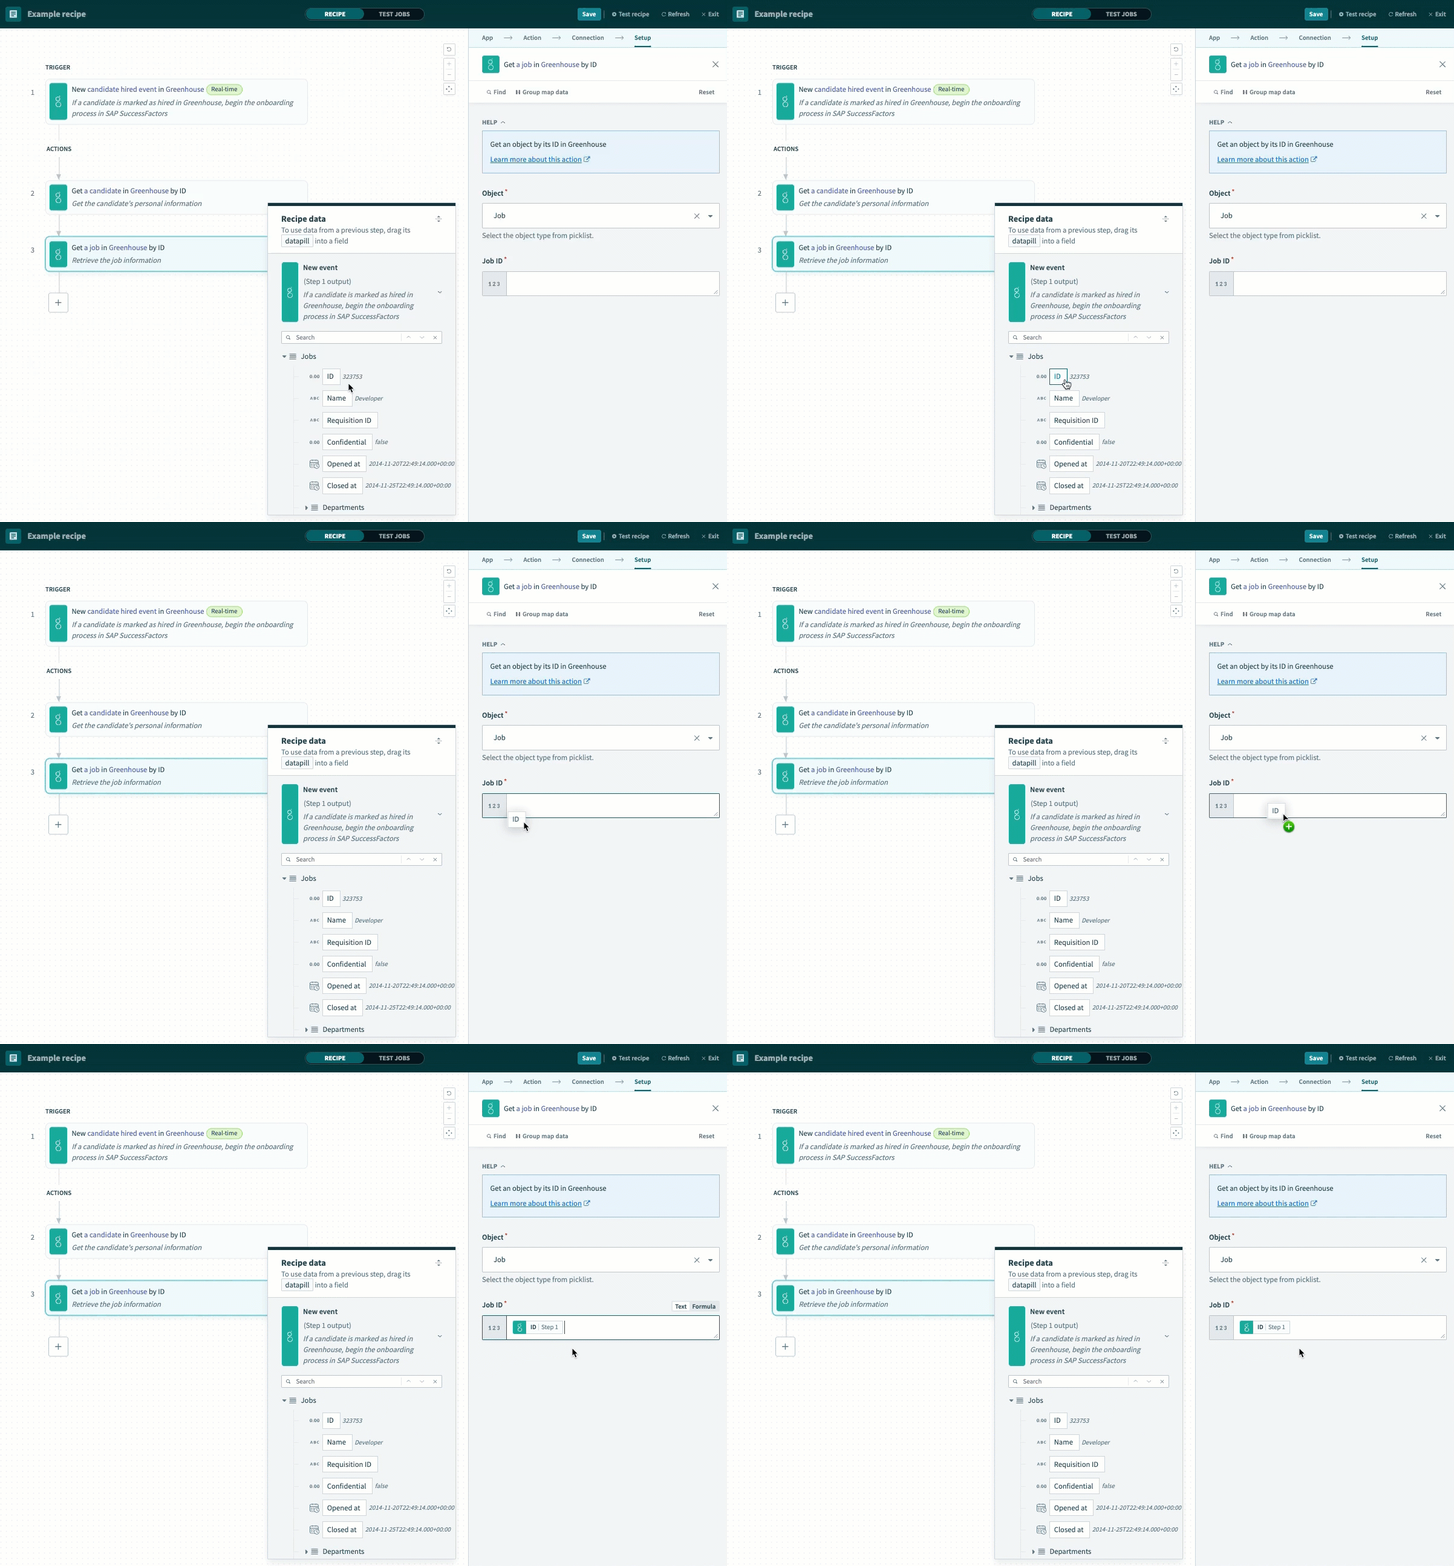 Map the job ID Step 1 datapill
Click Save.
Click + Add step and select Action in app.
Set up your SAP SuccessFactors OData Create record action.
# Set up SAP SuccessFactors OData Create record action
This step creates a user in SAP SuccessFactors based on the hired candidate's information in Greenhouse. Refer to the SAP SuccessFactors API reference documentation (opens new window) for more information.
Search for SAP SuccessFactors OData and select it as your app.
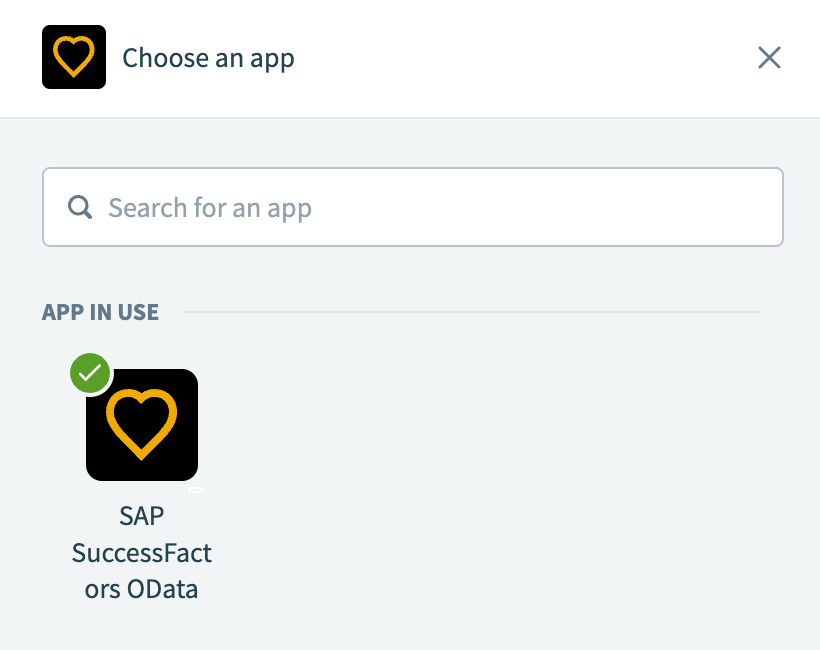 Choose SAP SuccessFactors OData
Select the Create record action.
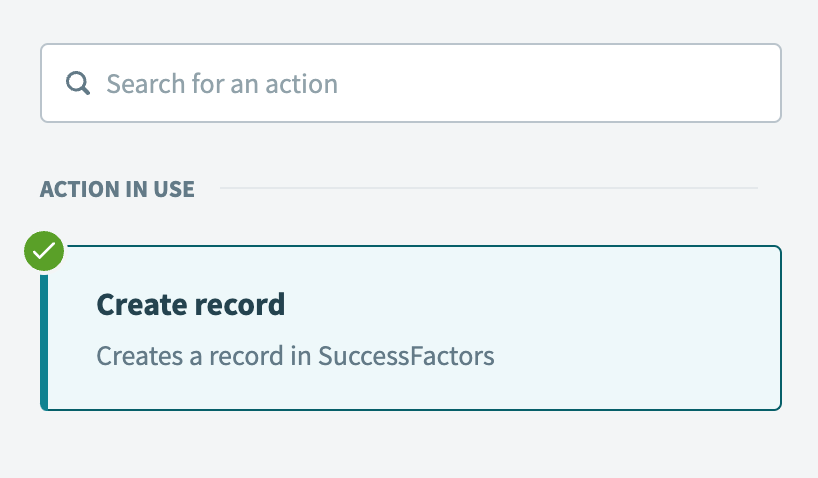 Select the Create record action
Use the Object drop-down menu to select User.
Enter t in the Status field. This indicates that the user has an active status.
Map the Greenhouse Candidate ID Step 2 datapill to the User ID field. You can adjust the mapping based on your specific workflow requirements.
Map the Greenhouse First name Step 3 datapill to the First name field.
Map the Greenhouse Last name Step 3 datapill to the Last name field.
Optional. Map additional fields based on your specific use case or the available data from Greenhouse. In this example, the following fields are mapped:
- Cell phone: Map the Greenhouse Value Step 2 datapill (nested under the
Phone numbersarray). - Department: Map the Greenhouse Name Step 3 datapill (nested under the
Departmentsarray). - Email: Map the Greenhouse Value Step 2 datapill (nested under the
Email addressesarray), or construct it using formula mode.
 Construct the email using formula mode
- Location: Map the Greenhouse Name Step 3 datapill (nested under
Offices > Location).
If these optional fields are currently hidden in the step, click Show optional fields and search for the relevant fields you plan to map.
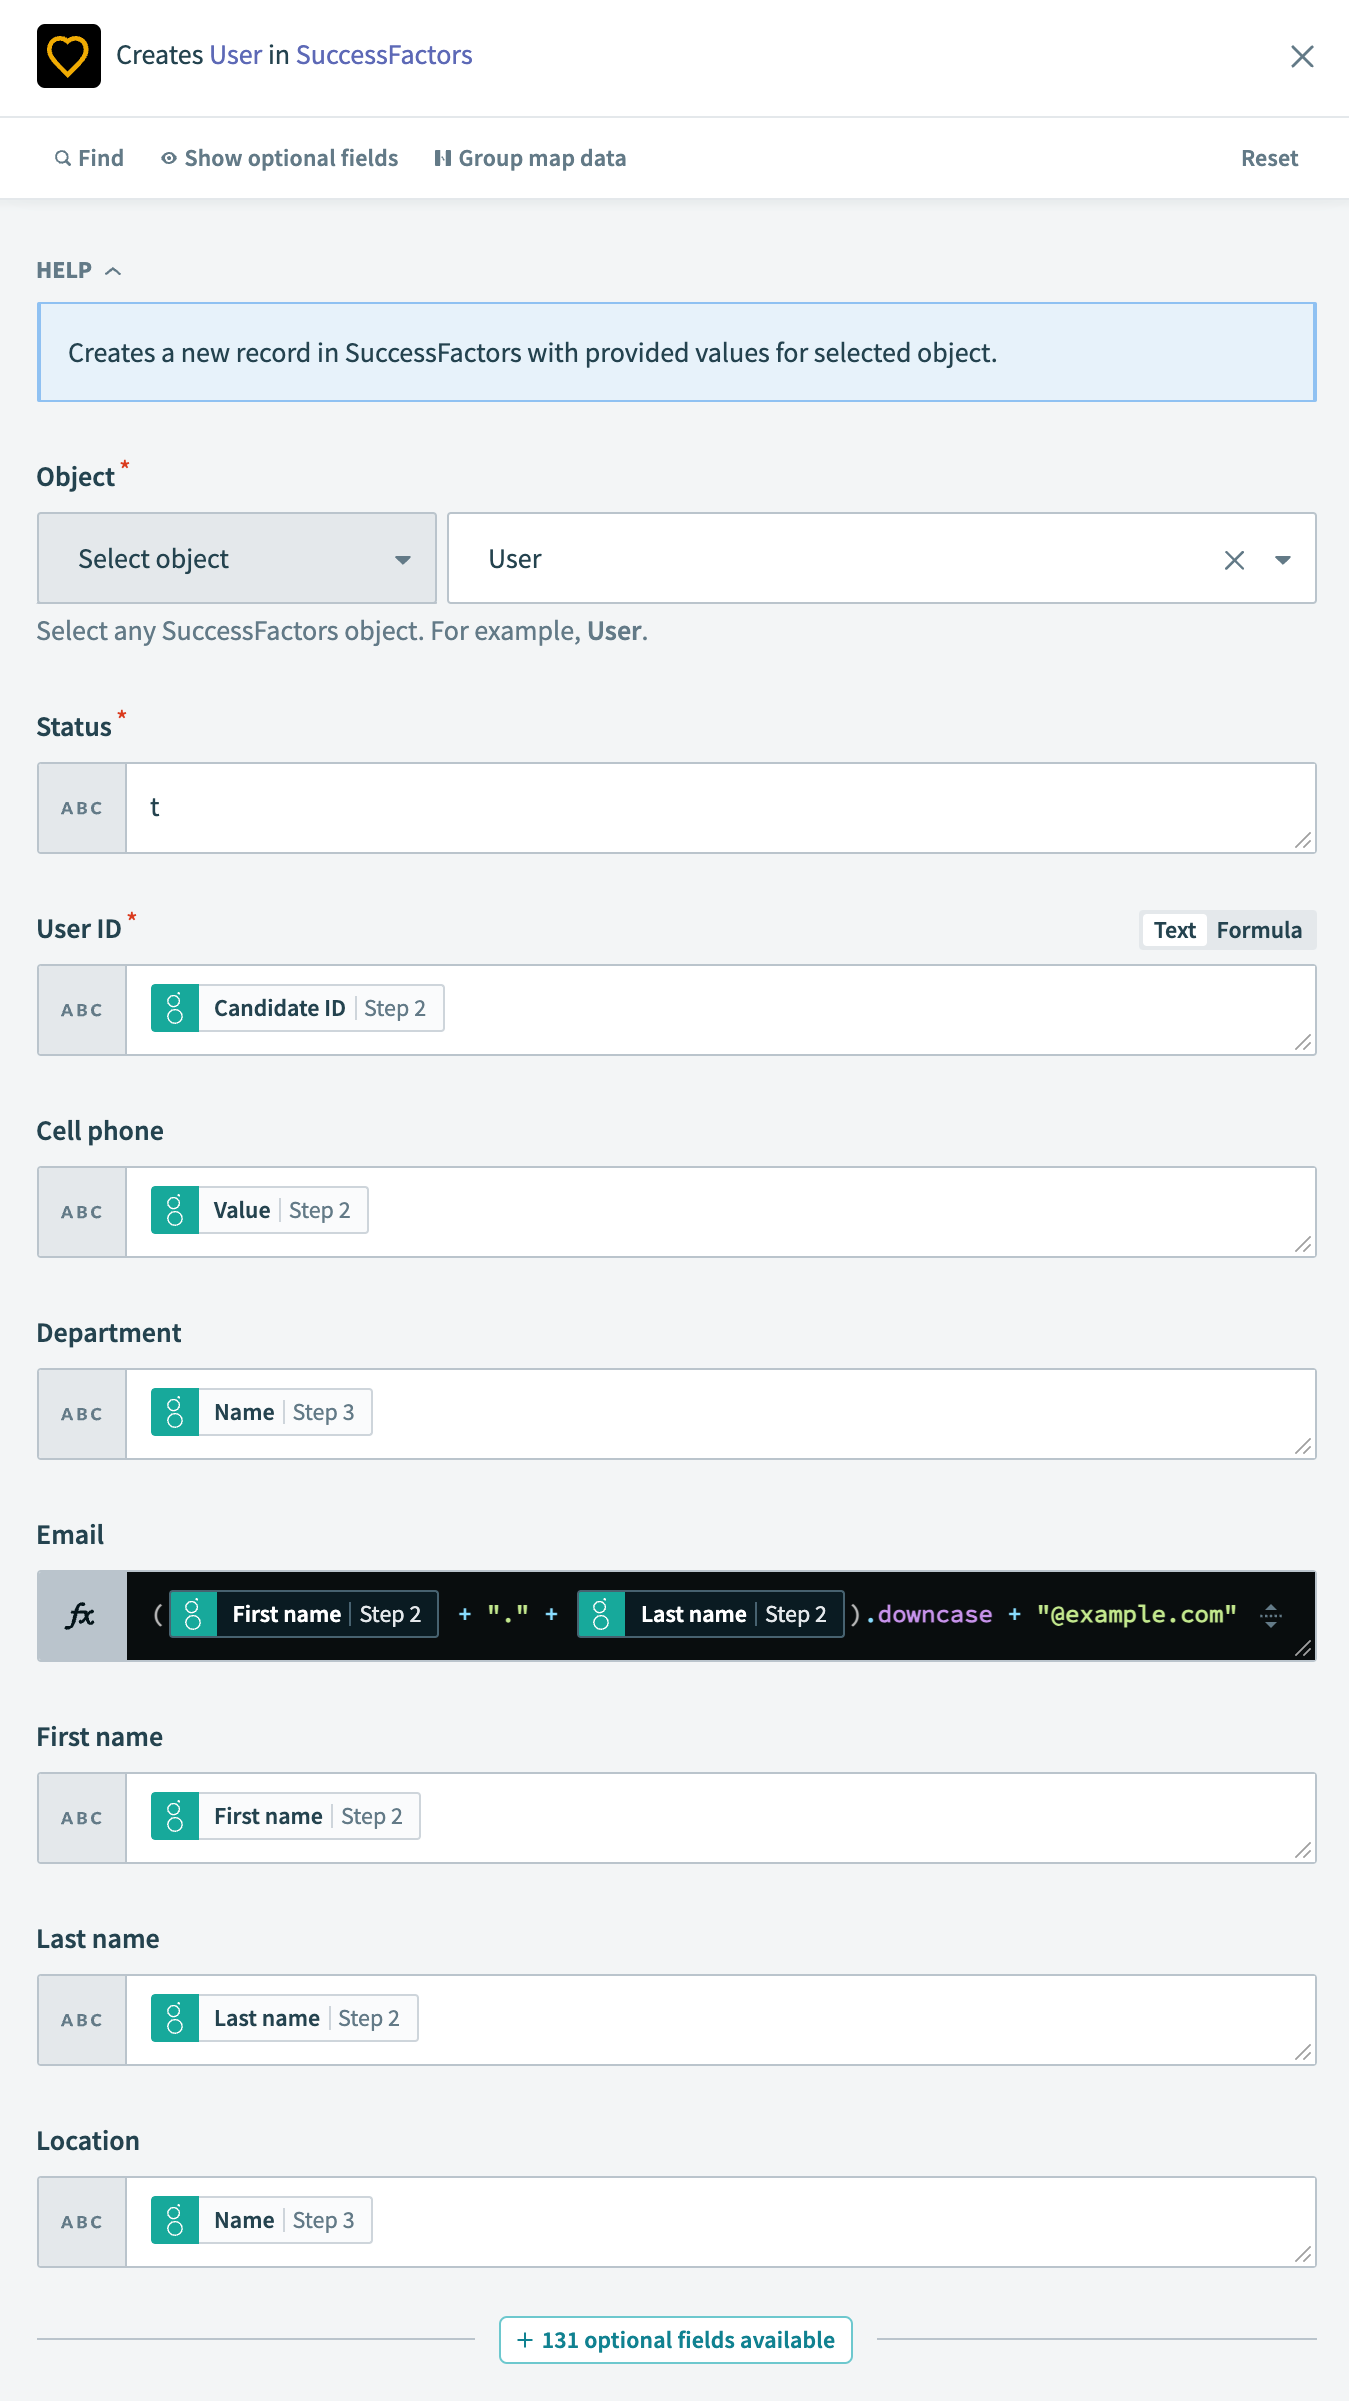 Create user configuration
Click Save.
Your Sync Greenhouse new hires to SAP SuccessFactors recipe is ready to test and implement.
Example recipe configuration.
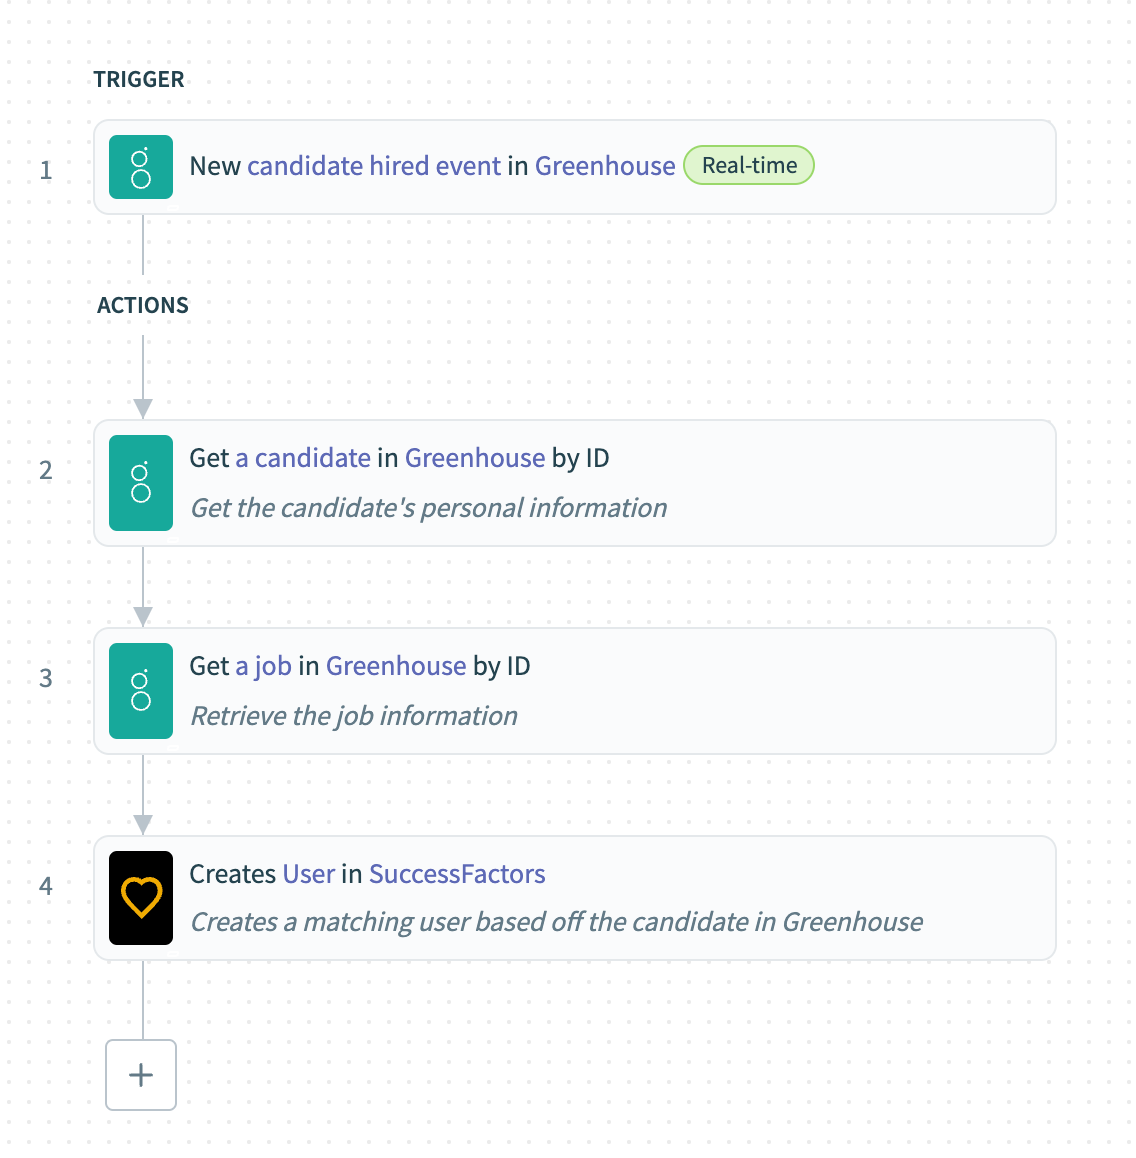 Sync Greenhouse new hires to SAP SuccessFactors recipe
Last updated: 12/22/2025, 5:25:59 PM