LLM, GitHub, and Workato Developer API
This use case provides step-by-step instructions to create a custom MCP integration between an LLM and GitHub using the Workato Developer API. A custom MCP connection provides the following benefits over prebuilt connectors:
- Complete control over data access, filtering, and logging.
- Ability to implement your organization's specific business rules, approval workflows, or data processing logic directly into the AI's capabilities.
- Flexibility to evolve with your needs and remain under your control rather than depend on a provider's roadmap that may not support new features you require.
What does this MCP server integration do?
This MCP server integration enables you to create new GitHub issues using natural language commands in your LLM, such as ChatGPT, Claude, or Cursor.
Create your MCP integration
Complete the following steps to build an integration that enables you to create new GitHub issues from your ChatGPT, Claude, or Cursor agent chat with natural language commands.
USE CASES ARE INTENDED AS EXAMPLES ONLY
This use case serves as an example. Modifications to API requests, actions, API responses, or conditional logic may be necessary to adapt this recipe to your workflow. This use case has been tested with ChatGPT, Claude, and Cursor. Configuration and usage may vary with other LLMs.
Sign in to Workato.
Select the project where you plan to create the API request recipe.
Create a GitHub connection.
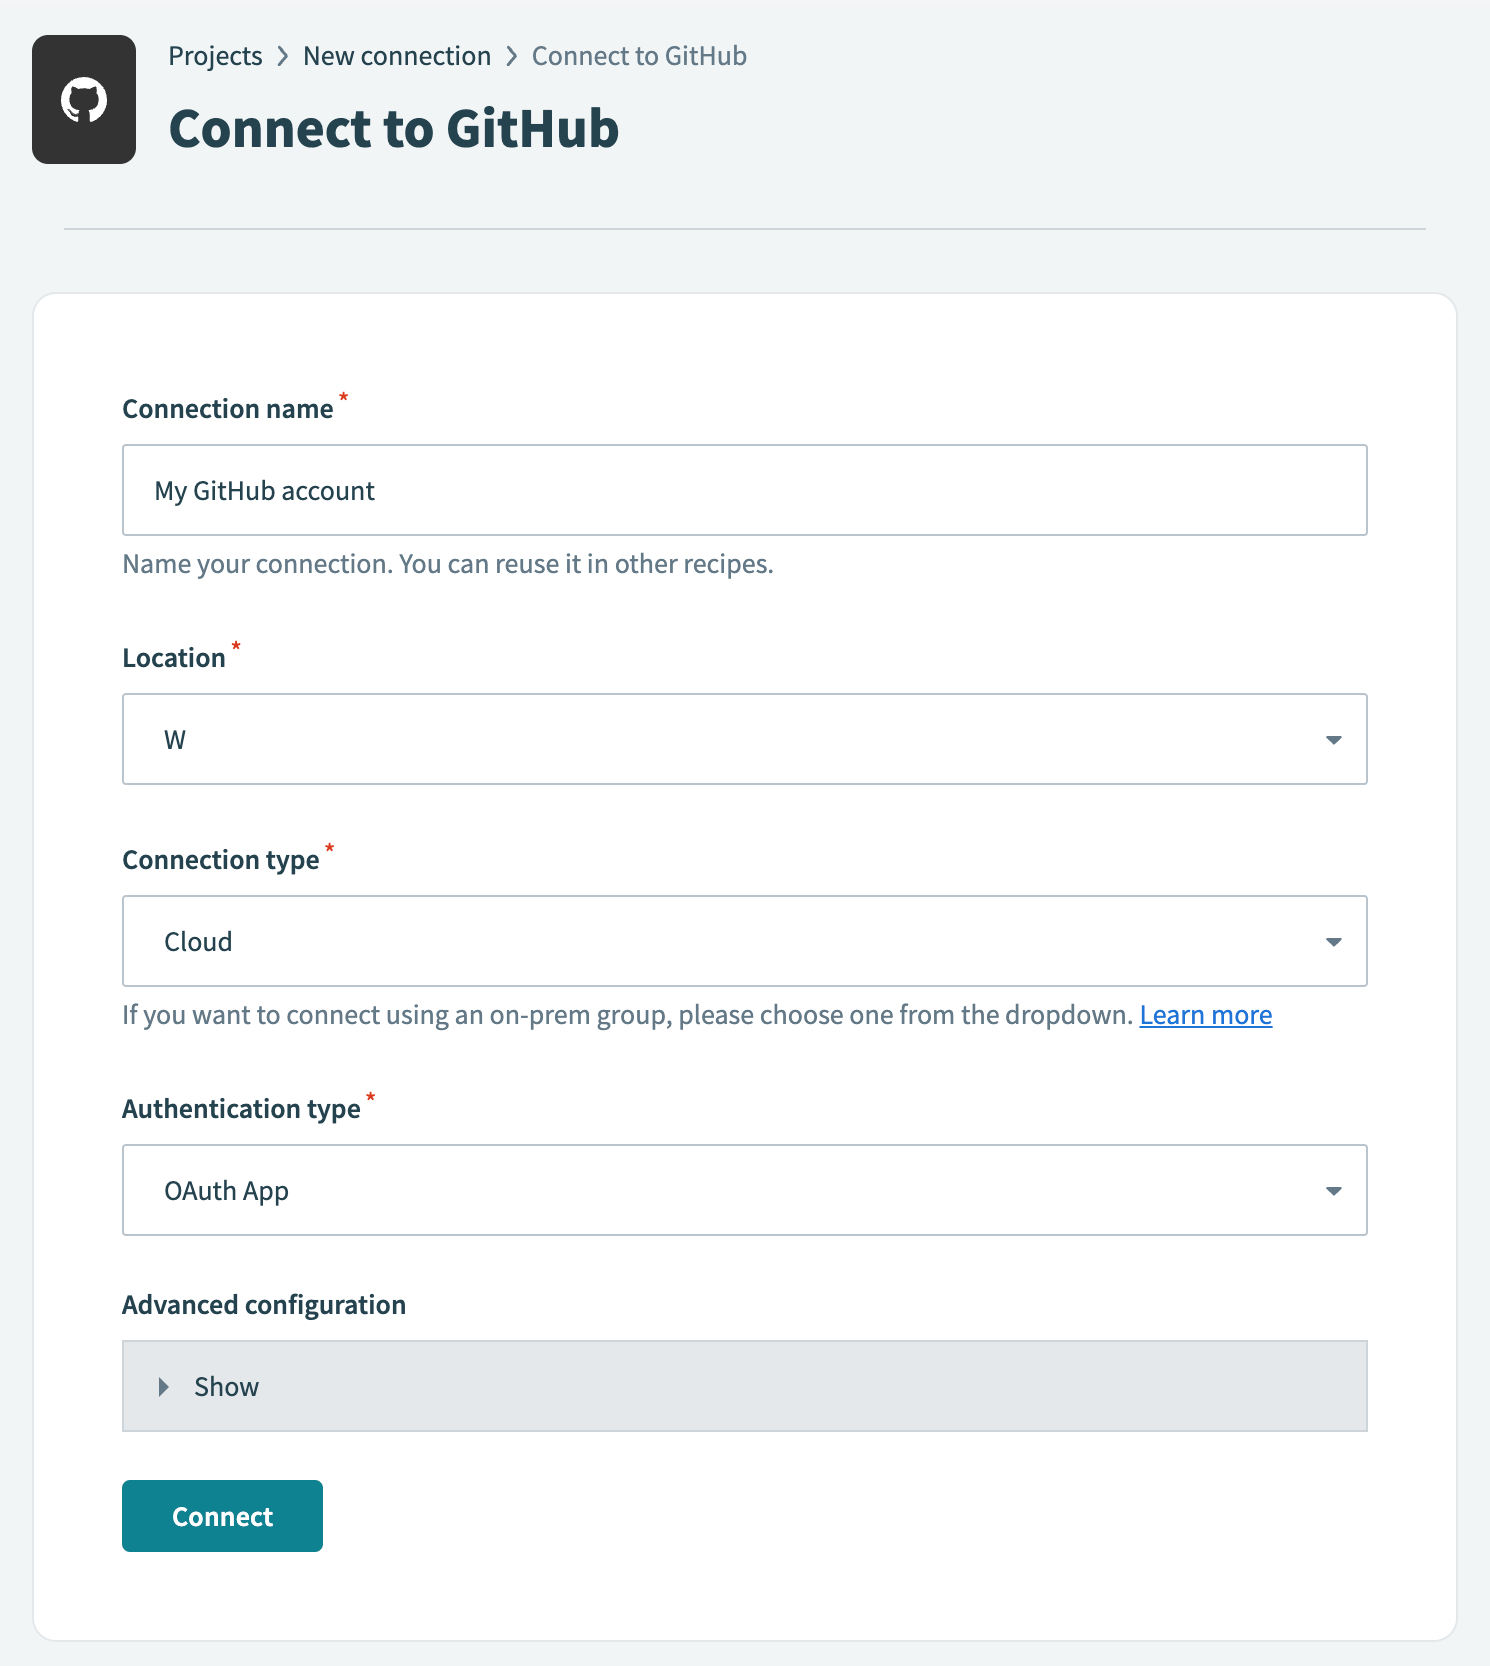
GitHub connection setup
This step connects your GitHub account to your Workato account.
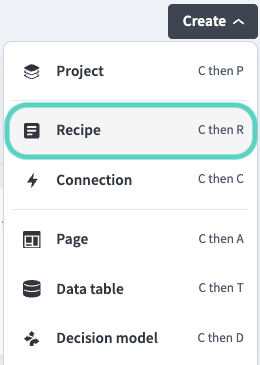
Click Create > Connection or press C twice.
Search for and select GitHub on the New connection page.
Provide a name for your connection in the Connection name field.
 GitHub connection setup
Use the Location drop-down menu to select the project where you plan to store the connection.
Use the Connection type drop-down menu to select the connection method you plan to use. You can select your on-prem group name or select Cloud to use a direct connection.
Select either OAuth App, GitHub App, or Personal Access Token in the Authentication type drop-down menu.
If you selected GitHub App:
Provide your app ID in the GitHub App ID field.
Enter the private key in the GitHub App Private key field.
Fill in the Installation ID field.
Optional. Expand Advanced configuration to provide the API Root URL, which is applicable when using GitHub Enterprise Server.
If you selected Personal Access Token:
Enter your personal access token in the Personal Access Token field.
Click Connect.
Go to project and click Create > Recipe or press C+R.
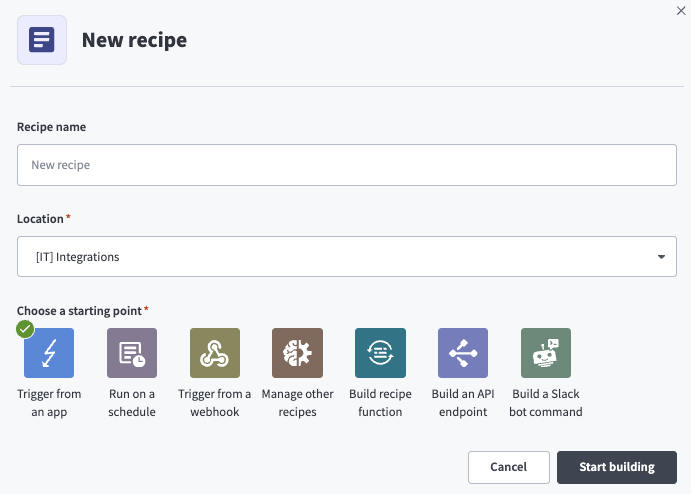
 Create a new recipe
Enter a name for your recipe in the Name field.
Use the Location drop-down menu to select the project where you plan to store the recipe.
Click Start building.
 Start building your recipe
Click Pick a starting point and select Trigger from an app. The trigger in this use case doesn't require you to establish a connection.
Click Select an app and trigger event.
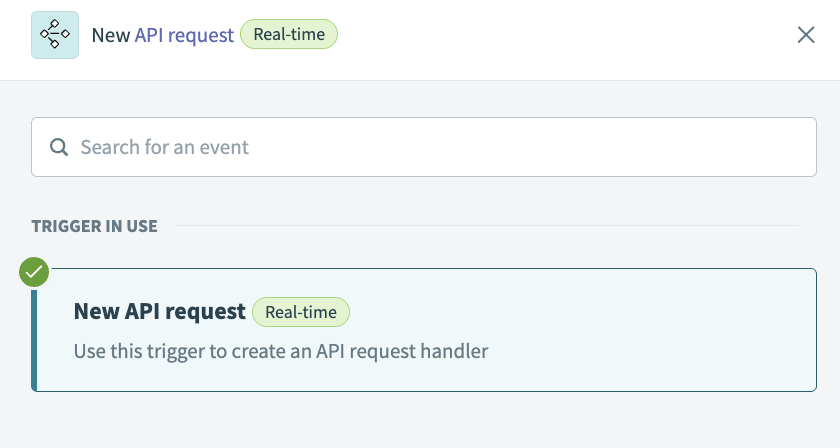
Set up your New API request trigger.
New API request trigger setup
This step creates an API request and response that enables your LLM agent to process and respond to your request with the correct title and description information.
Search for API platform by Workato and select it as your app.
Select the New API request trigger.
 New API request trigger
Complete the following steps to configure your request schema:
Go to the Request schema section and click + Add Field.
Enter reason in the Name and Label fields.
Use the Data type drop-down menu to select String.
Use the Optional drop-down menu to select No.
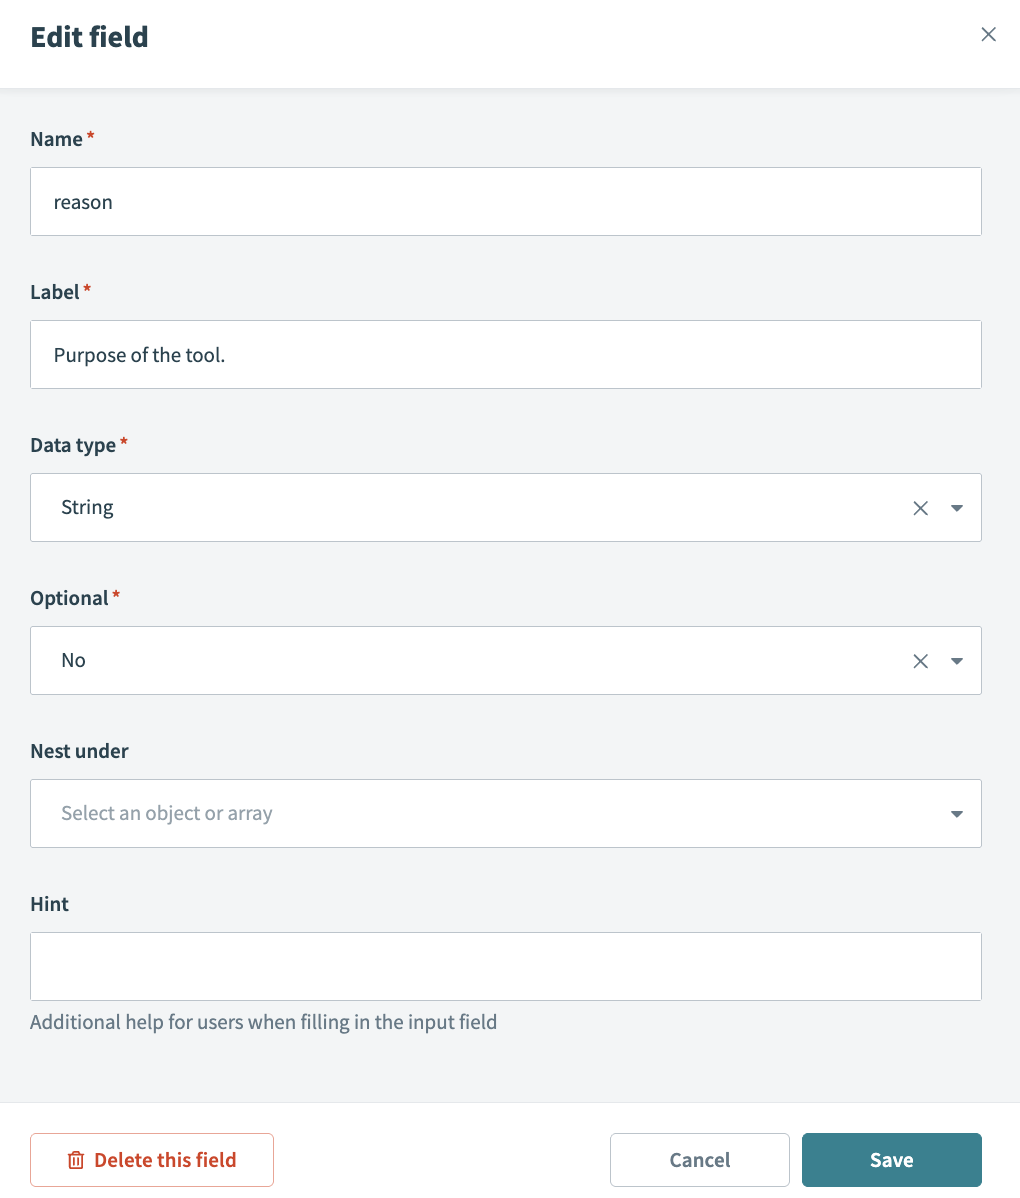 Reason field
Click Save.
Return to the Request schema section and click + Add Field.
Enter payload in the Name and Label fields.
Use the Data type drop-down menu to select Object.
Use the Optional drop-down menu to select No.
Click Save.
Return to the Request schema section and click + Add Field.
Enter description in the Name and Label fields.
Use the Data type drop-down menu to select String.
Use the Optional drop-down menu to select No.
Use the Nest under drop-down menu to select payload.
Click Save.
Return to the Request schema section and click + Add Field.
Enter title in the Name and Label fields.
Use the Data type drop-down menu to select String.
Use the Optional drop-down menu to select No.
Use the Nest under drop-down menu to select payload.
Click Save.
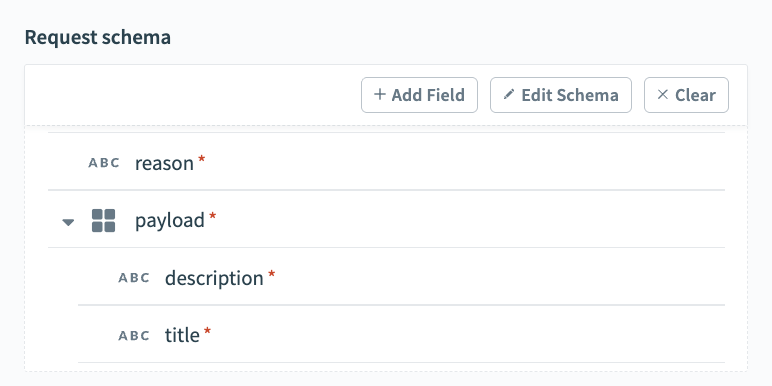 Request schema
Complete the following steps to configure your request responses:
Go to the Responses section and click Add response.
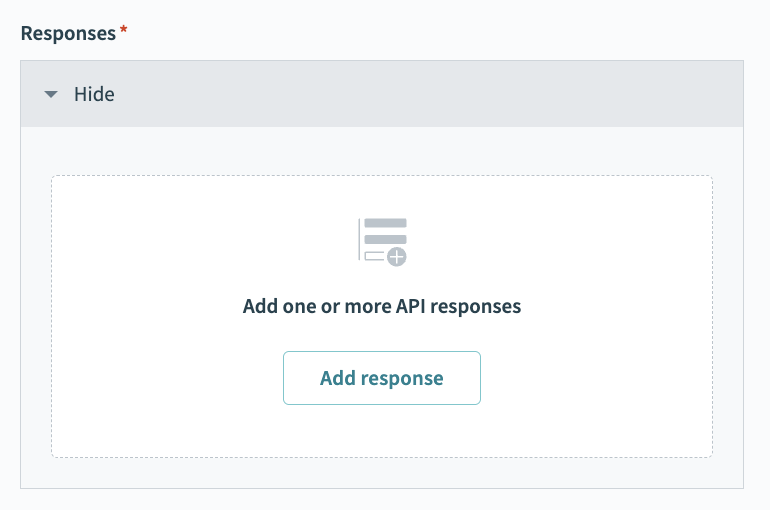 Click Add response
Enter 200 in the Name field.
Use the HTTPS status code standard response drop-down menu to select 200 - OK.
Go to the Response schema section and click add fields manually.
Enter response in the Name and Label fields.
Use the Data type drop-down menu to select String.
Use the Optional drop-down menu to select No.
Click Save.
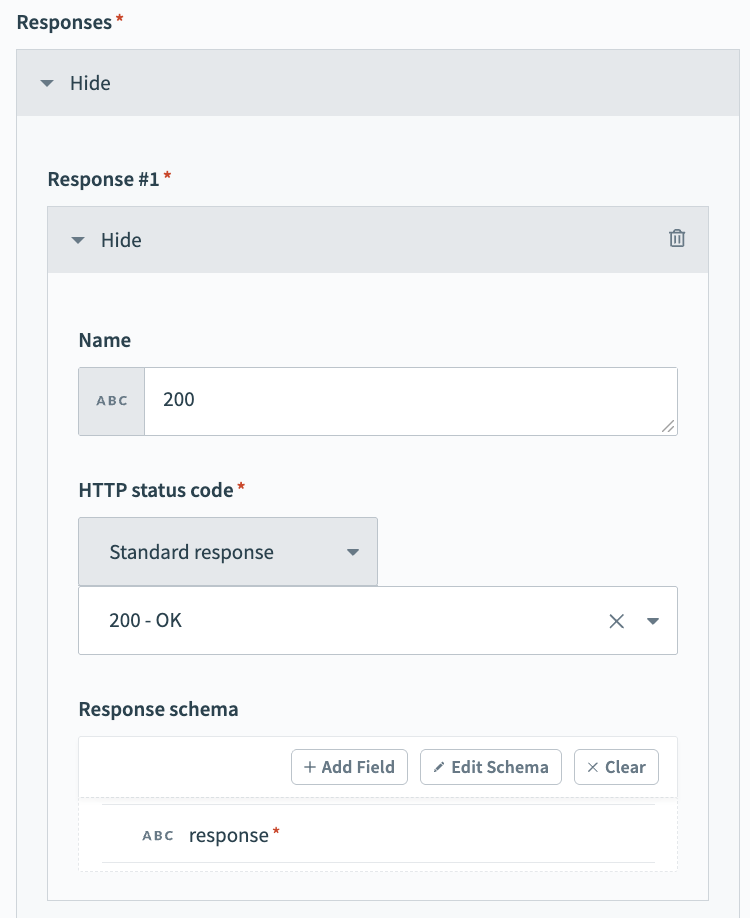 Response schema
Click + Add step and select Action in app.
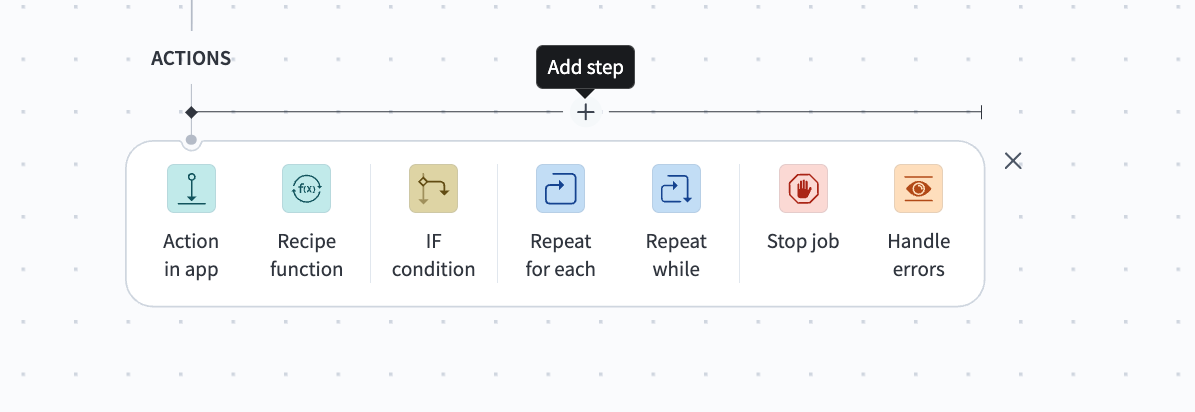 Click Add step > Add action in app
Set up your Create issue in GitHub action.
Create issue in GitHub action setup
This step creates a new GitHub issue with the title and description you provide in your LLM agent chat.
Search for GitHub and select it as your app.
Select the Create issue action.
Go to Organization and ensure that Select organization is selected.
Use the Select organization drop-down menu to select the GitHub organization you plan to use.
Go to Repository name and use the drop-down menu or manually enter the GitHub repository you plan to use.
Map the titleStep 1 datapill to the Issue title field.
Map the descriptionStep 2 datapill to the Body field.
 Map the descriptionStep 2 datapill to the Body field
Click Save.
Click + Add step and select Action in app.
Set up your Respond to API request action.
Respond to API request action setup
This step instructs your LLM agent to respond with the 200 response you configured in the New API request trigger response schema. It also tells the LLM to include the newly created issue URL in the response.
Search for API platform by Workato and select it as your app.
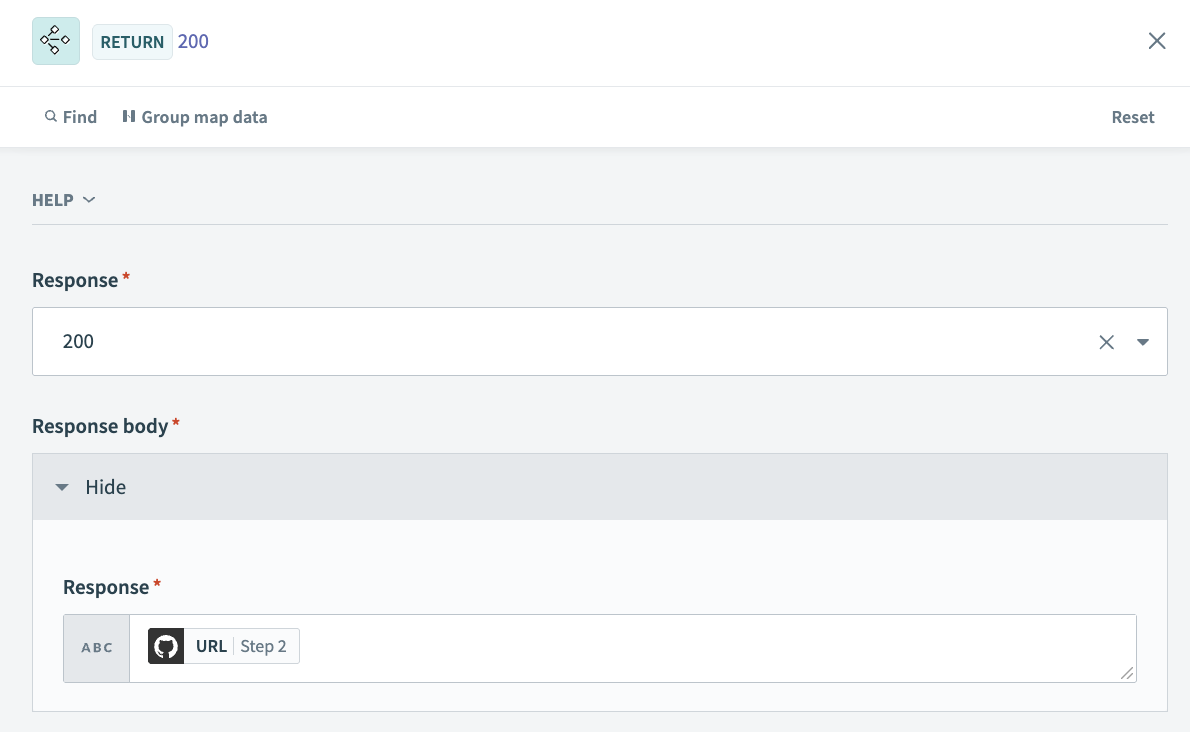
Select the Respond to API request action.
Use the Response drop-down menu to select 200. This is the response you configured in the New API request trigger setup.
Expand the Response body section.
Map the GitHub URLStep 2 datapill to the Response field. This instructs your LLM to provide the URL link to the new issue in your chat.
 Respond to API request
Click Save.
Create an API collection.
Create an API collection
This step creates a new API collection where you can store endpoints that you plan to use as MCP tools.
Go to Platform > API platform.
Click the API collections tab.
Click + Create new collection.
Ensure that API recipe collection is selected and then click Next.
Ensure that Use existing recipes is selected.
Use the Recipe folder drop-down menu to select the folder where you plan to store the API collection.
Deselect all endpoints.
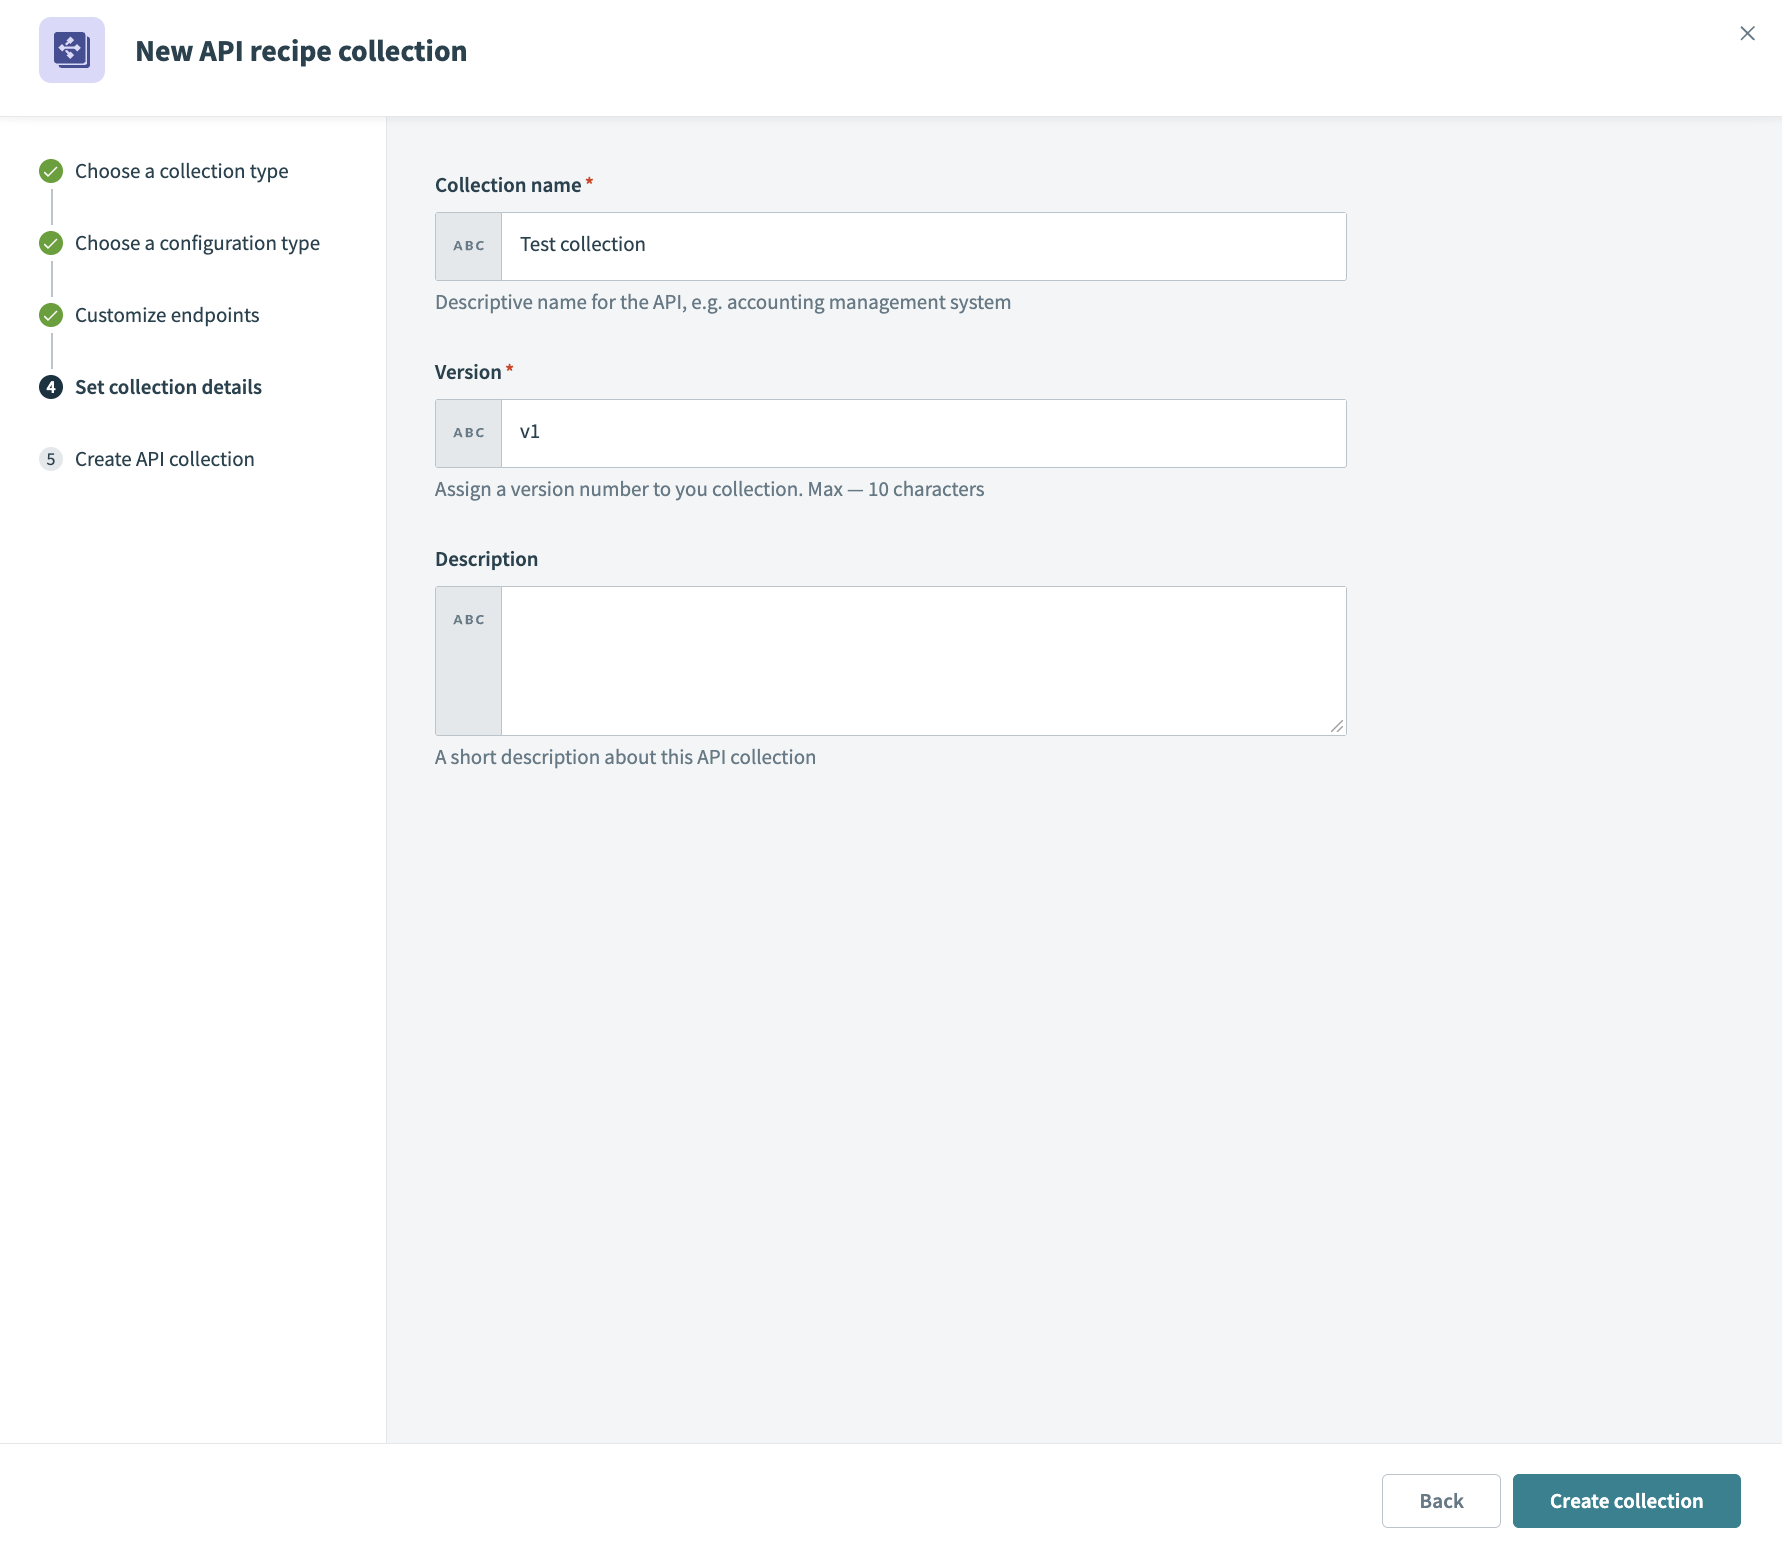
Enter a name in the Collection name field.
Enter a version number for your collection. For example: v1.
Optional. Provide a description for the collection in the Description field.
Click Create collection.
 Click Create collection
Create a new endpoint.
Create an endpoint
This step creates a new endpoint based on your API request recipe and stores it in your API collection.
Go to Platform > API platform.
Click the API collections tab.
Select the API collection you created in the preceding steps.
Click Create new endpoint.
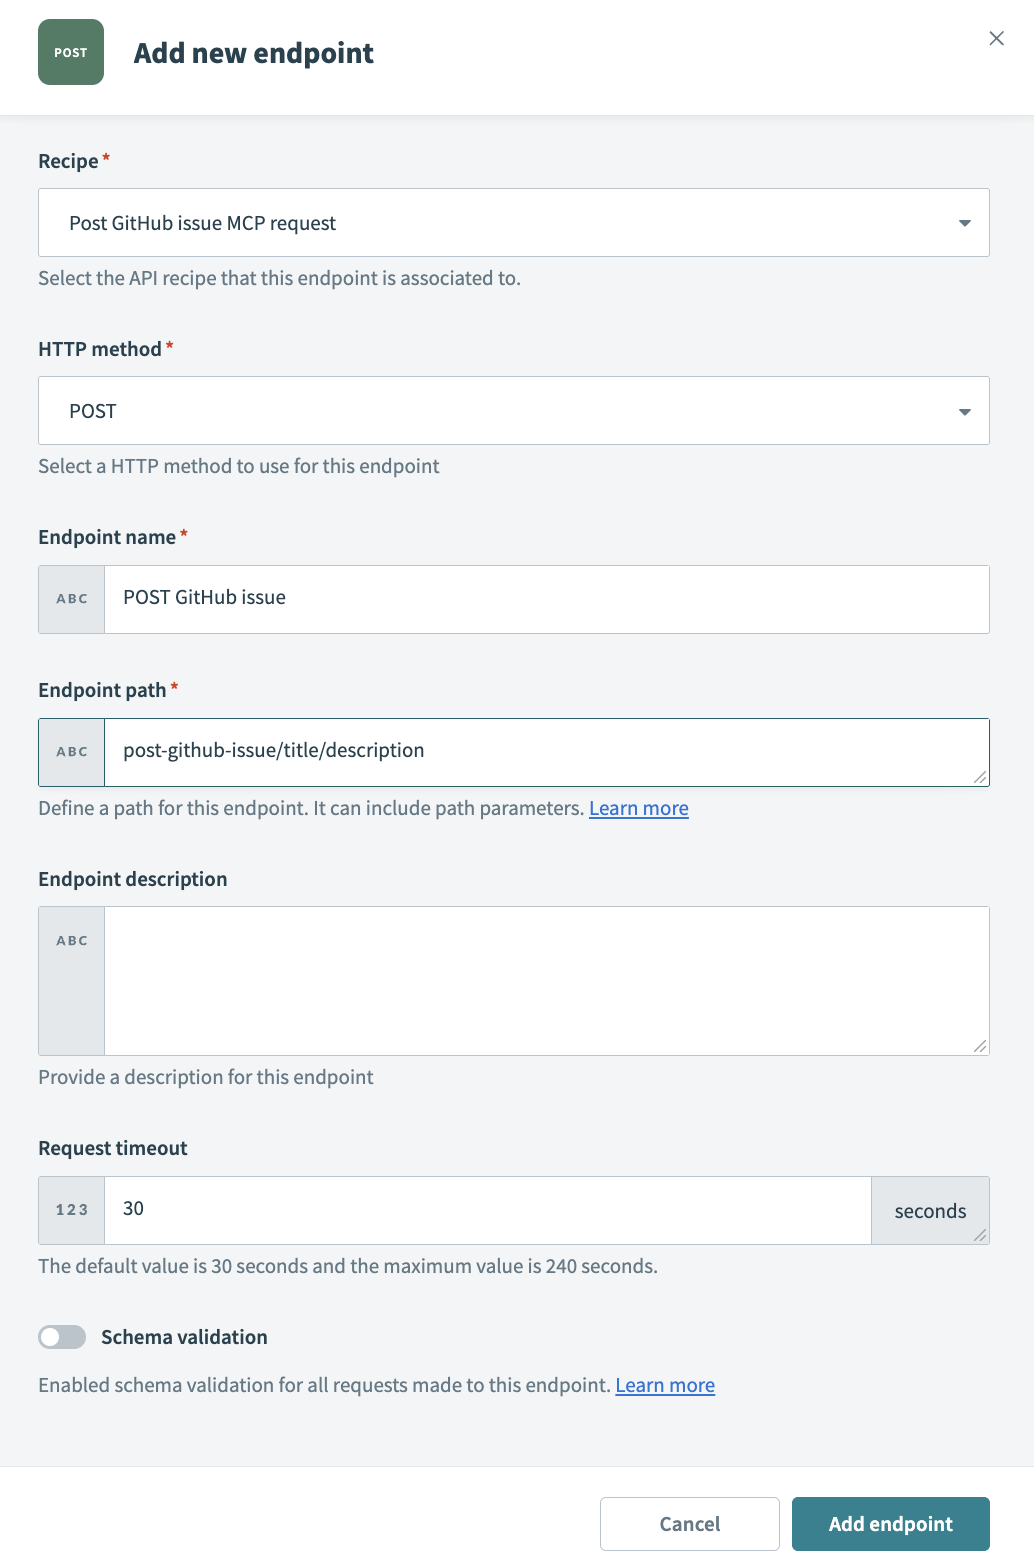
Use the Recipe drop-down menu to select the API request recipe you created in the preceding steps.
Use the HTTP method drop-down menu to select POST.
Enter a name for your endpoint in the Endpoint name field.
Define a path for your endpoint in the Endpoint path field. Your endpoint path can include parameters. This use case uses the following endpoint path and parameters: post-github-issue/title/description. Don't include a \ in your endpoint path. This is automatically appended after you create the endpoint.
 Define a path for your endpoint
Optional. Provide a description in the Endpoint description field.
Optional. Set a timeout value in the Request timeout field. The default value is 30 seconds and the maximum value is 240 seconds.
Click Add endpoint.
Create an MCP server.
Create an MCP server
This step creates a new MCP server and add your endpoint to it. Endpoints you add to the MCP server become tools you can use in your LLM.
Go to AI Hub, select the MCP servers tab, and click + Create an MCP server. Alternatively, you can create an MCP server from the Projects page by clicking Create > MCP server or pressing C+M.
Select New MCP server.
Enter a name for your MCP server in the Server name field. For example: GitHub MCP tool.
Optional. Provide a description of the MCP server in the Describe how this MCP server will be used field.
Use the Location drop-down menu to select the project that contains the API recipe.
Select API collection as your asset type.
Select the API collection you created in the preceding steps.
Click Start building. Your MCP automatically displays the Overview tab.
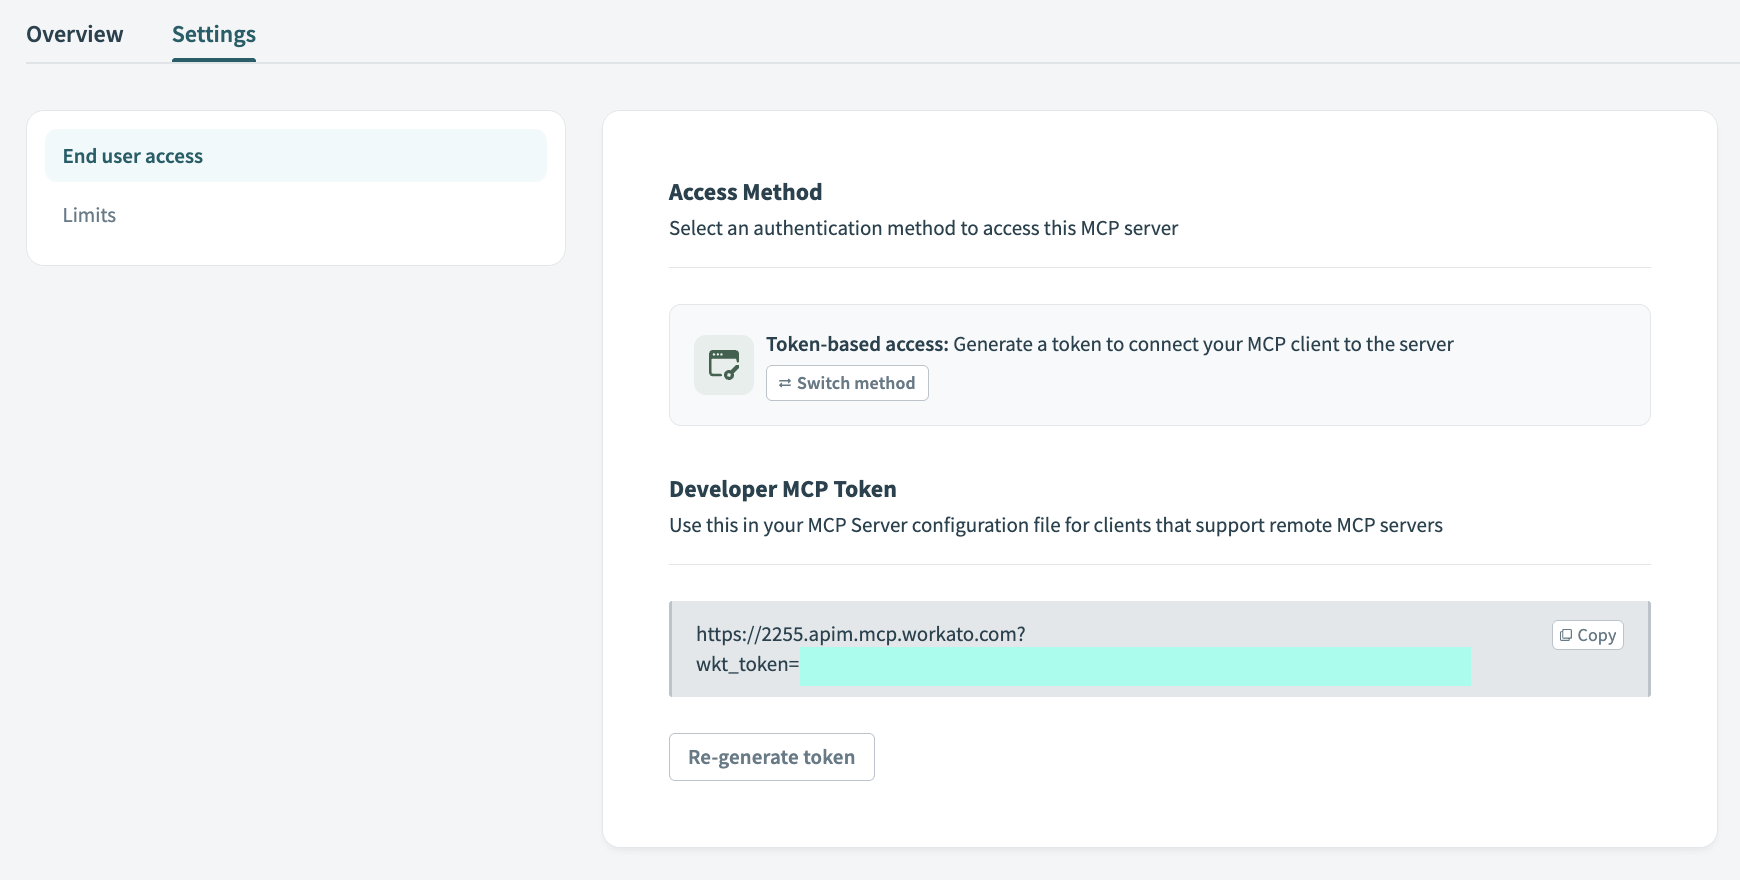
Click Settings > End user access.
Go to the Developer MCP Token section and click the Copy button to copy your MCP server URL and token for use in later steps.
 Copy the MCP URL
Go to the LLM where you plan to create an MCP integration and complete the following configuration steps:
TESTED LLMS
This use case has been tested with ChatGPT, Claude, and Cursor. Configuration and usage may vary with other LLMs.
Configure your MCP integration in ChatGPT.
ChatGPT MCP configuration
This step configures a new MCP server connector in your OpenAI account that enables you to use natural language commands in ChatGPT to create a new GitHub issue.
Go to your ChatGPT account.
Go to Settings > Apps & Connectors > Advanced settings and enable the Developer mode toggle.
Go to Settings > Apps & Connectors.
Click Create. This button is only visible when the Developer mode toggle is enabled.
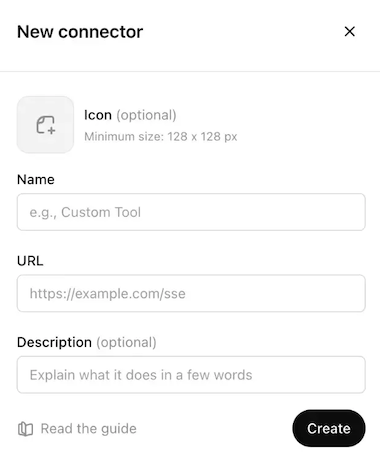
Enter a name for your MCP connector in the Name field.
 Configure your ChatGPT MCP connector
Paste your MCP URL and token in the URL field.
Optional. Enter a description in the Description field.
Use the Authentication drop-down menu to select No Auth.
Select the checkbox to accept the risk of adding a custom MCP server.
Click Create.
Create a new chat in ChatGPT to use your MCP tools.
Configure your MCP integration for Claude.
Claude MCP configuration
This step configures a new MCP server connector in your Anthropic account that enables you to use natural language commands in Claude to create a new GitHub issue.
Go to Settings > Connectors.
Click + Add new connector.
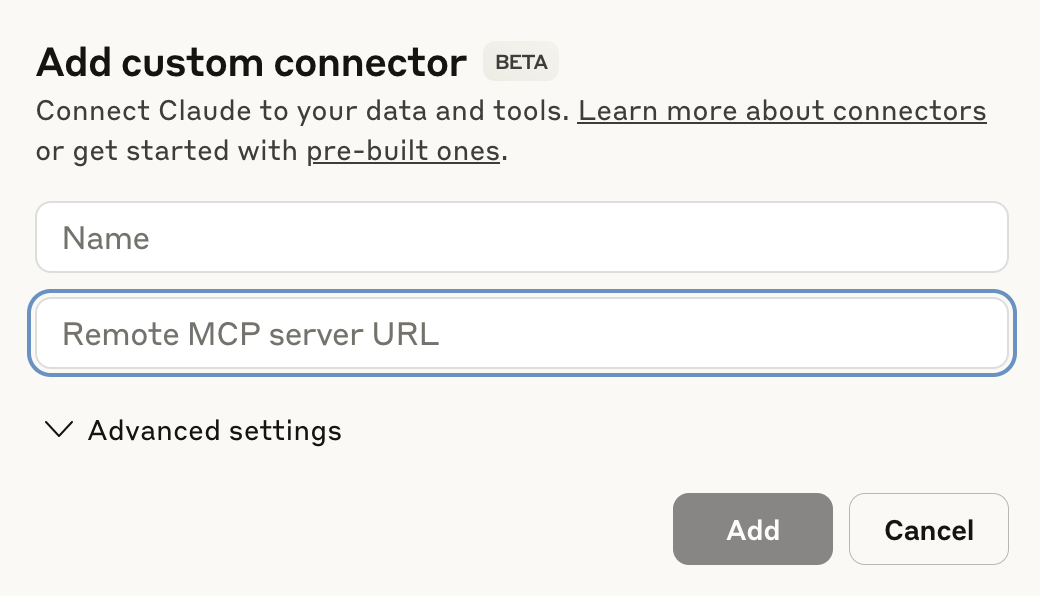
Enter a name for your MCP connector in the Name field.
 Configure your Claude MCP connector
Paste your MCP URL and token into the Remote MCP server URL field.
Click Add. The newly created MCP connector appears in the list of connectors.
Click Configure.
Use the permissions drop-down menu to select Always ask permission or Allow unsupervised. Always ask permission is selected by default.
Create a new chat in Claude to use your MCP tools.
Configure your MCP integration for Cursor.
Cursor MCP configuration
This step configures a new MCP server connector in your Cursor account that enables you to use natural language commands in your Cursor agent chat to create a new GitHub issue. This process authenticates with an MCP URL and authentication token. Refer to Cursor MCP remote server configuration with Workato Identity authentication if you plan to authenticate with Workato Identity.
Go to Settings > Cursor settings.
Click MCP & Integrations in the sidebar.
Click + New MCP Server to open the mcp.json file.
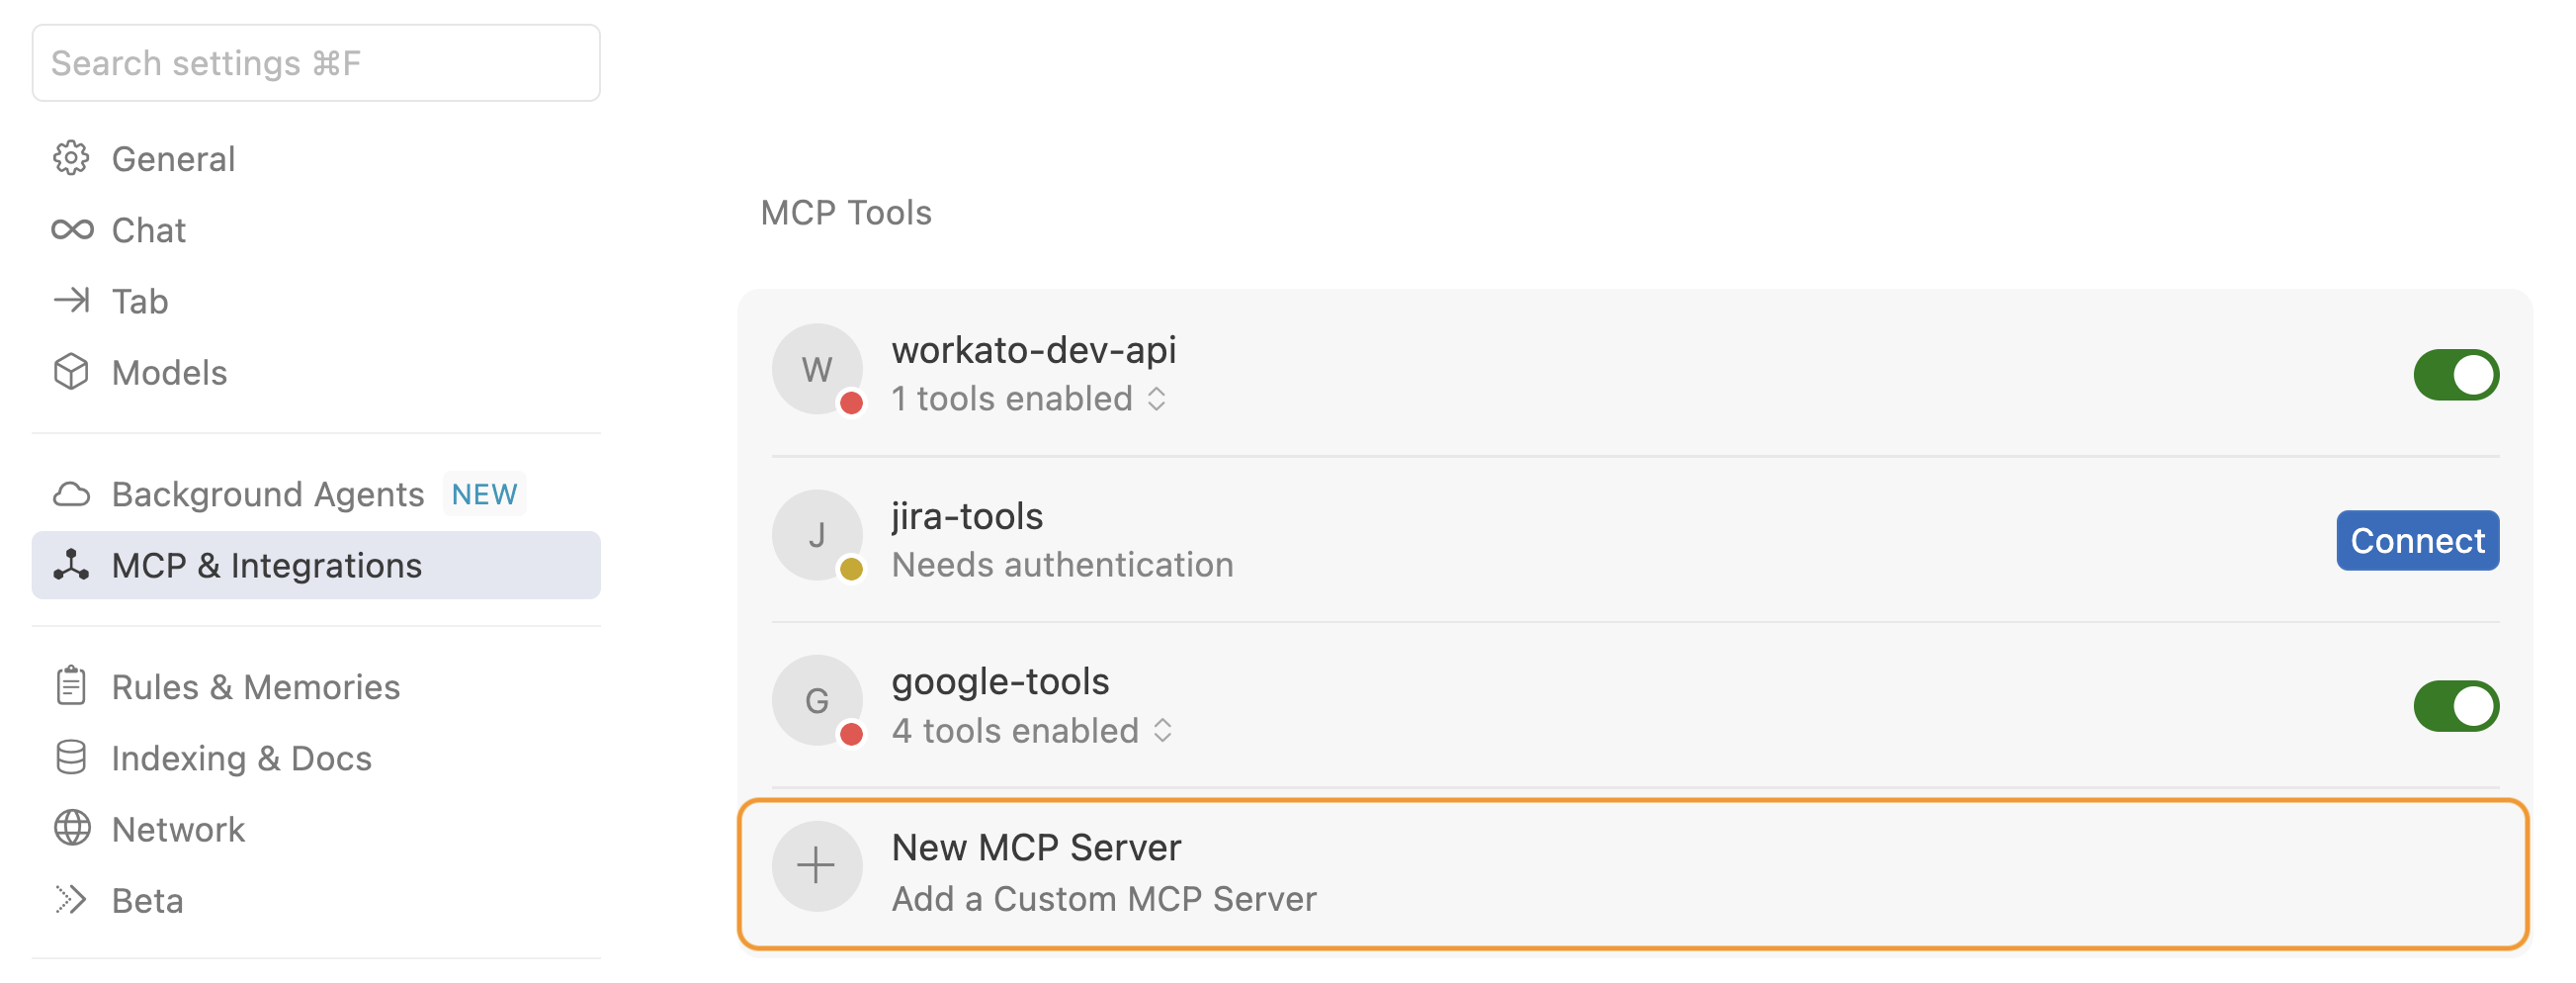 Click + New MCP Server
Update the configuration to use the MCP URL and token you copied in the preceding steps. For example:
{
  "mcpServers": {
    "snowflake-tools": {
      "url": "https://2255.apim.mcp.workato.com?wkt_token=YOUR_API_TOKEN"
    },
    "github-tools": {
      "url": "https://387.apim.mcp.workato.com/abc247/example-collection-name-v1?wkt_token=YOUR_API_TOKEN"
    }
  }
}Save your changes.
Create a new chat with your Cursor agent to use your MCP tools.
You must start a new chat with your agent. Cursor agents only have access to the tools and capabilities available when a chat begins. Agents can't detect or use new MCP configurations, servers, or tools added after starting a chat.
Last updated: