# Sync MySQL records to Salesforce in batches recipe
This use case guides you through connecting MySQL and Salesforce to Workato to create a powerful automation.
# What does this recipe do?
This recipe syncs records from MySQL to Salesforce in batches. Specifically, this recipe demonstrates how to upsert contacts from MySQL to Salesforce. You can adapt this recipe for other Salesforce objects such as accounts, leads, opportunities, and more.
# How can I use this recipe?
This recipe can be applied in various ways to automate workflows, including but not limited to the following use cases:
- User synchronization: Seamlessly sync user records from MySQL to Salesforce, ensuring accurate and up-to-date information for all users.
- Account management: Automatically transfer customer data from MySQL to Salesforce as Accounts, maintaining consistency across platforms.
- Opportunity tracking: Sync opportunity details from MySQL to Salesforce, enabling sales teams to have access to the latest pipeline information.
# Create your recipe
Complete the following steps to create a recipe that syncs records from MySQL to Salesforce in batches.
USE CASES ARE INTENDED AS EXAMPLES ONLY
This use case serves as an example. Modifications to triggers, actions, or conditional logic may be necessary to adapt this recipe to your workflow.
Sign in to Workato.
Select the project where you plan to create the recipe.
Create connections for MySQL and Salesforce:
Create a MySQL connection.
# Create a MySQL connection
This step creates a connection between Workato and your MySQL account.
Click Create > Connection.
Search for and select MySQL on the New connection page.
Provide a name for your connection in the Connection name field.
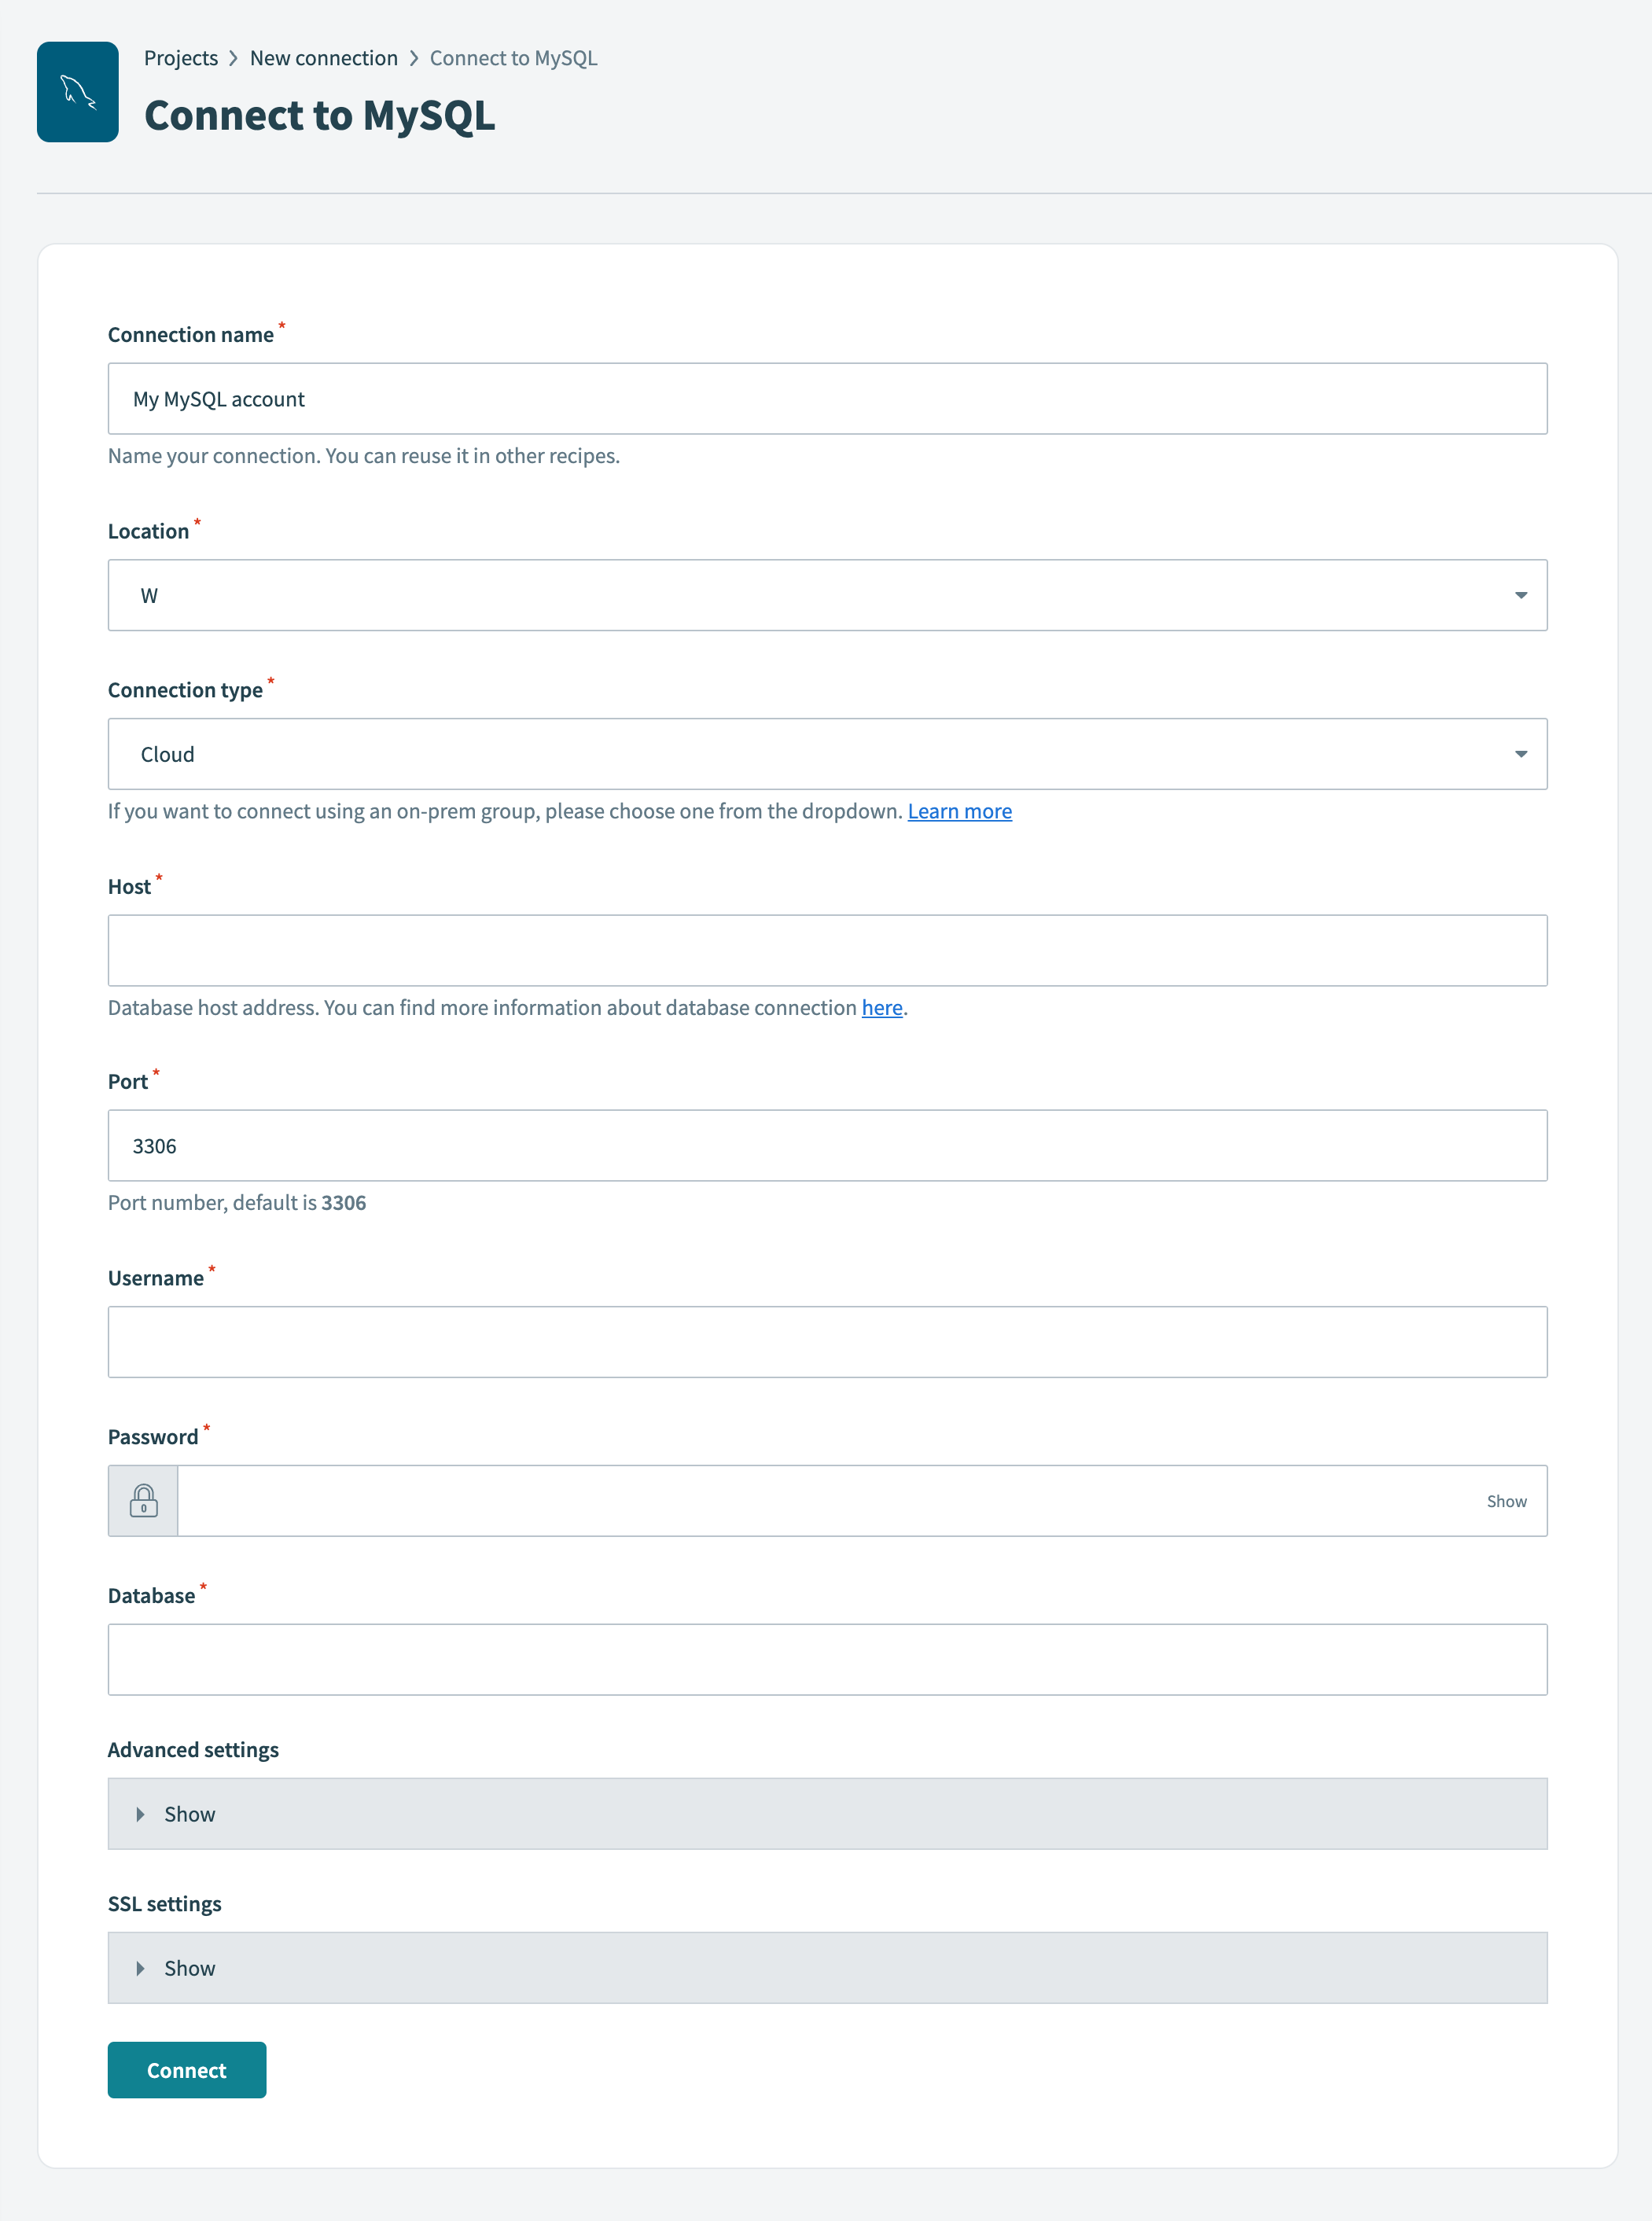 MySQL connection setup
Use the Location drop-down menu to select the project where you plan to store the connection.
Use the Connection type drop-down menu to select the connection method you plan to use. You can select your on-prem group name or select Cloud to use a direct connection.
Enter the database host address in the Host field.
Enter the port number your server runs on in the Port field. The default port number is 3306.
Enter the username to connect to MySQL in the Username field.
Enter the password associated with your username in the Password field.
Enter the name of the MySQL database you plan to connect to in the Database field.
Optional. Expand Advanced settings to configure the following connection settings:
Specify whether the MySQL connection should use improved datetime handling in the Use improved datetime handling field. The default is Yes for all new connections. This setting affects all actions that insert rows into MySQL.
Select the local timezone of your database in the Database timezone field. When you provide a timezone for datetime values, Workato converts it to the specified timezone before insertion. The default is UTC.
Refer to the Improved datetime handling section for more information.
Optional. Expand SSL settings to configure the following fields:
Provide the X509 server certificate in .pem format in the Server certificate field.
Provide the X509 client certificate in .pem format in the SSL certificate field.
Provide the RSA client key in .pem format in the SSL certificate key field.
Choose whether the client should trust any certificate chain in the Trust all field. Self-signed server certificates are supported.
Choose whether to match the server certificate name with the domain name in the Verify host field.
Click Connect.
# Permissions required to connect
Your database user account must have at least SELECT permission for the database you plan to access.
For example, to connect to a named database (HR_PROD) in a MySQL instance using a new database user workato, you can use the following queries:
Create a new user dedicated to integration use cases with Workato:
CREATE USER 'workato' IDENTIFIED BY 'password';
This command creates a new user with login access to the MySQL instance. However, this user won't yet have access to any tables.
Grant the user SELECT permission for all tables in HR_PROD:
GRANT SELECT ON `HR_PROD`.* TO 'workato';
Verify the user's permissions by running the following query:
SHOW GRANTS FOR 'workato';
The query returns the minimum permissions required to create a MySQL connection on Workato:
+---------------------------------------------------------------------+
| Grants for workato@%                                                |
+---------------------------------------------------------------------+
| GRANT USAGE ON *.* TO 'workato'@'%' IDENTIFIED BY PASSWORD <secret> |
| GRANT SELECT ON `HR_PROD`.* TO 'workato'@'%'                        |
+---------------------------------------------------------------------+
2 rows in set (0.24 sec)
Create a Salesforce connection.
# Create a Salesforce connection
This step creates a connection between Workato and your Salesforce account.
Click Create > Connection.
Search for and select Salesforce on the New connection page.
Provide a name for your connection in the Connection name field.
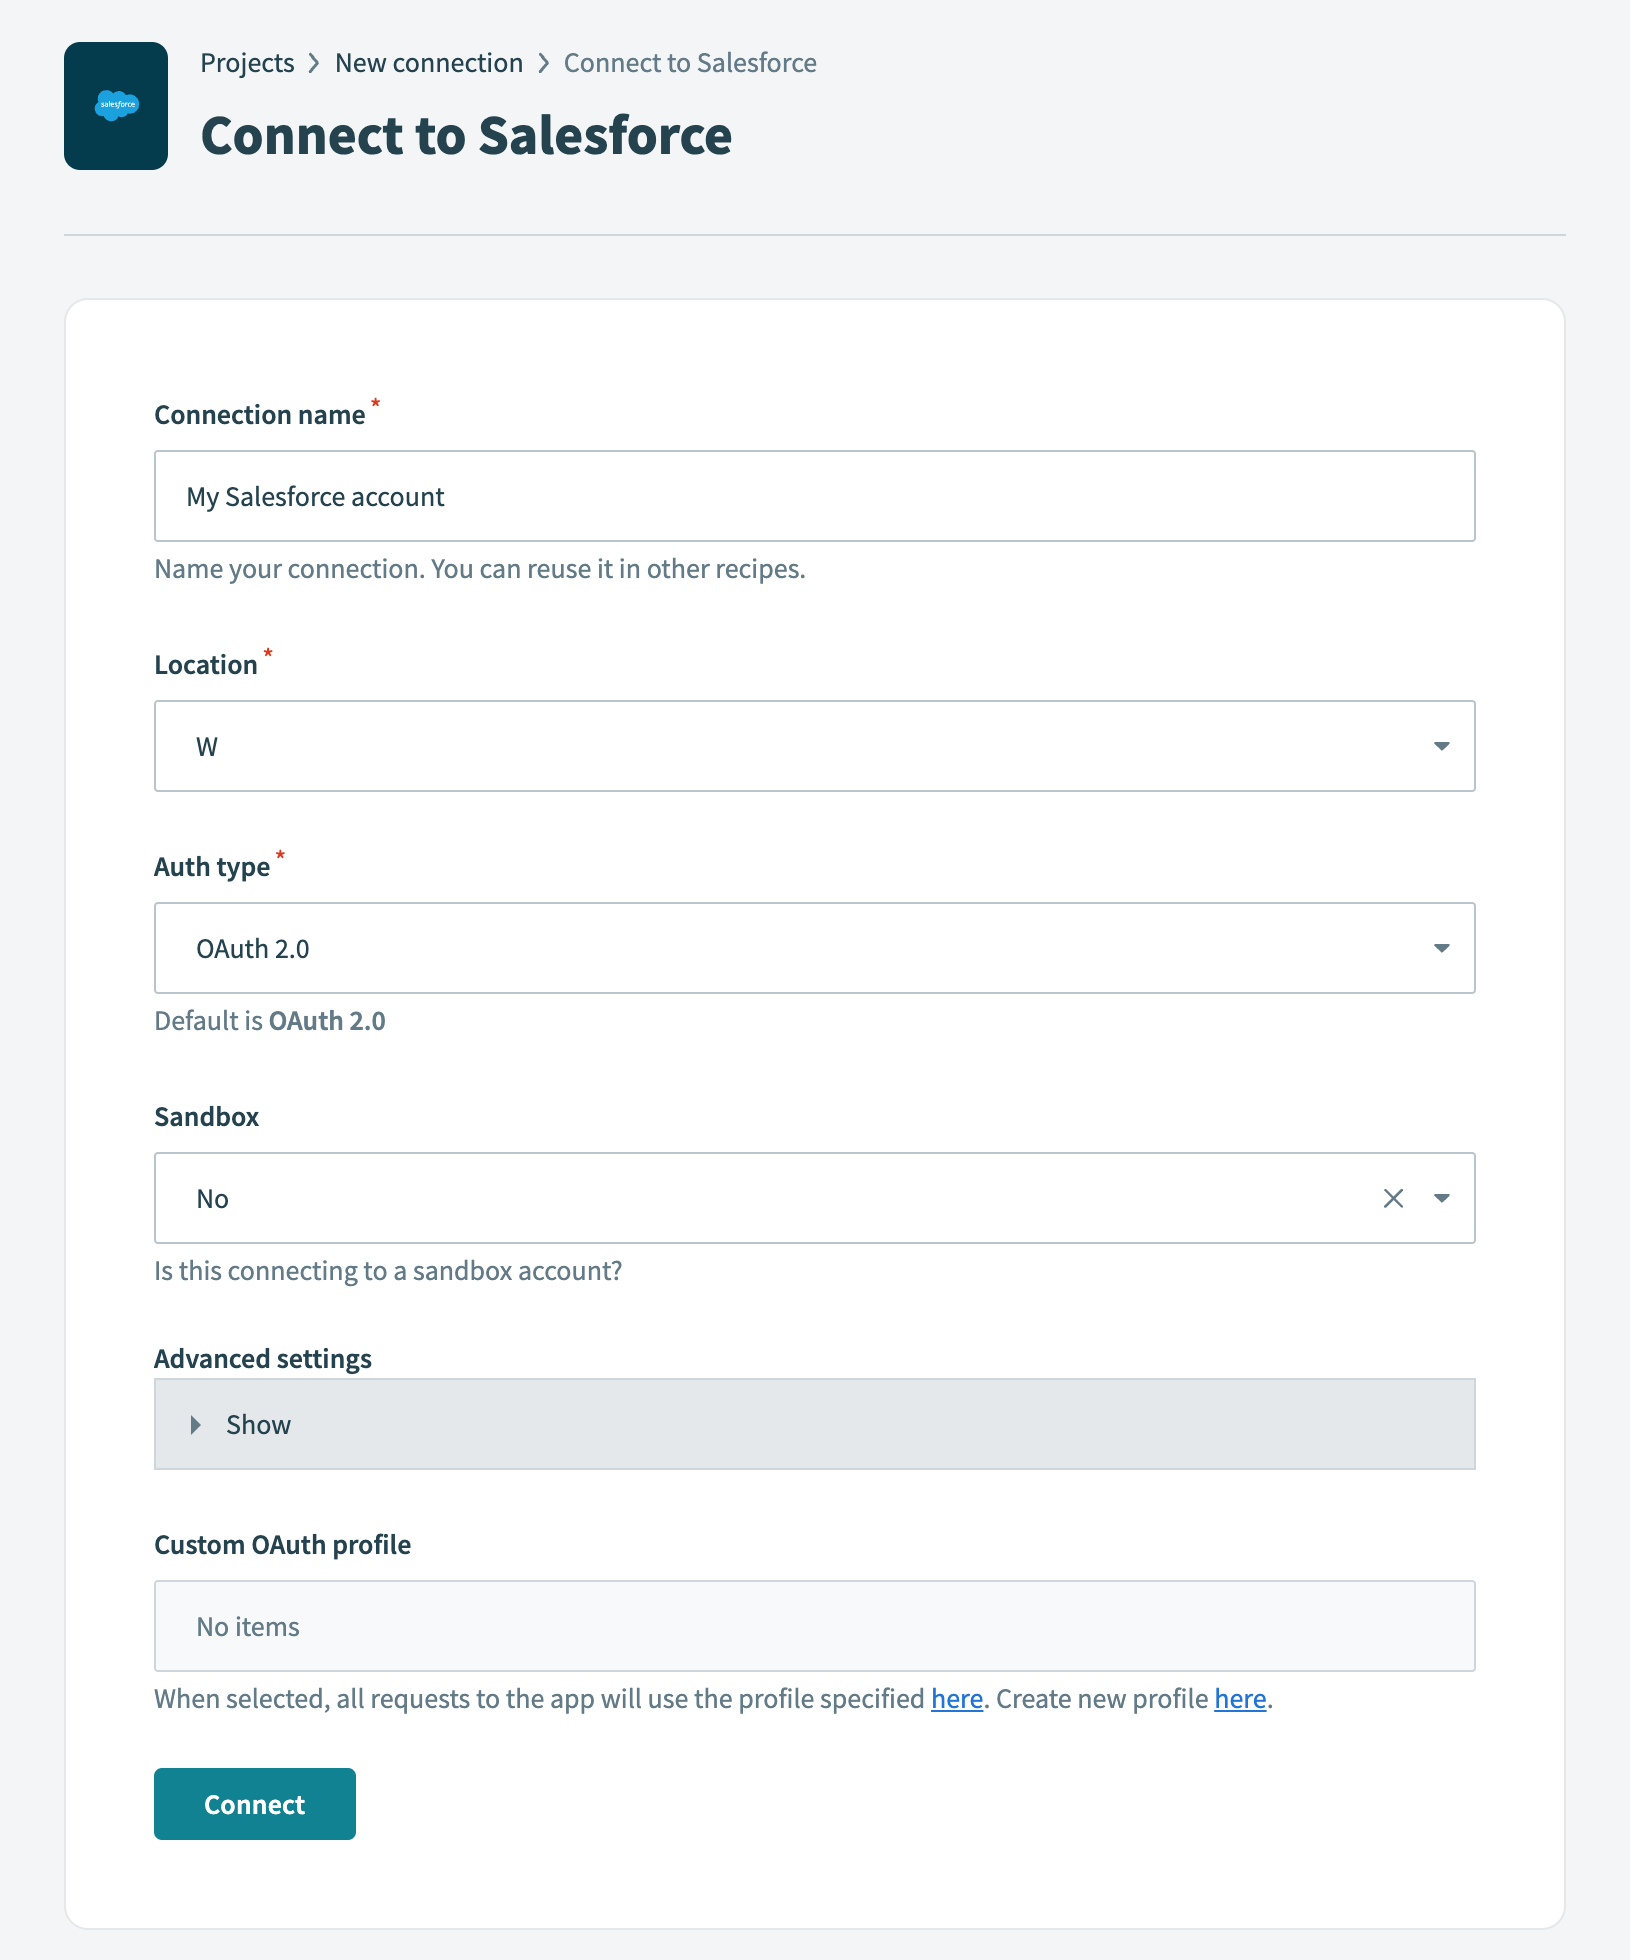 Salesforce connection setup
Use the Location drop-down menu to select the project where you plan to store the connection.
Use the Auth type drop-down menu to select the authentication method. The default is OAuth 2.0.
Use the Sandbox drop-down menu to specify whether the Salesforce account is a sandbox account.
Optional. Expand Advanced settings to configure advanced connection options.
Optional. Use the Custom OAuth profile drop-down menu to select a custom OAuth profile for your connection.
- This custom OAuth profile ensures that the connection is restricted to the same set of scopes you selected for all users with the profile, and the authentication flow uses the client app linked to the custom profile.
Click Connect.
Enter your Salesforce account credentials and click Log In.
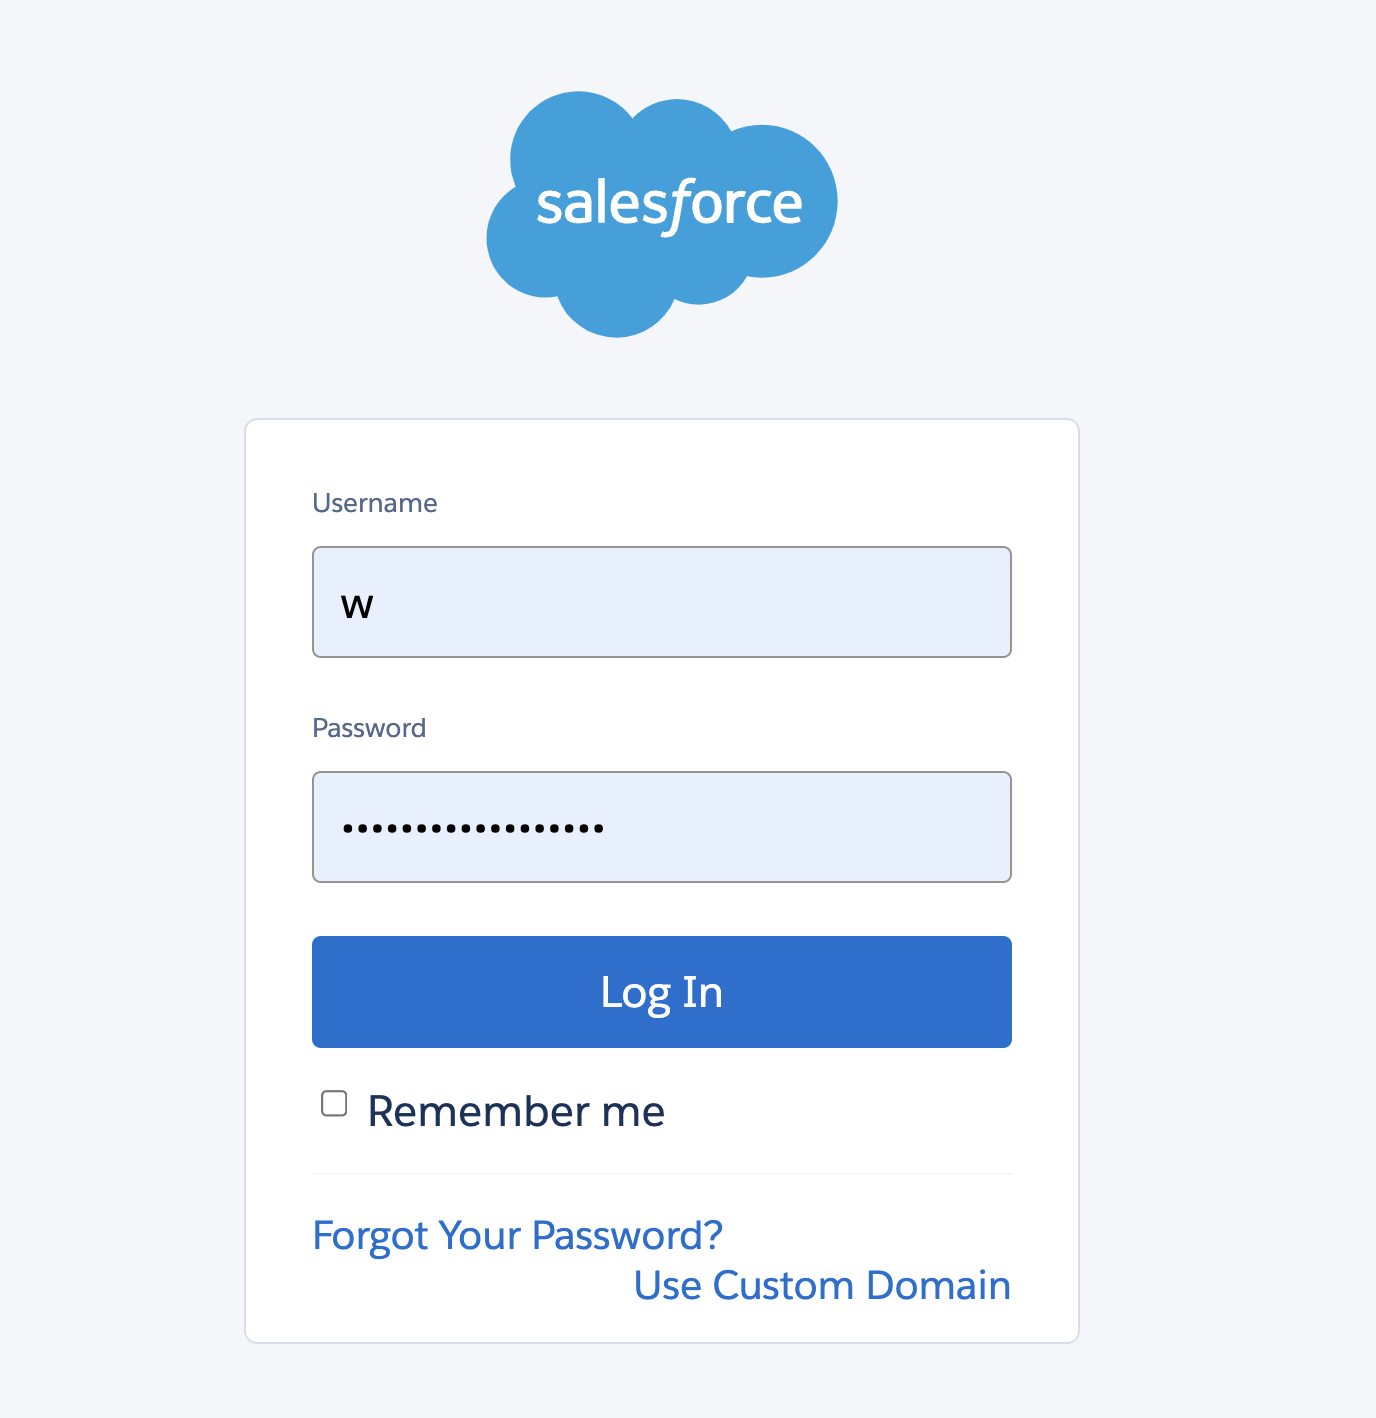 Log in to your Salesforce account
Go back to your project and click Create > Recipe.
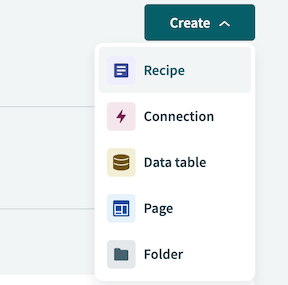 Create a new recipe
Enter a name for your recipe in the Name field.
Select the project where you plan to store the recipe from the Location drop-down menu.
Click Start building.
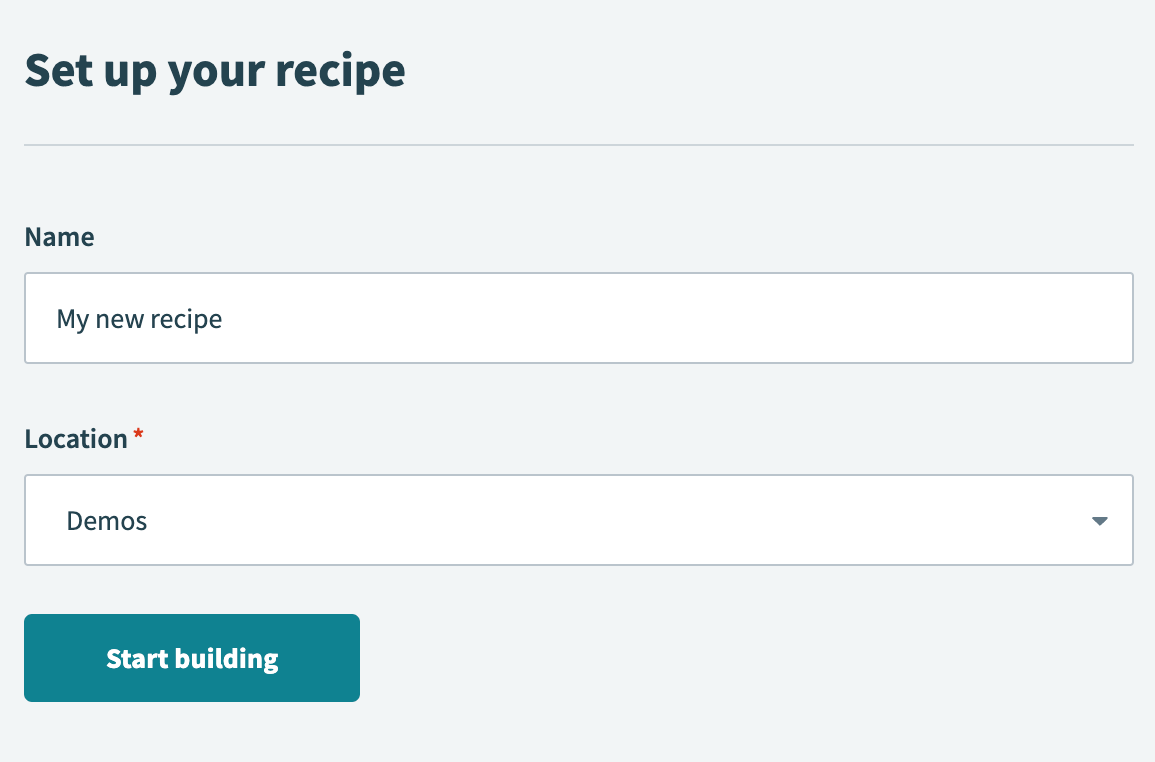 Start building your recipe
Click Pick a starting point, then select Trigger from an app.
Click Select an app and trigger event.
Set up your MySQL New/updated rows batch trigger.
# Set up MySQL New/updated rows batch trigger
This step detects new or updated rows in batches in your MySQL database.
Search for MySQL and select it as your app.
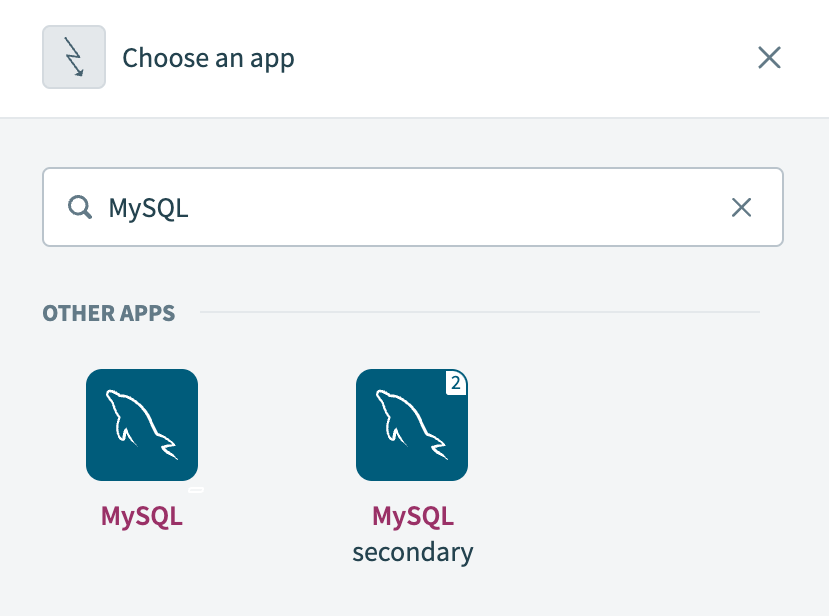 Choose MySQL as your app
Select the New/updated rows batch trigger.
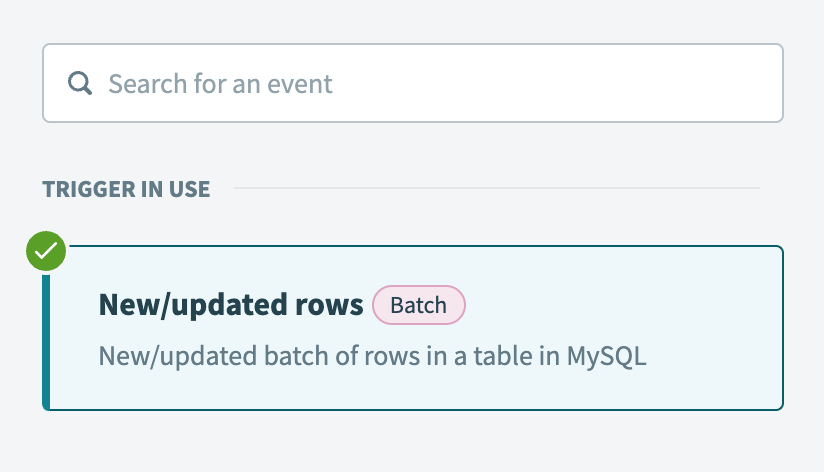 Select the New/updated rows batch trigger
Select the MySQL connection you created in the preceding steps.
Optional. Specify how frequently this trigger should check for new events in the Trigger poll interval field. This field defaults to five minutes if left blank.
Select the table you plan to monitor for new or updated rows in the Table drop-down menu.
This example monitors a table named contacts for new or updated rows.
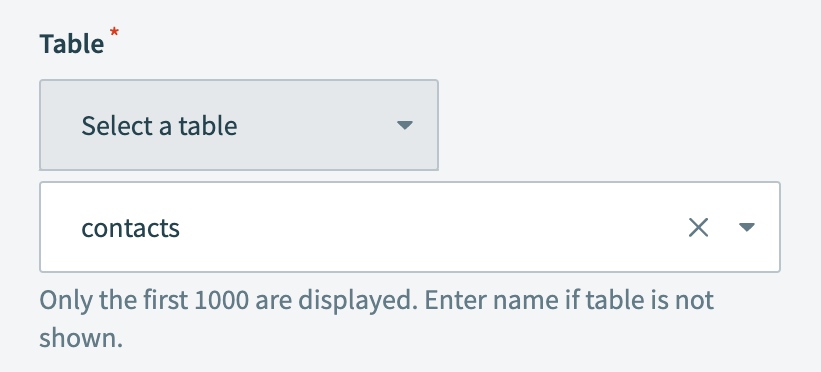 Select your MySQL table in the Table field
Select a unique key column to filter out duplicate rows in the Unique key field. This column should be unique and auto-incrementing to ensure that no trigger events are missed.
This example uses a column named id as the unique key.
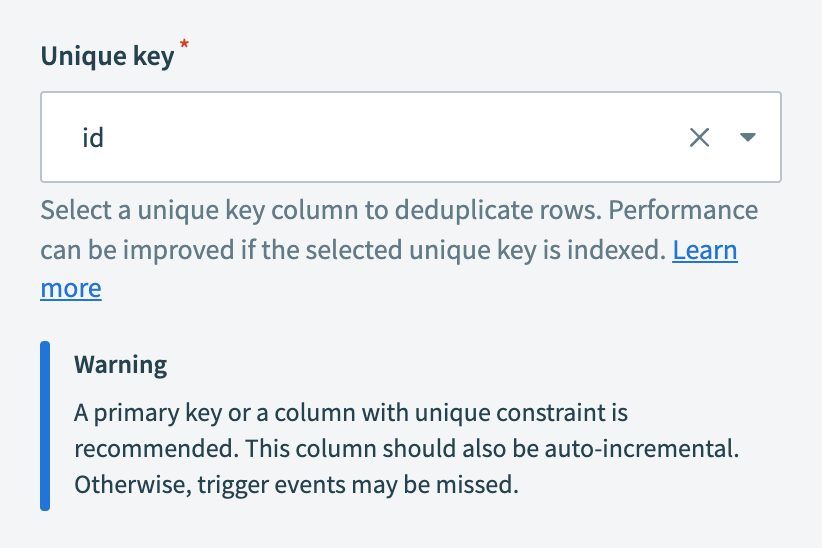 Select your unique key
Select a column to identify updated rows in the Sort column. Only timestamp columns can be used as a sort column.
This example selects a column named last_updated for this field.
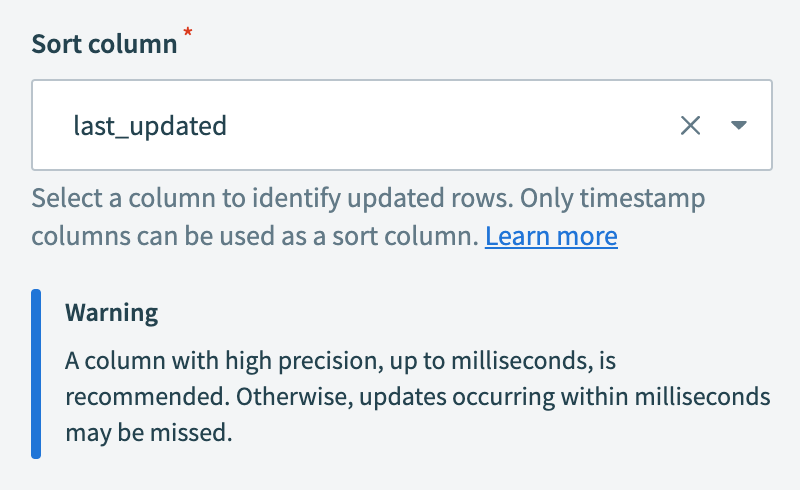 Select the sort column
This MySQL column has the TIMESTAMP data type and is automatically updated with the current date and time whenever the row is modified. Refer to MySQL's documentation on TIMESTAMP and DATETIME (opens new window) for more information.
Select the size of the returned events batch in the Batch size field. The minimum is 1 and the maximum is 100. The default is 100.
Optional. Choose columns to be returned from the selected table in the Output columns field. Leave this field blank to return all columns.
Optional. Specify a condition to filter new rows in the WHERE condition field.
Click Save.
Click + Add step and select Action in app.
 Add action
Set up your Salesforce Upsert records in batches action.
# Set up Salesforce Upsert records in batches action
This step updates or inserts records in batches in Salesforce if there is a new or updated record in the MySQL table. This action upserts Contact records from MySQL into Salesforce in this use case.
Search for Salesforce and select it as your app.
 Choose Salesforce as your app
Select the Upsert records in batches action.
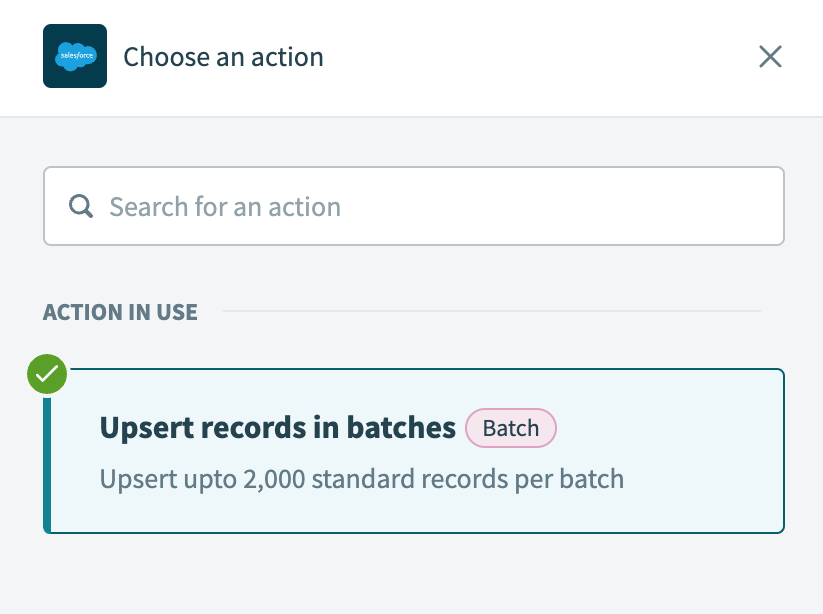 Select the Upsert records in batches action
Select the Salesforce connection you created in the preceding steps.
Select the Salesforce object you plan to upsert in the Object field.
This example uses the Contact object.
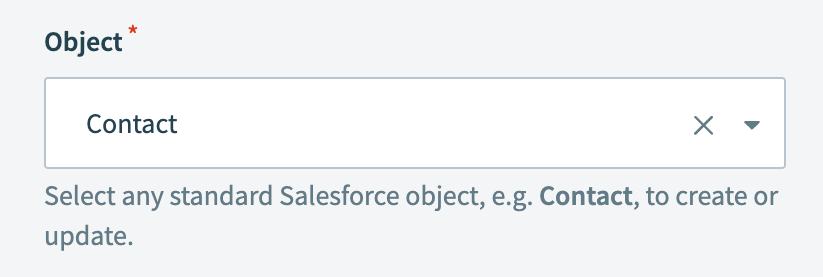 Select the Salesforce object to upsert
Optional. Enter the number of records to be processed in a batch in the Batch size field. The minimum is 1 and the maximum is 200. The default is 200.
Select the external unique identifier to upsert your record in the Primary key field.
This example uses a primary key named MySQL ID.
 Select your primary key
Refer to our Salesforce connector documentation to learn how to create a primary key.
Optional. Use the Relationship fields drop-down menu to select relationship fields to include in the upsert. Refer to our Salesforce object relationships documentation for more information.
Expand Contacts to configure additional settings. The name of this field and the following fields vary depending on your selected object.
Map the Rows Step 1 list datapill to the Contacts source list. Learn more about list input.
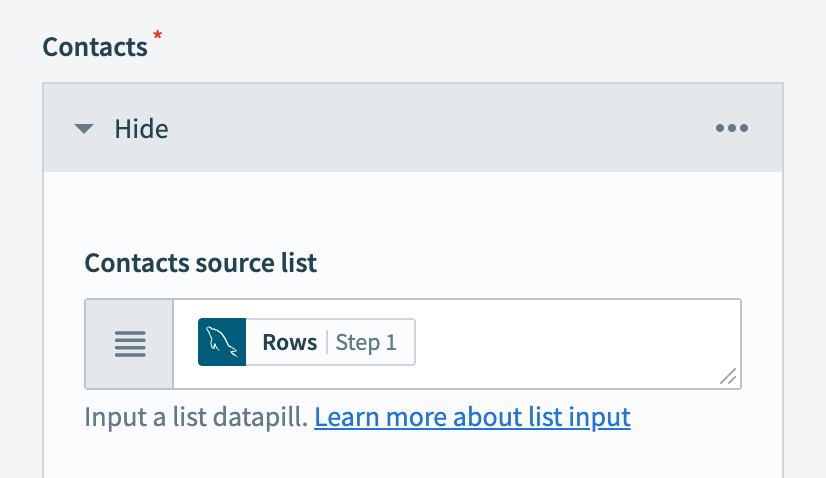 Map the Rows Step 1 datapill
Click Show optional fields to select the fields you plan to map from your MySQL table to Salesforce.
 Show optional fields
This example selects fields corresponding to the records in the contacts MySQL table:
- Business Phone
- First Name
- Last Name
- Title
Map the datapills corresponding to your MySQL table to the fields in the Contact fields section.
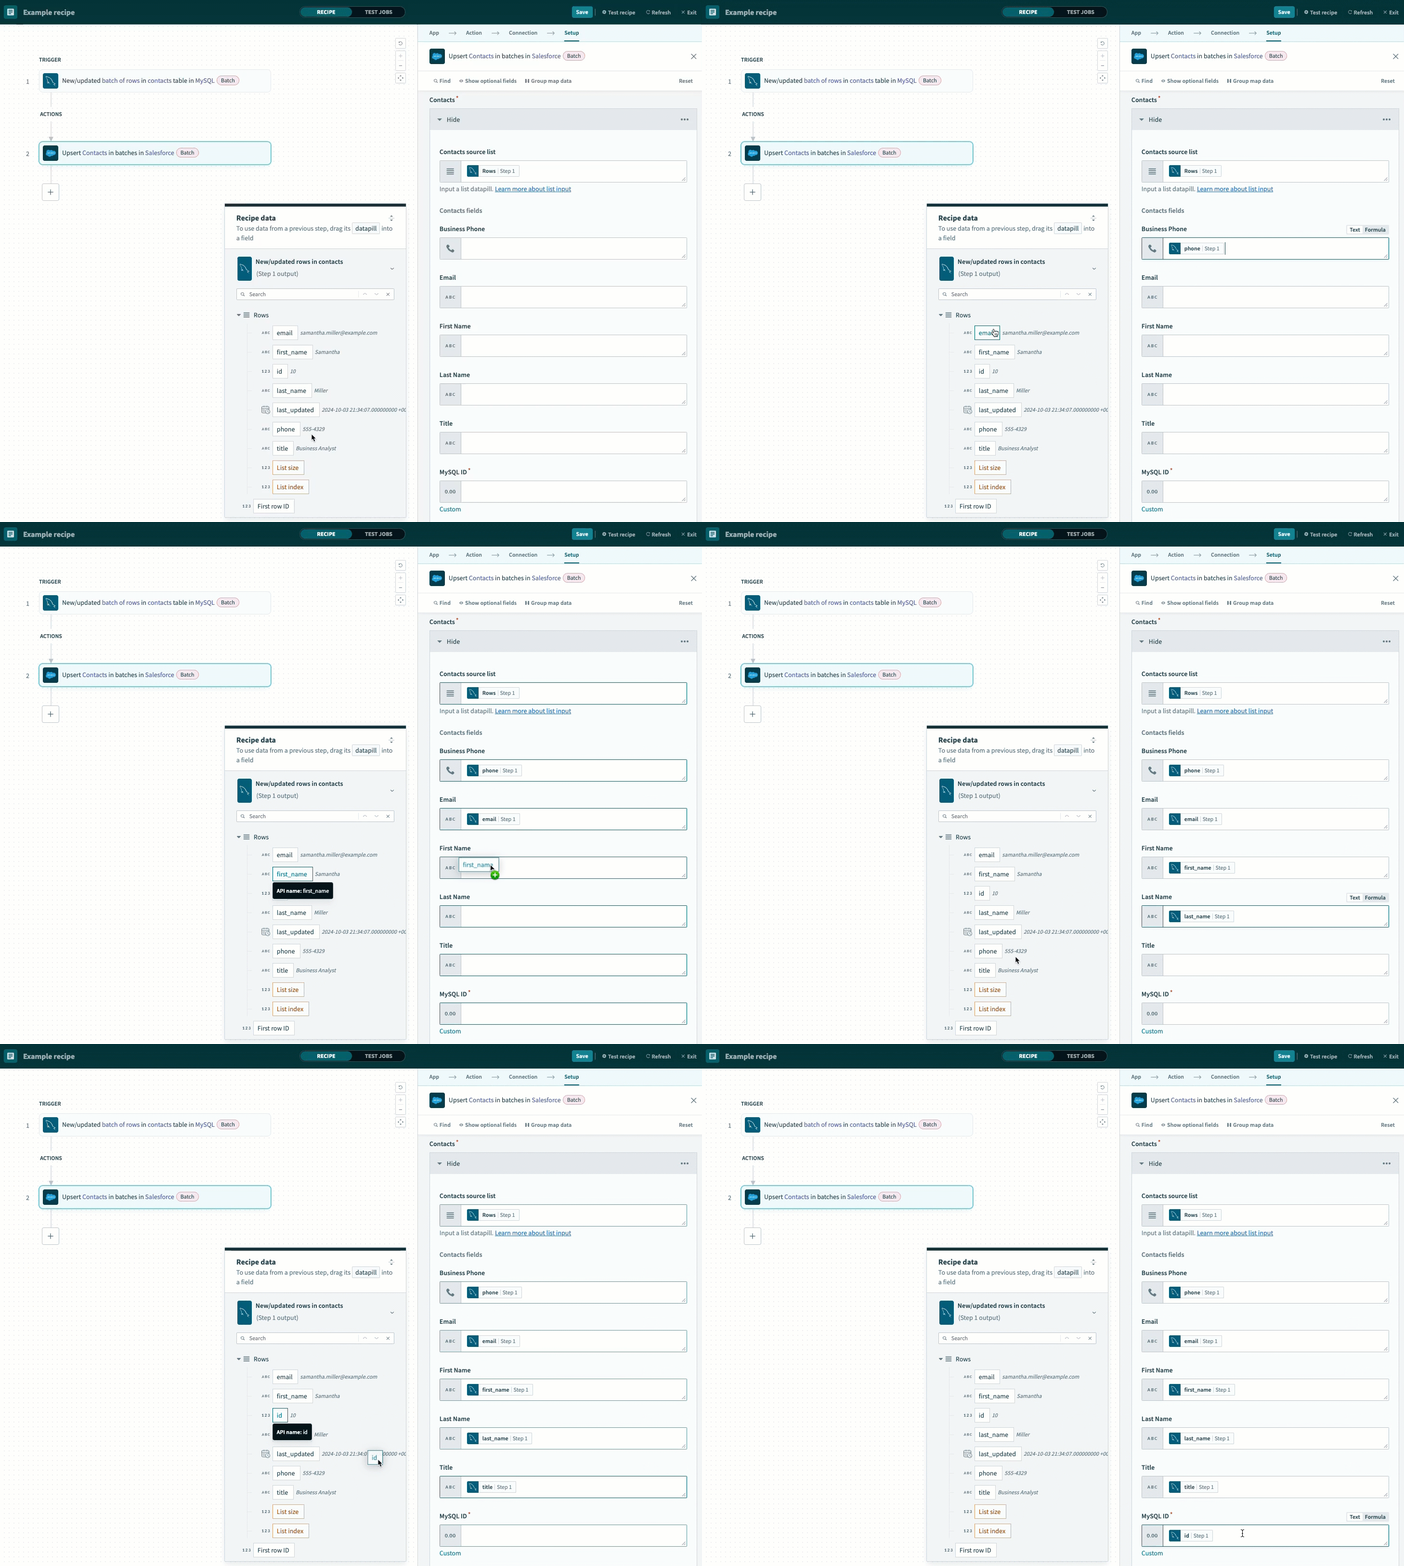 Map the output datapills to the Contact fields section
Map the datapill associated with the MySQL column you selected as your Unique key (Step 1) to the field corresponding to your Salesforce Primary key.
This example maps the id Step 1 datapill to the MySQL ID field, which is the name of the primary key created in Salesforce.
Map the id Step 1 datapill
Optional. Expand Advanced configuration to configure the following setting:
- Roll back records when errors occur?: Choose whether the batch should roll back records if an object upsert fails. If the batch is larger than 200 records, only the affected batch is rolled back. We recommend using the default No setting.
Click Save.
Your Sync MySQL records to Salesforce in batches recipe is ready to test and implement.
Example recipe configuration.
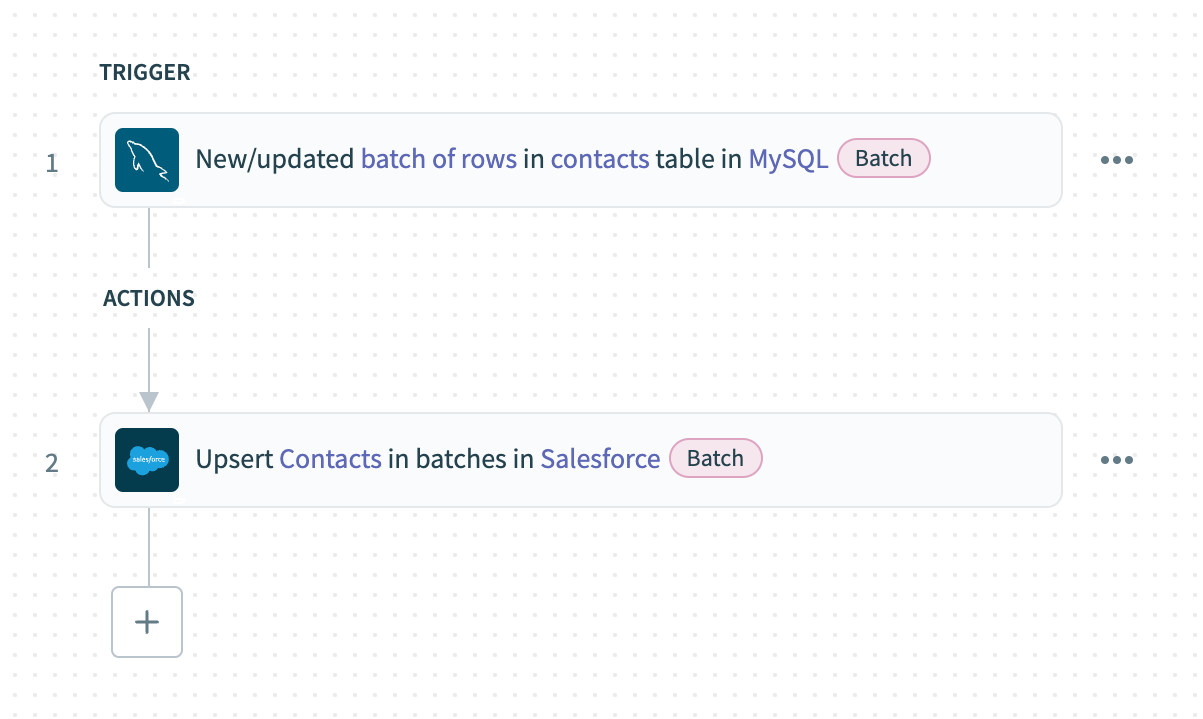 Sync MySQL records to Salesforce in batches recipe
Last updated: 12/22/2025, 5:25:59 PM