Display Salesforce account details with Workbot for Slack recipe
This use case guides you through connecting Salesforce and Workbot for Slack to Workato to create a powerful automation.
What does this recipe do?
This recipe enables Workbot for Slack to display Salesforce customer account details directly within Slack. This automation triggers when a specific command is entered into Slack, bringing critical customer information directly to where discussions are happening without the need to switch applications or disrupt your workflow.
Create your recipe
Complete the following steps to create a recipe that displays Salesforce account details in Slack:
USE CASES ARE INTENDED AS EXAMPLES ONLY
This use case serves as an example. Modifications to triggers, actions, or conditional logic may be necessary to adapt this recipe to your workflow.
Sign in to Workato.
Select the project where you plan to create the recipe.
Create connections for Salesforce and Workbot for Slack:
Create a Salesforce connection.
Create a Salesforce connection
This step creates a connection between Workato and your Salesforce account.
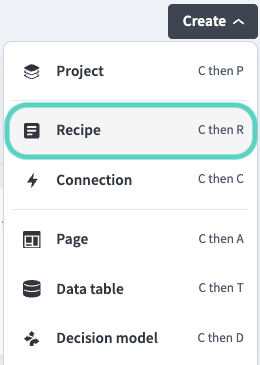
Click Create > Connection or press C twice.
Search for and select Salesforce on the New connection page.
Provide a name for your connection in the Connection name field.
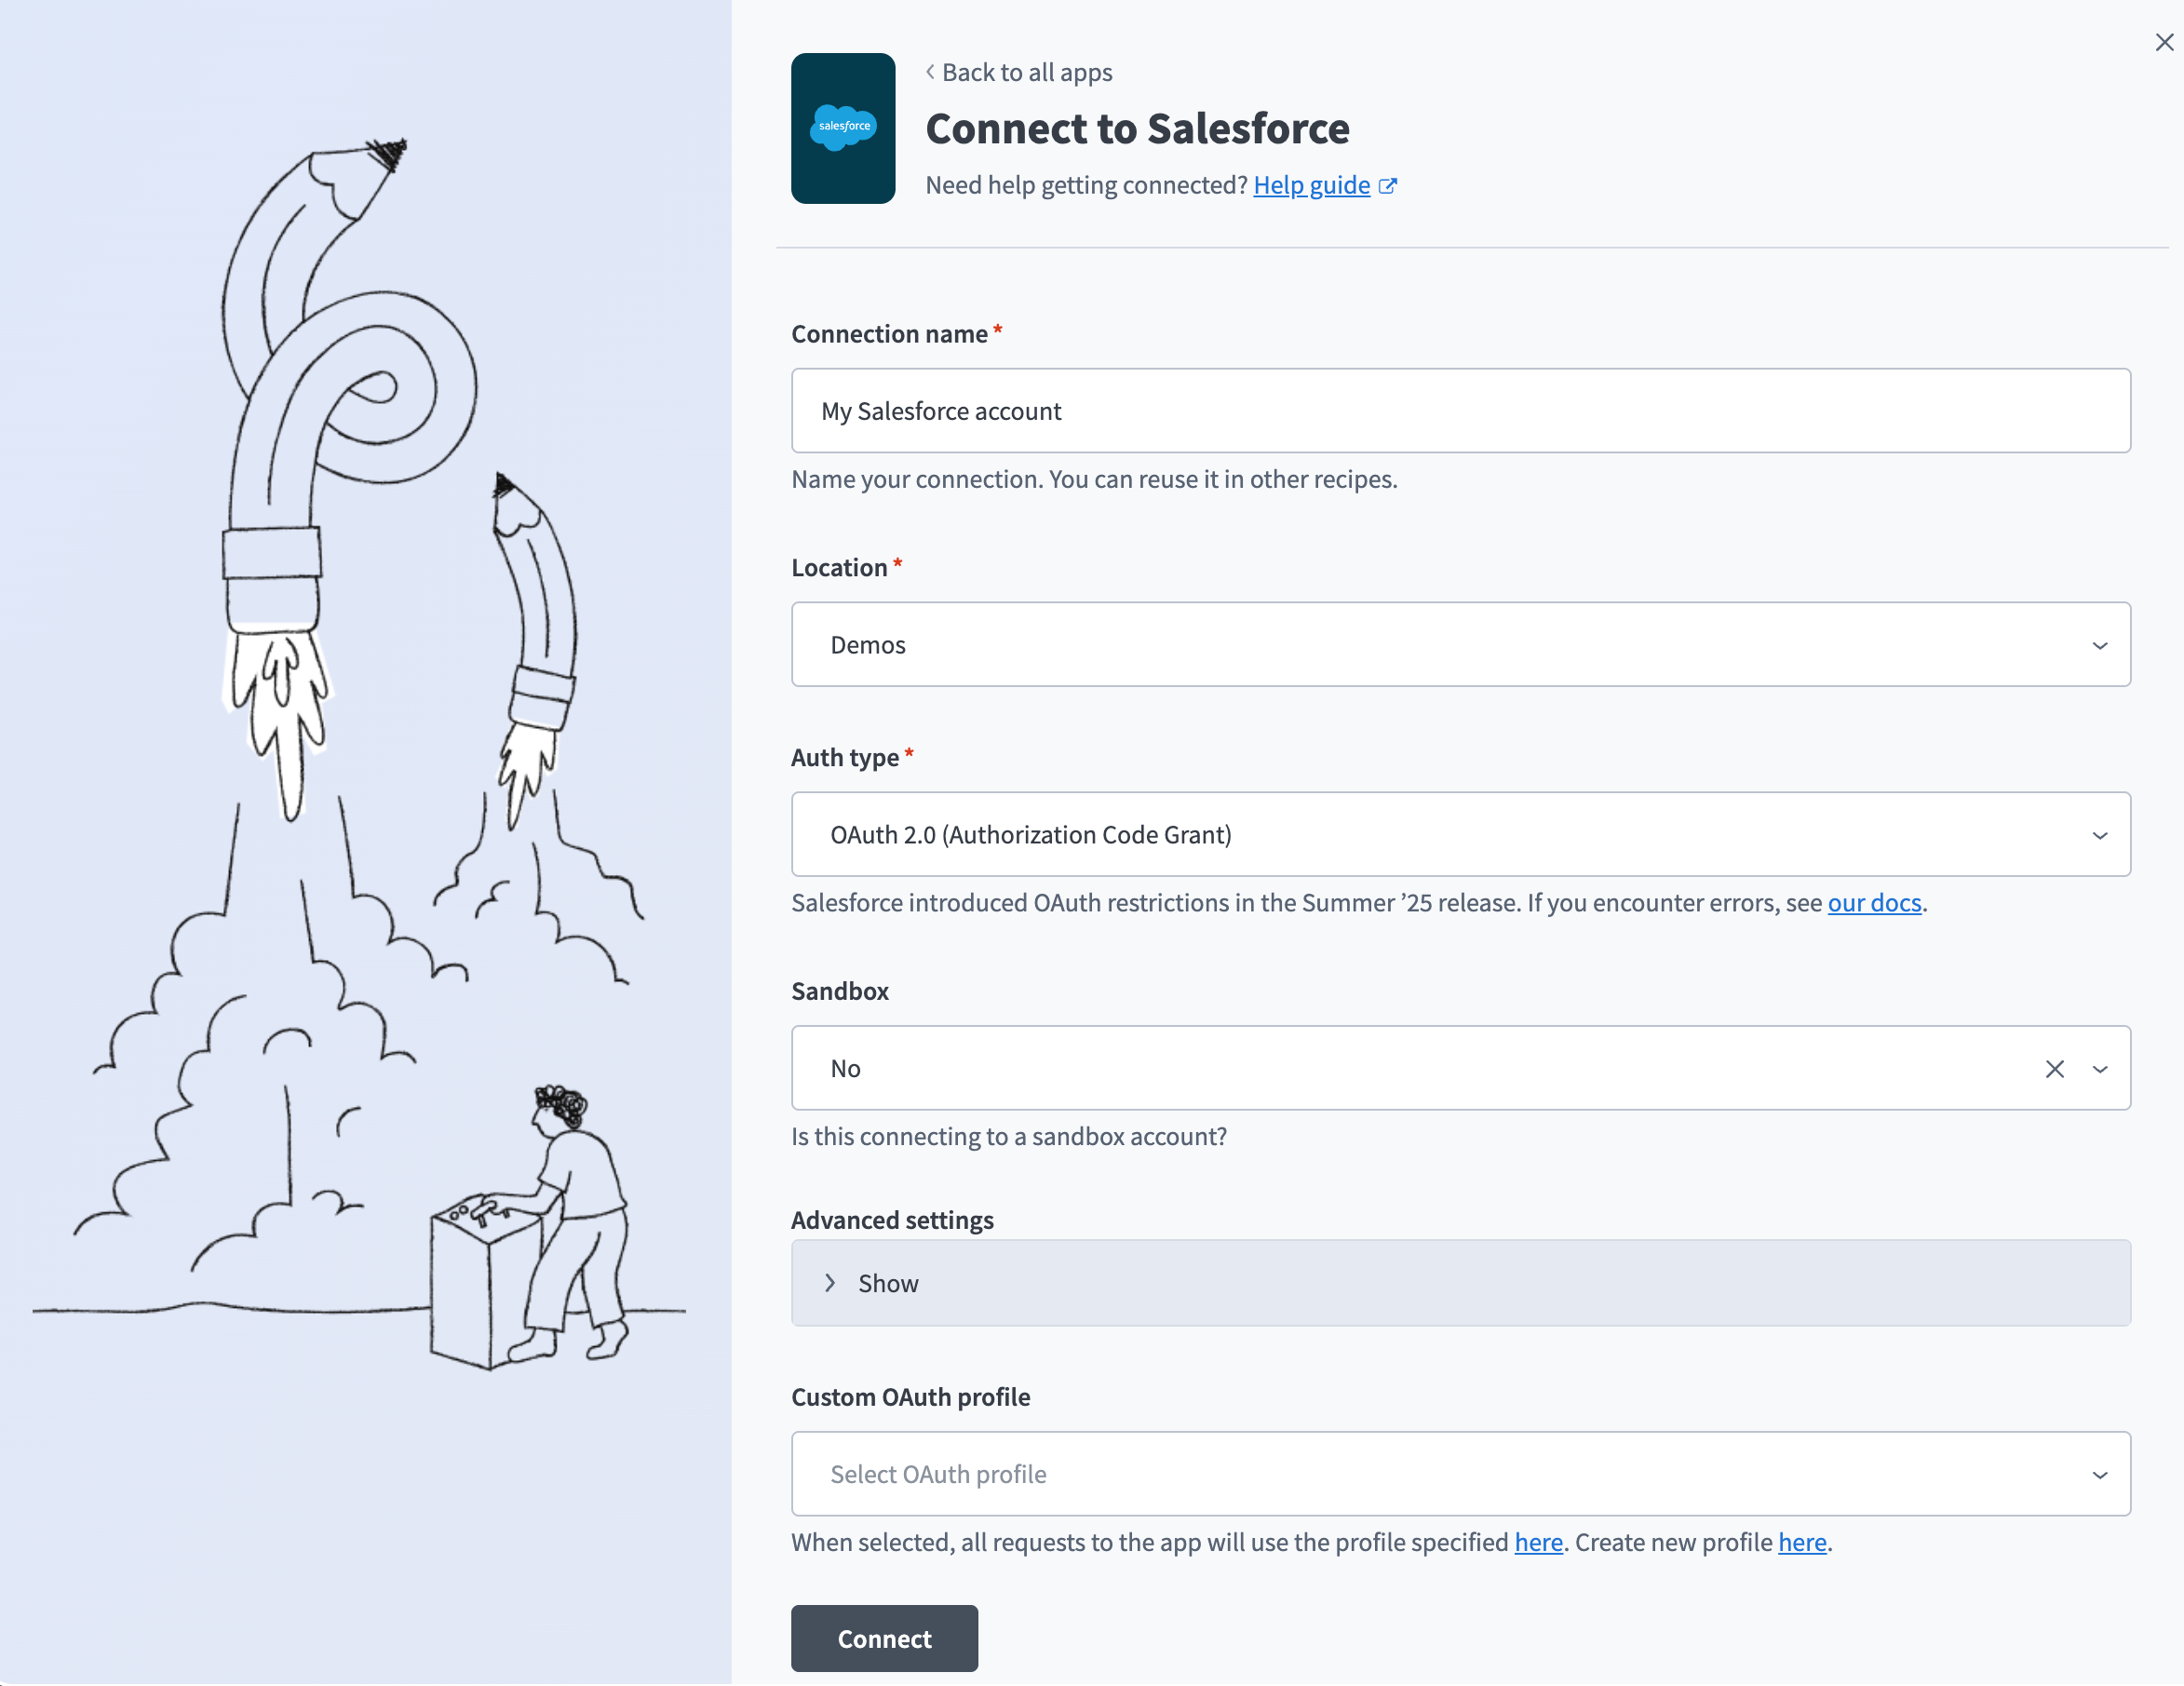 Salesforce connection setup
Use the Location drop-down menu to select the project where you plan to store the connection.
Use the Auth type drop-down menu to select the authentication method. The default is OAuth 2.0.
Use the Sandbox drop-down menu to specify whether the Salesforce account is a sandbox account.
Optional. Expand Advanced settings to configure advanced connection options.
Optional. Use the Custom OAuth profile drop-down menu to select a custom OAuth profile for your connection.
- This custom OAuth profile ensures that the connection is restricted to the same set of scopes you selected for all users with the profile, and the authentication flow uses the client app linked to the custom profile.
Click Connect.
Enter your Salesforce account credentials and click Log In.
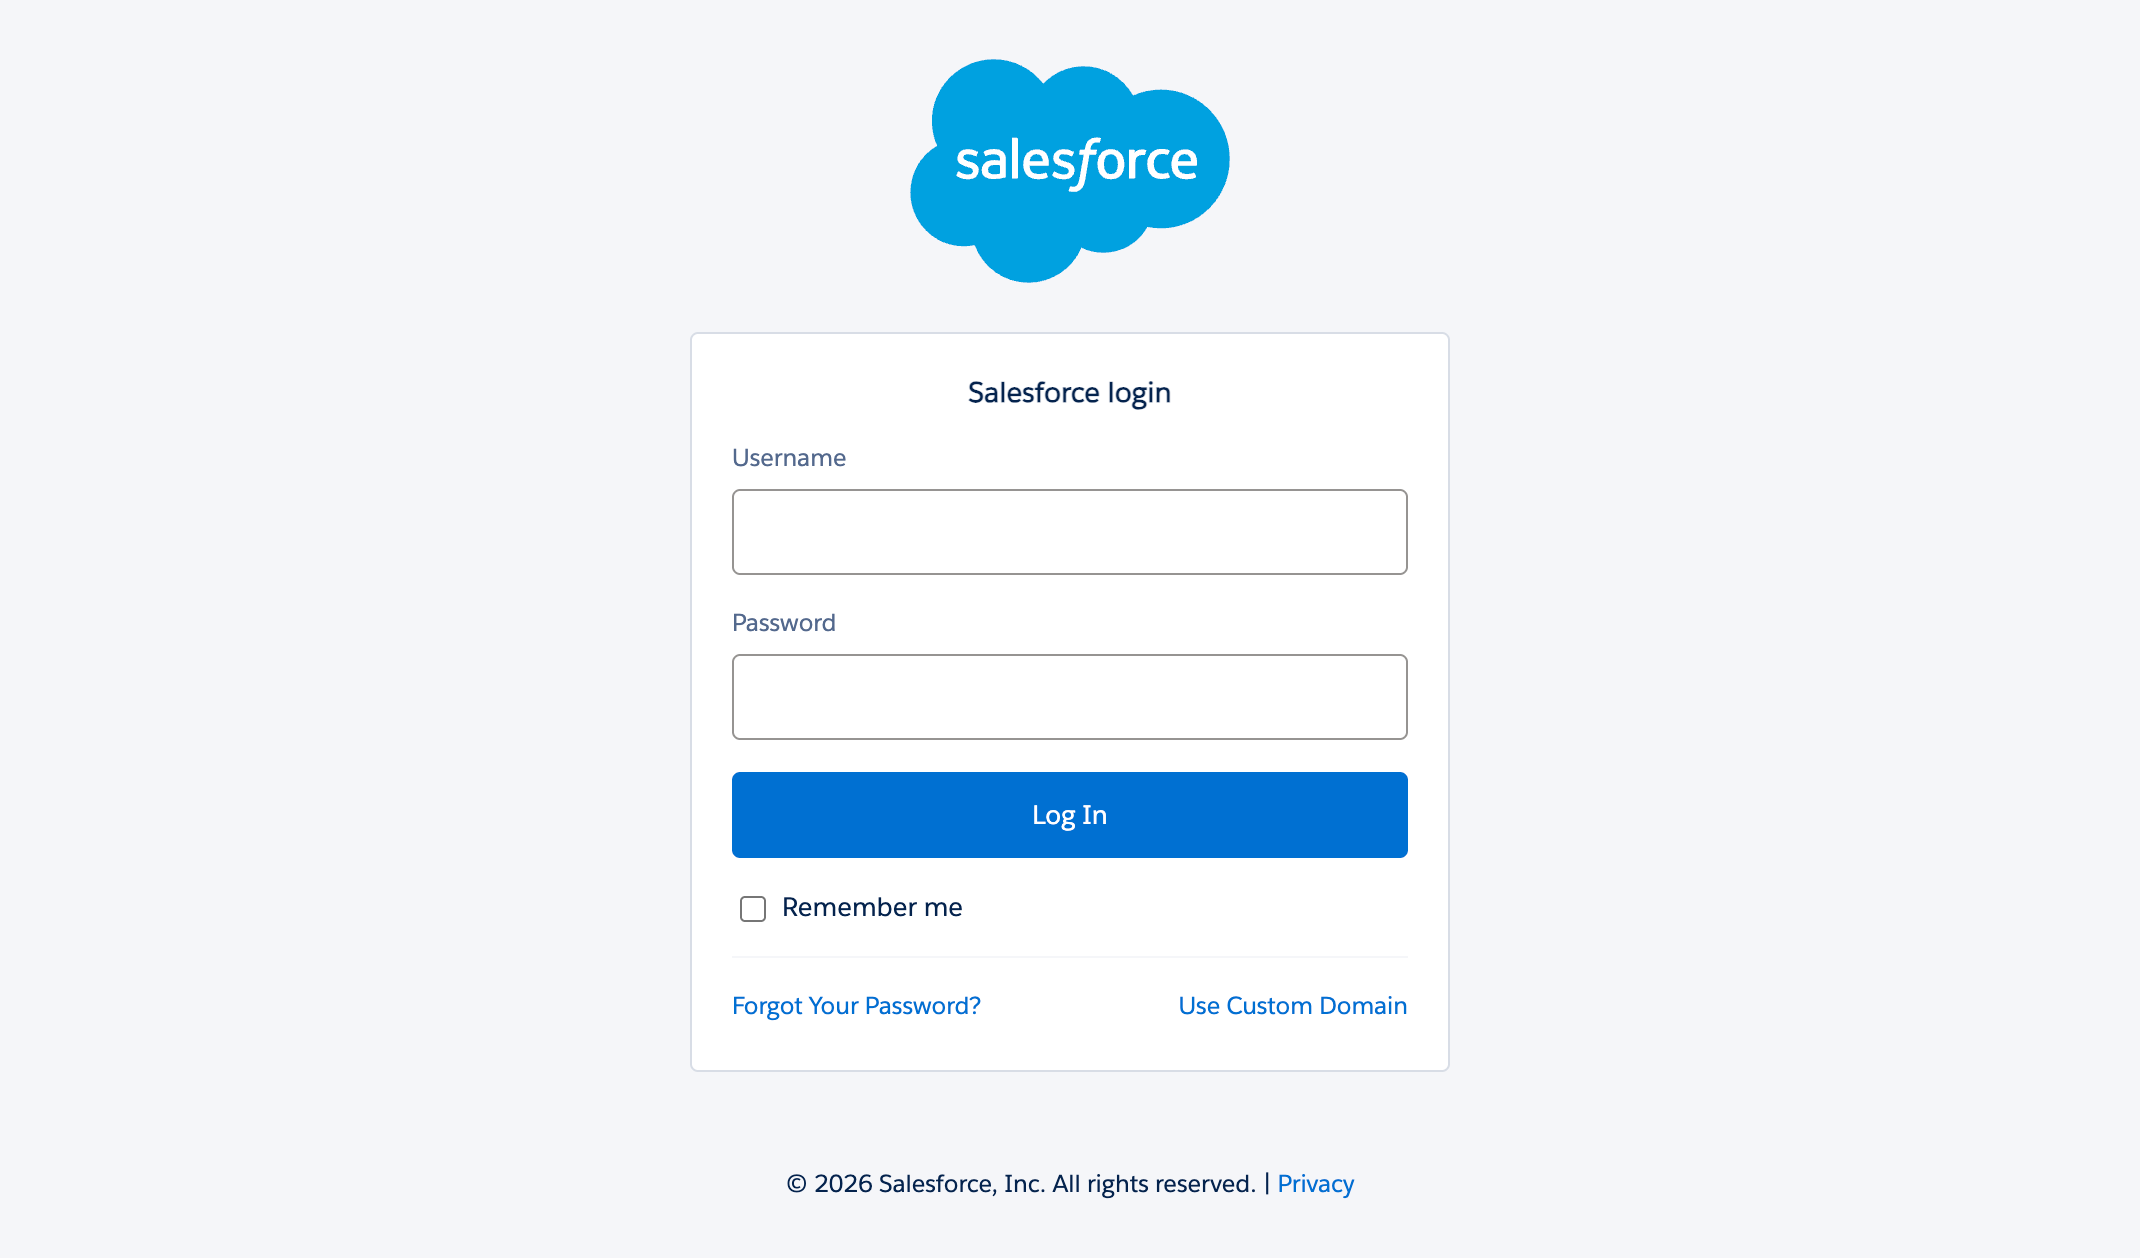 Log in to your Salesforce account
Create a Workbot for Slack connection.
Create a Workbot for Slack connection
This step creates a connection between Workato and your Workbot for Slack account.
Click Create > Connection or press C twice.
Search for and select Workbot for Slack on the New connection page.
Provide a name for your connection in the Name field.
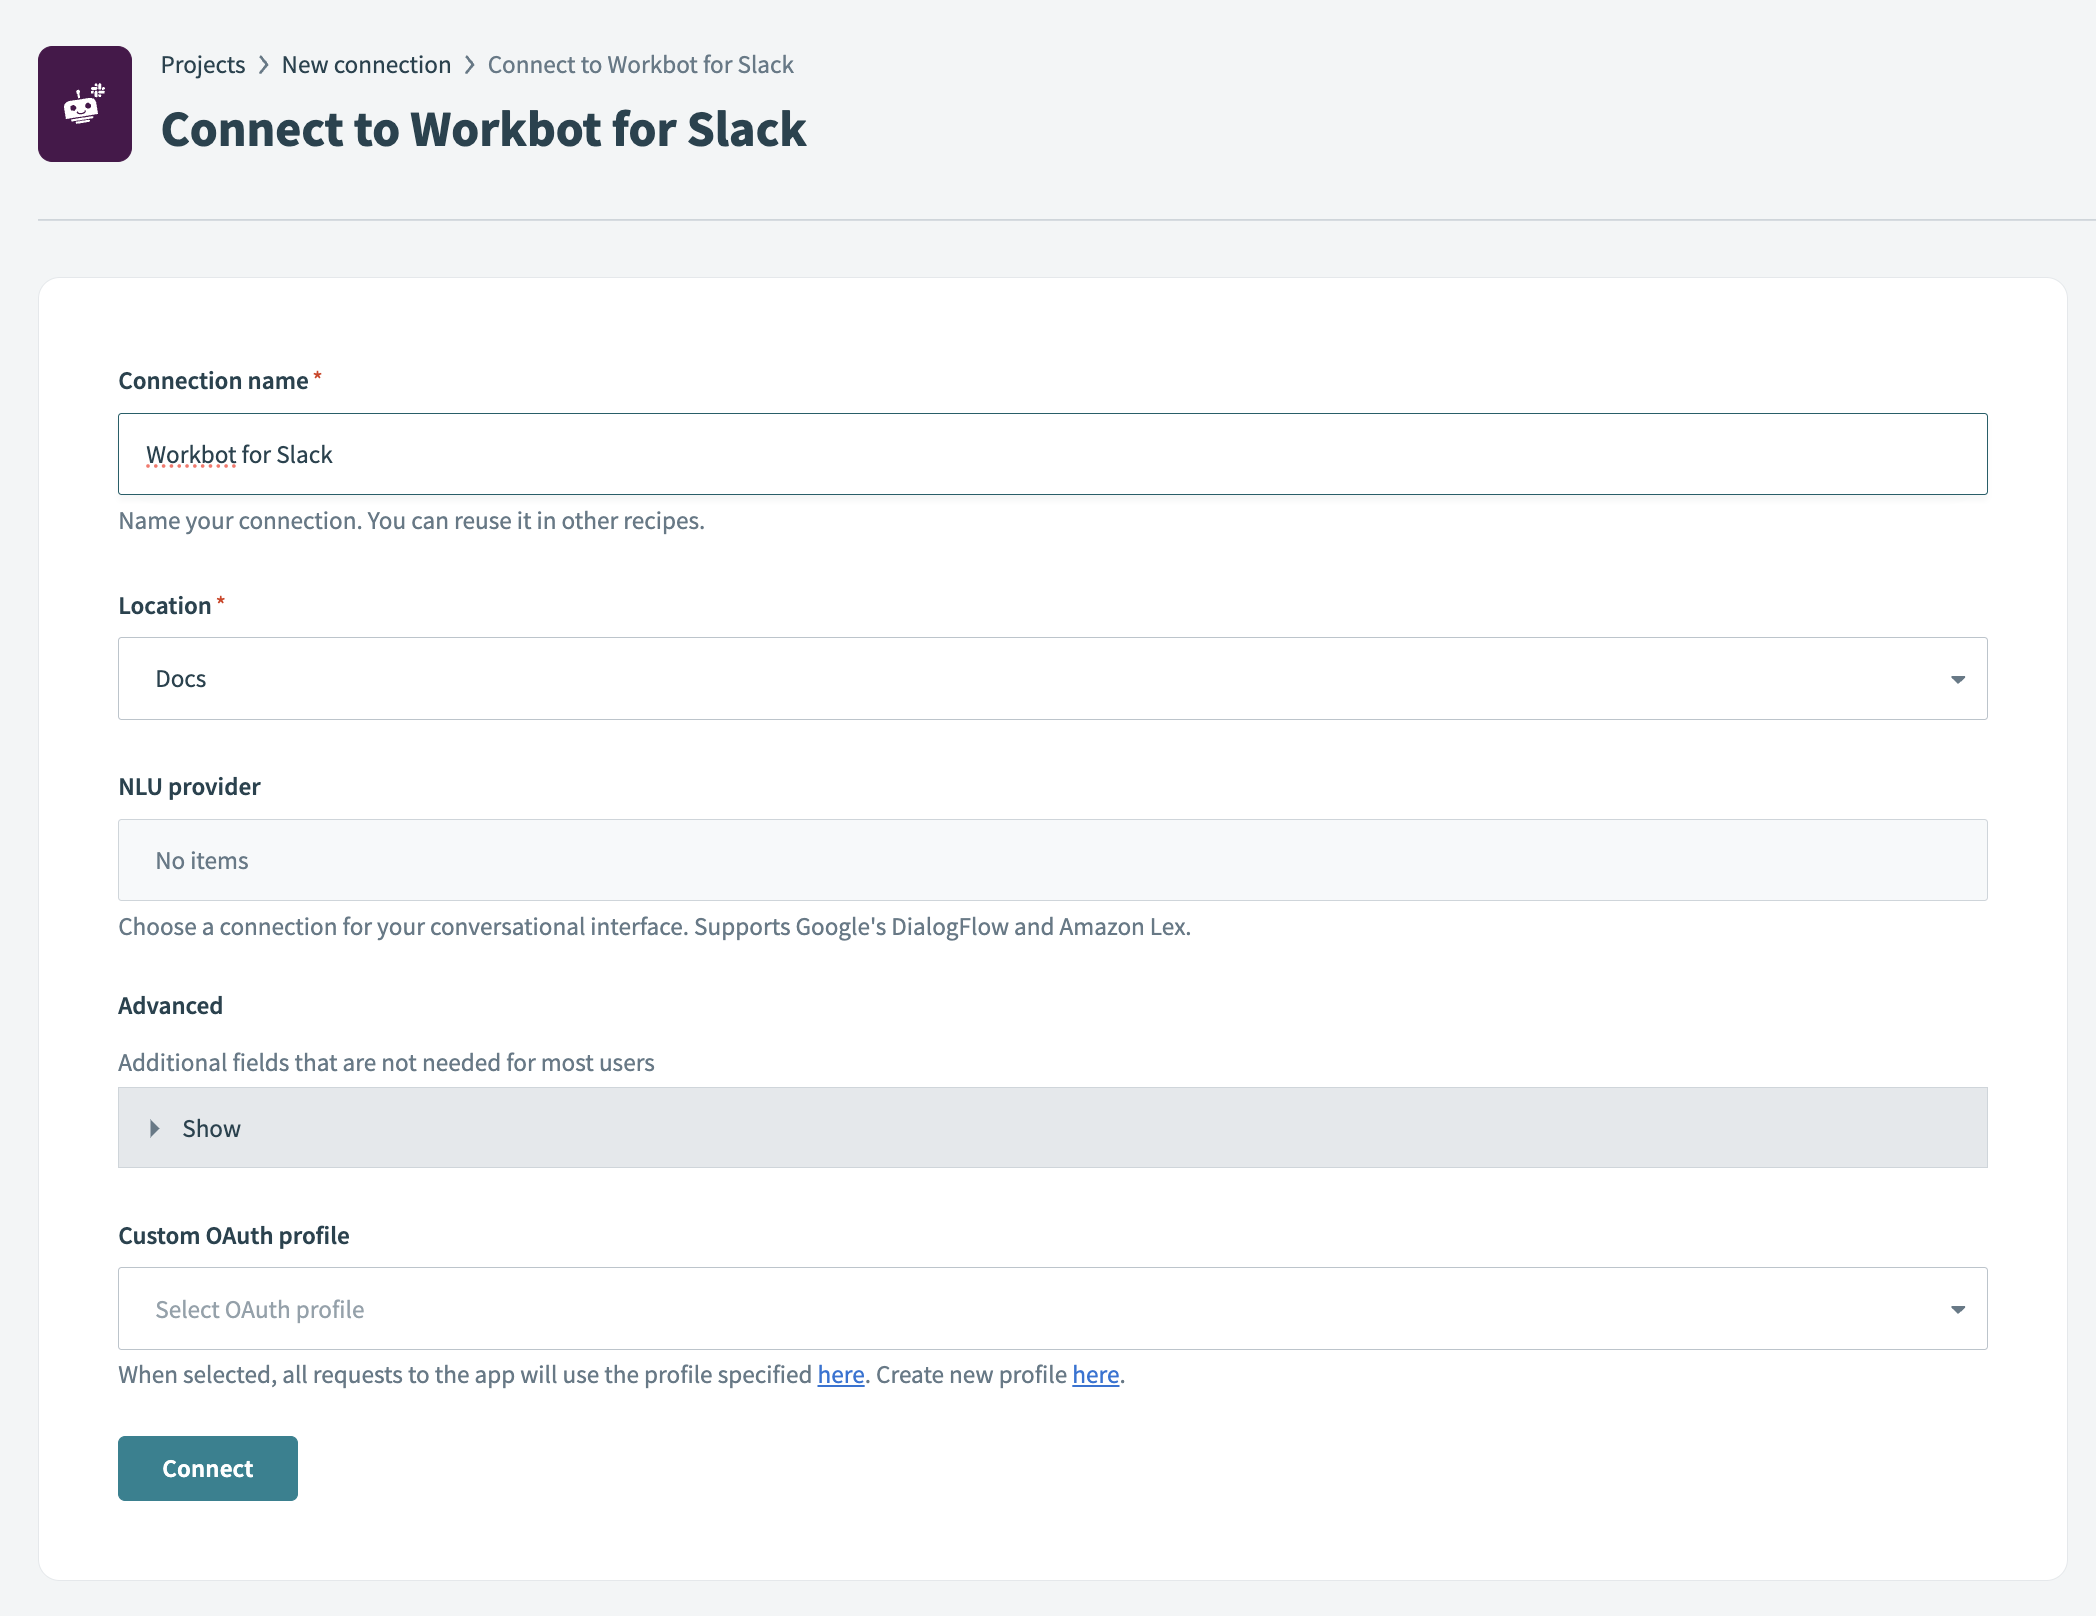 Workbot for Slack connection setup
Use the Location drop-down menu to select the project where you plan to store the connection.
Optional. Select the NLU provider you plan to use, such as DialogFlow or Amazon Lex NLU. You must connect to the NLU provider for it to appear in the drop-down menu.
Optional. Click Advanced to configure Slash commands verification tokens, custom help content, your Slack app status (classic or not), and your Custom OAuth profile.
Click Connect, sign in to your Slack workspace when prompted, and click Continue to verify the connection.
Go back to your project and click Create > Recipe or press C+R.
 Create a new recipe
Enter a name for your recipe in the Name field.
Select the project where you plan to store the recipe from the Location drop-down menu.
Click Start building.
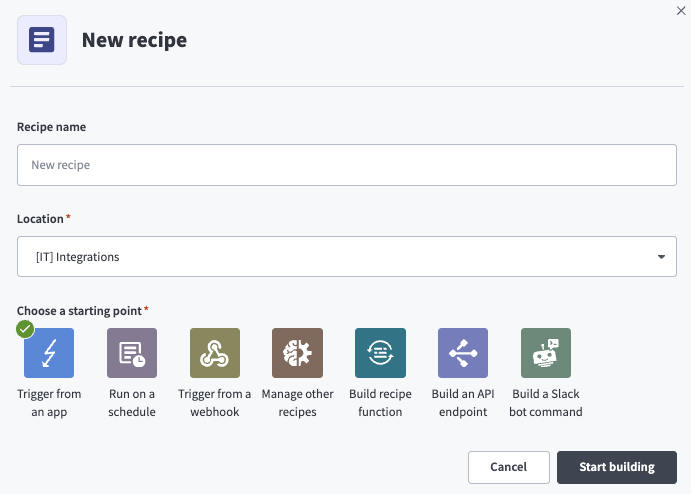 Start building your recipe
Click Pick a starting point, then select Trigger from an app.
Click Select an app and trigger event.
Set up your Workbot for Slack New command trigger.
Set up Workbot for Slack New command trigger
This trigger monitors Workbot for Slack for new commands.
Search for Workbot for Slack and select it as your app.
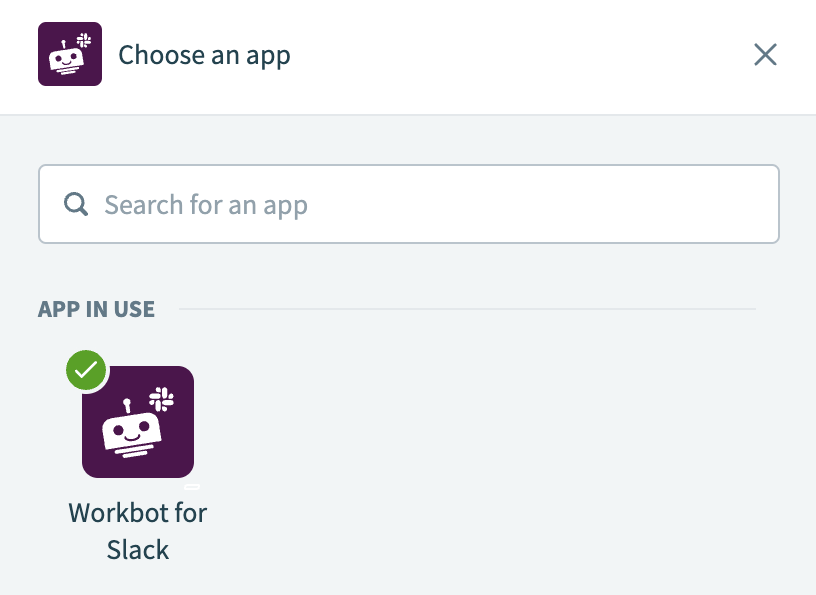 Choose Workbot for Slack as your app
Select the New command trigger.
Click Save.
Click + Add step and select Action in app.
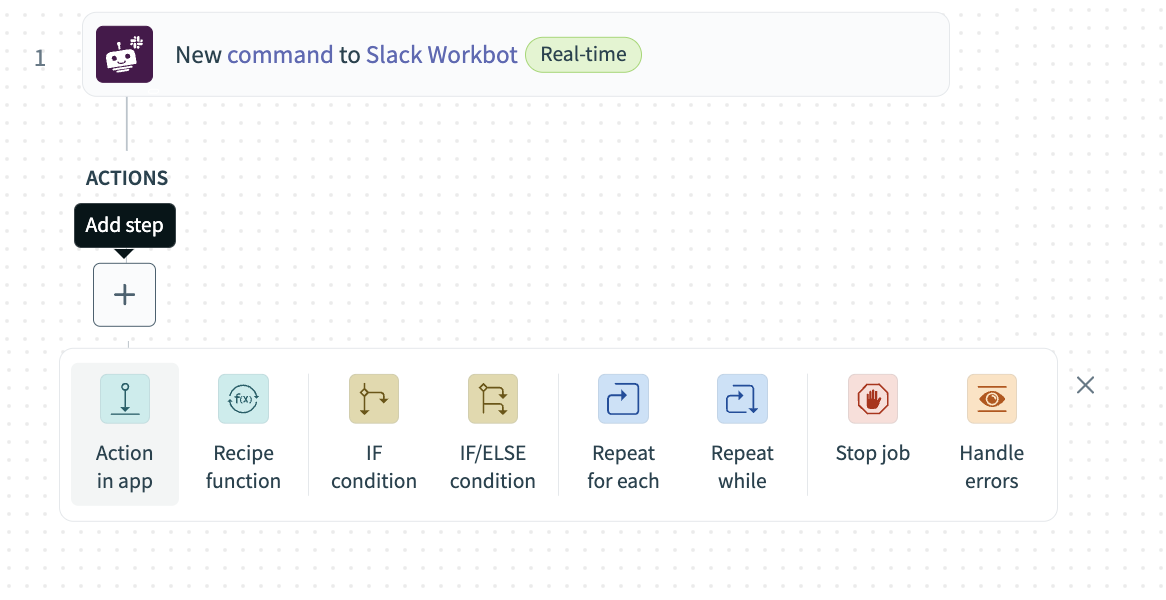 Add action
Set up your Salesforce Search records (Account) batch action.
Set up Salesforce Search records (Account) batch action
This step searches for Salesforce records by account name.
Search for Salesforce and select it as your app.
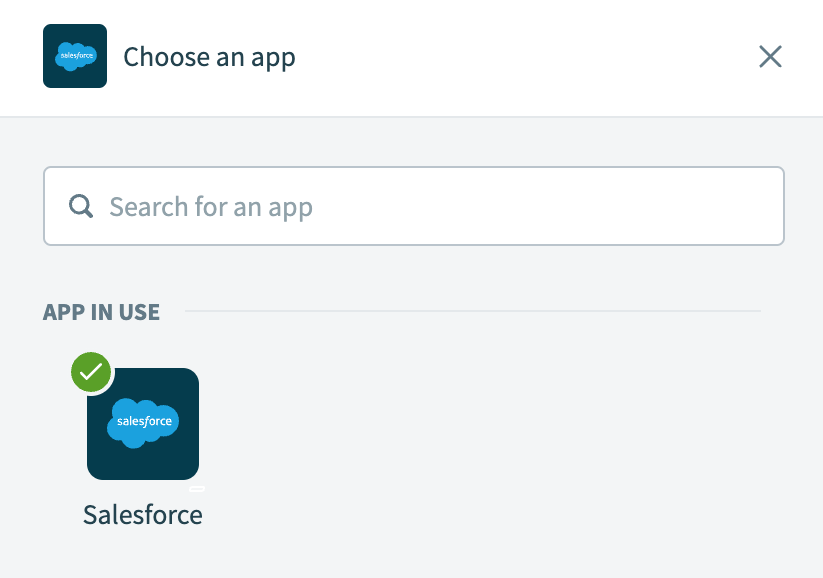 Choose Salesforce
Select the Search records (Account) batch action.
Select Account from the Search for drop-down menu and map the Workbot for Slack NameStep 1 datapill into the Account name field.
 Salesforce action configuration
Click + Add step and select IF condition.
How do IF conditions work?
Salesforce and Workbot for Slack IF condition example
An IF condition enables you to make decisions based on specific conditions. You can control your recipe workflow by executing different actions depending on whether a condition you specify is present or not present (true or false).
Set up your Salesforce Account ID is not present IF condition.
Set up a Salesforce Account ID is not present IF condition
This step searches for Salesforce accounts by account ID and instructs the recipe on subsequent steps based on whether the account ID isn't present.
Select Account ID under Salesforce Search Accounts (Step 2 output) to add the Account IDStep 2 datapill to the Data field.
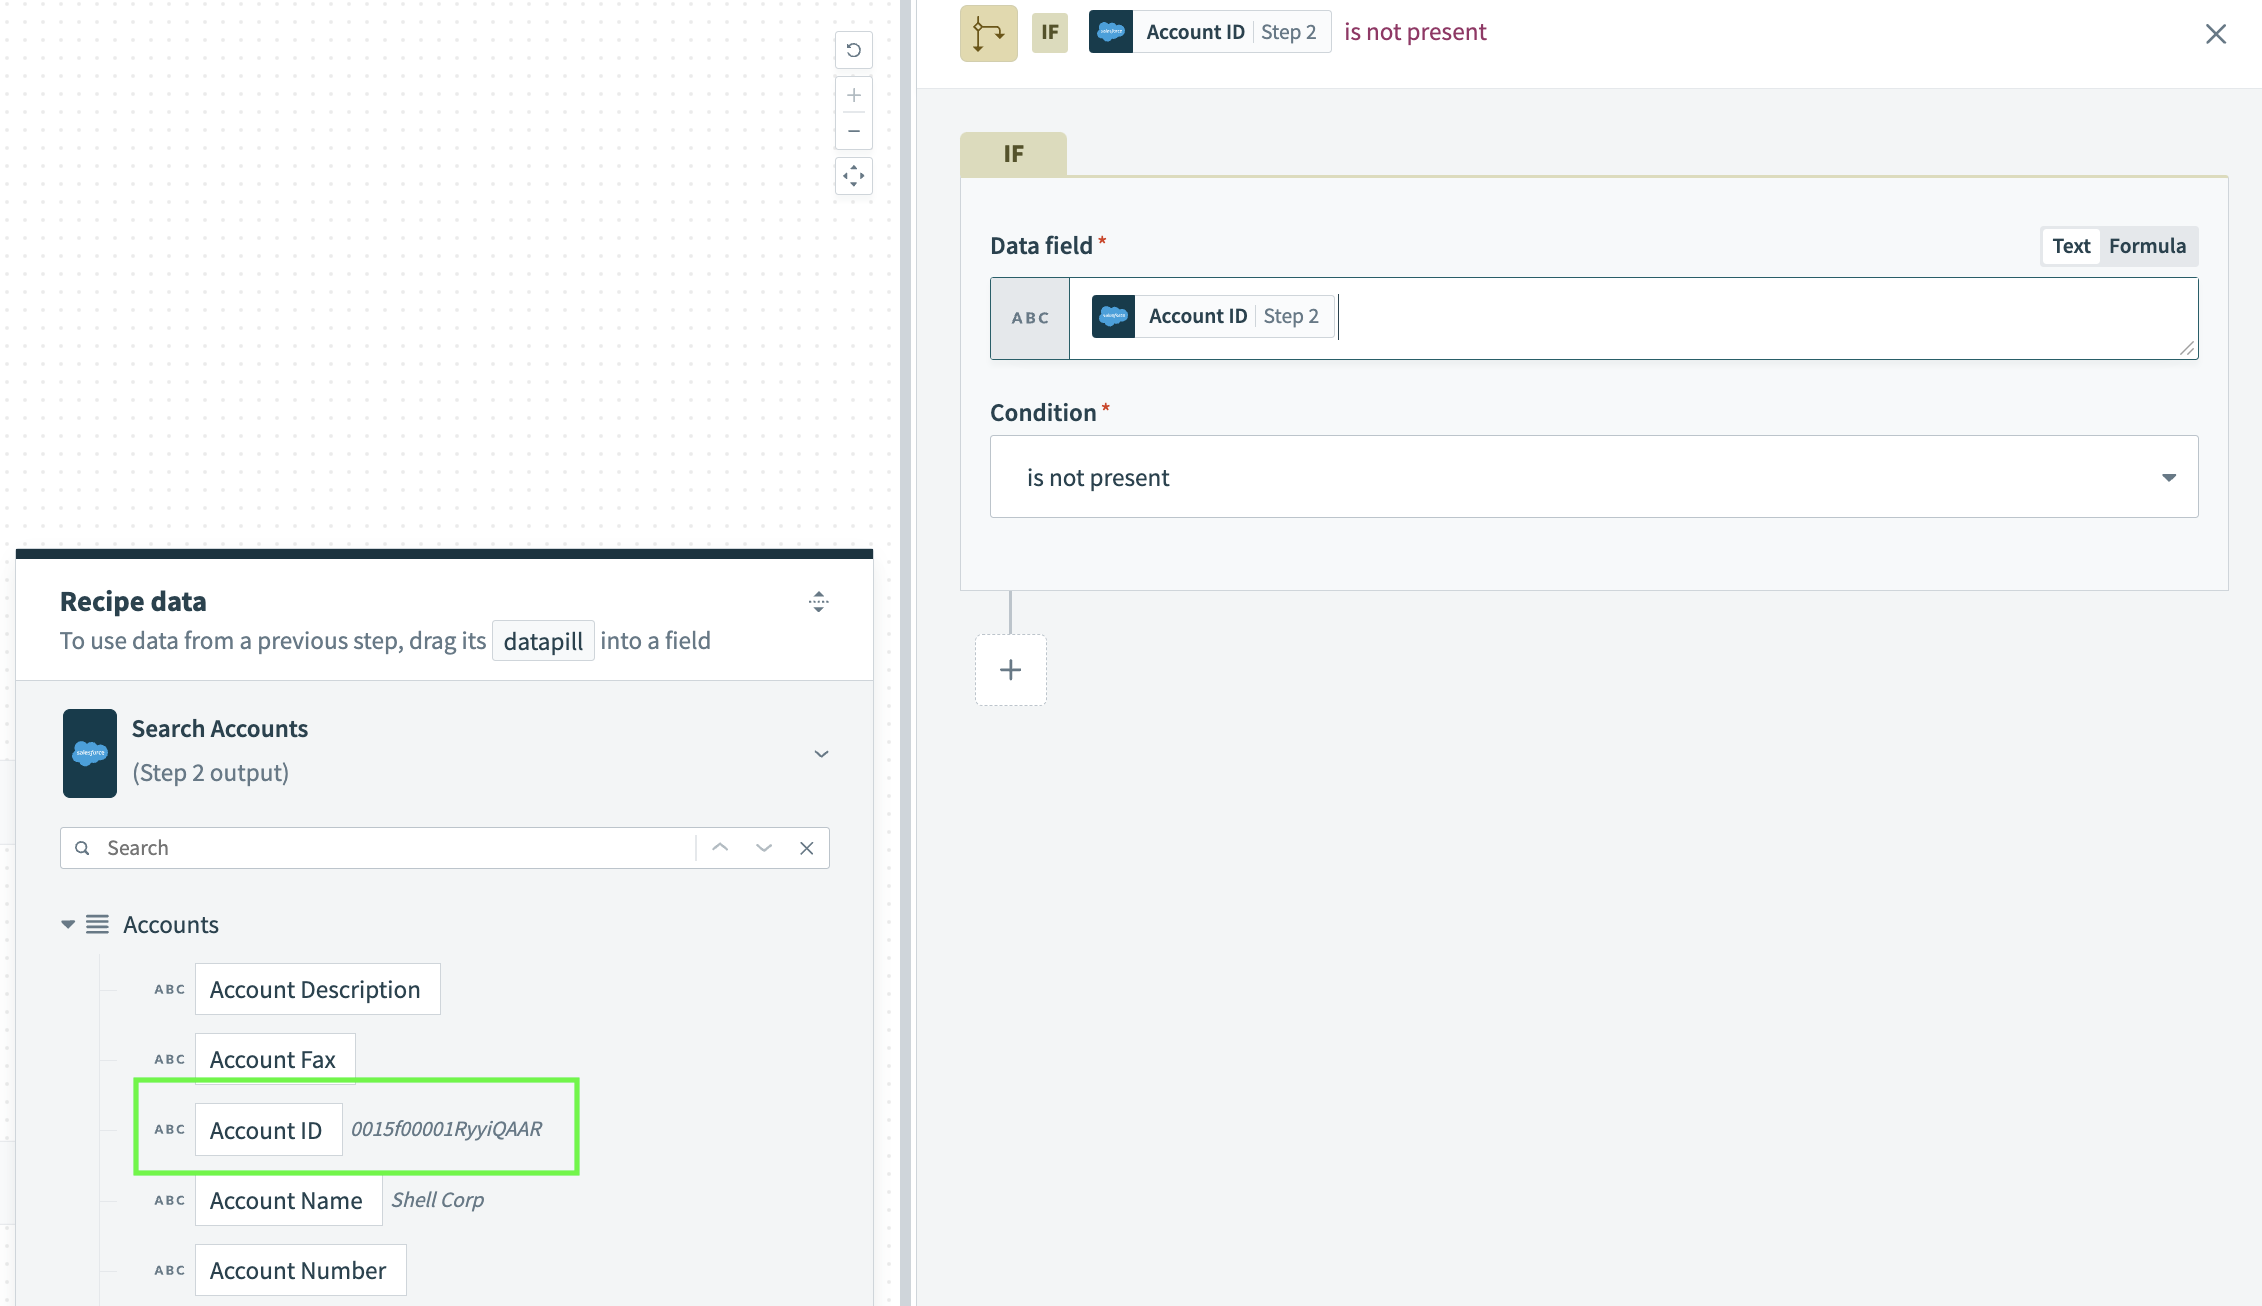 Configure IF condition is not present
Use the Condition drop-down menu to select is not present.
Click + Add step in the Yes statement and select Action in app.
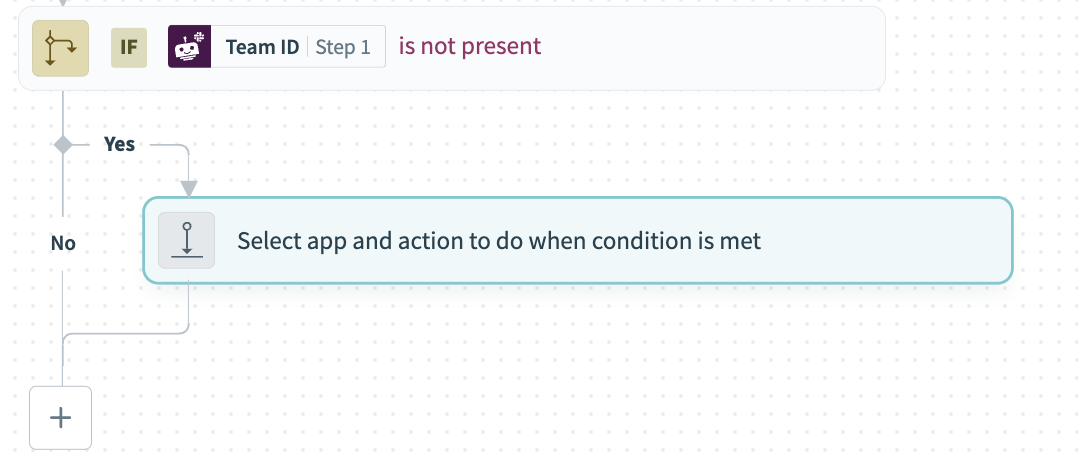 Select the app and action when the condition is met
Search for Workbot for Slack and select it as your app.
Select the Post command reply action.
Click Add block to message and select Section with text from the Type menu.
Map the Workbot for Slack NameStep 1 datapill to the Section text field.
Map the Workbot for Slack NameStep 1 datapill to the Attachment text field.
 Configure your post reply message
Click + Add step under the No statement.
Search for Workbot for Slack as your app.
Select the Post command reply action.
Select the app and action when the condition is met
Click + Add step and select IF condition.
Set up your Salesforce Account ID is present IF condition.
This step searches for Salesforce accounts by account ID and instructs the recipe on subsequent steps based on whether the account ID is present.
Map the Salesforce Account IDStep 2 datapill into the Data field and enter is present in the Condition field.
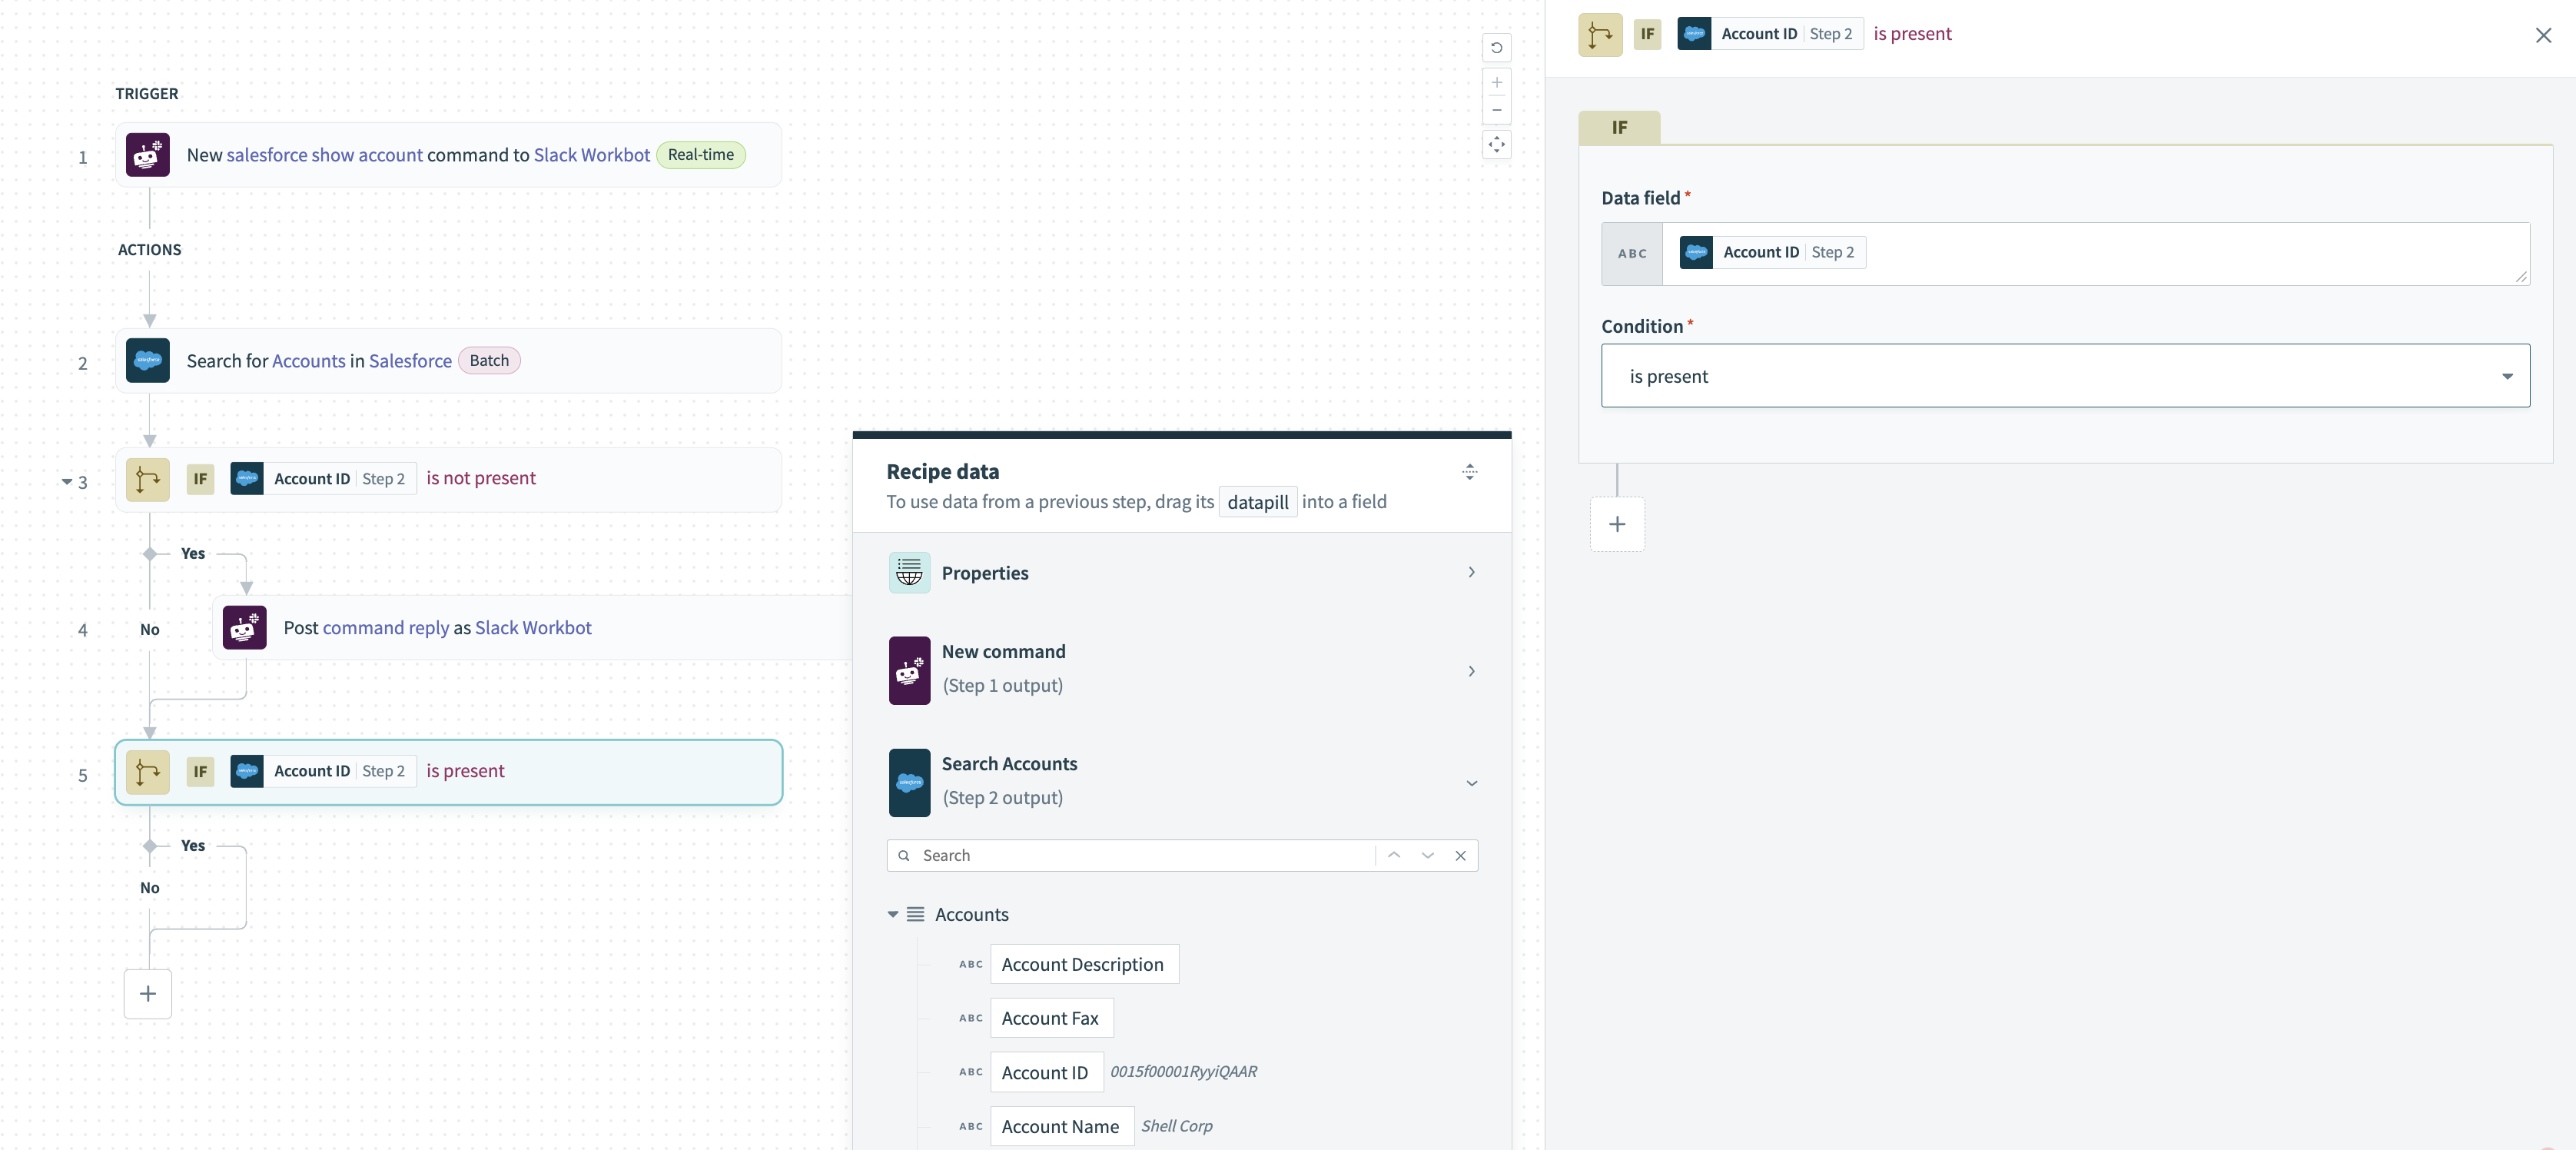 Configure IF condition is present
Click Add block to message and select Section with text from the Type menu.
Enter your message in the Section text field.
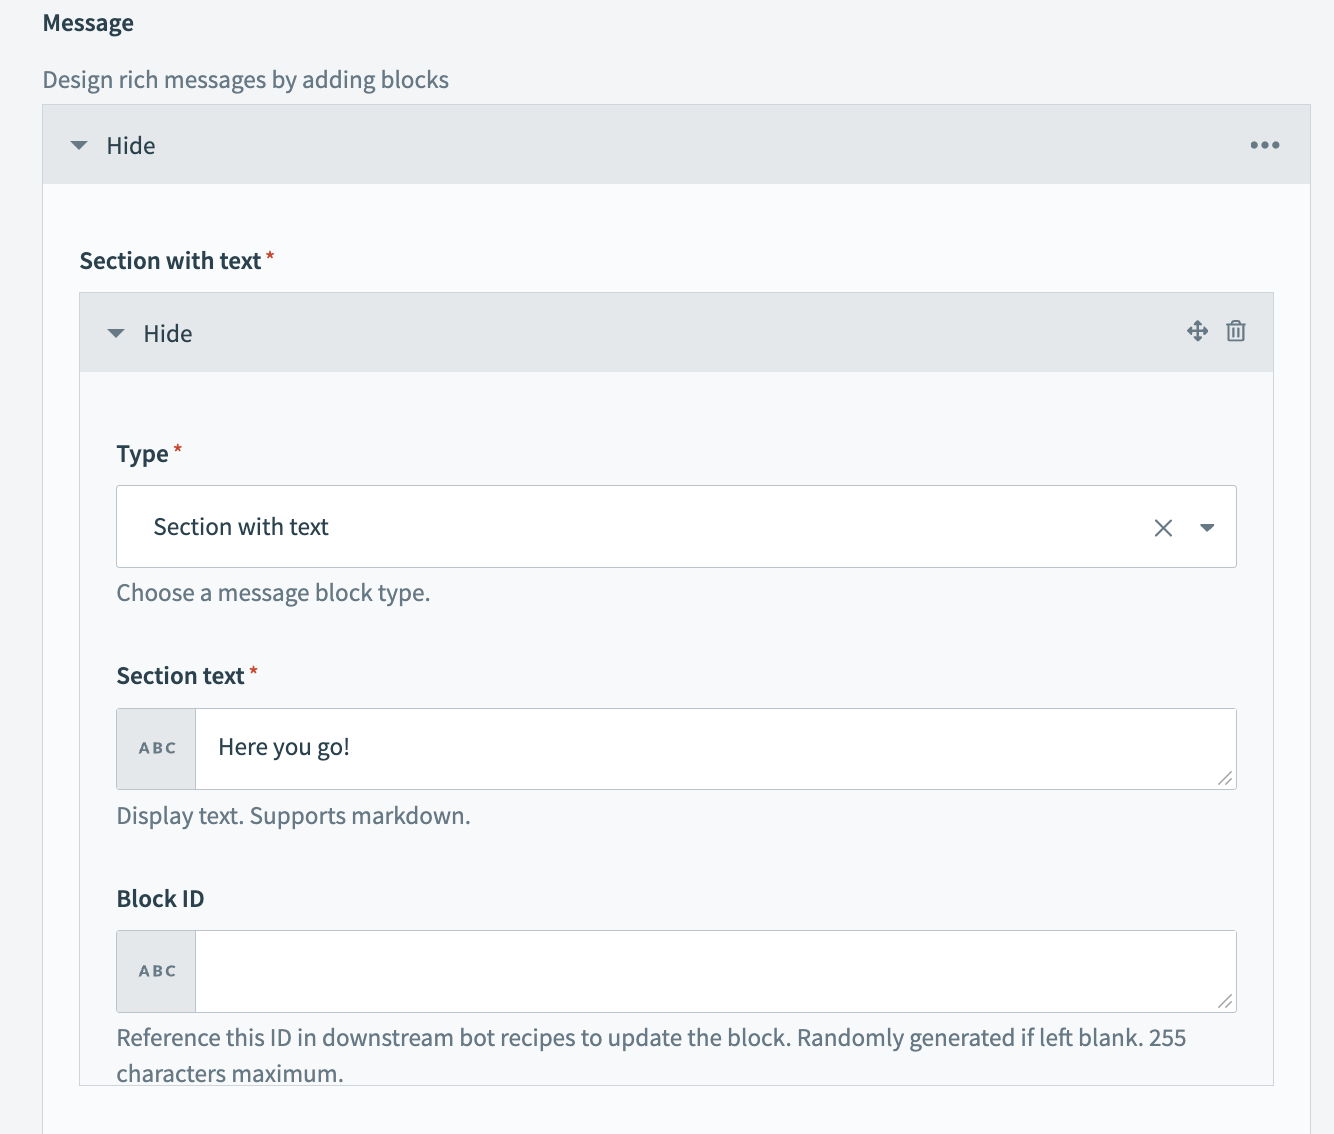 Configure the section text
Expand the Divider section and select Divider from the Type drop-down menu.
Map the Account IDStep 2 and Account NameStep 2 datapills to the Section text field.
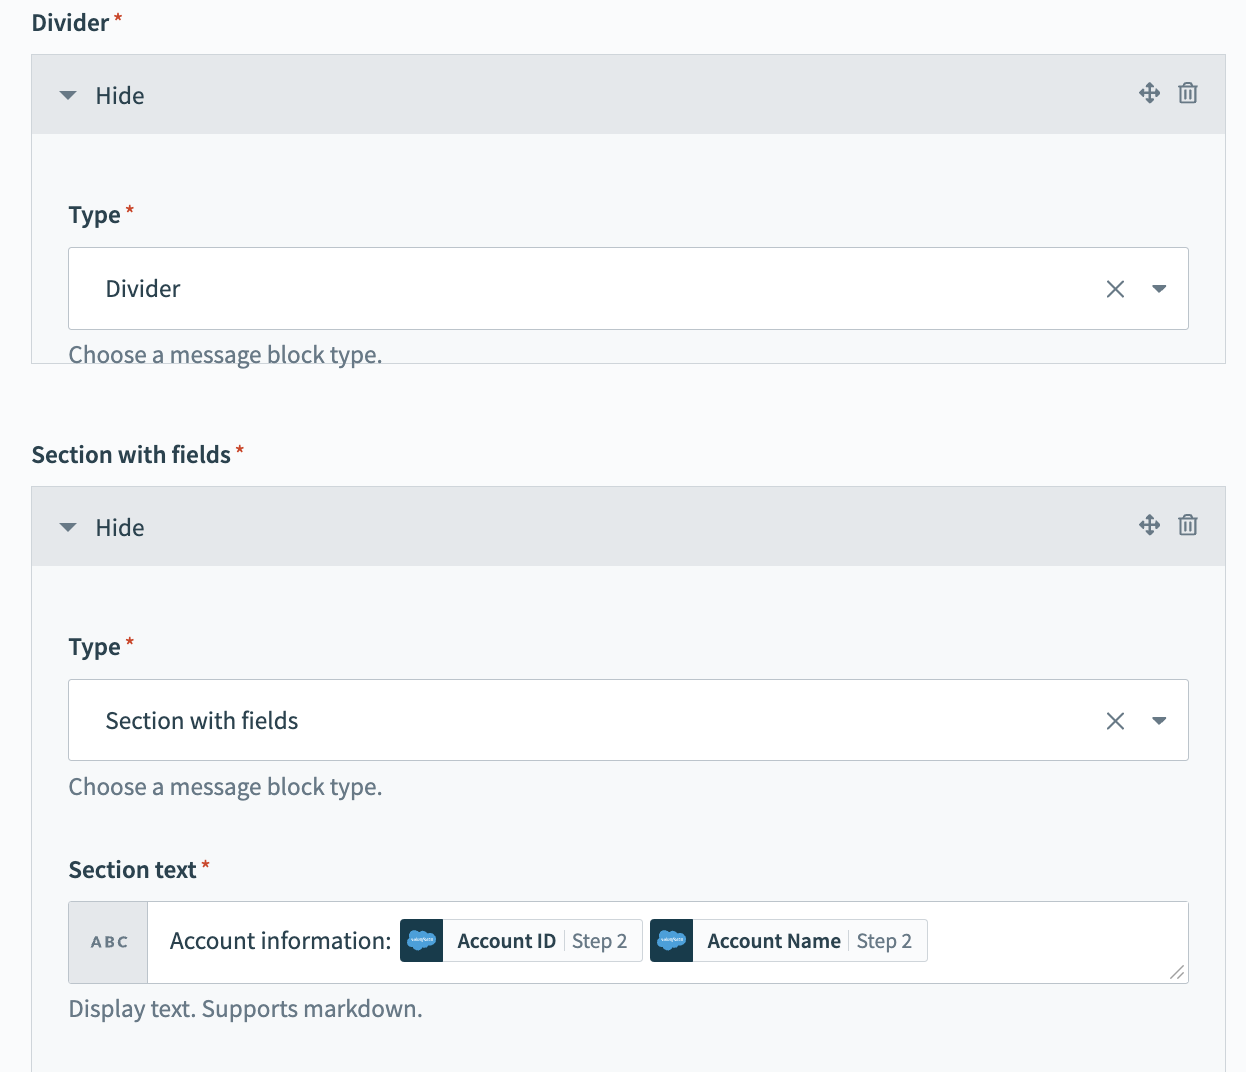 Configure the divider
Expand the Attachment fields section and add the account information you plan to display in your reply. For example, enter Name in the Title field and map the Account phoneStep 2 datapill into the Value field.
Click Save.
Your Display Salesforce account details with Workbot for Slack recipe is ready to test and implement.
Last updated: