Create a custom OAuth profile in an Admin account
This guide describes how to create a custom OAuth profile for an application in an Admin workspace. This process is a prerequisite step to applying a custom OAuth profile to a customer workspace.
This guide uses HubSpot as an example, but you can use this guide to create additional custom profiles for other apps Workato supports. The process of creating a custom OAuth profile is the same in Workato, regardless of your application. However, the process of registering an OAuth profile in your application can vary depending on your application. See our Custom OAuth profiles for Embedded partners documentation for a list of applications you can create custom OAuth profiles for.
A custom OAuth profile requires an OAuth app in the application you're connecting to. You create the app in that application, then enter its credentials in Workato.
ACCOUNT TYPE
You must create a custom OAuth profile in an Admin account.
Prerequisites
Creating a HubSpot OAuth app requires the HubSpot CLI, which needs Node 20 or higher. Install the CLI with npm install -g @hubspot/cli, then authenticate it with hs account auth, which opens HubSpot in your browser to generate a personal access key. Refer to the Install the HubSpot CLI documentation for setup instructions.
Create the HubSpot app
Complete the following steps to create an OAuth app in HubSpot:
Run hs project create in a terminal and respond to the prompts:
| Prompt | Answer |
|---|---|
--name | Enter a name for the project. |
--dest | Enter a local directory for the project. |
--project-base | Select App. |
--distribution | Select a distribution based on the number of accounts that install your app. |
--auth | Select OAuth. |
--features | Continue without selecting features. A custom OAuth profile doesn't require app features. |
APP DISTRIBUTION AND INSTALL LIMITS
HubSpot limits how many accounts can install your app based on its distribution setting. Apps set to private install in up to 10 customer accounts for app partners, or 100 for Solution Partners. Apps set to marketplace install in up to 25 accounts until you list them on the HubSpot Marketplace. Refer to HubSpot's app install quotas changelog for more information.
Change to your project directory. hs project create prints the full path when it finishes, and the remaining hs commands fail outside this directory.
cd PROJECT_DIRECTORYOpen src/app/app-hsmeta.json in your project directory. This file contains your app's configuration.
Add the Workato callback URL to the redirectUrls array, and add the scopes your connections use to the requiredScopes and optionalScopes arrays. The following example shows the fields this setup requires:
{
  "uid": "workatocustomoauth_app",
  "type": "app",
  "config": {
    "name": "workato custom oauth-App",
    "description": "Custom OAuth profile for the Workato HubSpot connector.",
    "distribution": "private",
    "auth": {
      "type": "oauth",
      "redirectUrls": ["https://www.workato.com/oauth/callback"],
      "requiredScopes": ["oauth", "crm.objects.contacts.read"],
      "optionalScopes": []
    },
    "permittedUrls": {
      "fetch": ["https://api.hubapi.com"],
      "iframe": [],
      "img": []
    }
  }
}
Keep the oauth scope, which HubSpot requires. HubSpot displays name and description on the authorization screen when users connect. Change the uid only before your first upload, because HubSpot treats a changed uid as a different app in later builds. This example includes only the scopes required to establish a connection. Your app must also list every scope users select in Advanced settings during connection setup, or the connection fails. Refer to our scopes guide for the scopes Workato requests by default and the configuration approaches available to admins.
Run the following command to upload your configuration to HubSpot:
hs project uploadRun the following command to open the project in HubSpot:
hs project openSelect your app, then select the Auth tab.
Copy the Client ID. Click Show to reveal the Client secret, then copy it. HubSpot disables copying while the secret is masked.
Refer to HubSpot's Create a new app using the CLI guide for more information.
LEGACY PUBLIC APPS
Existing legacy public apps continue to work with custom OAuth profiles and require no changes. HubSpot recommends the Projects-based developer platform for new apps, which the following steps use.
Create the profile in Workato
Complete the following steps to create a custom OAuth profile in Workato:
Go to Tools > Custom OAuth profiles using the navigation sidebar.
Click + New custom profile.
Select HubSpot from the Application drop-down.
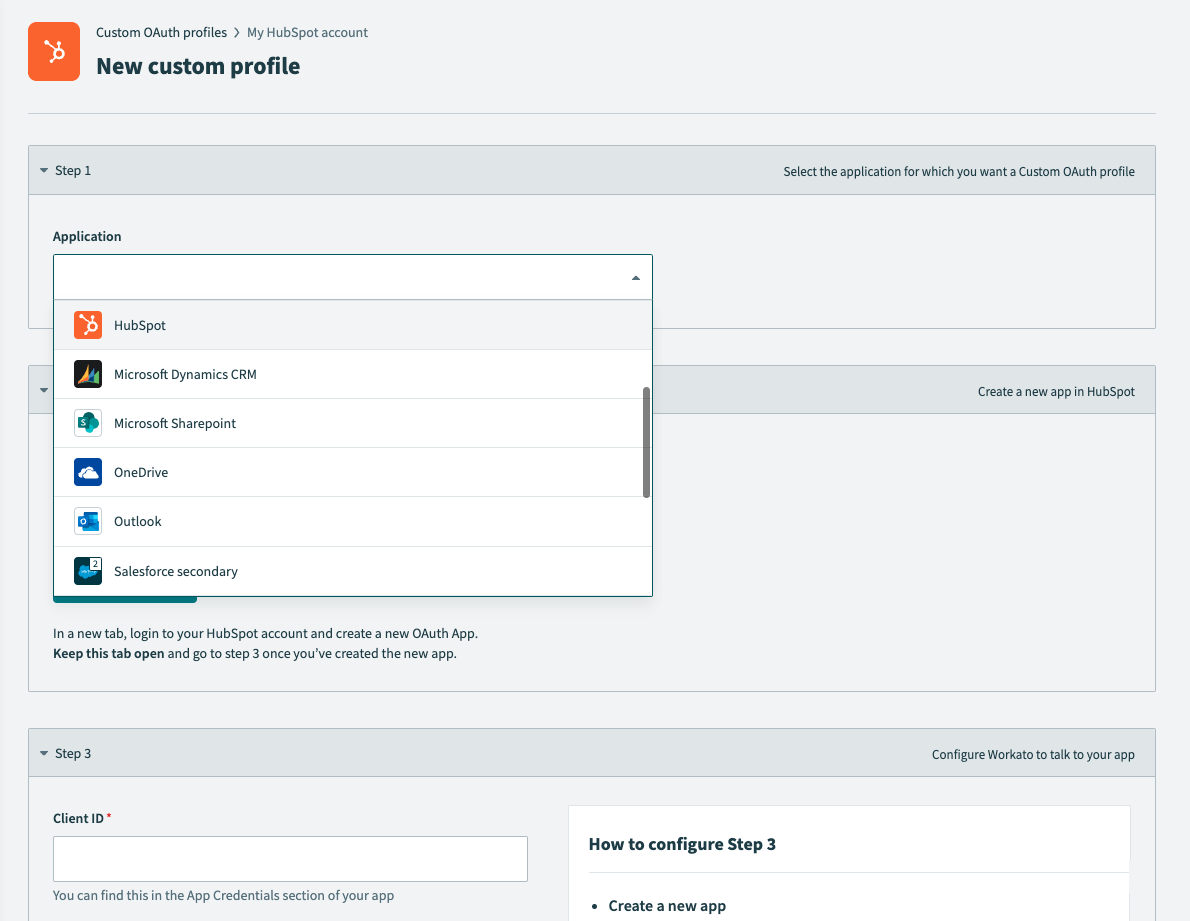 Select HubSpot
Provide a Name for this account.
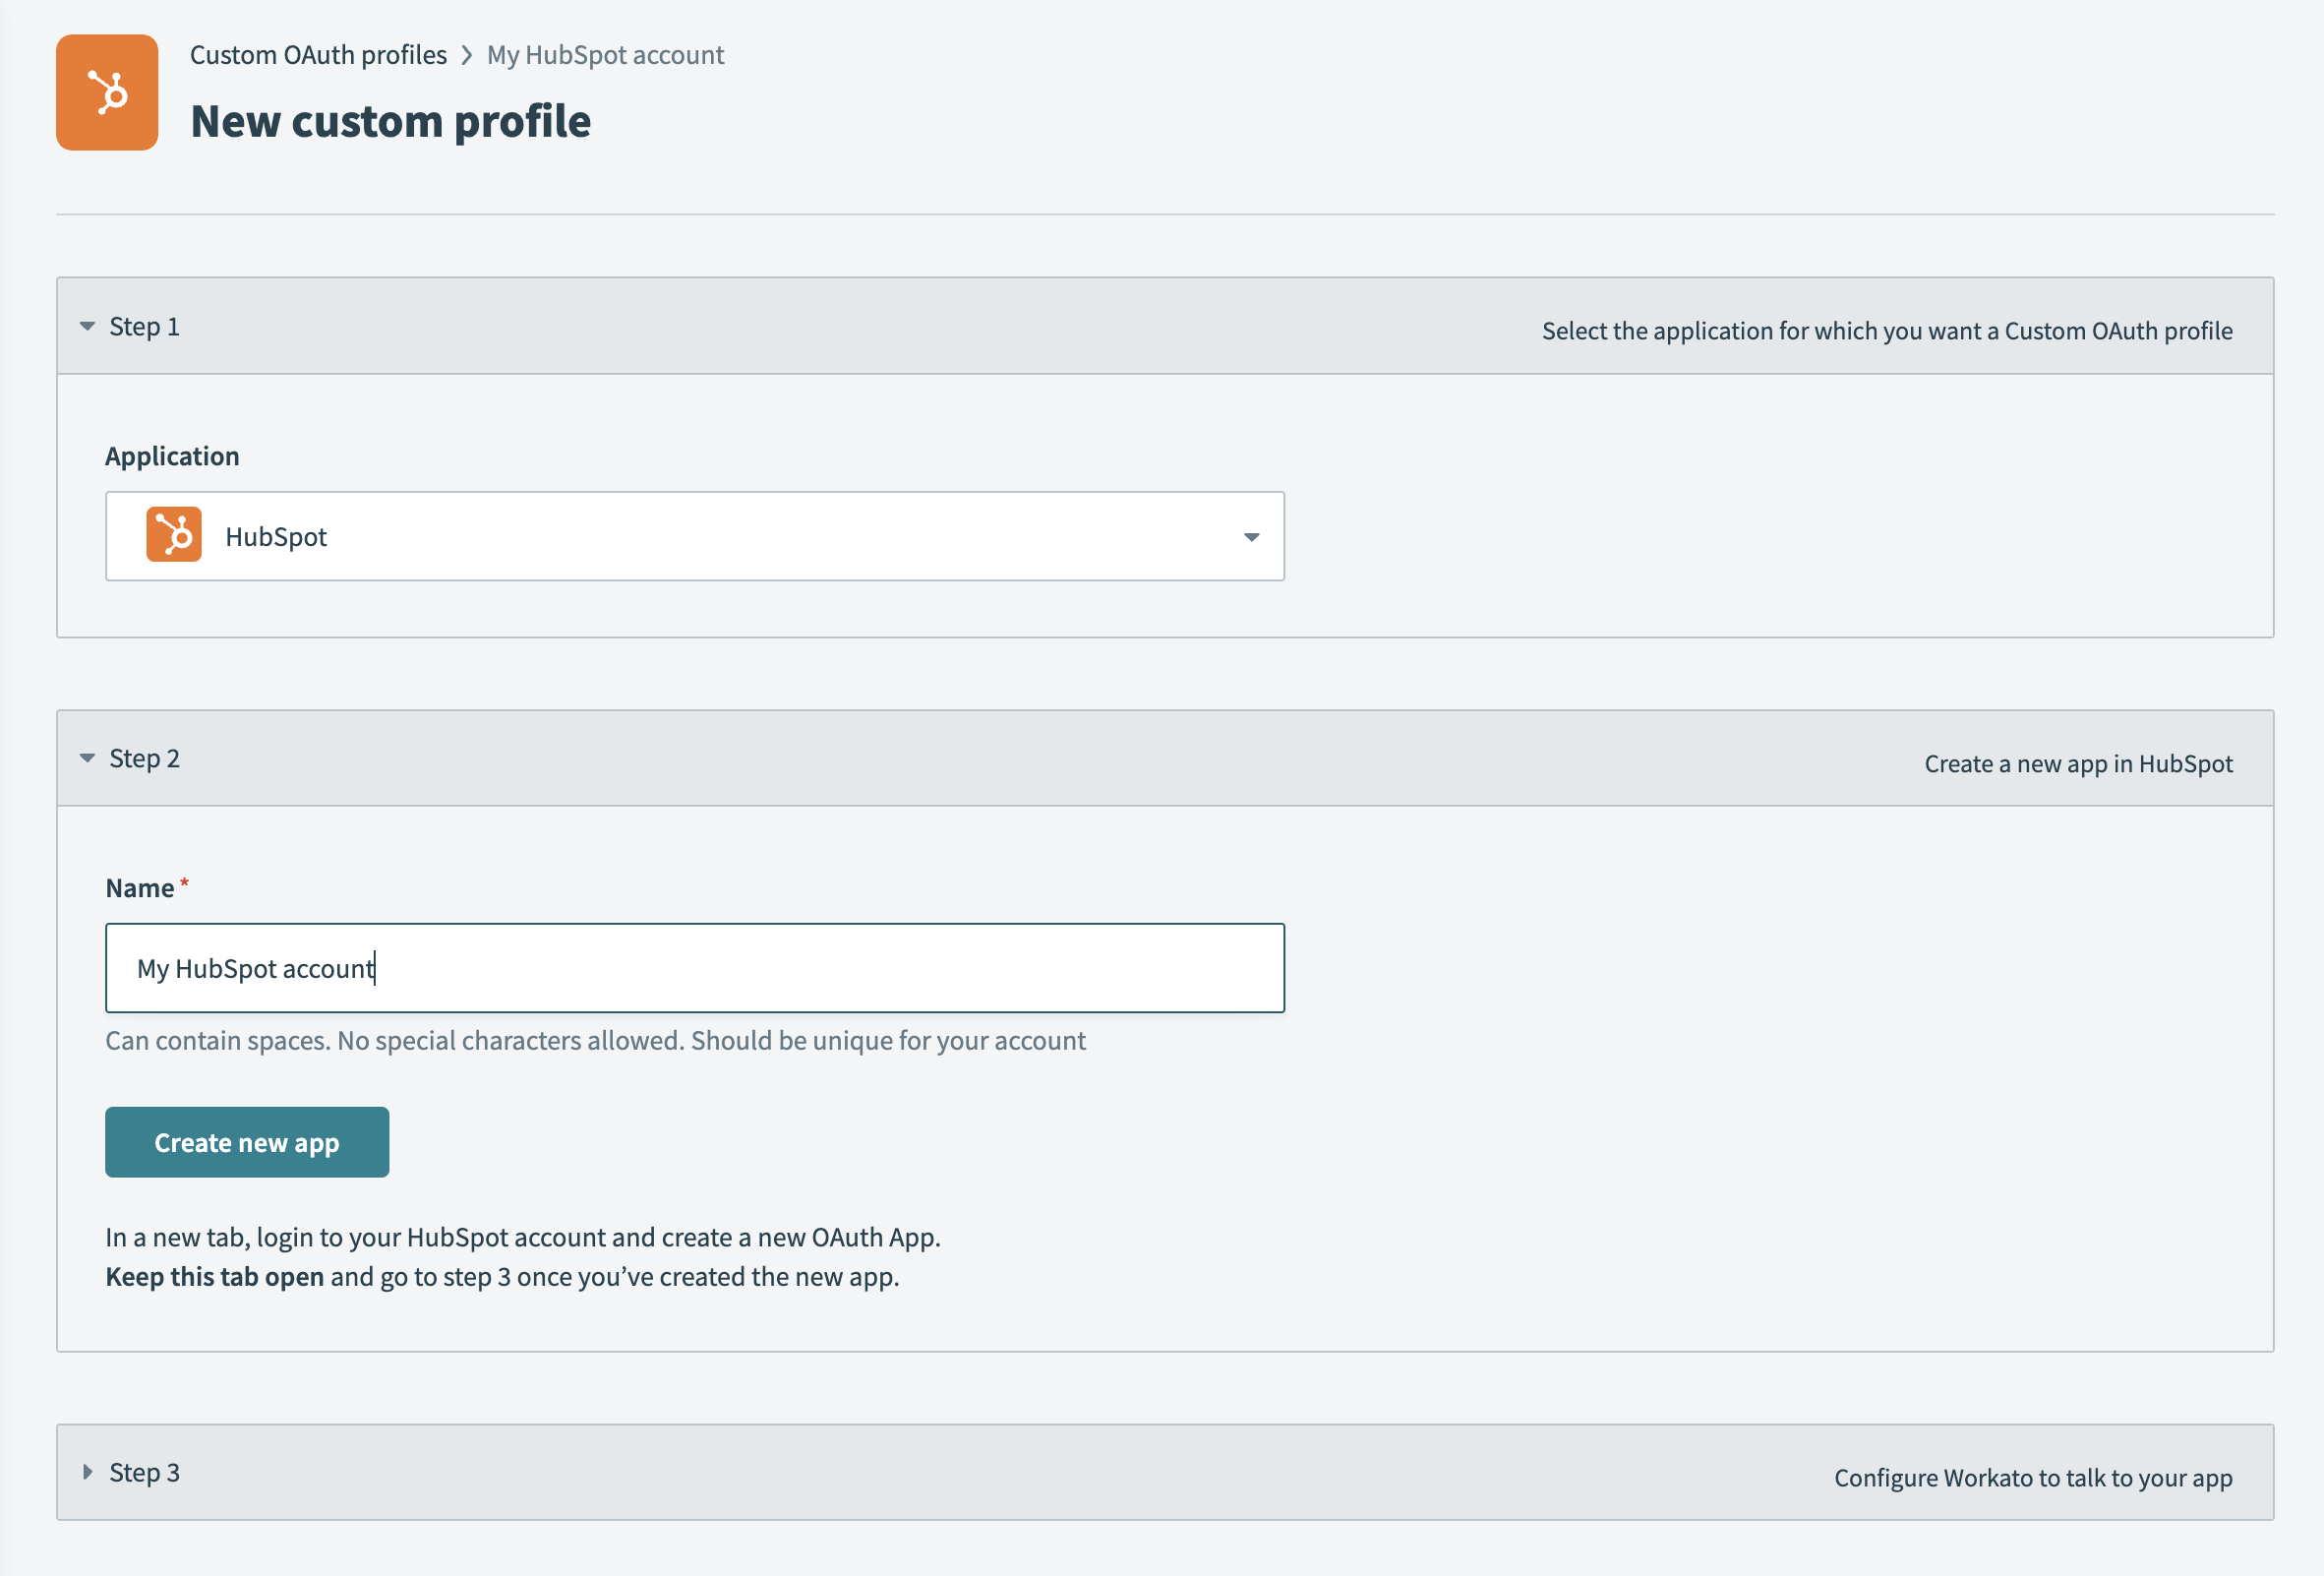 Name your application
Click Create new app to display the credential fields.
Enter the Client ID and Client secret from your HubSpot app.
Click Save and Done.
Connection details
At this point in the process, the custom OAuth profile you created only works for the workspace in which you made it.
The custom profile you created automatically replaces the standard Workato connection when a user selects a connection where the custom OAuth profile exists.
The custom OAuth profile field in the connection only appears when the user:
- Has access to the custom OAuth profiles feature or
- Has created a custom OAuth profile for that app
UNVERIFIED APP WARNING
HubSpot marks apps that aren't listed on the HubSpot Marketplace as unverified. Users who connect must select I understand the risks of connecting an unverified app to my account on the authorization screen, then click Connect app to complete the connection.
FURTHER READING
Last updated: