# Deploy assets
You must have deployment permission to deploy a project within an environment. Refer to Collaborator roles and Environments for more information.
The Deployments tab is only visible to collaborators that have access to more than one environment and deploying permissions in at least two environments. This allows collaborators to deploy and review deployment history when they click the Deployments tab.
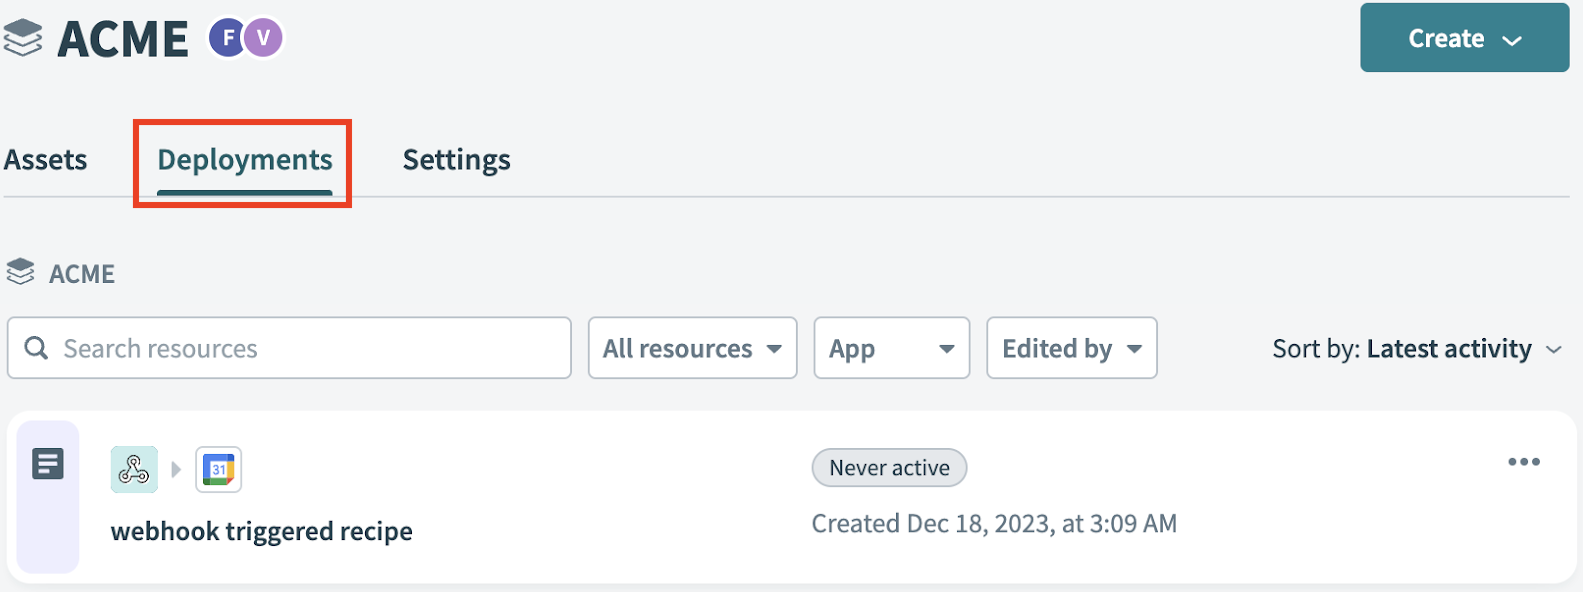 Deployments tab visible and usable
Collaborators with access to two or more environments without deploying permissions in at least two environments can see the Deployments tab as locked. In this case, collaborators can see a lock icon and a message that they need permission to access deployments.
Collaborators with access to only one environment cannot see the Deployments tab.
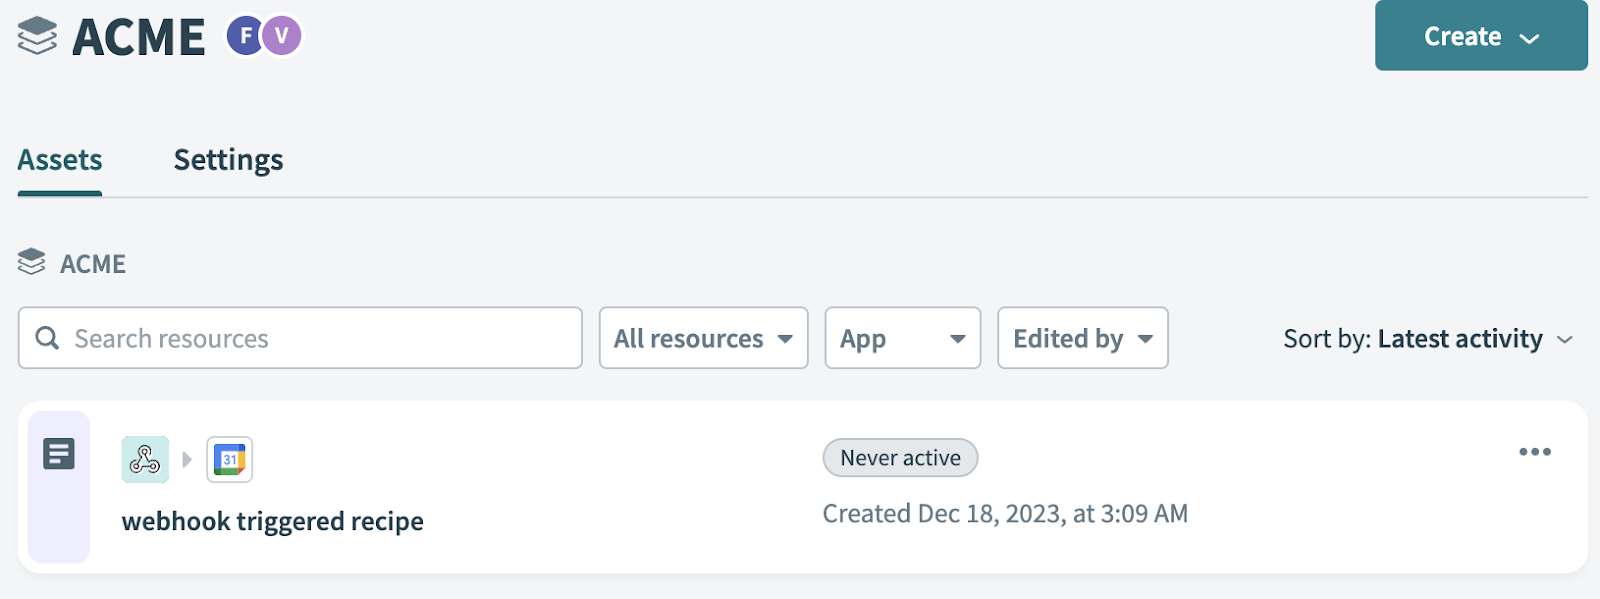 Deployments tab not visible
The Deployments tab also displays deployment history, providing a comprehensive view of all past deployments. This functionality is particularly useful for revisiting and redeploying a previous version of your project or recipe. You can revert your deployment to an earlier state by selecting the version you plan to revert to and re-deploying it.
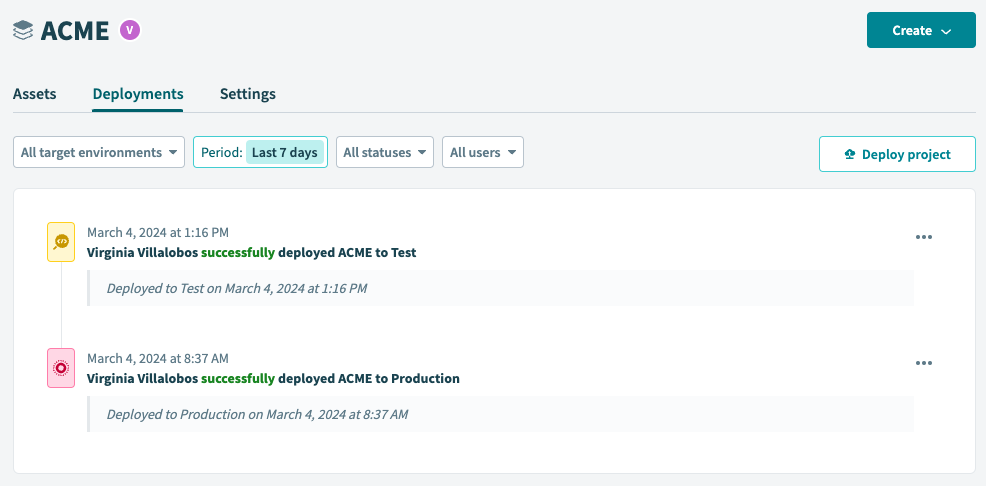 Deployment history
To re-deploy a past deployment, click on the deployment you plan to re-deploy and click Deploy.
 Redeploy a previous deployment
# Deployments workflow
You can only deploy from Development to Test and from Development to Production.
We recommend that you always use Deploy entire project when using Embedded Environments.
# Deploy a project
Complete the following steps to deploy a project to an environment:
Log in to your Workato account, click Resources in the left-side navigation menu, and then click Projects.
Select the project you plan to deploy.
Click Deployments > Deploy project.
Select Test or Production as the target environment. Alternatively, you can download the package.
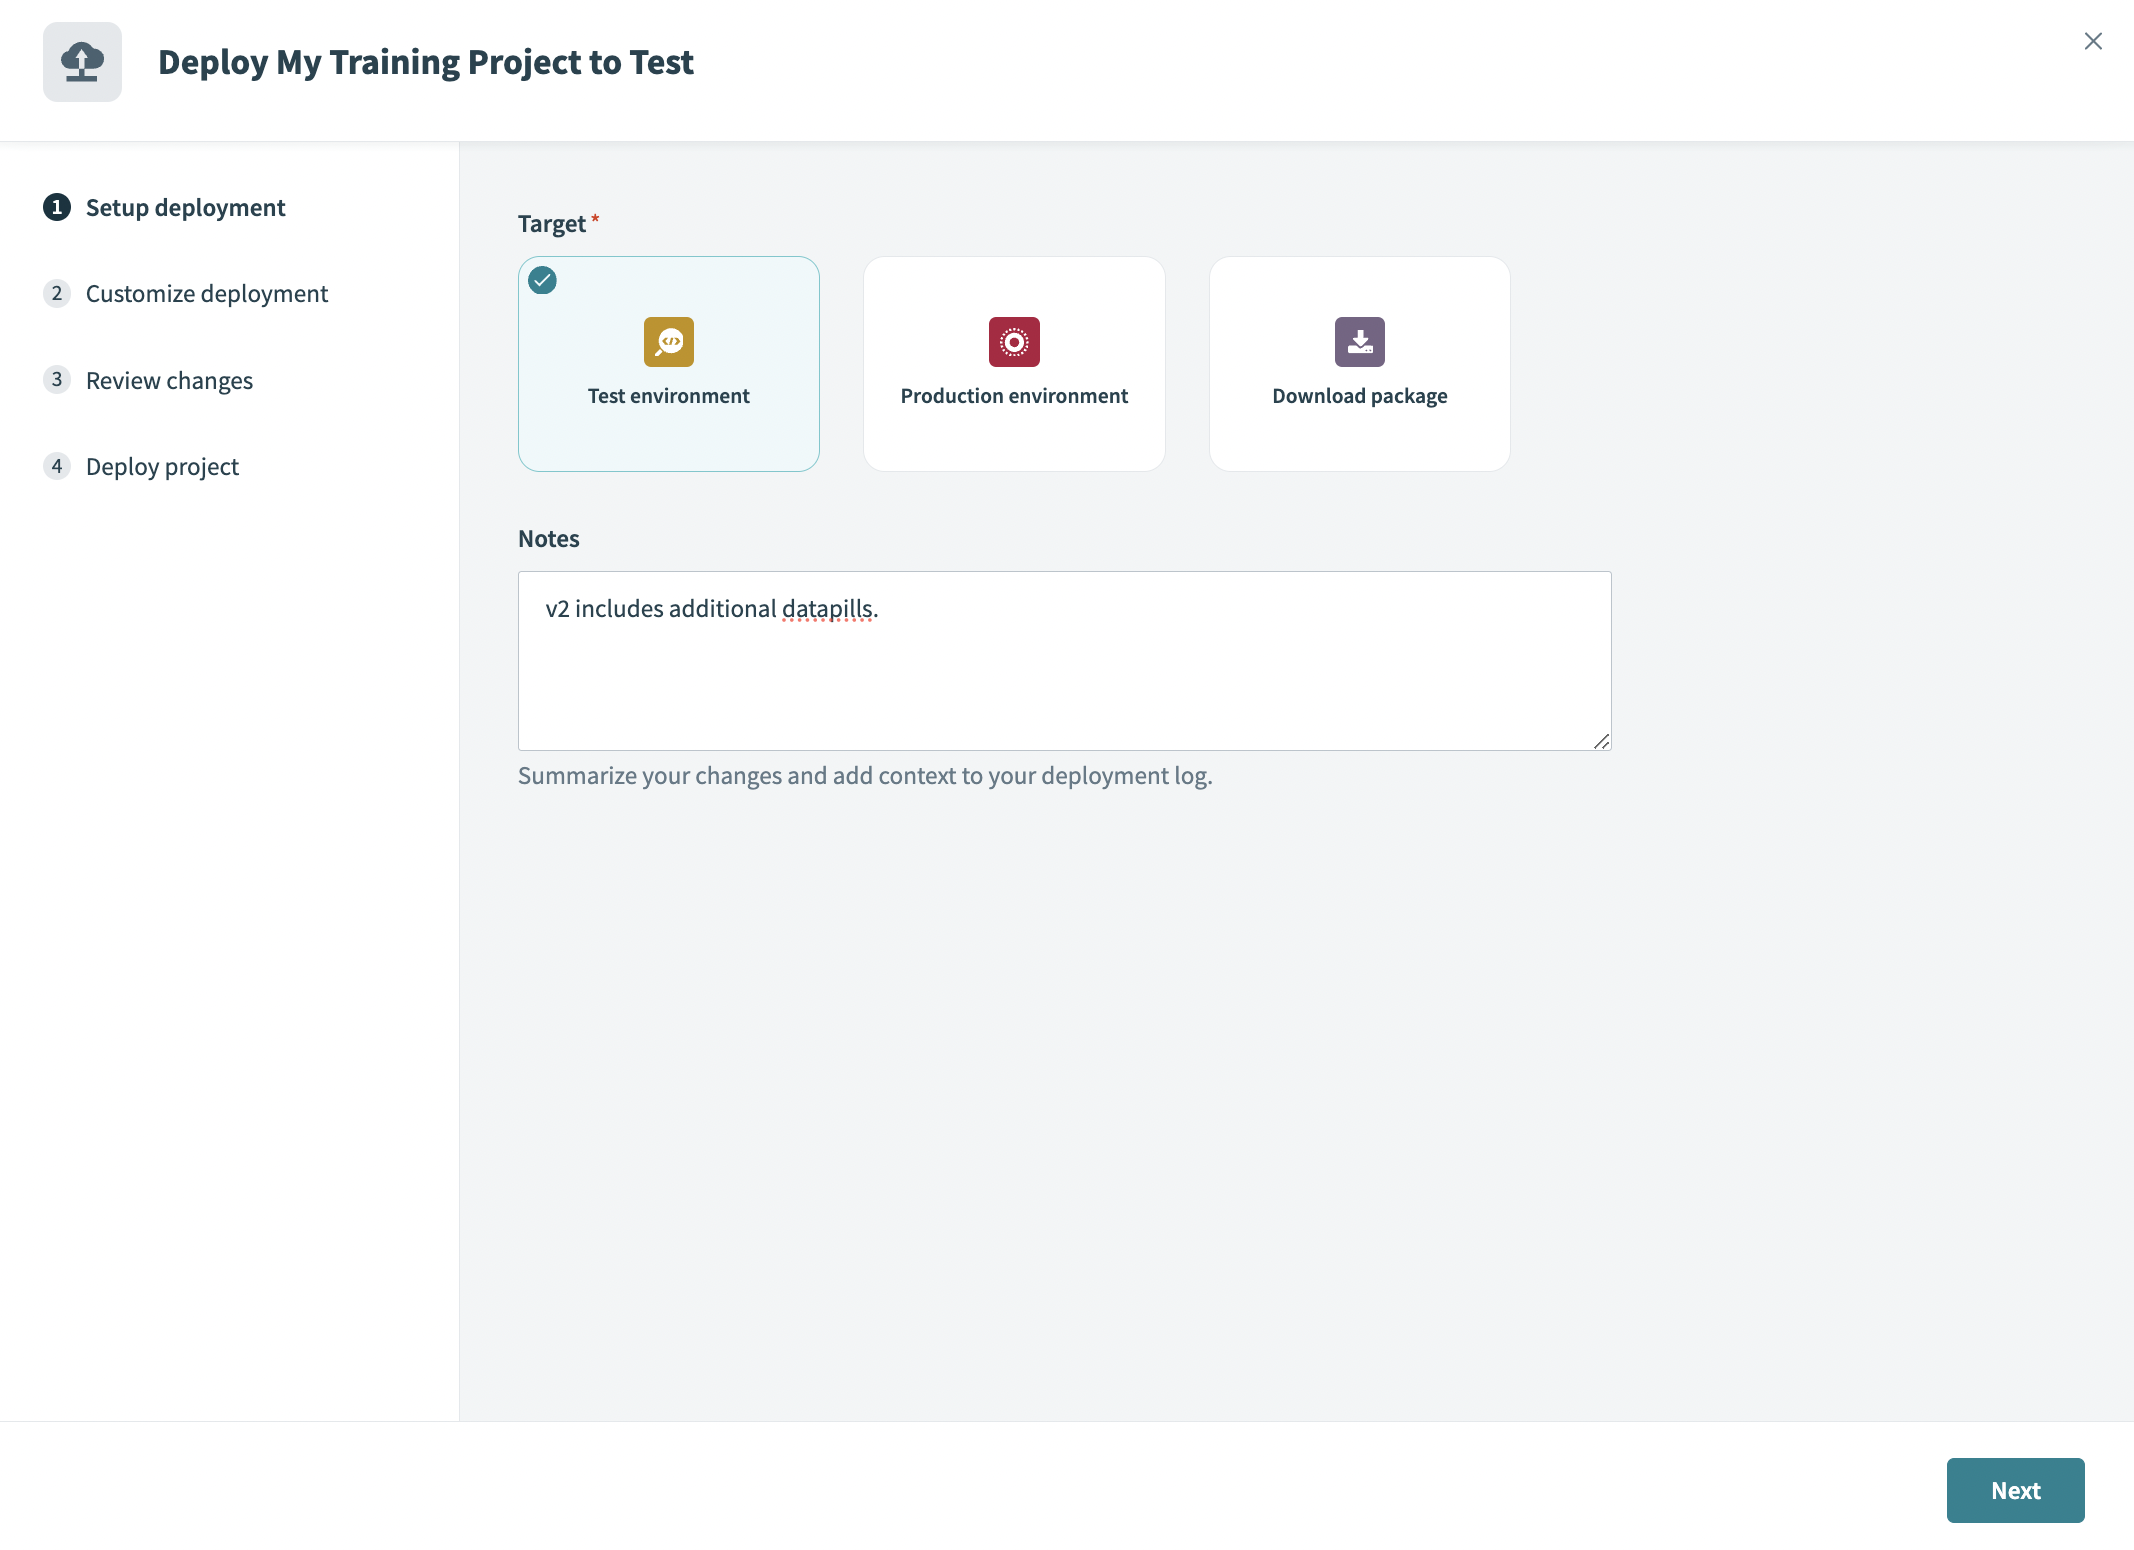 Deploy to Test environment
Optional. Summarize your changes in the Notes field.
Click Next.
Select Deploy entire project or Customize deployment as the deployment type.
DEPLOY ENTIRE PROJECT RECOMMENDATION
We always recommend that you select Deploy entire project when using Environments.
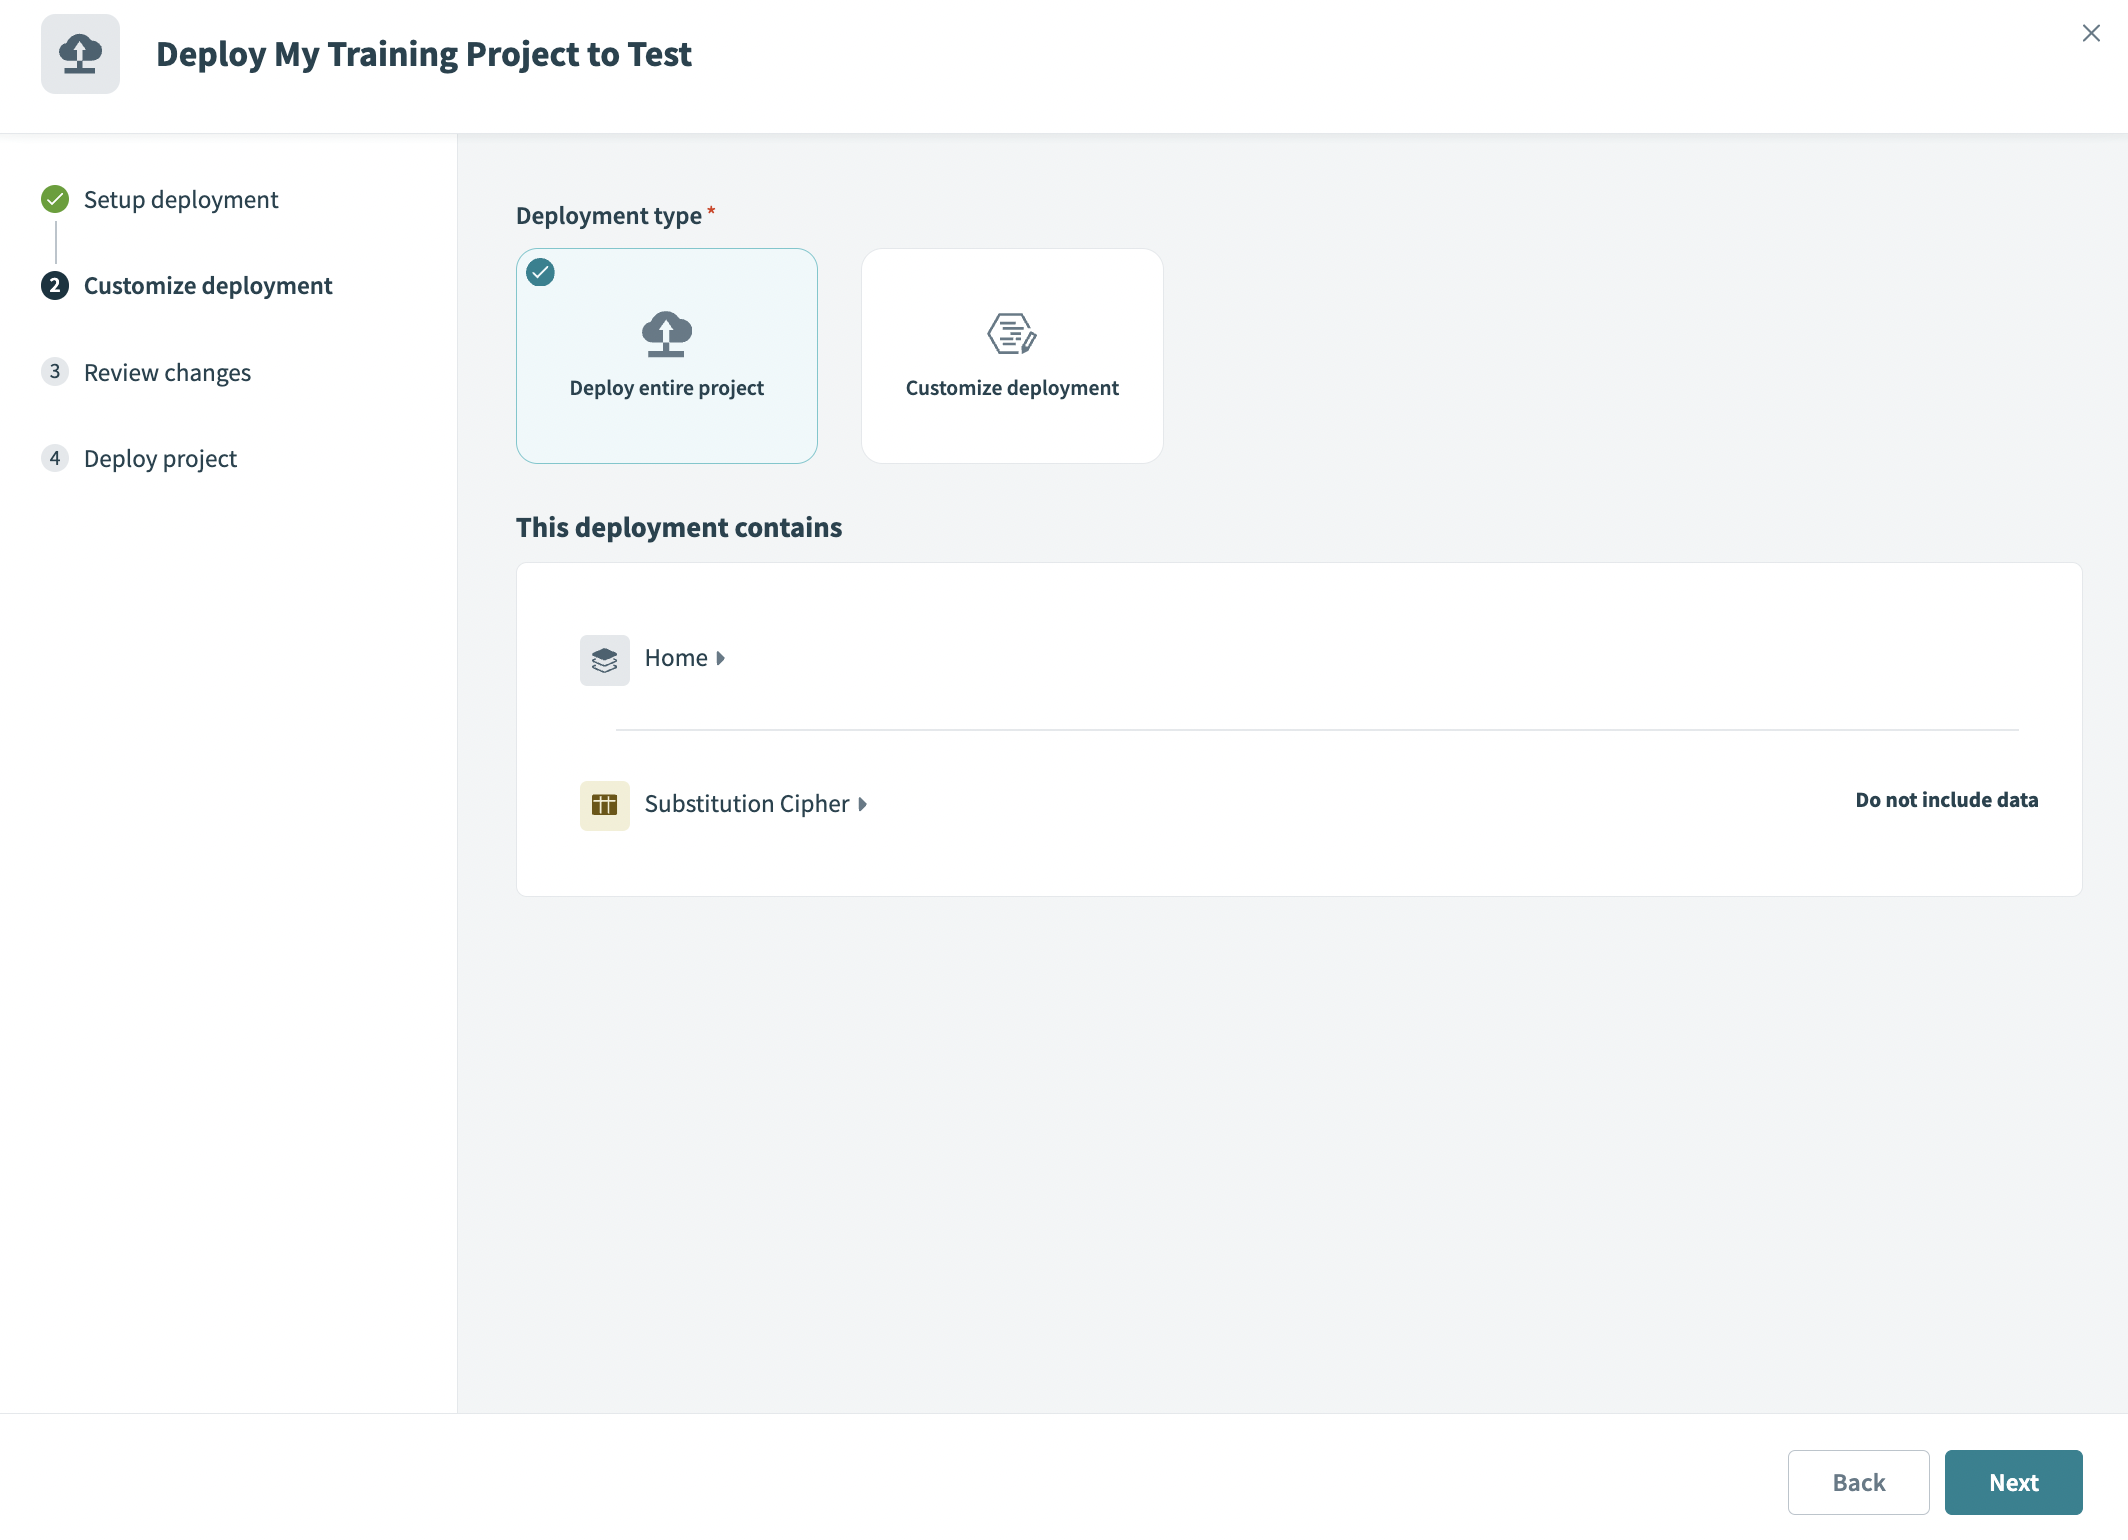 Select deployment type
Click Next. Environments begins to detect changes in the deployment.
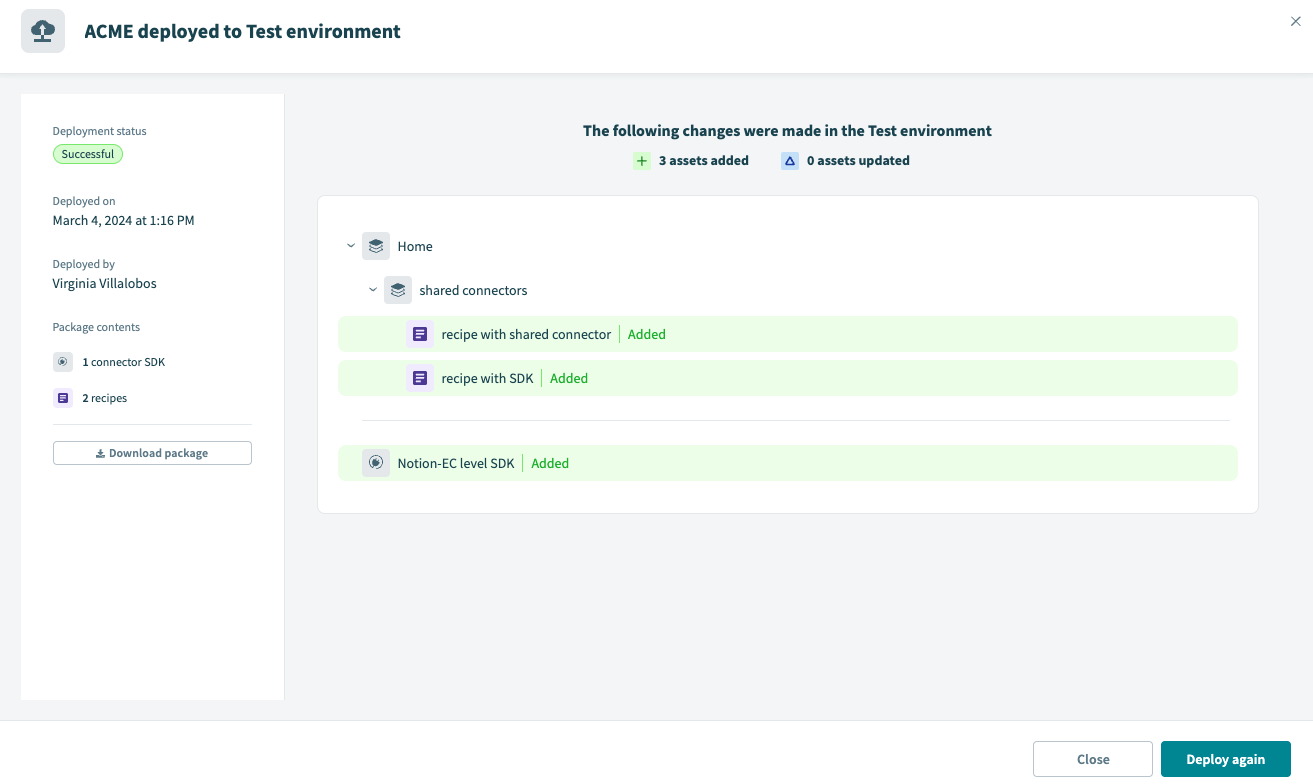
Review the changes. You can click specific changes to view a side-by-side comparison of the previous version and the new version.
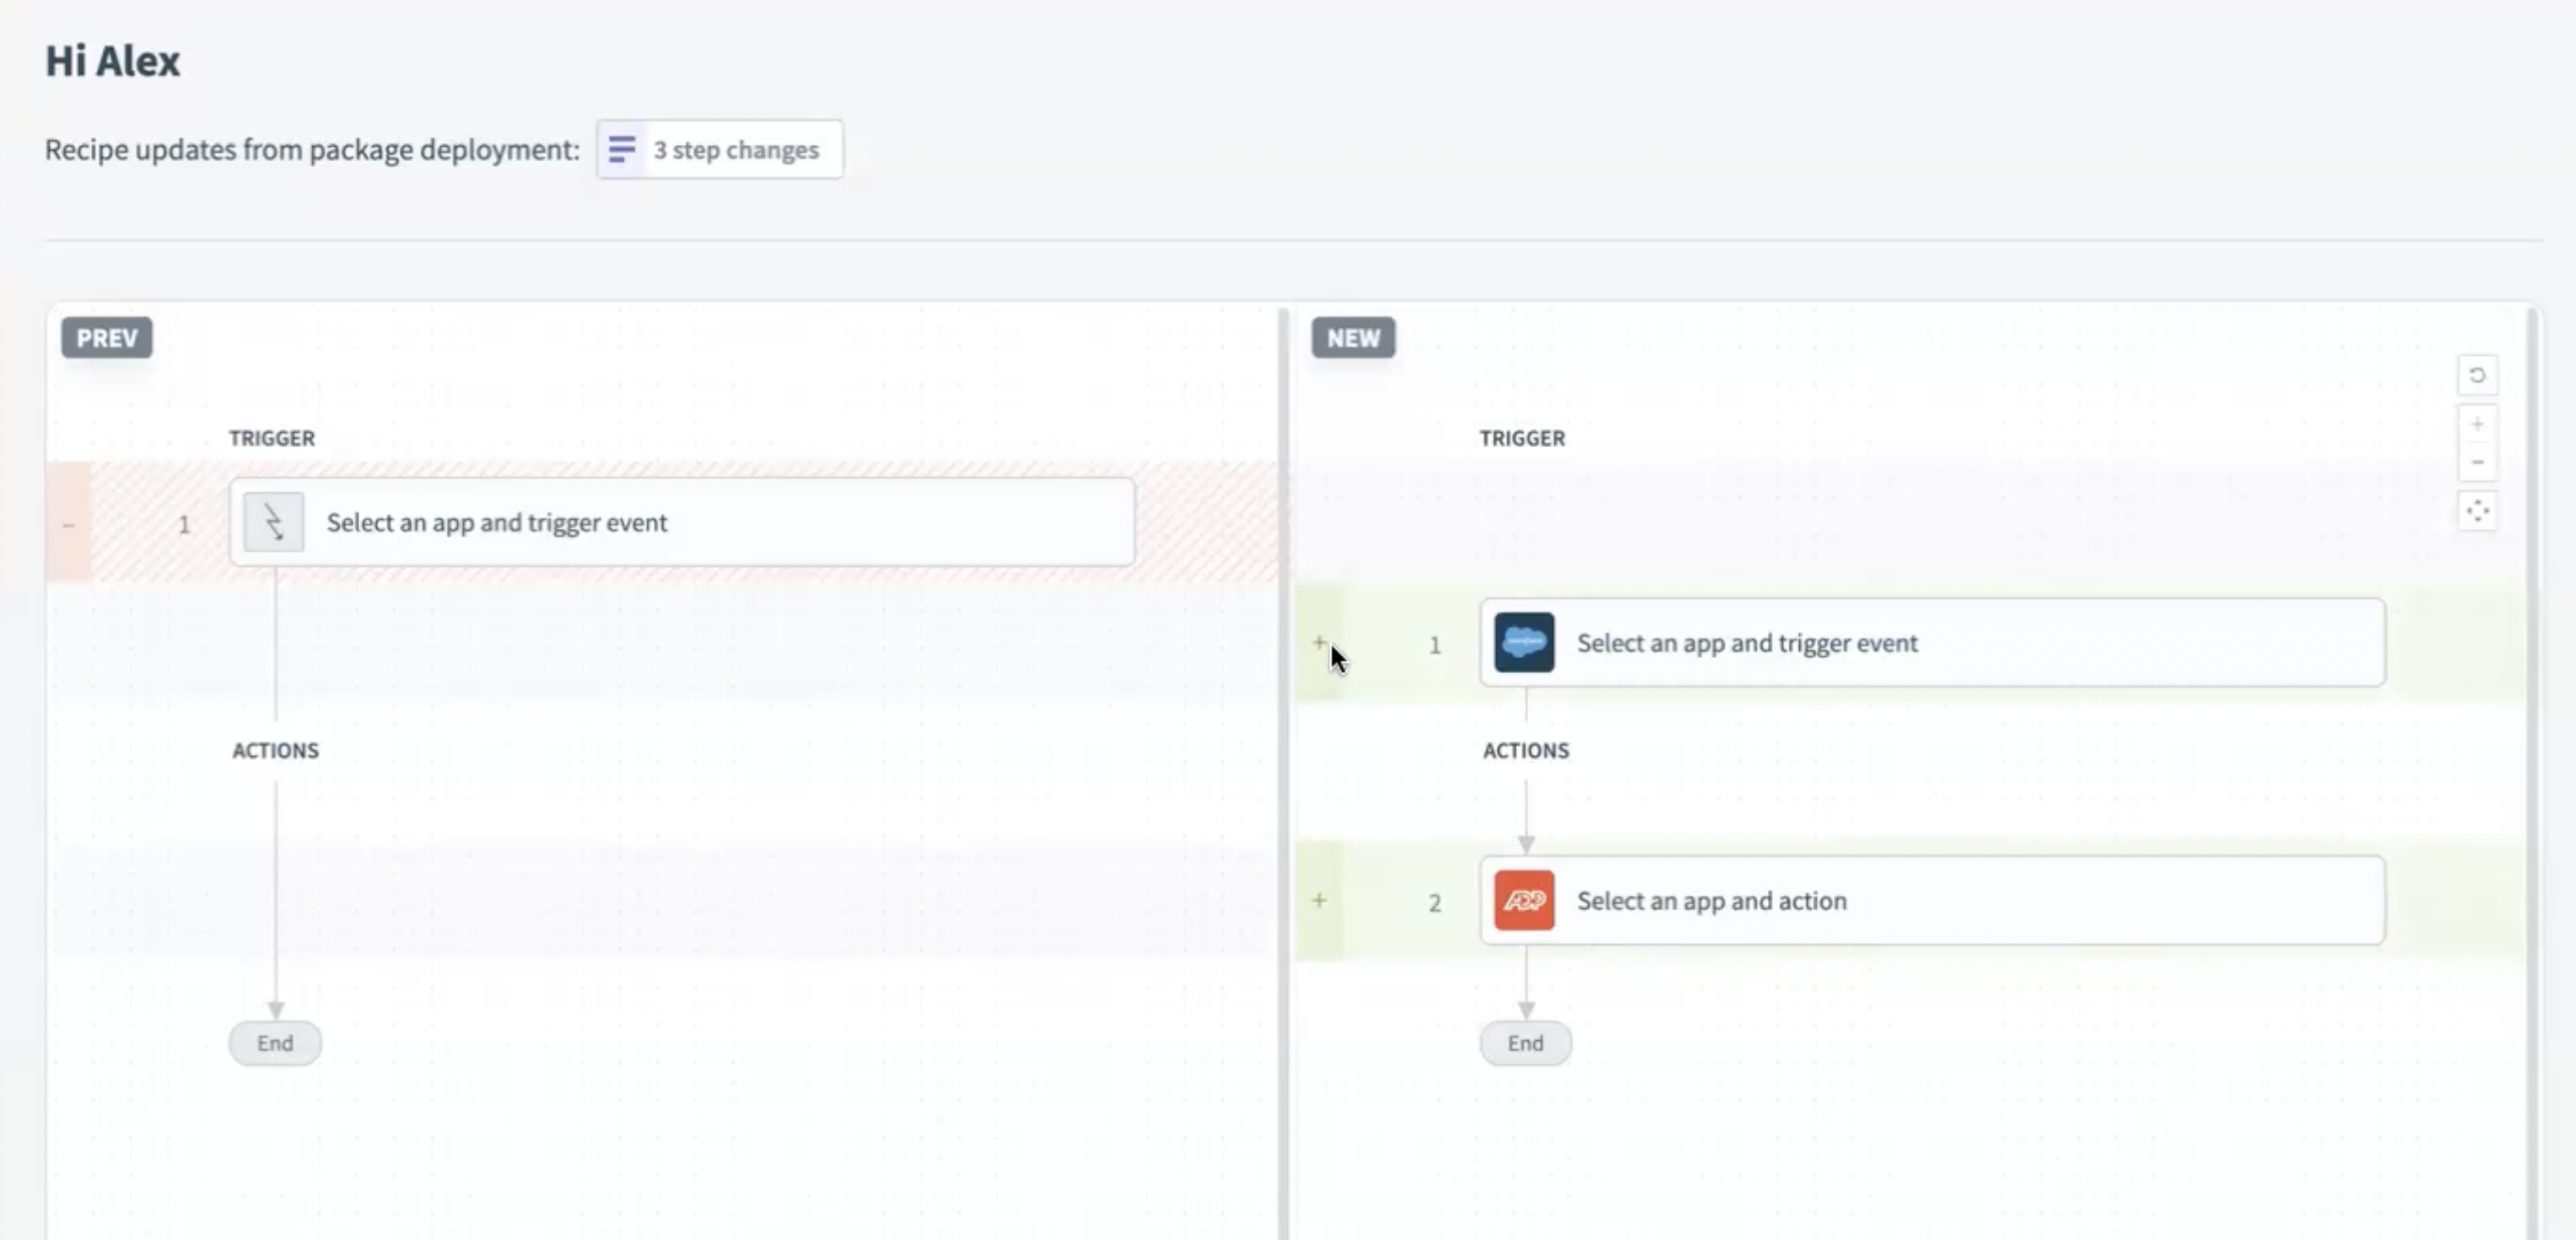 Deployment comparison
Click Deploy.
# Deploy a project build programmatically
You can deploy your project programmatically. Refer to Understanding project deployment for more information.
PROJECT-BASED PACKAGE RECOMMENDATION
Deployments from Embedded Partners to Embedded Customers are done through Recipe Lifecycle Management (RLCM). We recommend that you use a project-based package.
Last updated: 5/21/2025, 5:22:32 AM