Register an Azure Key Vault app in Microsoft Entra ID
Before you can connect your Azure Key Vault to Workato, you must register an application in the Microsoft Entra admin center.
Registering this application and giving it the appropriate permissions enables Workato to retrieve secrets from your key vault on your behalf.
To register the application, complete the following steps:
HAVE AN EXISTING SAML-BASED APPLICATION?
If you have already registered a SAML-based application that lets your users sign in to Workato with SAML SSO, you can use it to set up Workato's Azure Key Vault connection. When you configure the connector, simply enter your existing app's client ID and generate a new secret. Make sure the application also has the required permissions.
Create the app registration
Sign in to the Azure portal and go to App registrations.
Select + New registration.
Name your application. This is the user-facing display name for this application, such as workato-akv. Microsoft allows you to change this name later.
In Supported account types, select Accounts in this organizational directory only (Default Directory only - Single tenant).
Leave the Redirect URI field blank and select the Register button.
The next page displays an overview of the newly created app. Copy and store the Application (client) ID and the Directory (tenant) ID. You will need these values later to authenticate in Workato.
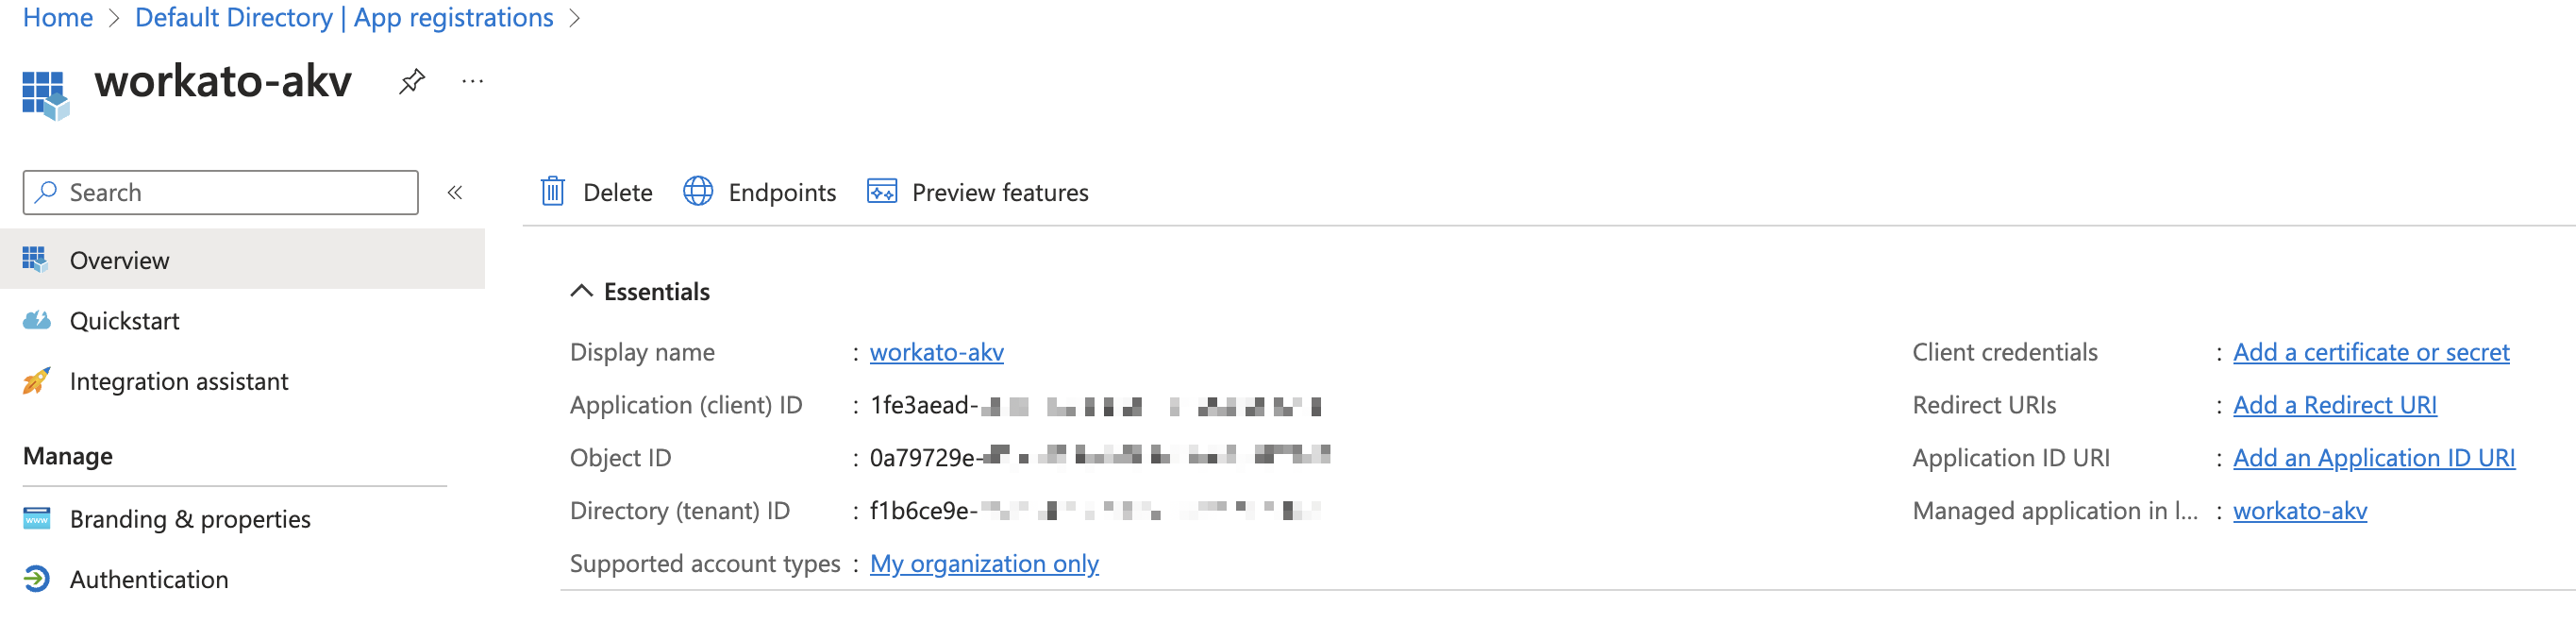 App registration overview
Create the client secret
From the overview of your app registration, select Certificates & secrets in the left navigation sidebar.
On the Client secrets tab, select + New client secret.
In the Description field, enter a description for the client secret, such as workatoAzureKeyVault.
In the Expires field, select when the secret should expire. The default is after 180 days.
Select Add.
The Azure portal displays the new secret value and ID. Copy the Value.
WARNING
The secret value is only shown once. Make sure you copy it before leaving the page.
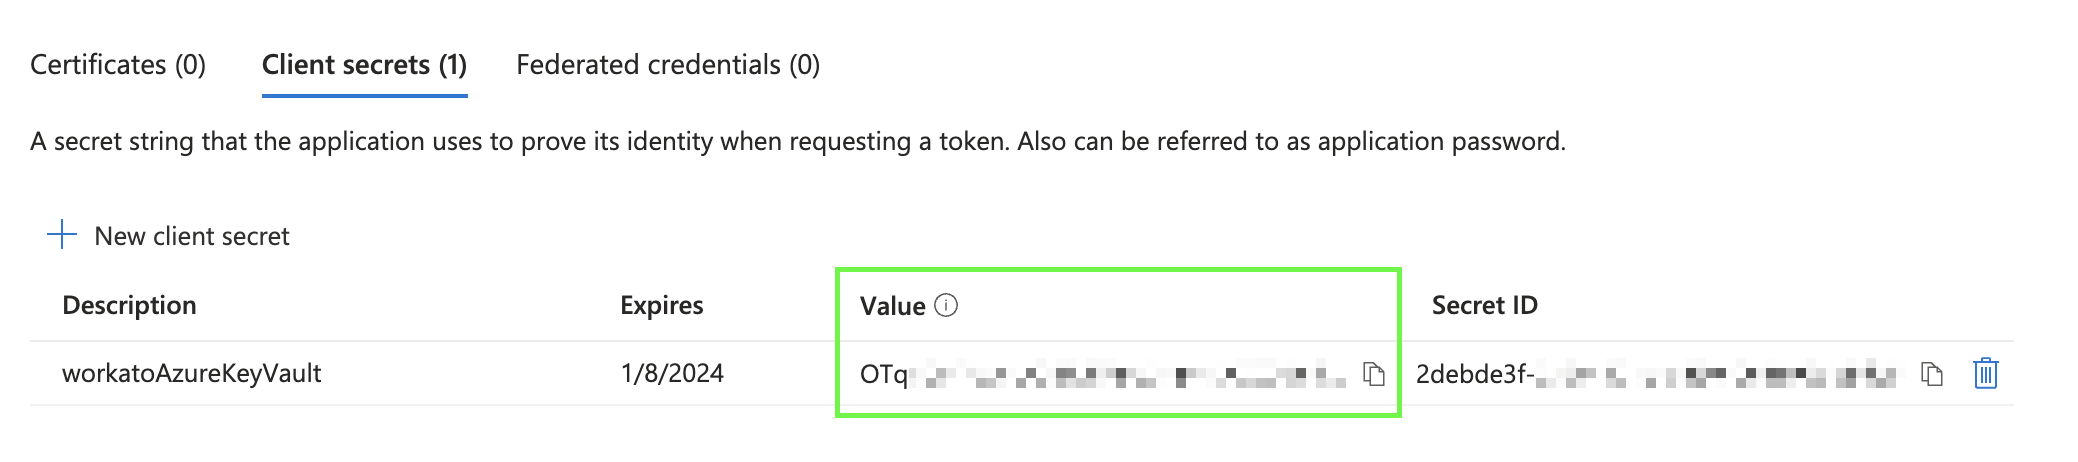 Copy the secret value
Grant permissions to the app
Next, you must give the registered app permission to retrieve secrets from your key vault on Workato's behalf.
Azure offers two ways to grant permission to access key vaults:
To see which model your key vault uses, navigate to Key vaults > {key vault name} > Access configuration.
RBAC
If your key vault uses the RBAC permission model, you must assign the Key Vault Secrets User role to the registered application.
Navigate to Key vaults > {key vault name} > Access control (IAM).
Select Add > Add role assignment.
Select the Key Vault Secrets User role and select Next.
In the Assign access to field, select User, group, or service principal.
In the Members field, choose Select members and search for the name of your registered application. When the application appears in the list, click the application name and choose Select.
Select Next.
In the Review + assign tab, select Review and assign.
Access policy
If your key vault uses the access policy permission model, you must assign the Get secret permission to the registered application.
Navigate to Key vaults > {key vault name} > Access policies.
Select Create.
In the Permissions tab, select Get in the Secret permissions column, then select Next.
In the Principal tab, search for the name of the registered app. When the application appears in the list, select the application name and then select Next.
In the Application (optional) tab, select Next.
In the Review + create tab, select Create.
Last updated: