Access the developer portal
The developer portal provides everything you need to discover, test, and consume APIs.
Log in to the portal
How you log in depends on whether your workspace uses Workato Identity:
- Log in with magic link: Your admin invites you by email and you access the portal using a link.
- Log in with Workato Identity: You log in using your Workato Identity credentials or through your organization's identity provider.
Log in with magic link
When an admin invites you to the developer portal, you receive an email with a link to access the portal.
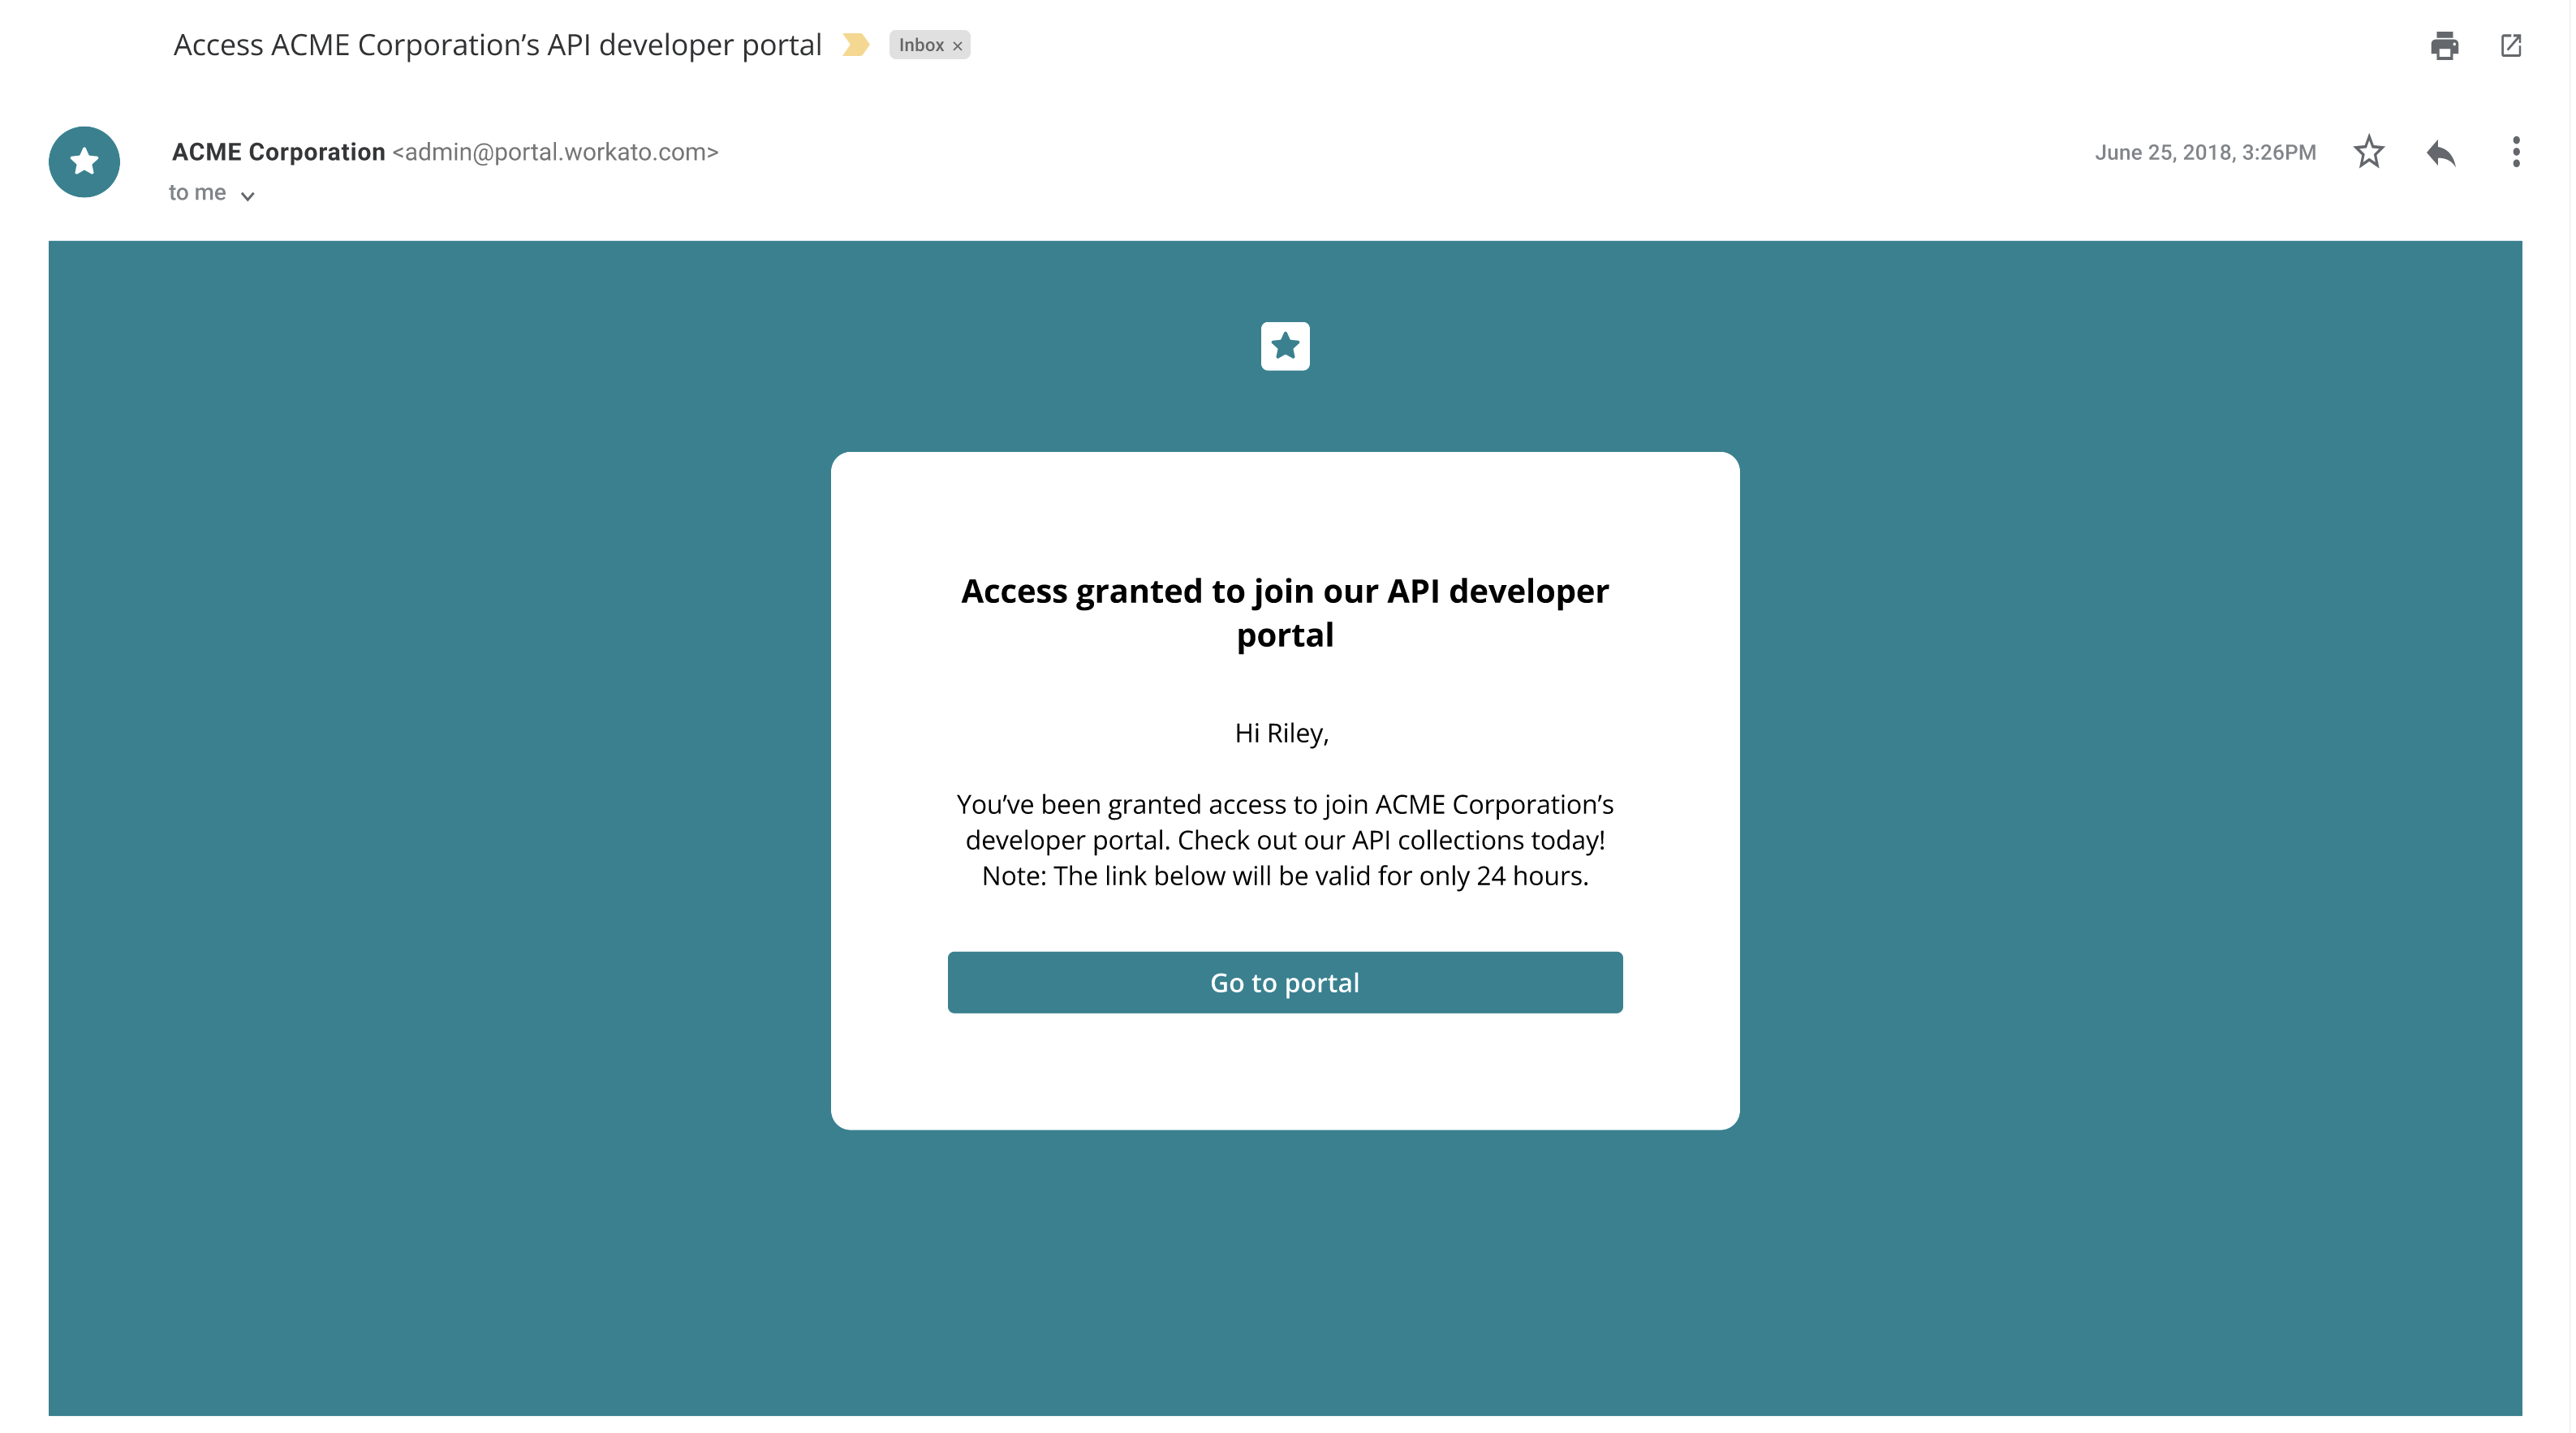 Invitation email
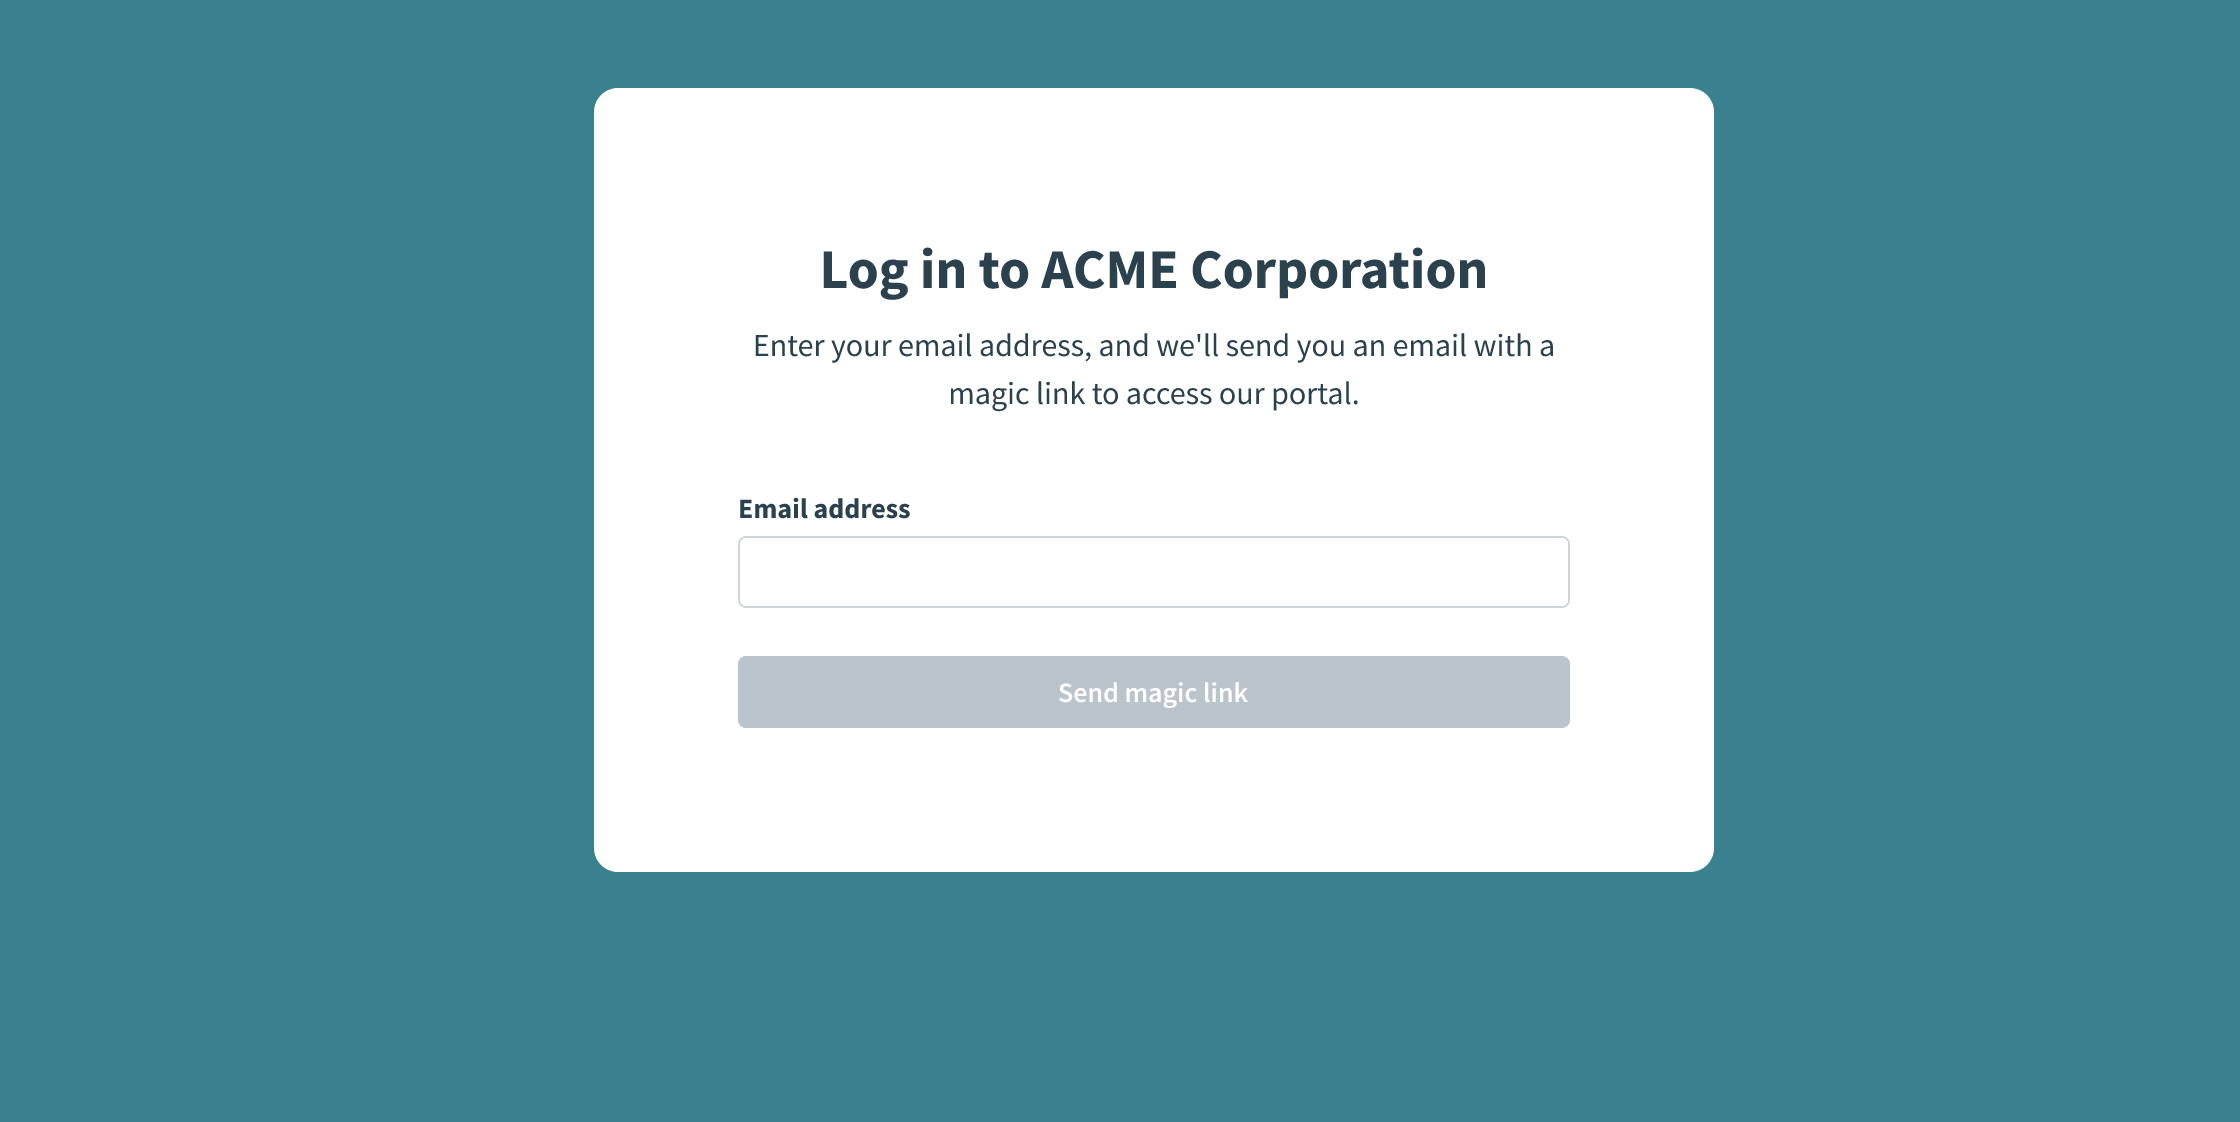 Enter your email to request a new link
Log in with Workato Identity
Follow the Invited user tab if you received a portal invitation email. Follow the JIT user tab if your organization uses SSO with just-in-time (JIT) provisioning and you didn't receive an invitation.
PORTAL ACCESS
Contact your admin for the portal URL and to confirm which access method applies to you.
Navigate the developer portal
After you log in, you can browse your assigned API collections, discover new ones, test endpoints, and manage your API keys.
- Browse API collections: View your assigned collections and explore endpoint documentation.
- Discover new APIs: Browse additional available collections and request access.
- Test endpoints: Send test requests to validate endpoint behavior.
- Manage and create API keys: Generate and manage keys for authenticating requests.
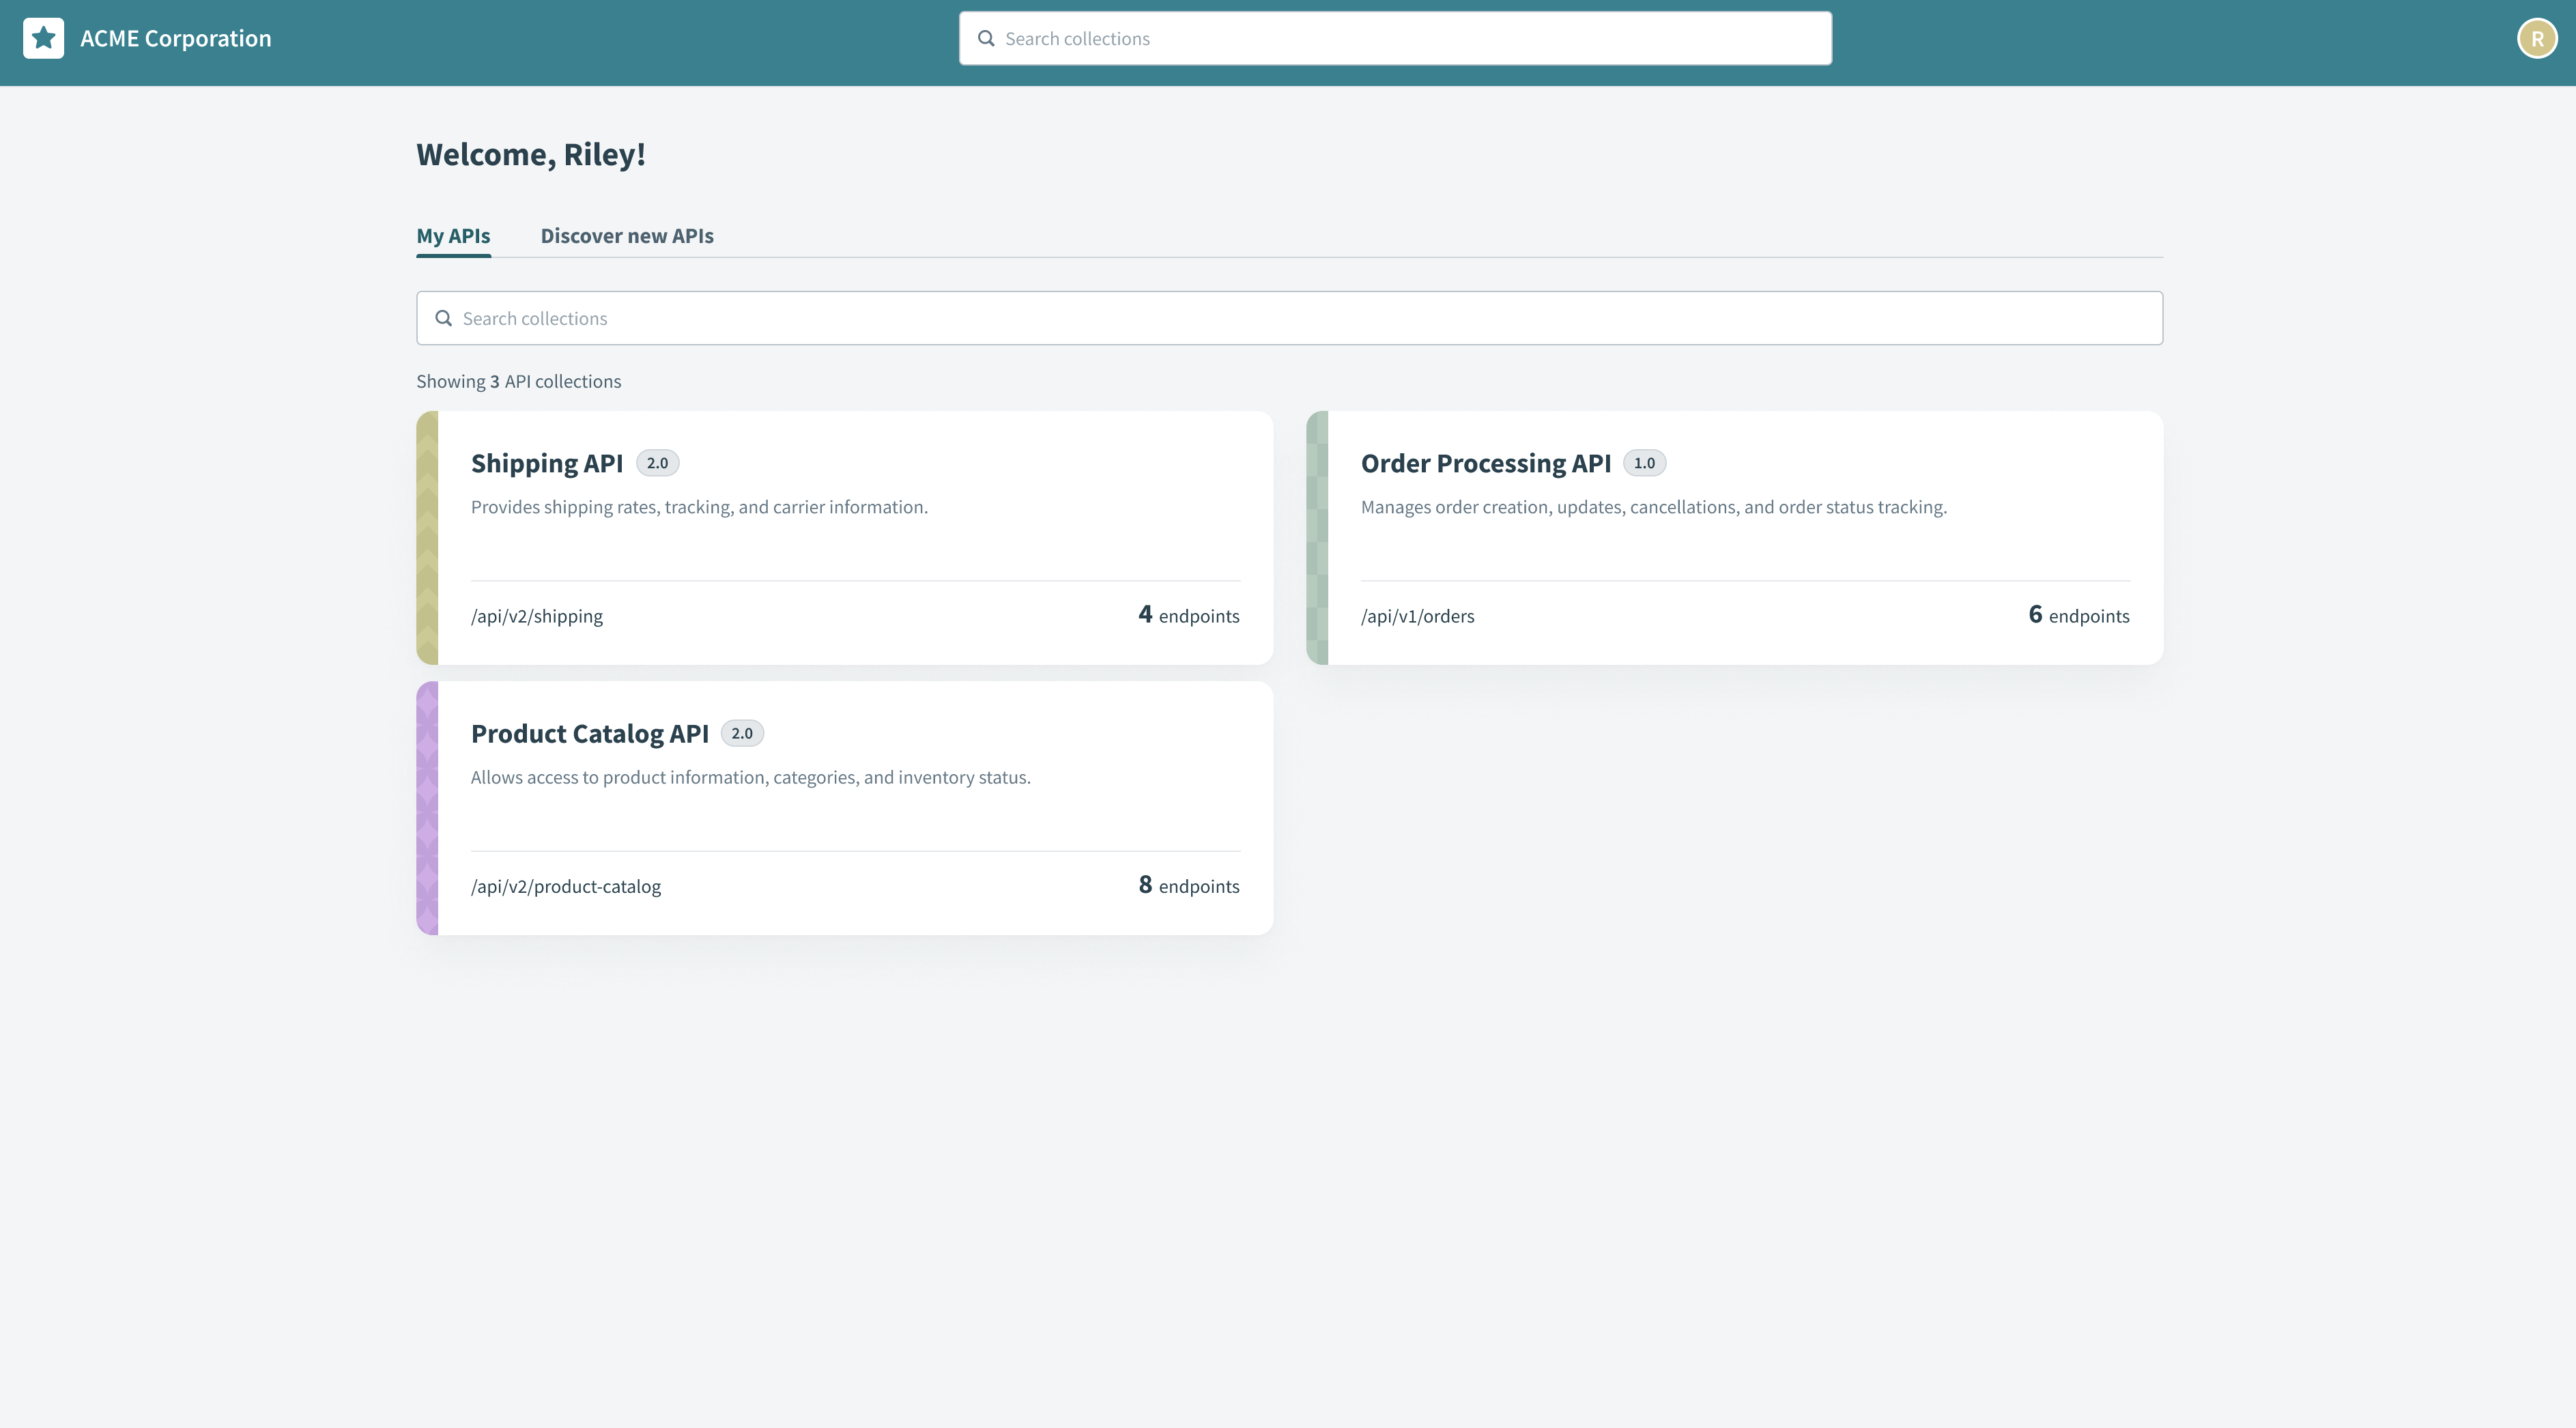
Browse API collections
You can access your assigned API collections in the My APIs tab. Selecting a collection opens its documentation, where you can explore endpoint methods, descriptions, and schemas. The documentation includes example requests and responses. You can also download the OpenAPI specifications.
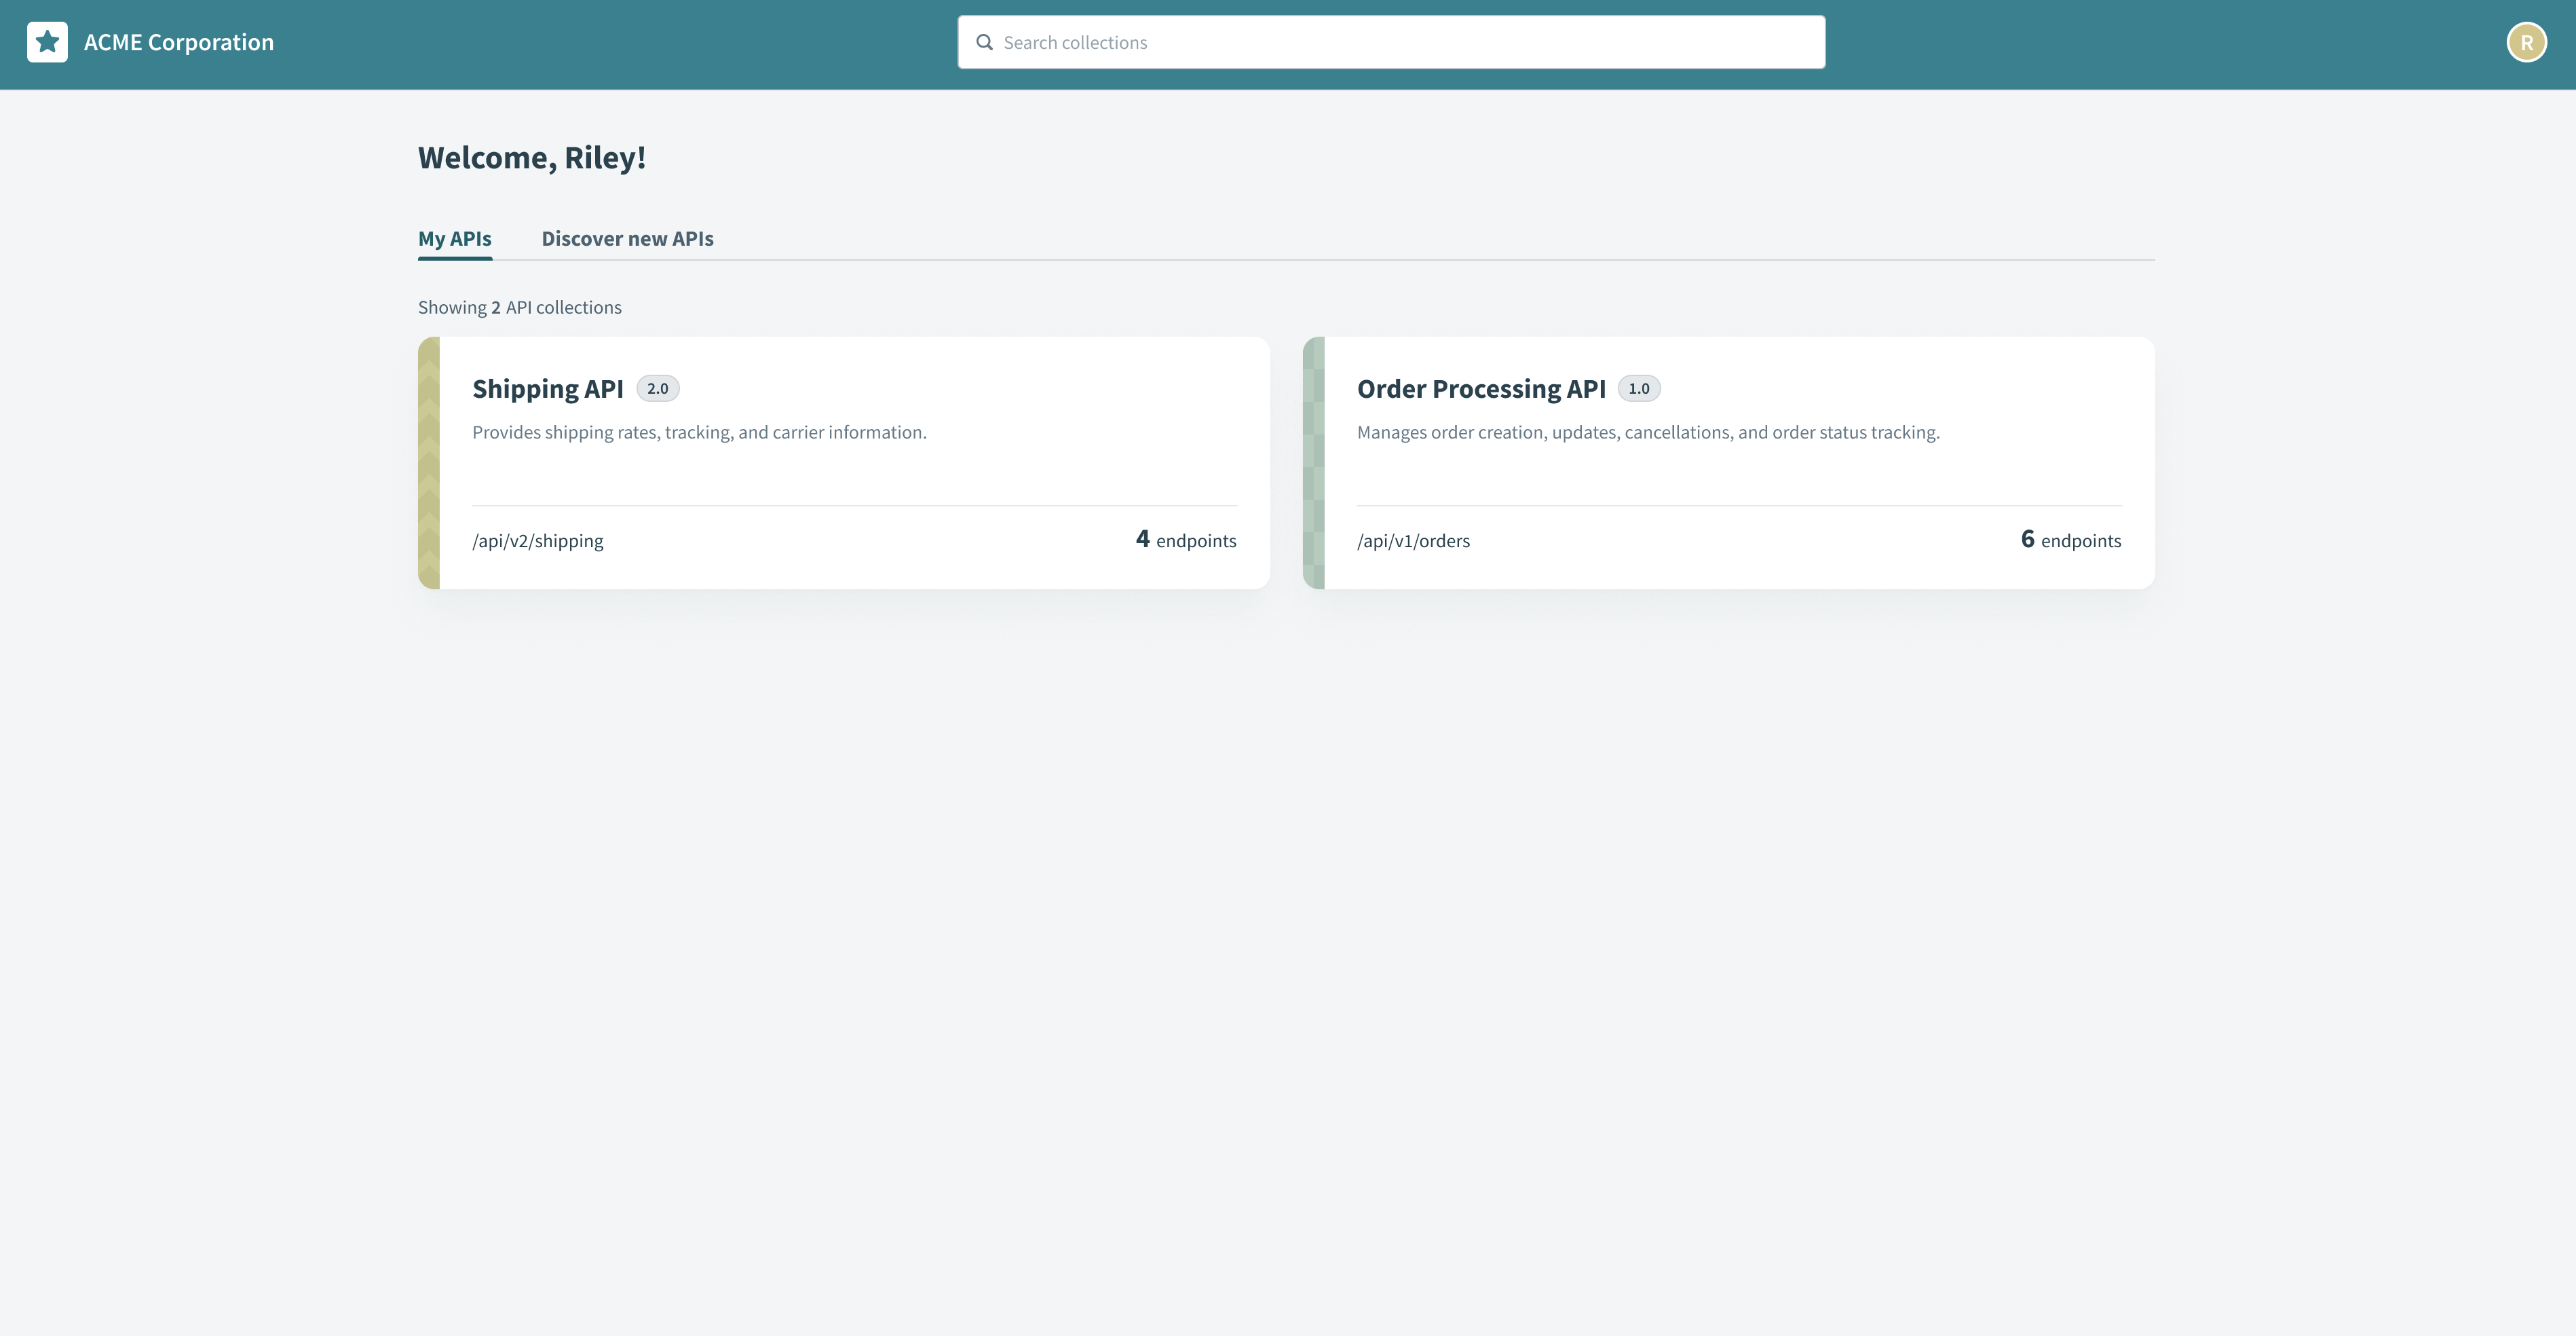 Browse API collections
Discover new APIs
The Discover new APIs tab provides access to additional API collections. Browse collections to find APIs that match your needs, and request access directly through the portal.
Request access to new APIs
Complete the following steps to request access to new APIs:
Go to the Discover new APIs tab to browse available API collections.
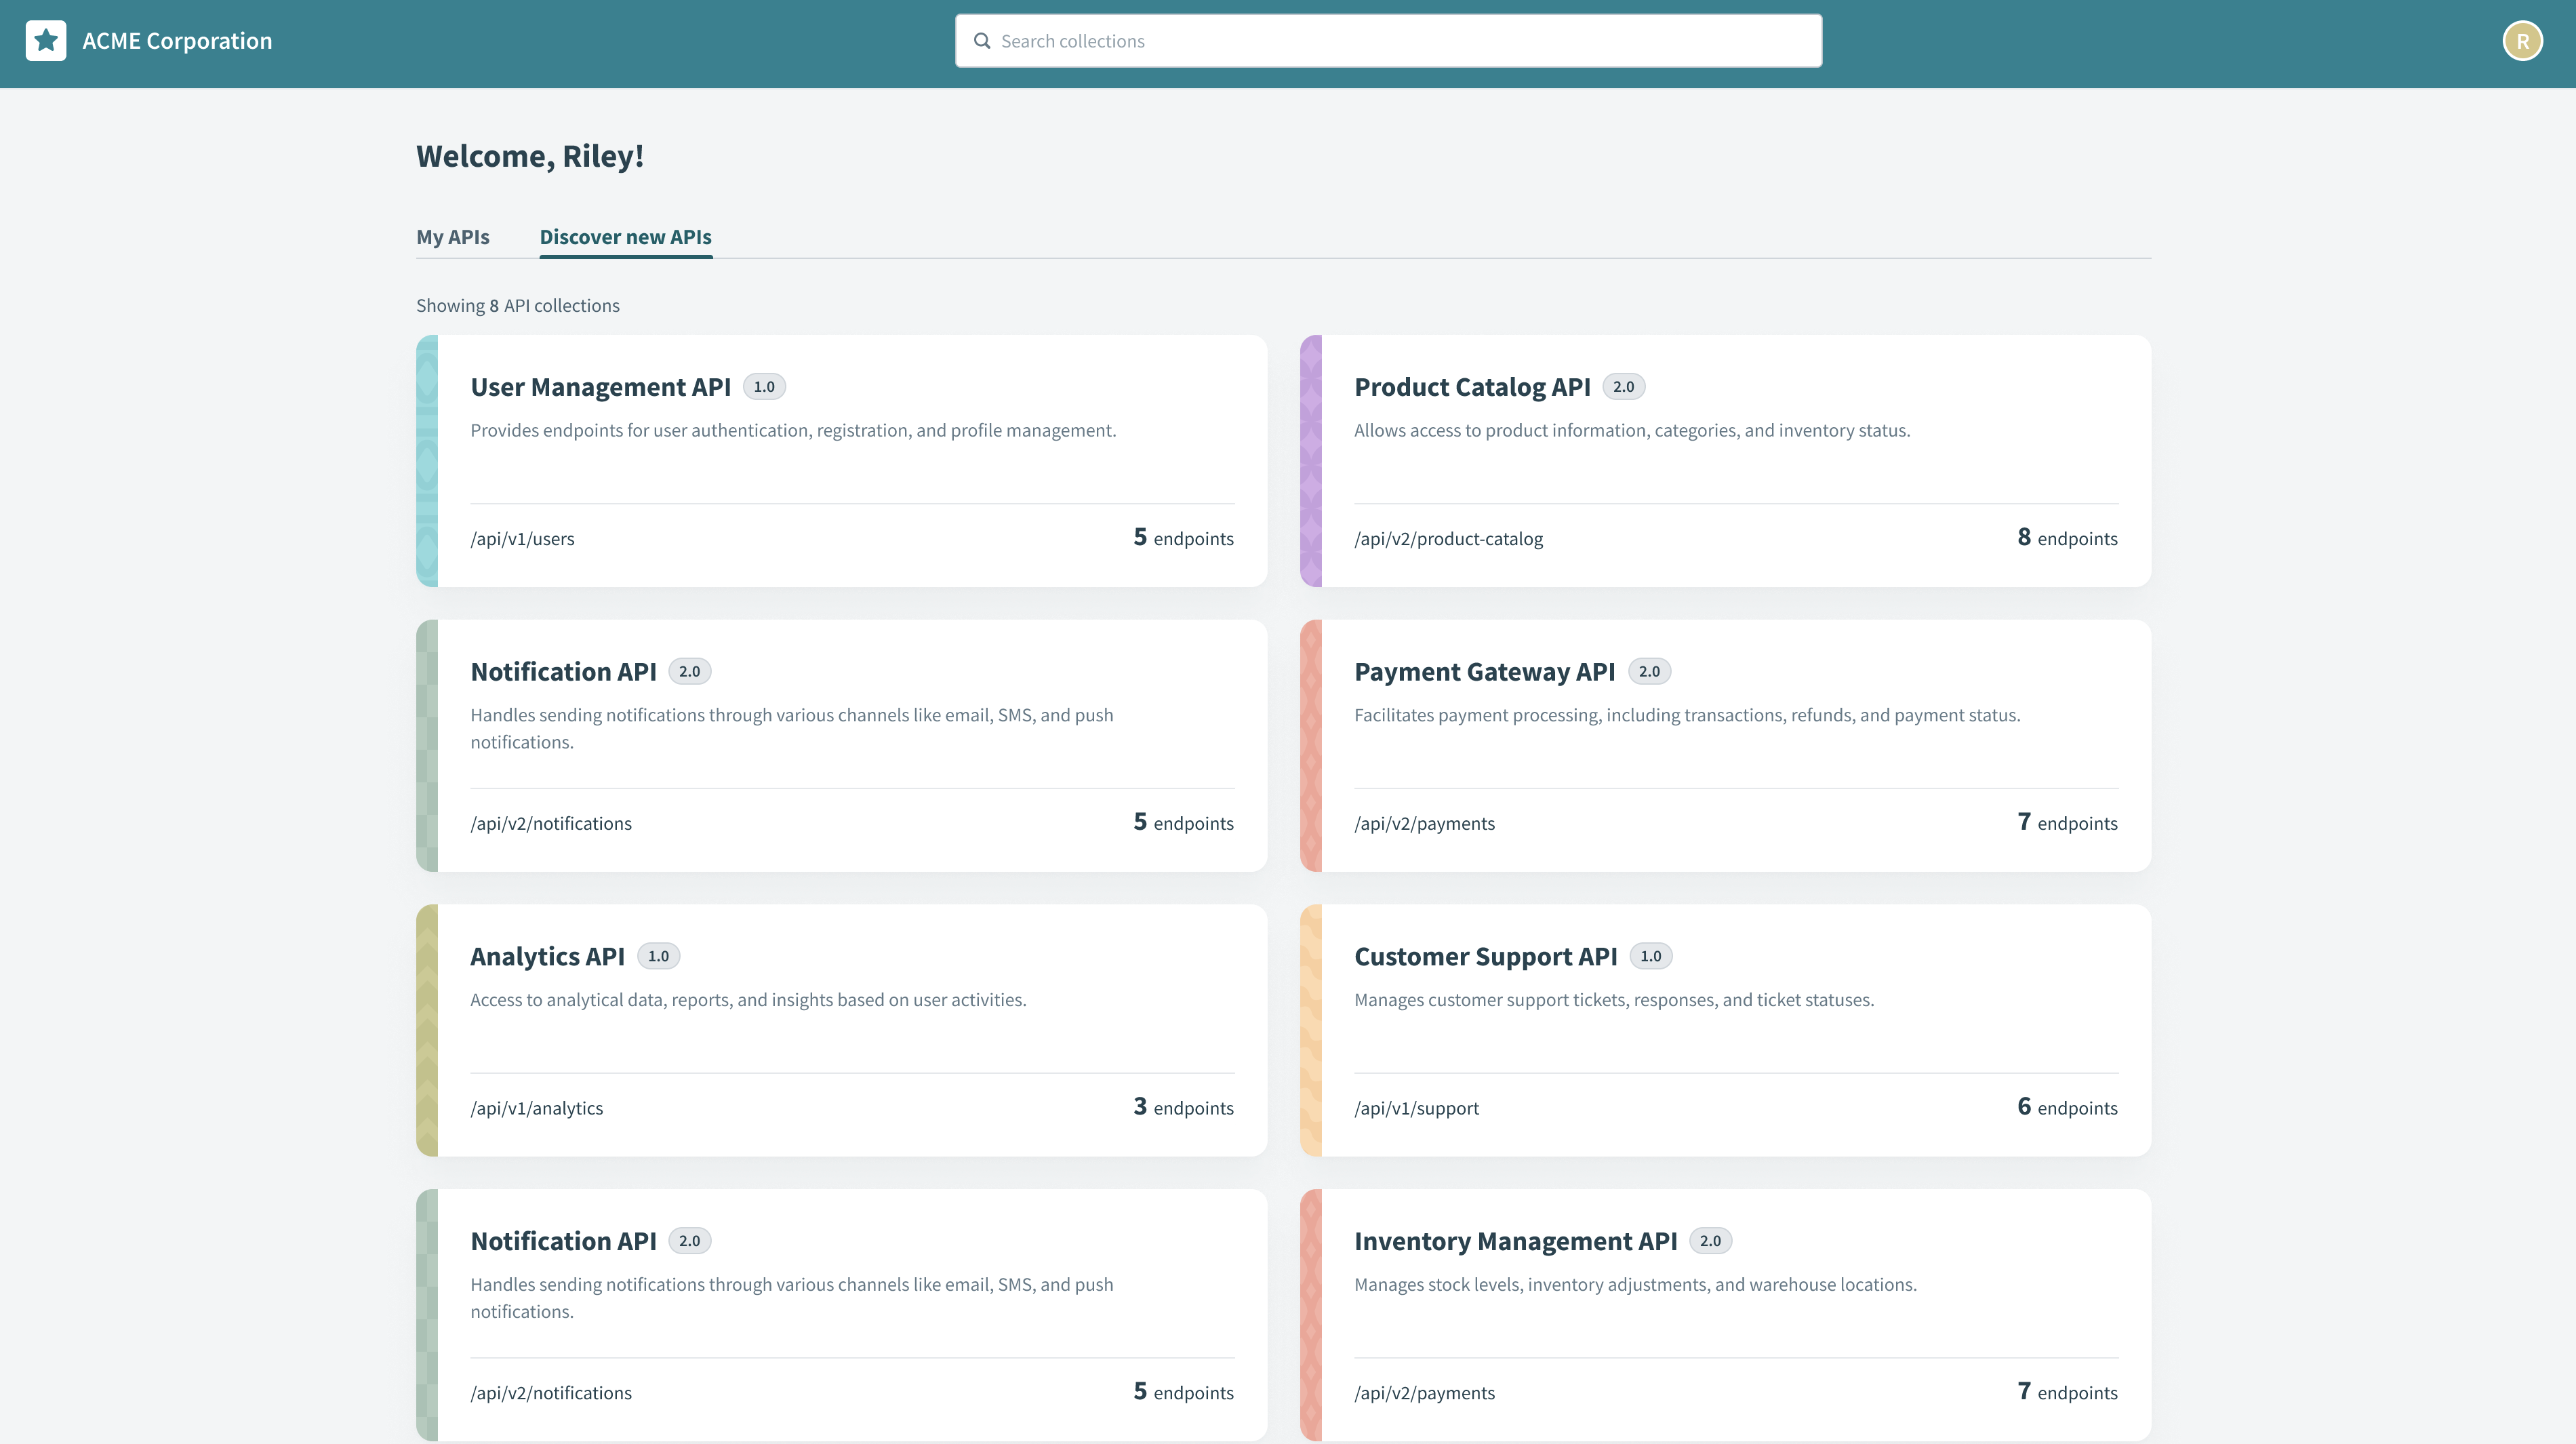 Discover new APIs
Select the collection you plan to access and click Request access.
 Request access to an API collection
Provide a reason for your request and click Send request. An admin reviews your request and determines whether to approve or reject it.
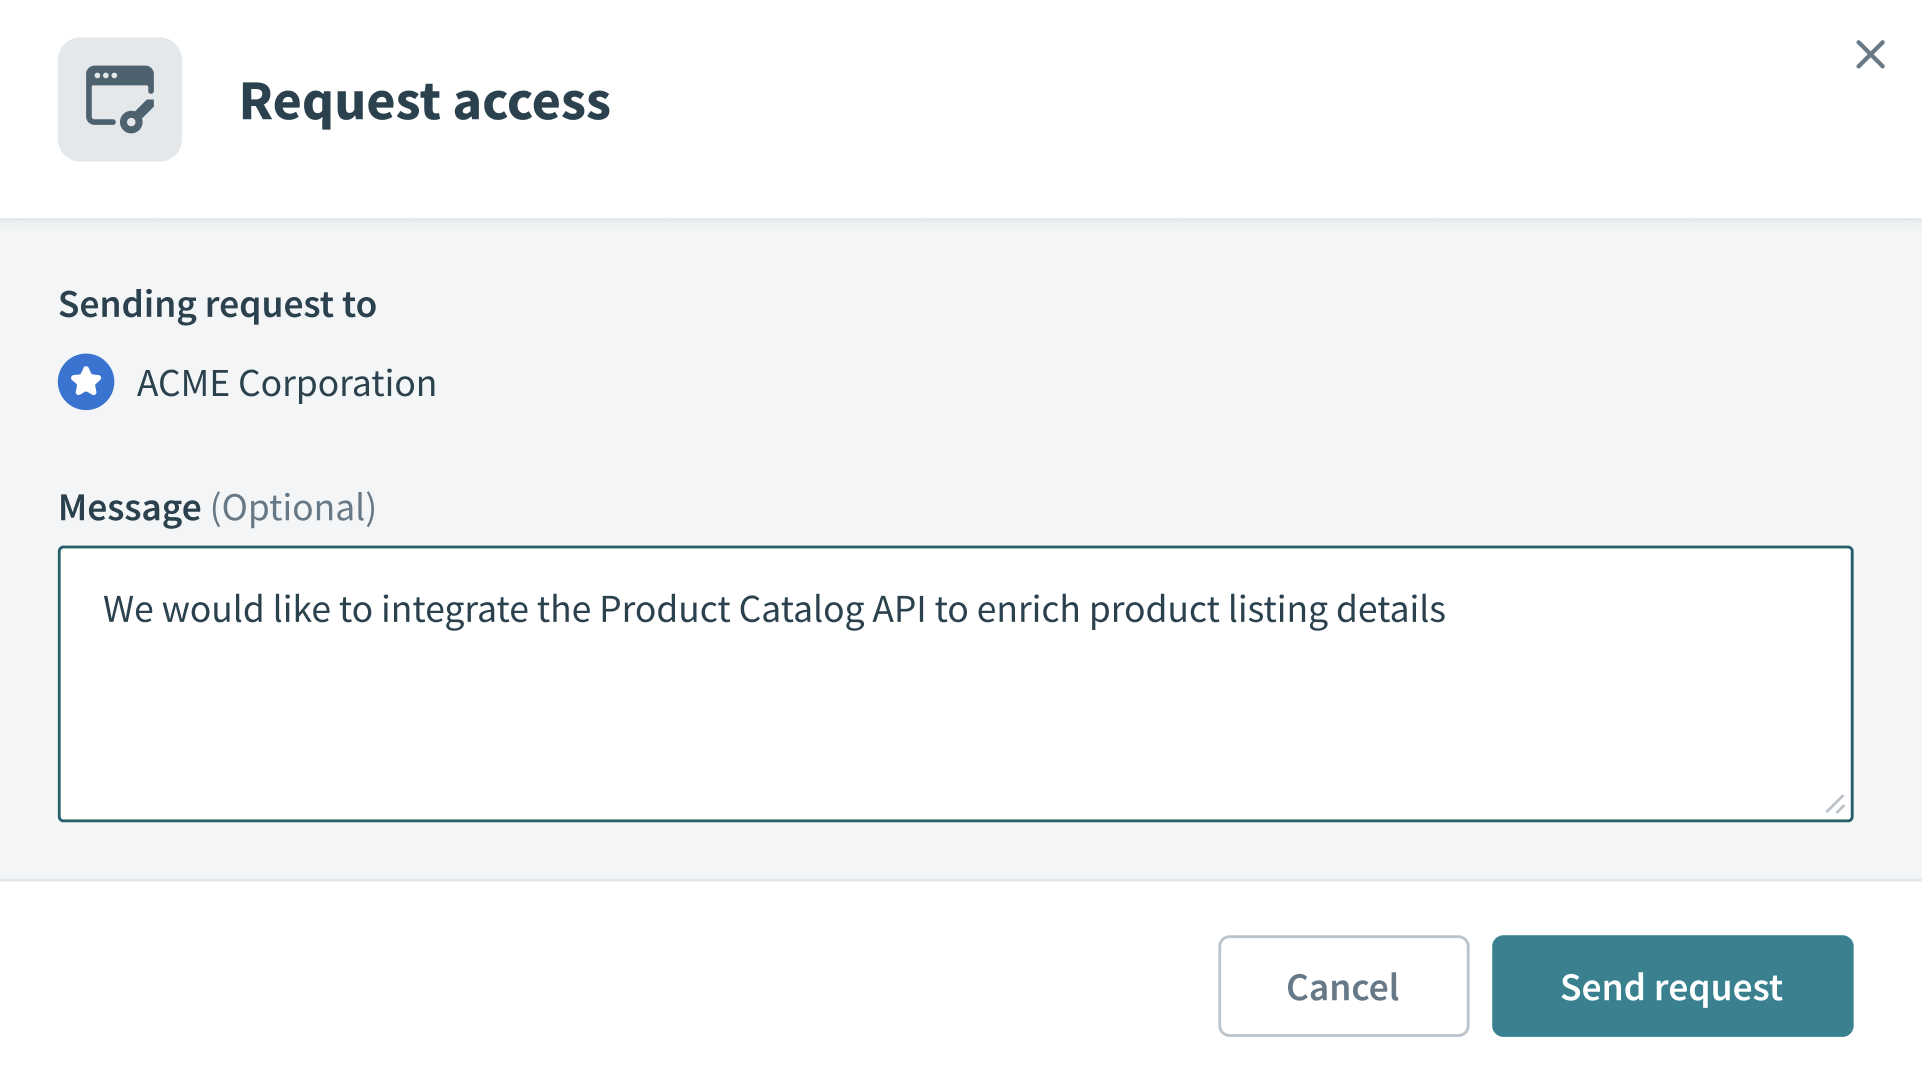 Request access
The requested APIs appear in your My APIs tab if your request is approved, granting you access to their endpoints and documentation.
 Collection added to My APIs
Test endpoints
You can test API endpoints directly in the portal to validate their functionality. You must create an API key before testing if you don't already have one.
Complete the following steps to test an endpoint:
Go to your assigned collection in the My APIs tab and choose the endpoint you plan to test.
Click Try it out to open the testing interface.
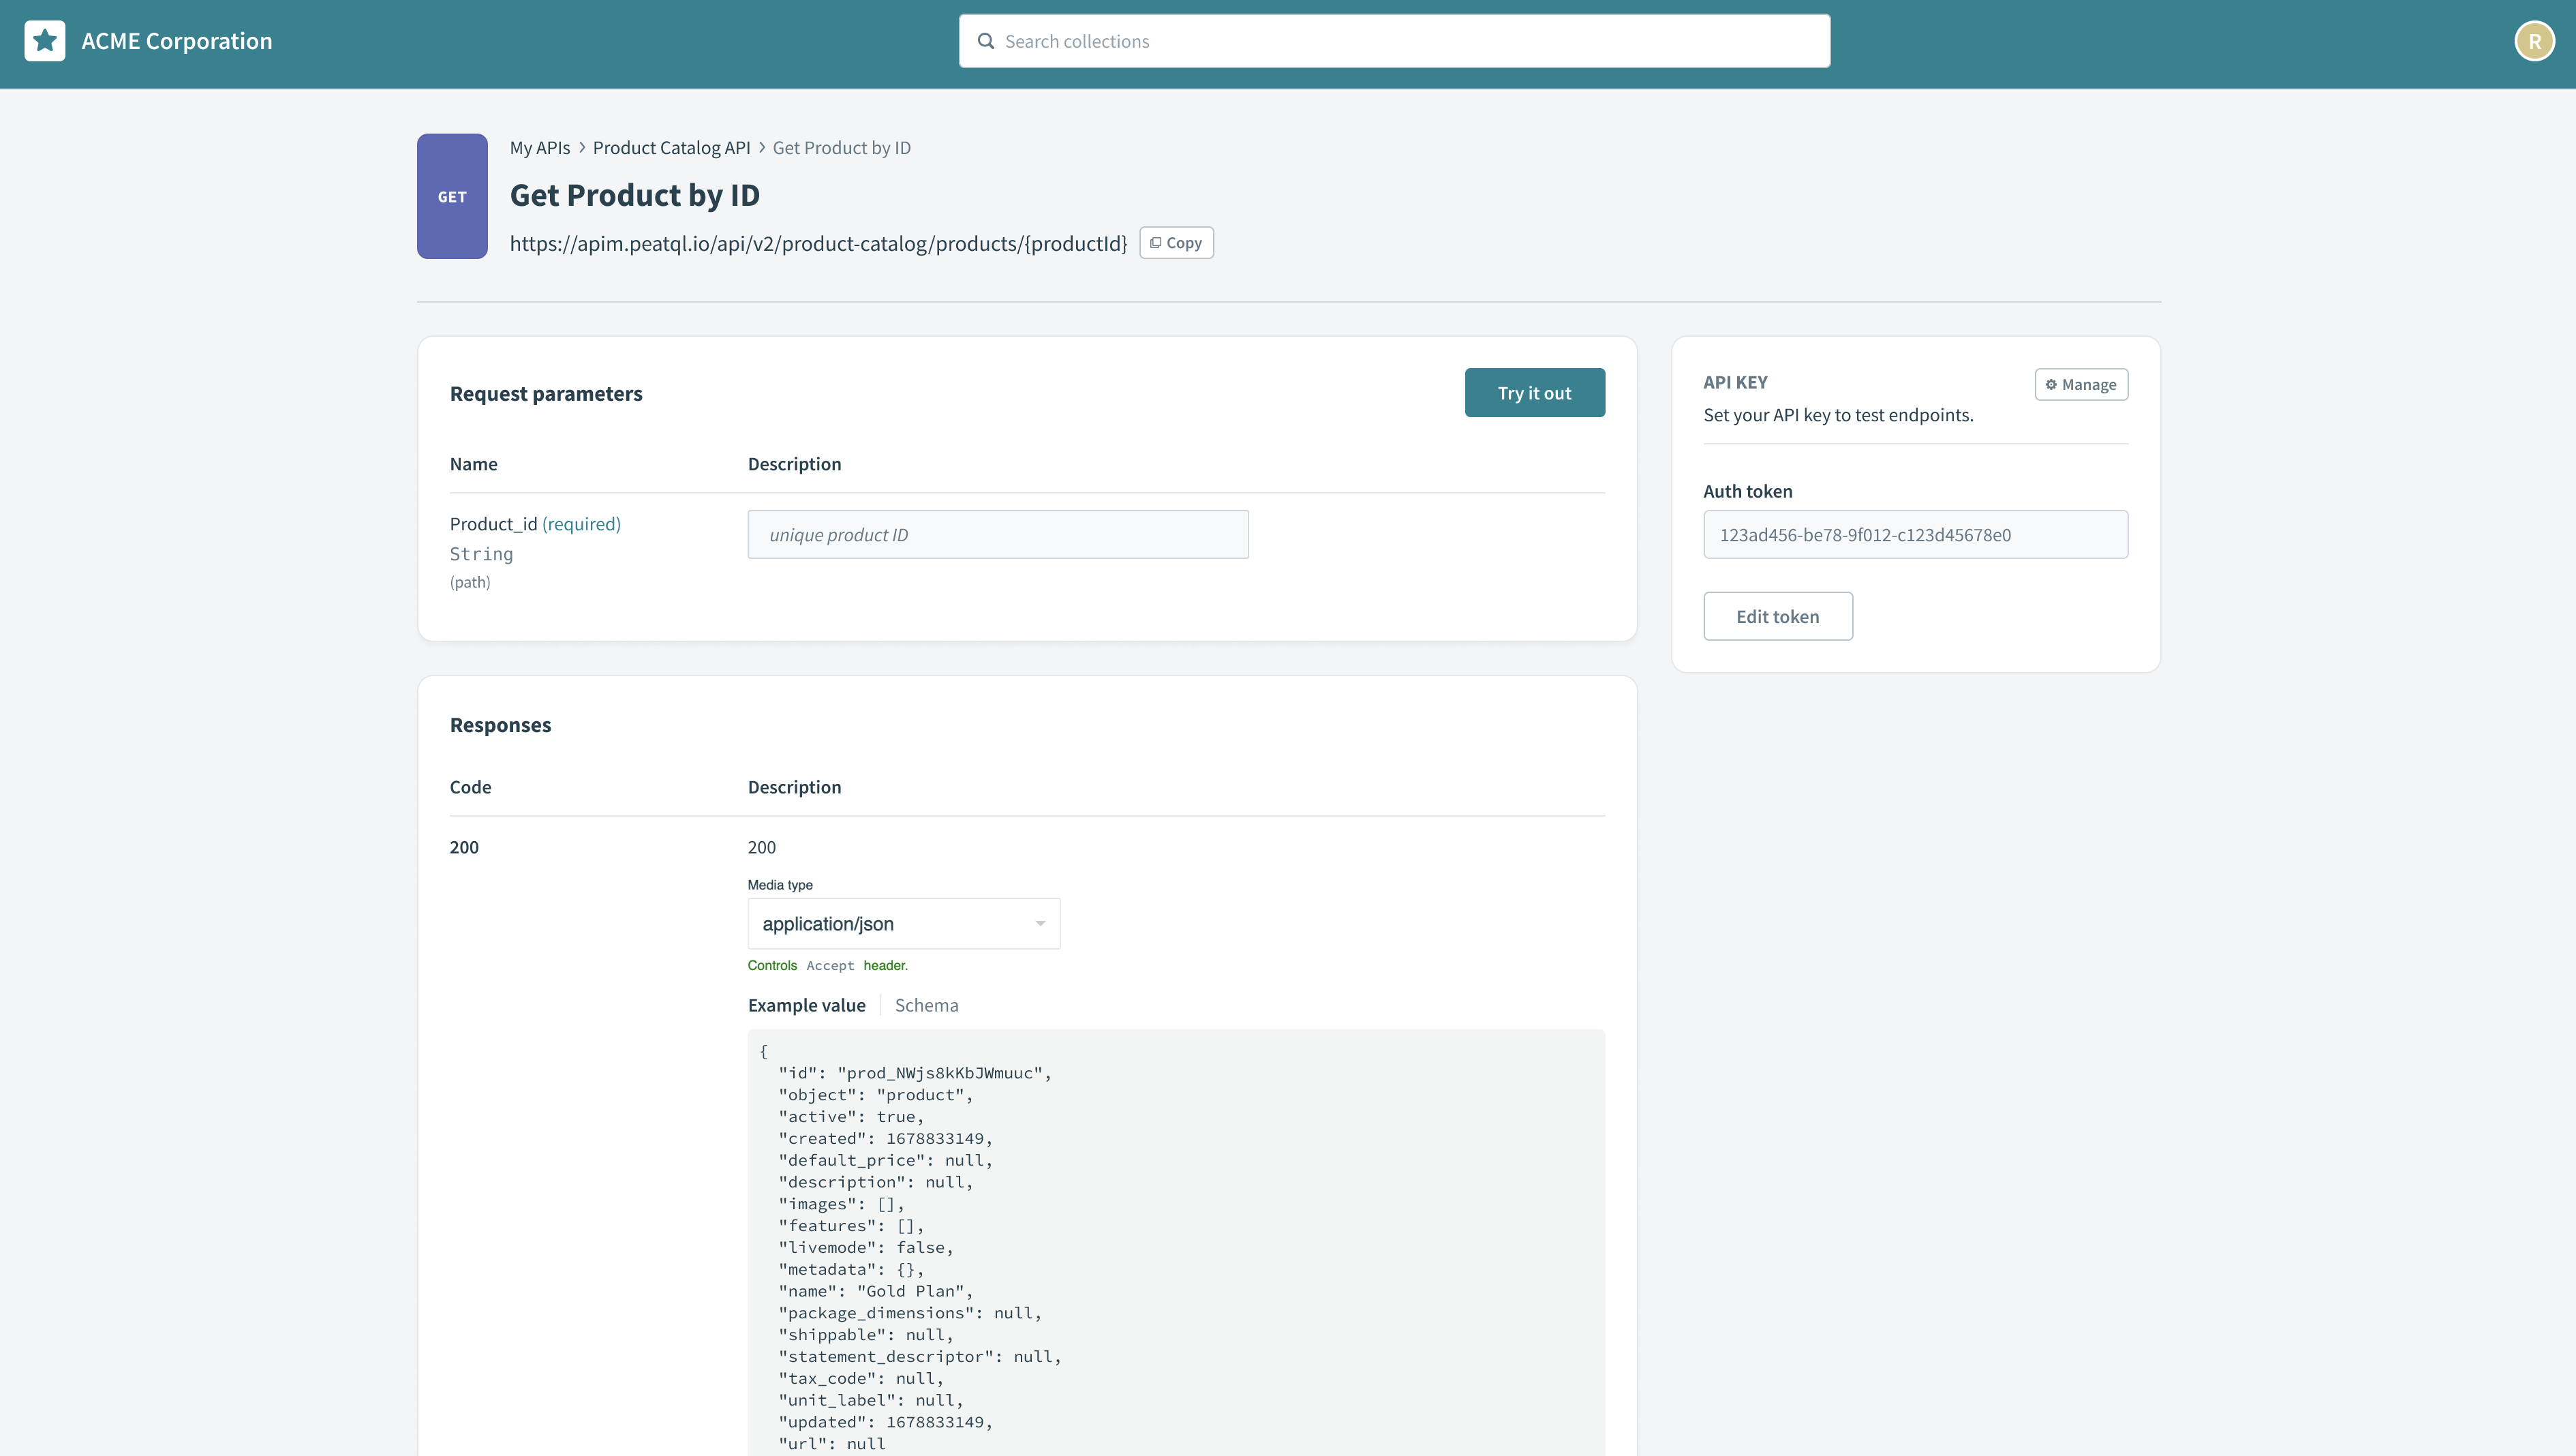 Click Try it out
Click Execute to send a test request.
 Click Execute
Review the response details, including status codes, headers, and payloads, to confirm the endpoint’s behavior.
Manage and create API keys
Use the Manage API keys page to create and manage your API keys. You can define security parameters such as allowed and blocked IP addresses.
Complete the following steps to create an API key:
Click your profile icon, then select Manage API keys in the drop-down menu.
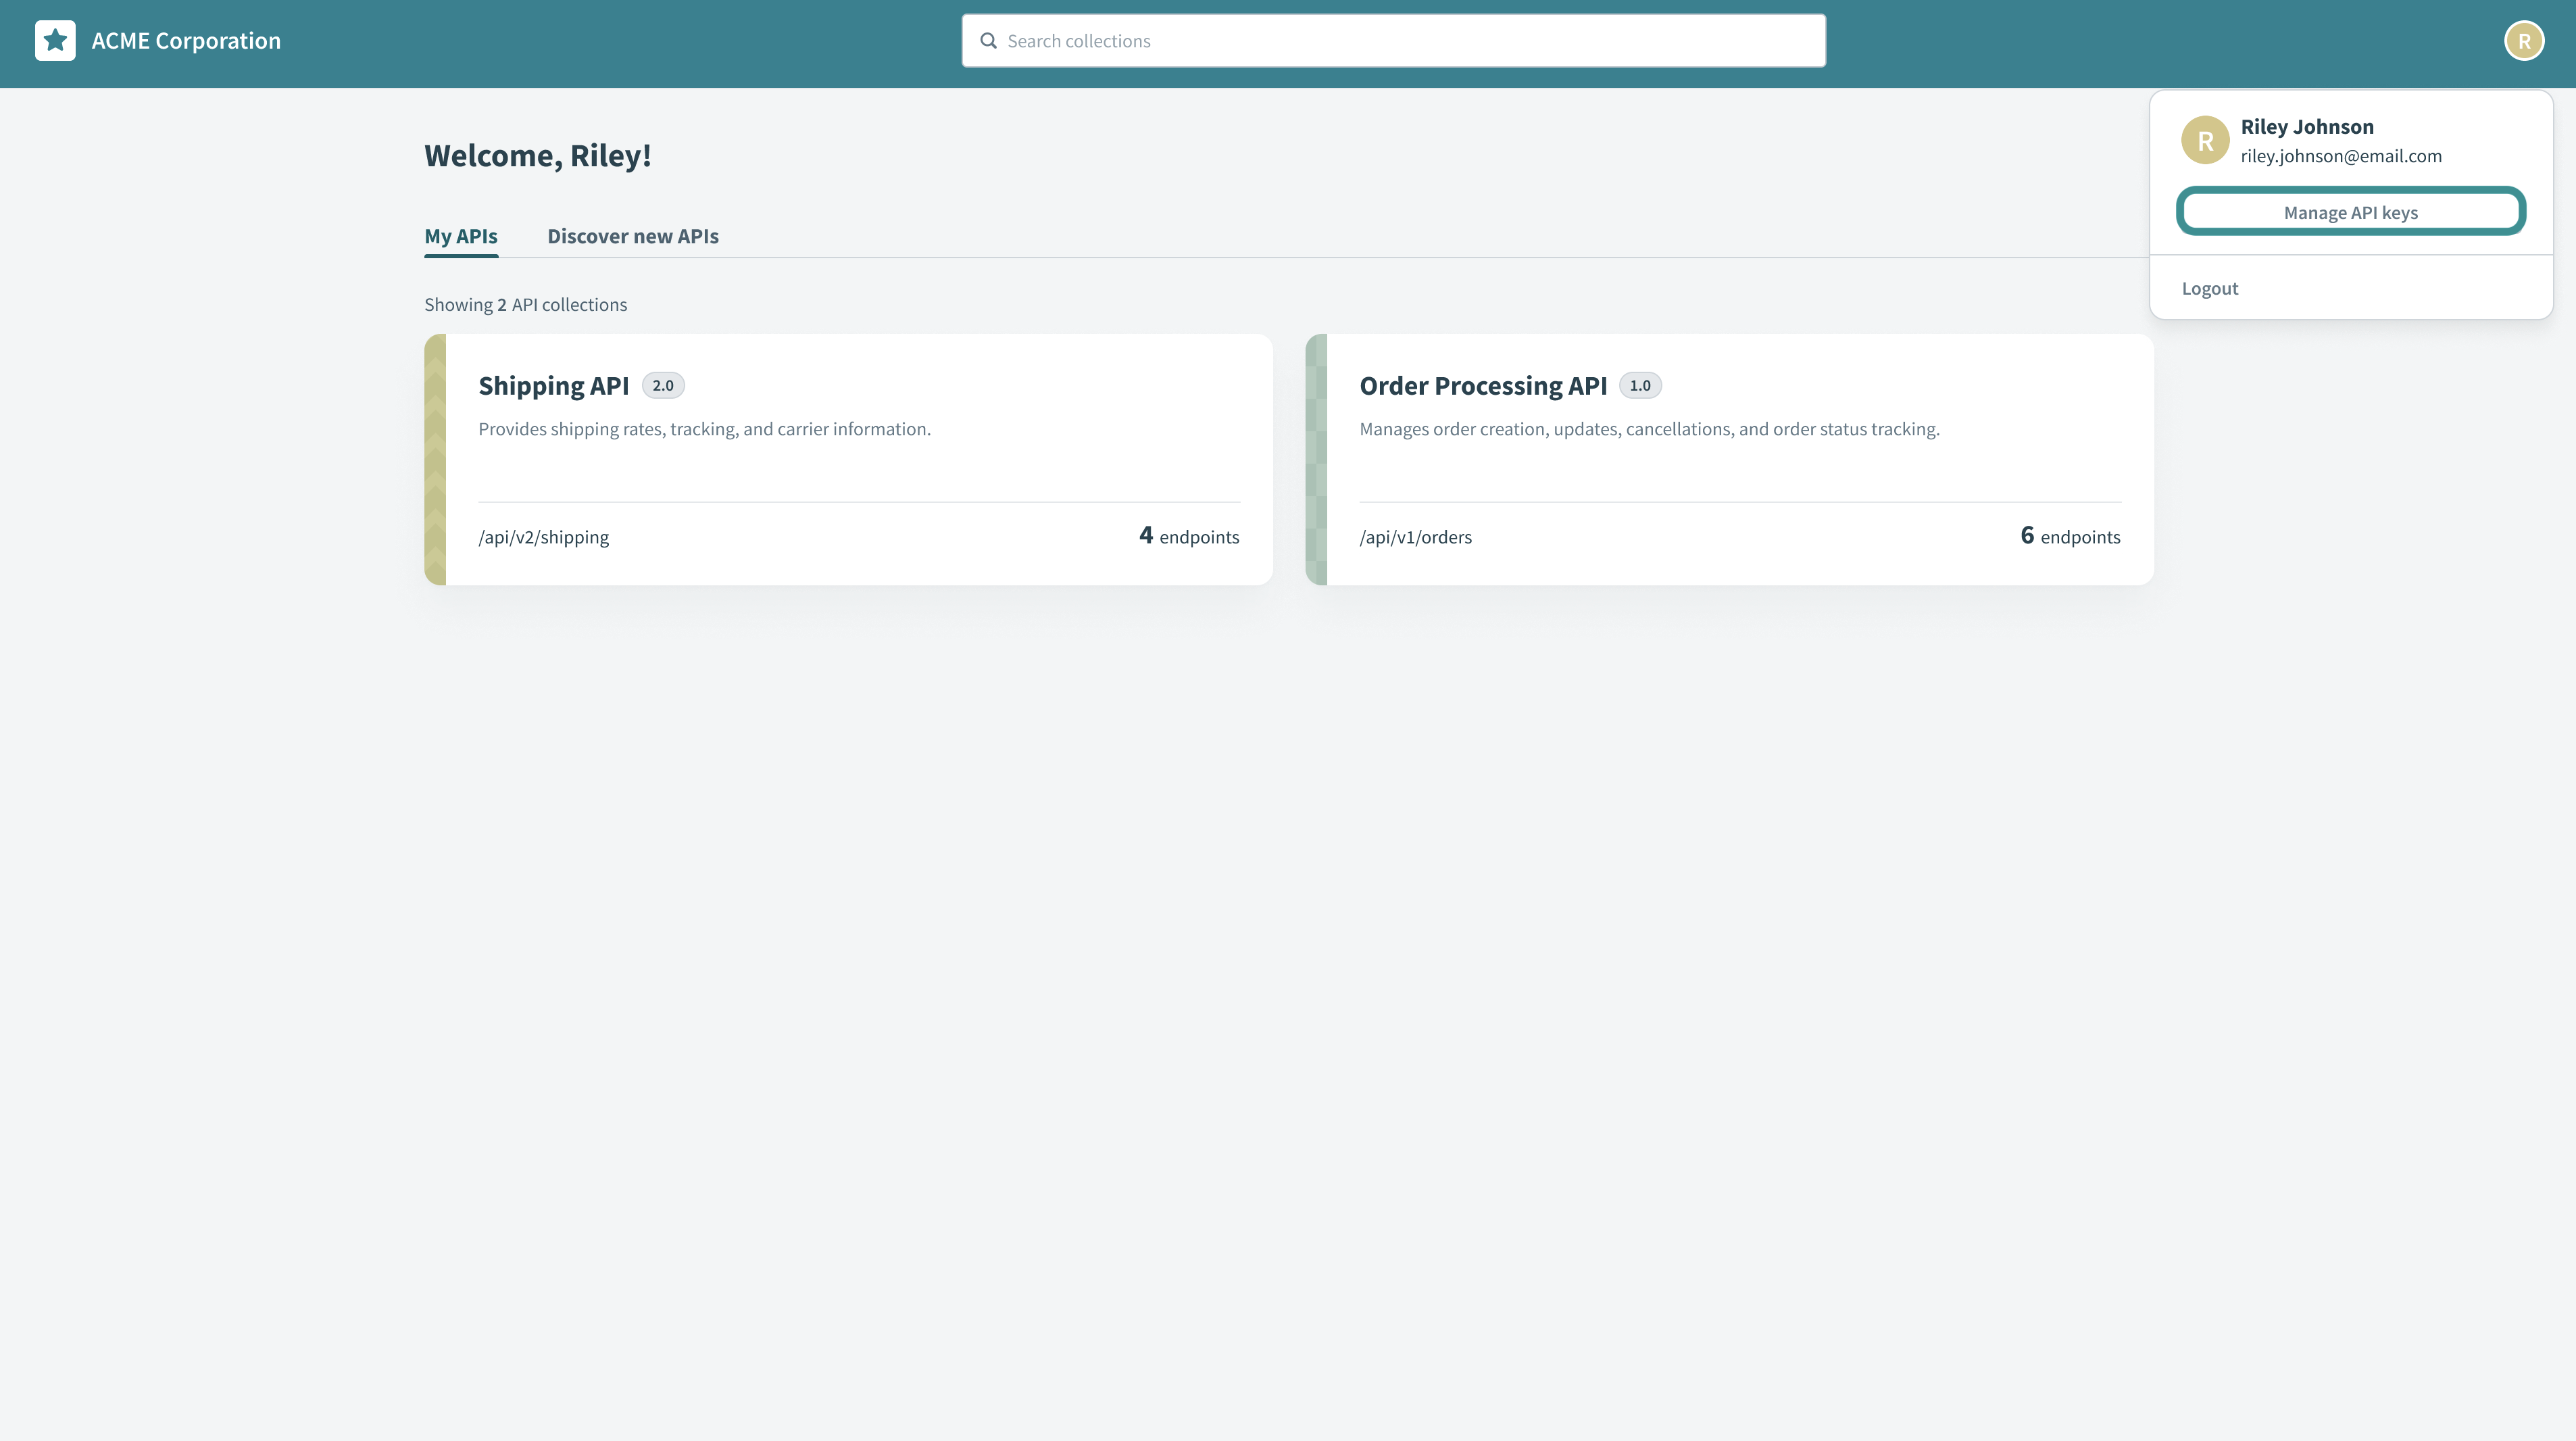 Manage API keys
Click Create API key.
 Create new API key
Enter a name in the API key name field.
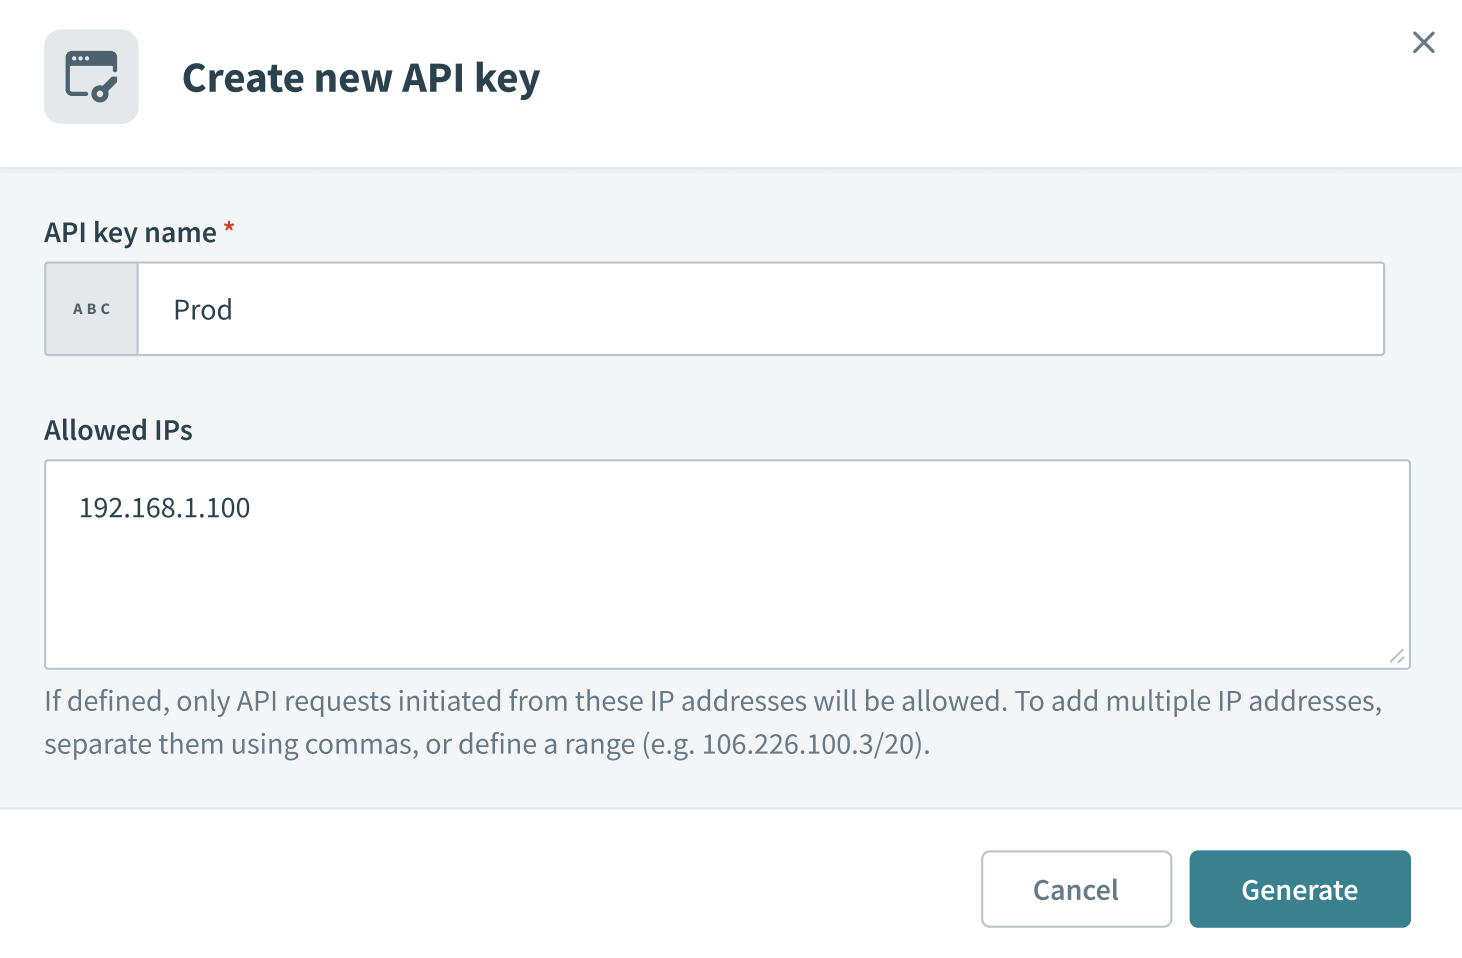 Provide an API key name
Optional. Enter allowed IP addresses in the Allowed IPs field to restrict requests for enhanced security. To add multiple IP addresses, separate them using commas or define a range (106.226.100.3/20).
Optional. Enter blocked IP addresses in the Blocked IPs field to prevent requests from specific IP addresses. Blocked IPs take precedence over allowed IPs. Requests from an IP address are denied if it appears on both lists.
Click Generate to create the API key. Workato displays the generated token. Save this token securely, as it won’t display again. If you lose the token, you can refresh the key to generate a new one. Refreshing invalidates the existing token.
After creating the key, it appears on the Manage API keys page. You can use this page to view the token’s details or refresh, deactivate, or delete the key if required.
Last updated: