JSON Web Token (JWT)
You can use JSON Web Tokens (JWT) to authenticate API clients that call recipes exposed through the API platform. JWT offers a secure, flexible alternative to static credentials, enabling systems like internal tools and third-party services to authenticate with signed tokens.
Workato supports both RSA (public/private key) and HMAC (shared secret) signing methods. To authenticate, the client signs a token with its Workato API key. The platform verifies the token to authorize access to endpoints.
JWT is defined by the RFC 7519 specification.
Supported signing methods
Workato supports two signing methods:
| Signing method | Description |
|---|---|
| RSA (public key) | Recommended. Uses an asymmetric key pair. The client signs tokens with its private key and registers the public key with Workato. |
| HMAC (deprecated) | Uses a symmetric shared secret. The client and Workato use the same 256-bit secret string. |
Set up JWT authentication for an API client
Complete the following steps to configure JWT authentication and enable secure API access:
Create an API client
Complete the following steps to add and configure a new client:
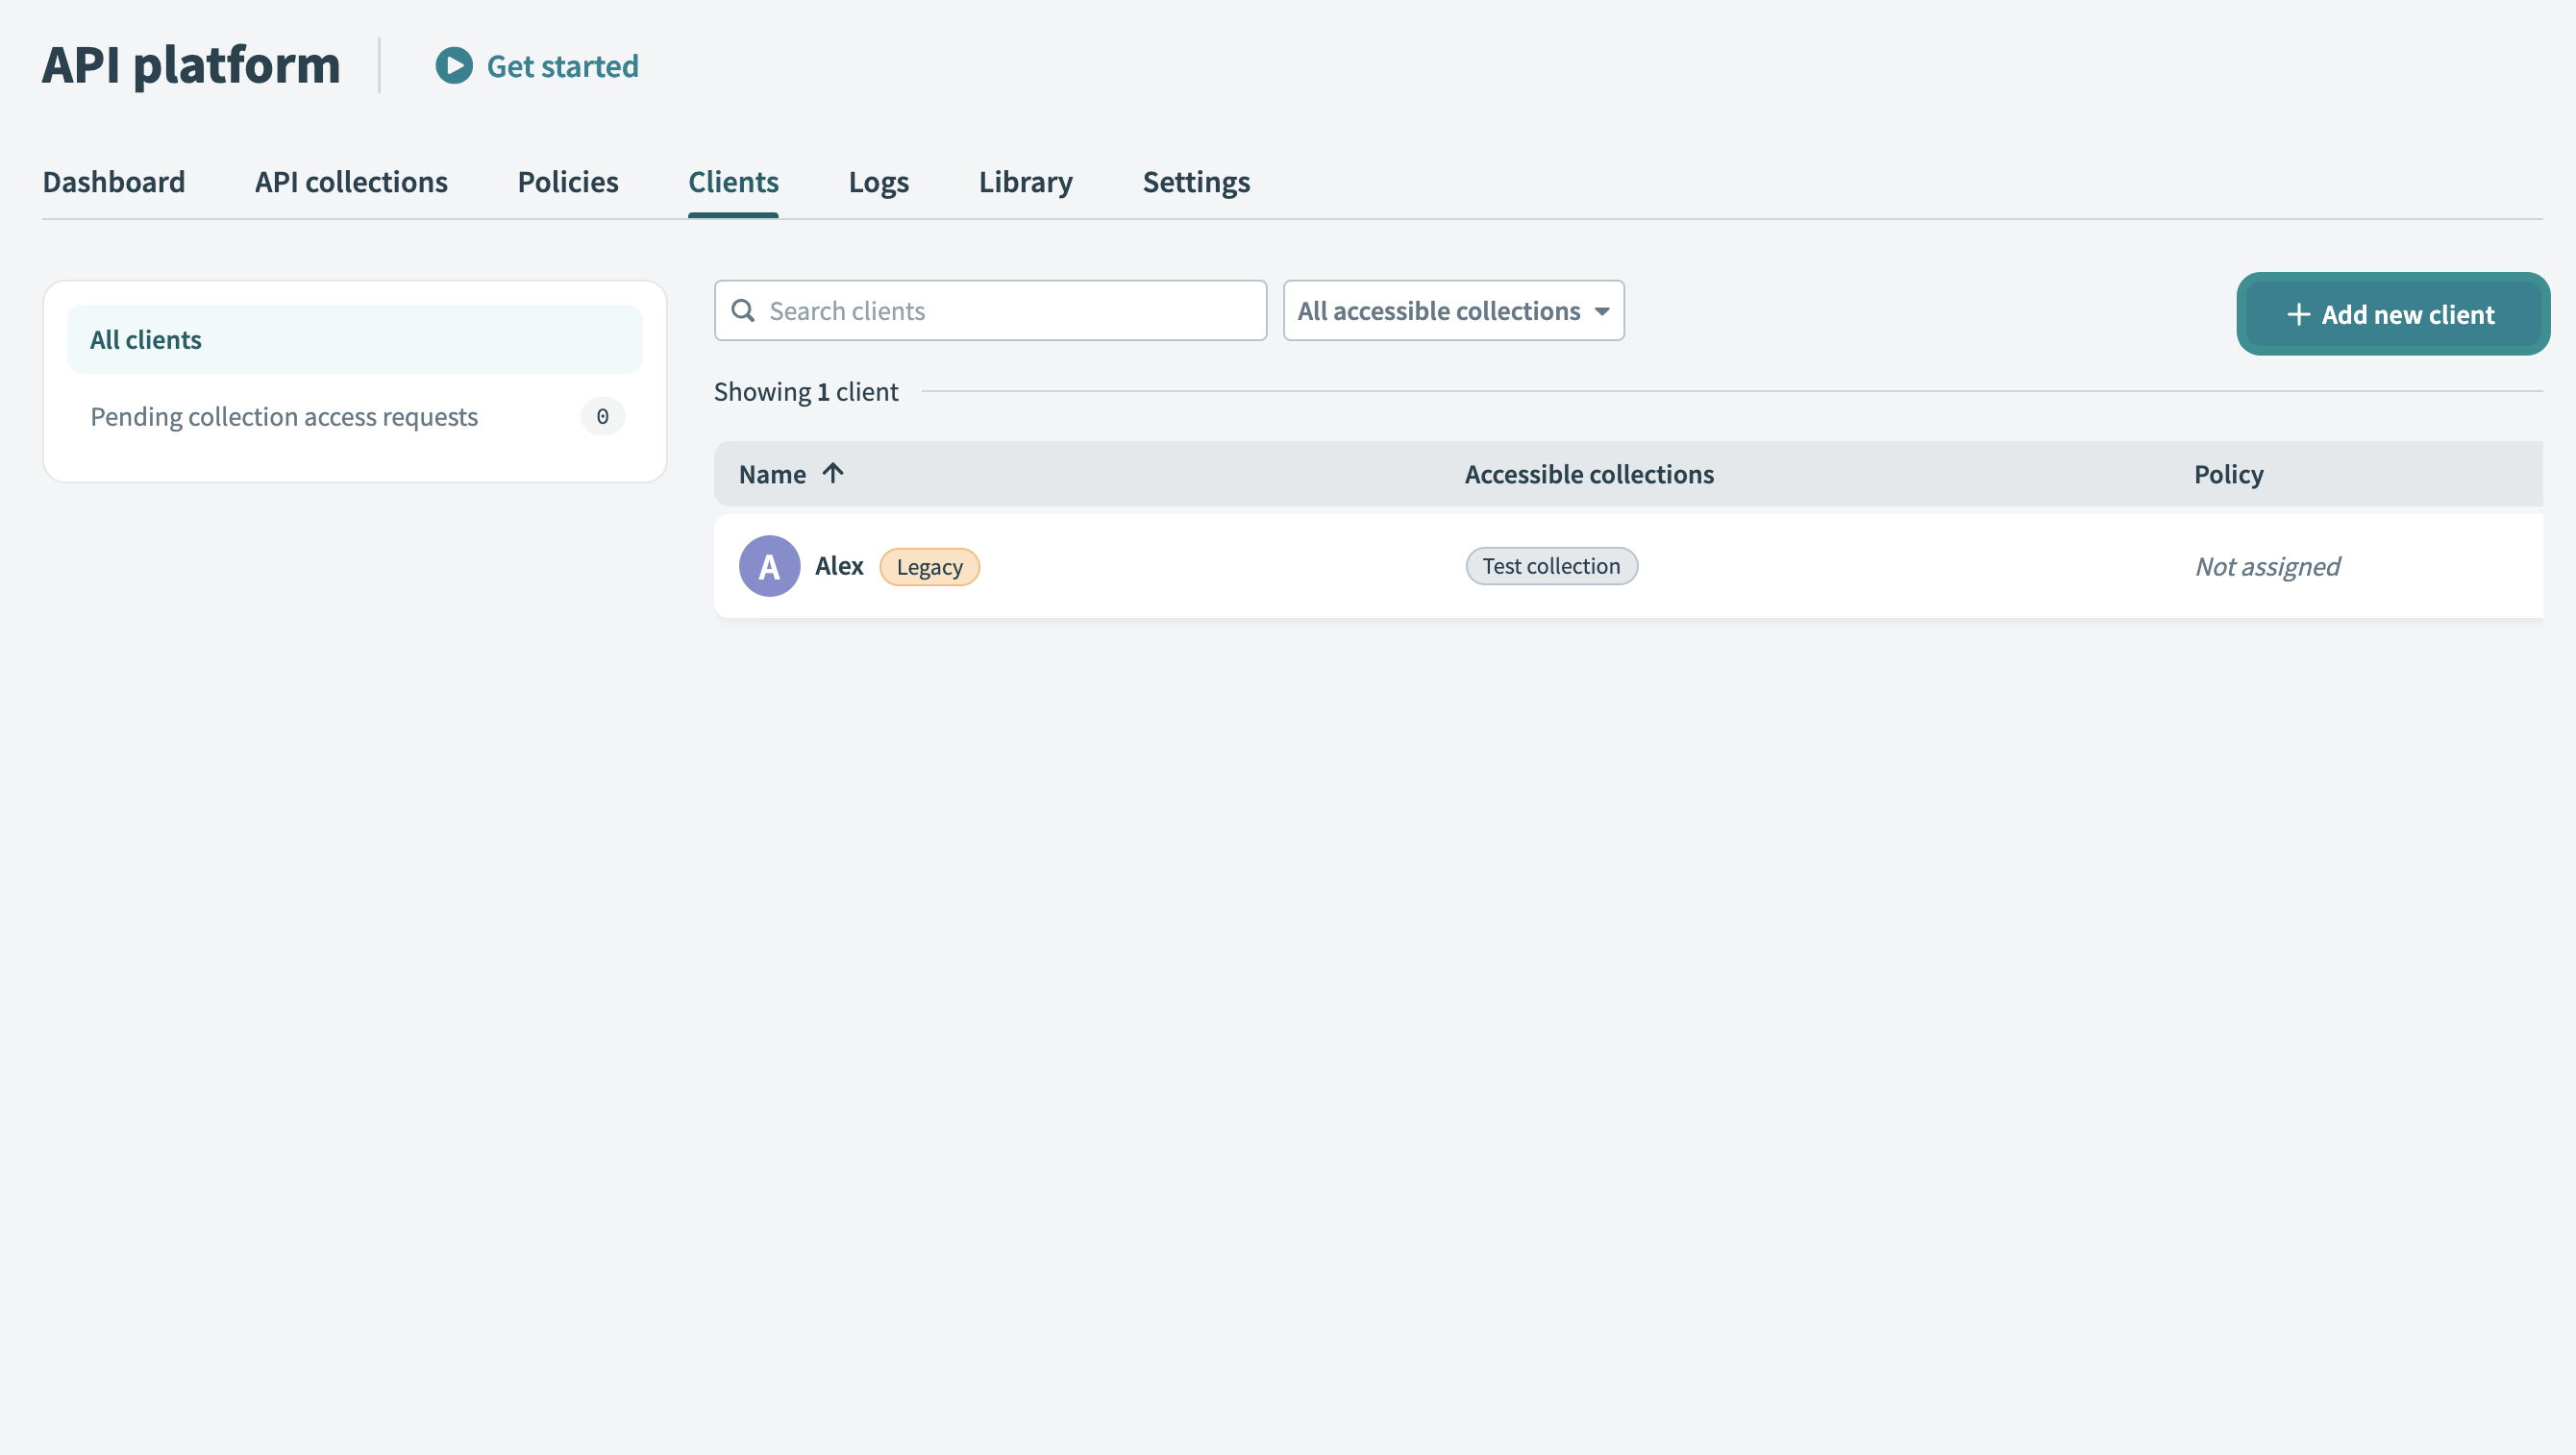
Add an API client
Go to Platform > API Platform.
Select the Clients tab.
Click + Add new client.
 Add new client
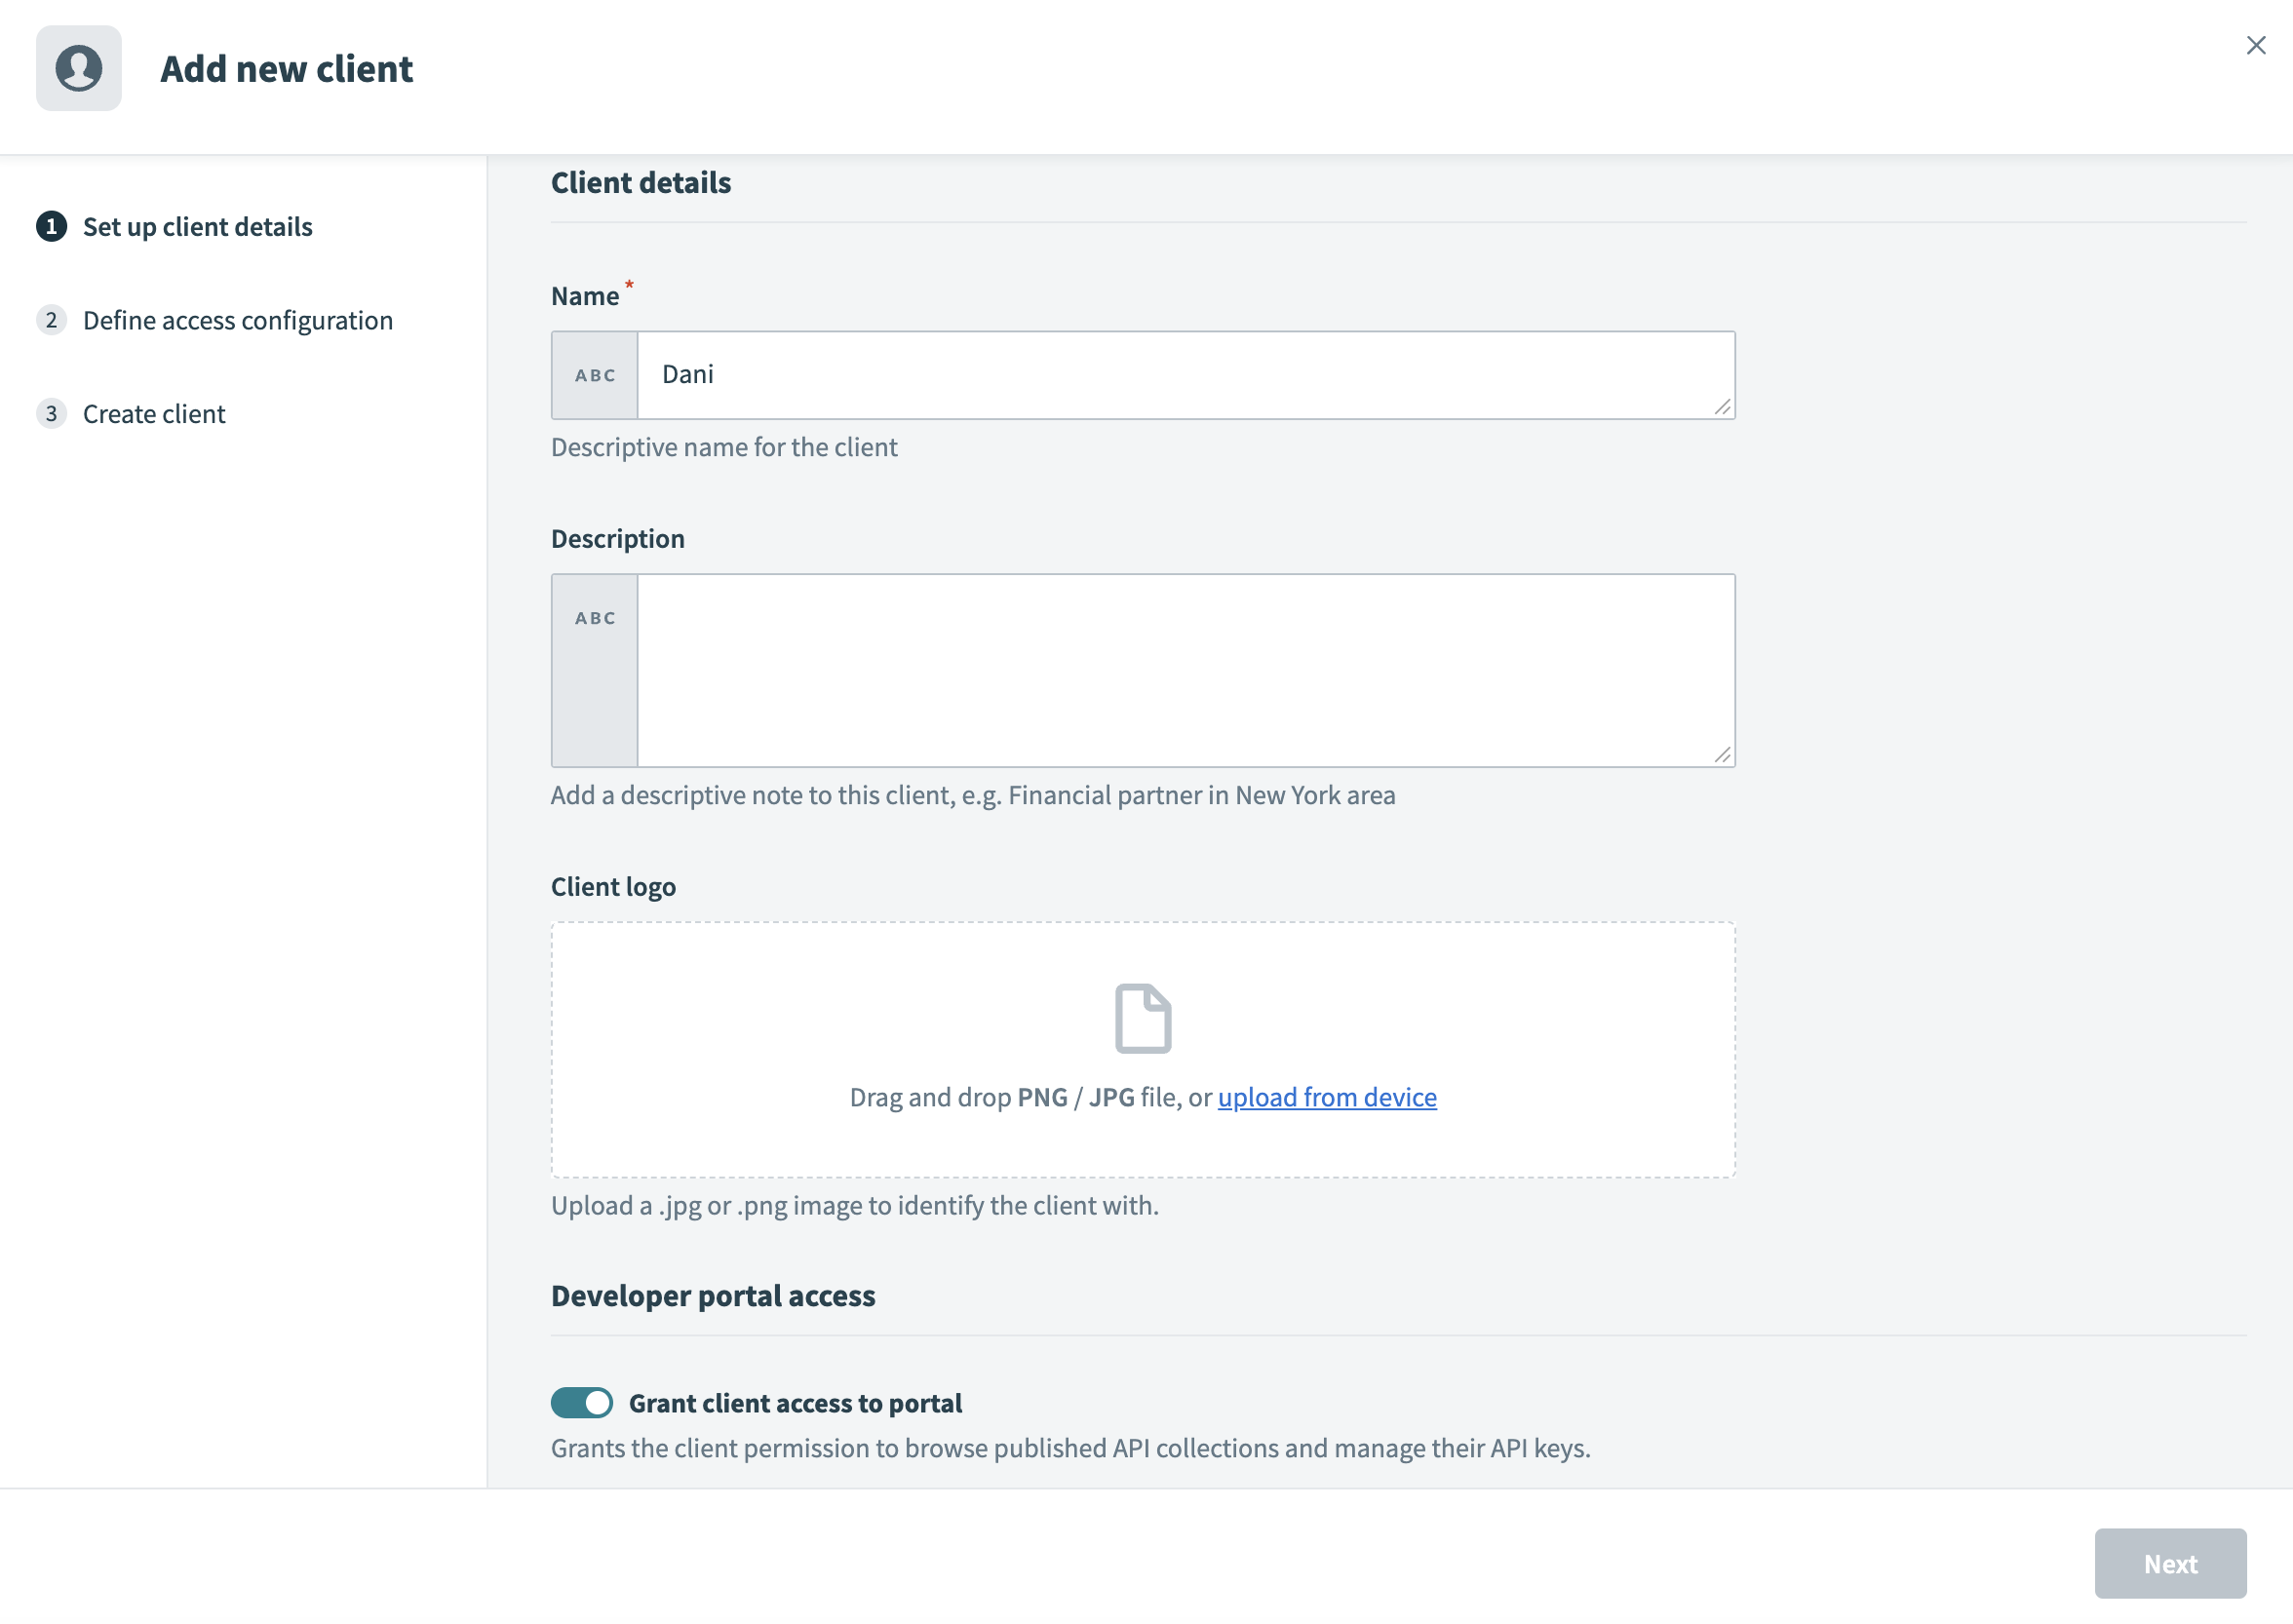
Set up client details
Enter a Name for your client. Use a descriptive identifier, such as the client's company or department name.
 Set up client details
Enter a Description for the client.
Upload a Client logo. Drag and drop a JPG/PNG image or click Upload from device to select a file. This logo visually identifies your client in the portal.
Enable the Grant client access to portal toggle to enable portal access. This grants your client permission to browse published API collections and manage their API keys. If your client only requires API tokens for testing or internal purposes, you can leave the toggle disabled.
Provide the client identity based on your portal's authentication method:
Click Next to proceed to the Define access configuration screen, where you can configure your client's API access.
Define access configuration
Select JSON Web Token as the Authentication method.
Optional. Toggle Enforce mutual TLS (mTLS) to require clients to present a valid certificate during the SSL handshake. This enforces two-way authentication. Refer to the mTLS authentication guide for more information.
Note: This setting appears only if you configure your workspace with a custom domain.
Use the API collections to include drop-down menu to select one or more API collections. This defines the APIs your client can access and invoke in the portal. You can also create a client without collections to allow discovery before you grant API access.
Optional. Assign a Policy to control your client’s API usage. Policies define rules such as rate limits or usage quotas.
Click Next.
Set up authentication
Complete the following steps to set up the security credentials required for token verification:
Choose a Signing method:
- RSA (public key) (recommended)
- HMAC (deprecated)
 Select a signing method
Follow the appropriate configuration steps below based on your selected signing method:
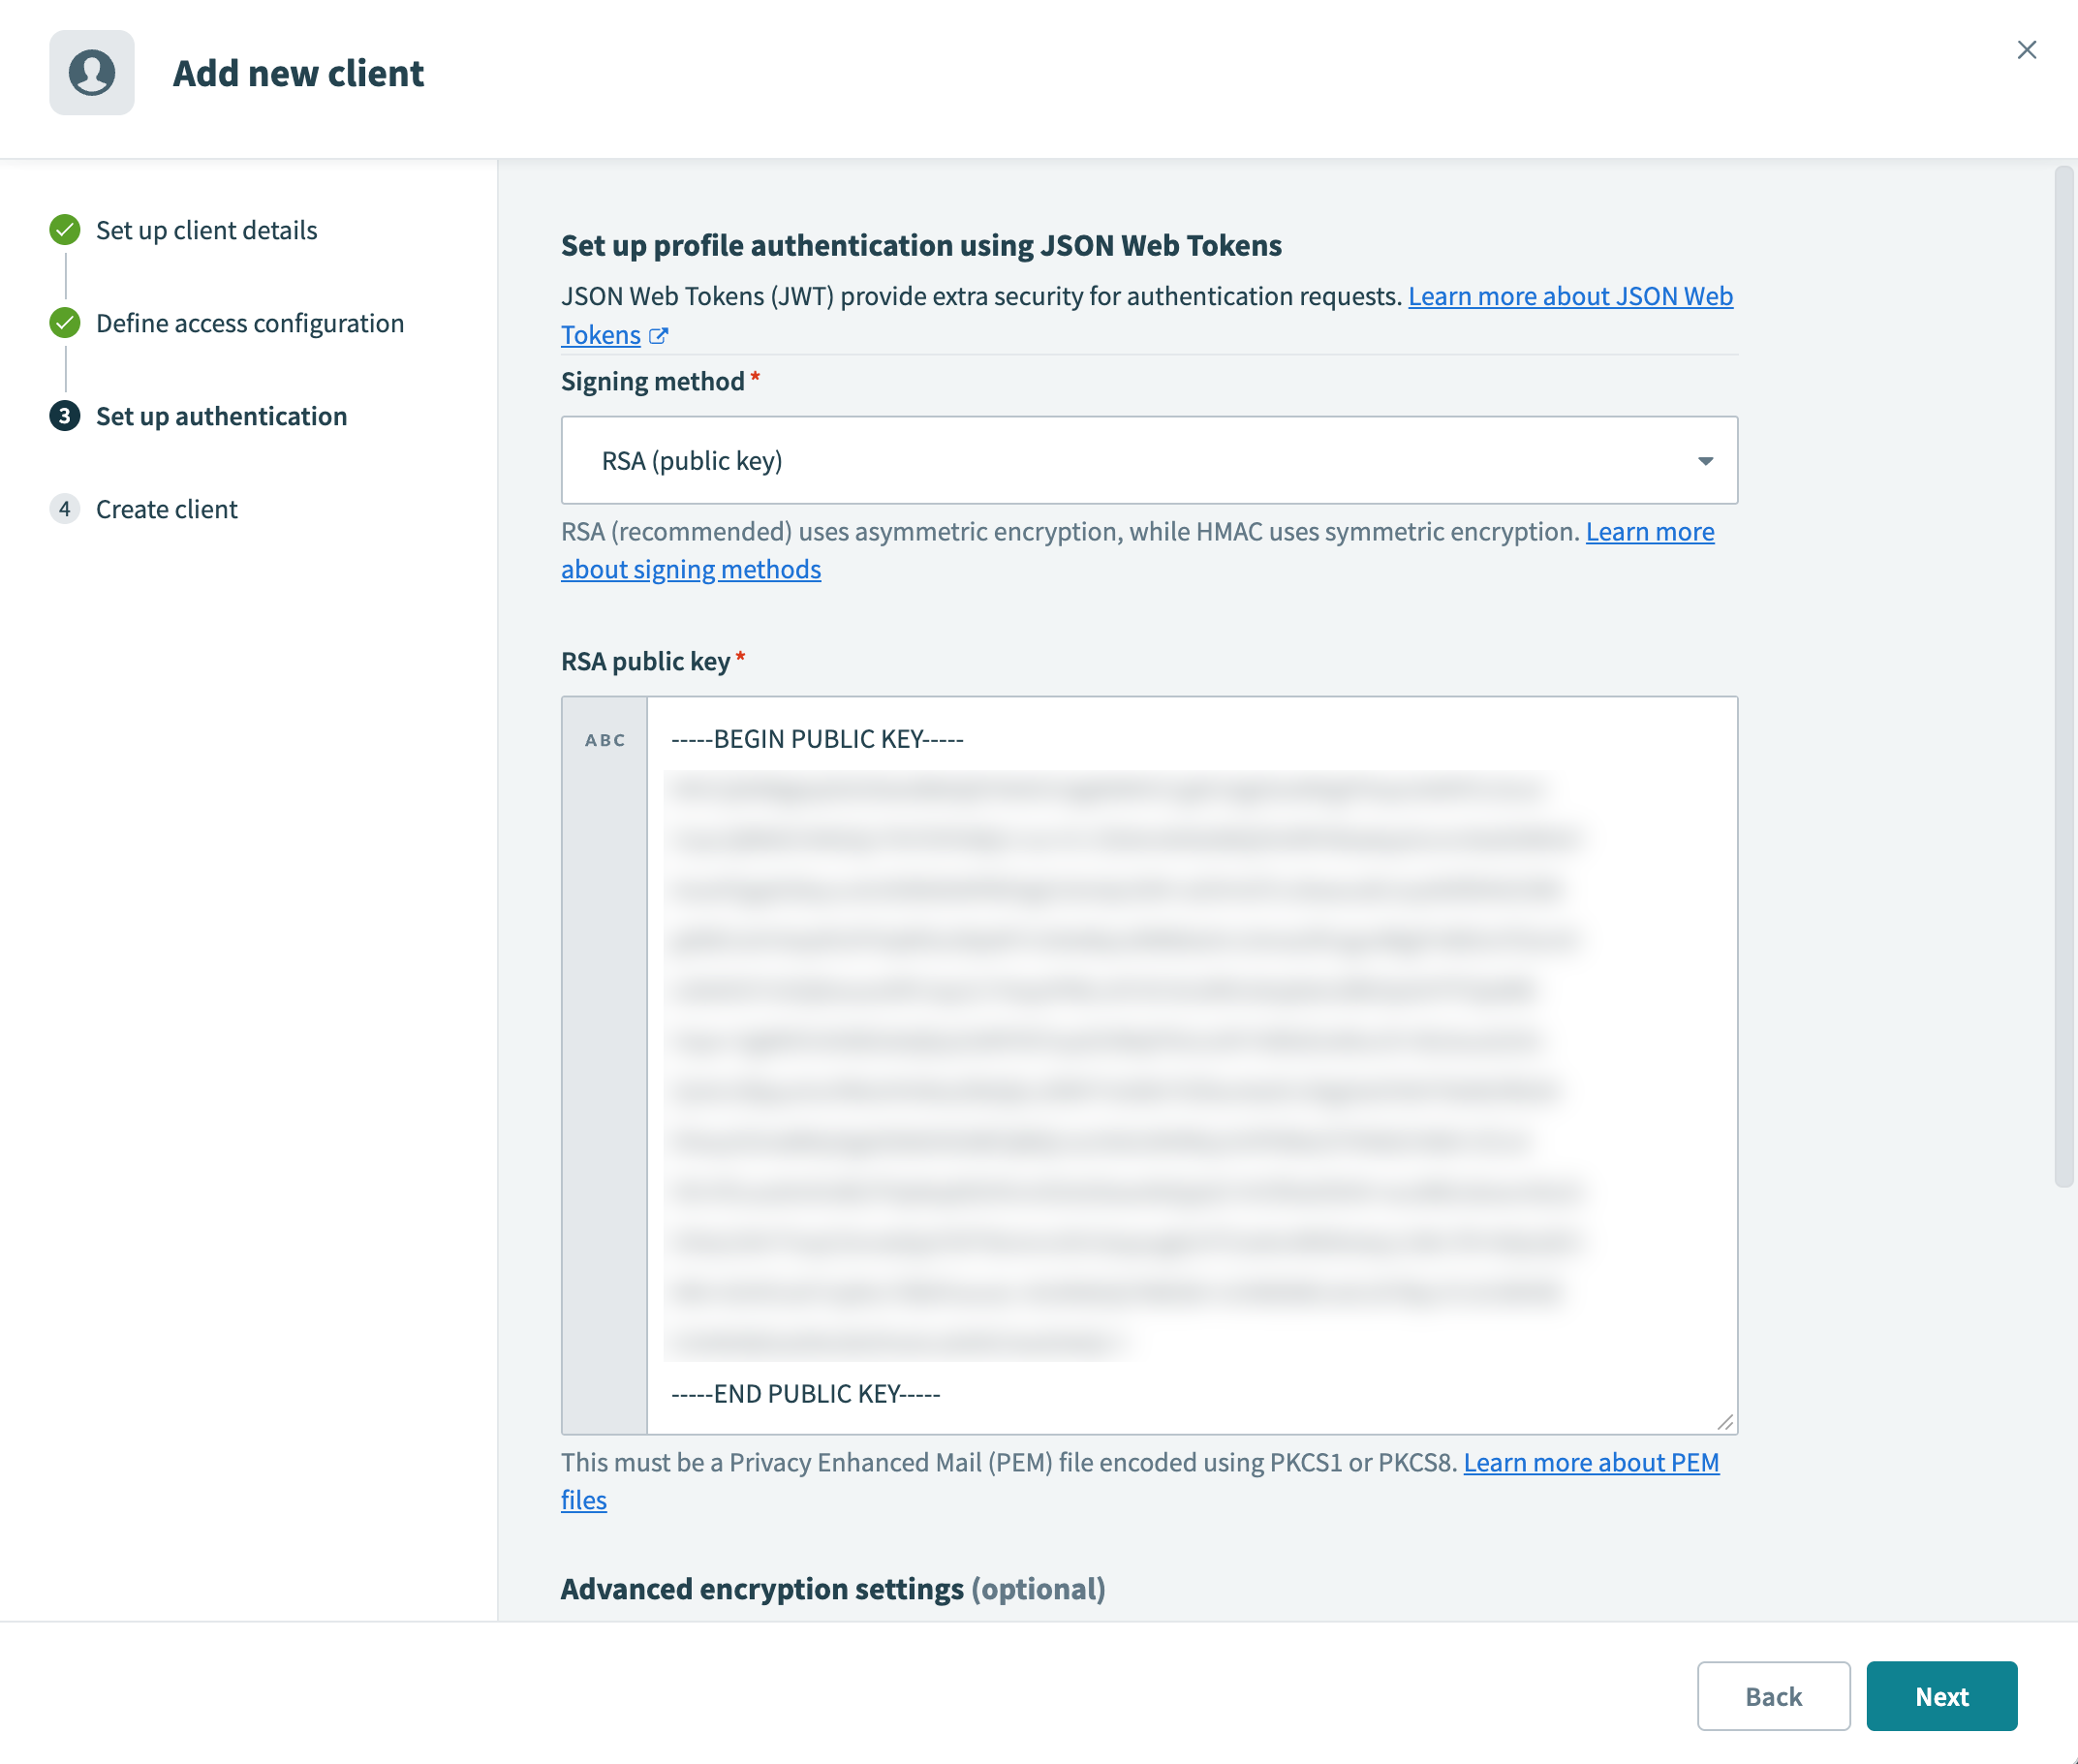 Paste the public key into the RSA public key field
 Generate an HMAC secret
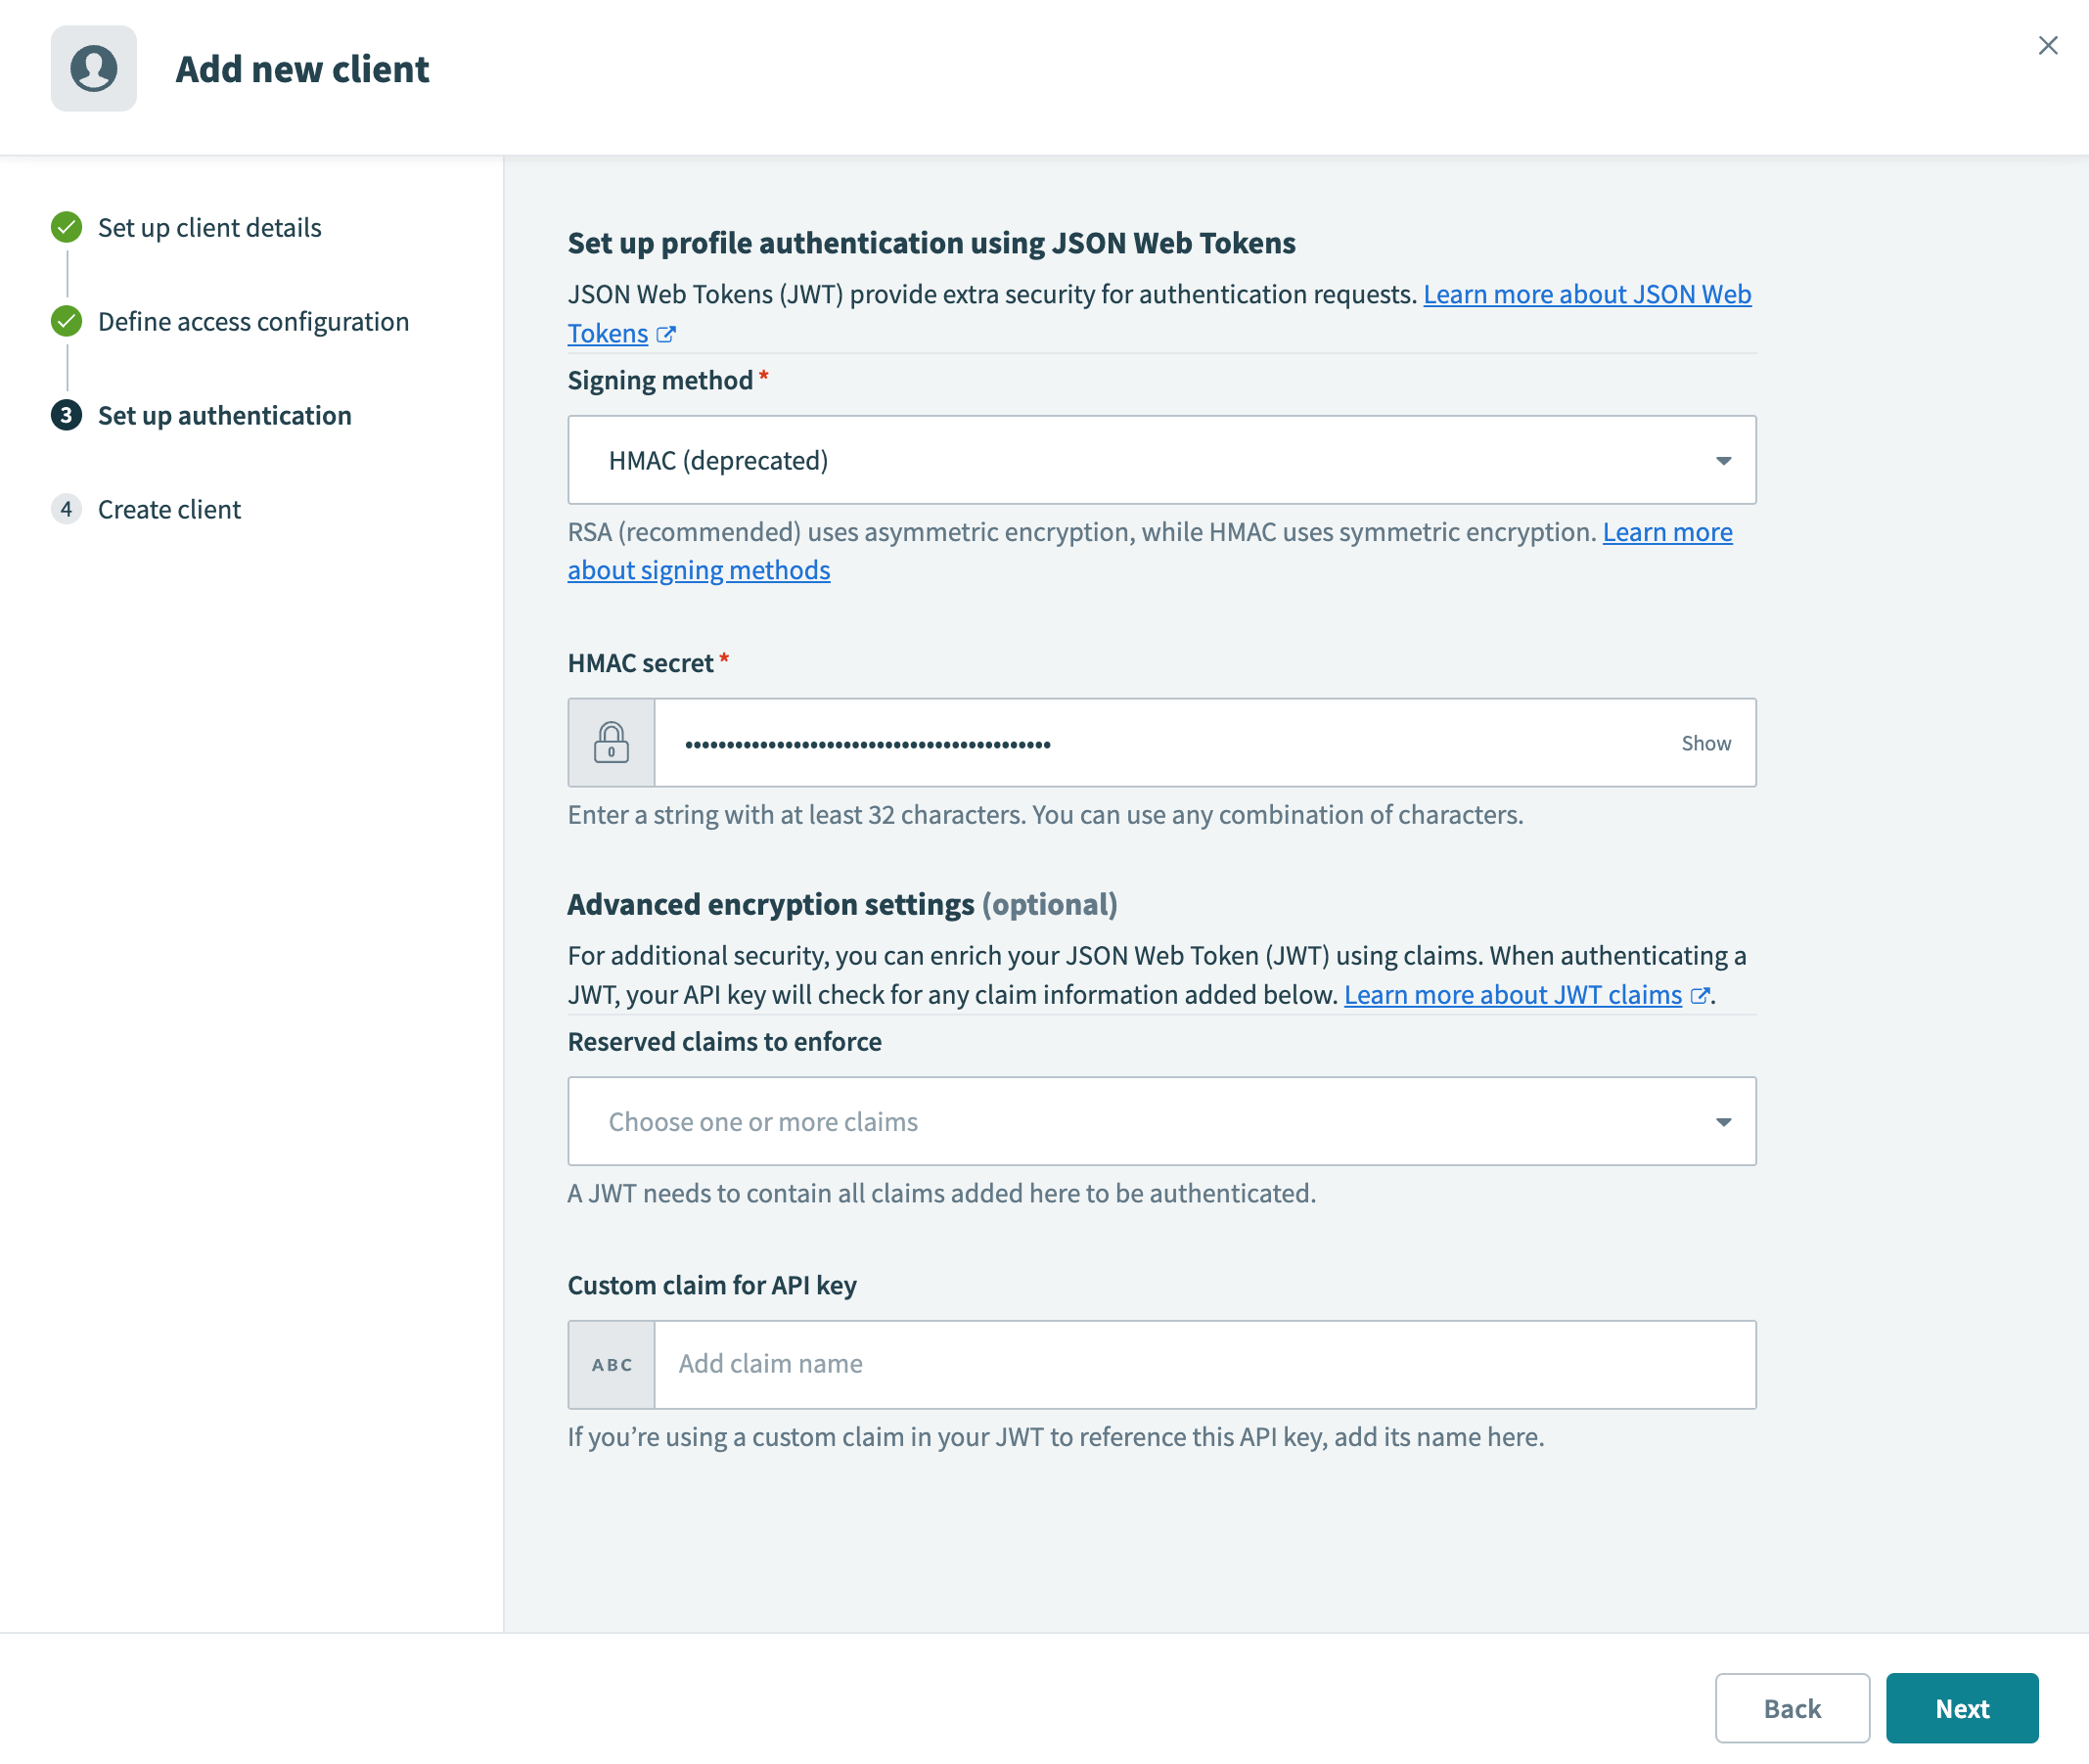 Paste the secret into the HMAC secret field
Click Next to create the client.
If portal access is enabled, Workato sends an email invitation to the client's email address. Permissions, such as access to API collections and authentication methods, are configured at the client level.
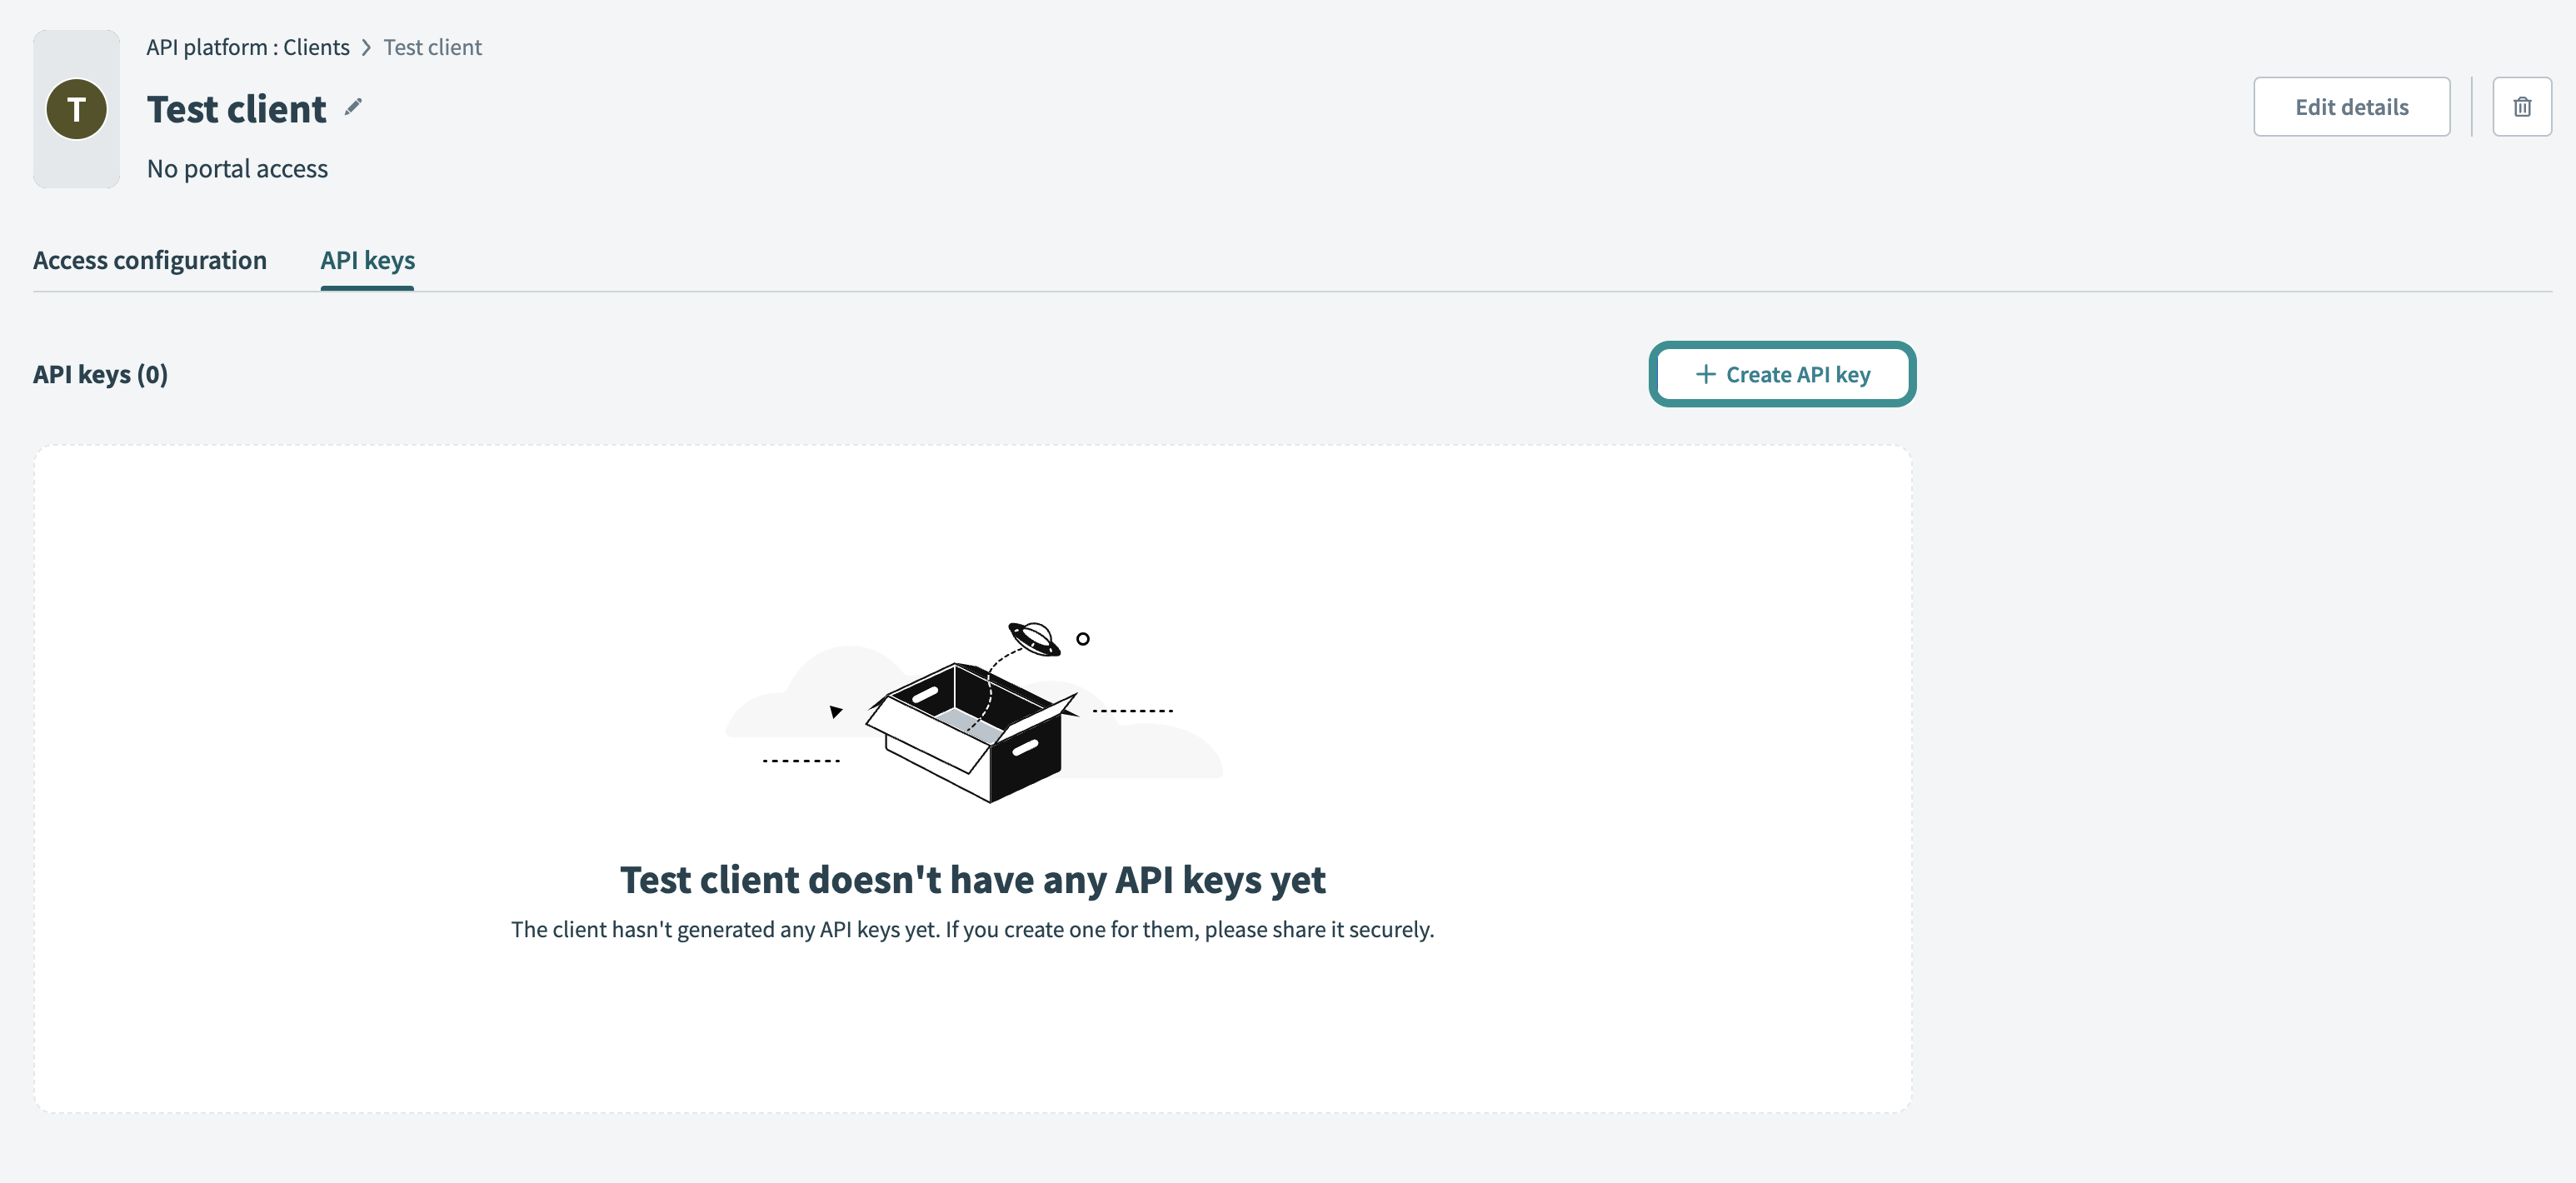
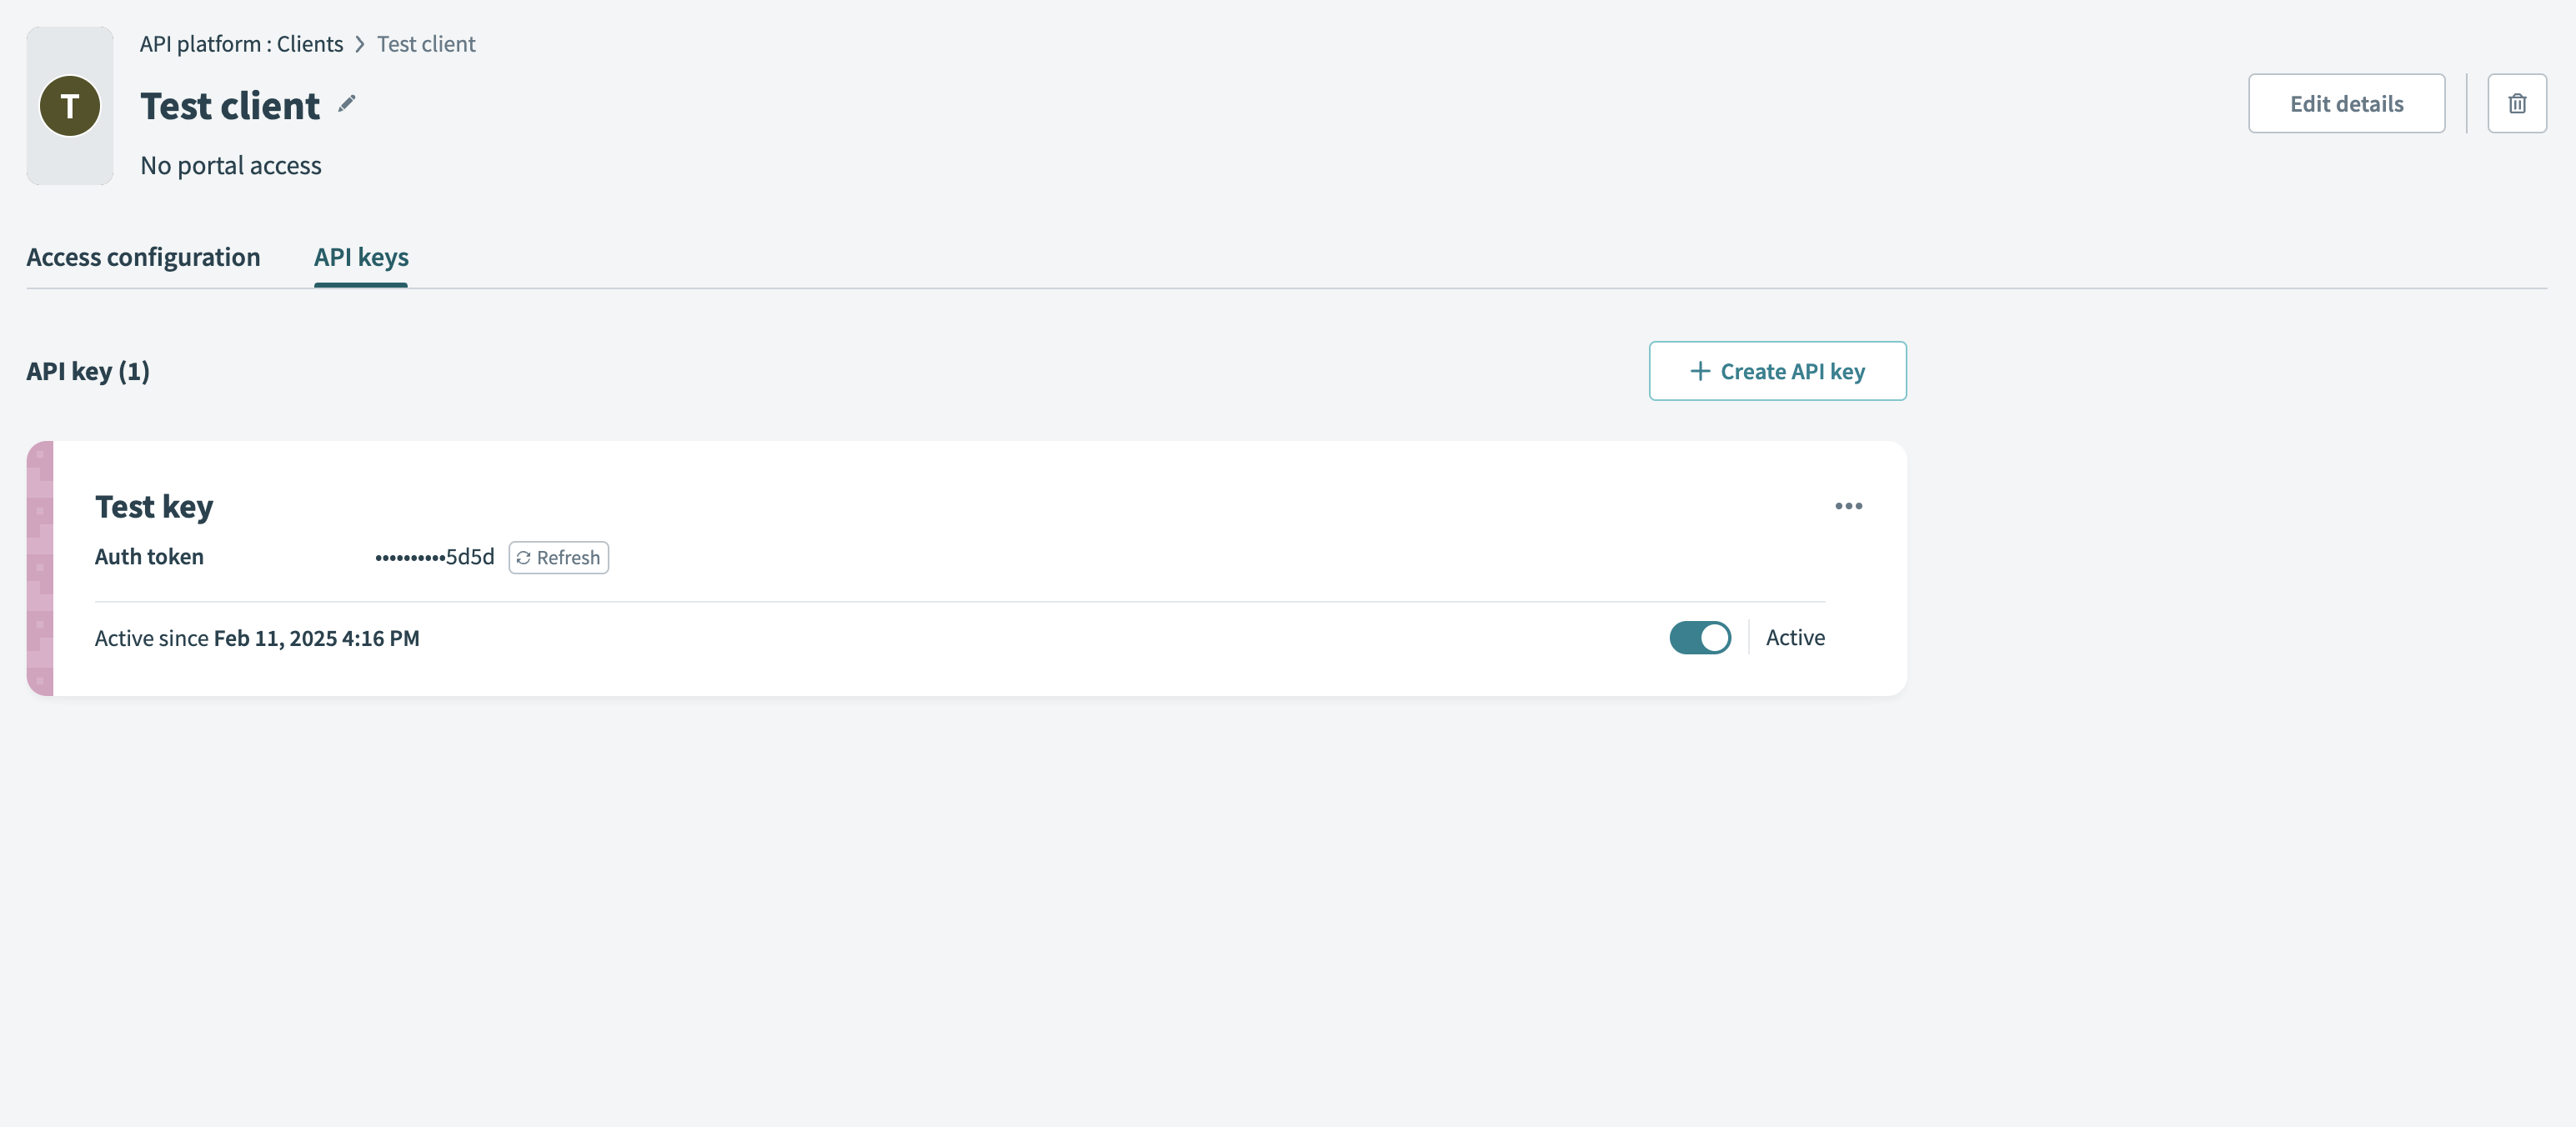
Create an API key
Complete the following steps to generate an API key. The client must include this key as the kid (key ID) claim in the JWT. The platform uses this value to locate and validate the client and its signing method.
Go to API Platform > Clients, select the client, and go to the API keys tab.
Click + Create API key.
 Create API key
Enter an API key name to identify the key.
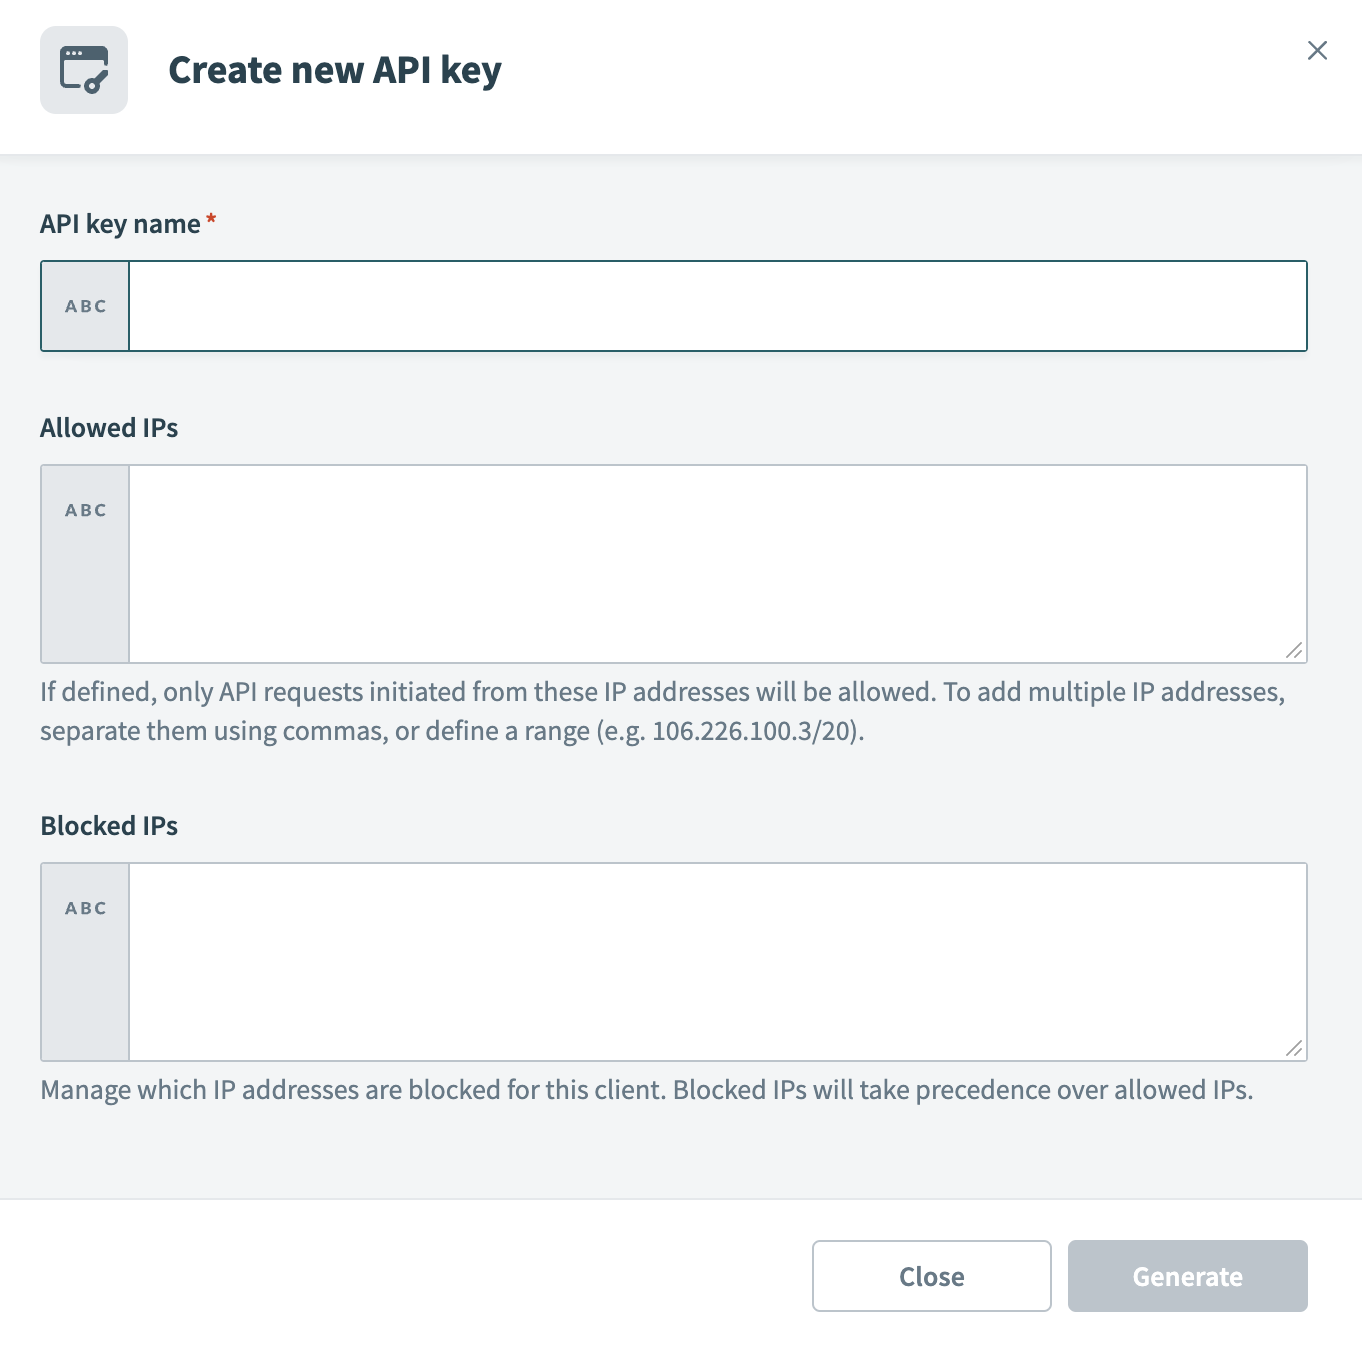 Configure new API key
Optional. Add Allowed IPs to restrict requests to specific IP addresses. To allow multiple IPs, separate them with commas or define a range.
Optional. Add Blocked IPs to prevent requests from specific IP addresses. Blocked IPs take precedence over allowed IPs. For example, if you add the IP address 123.456.123.456 to your allow list, but also block it, users who attempt to access the portal from this IP address are denied access.
Click Generate to create the API key. Workato displays the authentication token. Save this token securely, as it doesn’t display again. You must refresh or create a new API key if you lose it.
 Generate API key
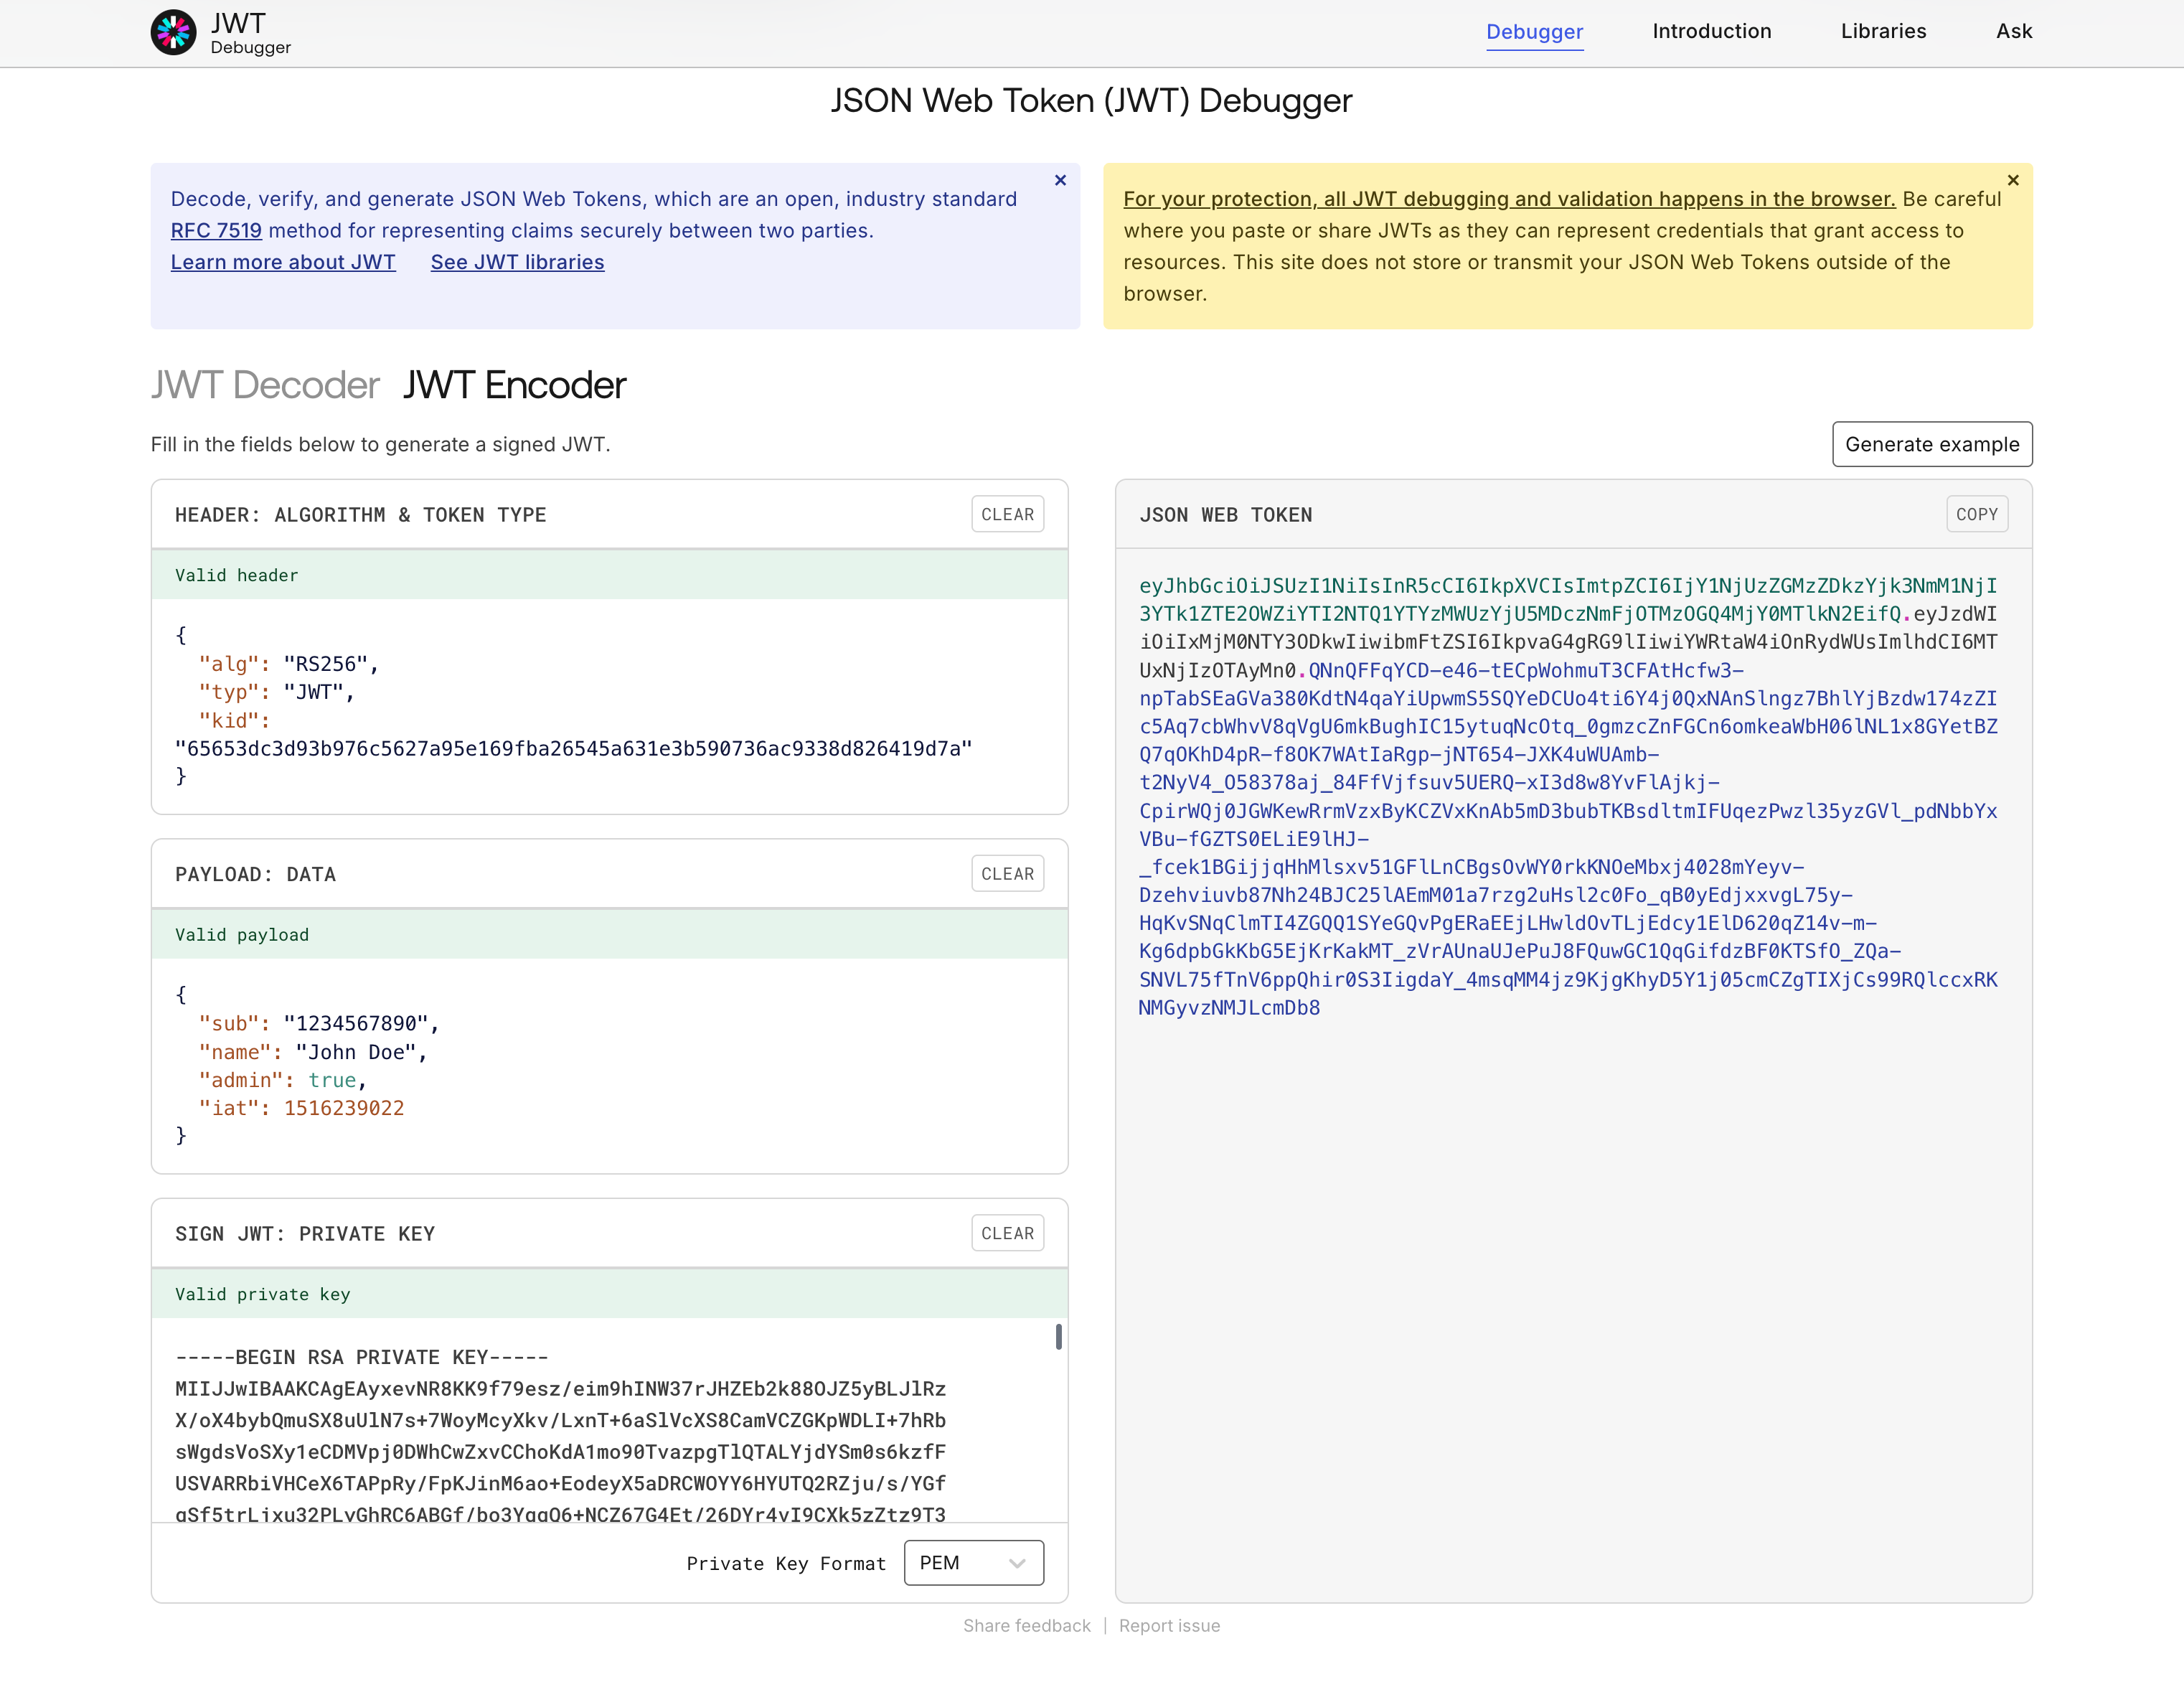
Generate a JSON web token
Construct and sign a JWT that includes the API key as the kid (key ID) claim in the JWT header:
{
  "alg": "RS256",
  "typ": "JWT",
  "kid": "<YOUR-API-KEY>"
}
The client that initiates the API request is responsible for signing the JWT correctly. The platform will validate this token for authentication and access.
ALTERNATIVE CLAIMS
In this example, the Workato API key is included in the header as the kid claim. Some identity providers may restrict the kid claim. If this is the case, you can include the API key in the payload section of the token, under one of the following claims: https://www.workato.com/sub, workato_sub or sub.
If these claims are used for other purposes in your use case, you may use a custom claim to hold the access profile key. Learn more about alternative claims.
Complete the following steps to generate and sign a JWT that includes the API key:
 Generate a JWT using RS256
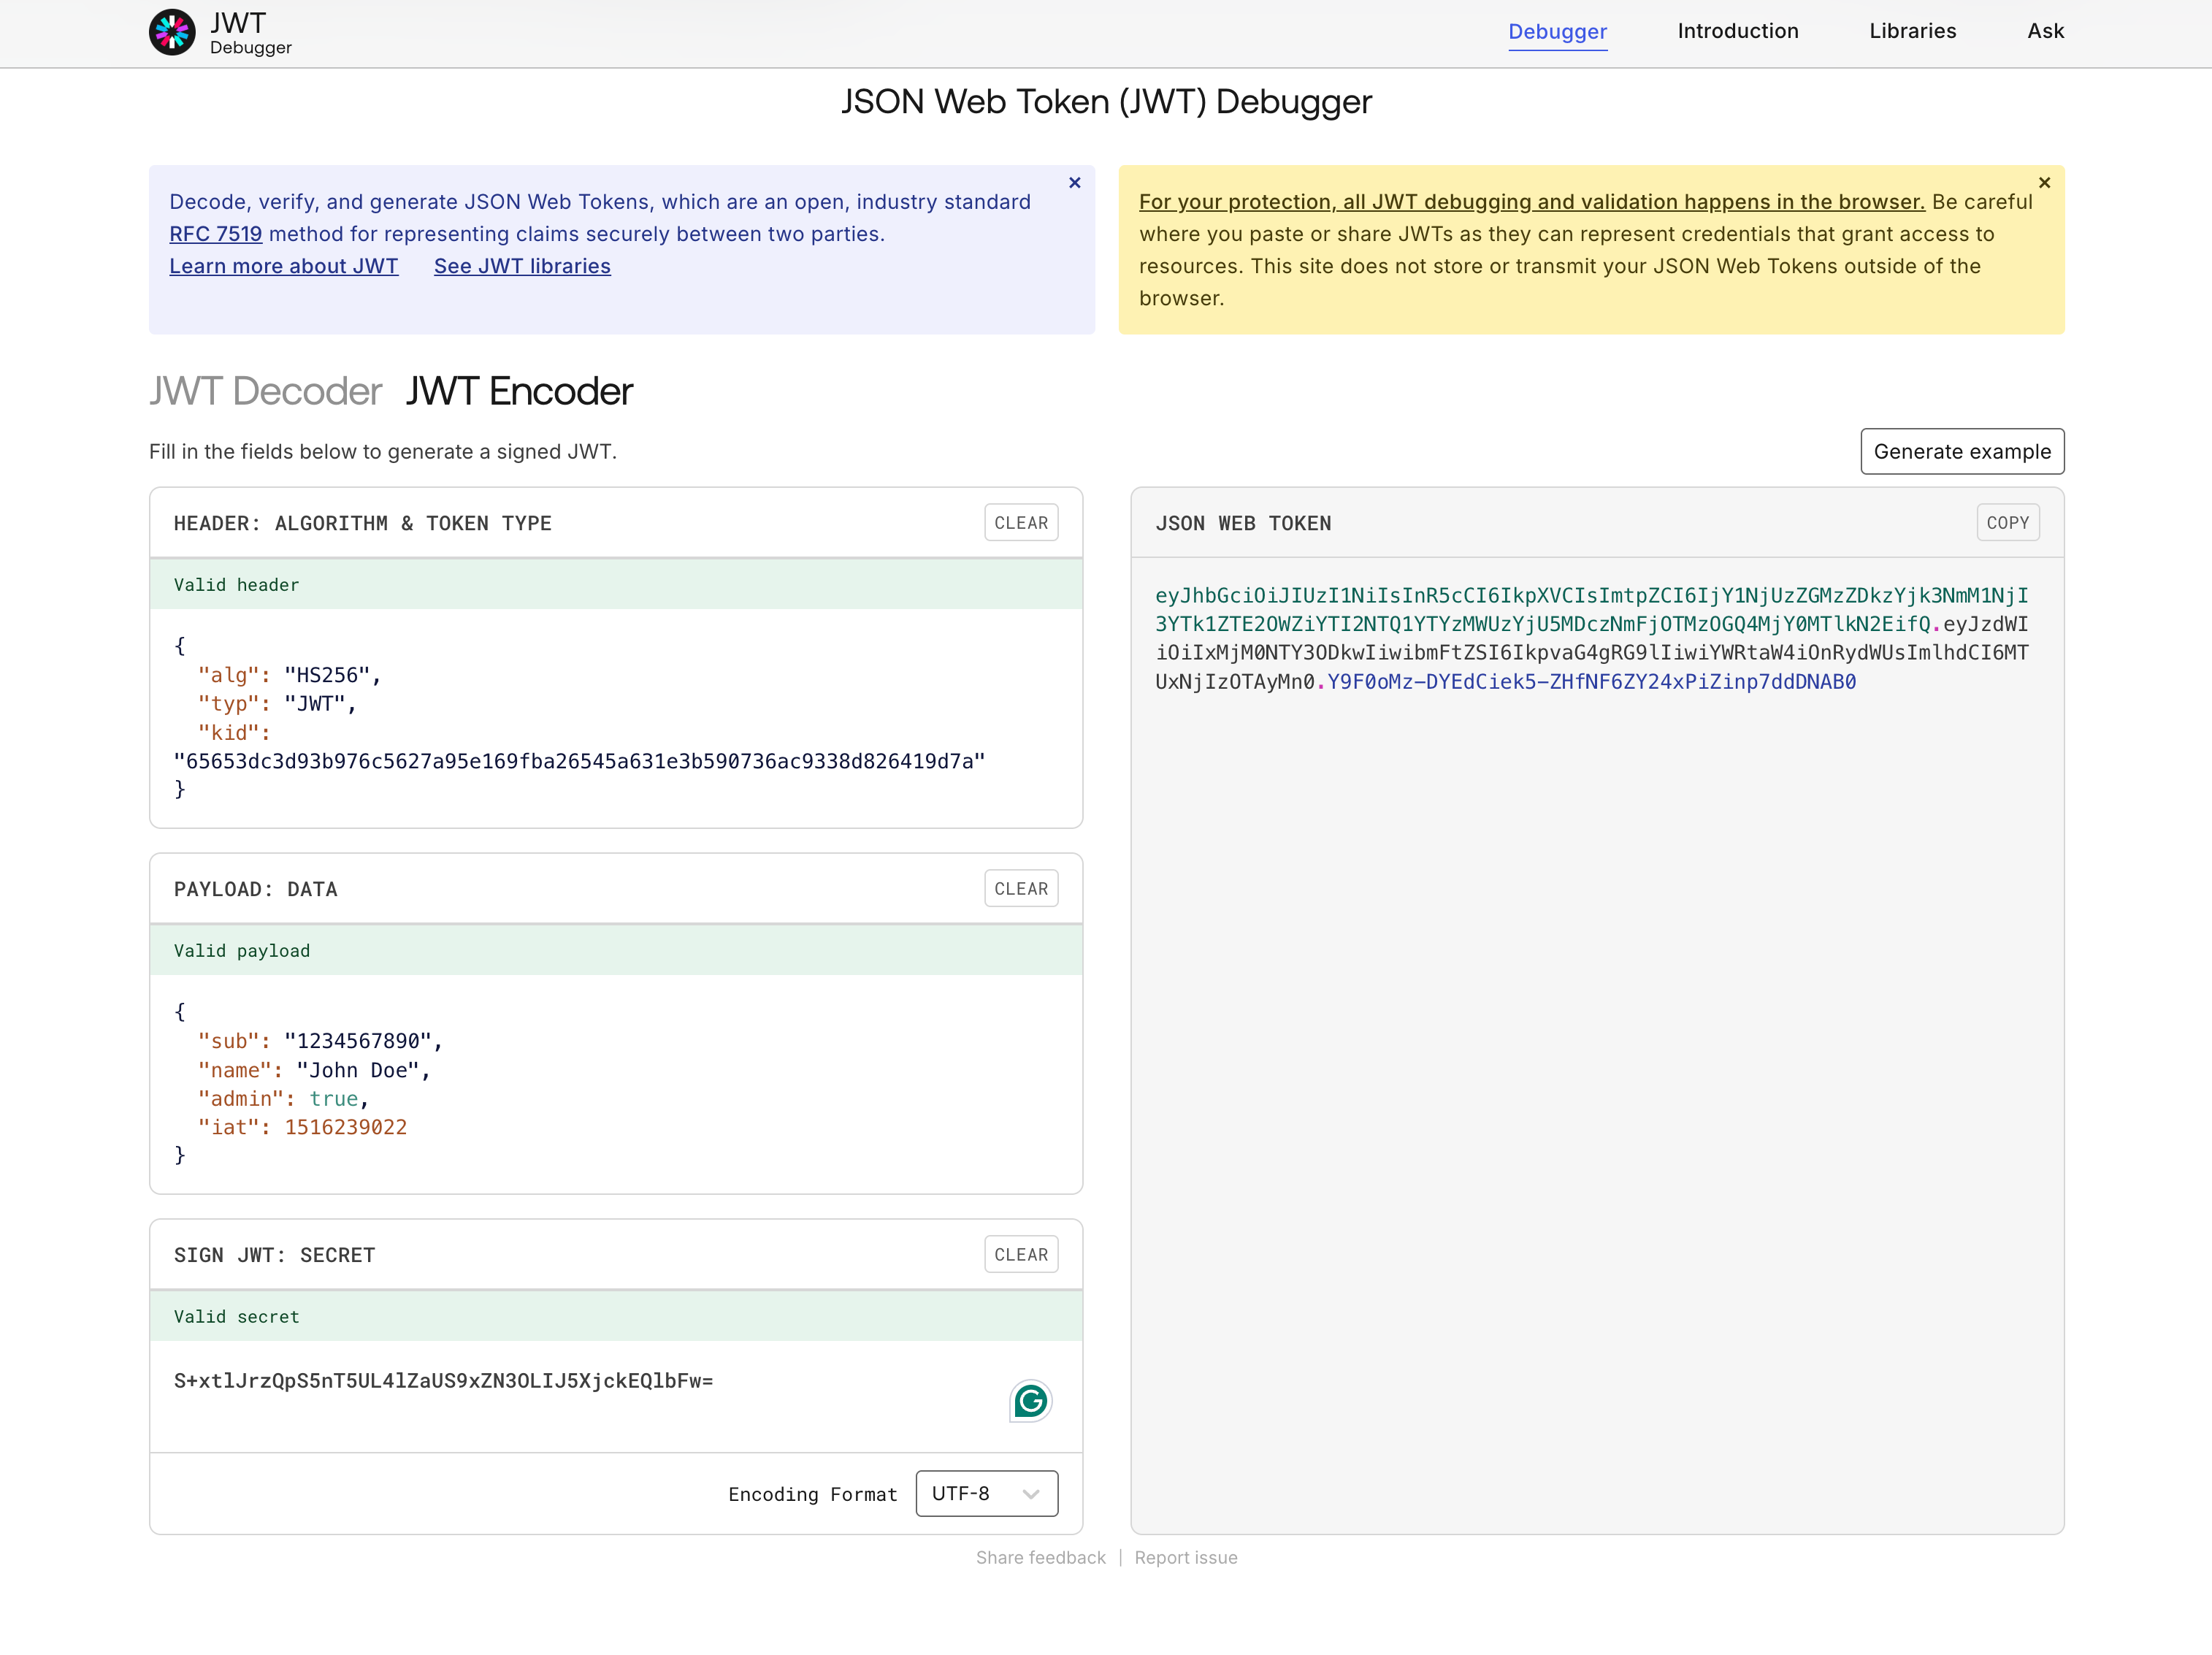 Generate a JWT using HS256
You can also use an identity provider to issue the JWT with the API key embedded in one of the supported claims. Refer to JWT Workato claim for more information.
Last updated: