# Gmail
Gmail (opens new window) is a popular email service used by both consumers and businesses alike. Users can access Gmail on the web and using third-party programs that synchronize email content through POP or IMAP protocols.
The Gmail connector enables you to build powerful automation around Gmail and connect with other applications.
# API version
The Gmail connector uses the Gmail REST API v1 (opens new window).
# How to connect to Gmail on Workato
Workato supports two types of connections to Gmail:
SERVICE ACCOUNT AUTHENTICATION
You can use a service account to authenticate without a personal user account. For consistent use, Workato recommends service account authentication.
# Minimum and default scopes
The See your primary Google Account email address scope is required to establish a connection at a minimum.
Workato requests the following scopes by default if you don't request specific scopes:
- See your primary Google Account email address
- See and edit your email labels
- Send email on your behalf
- View your email messages and settings
- Read, compose, and send emails from your Gmail account
Ensure your Google Workspace Admin grants domain-wide authority delegation (opens new window) to your service account if you plan to use a service account to connect to Gmail. This allows it to impersonate the user email entered during connection setup, with the necessary scopes and permissions.
# OAuth 2.0 authentication
Complete the following steps to set up an OAuth 2.0 connection:
Sign in to your Workato account and navigate to the project where you plan to add your Gmail connection.
Click Create > Connection, then select Gmail as your connection.
Provide a Connection name that uniquely identifies the Gmail connection instance.
Click the Authentication type menu and select OAuth 2.0.
Optional. Click Advanced settings and select additional OAuth 2.0 scopes. If left blank, the following scopes are requested:
- See your primary Google Account email address
- See and edit your email labels
- Send email on your behalf
- View your email messages and settings
- Read, compose, and send emails from your Gmail account
Click Sign in with Google and sign in to your Google account to complete the setup.
# Service account authentication
A Google service account is a specialized Google account associated with a Google Cloud Project (GCP) that can run API requests on your behalf.
Service accounts provide the following benefits:
- Continuous operation: Service accounts ensure that operations continue even if individual user permissions change.
- Dedicated permissions: Service accounts can only access projects that you share with them.
- Dedicated API quotas: You can manage a service account's API quotas through GCP and request quota increases directly from Google.
Refer to the Google service account documentation (opens new window) to learn more about service accounts.
 Obtain a GCP Project service account email
# Set up a Google service account
Complete the following steps to set up a Google service account:
Create a service account (opens new window) in your GCP project.
Go to IAM & Admin > Service accounts. Ensure your dashboard is scoped to the project that contains your service account.
 Check the scope of your dashboard.
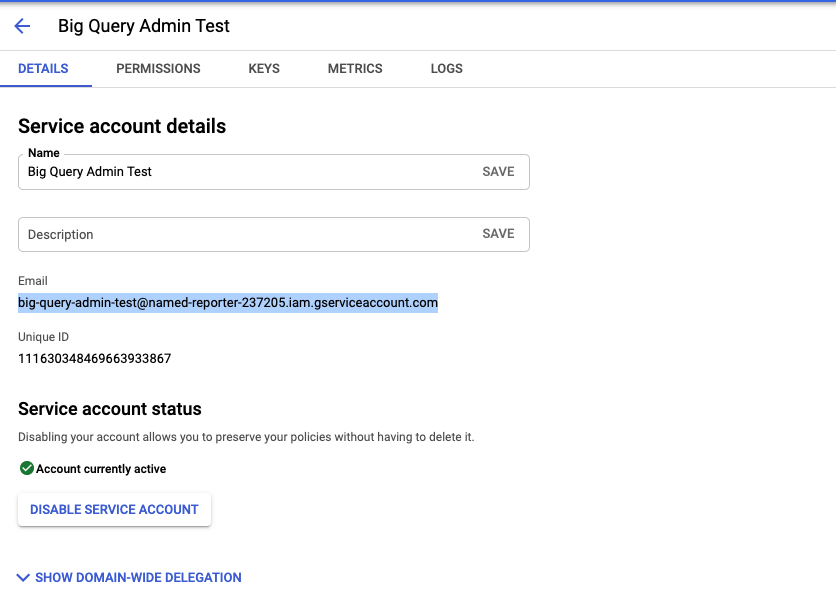
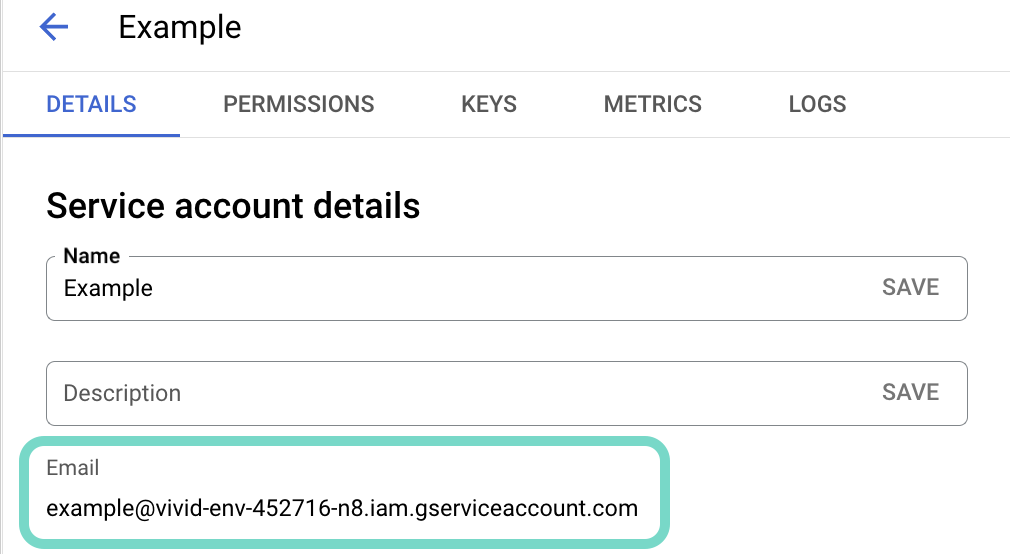
Click the Email of the service account you intend to use.
 Click the Email of the service account you intend to use.
Copy the service account's Email and save it to configure your connection later.
 Copy the account's Email.
Go to the KEYS tab.
Generate a private key (opens new window) and download it in JSON format. You can only download the key once.
Open the JSON file, then copy the entire private key from -----BEGIN PRIVATE KEY----- to -----END PRIVATE KEY-----\n (inclusive) and save it to configure your connection later.
# Connect to a service account in Workato
Complete the following steps to set up a service account connection:
Sign in to your Workato account and navigate to the project where you plan to add your Gmail connection.
Click Create > Connection, then select Gmail as your connection.
Select the Authentication type drop-down menu.
Click Sign in with Google and sign in to your Google account to complete the setup.
Last updated: 2/11/2026, 4:45:26 PM