Use the Workato Connector SDK
Workato's Connector SDK has numerous features that enable you to build, test, develop, and share your custom connector. This article covers the platform's basic functionalities and discusses how you can leverage different functionalities to make your connector development process smoother.
Before you begin
View Connector SDKs
Sign in to your Workato account and navigate to the workspace in which you plan to build your custom connector.
Click Tools > Connector SDK to view the registry of custom connectors you have built or cloned from others. If you are signed in, visit the Custom Adapters page to access this directly.
Create a new custom connector
You can create a new custom connector from the Connector SDK main screen.
In the top right corner of the page, you'll see a button to create a new custom connector. Clicking this takes you to your new custom connector's home page. This page allows you to begin writing custom connector code and find useful information like its share link and version history.
Click Tools > Connector SDK.
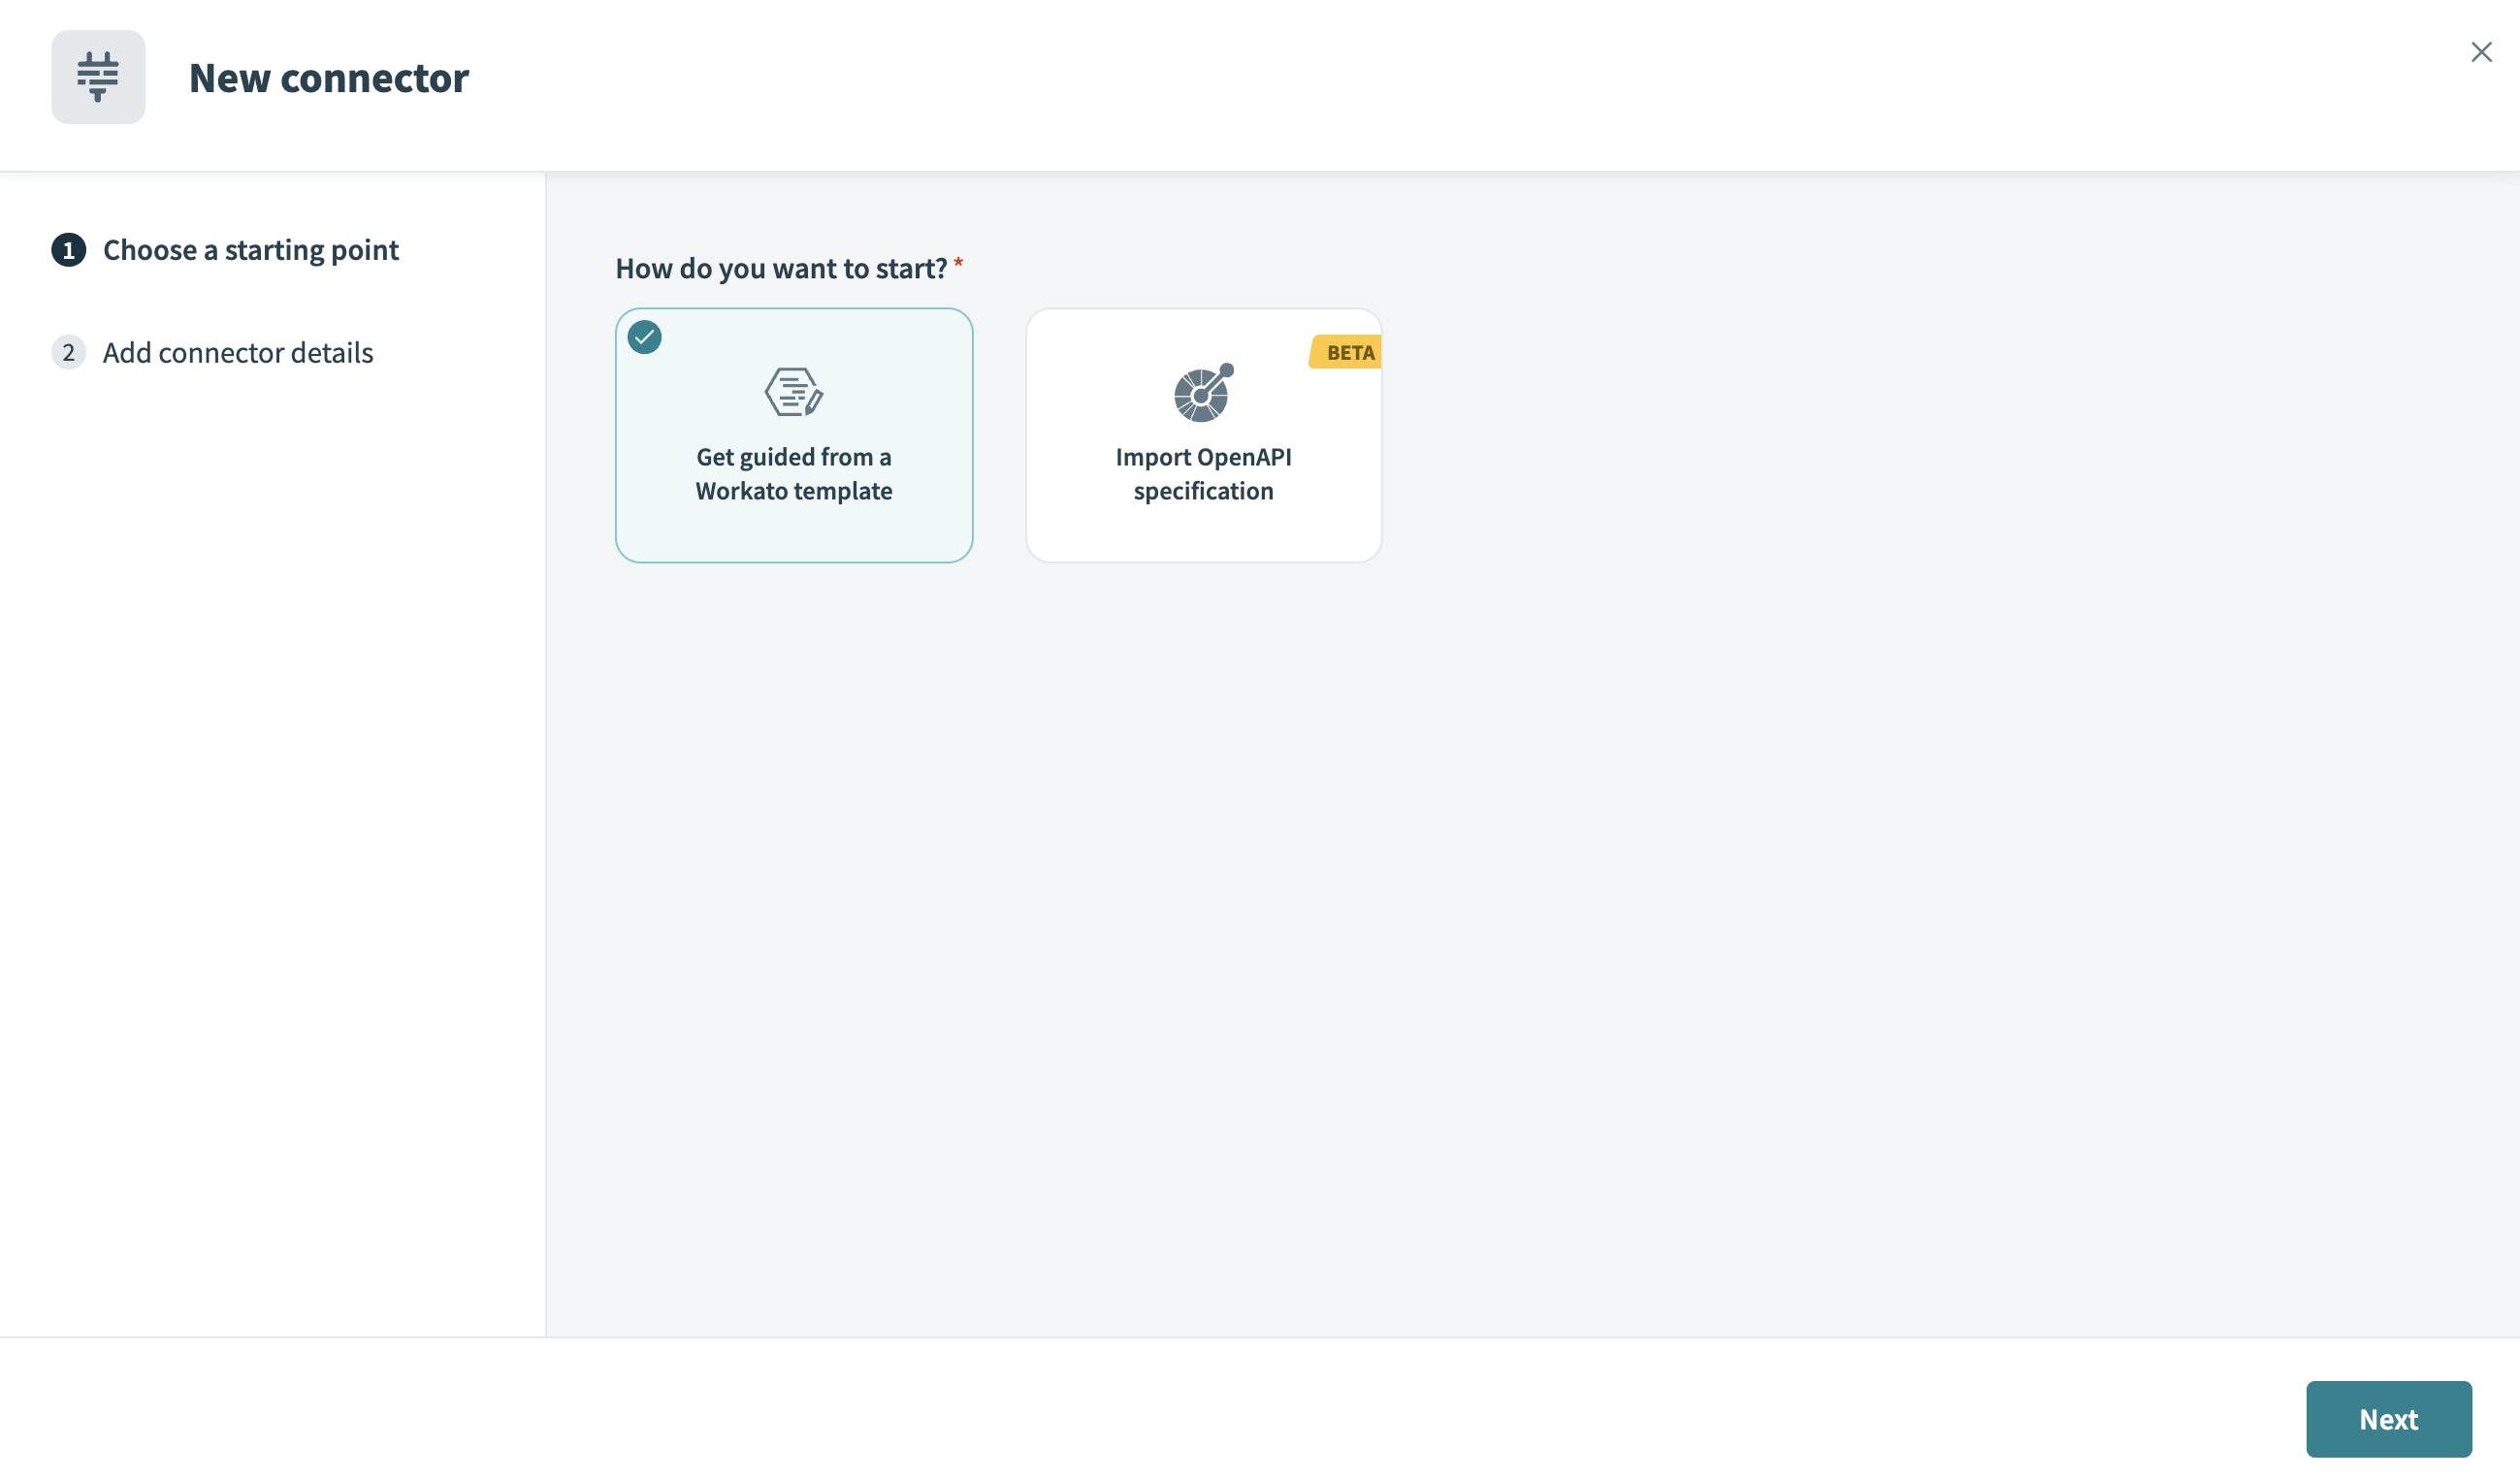
Click New connector.
Select Get guided from a Workato template or Import OpenAPI specification as your starting point, then click Next. Note that OpenAPI is in beta and must be provided in OpenAPI 3.0 specification. Learn more about OpenAPI specification.
 Select the icon logo to upload an icon from your local machine
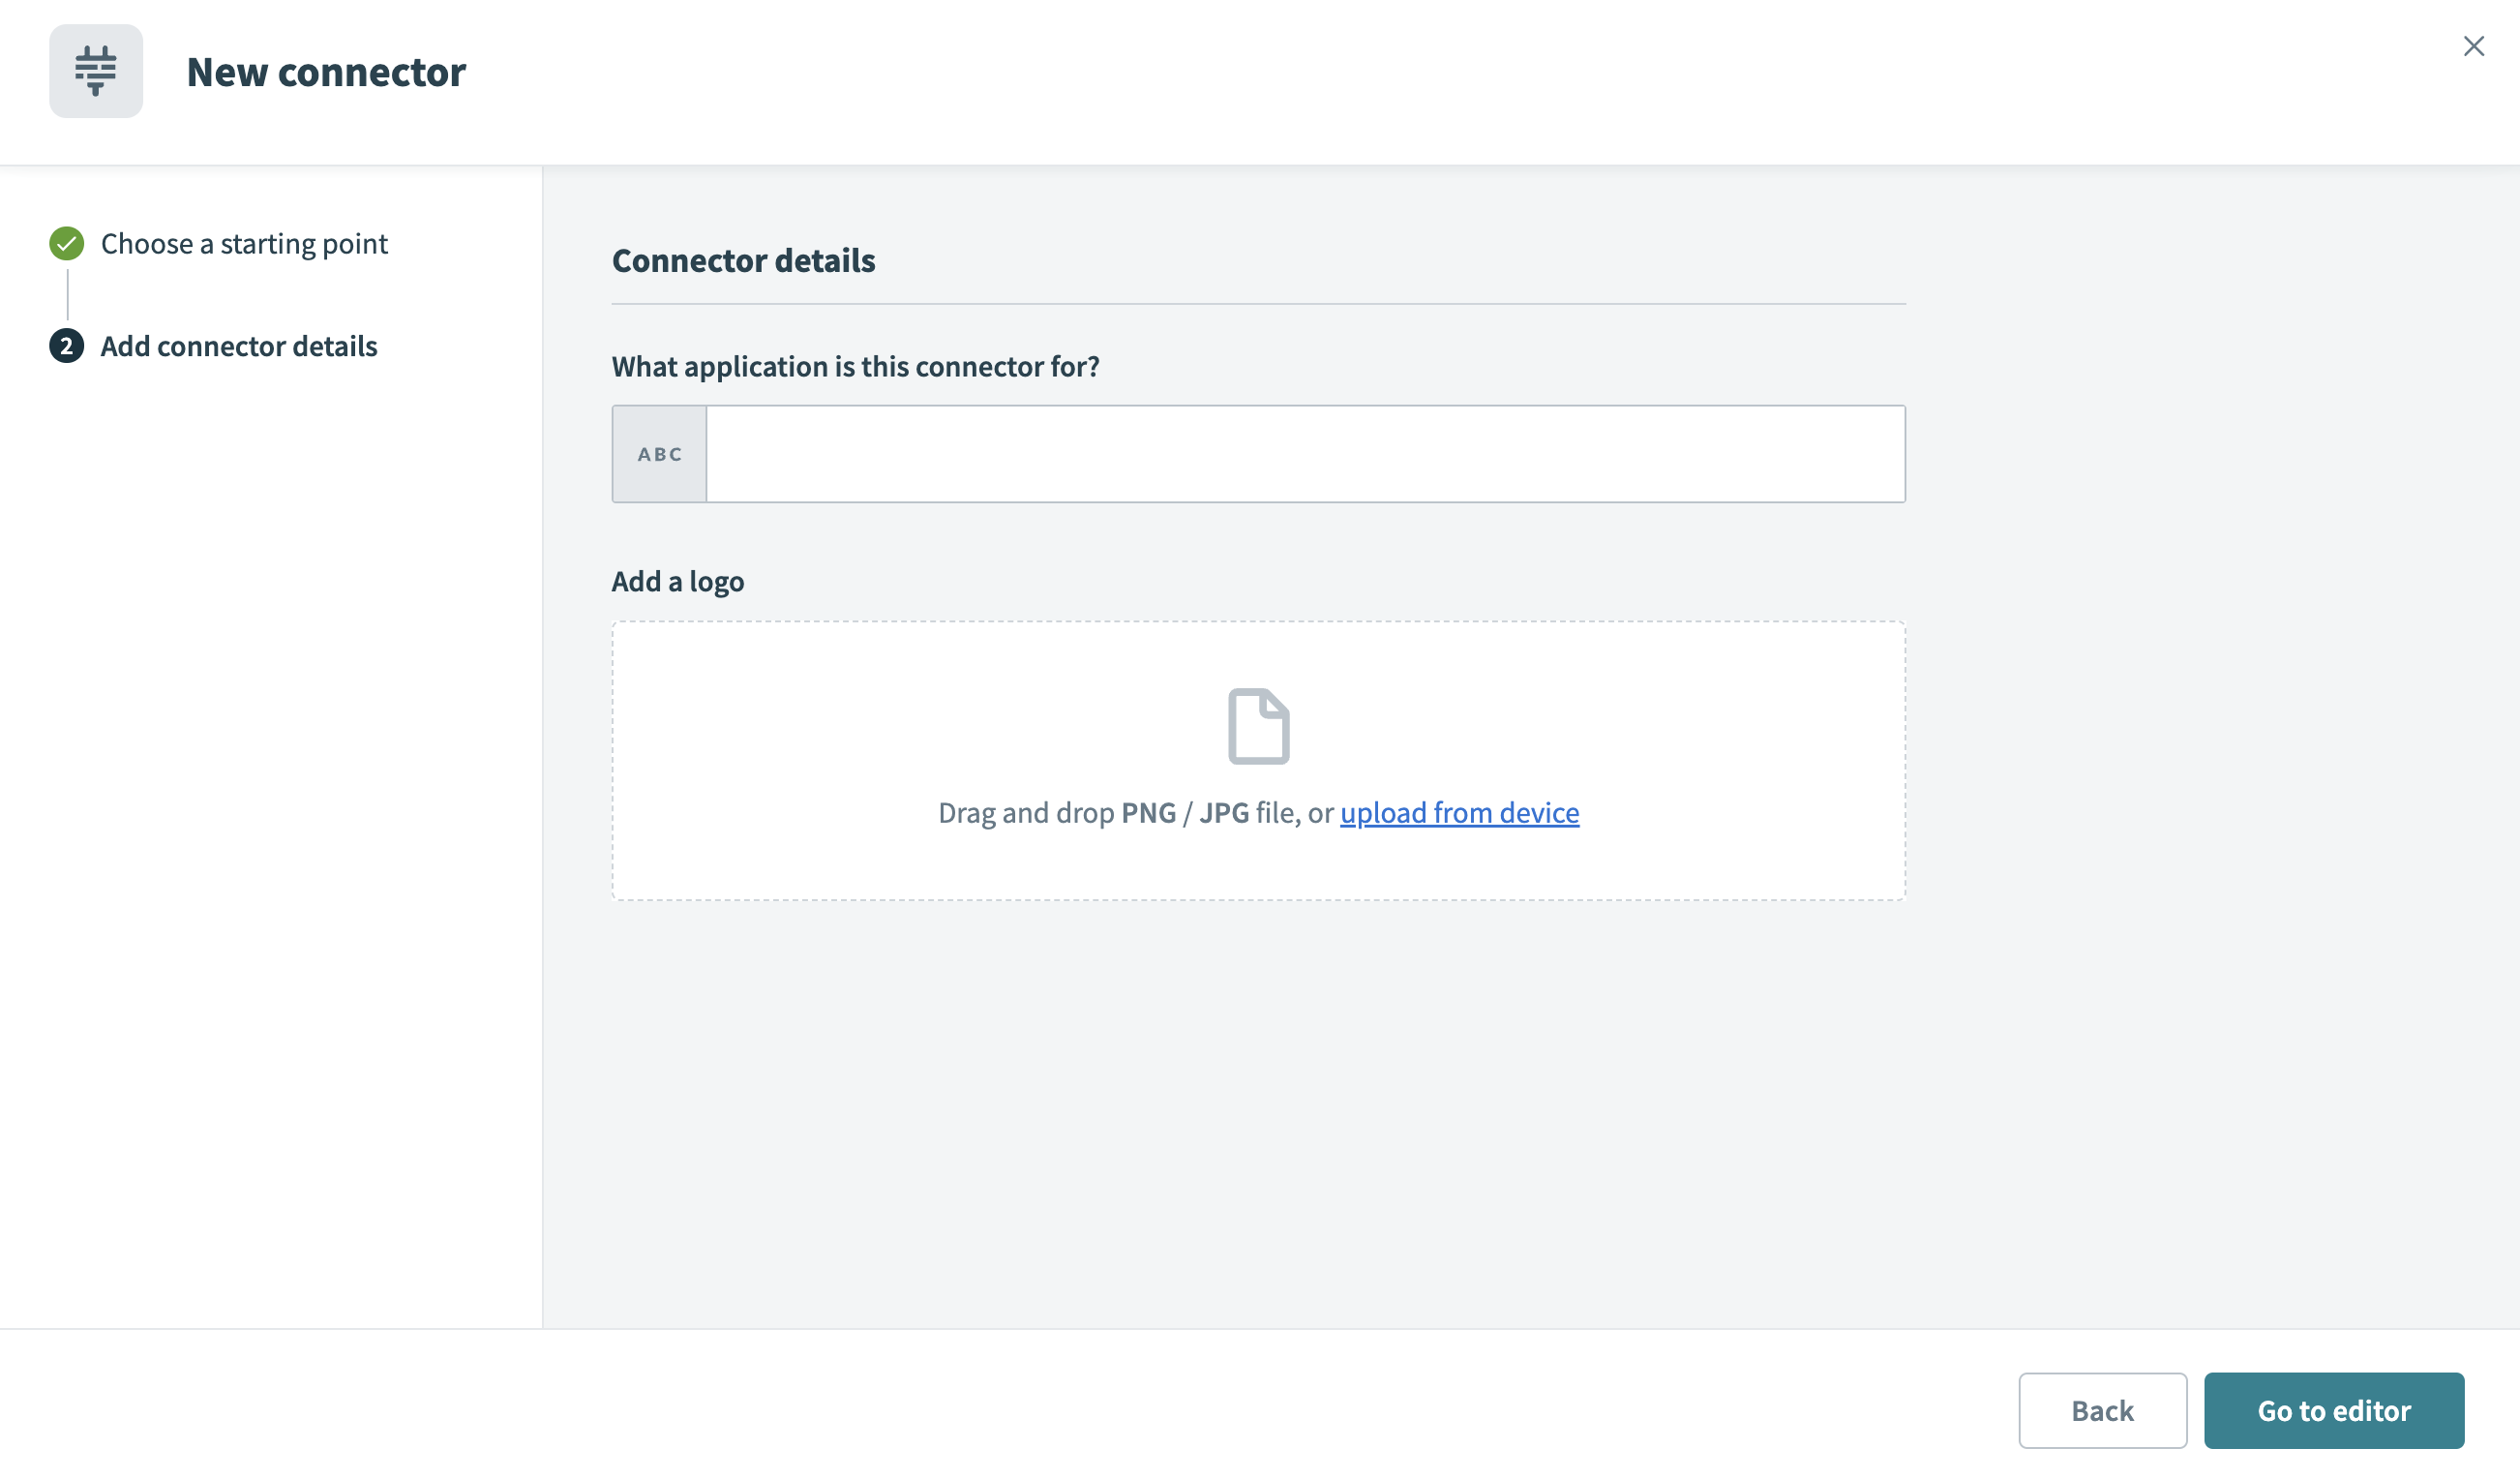
Provide a description and logo for your connector, then click Go to editor.
 Provide a description and logo
Add your source code, configure your connection, and test your connector before you release and share it.
Change connector title, description, and logo
Your custom connector is automatically given a default title, logo, and empty description when you create it. You should populate these fields to make it easier to search for your custom connector within your personal registry.
Complete the following steps to change the title of your custom connector:
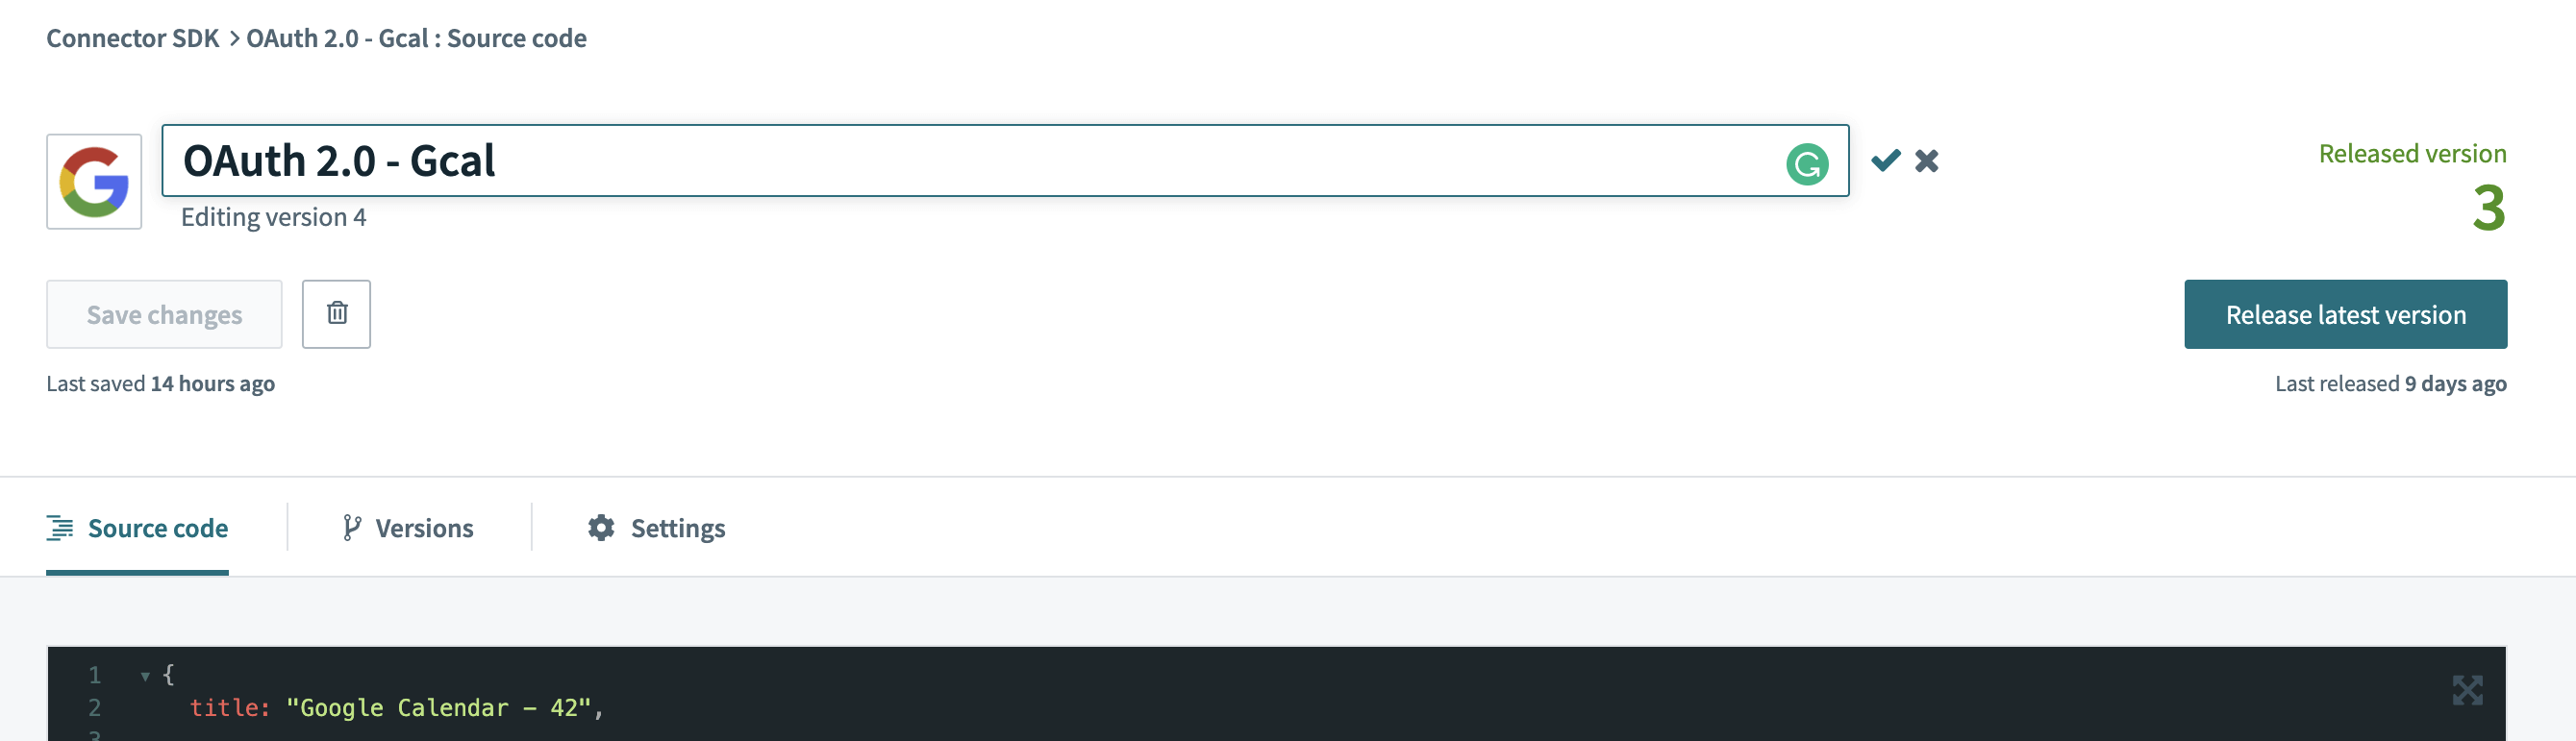
Click the pencil icon next to the custom connector.
Edit the connector name in the box that appears.
Click the green checkmark to save your changes.
 Select the green checkmark or blur out of the field to save
Complete the following steps to change the logo for your custom connector:
Click the existing logo image to open a system upload window.
![]() Select the icon logo to upload an icon from your local machine
Select the icon logo to upload an icon from your local machine
Select the logo you plan to upload. This logo represents your custom connector in your registry and is displayed when using it in recipes.
Complete the following steps to change the description of your custom connector:
Navigate to the Settings tab in your custom connector home page.
 Navigate to the Settings tab to change your description
Update the description of your custom connector and then click Save. This description lets others learn about your custom connector before cloning it.
Use the Workato code editor
The Workato SDK platform uses CodeMirror for editing connector code, allowing you to see syntax and code errors in real time. Workato provides a set of allow-listed Ruby methods for use in the code editor. Ruby methods not included in this allowlist are highlighted as errors.
The code editor has a set of basic hotkeys that make your experience easier.
| Function | Hot-key |
|---|---|
| Persistent Search | Ctrl-F / Cmd-F |
| Replace | Shift-Ctrl-F / Cmd-Option-F |
| Replace all | Shift-Ctrl-R / Shift-Cmd-Option-F |
| Auto-indent current line/selection | Shift-Tab |
| Save | Ctrl-S / Cmd-S |
Delete a custom connector
You cannot delete a custom connector if it is active in a running recipe. A pop-up notice displays if the custom connector you plan to delete is active in a running recipe.
DELETED CUSTOM CONNECTORS CANNOT BE RECOVERED
Deletion is permanent. You cannot recover a deleted custom connector. Custom connectors cloned from the deleted connector are not deleted.
Complete the following steps to delete a custom connector:
Click the custom connector you plan to delete.
Click the delete (trash) icon. A pop-up notice displays if the custom connector you plan to delete is active in a running recipe.
 Stop or edit these recipes to delete a custom connector
Select delete to permanently delete the connection when prompted. This action can't be undone.
Last updated: