Decision models
Decision models are scalable and reusable assets that streamline and centralize complex conditional business logic. Decision models allow teams to improve consistency and reduce maintenance by building logic once and reusing it across multiple recipes and projects.
Decision models contain decision tables that evaluate fields, conditional branches that control the flow of data, and schema configurations that define the inputs and outputs. Refer to the Model components section for an overview of decision model components or the Set up a decision model page for detailed configuration steps.
The Decision models connector calls an existing decision model from a recipe, including skill recipes used by genies and MCP servers, and returns the results for use in downstream recipe steps. This behavior is similar to the Recipe functions connector, which calls an existing recipe.
ROLE BASED ACCESS CONTROL
You can configure access to decision models using Workato role-based access control.
Custom roles created before April 1, 2026 don't have permissions to access decision models. Contact a workspace admin to update your permissions if you require access to decision models.
Model components
Decision models include the following components:
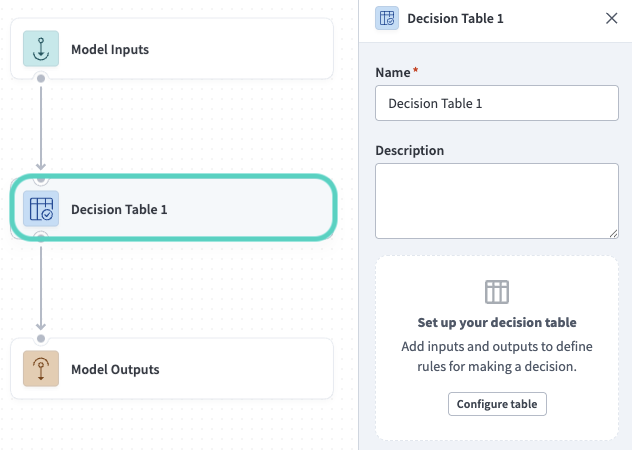 Decision table node
 Example decision table for routing marketing leads
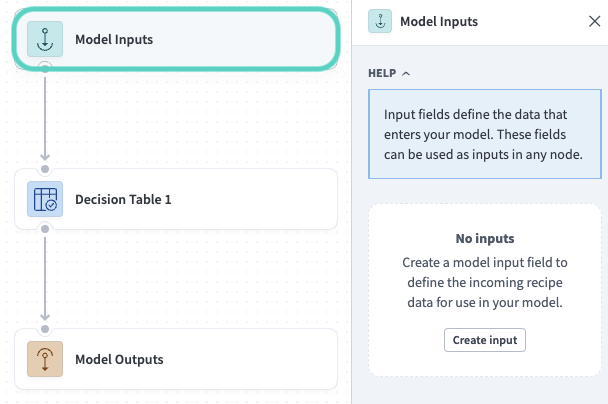 Model Inputs node
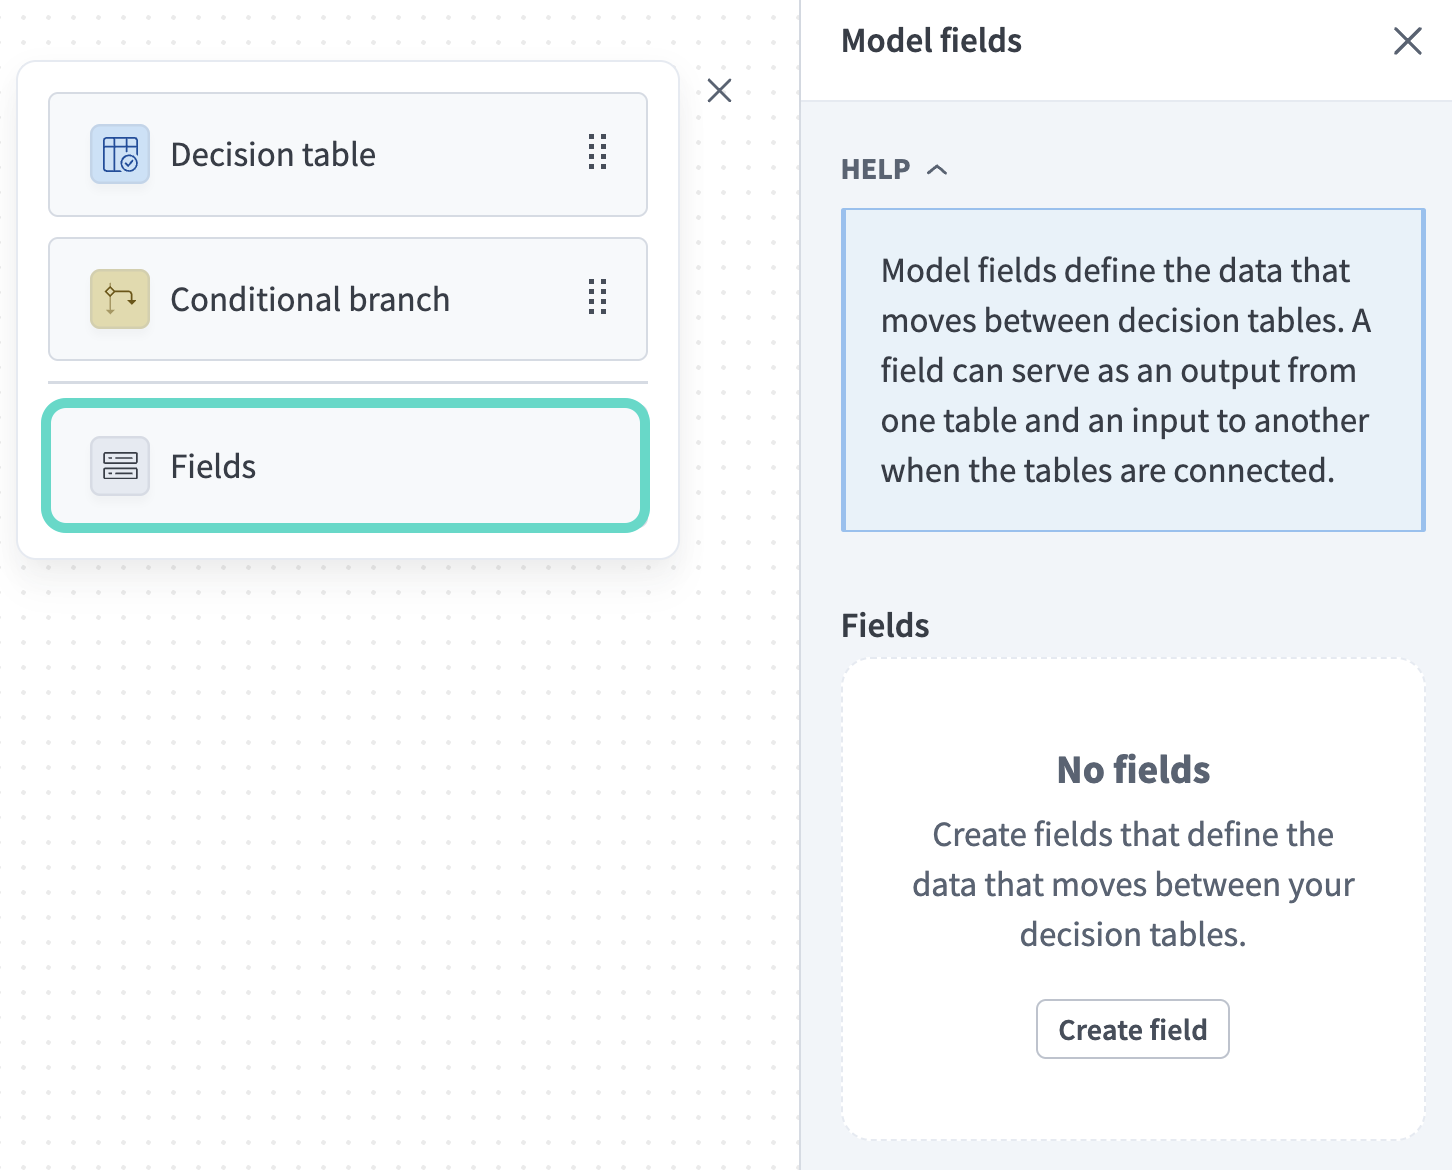 Fields sidebar
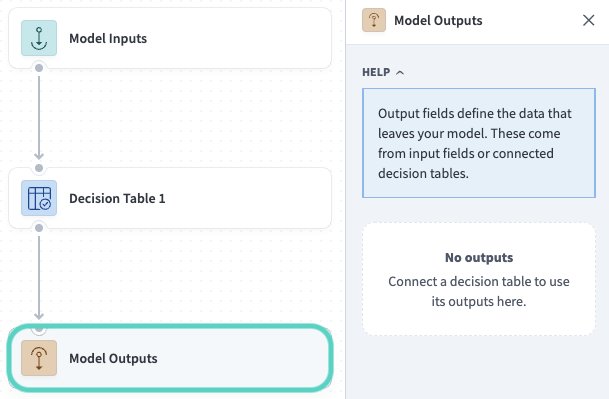 Model Outputs node
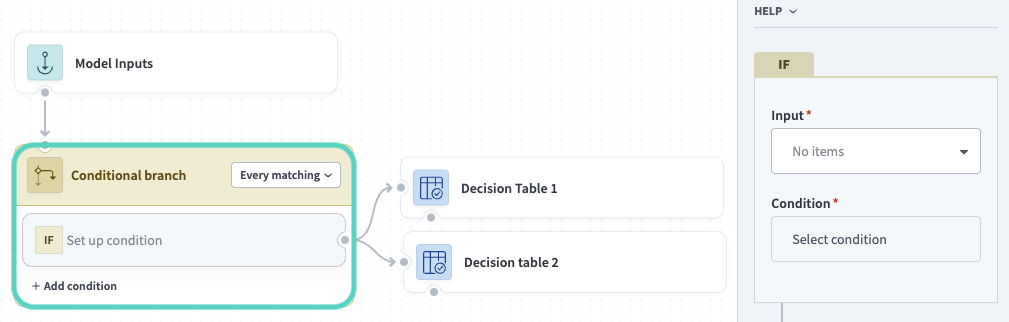 Conditional branch
Last updated: