# Sync data between Amazon S3 and SQL Server recipe
This use case guides you through connecting Amazon S3 and SQL Server to create a powerful automation.
# What does this recipe do?
This recipe runs on a schedule to sync data between Amazon S3 and SQL Server.
# Create your recipe
Complete the following steps to create a recipe that runs on a schedule to sync data between Amazon S3 and SQL Server:
USE CASES ARE INTENDED AS EXAMPLES ONLY
This use case serves as an example. Modifications to triggers, actions, or conditional logic may be necessary to adapt this recipe to your workflow.
Sign in to Workato.
Select the project where you plan to create the recipe.
Create connections for Amazon S3 and SQL Server:
Create an Amazon S3 connection.
# Create an Amazon S3 connection
This step creates a connection between Workato and your Amazon S3 account.
Click Create > Connection.
Search for and select Amazon S3 on the New connection page.
Enter a name for your connection in the Connection name field.
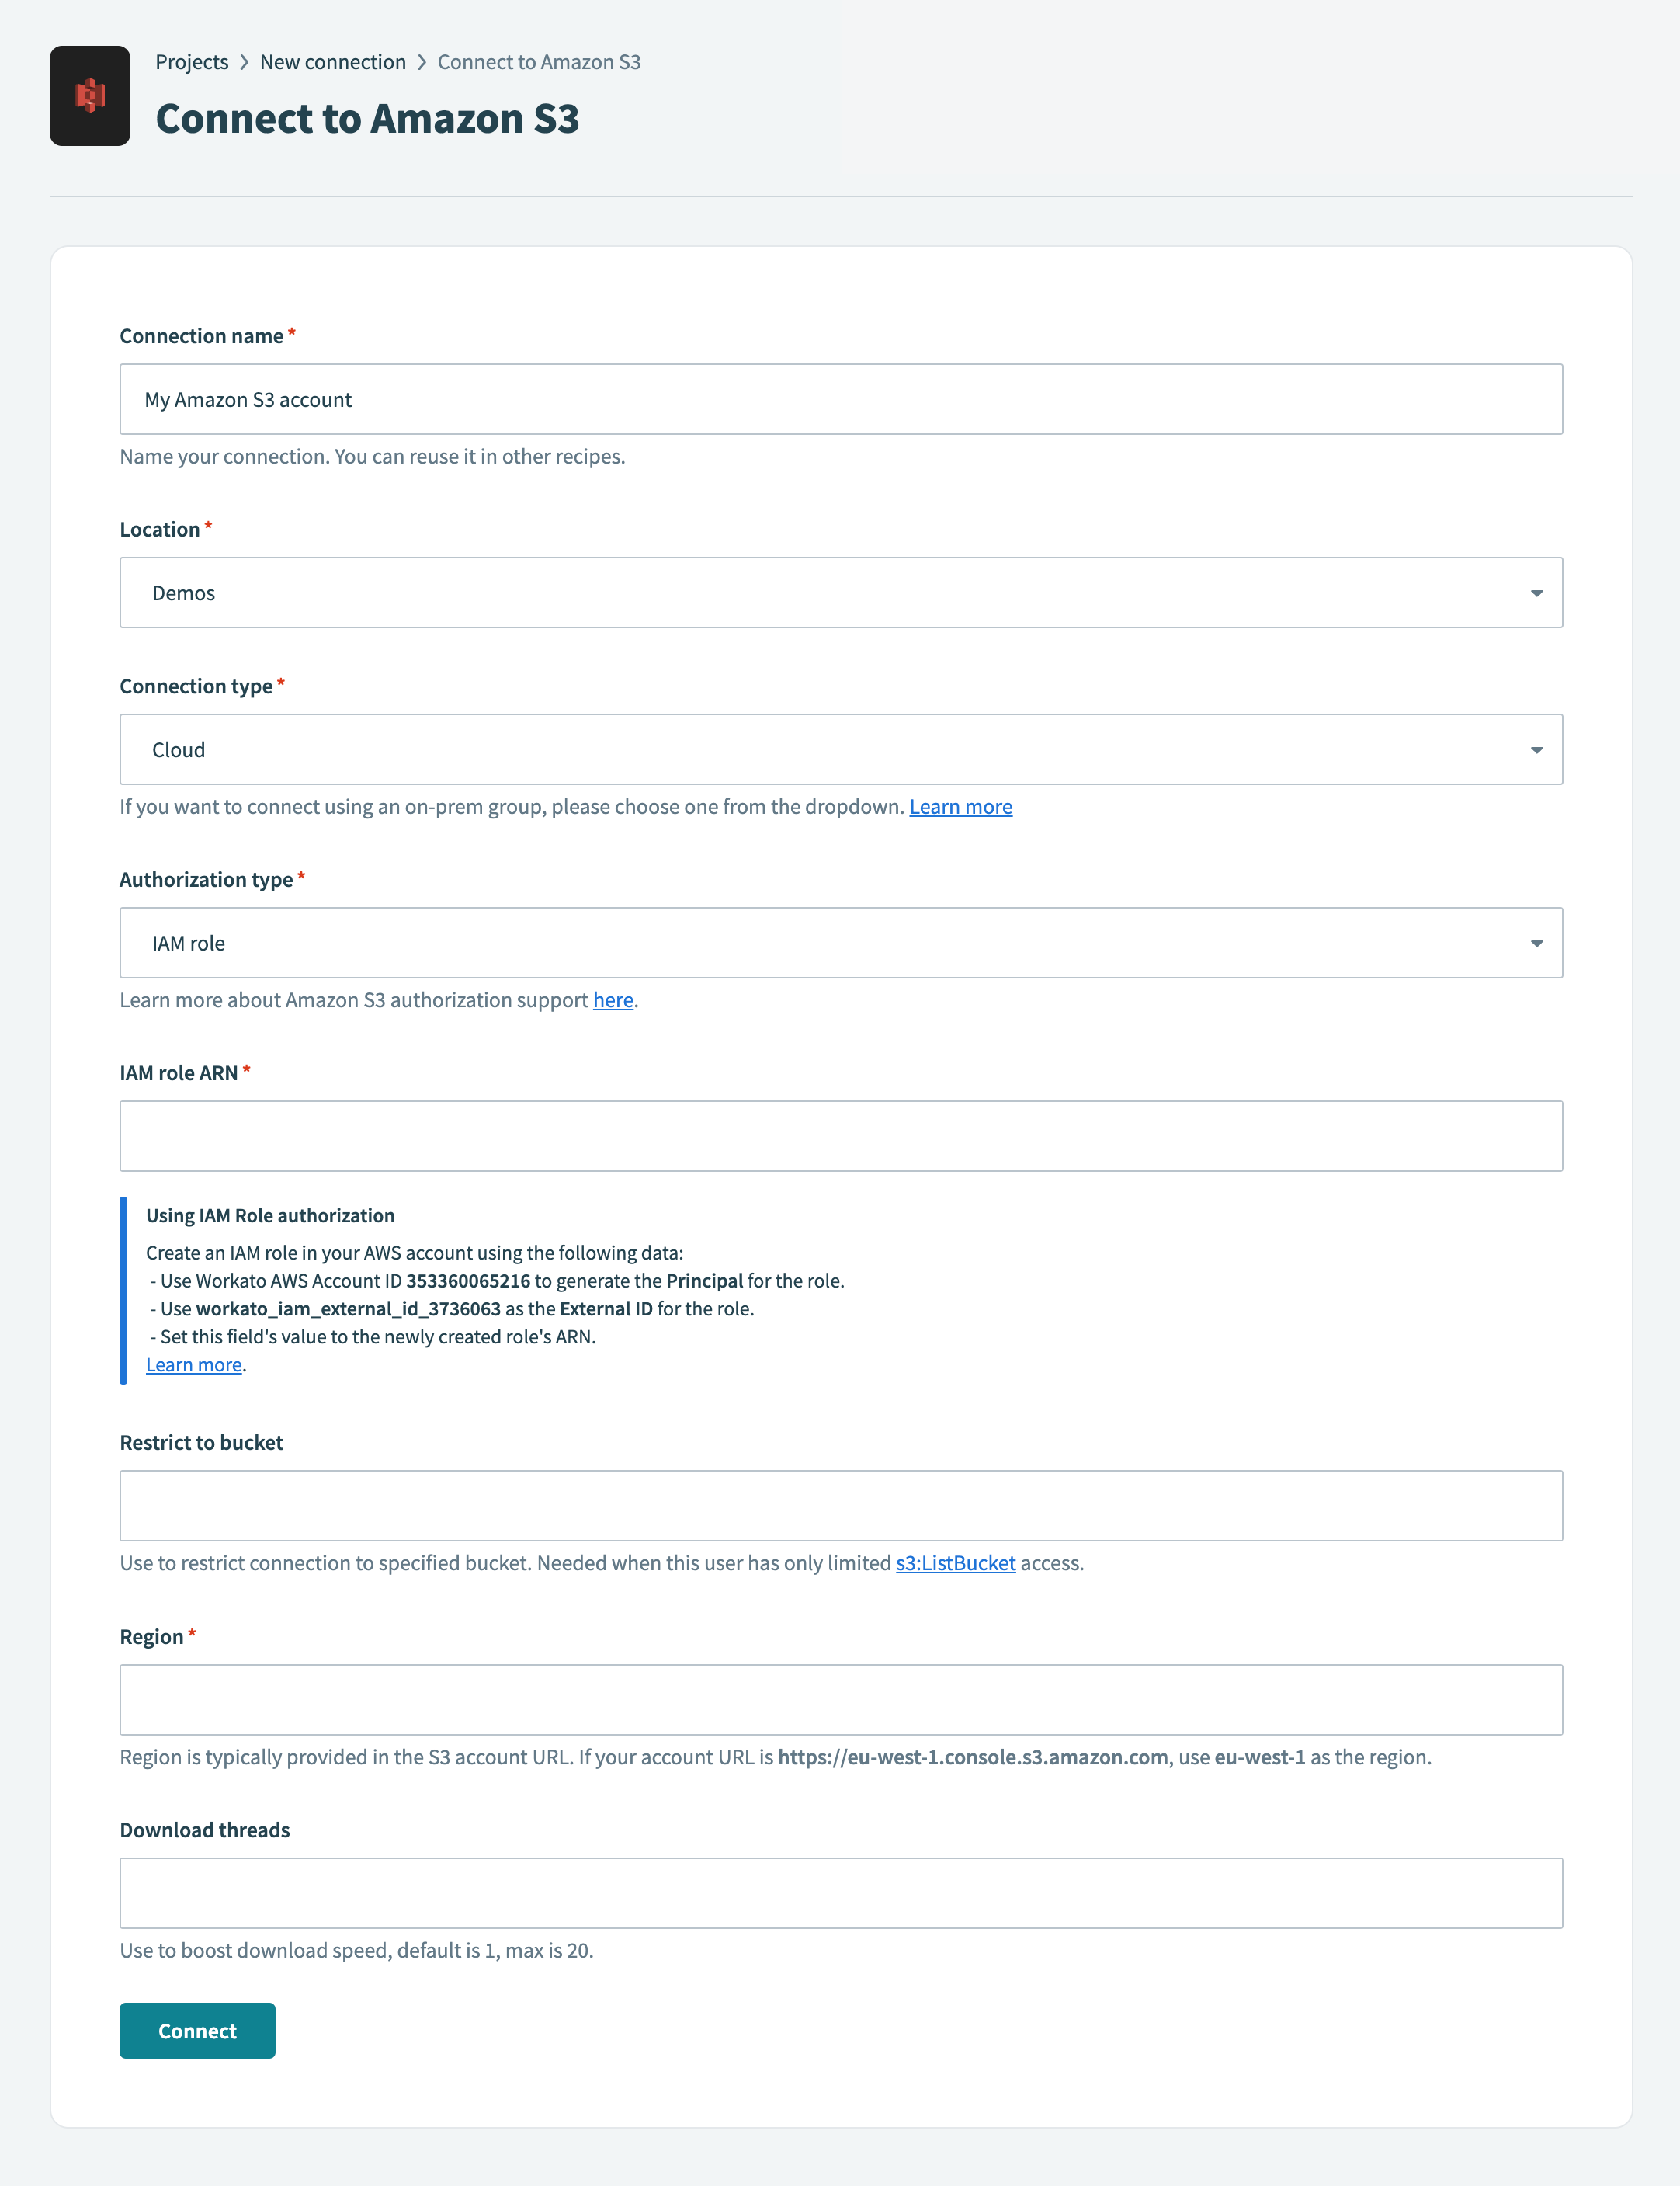 Connect to Amazon S3
Use the Location drop-down menu to select the project where you plan to store the connection.
Use the Authorization type drop-down menu to select IAM role.
Fill in the IAM role ARN field. Workato generates a unique external ID for every Workato user, such as workato-user-84762. You must provide this external ID when creating an IAM role in Amazon S3.
Use the Restrict to bucket drop-down menu to select which bucket this connection is restricted to. This is required when the user has only limited s3:ListBucket (opens new window) access.
Enter the region of your Amazon S3 account in the Region field. You can locate this value in your Amazon S3 account URL. For example, if your account URL is https://eu-west-1.console.s3.amazon.com, your region is eu-west-1.
Specify the download threads in the Download threads field. This field is used to boost download speed. The default is 1, and the maximum is 20.
Click Connect.
Create a SQL Server connection.
# Create a SQL Server connection
This step creates a connection between Workato and your SQL Server account.
Click Create > Connection.
Search for and select SQL Server on the New connection page.
Enter a name for your connection in the Connection name field.
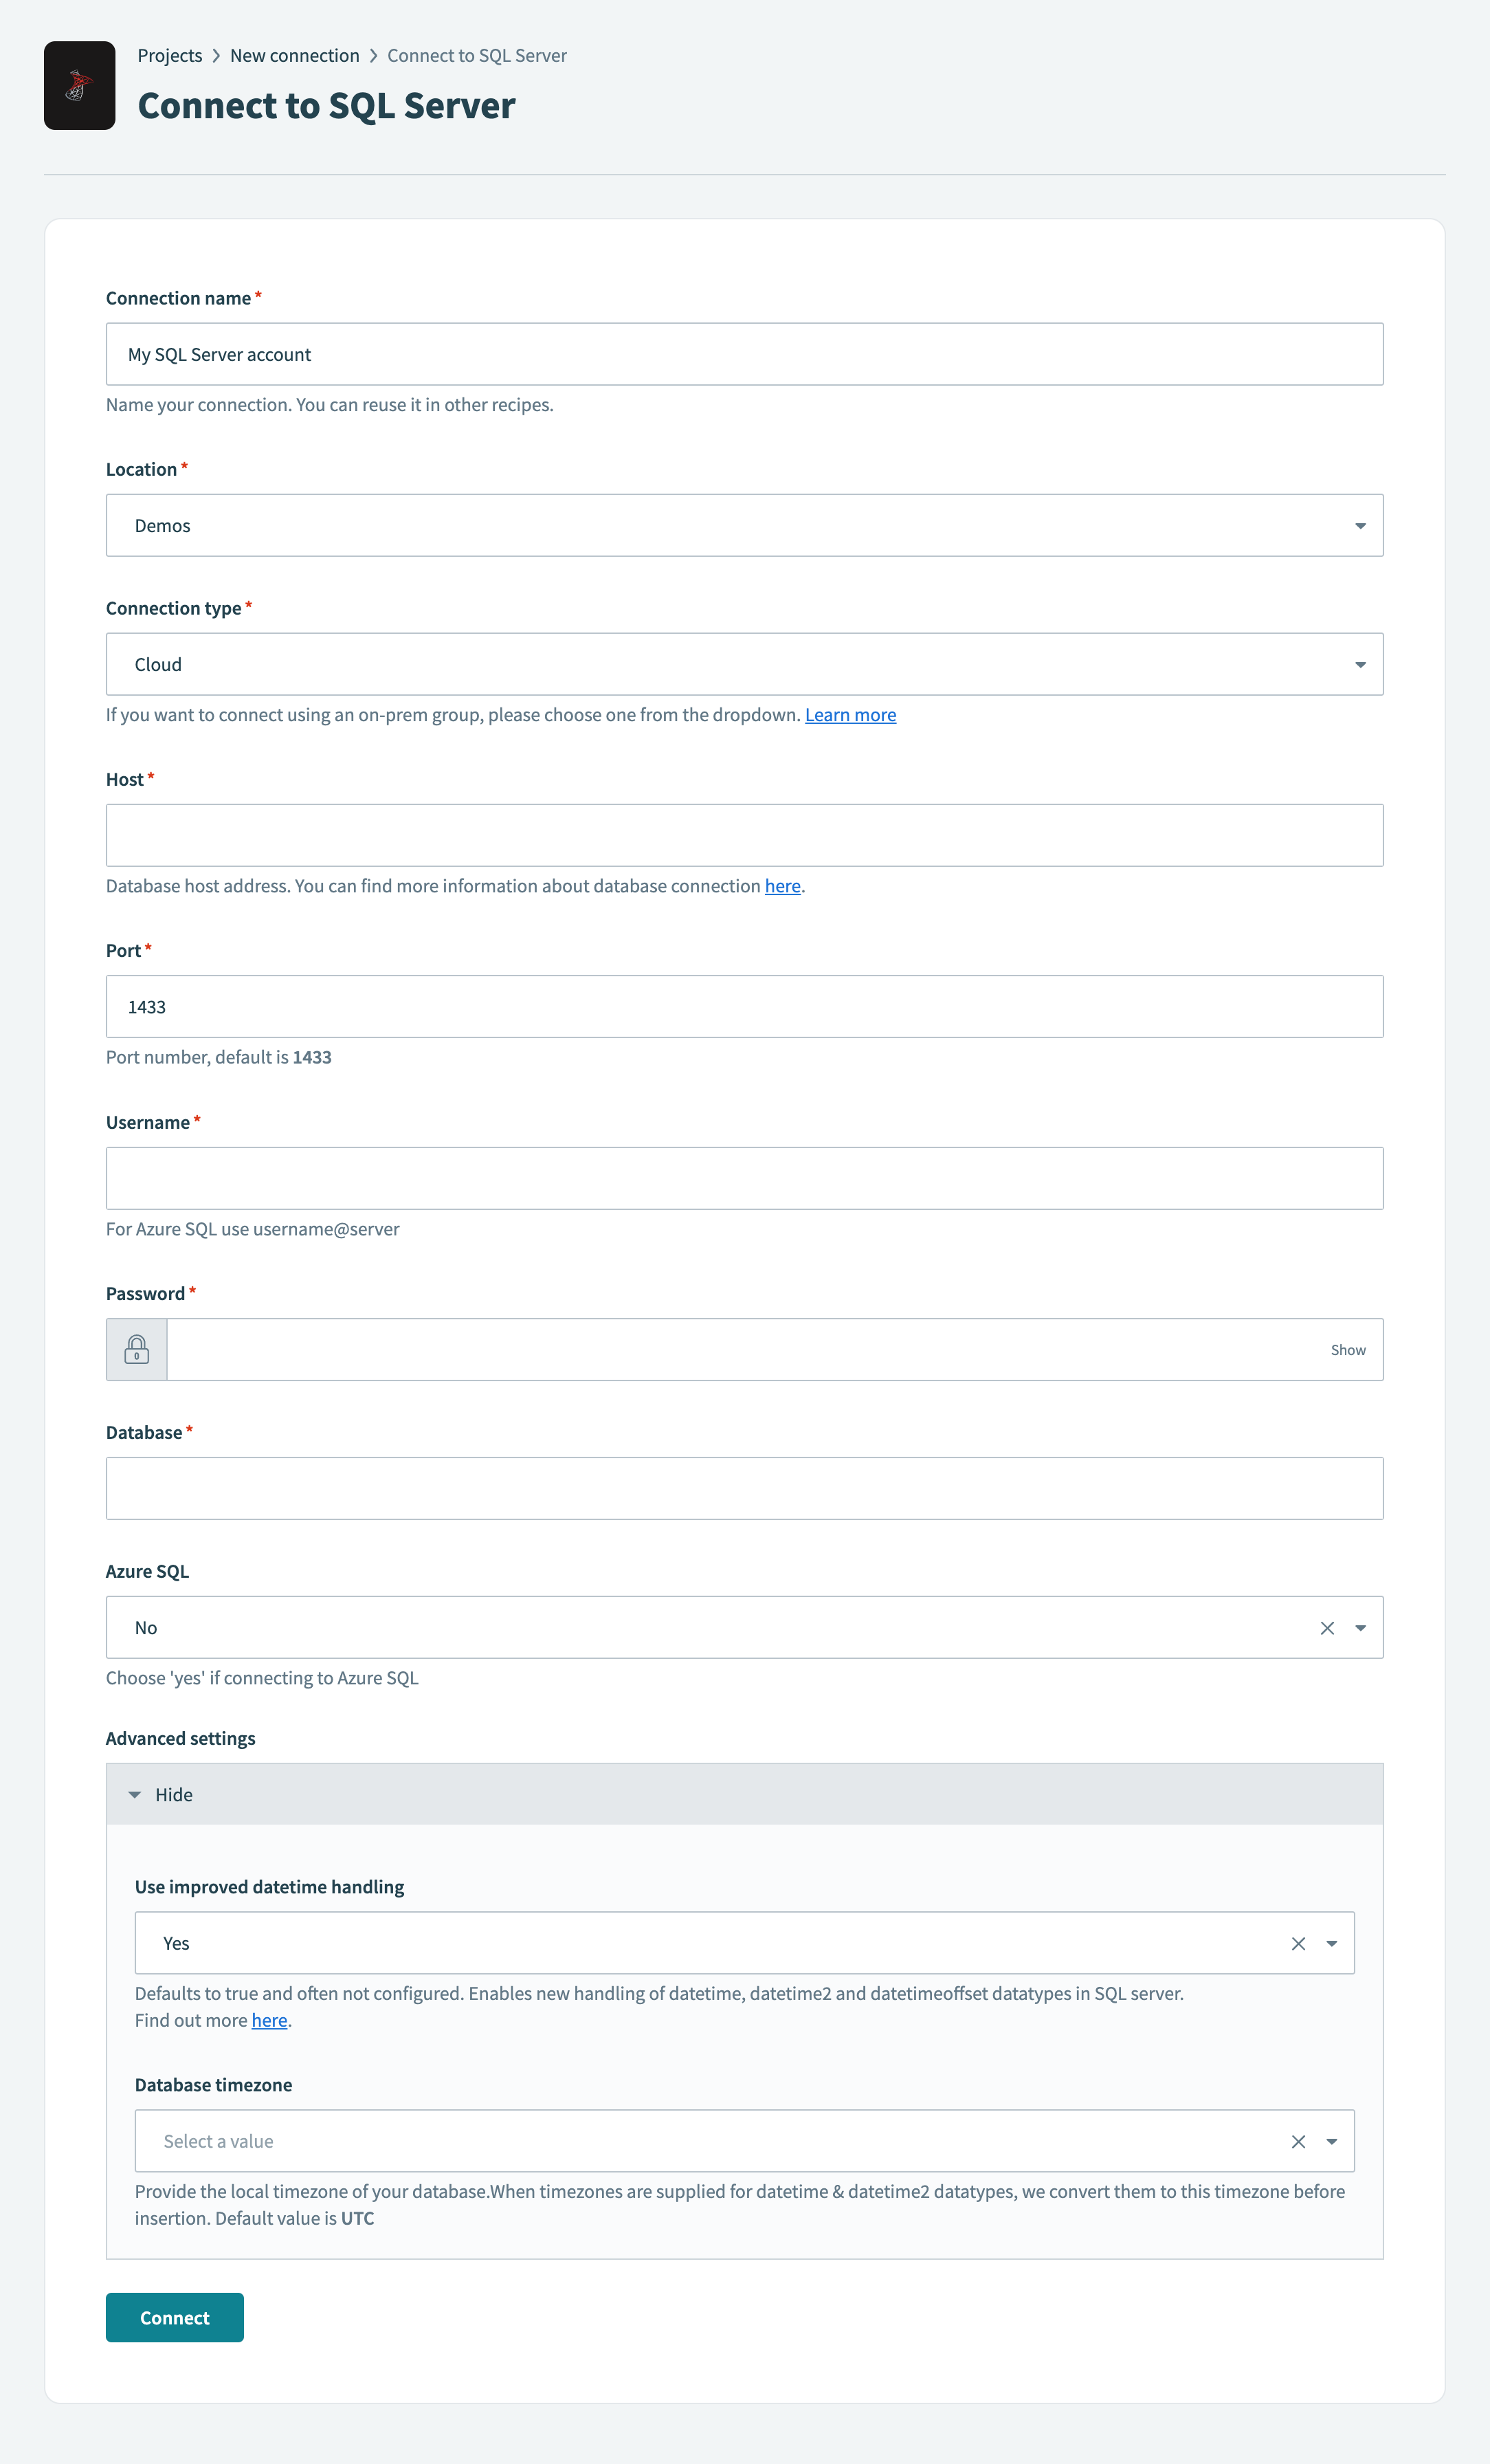 Connect to SQL Server
Use the Location drop-down menu to select the project where you plan to store the connection.
Use the Connection type drop-down menu to specify if your connection is cloud-based or uses an on-prem group.
Enter the URL of your hosted server in the Host field.
Enter the port number your server runs on in the Port field. The default is 1433.
Enter the username used to connect to SQL Server in the Username field.
Enter the password used to connect to SQL Server in the Password field.
Enter the name of the database you plan to access in the Database field.
Optional. Use the Azure SQL drop-down menu to specify if you're connecting to Azure SQL.
Optional. Expand Advanced settings to configure additional datetime settings.
Click Connect.
Go back to your project and click Create > Recipe.
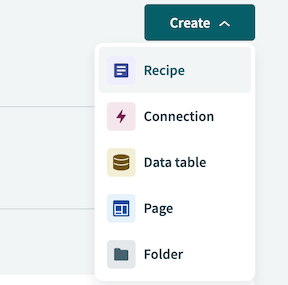 Create a new recipe
Enter a name for your recipe in the Name field.
Use the Location drop-down menu to select the project where you plan to store the recipe.
Click Start building.
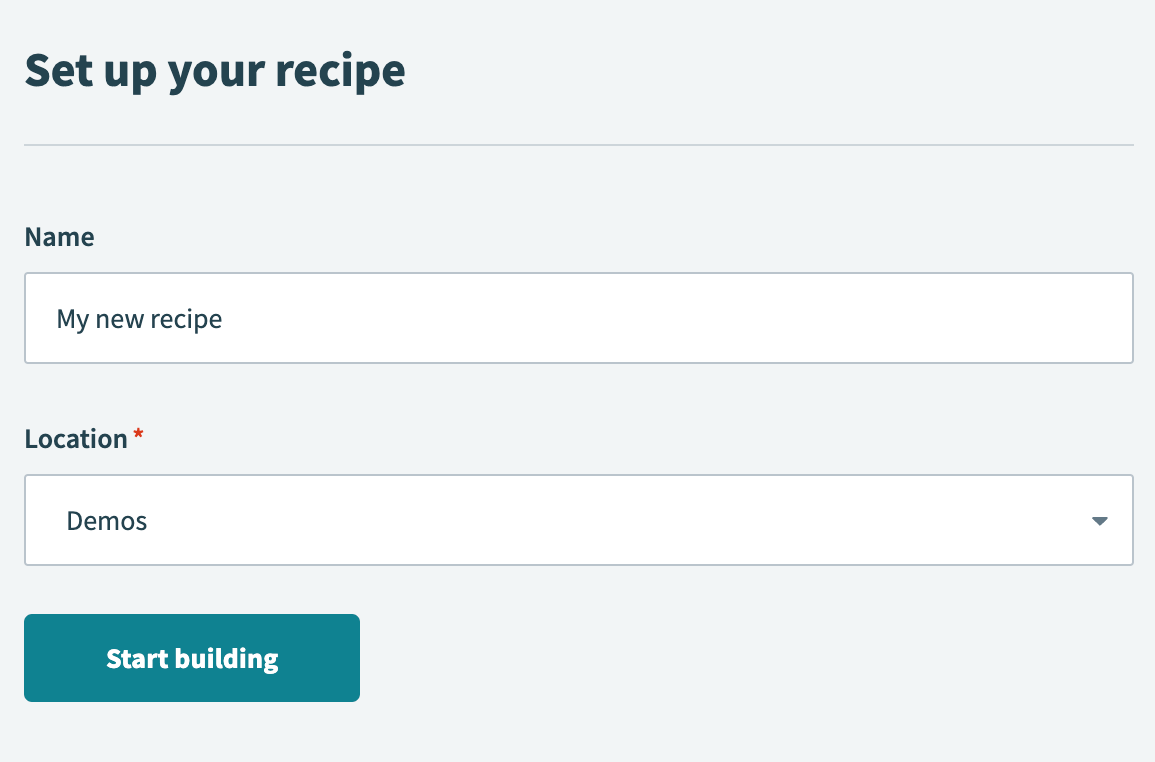 Start building your recipe
Click Pick a starting point and select Run on a schedule. This creates a new recipe with the Scheduler by Workato New recurring event trigger. This trigger doesn't require you to establish a connection.
Set up your Scheduler by Workato New recurring event trigger.
# Set up Scheduler by Workato New recurring event trigger
This trigger sets the interval for how frequently the recipe runs.
Click the trigger in the recipe editor.
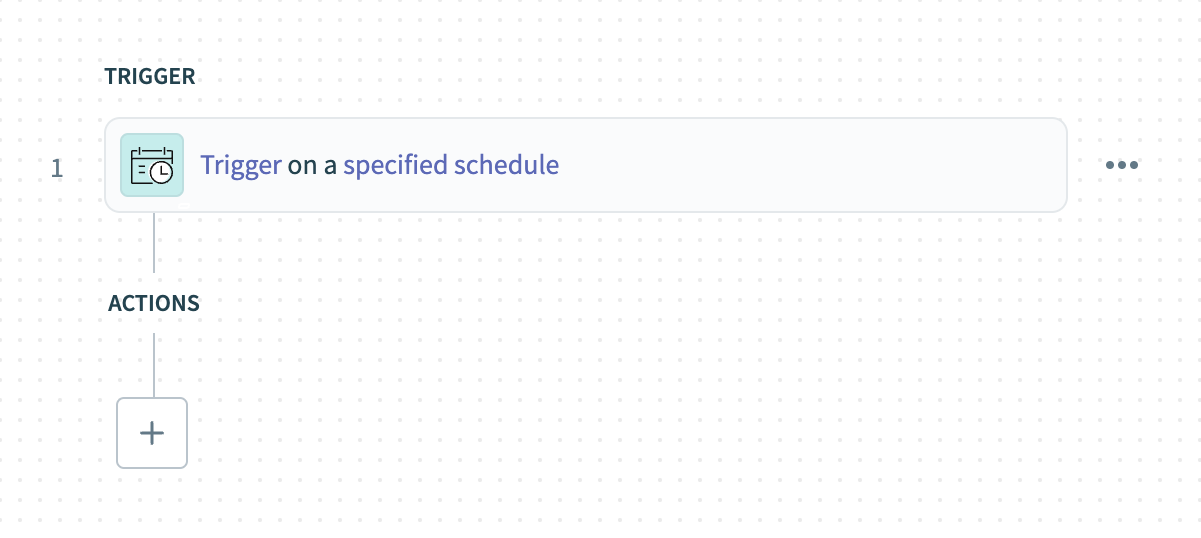 Click the trigger
Use the Time unit drop-down menu to specify how frequently to run the recipe. This recipe selects Minutes.
- Available options include Minutes, Hours, Days, Weeks, Months, or Custom schedule.
Enter a whole number in the Trigger every field. This example uses 5 to run the recipe every five minutes.
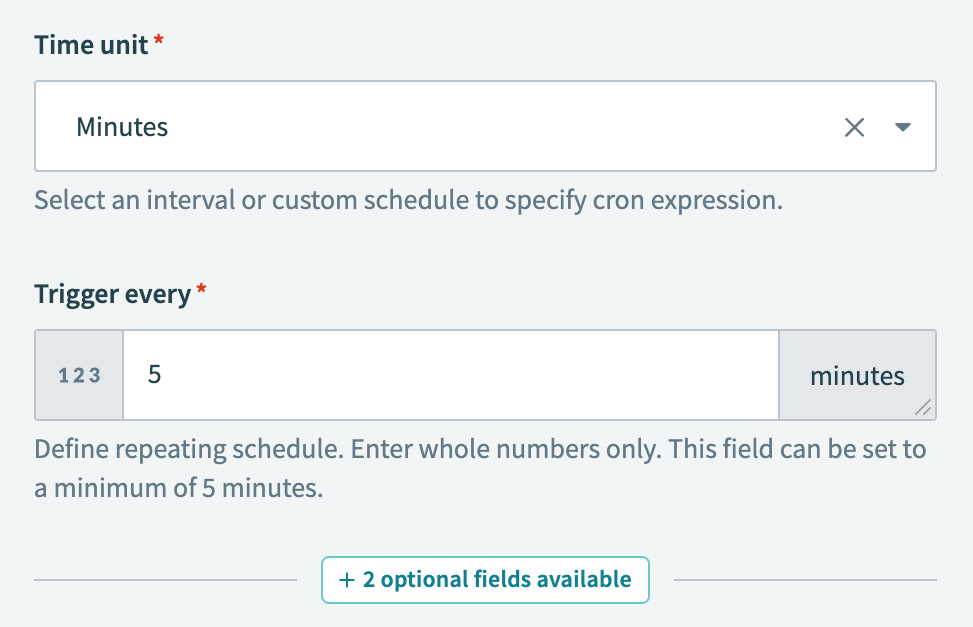 Configure the New recurring event trigger
Click + Add step and select Action in app.
 Click Add step > Add action in app
Set up your Amazon S3 Generate presigned URL action.
# Set up Amazon S3 Generate presigned URL action
This step creates a temporary authenticated URL to an object in your Amazon S3 bucket. A third party can use this URL to upload and modify this object for the specified duration.
Search for Amazon S3 and select it as your app.
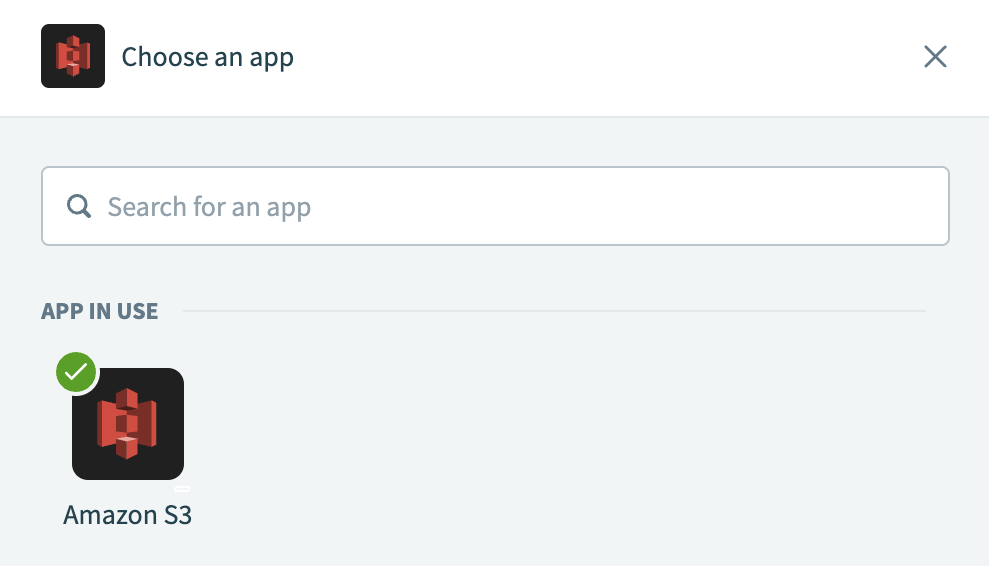 Choose Amazon S3
Select the Generate presigned URL action.
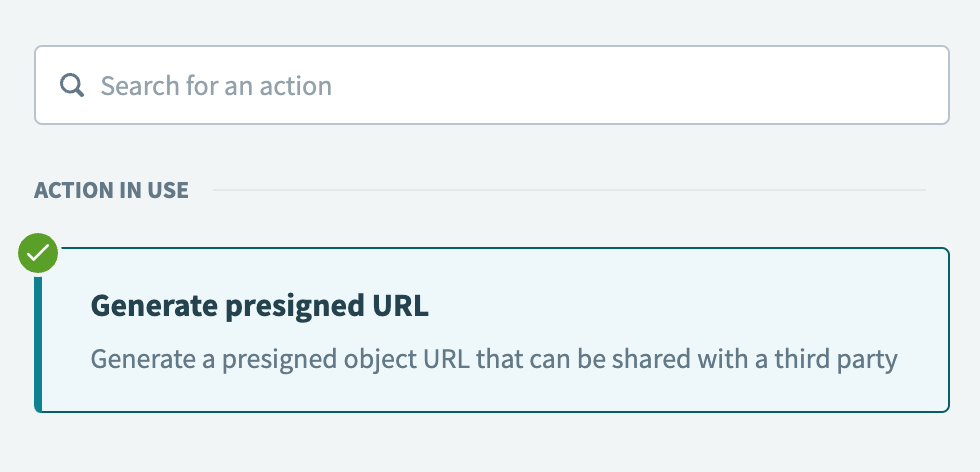 Select the Generate presigned URL action. What's a presigned URL? (opens new window)
Select the Amazon S3 connection you created in the previous steps.
Select the bucket to monitor from the Bucket name drop-down menu.
Enter the folder path of the object in the Object name field. For example, enter orders.csv if the file is located at the root of your bucket.
Ensure the folder path is accurate, as object and file names are case-sensitive. Refer to the AWS prefix documentation (opens new window) for more information.
Use the HTTP Method drop-down menu to select PUT.
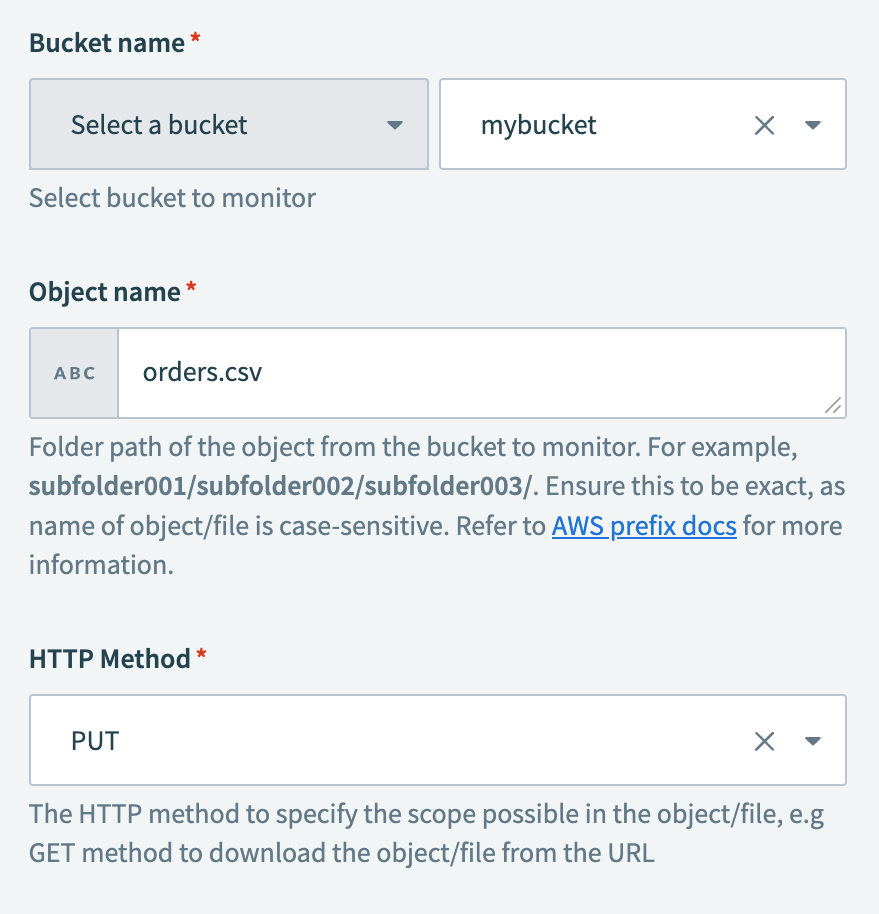 Configure the Generate presigned URL action
Click + Add step and select Action in app.
Set up your SQL Server Export query result action.
# Set up SQL Server Export query result action
This step executes the SQL query to retrieve all rows and columns from your specified table, exports the results as a CSV file, and uploads the file to your designated Amazon S3 object location.
Search for SQL Server and select it as your app.
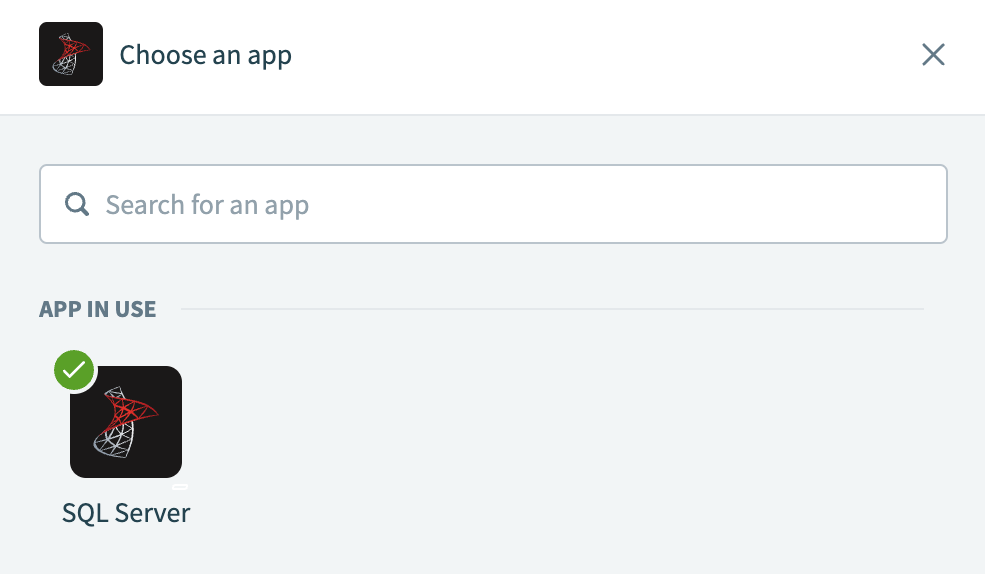 Choose SQL Server
Select the Export query result action.
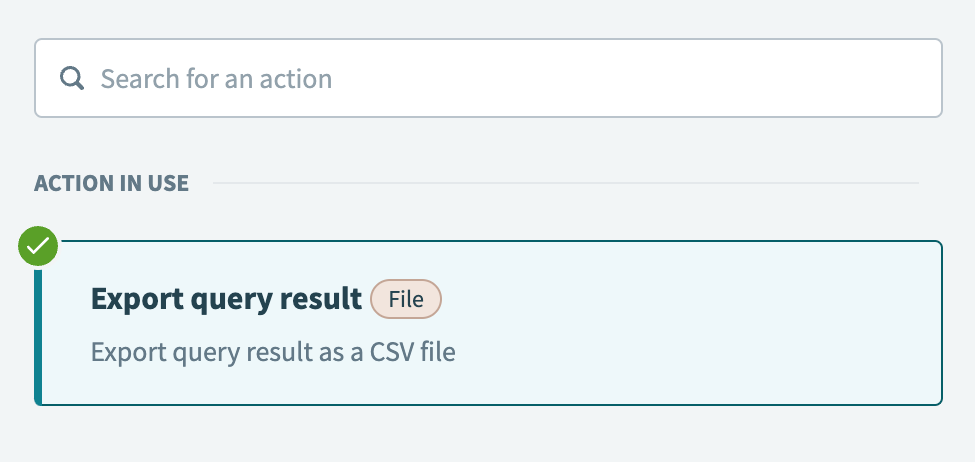 Select the Export query result action
Select the SQL Server connection you created in the previous steps.
Enter the following query in the SQL field. Replace {YOUR_TABLE} with the name of your table, and update the schema:
SELECT * FROM {YOUR_SCHEMA}.{YOUR_TABLE};
This query retrieves all rows and columns from the specified table. For example, if your table is named Orders and resides in the default schema dbo, your query would look as follows:
SELECT * FROM dbo.Orders;
Use the Column delimiter drop-down menu to specify the delimiter character that separates each column in the CSV file. For example, select comma.
Map the Presigned object URL Step 2 datapill to the Upload URL field.
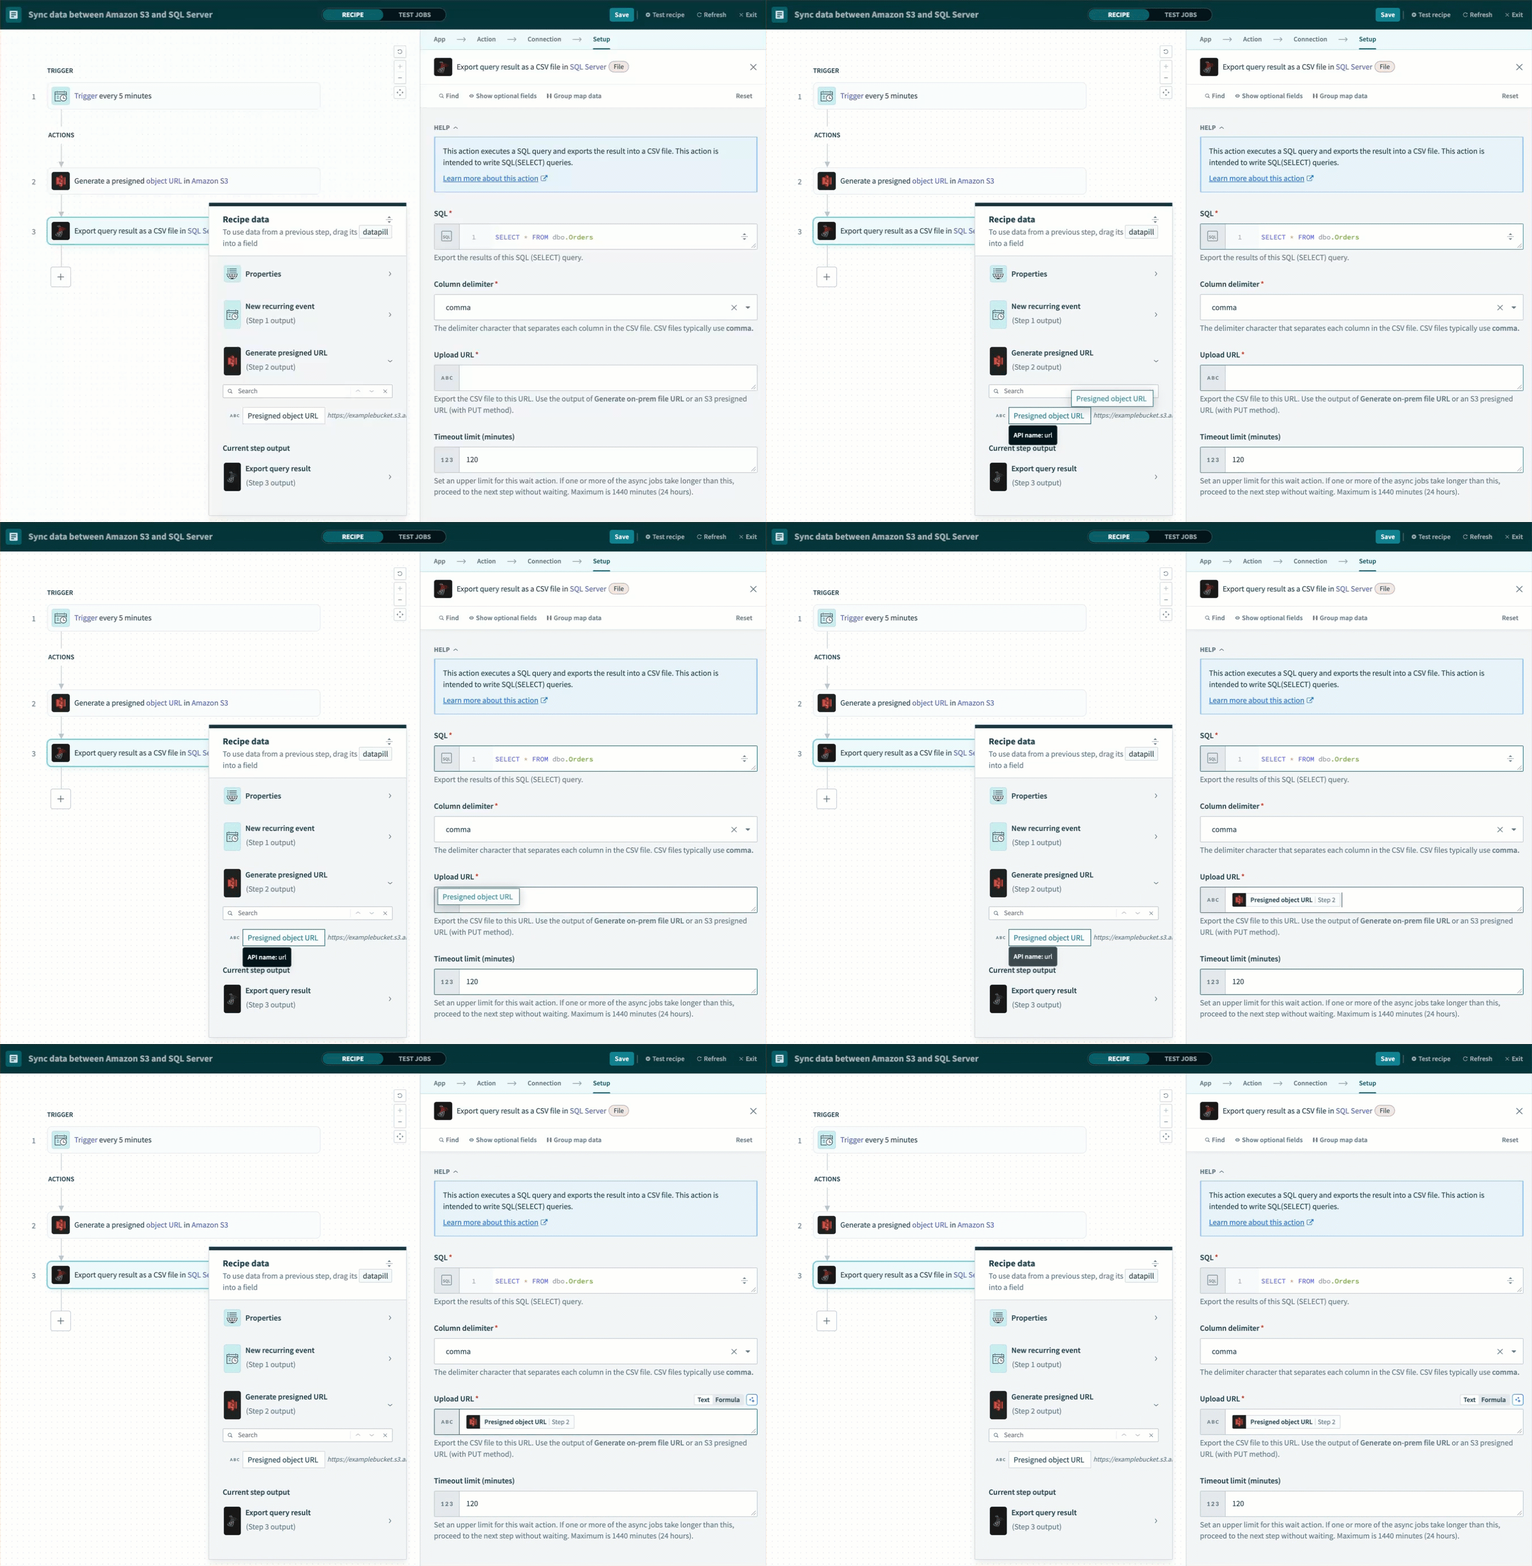 Configure the Upload URL field
Click Save.
Your Sync data between Amazon S3 and SQL Server recipe is ready to test and implement.
Example recipe configuration.
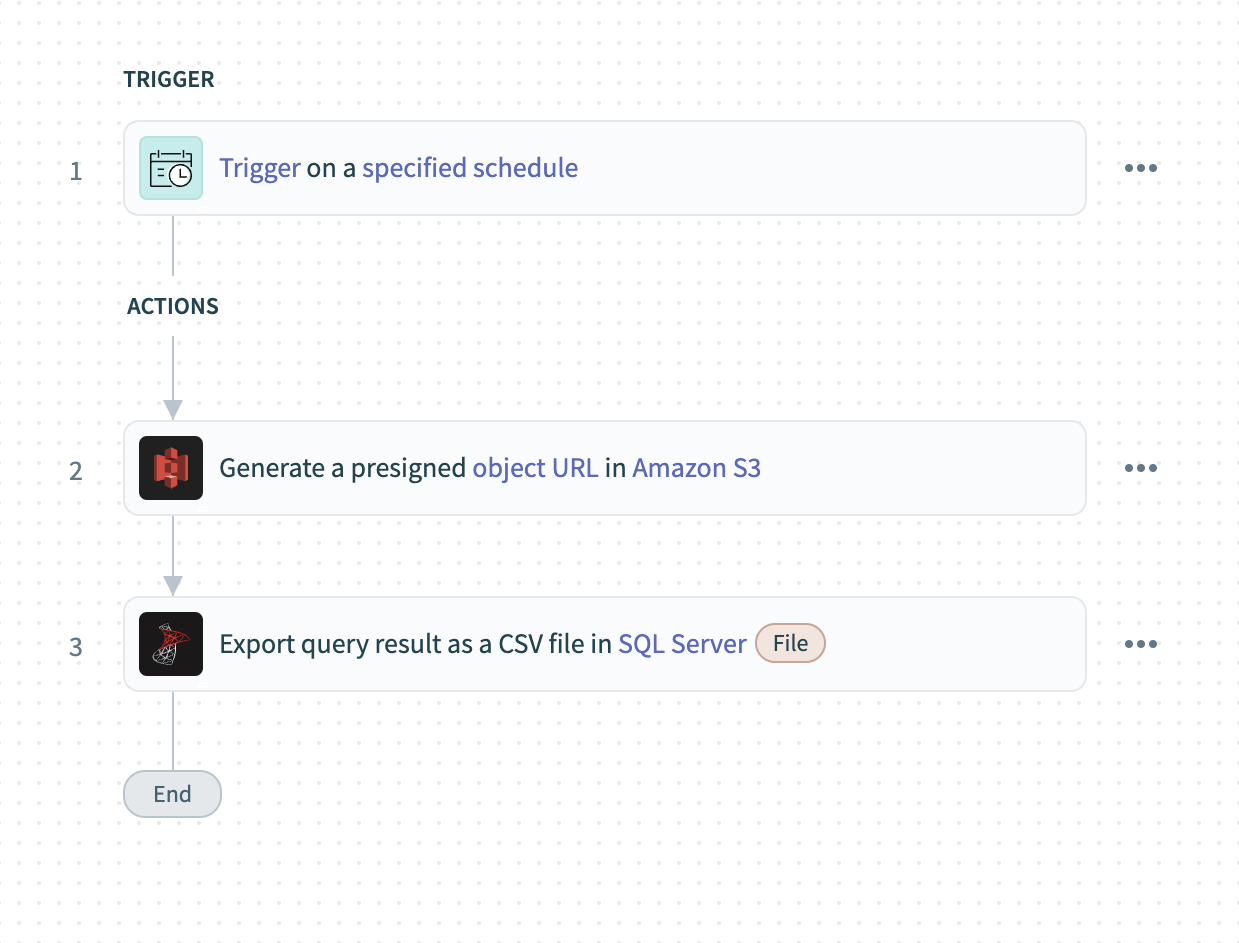 Sync data between Amazon S3 and SQL Server recipe
Last updated: 10/14/2025, 5:37:34 PM