# Create summarized Confluence notes and Jira comments from closed GitHub PRs recipe
This use case guides you through connecting GitHub, Jira, and Confluence to create a powerful automation.
# What does this recipe do?
This recipe generates weekly release notes in Confluence based on closed issues from a GitHub repository.
The recipe searches for closed issues, compiles them into a list, and creates a Confluence page with the closed issues. Additionally, if a GitHub issue references a specific Jira ticket in its body, the recipe adds a comment to the corresponding Jira ticket.
# Create your recipe
Complete the following steps to create a recipe that searches for closed issues in a GitHub repository, adds them to a list, and then creates a Confluence page summarizing the issues while also adding comments to related Jira tickets.
USE CASES ARE INTENDED AS EXAMPLES ONLY
This use case serves as an example. Modifications to triggers, actions, or conditional logic may be necessary to adapt this recipe to your workflow.
Sign in to Workato.
Select the project where you plan to create the recipe.
Create connections for GitHub, Jira, and Confluence:
Create a GitHub connection.
# Create a GitHub connection
This step creates a connection between Workato and your GitHub account.
Click Create > Connection.
Search for and select GitHub on the New connection page.
Provide a name for your connection in the Connection name field.
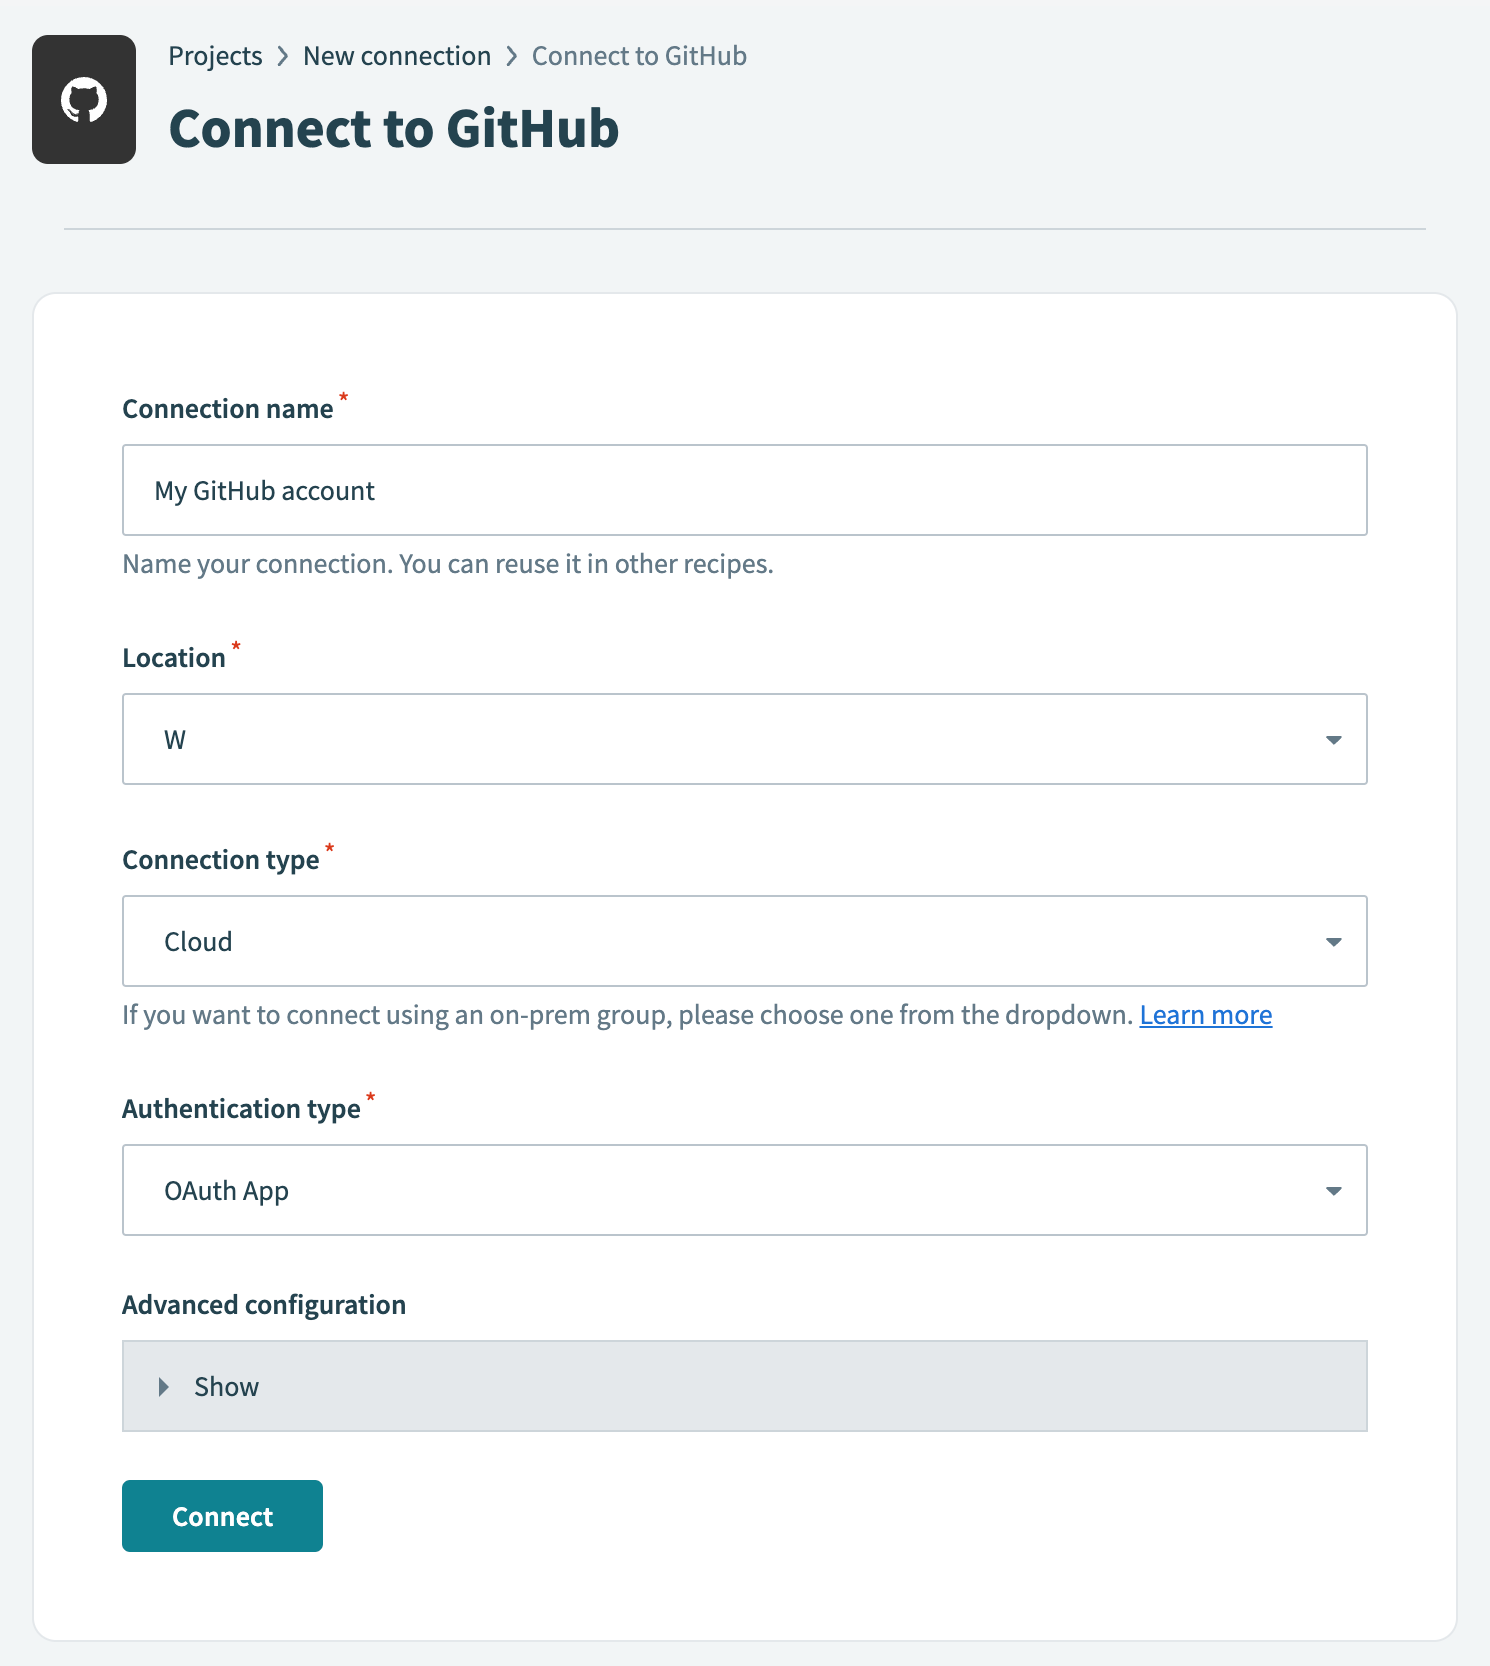 GitHub connection setup
Use the Location drop-down menu to select the project where you plan to store the connection.
Use the Connection type drop-down menu to select the connection method you plan to use. You can select your on-prem group name or select Cloud to use a direct connection.
Select either OAuth App, GitHub App, or Personal Access Token in the Authentication type drop-down menu.
If you selected GitHub App:
Provide your app ID in the GitHub App ID field.
Enter the private key in the GitHub App Private key field.
Fill in the Installation ID field.
Optional. Expand Advanced configuration to provide the API Root URL, which is applicable when using GitHub Enterprise Server.
If you selected Personal Access Token:
Enter your personal access token in the Personal Access Token field.
Click Connect.
Create a Jira connection.
# Create a Jira connection
This step creates a connection between Workato and your Jira account.
Click Create > Connection.
Search for and select Jira on the New connection page.
Enter a name for your Jira connection in the Connection name field.
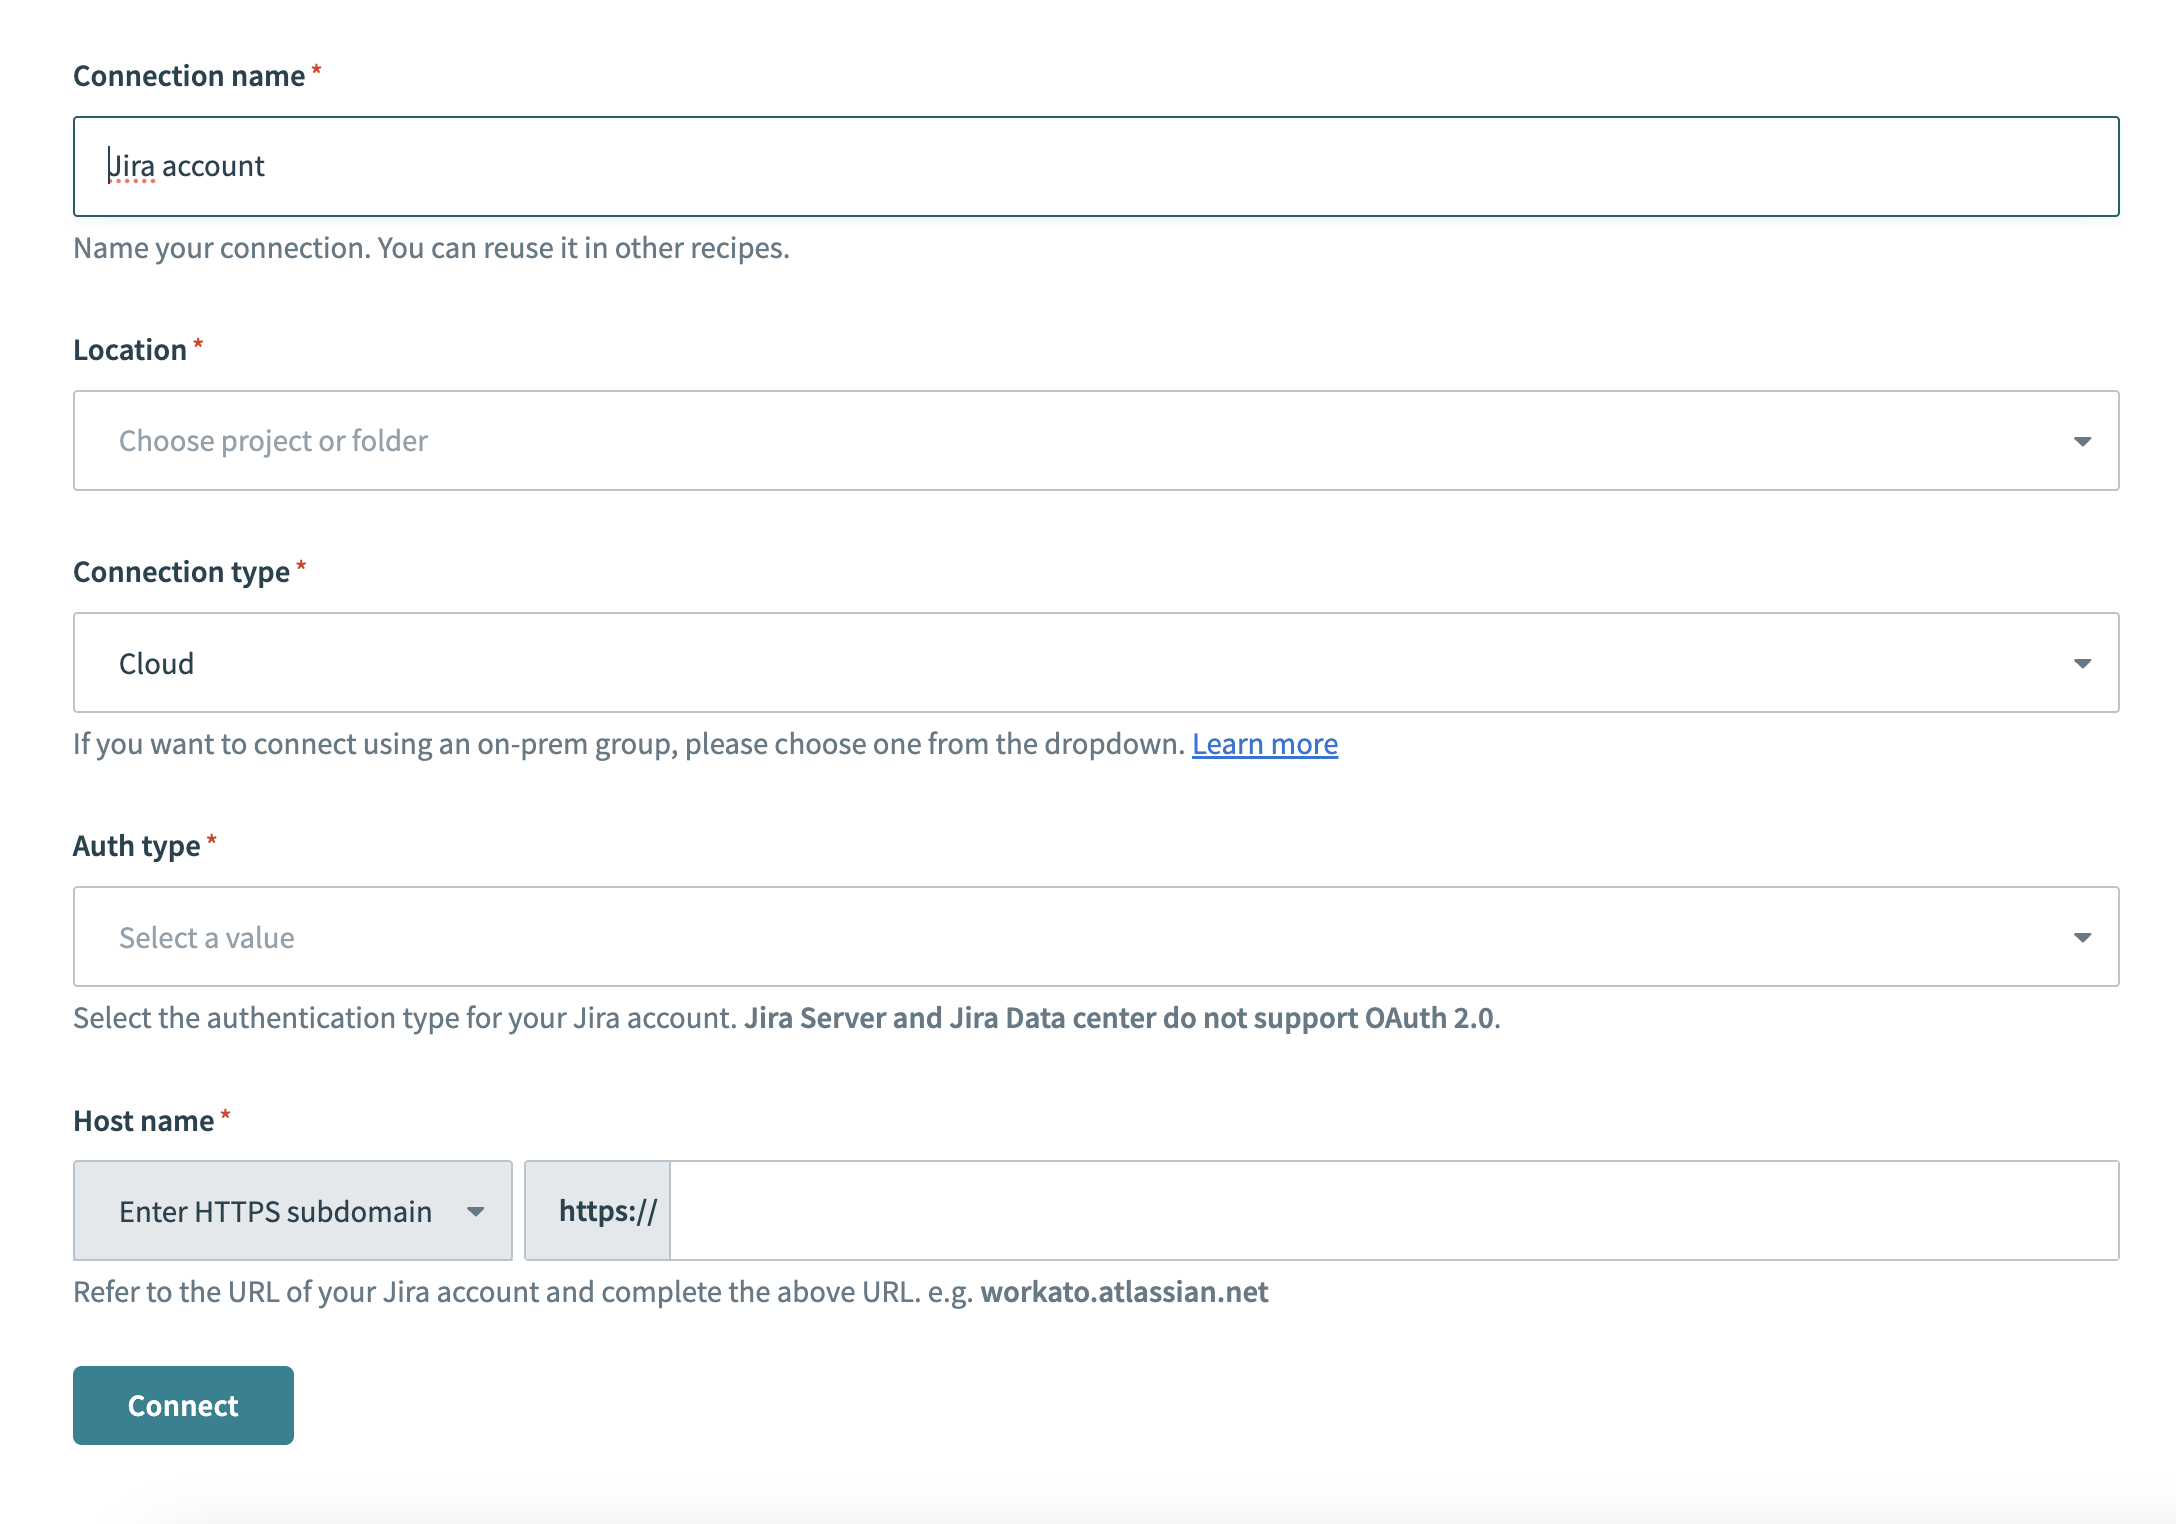 Jira connection setup
Use the Location drop-down menu to select the project where you plan to store the connection.
Select your Connection type.
Use the Auth type drop-down menu to select your authentication method. Supported options include Basic, API token, OAuth 2.0, and Personal access token.
Provide your Host name. For example, if your Jira URL is https://acme.atlassian.net, your host name is acme.atlassian.net.
Click Connect.
Create a Confluence connection.
# Create a Confluence connection
This step creates a connection between Workato and your Confluence account.
Click Create > Connection.
Search for and select Confluence on the New connection page.
Provide a name for your connection in the Connection name field.
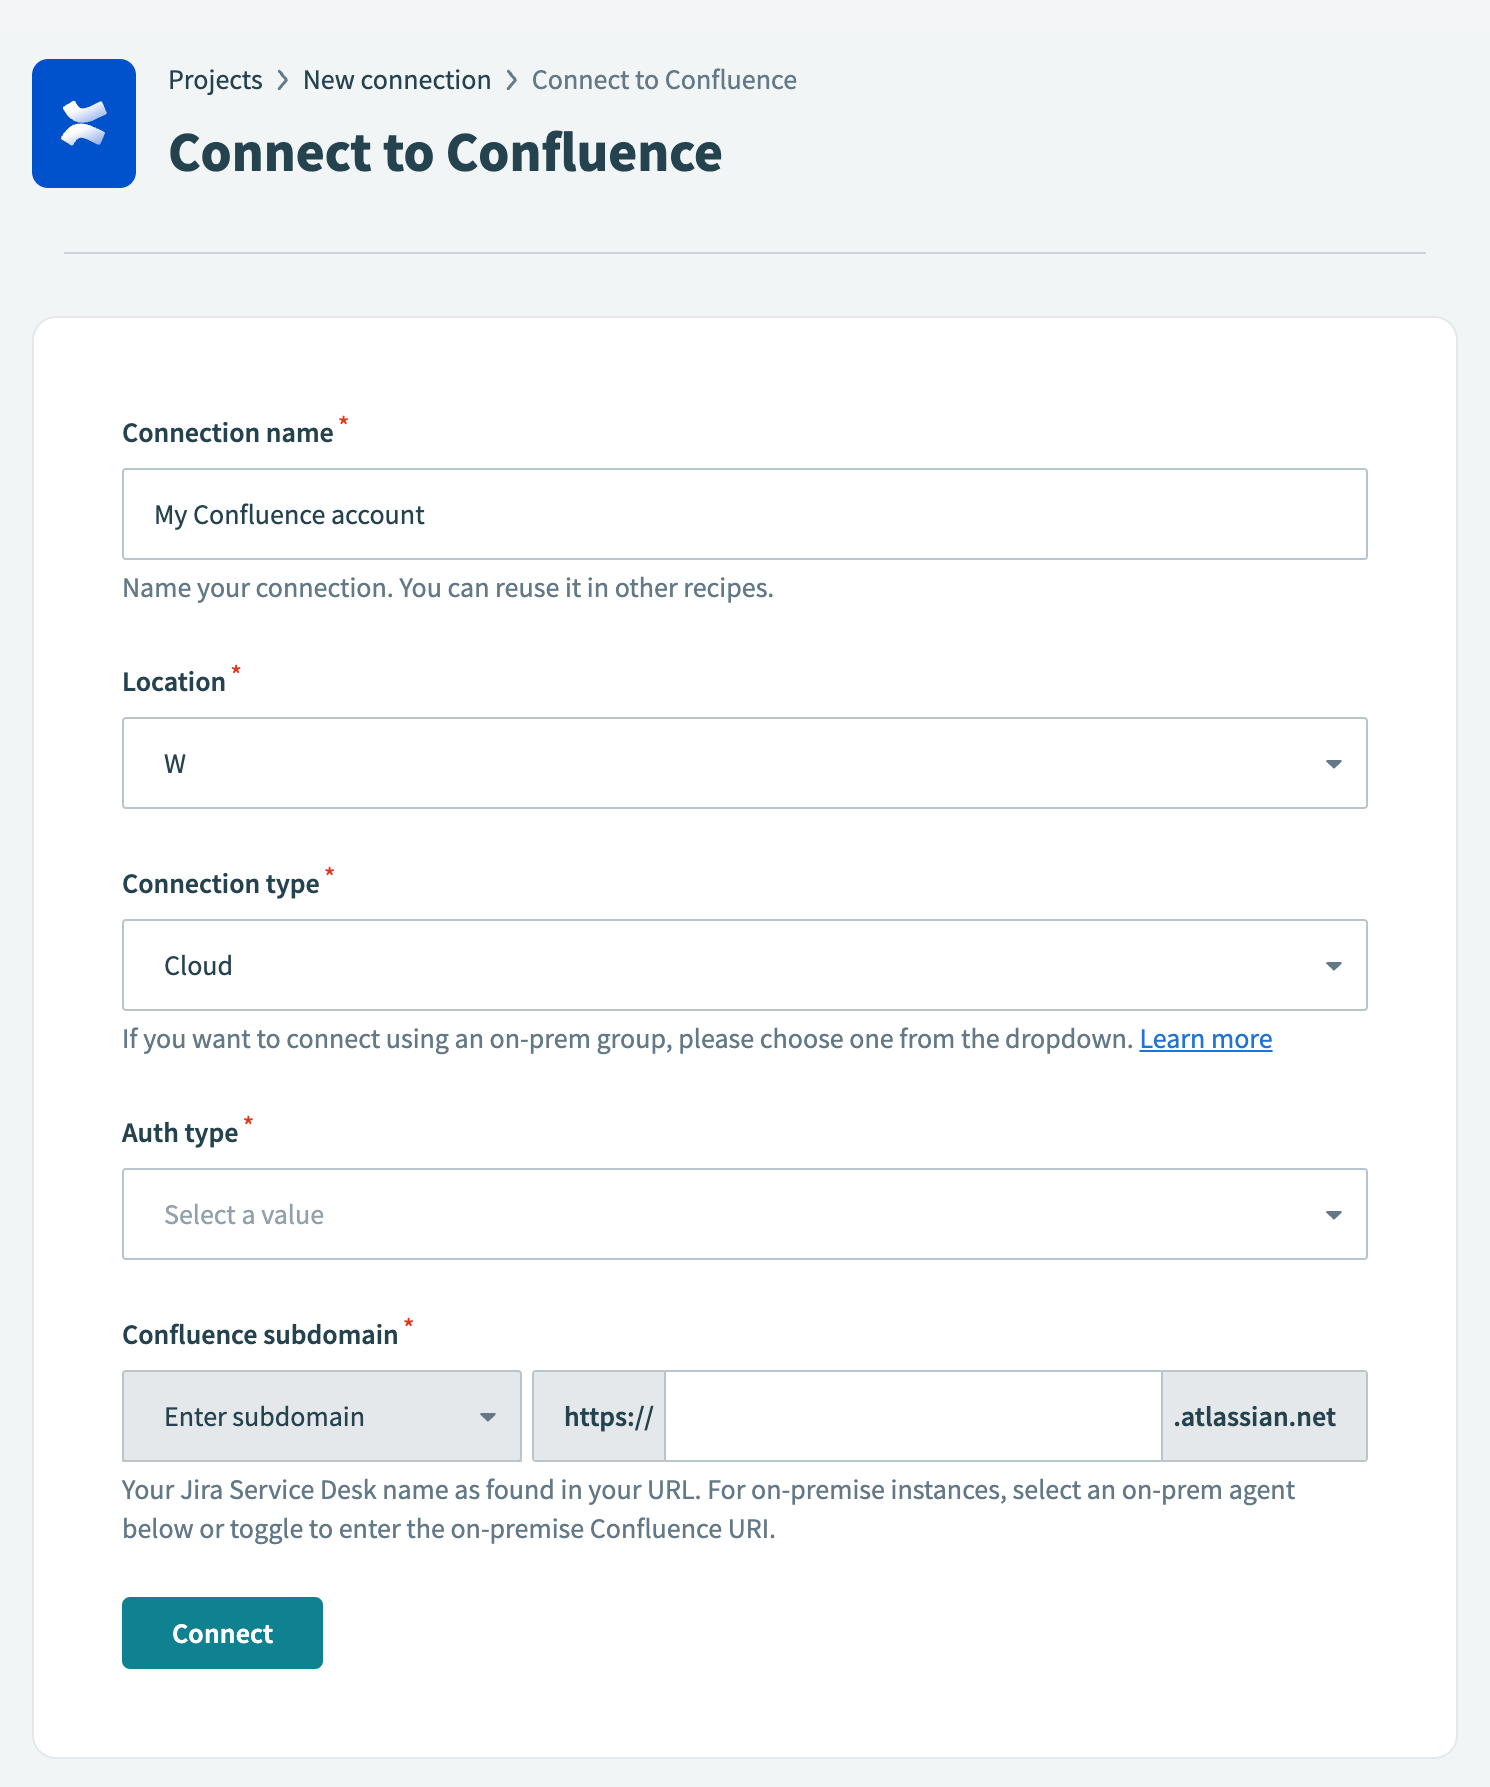 Confluence connection setup
Use the Location drop-down menu to select the project where you plan to store the connection.
Use the Connection type drop-down menu to select the connection method you plan to use. You can select your on-prem group name or select Cloud to use a direct connection.
Use the Auth type drop-down menu to select your authentication method. Options include Basic, API token, and OAuth 2.0.
Provide your connection information.
- If using a cloud connection: Enter your Confluence subdomain in the Confluence subdomain field.
- If using an on-prem connection: Enter the root URI (includes protocol, optional port, and hostname) of your Confluence host in the Confluence root URI field.
Provide your authentication information.
If you selected Basic authentication:
Enter your username (not email) in the Username field.
Enter your password in the Password field.
If you selected API token:
Enter your email in the Email field.
Enter your API token in the API token field. You can create one by going to your Atlassian account and selecting Security (opens new window) > API tokens > Create API token.
If you selected OAuth 2.0:
Enter your client ID in the Client ID field.
Enter your client secret in the Client secret field.
Optional. Expand Advanced settings to select scopes to request for this connection. The following scopes are selected by default:
read:confluence-groupsread:confluence-content.summarywrite:confluence-contentsearch:confluence
Click Connect.
Go back to your project and click Create > Recipe.
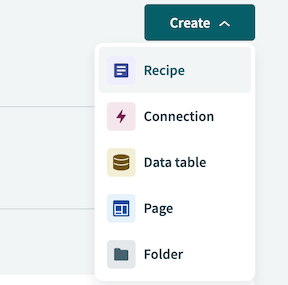 Create a new recipe
Enter a name for your recipe in the Name field.
Select the project where you plan to store the recipe from the Location drop-down menu.
Click Start building.
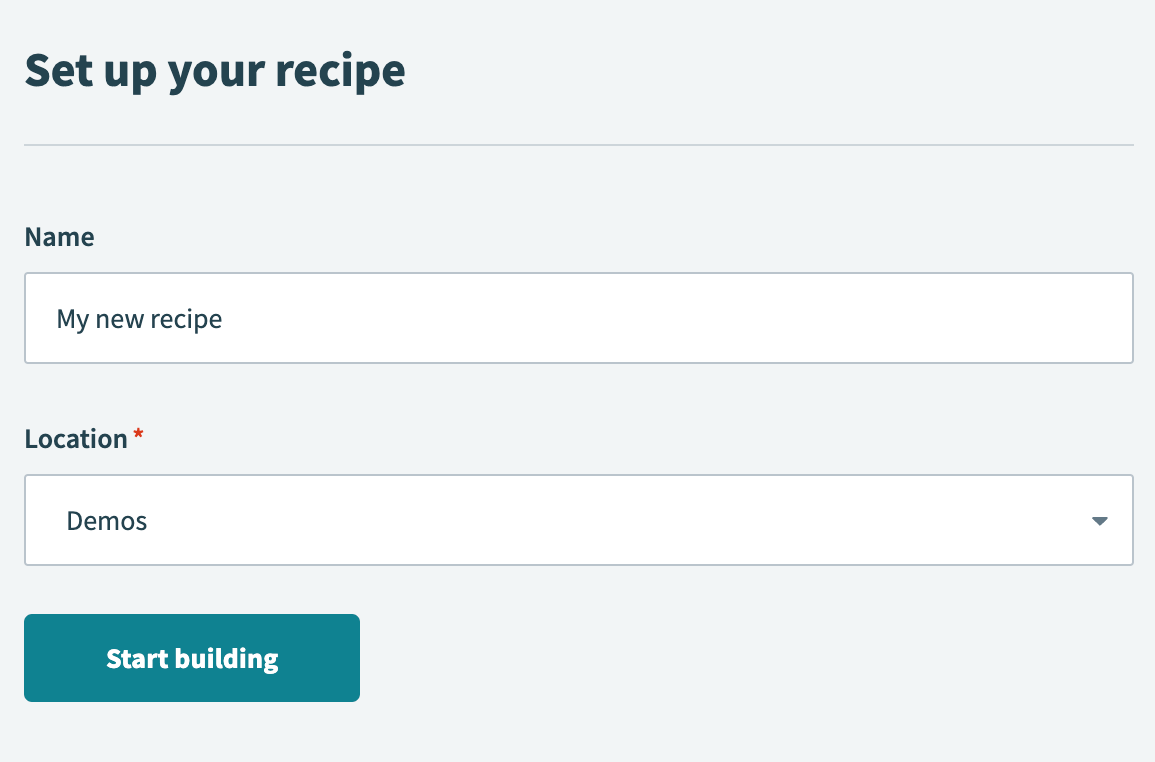 Start building your recipe
Click Pick a starting point, then select Run on a schedule. This creates a new recipe with the Scheduler by Workato New recurring event trigger. This trigger doesn't require you to establish a connection.
Set up your Scheduler by Workato New recurring event trigger.
# Set up Scheduler by Workato New recurring event trigger
This trigger sets the interval for how frequently the recipe runs. The Scheduler by Workato trigger doesn't require a connection.
Click the trigger in the recipe editor.
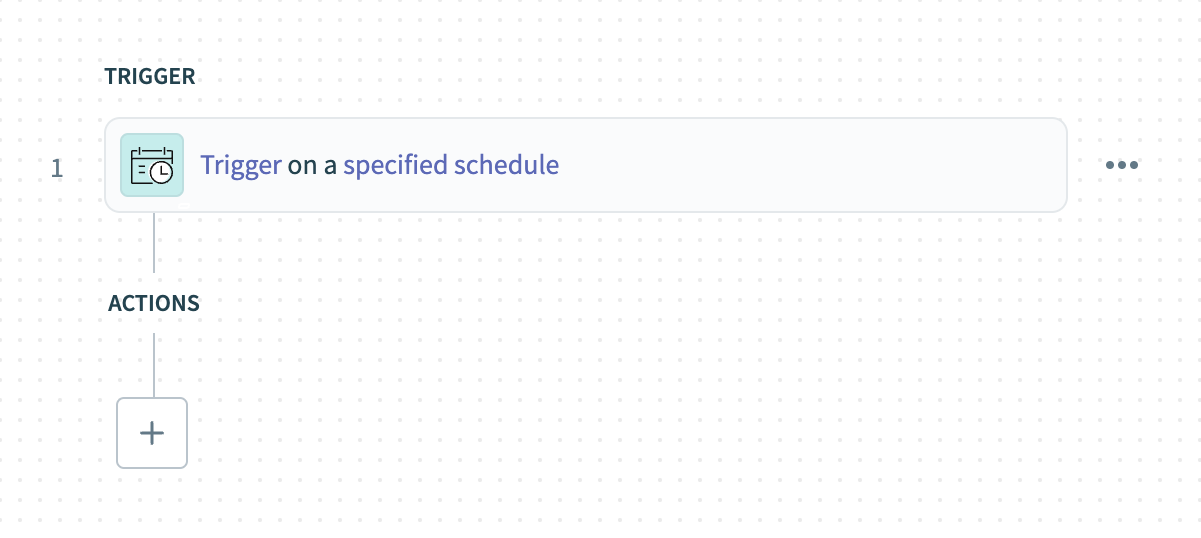 Click the trigger
Select Weeks in the Time unit field.
- Available options include Minutes, Hours, Days, Weeks, Months, or Custom schedule.
Enter 1 in the Trigger every field to run the recipe weekly.
Choose the days the recipe should run in the Days of the week field. For example, select Monday.
Specify the time for the recipe to run in the Trigger at field. For example, enter 9:00 AM.
Optional. Select the timezone in the Timezone field. If left blank, the default is America/Los_Angeles.
Optional. Set the start date and time in the Start after field, or leave it blank to activate the trigger immediately after you start the recipe. You can't change this value after you run or test the recipe.
Click Save.
Click + Add step and select Action in app.
 Click Add step > Add action in app
Set up your Variables by Workato Create list action.
# Set up Variables by Workato Create list action
This step creates an empty list named Releases that captures GitHub issues closed in the past week.
Search for Variables by Workato and select it as your app.
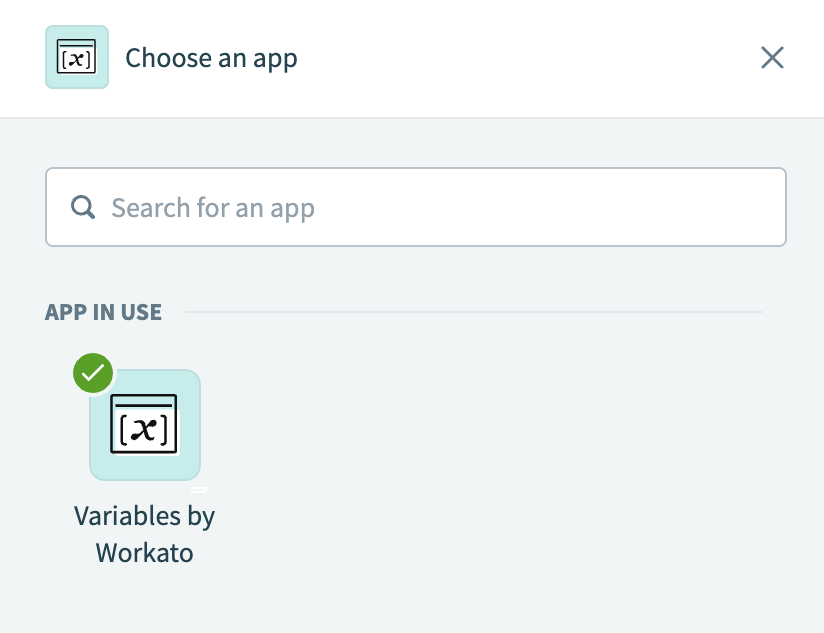 Choose Variables by Workato
Select the Create list action.
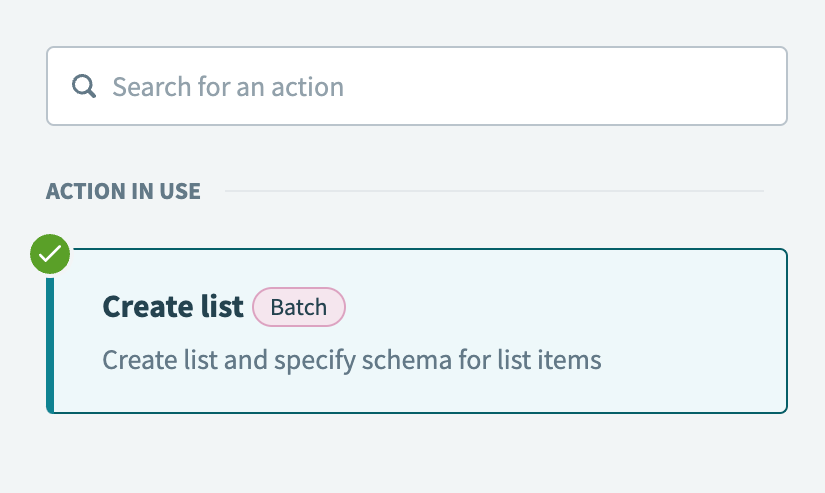 Select the Create list action
Type Releases in the List name field.
Select Add fields manually in the List item schema field.
Edit the following fields in the Add new field dialog:
- Type
Detailsin the Name field. - Ensure String is selected in the Data type field.
- Ensure No is selected in the Optional field.
Click Add field.
Click Save.
Click + Add step and select Action in app.
Set up your GitHub Search issues/pull requests action.
# Set up GitHub Search issues/pull requests action
This step searches for issues in your selected GitHub repository that were closed since the beginning of the previous week.
Search for GitHub and select it as your app.
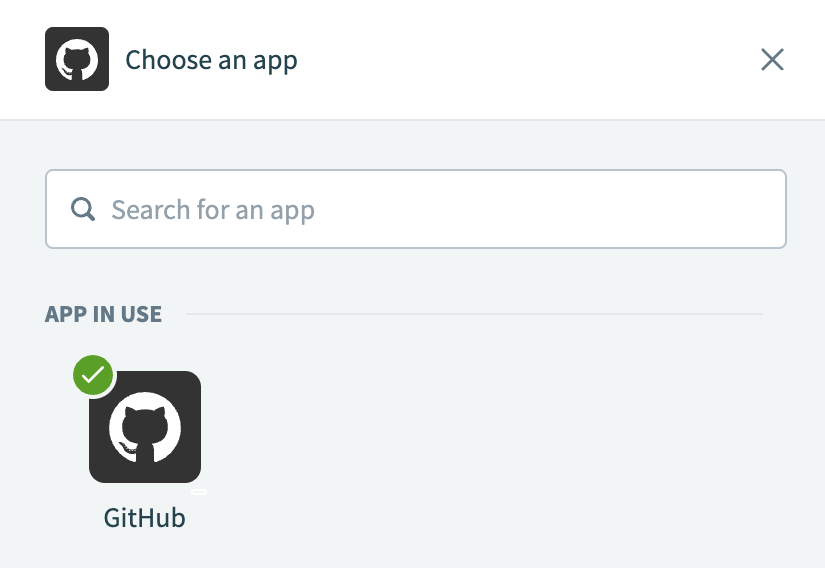 Choose GitHub
Select the Search issues/pull requests action.
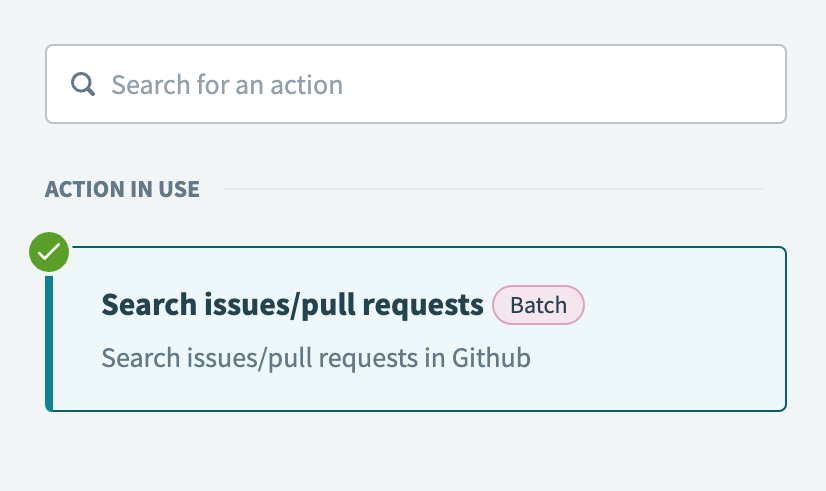 Select the Search issues/pull requests action
Select the GitHub connection you created in the preceding steps.
Select the Organization that contains the repository you plan to access.
Select your repository in the Repository name field.
Select Issue in the Type field.
Set the Status to Closed to search for closed issues.
Go to the Closed after field, switch to formula mode, and enter the following formula:
(today - 7.days).beginning_of_week
This formula filters the search to retrieve only issues closed since the beginning of the previous week.
Click Save.
Click + Add step and select Repeat for each.
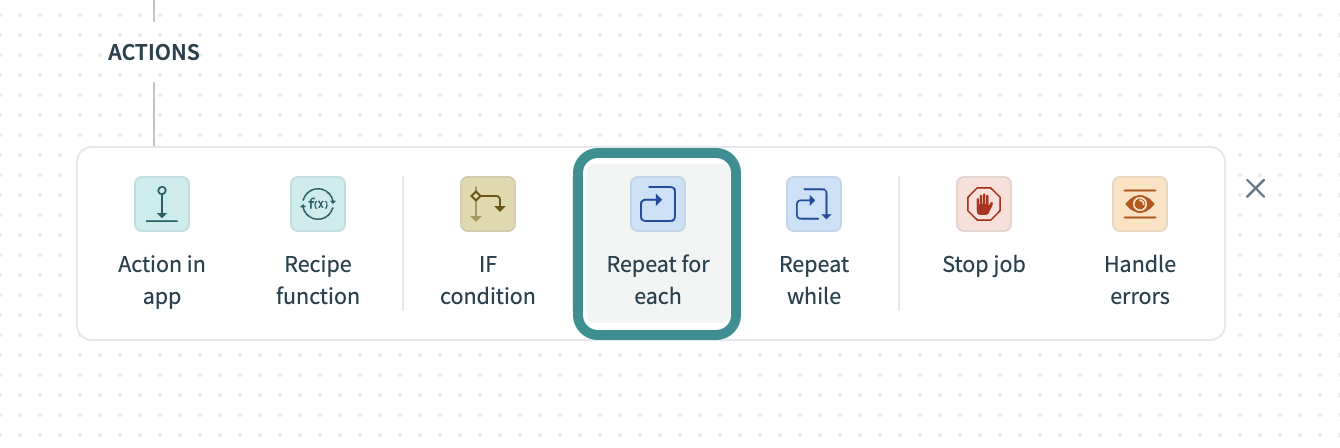 Click Add step > Repeat for each
How does the Repeat for each condition work?
# GitHub Repeat for each condition example
A Repeat for each loop repeats one or more actions for each item in a list. The loop ends automatically when the entire list is processed.
Set up your Repeat for each loop.
# Set up a Repeat for each loop
This step processes each issue closed since the beginning of the past week. You can define the actions you plan for the recipe to perform for each issue after setting up the loop.
Map the Issues Step 3 datapill to the Input list field.
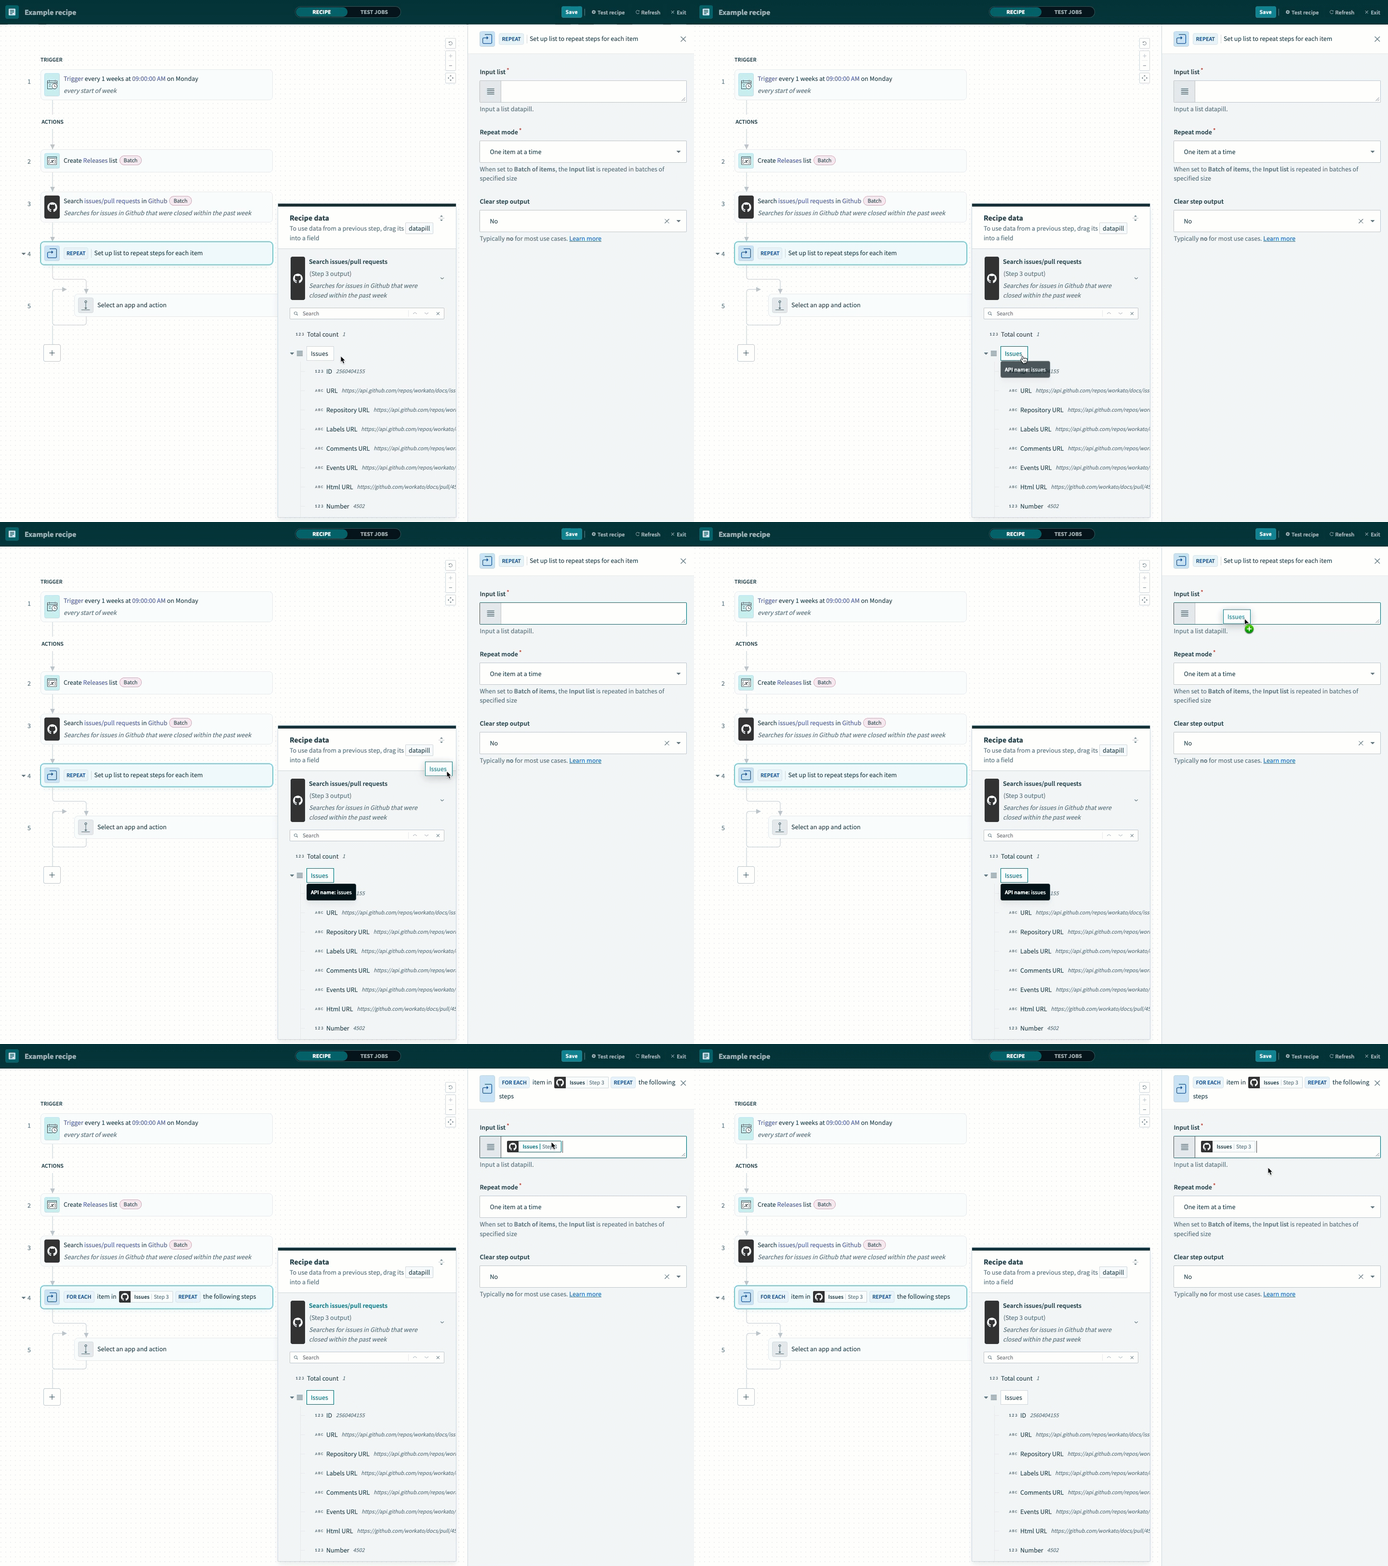 Map the Issues Step 3 datapill
Select One item at a time in the Repeat mode field.
Select No in the Clear step output field. Learn more about this input field.
Click Save.
Click Select an app and action.
Set up your Variables by Workato Add items to list action.
# Set up Variables by Workato Add items to list action
This step appends details extracted from each issue processed in the Repeat for each loop to the Releases list, including the issue title and a hyperlink to the issue number.
Search for Variables by Workato and select it as your app.
 Choose Variables by Workato
Select the Add items to list action.
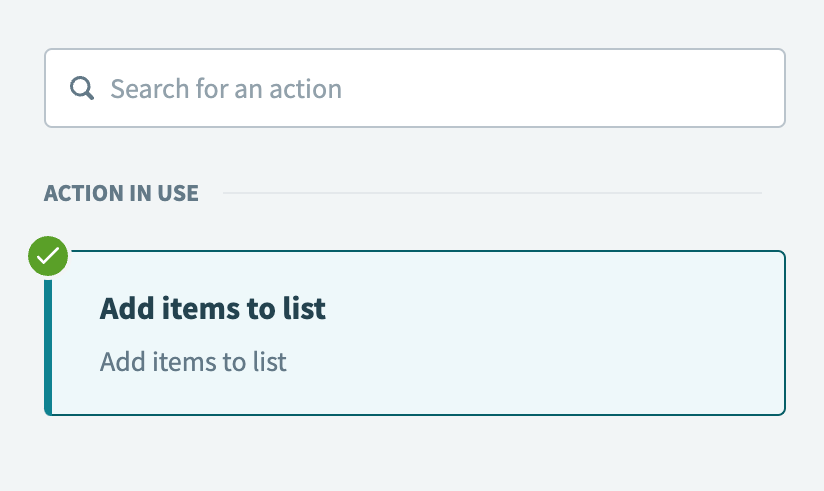 Select the Add items to list action
Select Releases (step 2) in the List name field.
Select End of the list in the Insert location field.
Expand the List item field.
Complete the following actions in Details field:
Map the Title Step 4 datapill.
Type (<a href=".
Map the Html URL Step 4 datapill.
Type ">#.
Map the Number Step 4 datapill.
Type </a>).
Your configuration should look as follows:
TITLE_STEP_4 (<a href="HTML_URL_STEP_4">#NUMBER_STEP_4</a>)
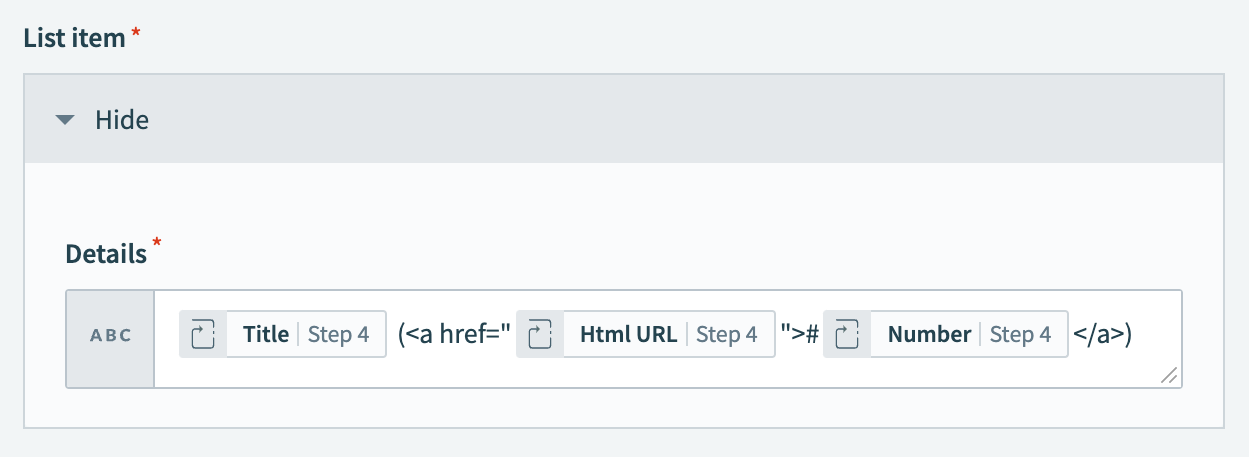 List item details configuration
Click Save.
Click + Add step and select IF condition.
 Click Add step > IF condition
How do IF conditions work?
# Add issue IF condition example
An IF condition enables you to make decisions based on specific conditions. You can control your recipe workflow by executing different actions depending on whether a condition you specify is present or not present (true or false).
Set up your IF condition.
# Set up IF condition
This step checks if the body of each issue contains a Jira ticket reference.
Map the Body Step 4 datapill to the Data field.
Select is present in the Condition field.
This condition checks that the issue body of the current issue being processed is neither empty nor null, preventing errors when applying formulas in the next step.
Click + (plus) and select AND to add a second condition.
Switch Data field to formula mode and do the following:
Map the Body Step 4 datapill.
Append the .match?(/Jira:w+-\d+/) formula.
This formula checks if the Body of the GitHub issue contains a Jira ticket reference in the format Jira:ABC-123.
Select equals in the Condition field.
Go to the Value field, switch to formula mode, and type true.
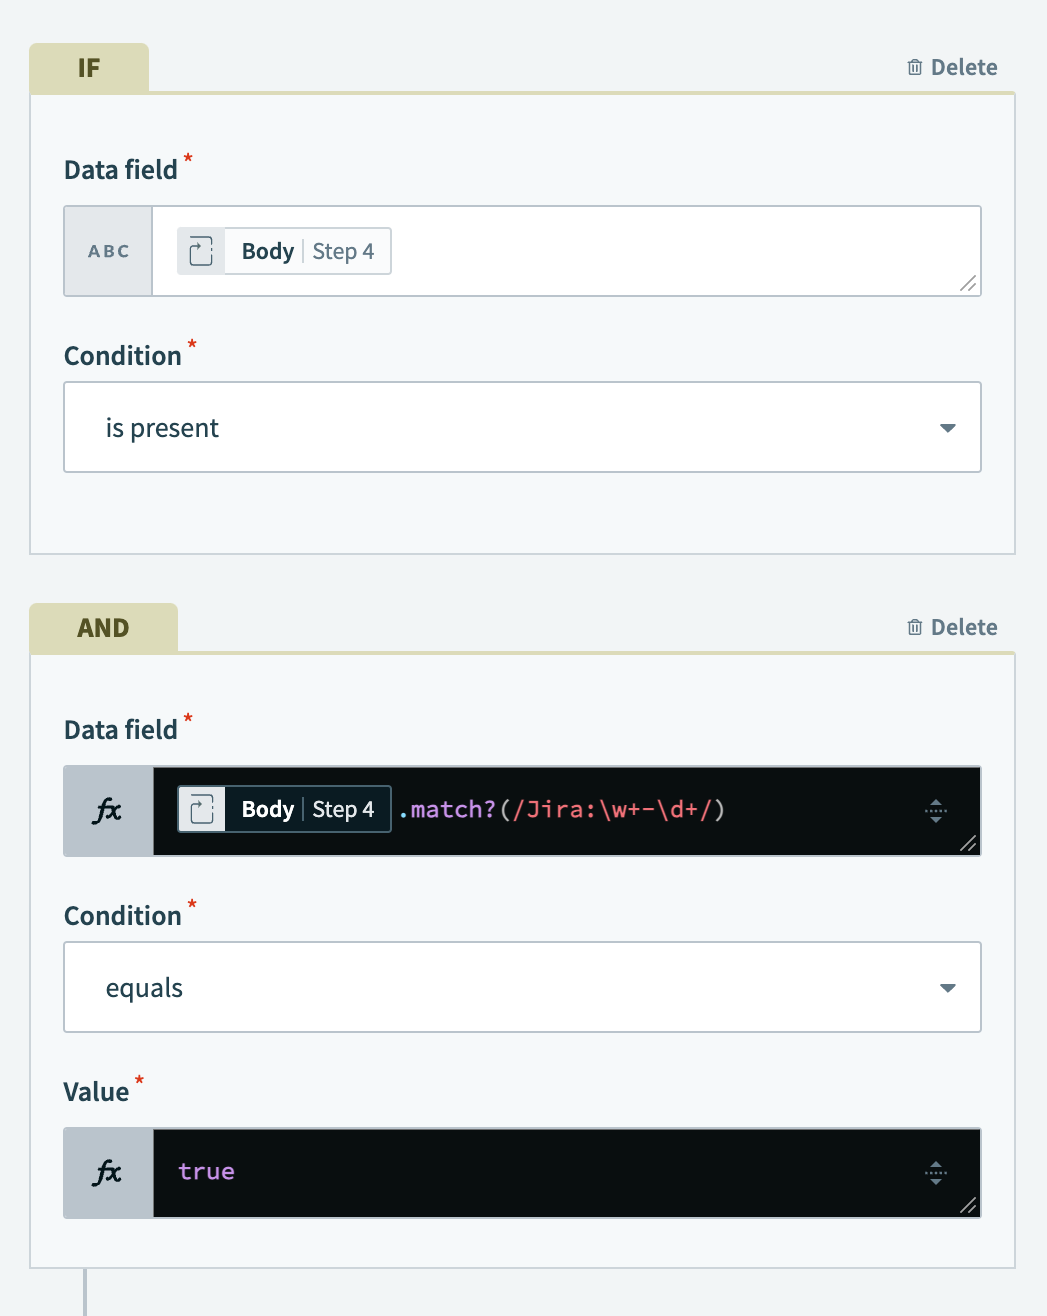 IF condition configuration
Click Save.
Click Select an app and action.
Set up your Jira Create comment action.
# Set up Jira Create comment action
This step creates a comment in the corresponding Jira ticket if the recipe detects a Jira reference in the issue body. The comment indicates that the issue was closed in GitHub, along with the issue number and a hyperlink to the issue.
Search for Jira and select it as your app.
 Choose Jira
Select the Create comment action.
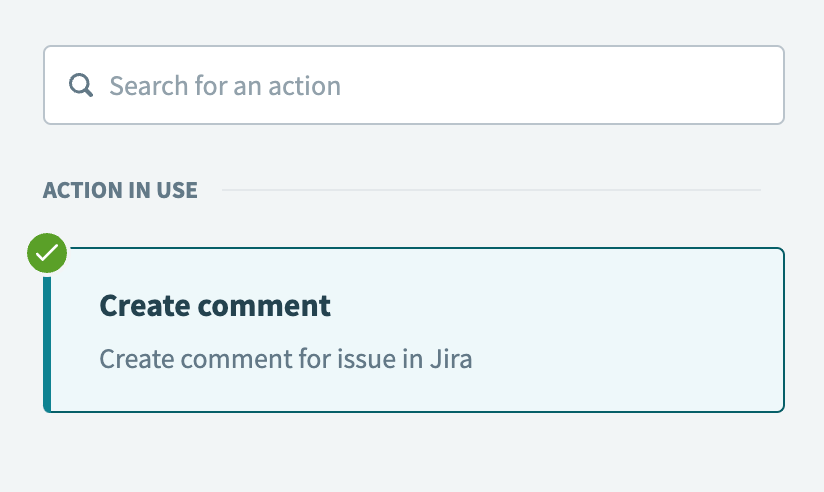 Select the Create comment action
Switch the Issue ID or key field to formula mode.
Complete the following actions in the Issue ID or key field:
Map the Body Step 4 datapill.
Append the .match?(/Jira:w+-\d+/) formula.
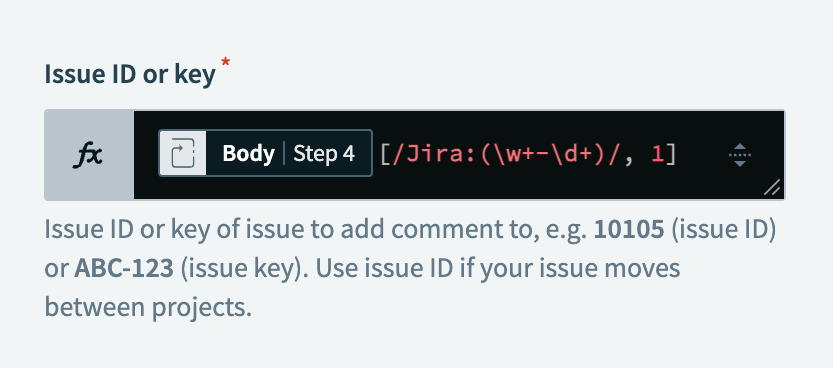 Issue ID or key configuration
Complete the following actions in the Comment text field:
Type Closed by Github #.
Map the Number Step 4 datapill next to the hash # symbol.
Enter a new line and map the Html URL Step 4 datapill.
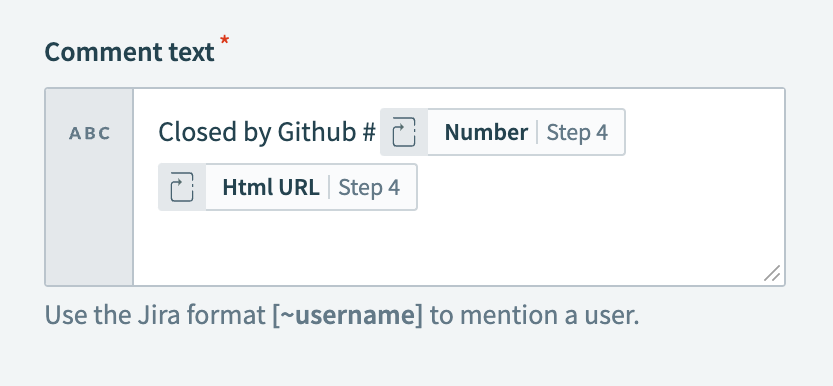 Comment text configuration
Click Save.
Click + Add step and select Action in app.
Set up your Confluence Create page action.
# Set up your Confluence Create page action
This step creates a Confluence page listing the GitHub issues that were closed since the beginning of the past week.
Search for Confluence and select it as your app.
 Choose Confluence
Select the Create page action.
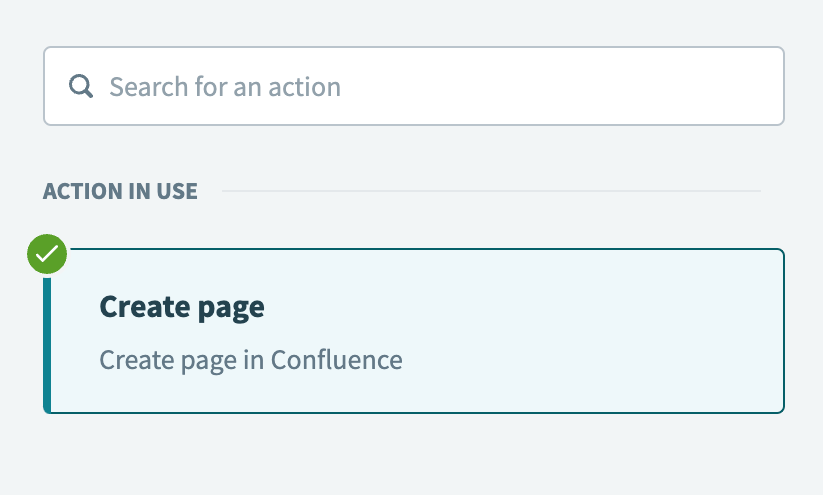 Select the Create page action
Enter the Confluence space key in the Space key field. You can find this value in the URL of your Confluence space page.
Switch the Title field to formula mode and enter the following:
"Product release (" + today.beginning_of_week.strftime("%d %B %Y") +")"
This sets the title of your Confluence release notes page. For example, Product release (1 October 2024).
 Title configuration
Switch the Body field to formula mode and do the following:
Type "<p>" +.
Map the Releases Step 2 datapill.
Type the following formulas:
.pluck('Details').join("<br/><br/">)
Type + "</p>.
This code constructs an HTML paragraph that contains the details from the Releases list, with each detail separated by two line breaks (<br/><br/>).
 Body configuration
Click Save.
Click + Add step and select Action in app.
Set up your Variables by Workato Clear all items from list action.
Set up Variables by Workato Clear all items from list action
This step clears the items from the Releases list to ensure that closed issues that were previously included in the release notes page aren't included the next time the recipe runs.
Search for Variables by Workato and select it as your app.
 Choose Variables by Workato
Select the Clear all items from list action.
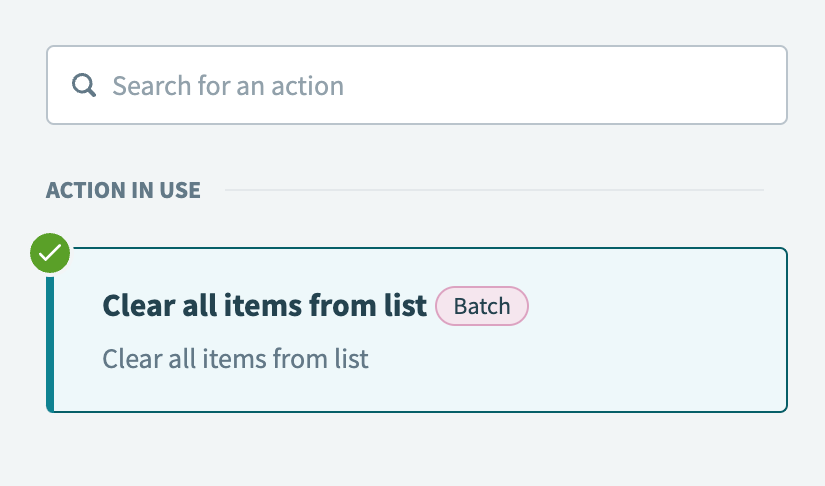 Select the Clear all items from list action
Go to the List name field and select Releases (step 2) to clear all items from this list at the end of the recipe run.
Click Save.
Your Create summarized Confluence notes and Jira comments from closed GitHub PRs recipe is ready to test and implement.
Example recipe configuration.
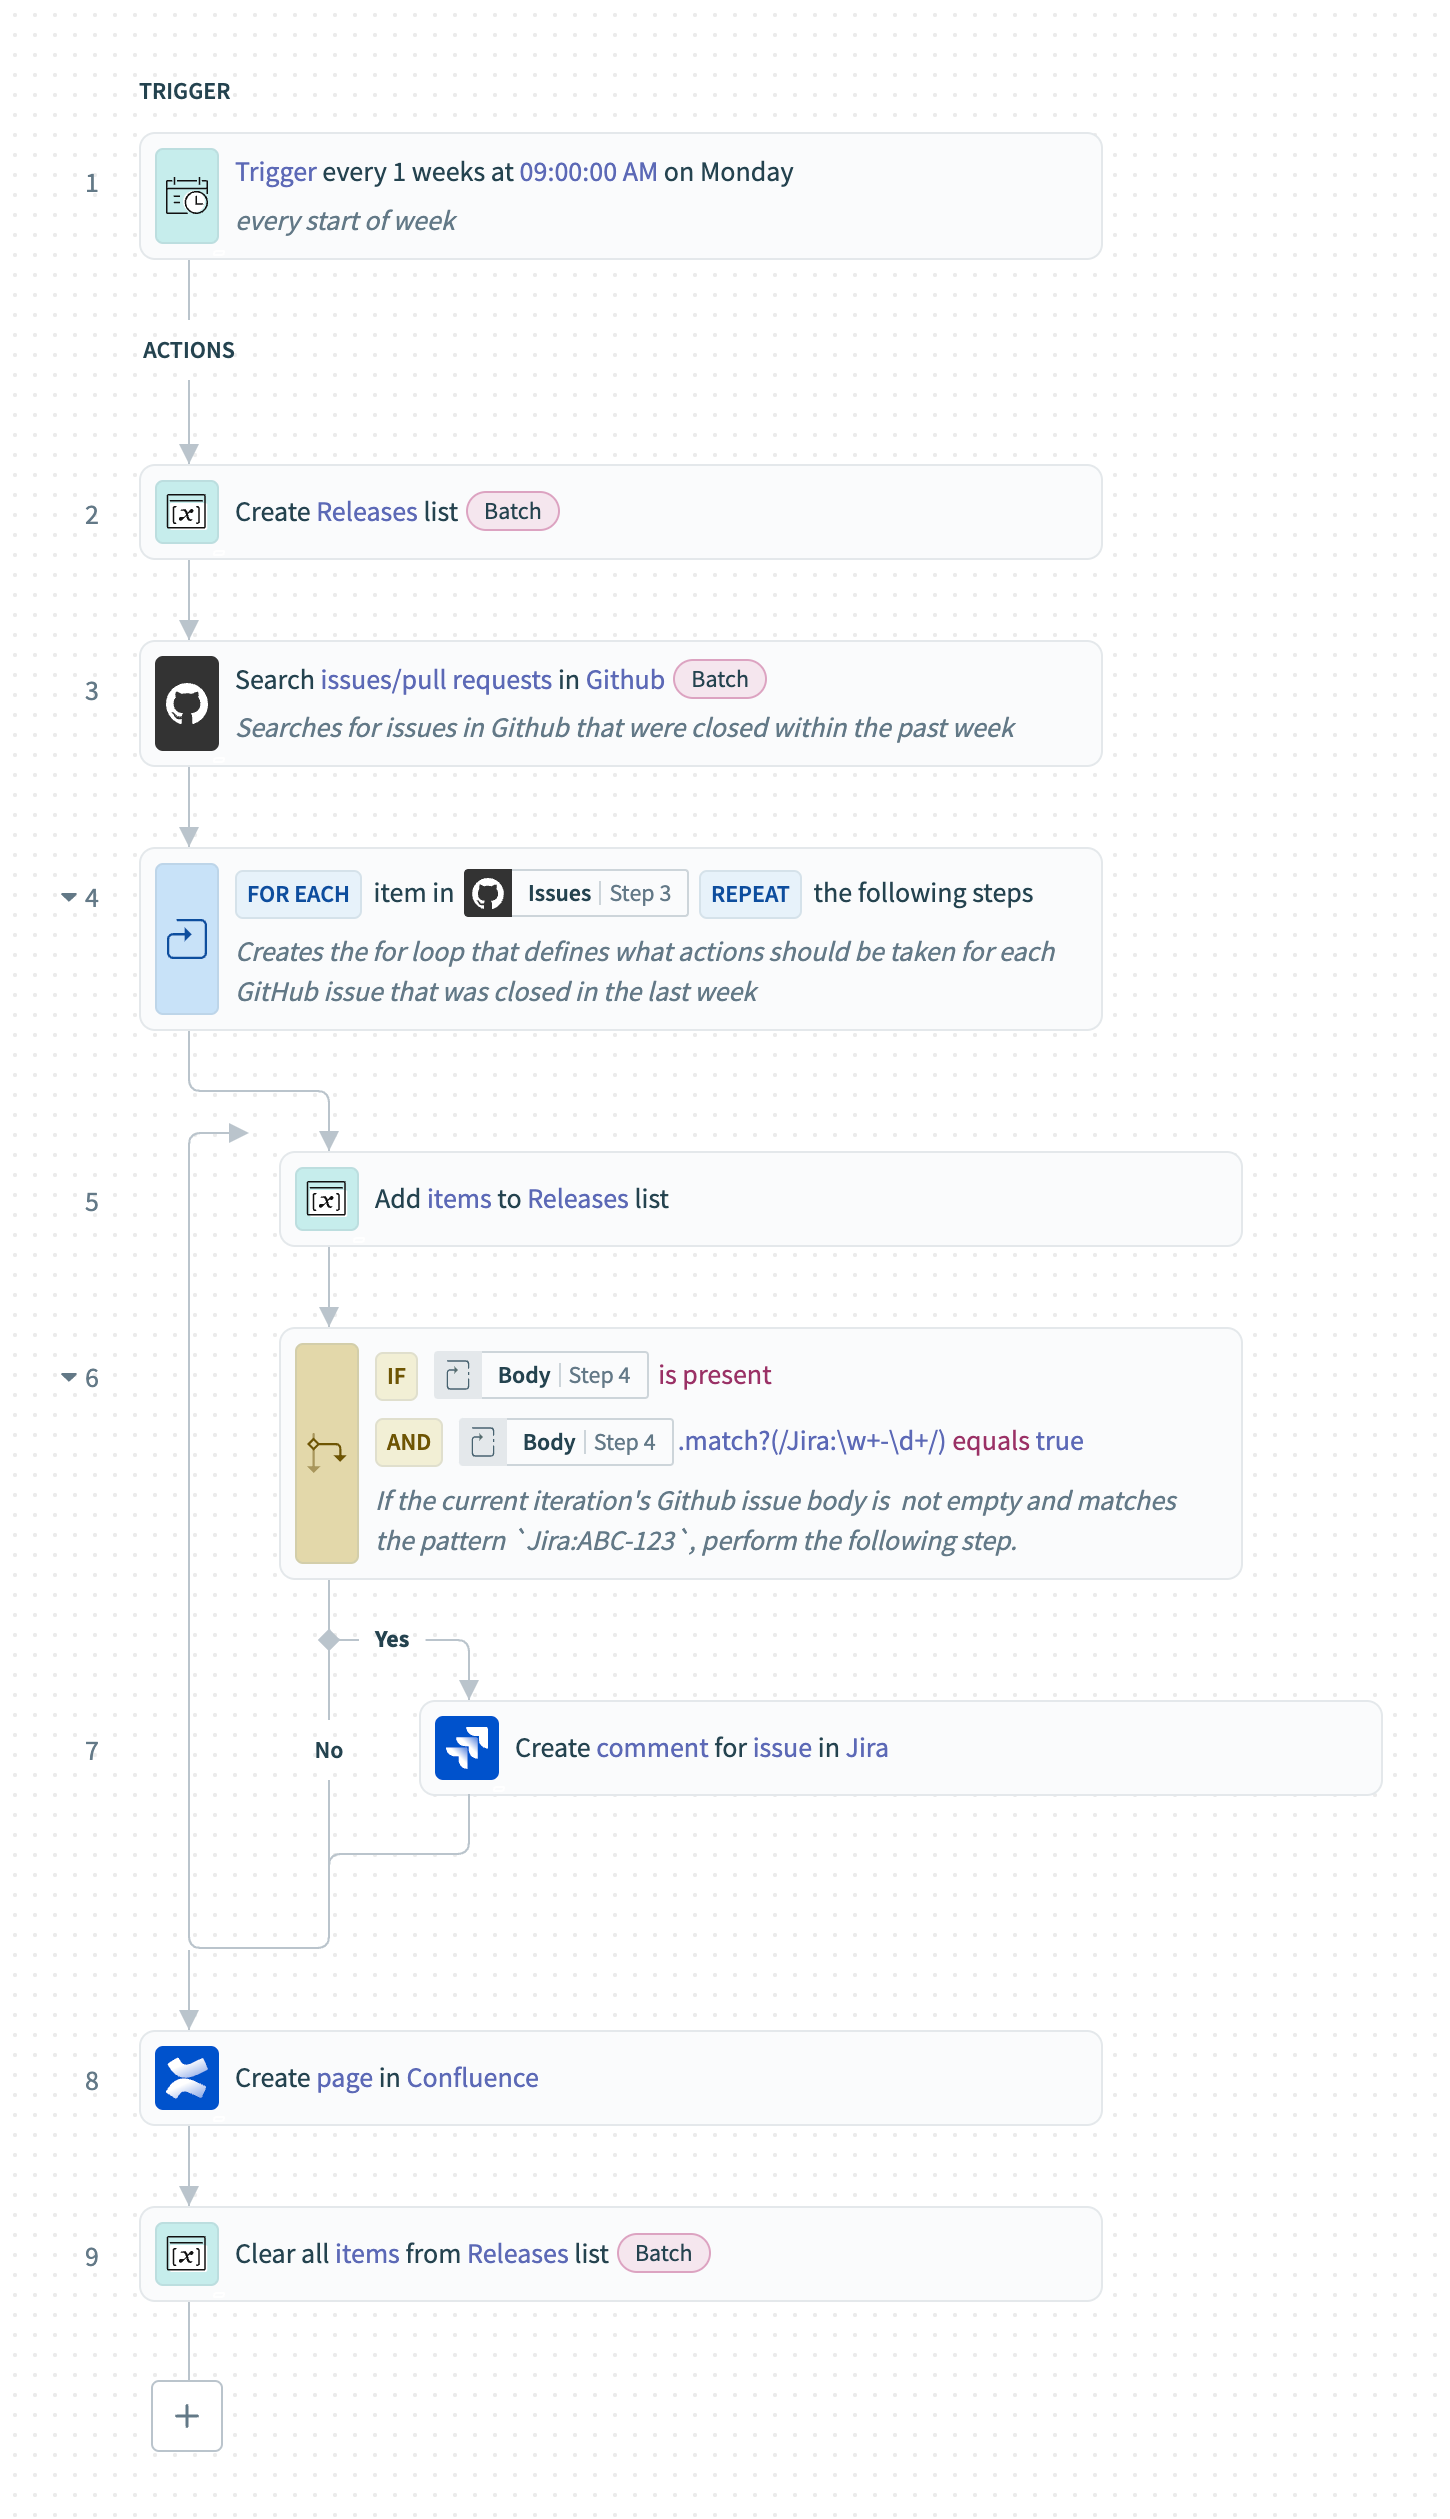 Create summarized Confluence notes and Jira comments from closed GitHub PRs recipe
Last updated: 12/22/2025, 5:25:59 PM