# Create Jira issues for new ServiceNow incidents recipe
This use case guides you through connecting ServiceNow and Jira to create a powerful automation.
# What does this recipe do?
This recipe monitors ServiceNow for new incidents and creates a corresponding issue in Jira if an existing issue doesn't already exist.
# Recipe configuration
Recipes are automated workflows that connect your apps. Each recipe contains a trigger and one or more actions. The following diagram illustrates the trigger and action configuration required for this use case:
# Create your recipe
Complete the following steps to create a recipe that monitors ServiceNow for newly created incidents and creates a corresponding issue in Jira if an existing issue doesn't already exist:
USE CASES ARE INTENDED AS EXAMPLES ONLY
This use case serves as an example. Modifications to triggers, actions, or conditional logic may be necessary to adapt this recipe to your workflow.
Sign in to Workato.
Select the project where you plan to create the recipe.
Create connections for ServiceNow and Jira:
Create a ServiceNow connection.
# Create a ServiceNow connection
This step creates a connection between Workato and your ServiceNow account.
Click Create > Connection.
Search for and select ServiceNow on the New connection page.
Enter a name for your ServiceNow connection in the Connection name field.
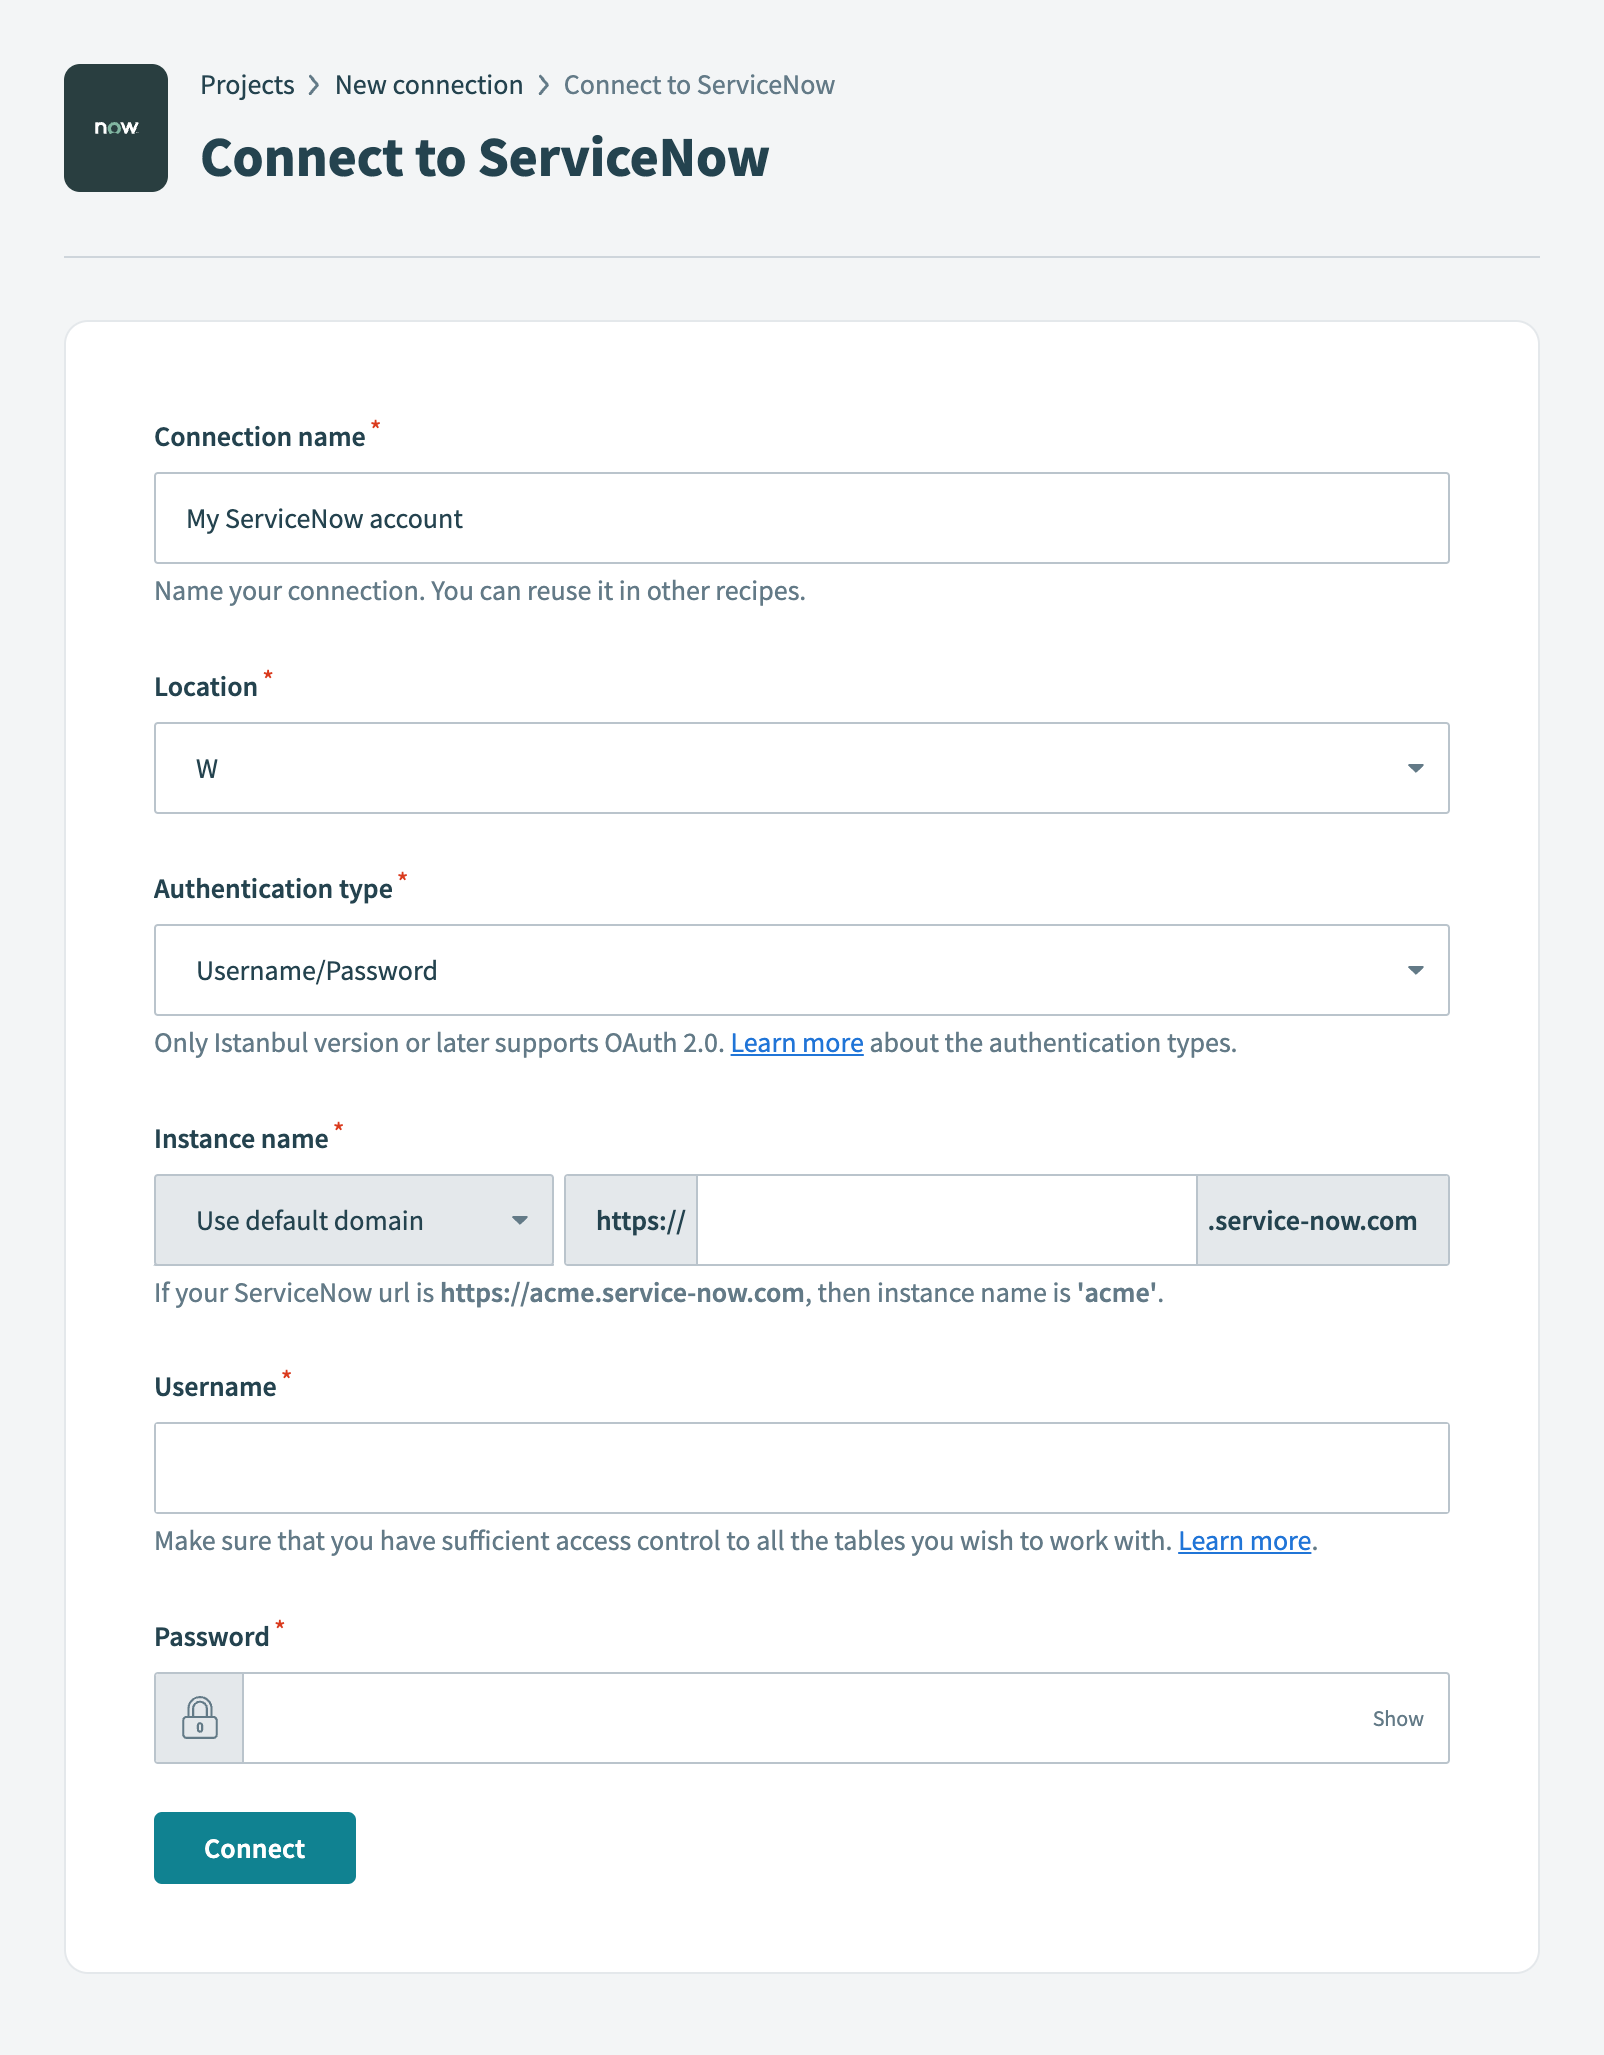 ServiceNow connection setup
Use the Location drop-down menu to select the project where you plan to store the connection.
Use the Authentication type drop-down menu to select Username/Password.
Enter your ServiceNow Instance name. For example, if your ServiceNow URL is https://acme.service-now.com, the instance name is acme.
Enter your ServiceNow username in the Username field.
Enter your ServiceNow password in the Password field.
Click Connect.
The ServiceNow connector also supports OAuth 2.0 and Password grant authentication methods.
Create a Jira connection.
# Create a Jira connection
This step creates a connection between Workato and your Jira account.
Click Create > Connection.
Search for and select Jira on the New connection page.
Enter a name for your Jira connection in the Connection name field.
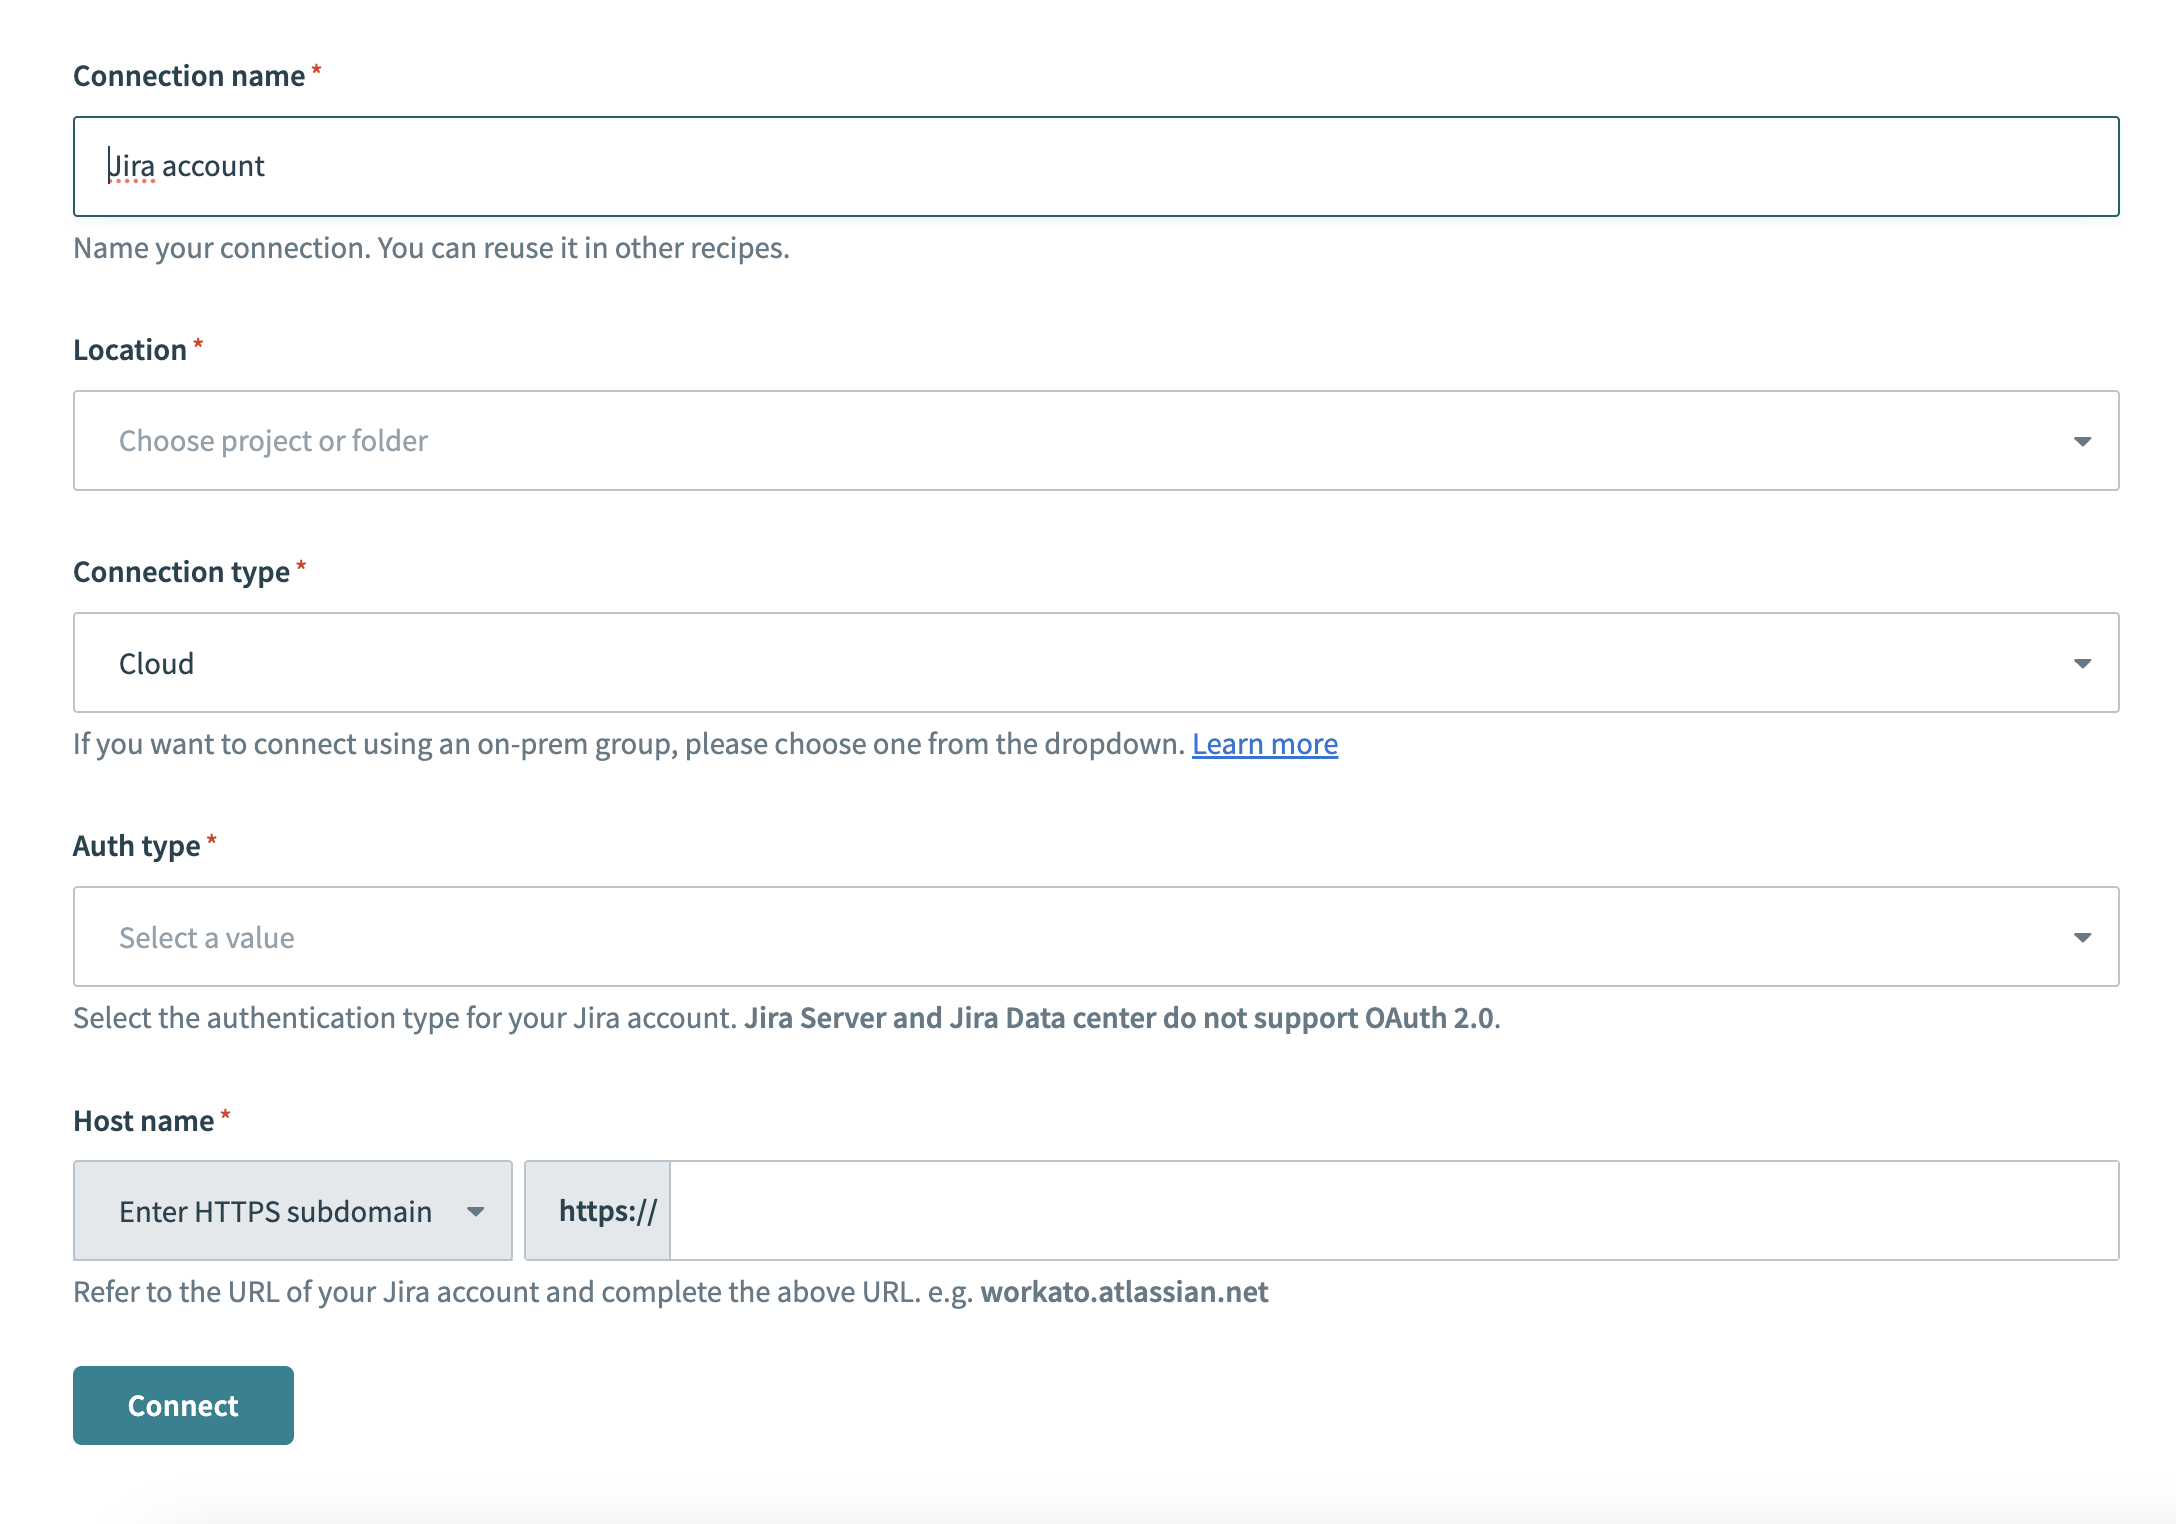 Jira connection setup
Use the Location drop-down menu to select the project where you plan to store the connection.
Select your Connection type.
Use the Auth type drop-down menu to select your authentication method. Supported options include Basic, API token, OAuth 2.0, and Personal access token.
Provide your Host name. For example, if your Jira URL is https://acme.atlassian.net, your host name is acme.atlassian.net.
Click Connect.
Go back to your project and click Create > Recipe.
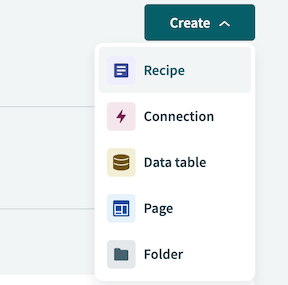 Create a new recipe
Enter a name for your recipe in the Name field.
Select the project where you plan to store the recipe from the Location drop-down menu.
Click Start building.
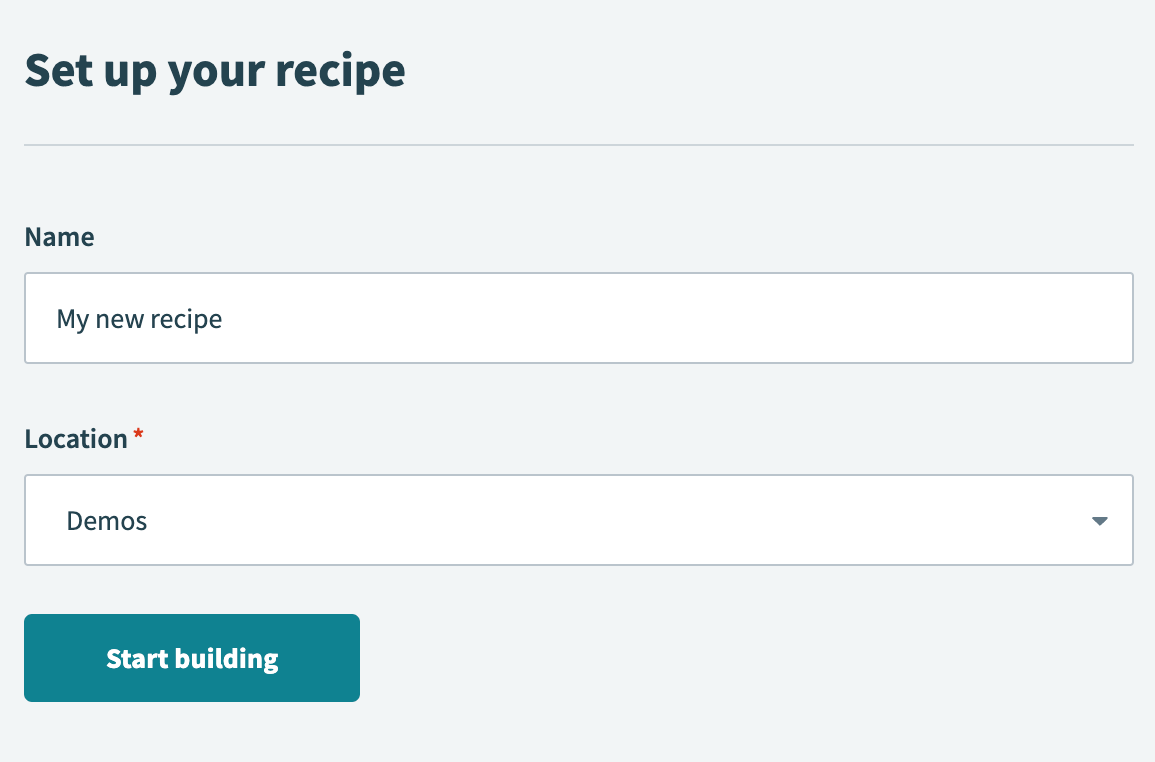 Start building your recipe
Click Pick a starting point, then select Trigger from an app.
Click Select an app and trigger event.
Set up your ServiceNow New record trigger.
# Set up ServiceNow New record trigger
This trigger monitors ServiceNow for new incidents.
Search for ServiceNow and select it as your app.
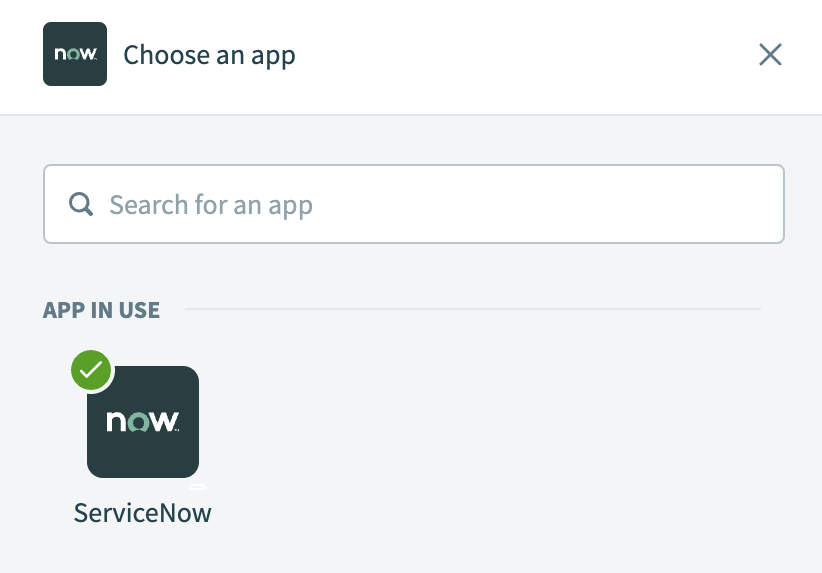 Choose ServiceNow
Select the New record (real-time) trigger.
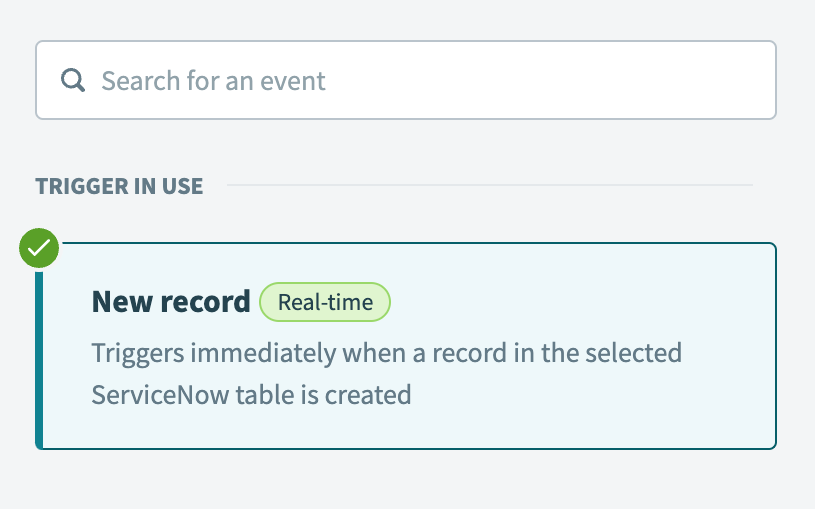 Select the New record real-time trigger
Select the ServiceNow connection you created in the preceding steps.
Use the Table drop-down menu to select Incident.
Click Save.
Click + Add step and select Handle errors.
 Click Add step > Handle errors
How does the Handle errors control statement work?
The Handle errors control statement allows you to monitor your recipe for errors in actions, similar to the try/catch concept in programming languages. You have the opportunity to perform the following actions if an error occurs:
Retry the sequence of actions again, in case it was a temporary error such as network issues.
Take remedial actions, such as notifying users of the error through email or error messages in the app, or to carry out a rollback. For example, you can reverse the job by deleting any created or half-created records.
This control statement consists of two blocks: the Monitor block and the Error block. Place the actions that you plan to monitor for errors within the Monitor block. If all actions are successful, Workato ignores the Error block. However, if any action in the Monitor block results in an error, the actions within the Error block are executed.
Click the ••• (ellipsis) next to the placeholder step (step 3) in the recipe editor and select Delete.
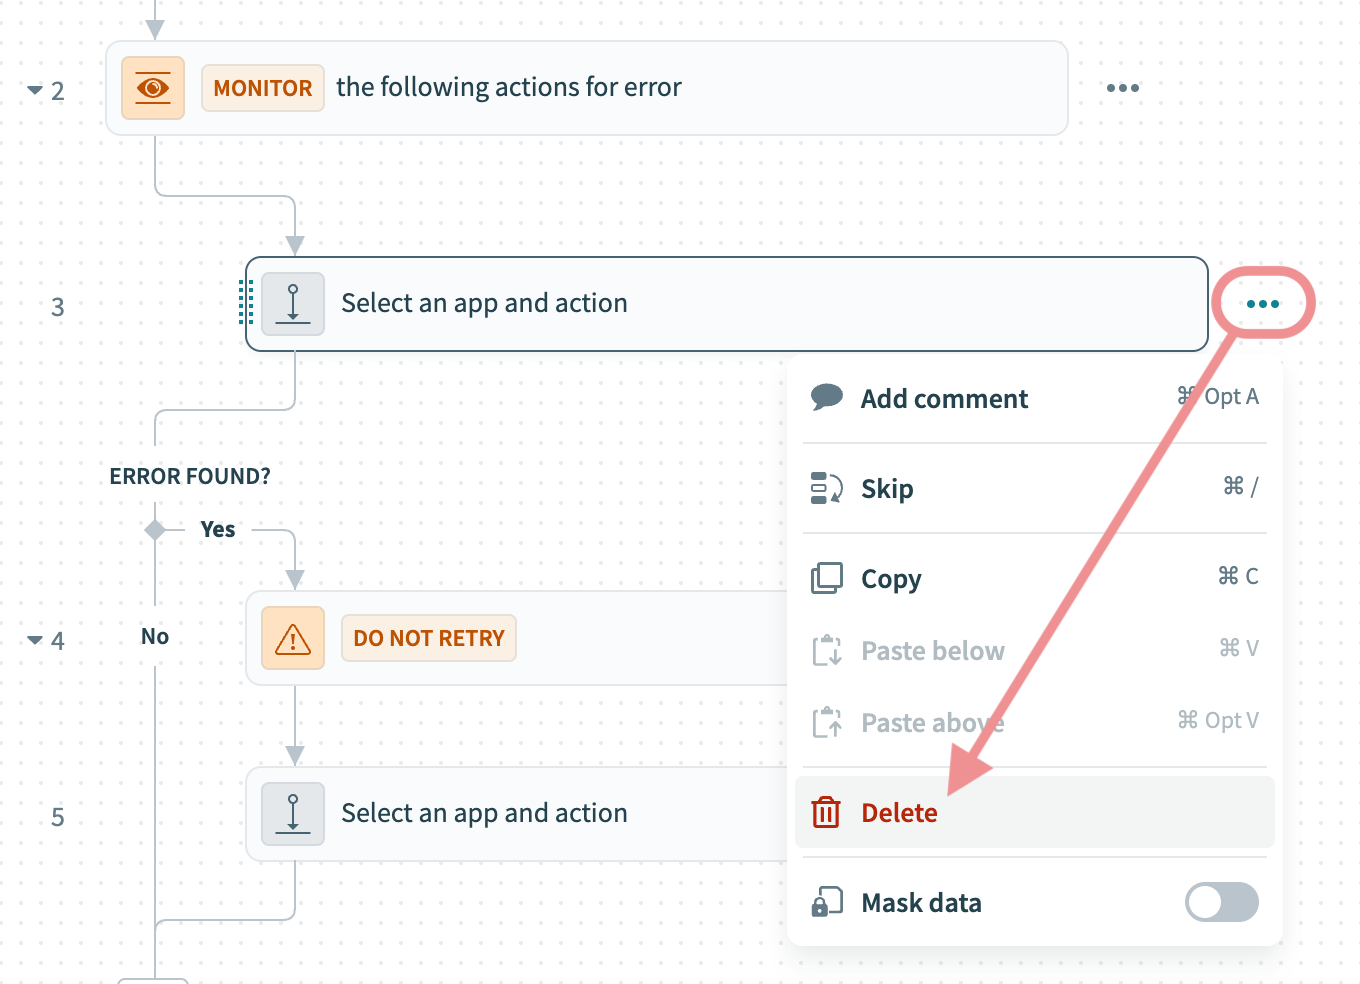 Delete the placeholder
Click + Add step and select IF condition. Make sure to insert the IF condition after the Monitor block (step 2).
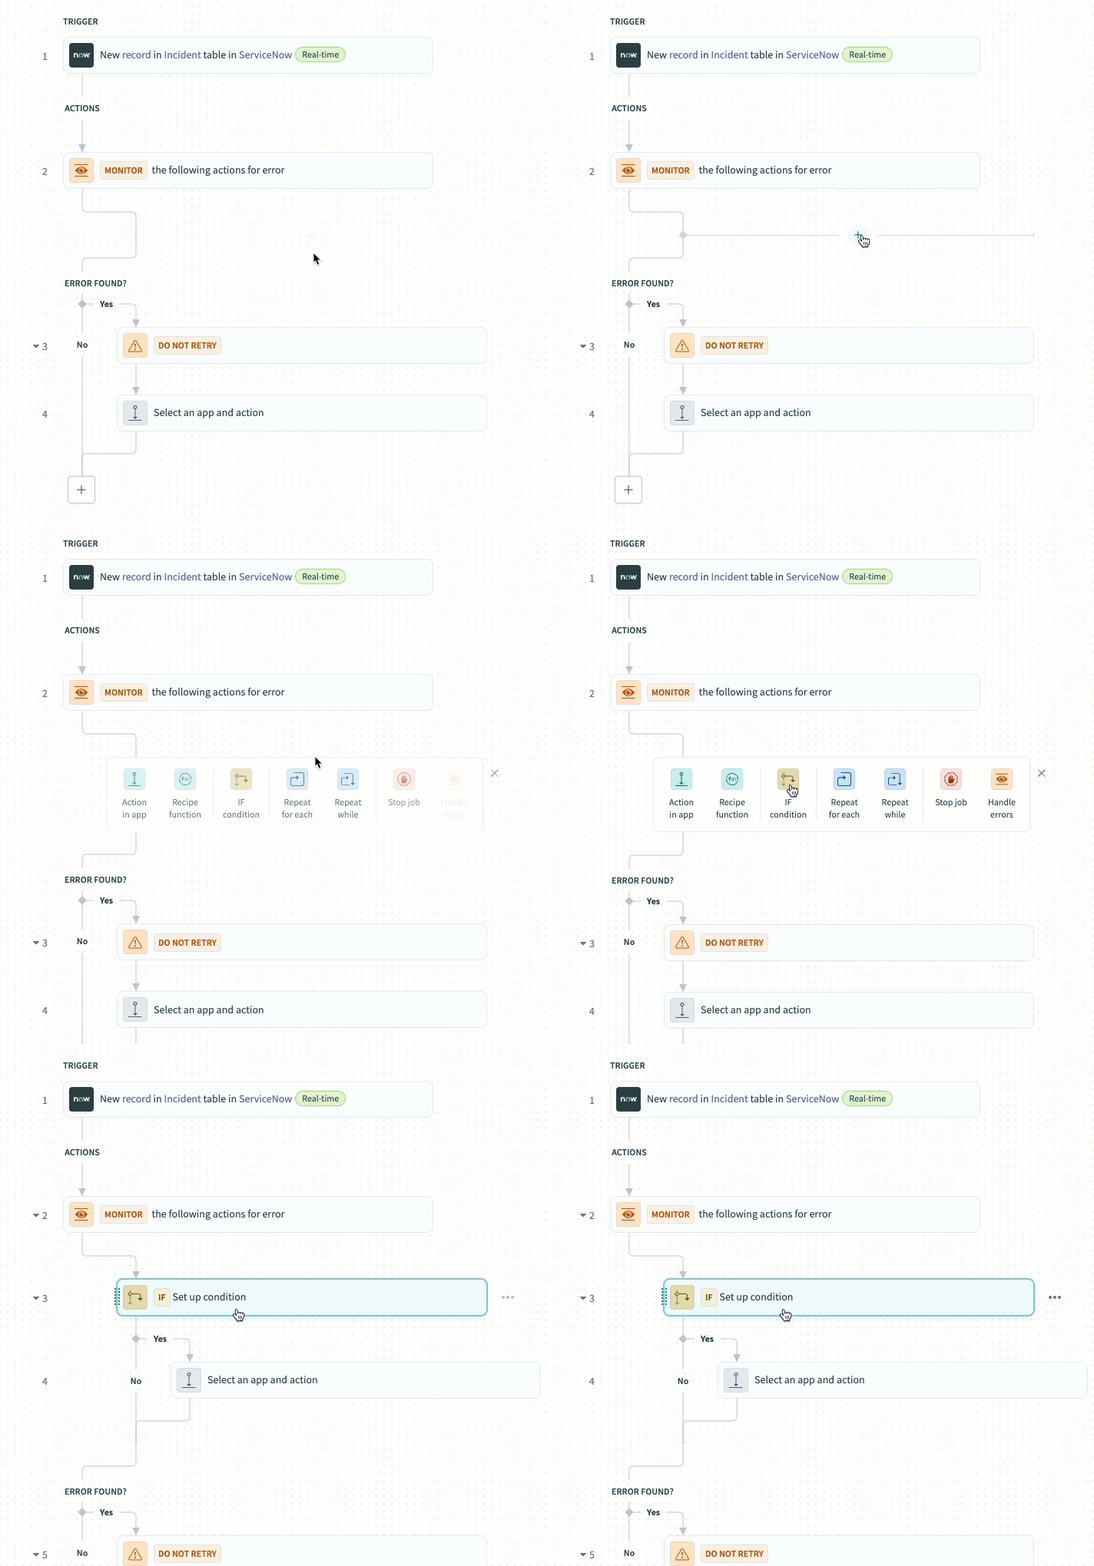 Click Add step> IF condition
How do IF conditions work?
# ServiceNow and Jira IF condition example
An IF condition enables you to make decisions based on specific conditions. You can control your recipe workflow by executing different actions depending on whether a condition you specify is true or false.
Set up your ServiceNow description is present IF condition.
# Set up a ServiceNow description is present IF condition
This step checks if the new ServiceNow incident has a description that indicates the incident has been synced to Jira.
Map the ServiceNow Description Step 1 datapill to Data field.
Use the Condition drop-down menu to select is present.
Click + (plus) and select AND to add a second condition.
Map the ServiceNow Description Step 1 datapill to Data field.
Use the Condition drop-down menu to select contains.
Enter Synced to Jira in the Value field.
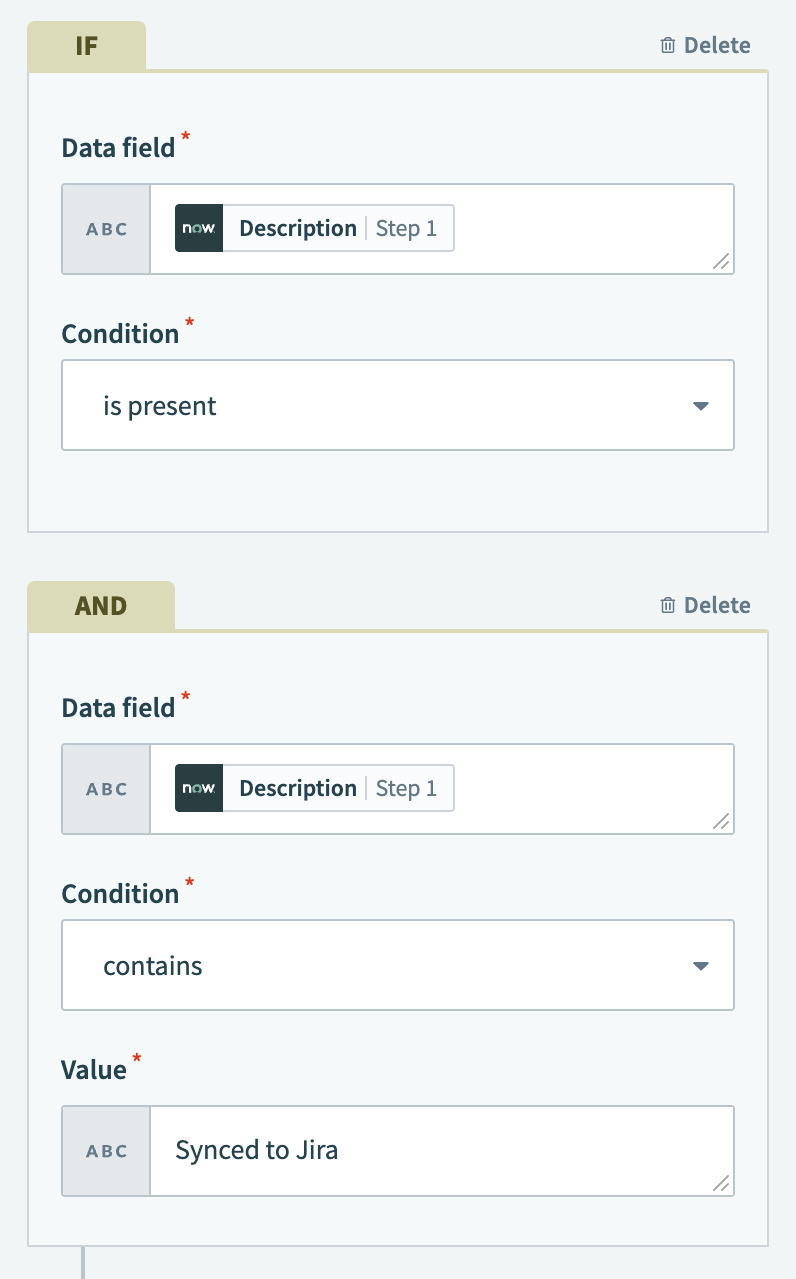 Configure the IF condition
Click Save.
Click Select an app and action.
Set up your Email by Workato Send email action.
# Set up Email by Workato Send email action
This step sends an email to a specified recipient communicating that this ServiceNow incident is already synced to Jira.
Search for Email by Workato and select it as your app. The Send email action is selected automatically.
 Choose Email by Workato
Enter the recipient's email address in the To field. If you’re sending the email to multiple recipients, separate their addresses with commas.
Enter the following subject in the Subject field:
New incident in ServiceNow creates issue in Jira - Already synced
Use the Email type drop-down menu to select Text.
Enter the following message in the Message field:
The job is synced from Jira to ServiceNow.
Recipe ID:
Job ID:
Job URL:
Map the Recipe ID Properties, Job ID Properties, and Job URL Properties datapills to their corresponding labels in the Message field.
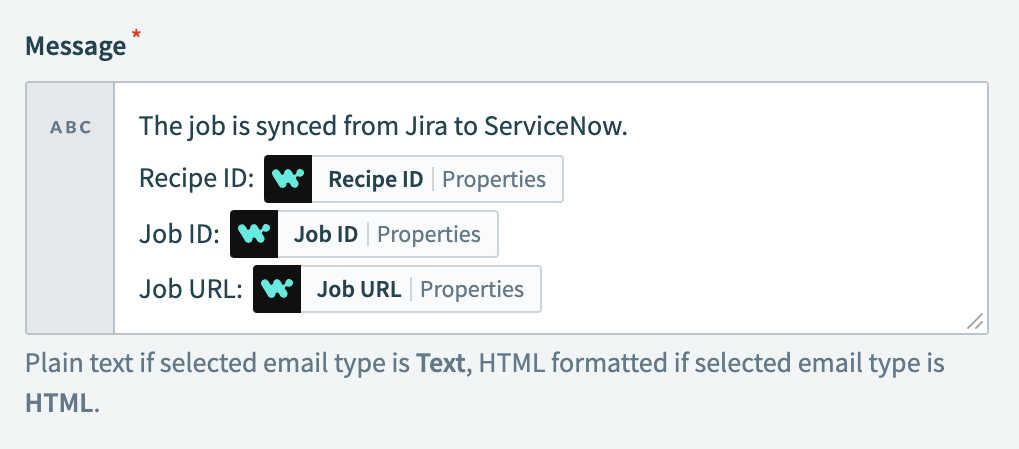 Map datapills to the Message field
Click Save.
Click + Add step and select Stop job. Place this step immediately after the Send email via Workato action (step 4), ensuring it is within the steps executed when the IF condition evaluates to true.
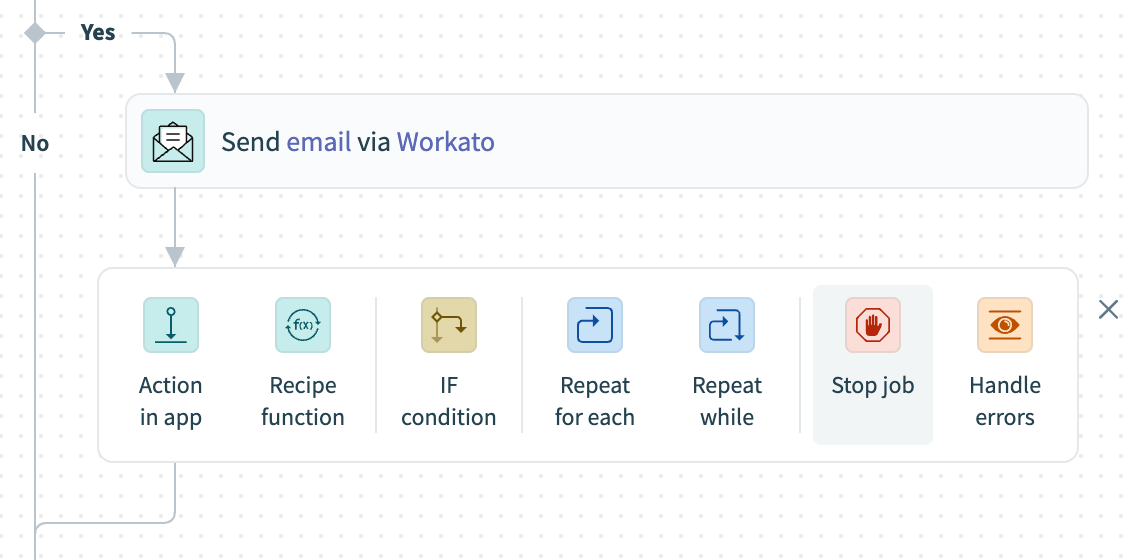 Click Add step > Stop job
How does the Stop control statement work?
# Stop control statement example
The Stop control statement stops a single job from being processed further. Stop control statements are usually used in cases when there is an error in the business logic and further job processing is not required.
The Stop statement can be configured to mark the job as failed or successful.
Set up your ServiceNow and Jira Stop control statement.
# Set up a ServiceNow and Jira Stop control statement
This step stops the job and marks it as successful if the ServiceNow incident has already been synced with Jira.
Use the In job report, mark stopped job as drop-down menu to select Successful.
Click + Add step and select Action in app. Place this step within the steps executed when the IF condition evaluates to false.
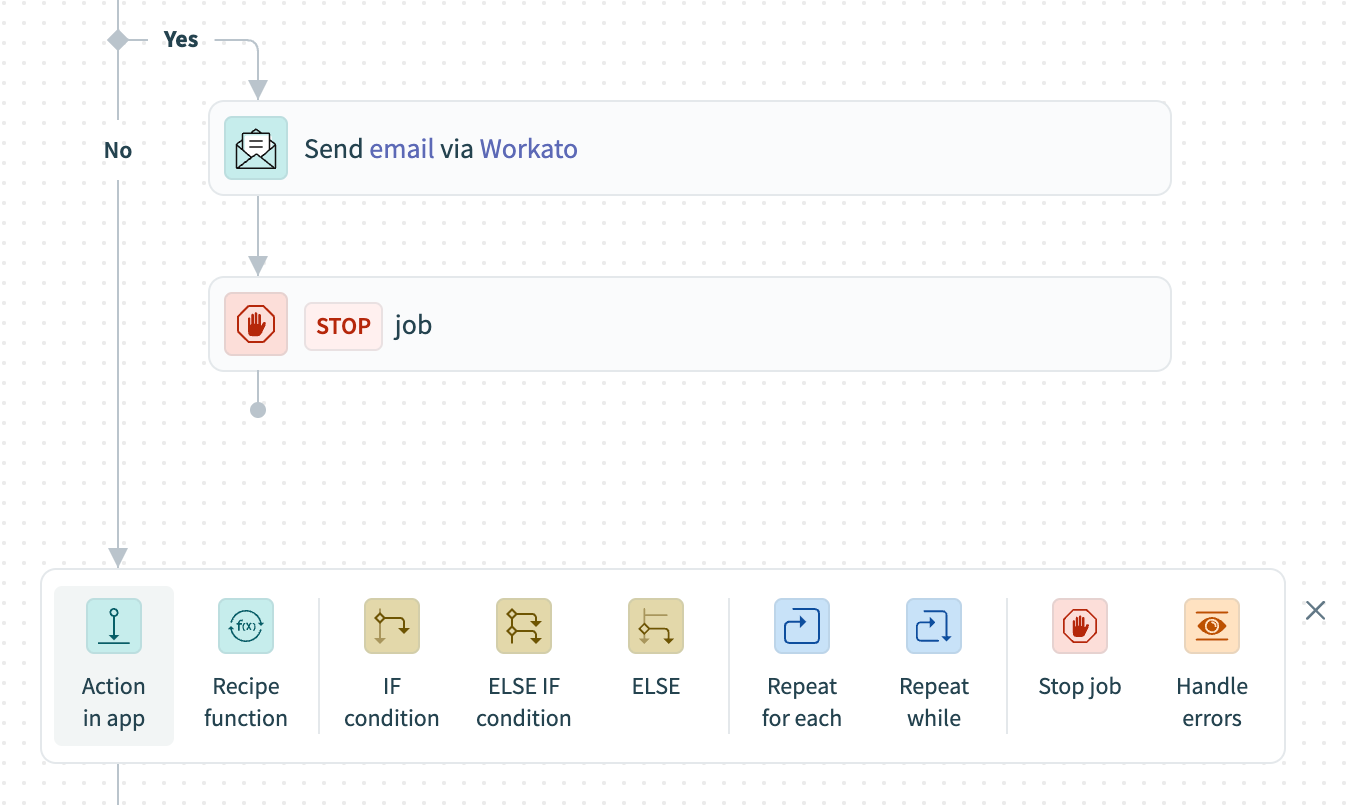 Click Add step > Action in app
Set up your Jira Search issues batch action.
# Set up Jira Search issues batch action
This step searches for Jira issues that use the specific naming pattern corresponding to a ServiceNow incident.
Search for Jira and select it as your app.
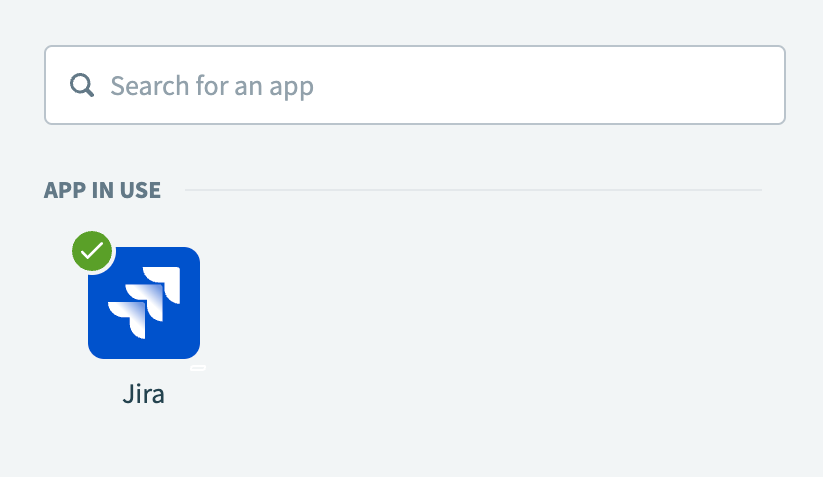 Choose Jira
Select the Search issues (batch) action.
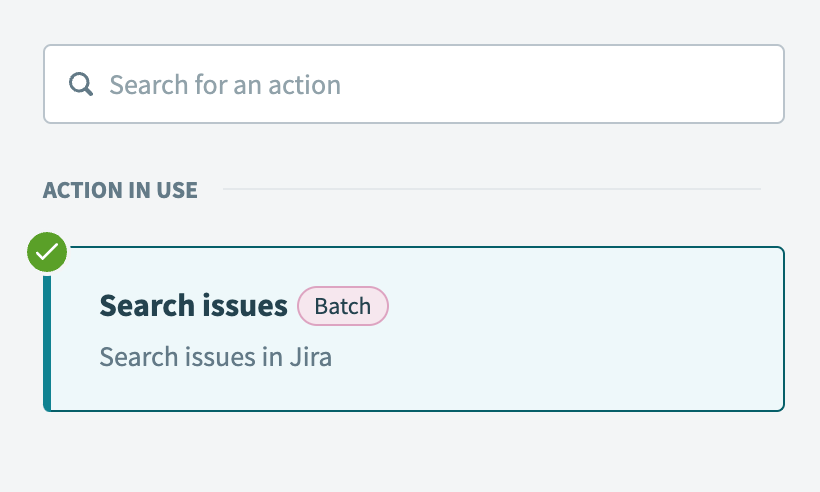 Select the Search issues batch action
Switch the Summary field to formula mode.
Map the ServiceNow Number Step 1 datapill.
Enter + " - " + to add a hyphen.
Map the ServiceNow Short description Step 1 datapill.
 Configure the Summary field
Click Save.
Click + Add step and select IF condition.
 IF condition
Set up your Jira ID IF condition.
# Set up a Jira ID IF condition
This step checks whether the result of the search returned a matching Jira issue.
Map the Jira ID Step 6 datapill to Data field.
Use the Condition drop-down menu to select is not present.
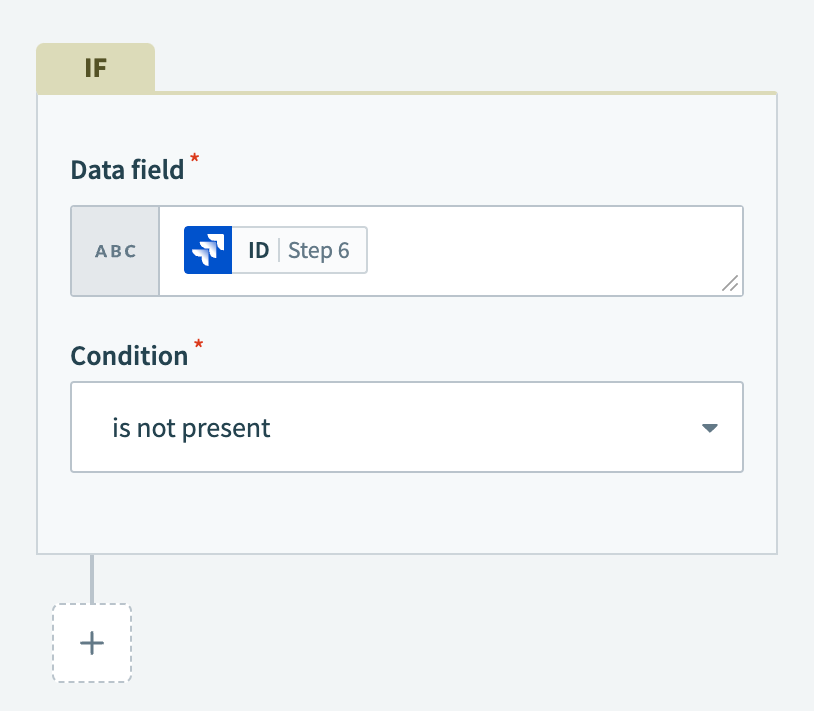 Configure the second IF condition
Click Save.
Click Select an app and action.
Set up your Jira Create issue action.
# Set up Jira Create issue action
This step creates a Jira issue that corresponds to the ServiceNow incident.
Search for Jira and select it as your app.
 Choose Jira
Select the Create issue action.
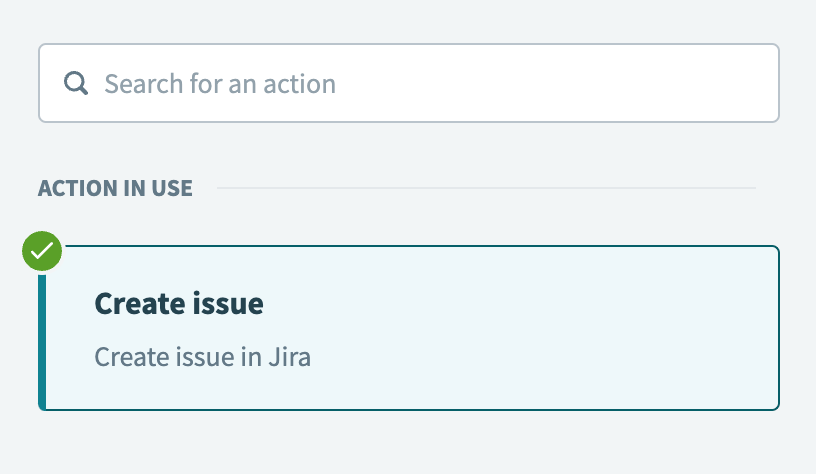 Select the Create issue action
Use the Project issue type drop-down menu to specify the Jira issue type. For example, Bug. The options in this drop-down menu depend on the issue types configured in your Jira project.
Switch the Summary field to formula mode.
Map the ServiceNow Number Step 1 datapill.
Enter + " - " + to add a hyphen.
Map the ServiceNow Short description Step 1 datapill.
 Configure the Summary field
Switch the Description field to formula mode.
Map the ServiceNow Description Step 1 datapill.
Enter + "\n" + "Synced to Jira".
 Configure the Description field
Switch the Priority name field to formula mode and enter the following:
{ "5" => "Lowest", "4" => "Low", "3" => "Medium", "2" => "High", "1" => "Highest" } [ PRIORITY_DP ]
Replace PRIORITY_DP with the ServiceNow Priority Step 1 datapill.
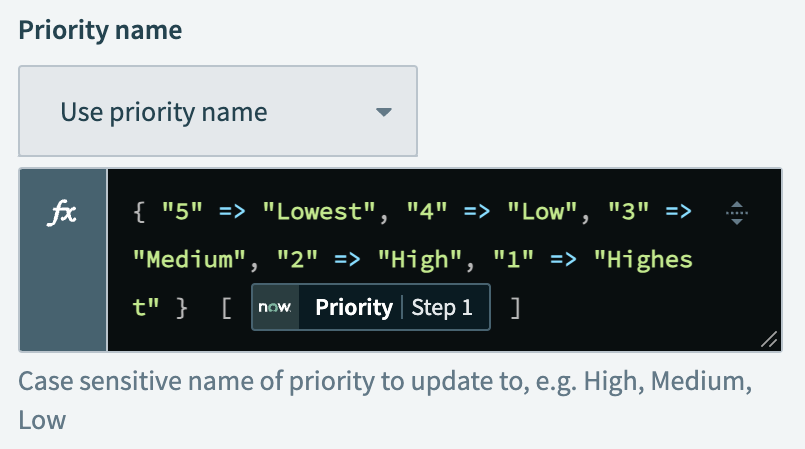 Configure the Priority name field
Map the ServiceNow Due date Step 1 datapill to the Due date field.
Click Save.
Click + Add step and select Action in app. Place this step immediately after the Create issue action (step 8), ensuring it is within the steps executed when the IF condition evaluates to true.
Set up your ServiceNow Update record action.
# Set up ServiceNow Update record action
This step updates the ServiceNow incident record to confirm that the record is synced with Jira and adds the Jira issue ID to the work notes.
Search for ServiceNow and select it as your app.
 Choose ServiceNow
Select the Update record action.
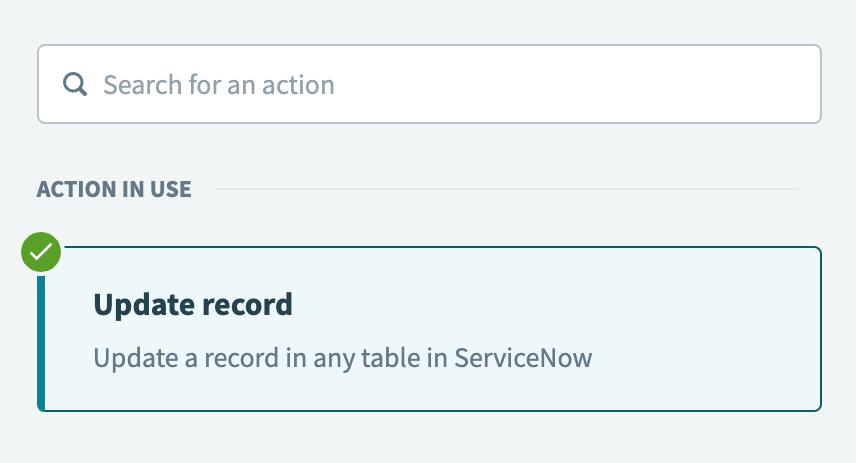 Select the Update record action
Use the Table drop-down menu to select Incident.
Map the ServiceNow Sys ID Step 1 datapill to the Sys ID field.
Expand Update record values and map the ServiceNow Description Step 1 datapill to the Description field.
Switch the Work notes field to formula mode.
Map the ServiceNow Work notes Step 1 datapill.
Enter + "\n" + " Synced to Jira" + "\n" + " Jira ID: " +.
Map the Jira ID Step 8 datapill.
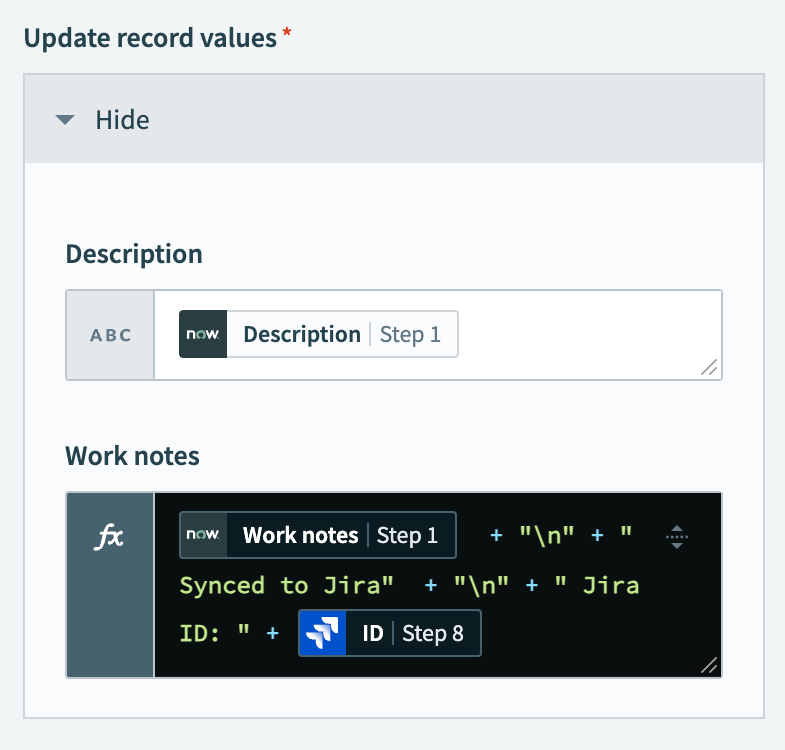 Configure the Update record values field
Click Save.
Locate the Error found? block, and click Select an app and action (step 11).
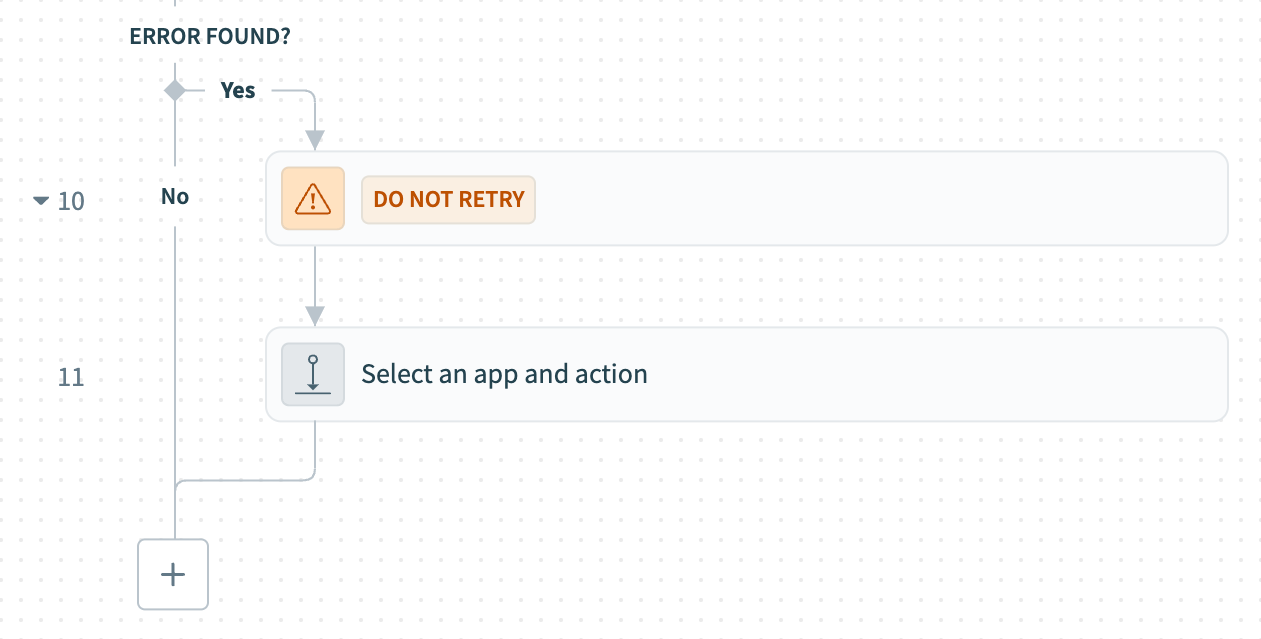 Click Select an app and action
Set up your second Email by Workato Send email action.
# Set up a second Email by Workato Send email action
This step sends a failed job notification email to a specified recipient.
Search for Email by Workato and select it as your app. The Send email action is selected automatically.
 Choose Email by Workato
Enter the recipient's email address in the To field. If you’re sending the email to multiple recipients, separate the email addresses with commas.
Enter the following subject in the Subject field:
New incident in ServiceNow creates issue in Jira - Failed
Use the Email type drop-down menu to select Text.
Enter the following message in the Message field:
Recipe URL:
Job ID:
Job URL:
Recipe failed:
Map the Recipe ID Properties, Job ID Properties, Job URL Properties, and Error message Step 10 datapills to the corresponding labels in the Message field.
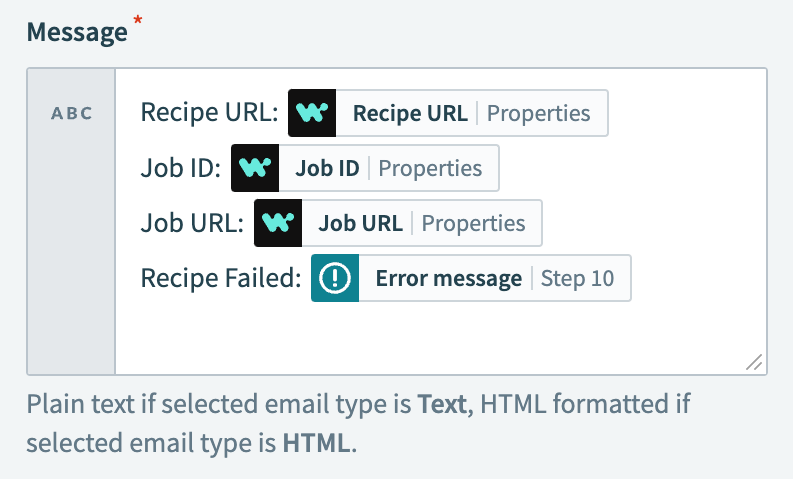 Configure the Message field
Click Save.
Your Create Jira issues for new ServiceNow incidents recipe is ready to test and implement.
Example recipe configuration.
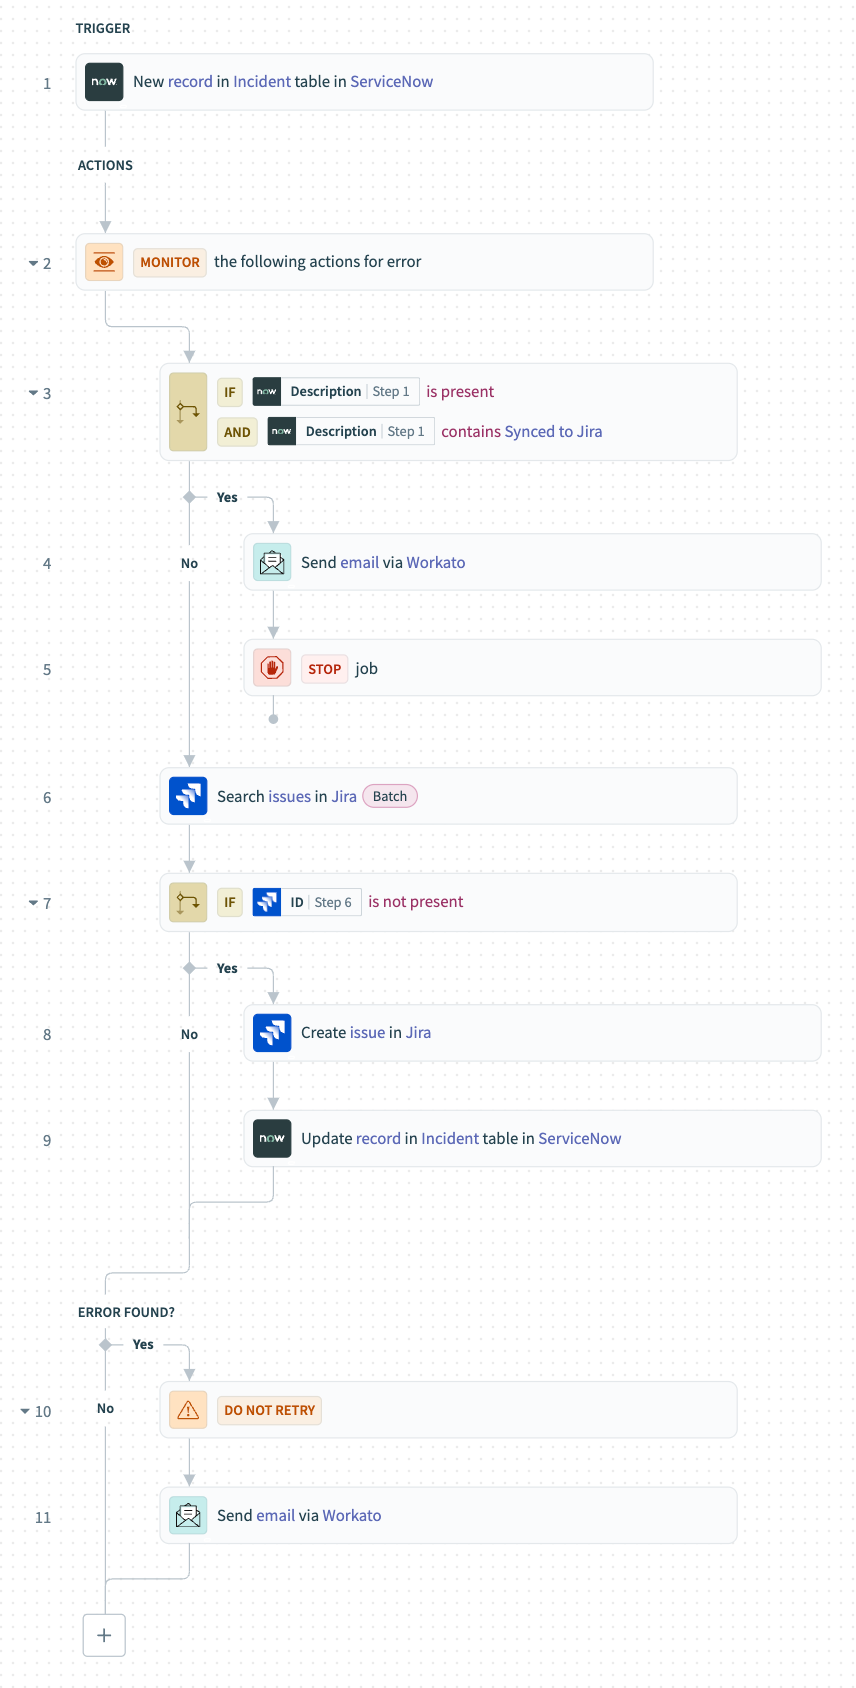 Create Jira issues for new ServiceNow incidents recipe
Last updated: 10/14/2025, 5:37:34 PM