# Export Workday workers to CSV with Python and upload to Google Drive recipe
This use case guides you through connecting Workday, Python snippets by Workato, and Google Drive to create a powerful automation.
# What does this recipe do?
This recipe performs a daily search for workers in Workday, converts the output data from JSON to CSV format using Python, and uploads the resulting CSV file to Google Drive.
# Create your recipe
Complete the following steps to create a recipe that searches for workers in Workday, converts the output JSON data into CSV format using Python, and uploads the CSV file to Google Drive:
USE CASES ARE INTENDED AS EXAMPLES ONLY
This use case serves as an example. Modifications to triggers, actions, or conditional logic may be necessary to adapt this recipe to your workflow.
Sign in to Workato.
Select the project where you plan to create the recipe.
Create connections for Workday and Google Drive:
WORKATO UTILITY CONNECTORS DON'T REQUIRE SETUP
The Python snippets by Workato connector does not require connection setup.
Create a Workday connection.
# Create a Workday connection
This step creates a connection between Workato and your Workday account.
# Before connecting to Workday
Before integrating with Workday using third-party services like Workato, we recommend using an Integration System User (ISU). Using an ISU ensures that all integration operations are logged under a designated user, separate from regular workflow processes. This is essential as changes to a regular worker’s security profile or their termination could disrupt integrations reliant on their account. For enhanced security, limit each ISU to a single integration system, such as Workato.
Additionally, if your integration involves custom objects in Workday, you must register a Workday API client. This step is required as the Workday REST API requires authentication through an OAuth client setup.
# Authentication requirements
The Workday connector supports both OAuth 2.0 and basic authentication methods. However, OAuth 2.0 authentication is required for working with the Workday REST API and custom objects. We recommend that you avoid using the deprecated Hybrid authentication method.
# Connection setup using OAuth 2.0 authentication
Complete the following steps to configure your Workday connection in Workato using OAuth 2.0 authentication:
Enter a unique Connection name to identify your Workday account in Workato.
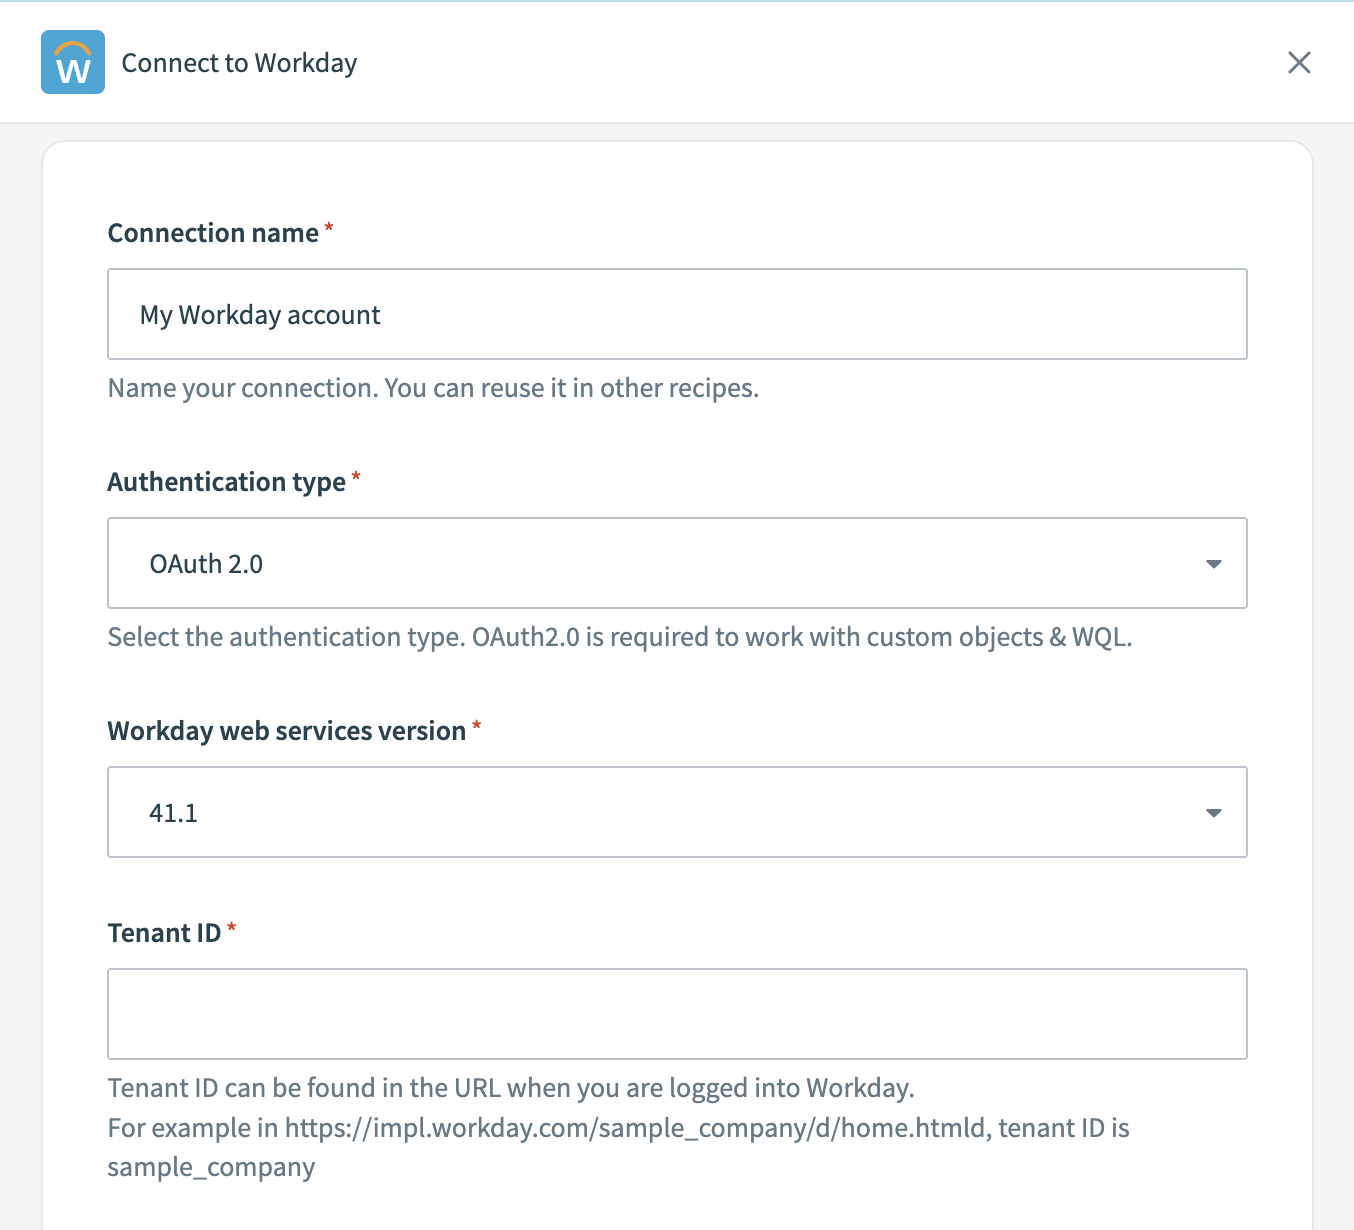 Label your connection
Choose OAuth 2.0 as the Authentication type. This method is required for working with custom objects and for querying data using Workday Query Language (WQL) with the Workday REST API.
Select the Workday web services version appropriate for your Workday tenant. We recommend choosing the newest version available for access to the latest features and updates.
Locate and enter your Tenant ID from the URL when logged into Workday. For example, in https://impl.workday.com/sample_company/d/home.htmld, the tenant ID is sample_company.
Provide the WSDL URL associated with your Workday services.
Enter the Client ID and Client Secret from your API client settings.
Optional. Input your Refresh token if you are using an API client for integrations.
Enter your Authorization endpoint and Token endpoint from your API Client settings to complete the OAuth flow.
Select the Workday tenant timezone that matches your Workday tenant's settings. By default, Workday uses Pacific Standard Time (PST).
Optional. Click Advanced settings to configure the Advanced XML payload for multiple ID values field.
Workato wraps each value in fields with multiple values within individual containers when constructing the XML from your input by default.
For example:
<languages><language>english</language></languages><languages><language>chinese</language></languages>
Set the value to Yes to allow Workato to unwrap and present the values in a single container:
<languages><language>english</language><language>chinese</language></languages>
Consider setting this field to Yes if you encounter invalid payload errors.
Review the information you entered to ensure it's correct.
Click Connect to initiate the authorization process and complete the connection setup.
# Connection setup using basic authentication
Complete the following steps to set up your Workday connection in Workato with basic authentication:
Enter a unique Connection name to identify your Workday account in Workato.
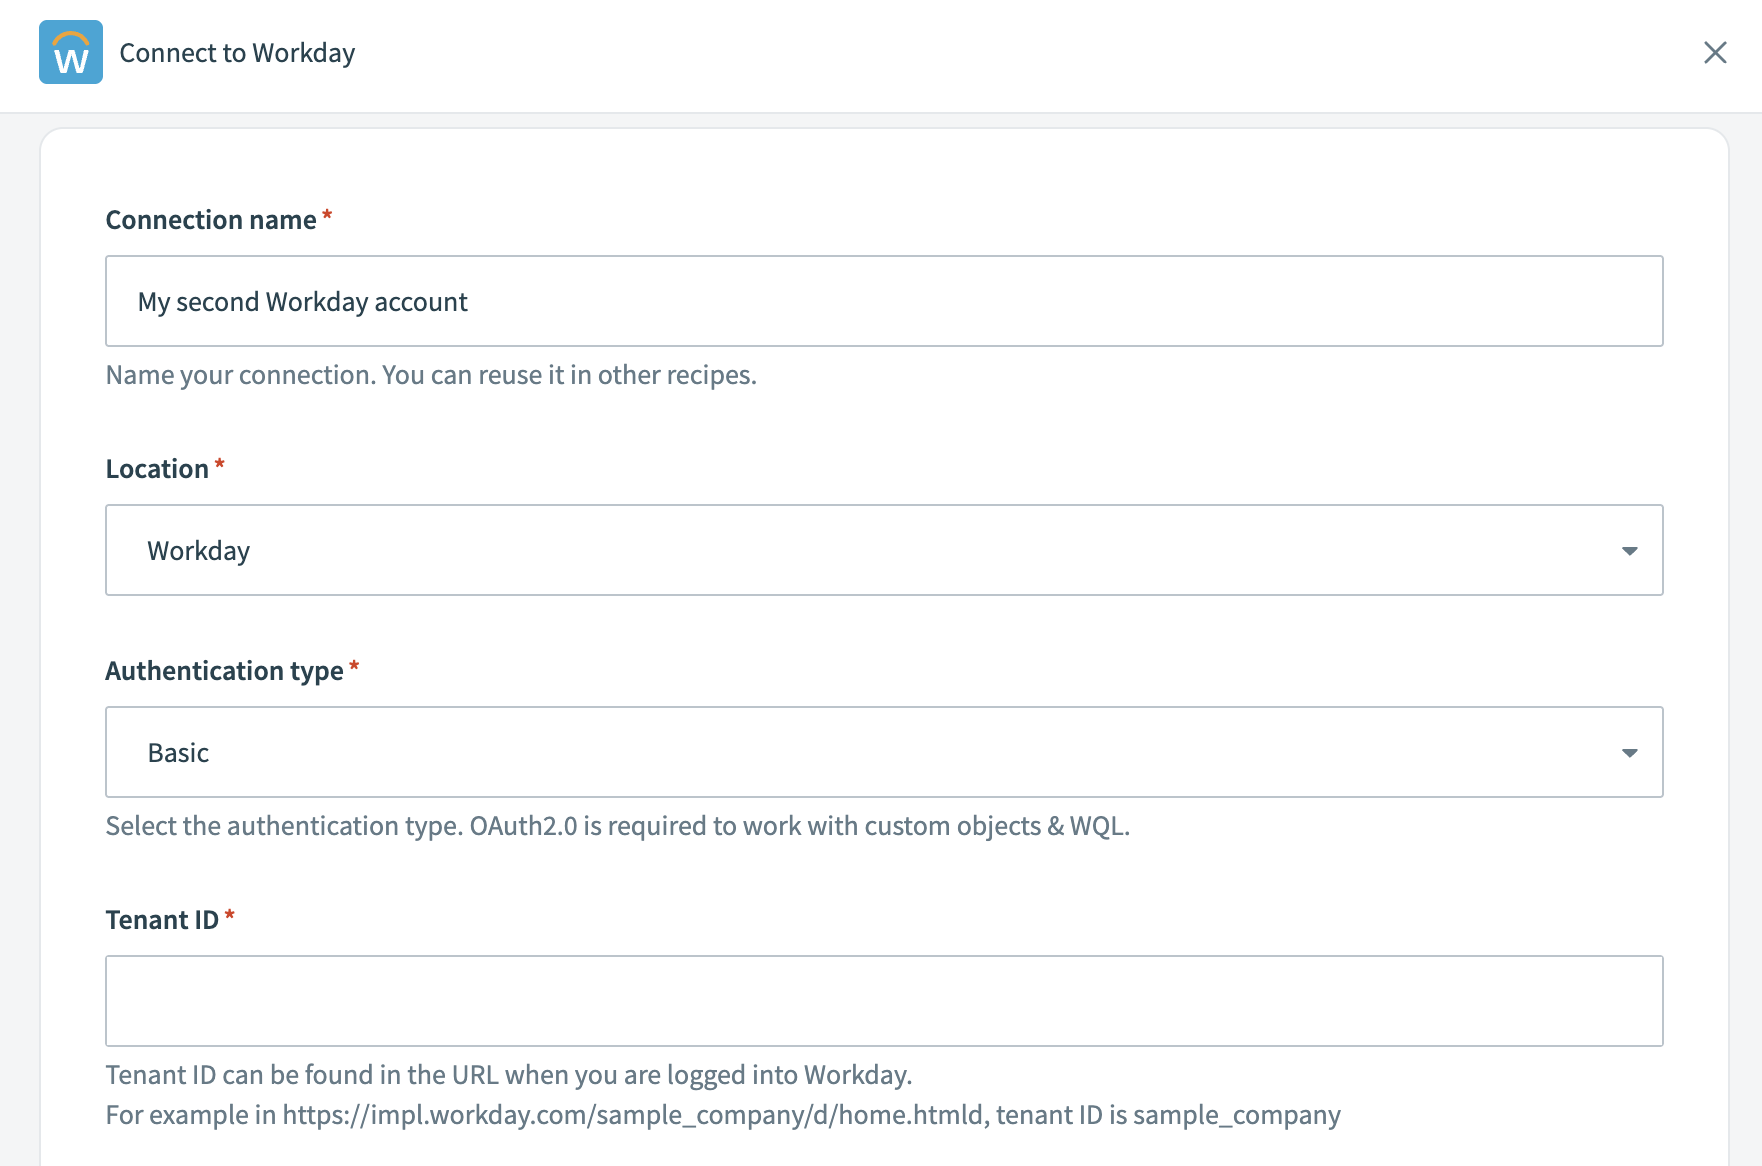 Label your connection
Select Basic as the Authentication type. This method uses your Workday username and password for integration.
Select the Workday web services version appropriate for your Workday tenant. We recommend choosing the newest version available to access the latest features and updates.
Locate and enter your Tenant ID from the URL when logged into Workday. For example, if your URL is https://impl.workday.com/sample_company/d/home.htmld, the tenant ID is sample_company.
Provide the WSDL URL associated with your Workday services.
Input your Workday Login name and Password.
Select your Workday tenant timezone that matches your Workday tenant's settings. By default, Workday uses Pacific Standard Time (PST).
Click Advanced settings to configure the Advanced XML payload for multiple ID values field. By default, fields with multiple values are wrapped within a container. Set this option to yes to unwrap the values.
Review the information you entered to ensure it's correct.
Click Connect to initiate the authorization process and complete the connection setup.
Create a Google Drive connection.
# Create a Google Drive connection
This step creates a connection between Workato and your Google Drive account.
Click Create > Connection.
Search for and select Google Drive on the New connection page.
Provide a name for your connection in the Connection name field.
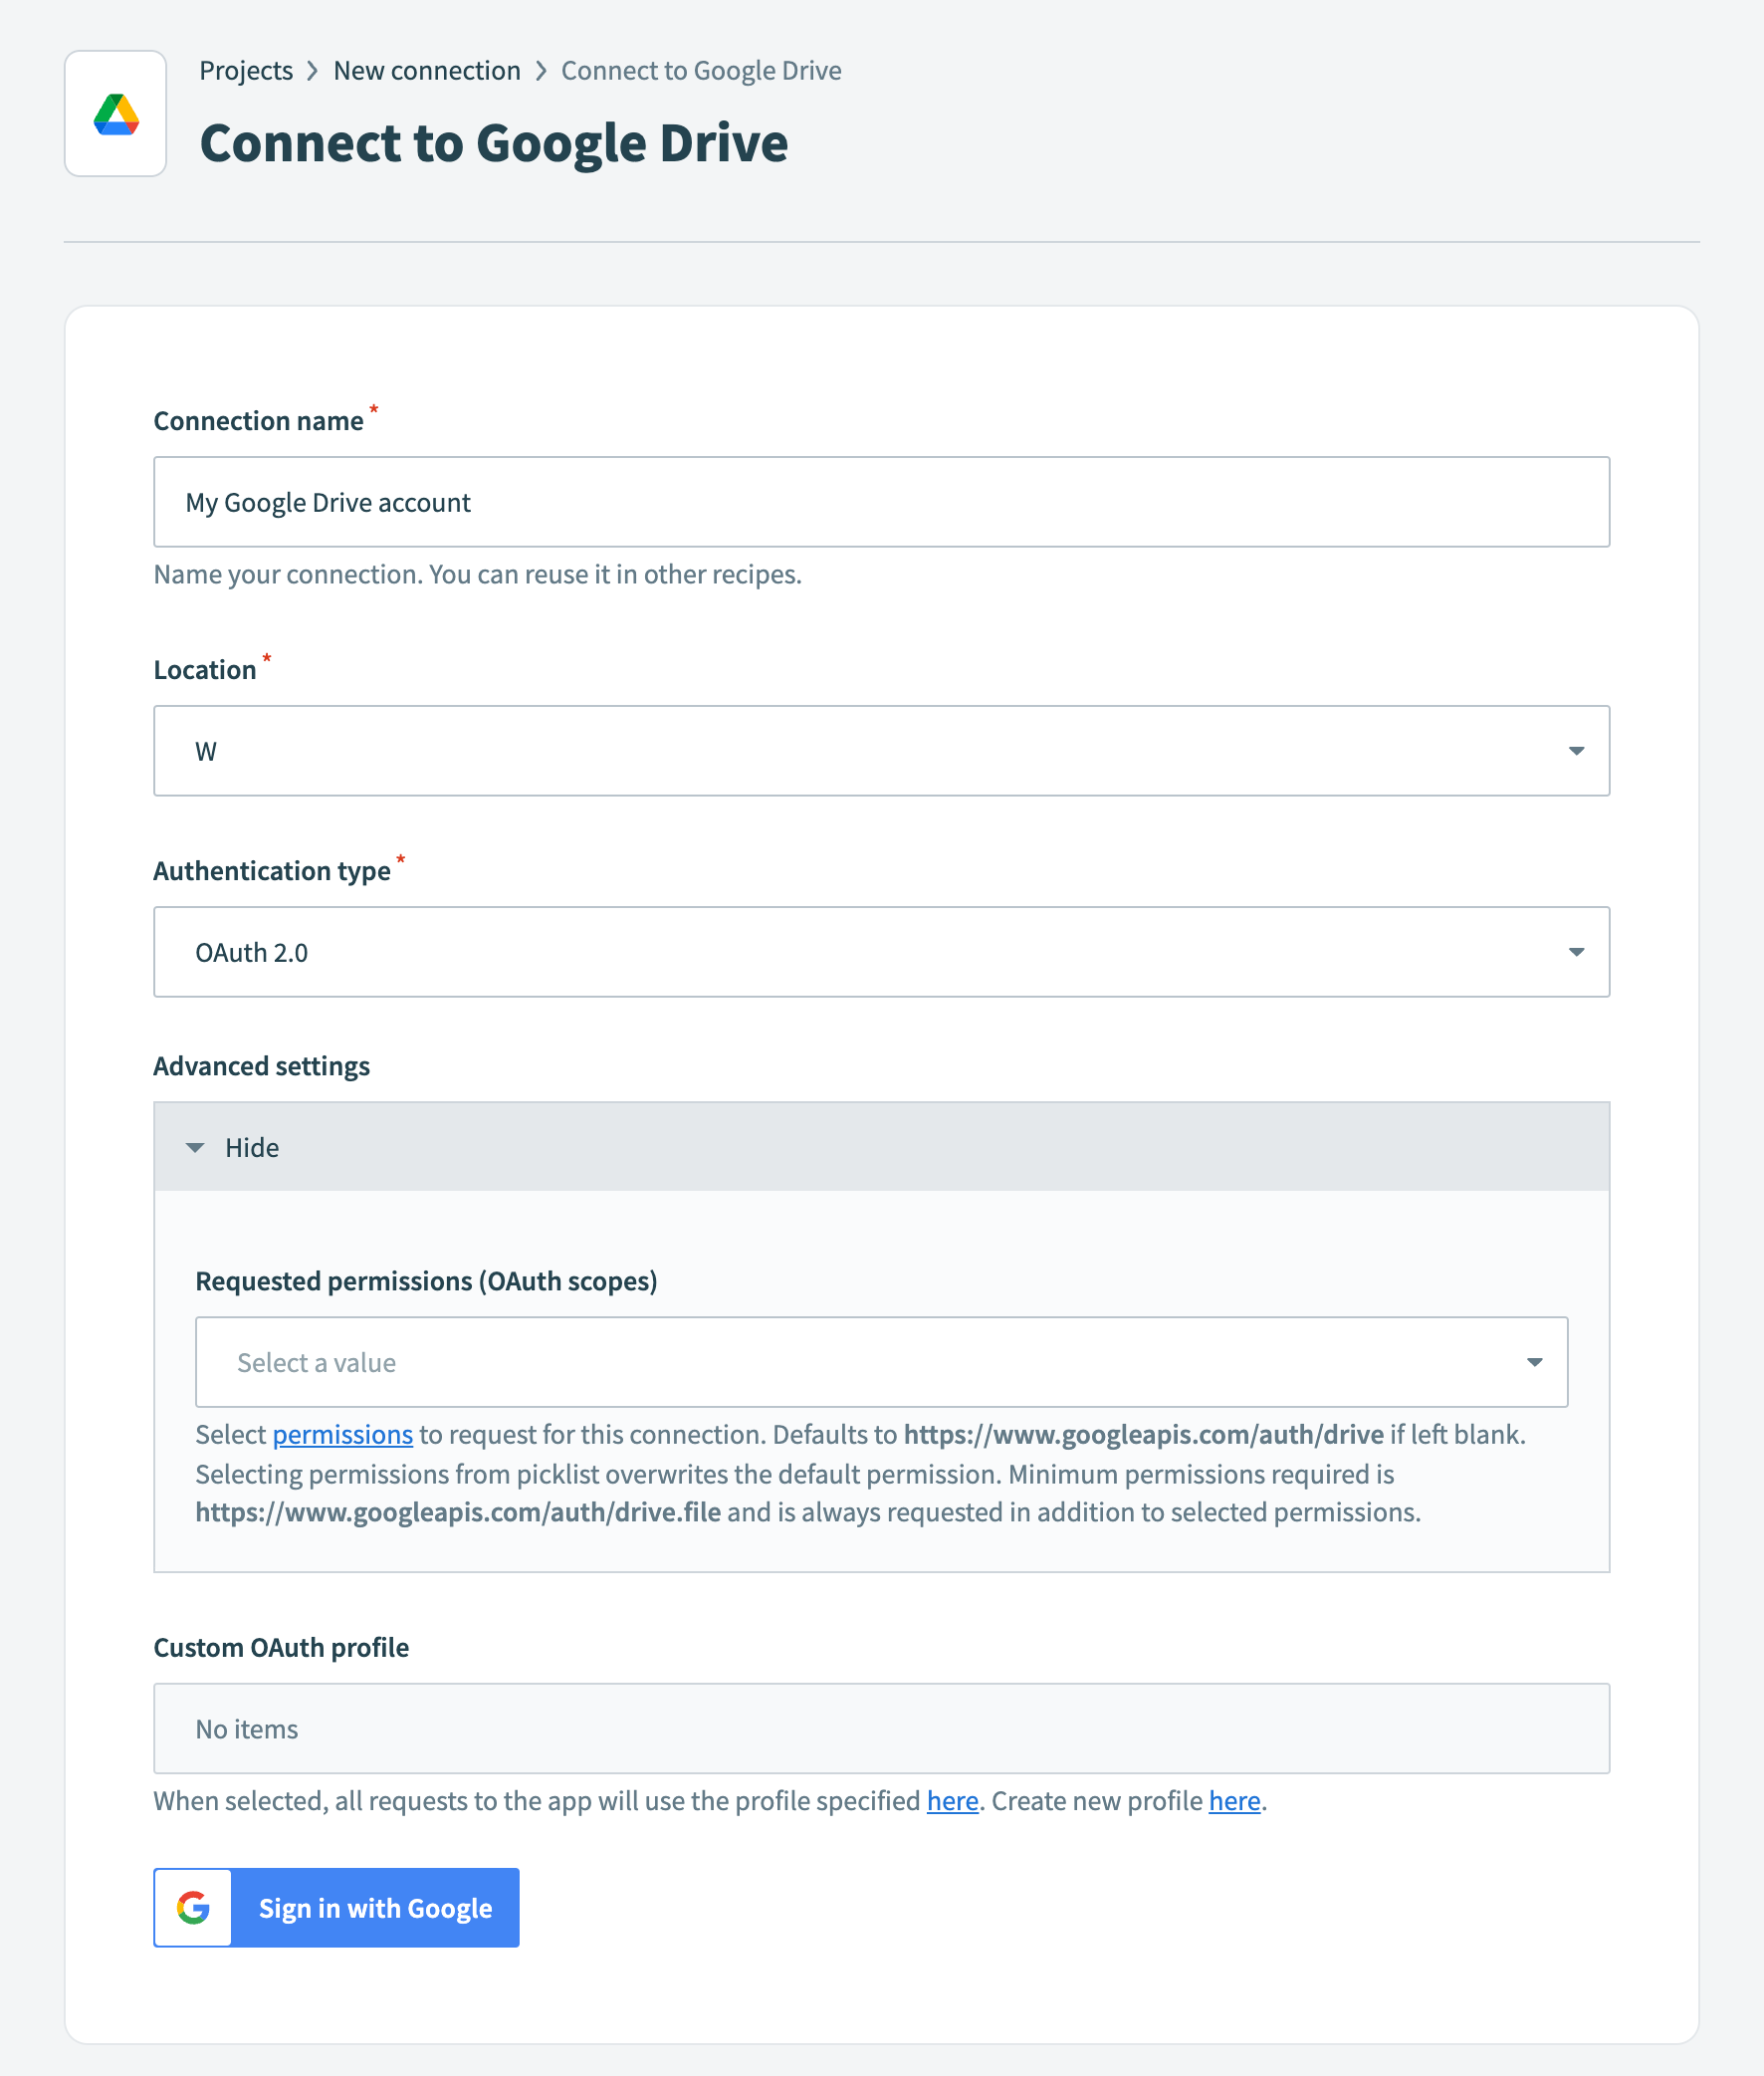 Google Drive
Use the Location drop-down menu to select the project where you plan to store the connection.
Use the Authentication type drop-down menu to select your authentication method. Options include OAuth 2.0 and Service account.
Optional. Expand Advanced settings to select permissions to request for the connection. By default, Workato requests the following permission:
- See, edit, create, and delete all of your Google Drive files
Optional. Use the Custom OAuth profile drop-down menu to select the custom OAuth profile you plan to use for this connection.
Click Sign in with Google.
Select the account you plan to use to connect to Workato.
Review the requested permissions and click Allow.
Go back to your project and click Create > Recipe.
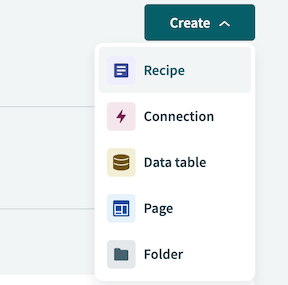 Create a new recipe
Enter a name for your recipe in the Name field.
Select the project where you plan to store the recipe from the Location drop-down menu.
Click Start building.
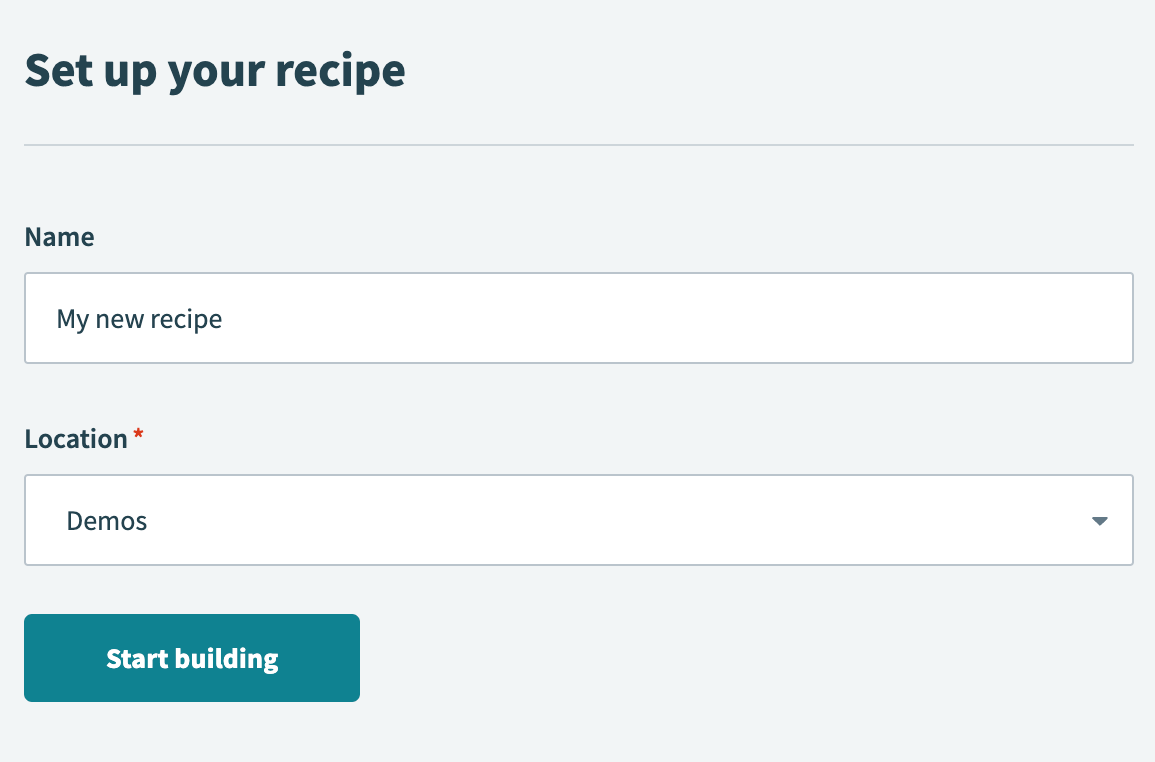 Start building your recipe
Click Pick a starting point, then select Run on a schedule. This creates a new recipe with the Scheduler by Workato New recurring event trigger. This trigger doesn't require a connection.
Set up your Scheduler by Workato New recurring event trigger.
# Set up Scheduler by Workato New recurring event trigger
This trigger sets the interval for how frequently the recipe runs. The Scheduler by Workato trigger doesn't require connection setup.
Click the trigger in the recipe editor.
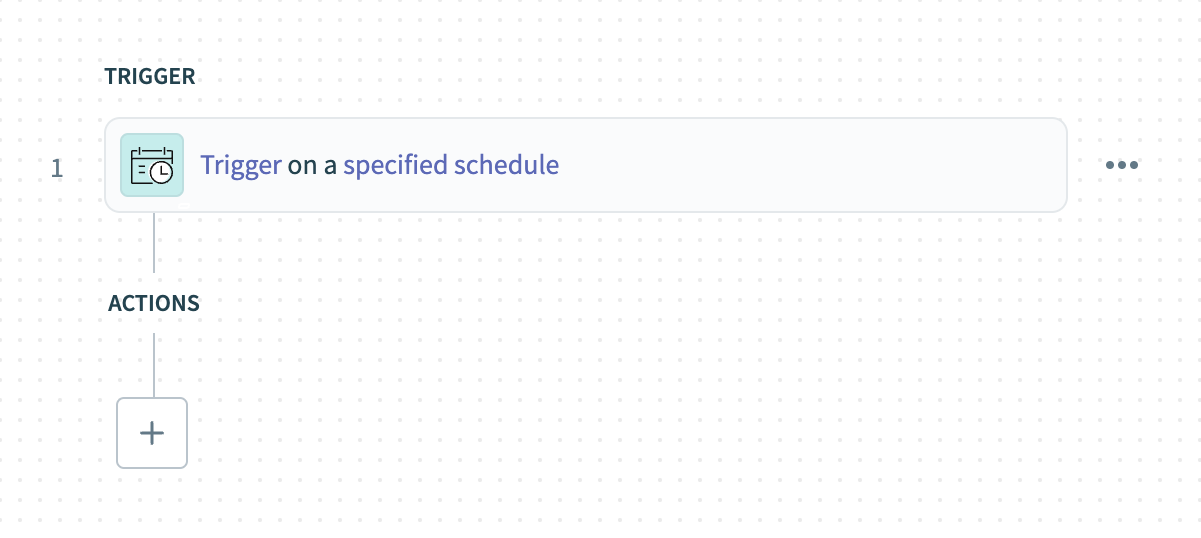 Click the trigger
Use the Time unit drop-down menu to select Days.
- Available options include Minutes, Hours, Days, Weeks, Months, or Custom schedule.
Enter 1 in the Trigger every field to run the recipe daily.
Specify the time for the recipe to run in the Trigger at field. For example, enter 12:00 AM.
Optional. Select the timezone in the Timezone field. If left blank, the default is America/Los_Angeles.
Optional. Set the start date and time in the Start after field, or leave it blank to activate the trigger immediately after you start the recipe. You can't change this value after you run or test the recipe.
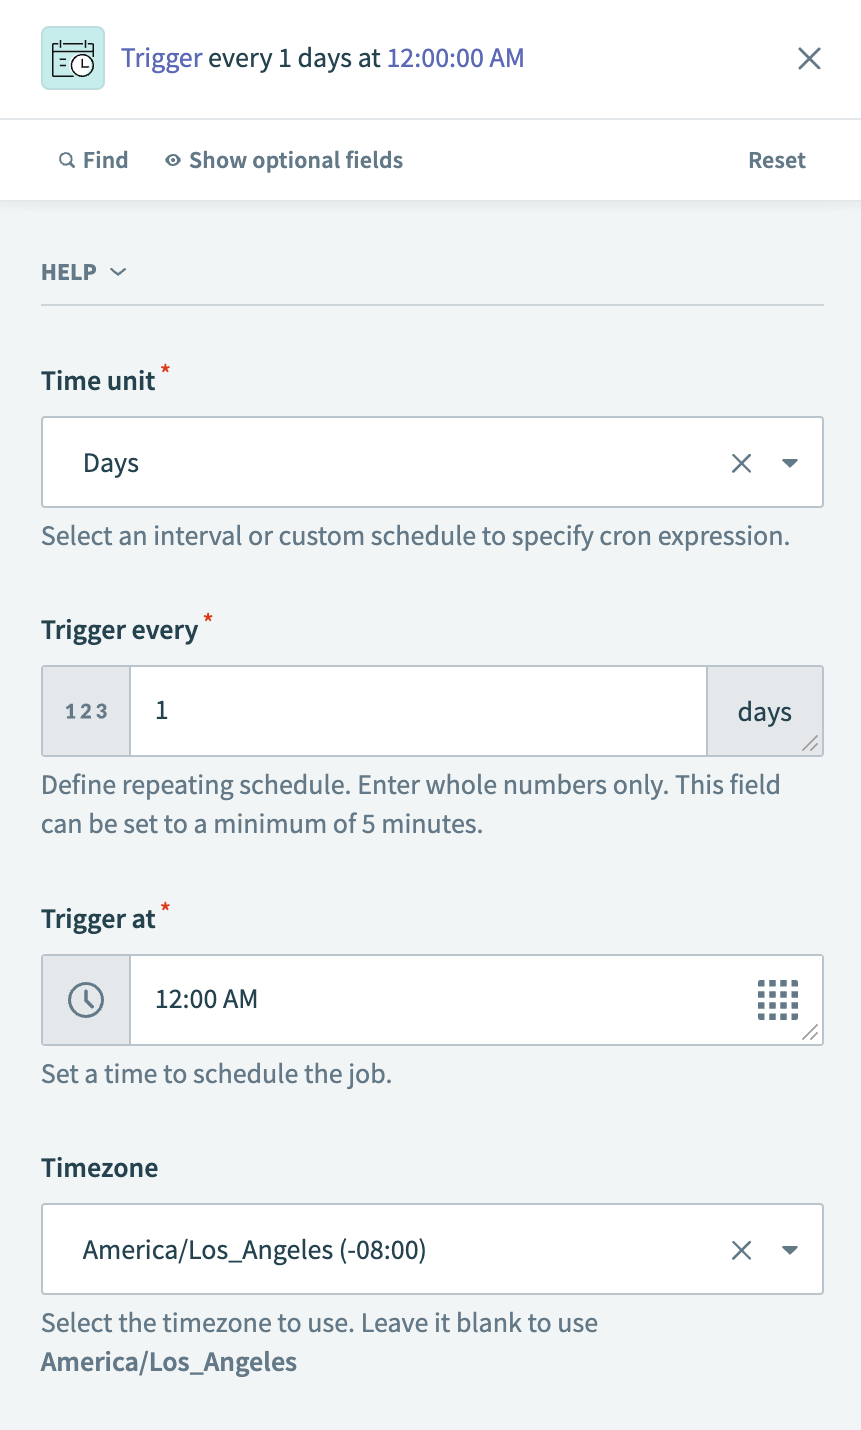 Configure the trigger
Click Save.
Click + Add step and select Action in app.
 Click Add step > Add action in app
Set up your Workday Search business object batch action.
# Set up Workday Search business object batch action
This step searches for workers in batches in Workday.
Search for Workday and select it as your app.
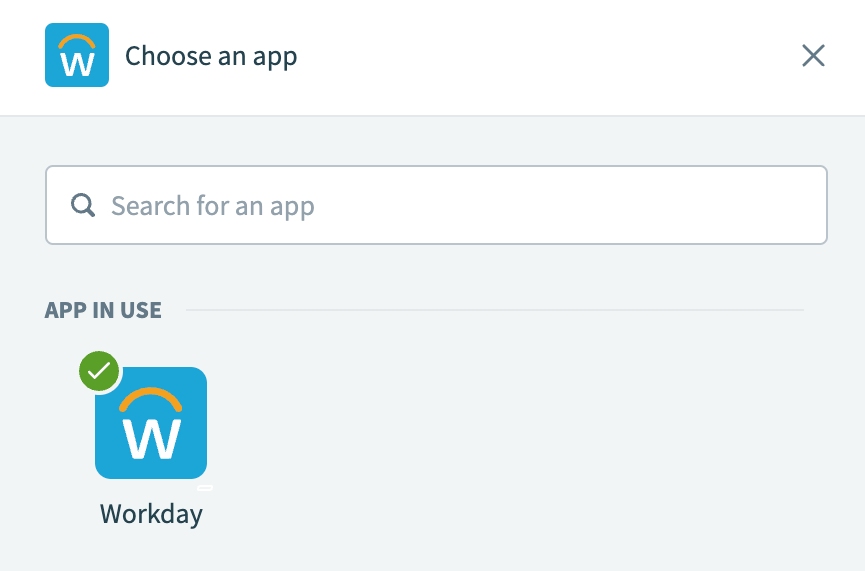 Choose Workday
Select the Search business object (batch) action.
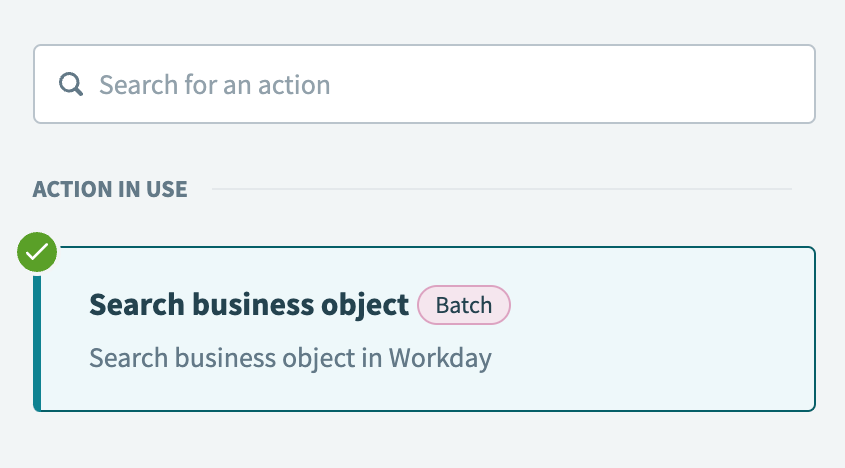 Select the Search business object action
Select the Workday connection you created in the preceding steps.
Use the Business object drop-down menu to select Workers.
Search for workers in Workday
Click Save.
Click + Add step and select Action in app.
Set up your Python snippets by Workato Execute code action.
# Set up Python snippets by Workato Execute code action
This step takes the Search workers in Workday step output, which is in JSON format, and converts the output to CSV format using Python.
Search for Python snippets by Workato and select it as your app. The Execute code action is selected automatically, as it is the only available action for this connector.
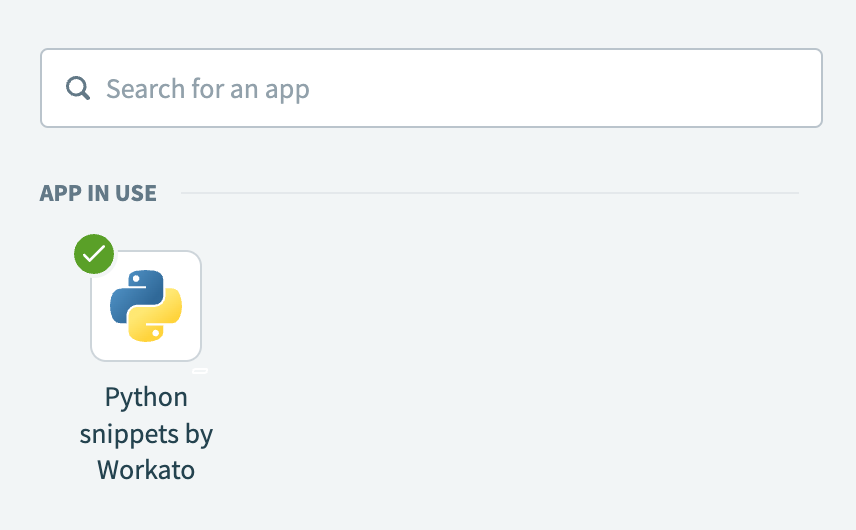 Choose Python
Enter Convert JSON to CSV in the Name field to specify what this step does. This updates the action title in the recipe editor.
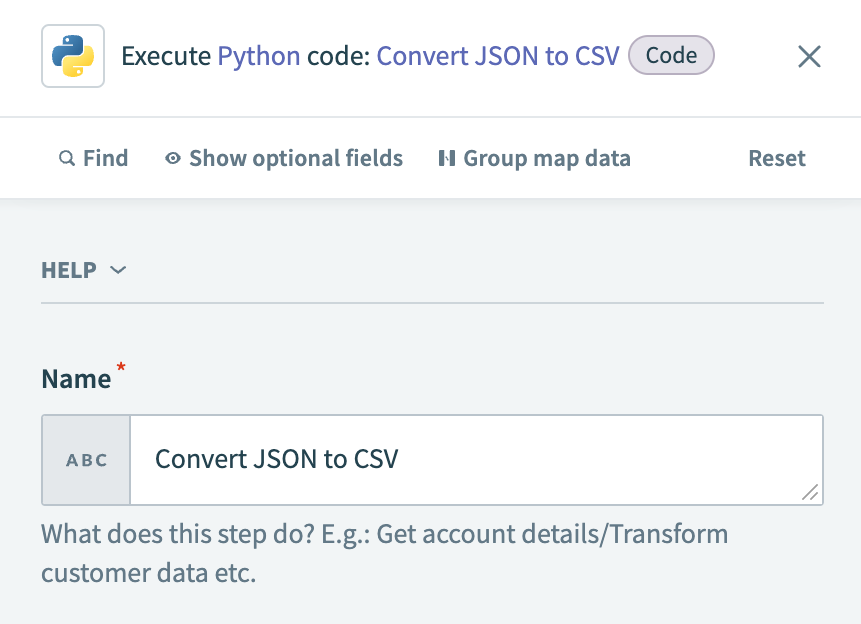 Specify the step purpose
Go to Input fields and click Add field to open the Add new field dialog.
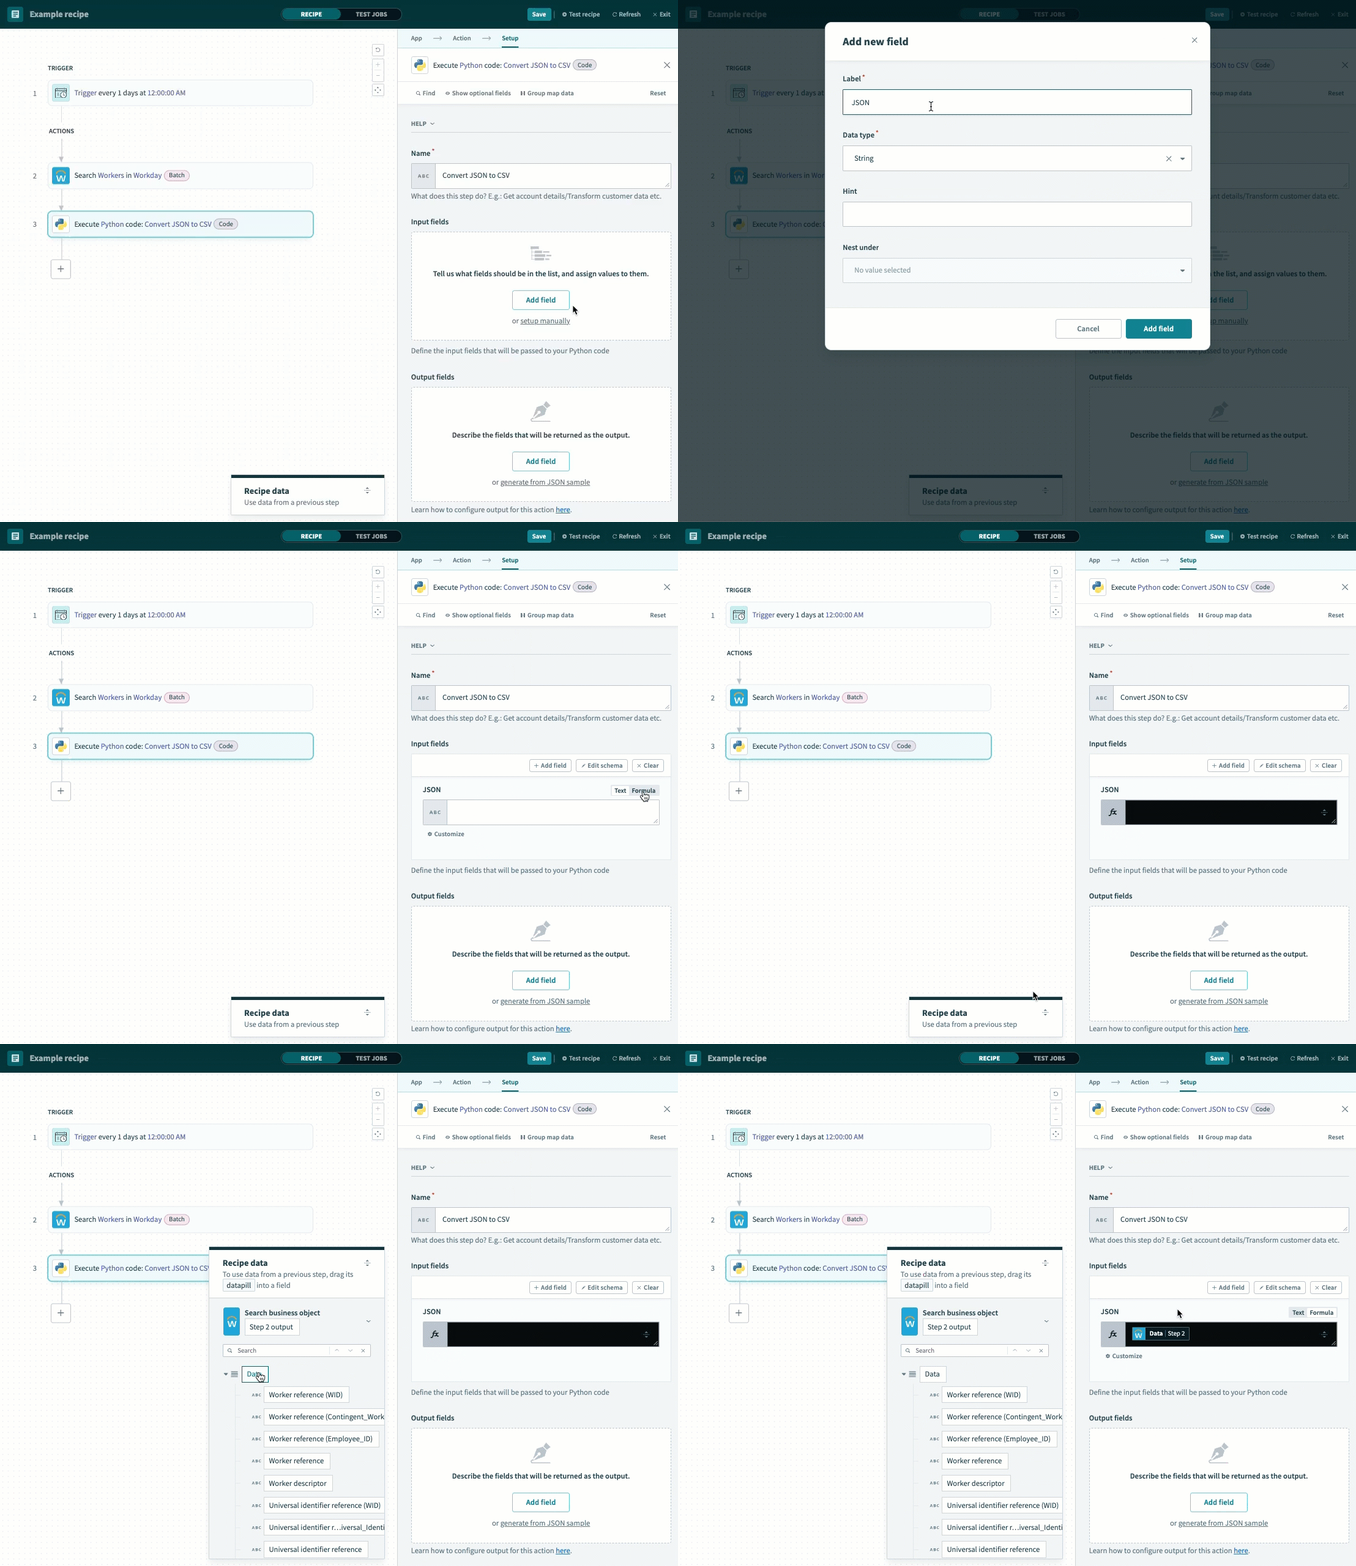 Add input field
Enter JSON in the Label field.
Click Add field.
Switch the JSON field to formula mode and map the Workday Data Step 2 list datapill. Mapping this list datapill requires the field to be in formula mode.
Go to Output fields and click Add field to open the Add new field dialog.
Enter csv in the Label field.
Click Add field. This adds the csv field to the output schema:
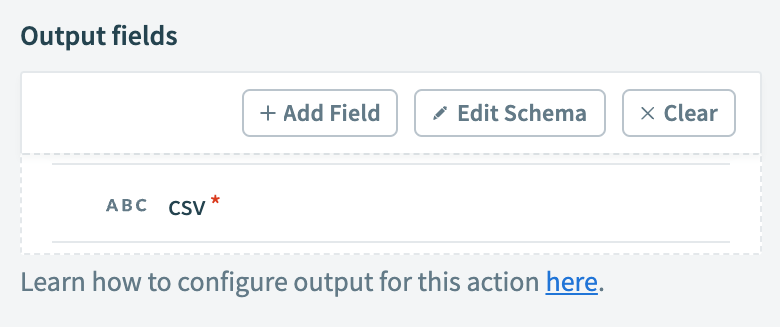 Add the CSV output field
Clear the content in the Code field.
Copy and paste the following Python code into the Code field:
# Import required libraries
import pandas as pd
import base64
import io

def main(input):
  # Normalize the JSON data to flatten nested structures into a flat table format
  normalized_json = pd.json_normalize(input['JSON'])

  # Remove the 'Worker_' prefix from all column names for cleaner headers
  normalized_json.columns = normalized_json.columns.str.replace('Worker_', '')

  # Drop any columns that contain 'Compensation_' in their name to exclude compensation data
  normalized_json = normalized_json[normalized_json.columns.drop(list(normalized_json.filter(regex='Compensation_')))]

  # Convert the modified DataFrame to CSV format as a string without the index column
  csv = normalized_json.to_csv(path_or_buf=None, index=False)

  # Return the CSV data as a dictionary output
  return { 'csv': csv }
This code takes a JSON input, normalizes it into a flat table format, removes Worker_ from the column names, excludes any columns containing Compensation_, and converts the resulting data into a CSV format. The code then returns the CSV content as a string.
Click Save.
Click + Add step and select Action in app.
Set up your Google Drive Upload file action.
# Set up Google Drive Upload file action
This step uploads the CSV output from the previous step to a folder you specify in Google Drive.
Search for Google Drive and select it as your app.
 Choose Google Drive
Select the Upload file action.
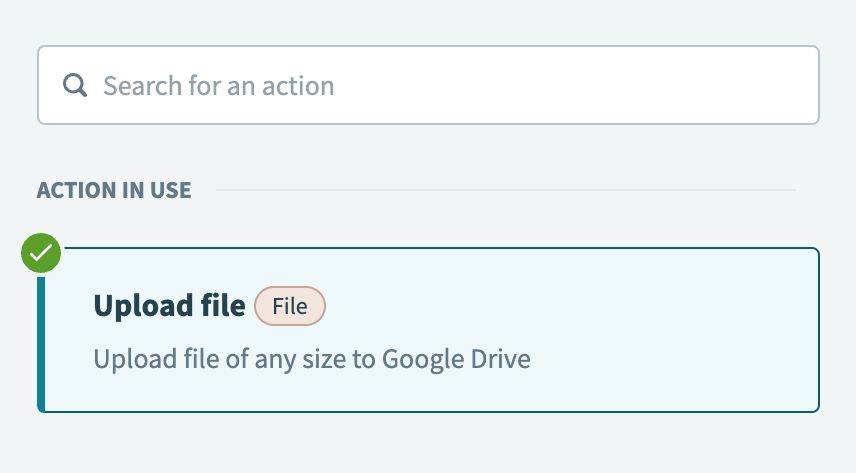 Select the Upload file action
Map the Python snippets by Workato Csv Step 3 datapill to the File contents field.
 Map the Csv Step 3 datapill
Switch the File name field to formula mode and enter the following:
"Workday-flattened-#{today}.csv"
This formula creates the name for the CSV file in the following format: Workday-flattened-YYYY-MM-DD.
 Configure the file name
Use the Parent folder drop-down menu to select the folder where you plan to upload this file. This example selects a folder named Workday-workers-flattened as the parent folder.
Click Show optional fields and select Upload file MIME type.
Click Apply changes to show this field.
Enter text/csv in the Upload file MIME type field.
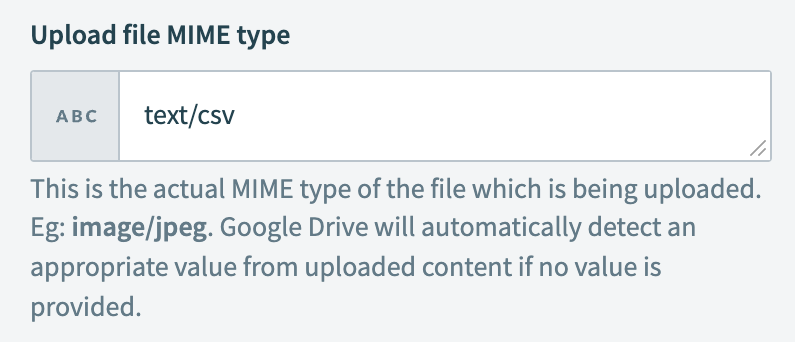 Specify the file type
Click Save.
Your Export Workday workers to CSV with Python and upload to Google Drive recipe is ready to test and implement.
Example recipe configuration.
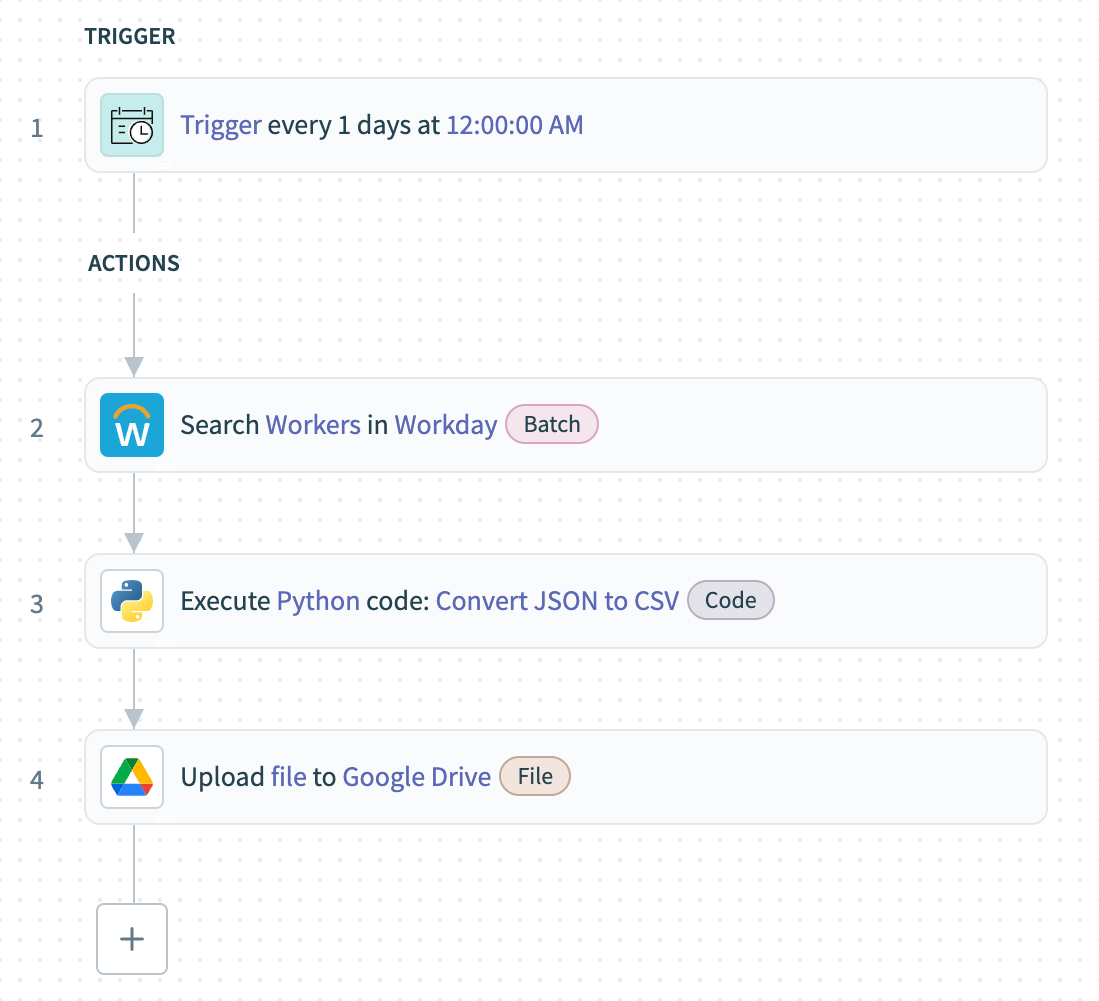 Export Workday workers to CSV with Python and upload to Google Drive recipe
Last updated: 12/22/2025, 5:25:59 PM