Create Zendesk and Jira issues with Workbot for Slack recipe
This use case guides you through connecting Zendesk, Jira, and Workbot for Slack to Workato to create a powerful automation.
What does this recipe do?
This recipe enables you to execute a message action in Workbot for Slack, which creates a Zendesk ticket and a Jira issue using the input fields from the trigger's command. After creating these tickets, the details are posted in Slack to a channel or direct message of your choice.
Create your recipe
Complete the following steps to design a recipe that creates a Zendesk ticket and a Jira issue when you run an action command in Workbot for Slack.
USE CASES ARE INTENDED AS EXAMPLES ONLY
This use case serves as an example. Modifications to triggers, actions, or conditional logic may be necessary to adapt this recipe to your workflow.
Sign in to Workato.
Select the project where you plan to create the recipe.
Create connections for Zendesk, Jira, and Workbot for Slack:
Create a Zendesk connection.
Create a Zendesk connection
This step creates a connection between Workato and your Zendesk account. The Zendesk connector supports OAuth 2.0 authentication.
DEPRECATED AUTHENTICATION METHODS
Effective March 31, 2026, you can no longer create new Zendesk connections using Basic authentication or Custom OAuth profiles. This change is required by Zendesk's updated Developer Terms.
Existing connections using these authentication methods will continue to work until December 31, 2026. On this date, Zendesk connections still using Basic authentication or a Custom OAuth profile will be terminated, and recipes relying on these connections will stop functioning.
Click Create > Connection or press C twice.
Search for and select Zendesk on the New connection page.
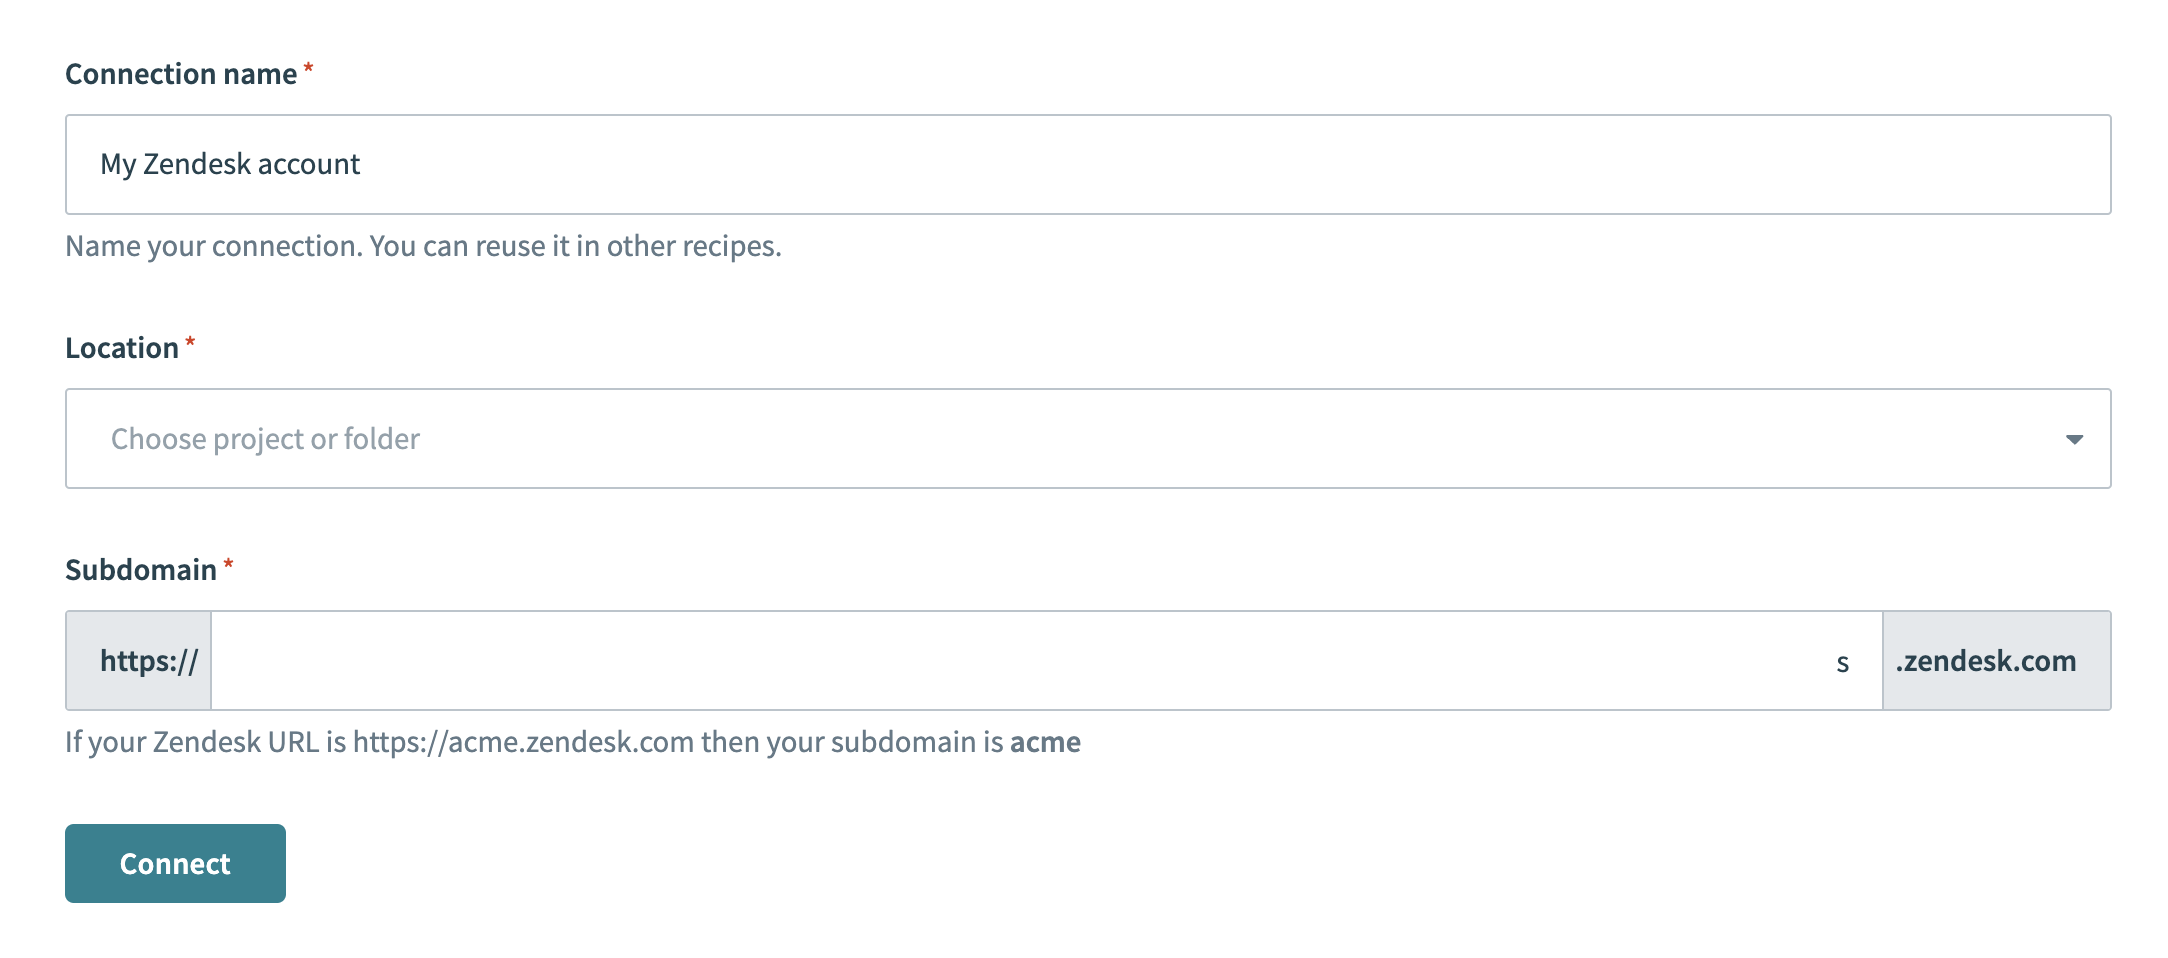
Provide a name for your connection in the Connection name field.
 Zendesk connection setup
Use the Location drop-down menu to select the project where you plan to store the connection.
Enter the Subdomain for your Zendesk URL. For example, if your Zendesk URL is https://acme.zendesk.com, your subdomain is acme.
Click Connect.
Create a Jira connection.
Create a Jira connection
This step creates a connection between Workato and your Jira account.
Click Create > Connection or press C twice.
Search for and select Jira on the New connection page.
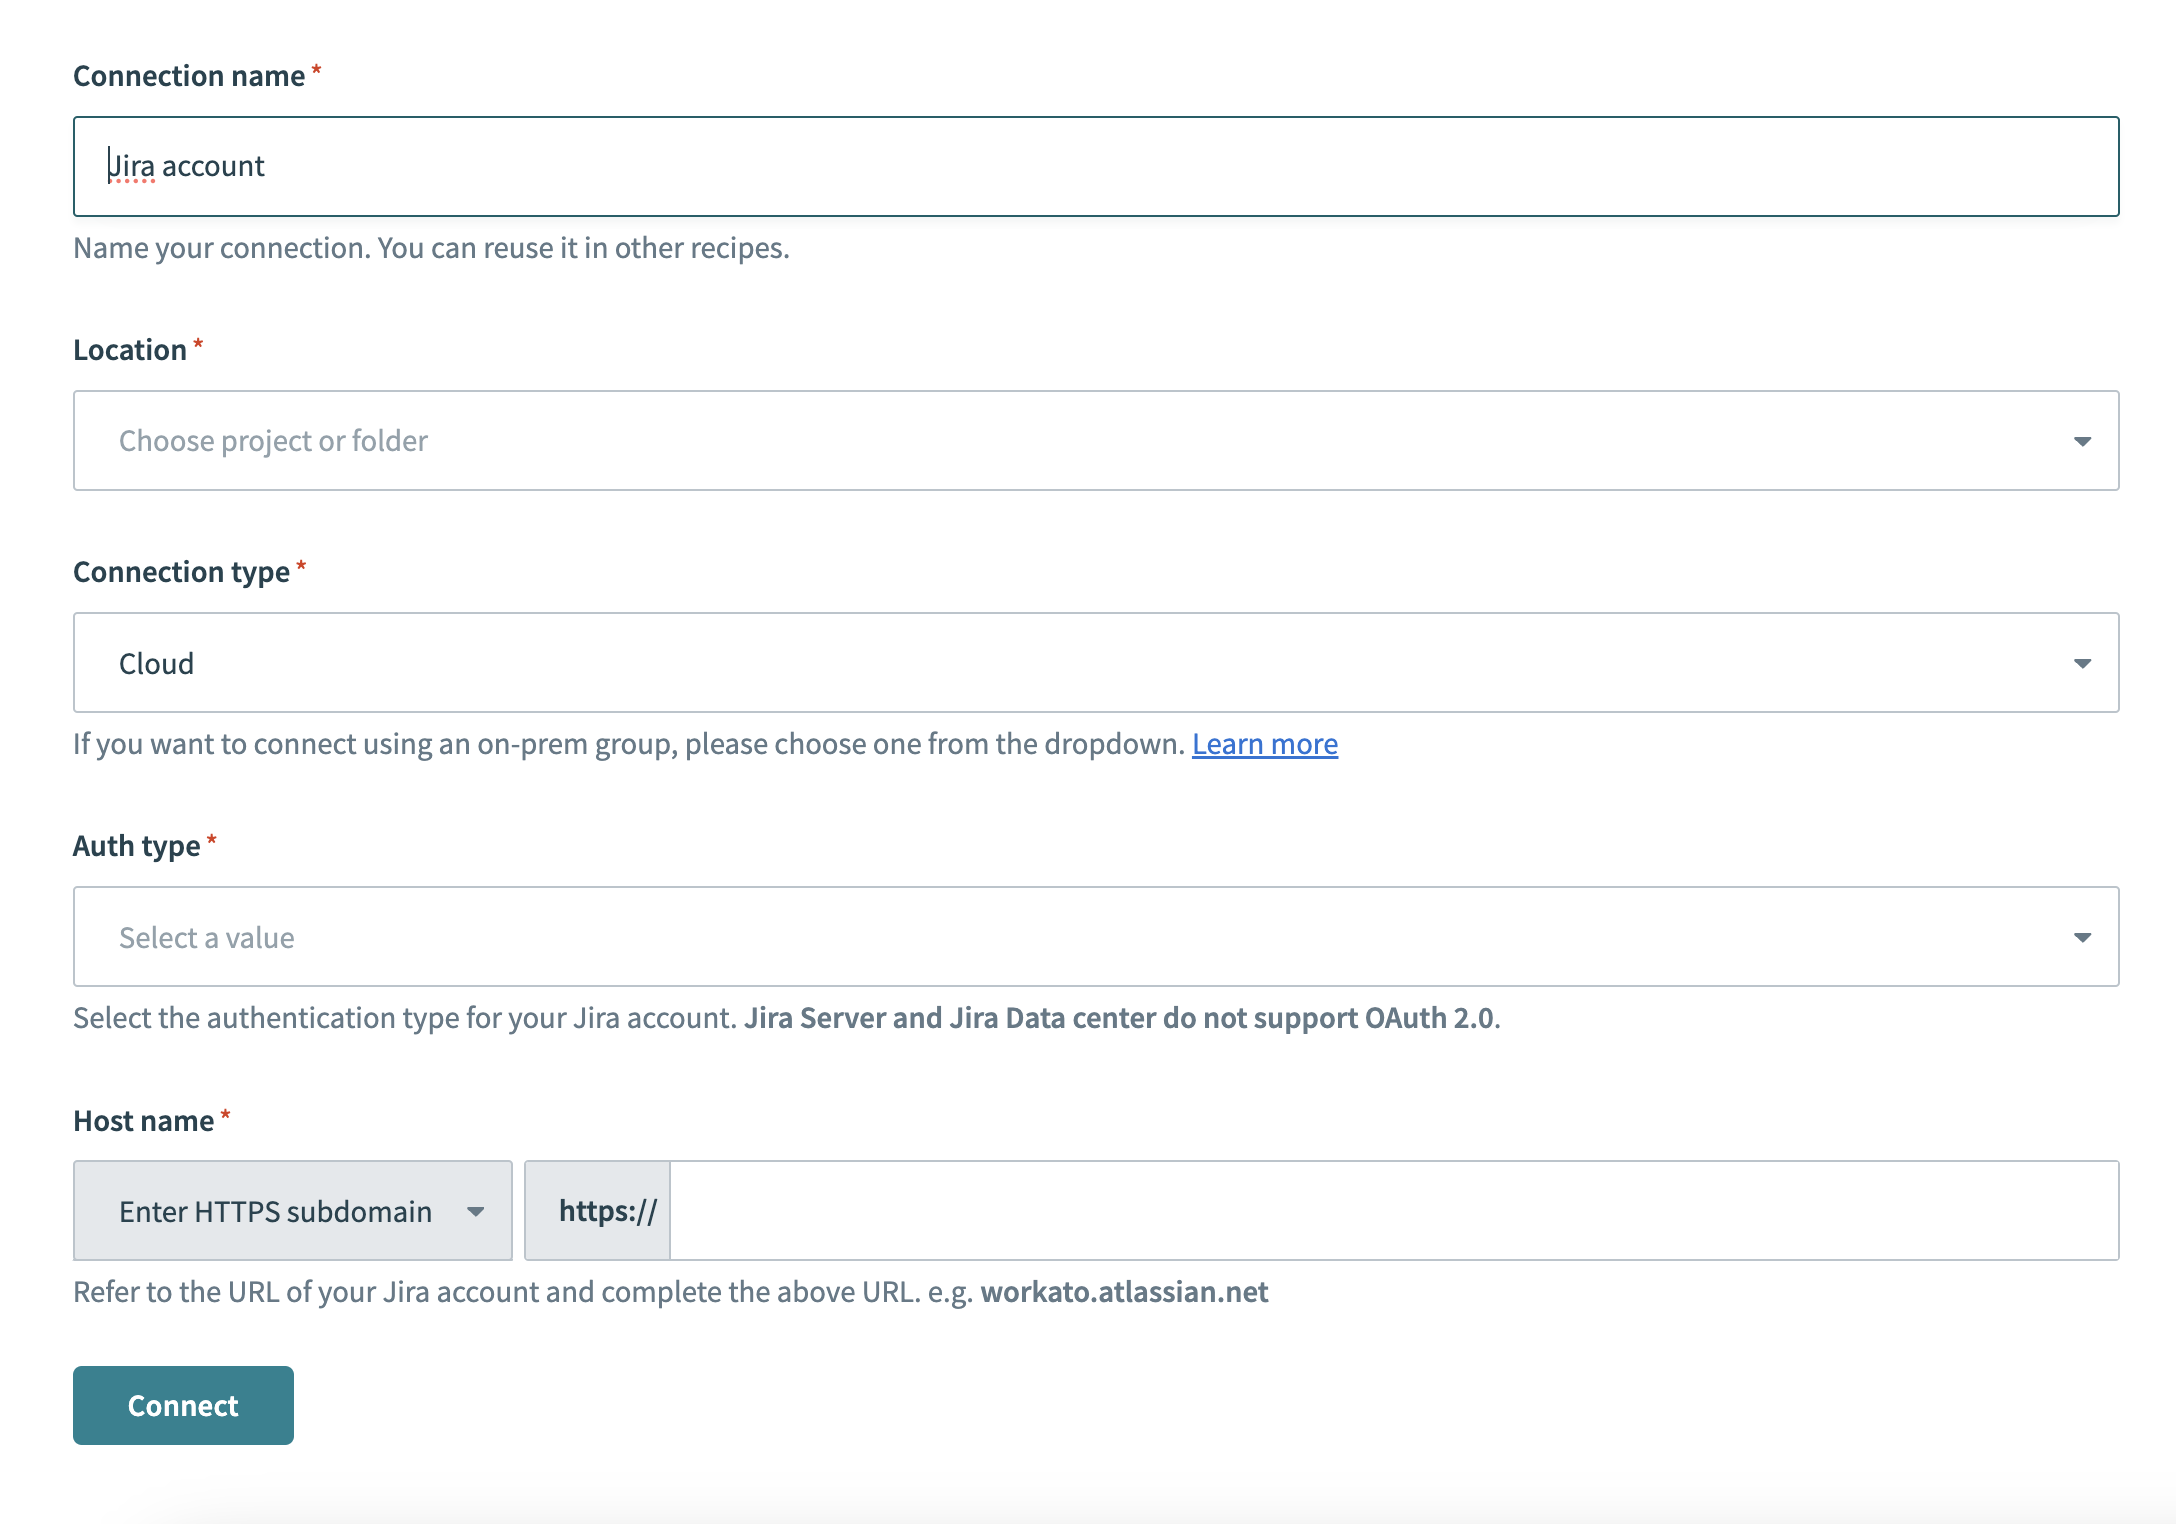
Enter a name for your Jira connection in the Connection name field.
 Jira connection setup
Use the Location drop-down menu to select the project where you plan to store the connection.
Select your Connection type.
Use the Auth type drop-down menu to select your authentication method. Supported options include Basic, API token, OAuth 2.0, and Personal access token.
Provide your Host name. For example, if your Jira URL is https://acme.atlassian.net, your host name is acme.atlassian.net.
Click Connect.
Create a Workbot for Slack connection.
Create a Workbot for Slack connection
This step creates a connection between Workato and your Workbot for Slack account.
Click Create > Connection or press C twice.
Search for and select Workbot for Slack on the New connection page.
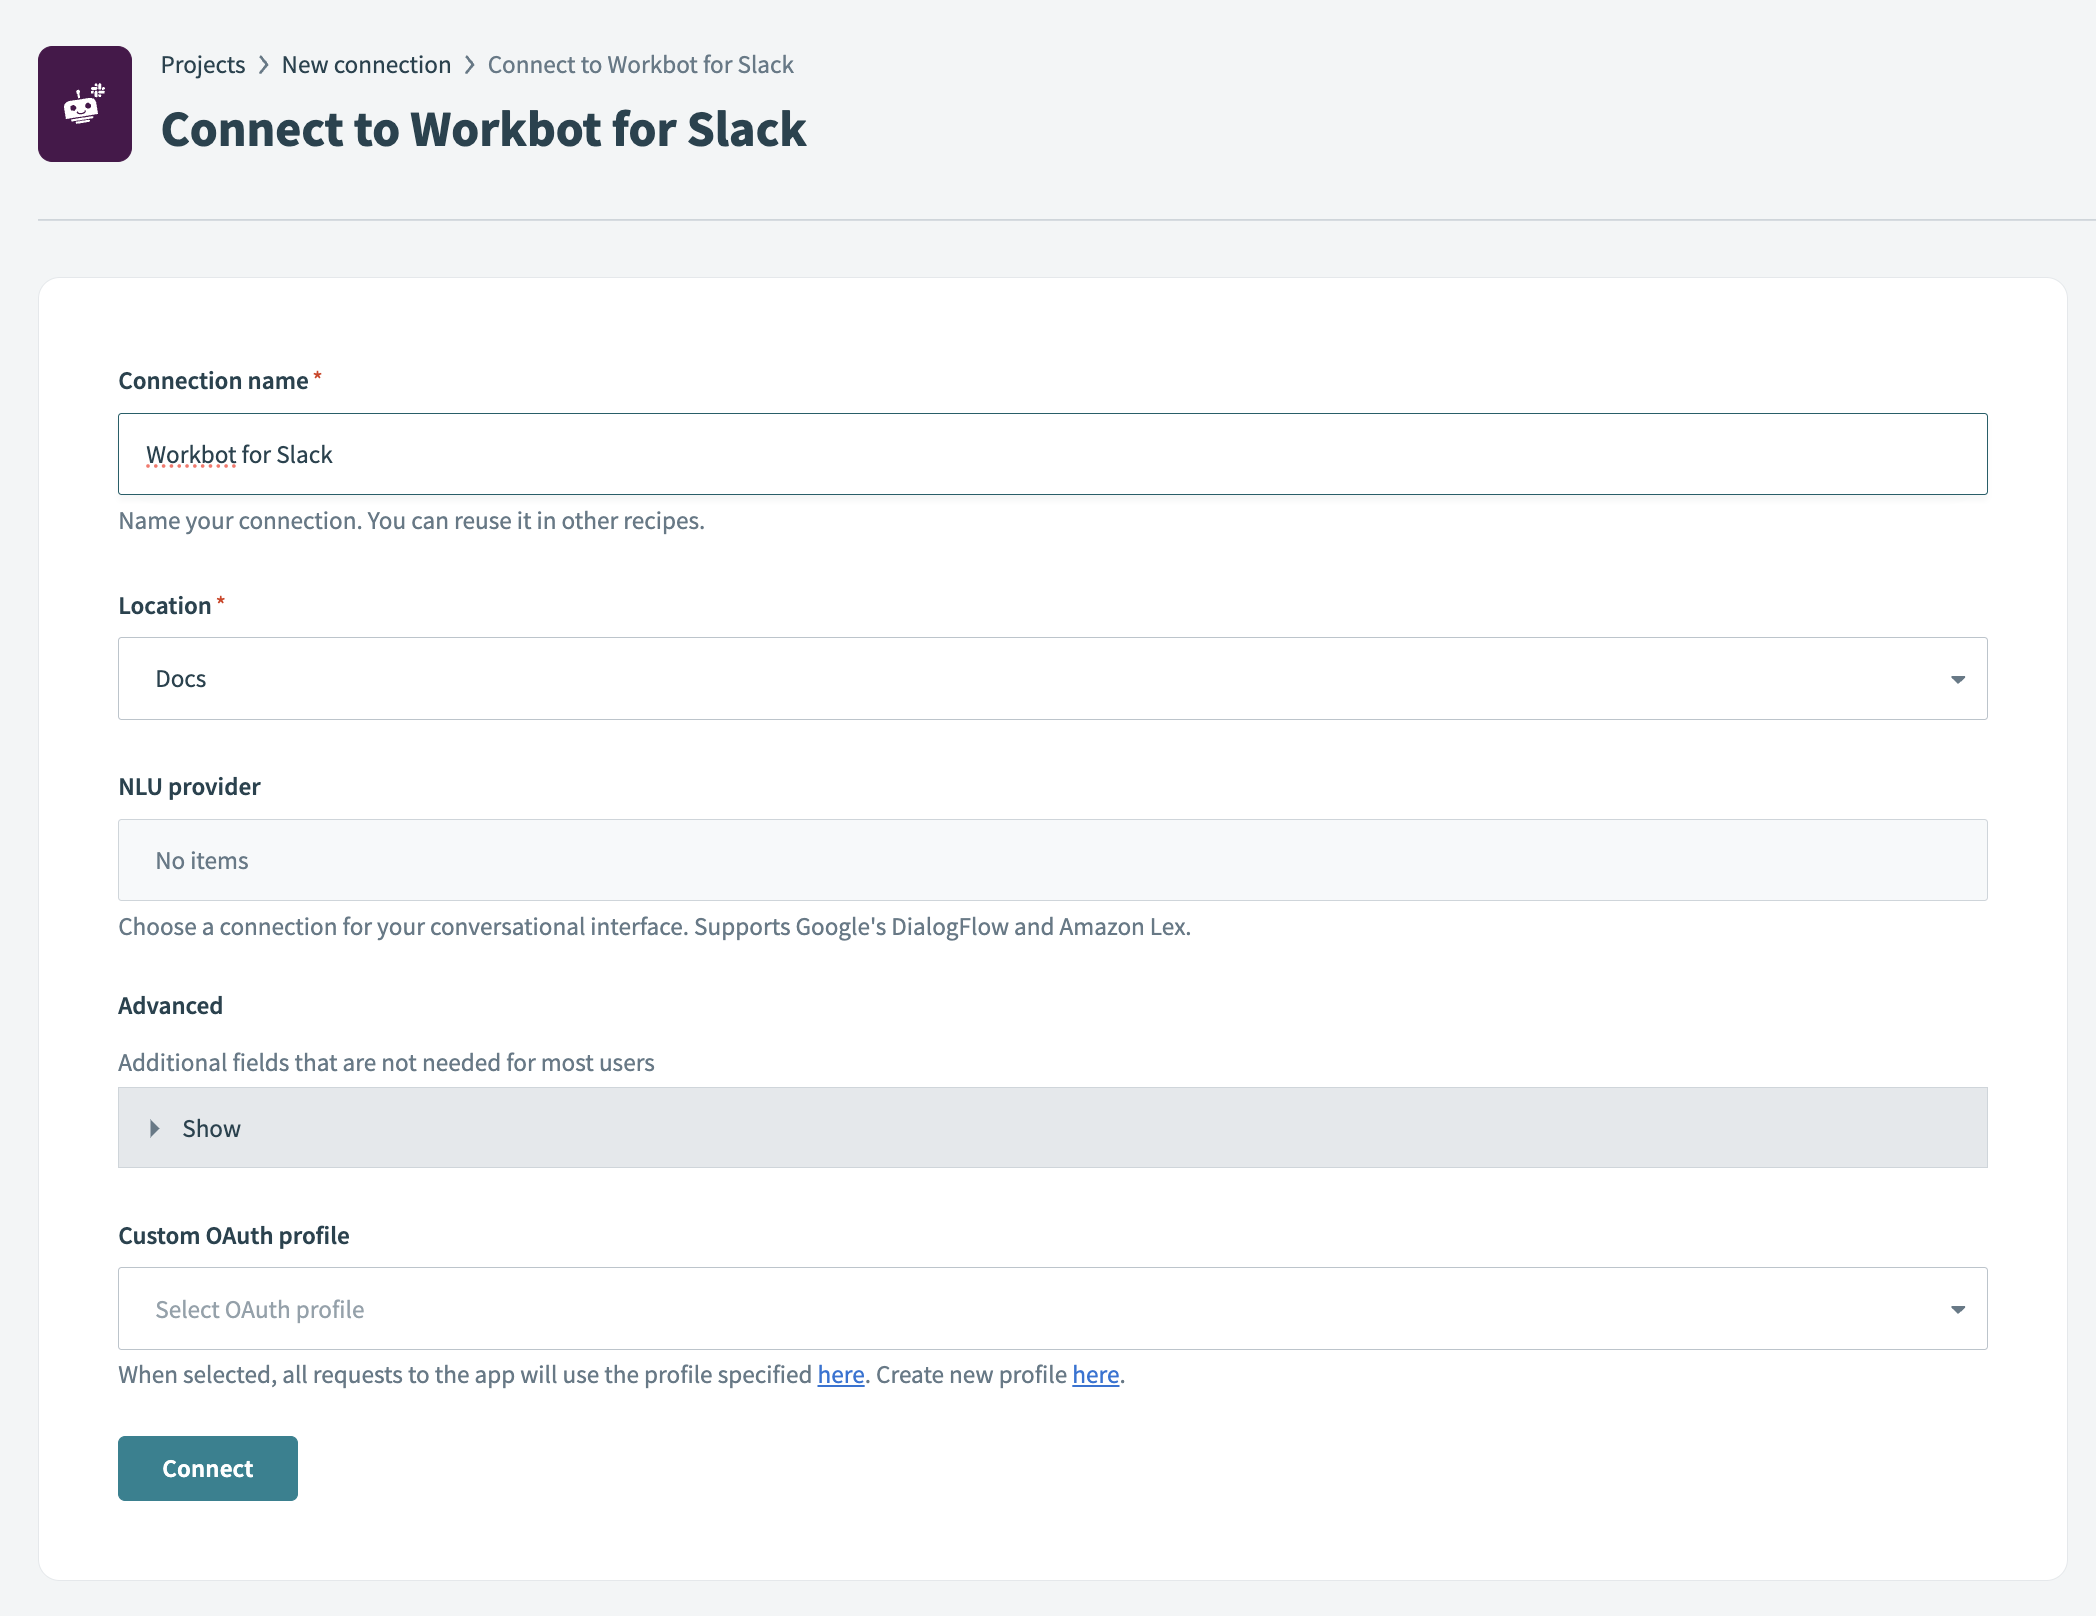
Provide a name for your connection in the Name field.
 Workbot for Slack connection setup
Use the Location drop-down menu to select the project where you plan to store the connection.
Optional. Select the NLU provider you plan to use, such as DialogFlow or Amazon Lex NLU. You must connect to the NLU provider for it to appear in the drop-down menu.
Optional. Click Advanced to configure Slash commands verification tokens, custom help content, your Slack app status (classic or not), and your Custom OAuth profile.
Click Connect, sign in to your Slack workspace when prompted, and click Continue to verify the connection.
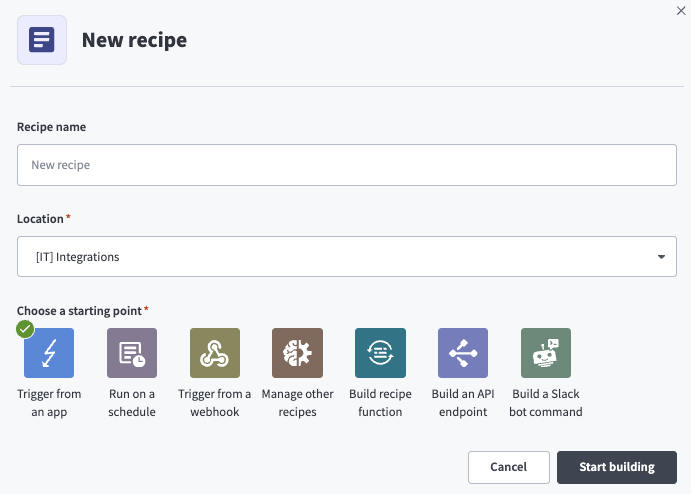
Go back to your project and click Create > Recipe or press C+R.
 Create a new recipe
Enter a name for your recipe in the Name field.
Select the project where you plan to store the recipe from the Location drop-down menu.
Click Start building.
 Start building your recipe
Click Pick a starting point, then select Trigger from an app.
Click Select an app and trigger event.
Set up your Workbot for Slack New shortcut trigger.
Set up Workbot for Slack New shortcut trigger
This trigger monitors Workbot for Slack for new shortcuts.
Search for Workbot for Slack and select it as your app.
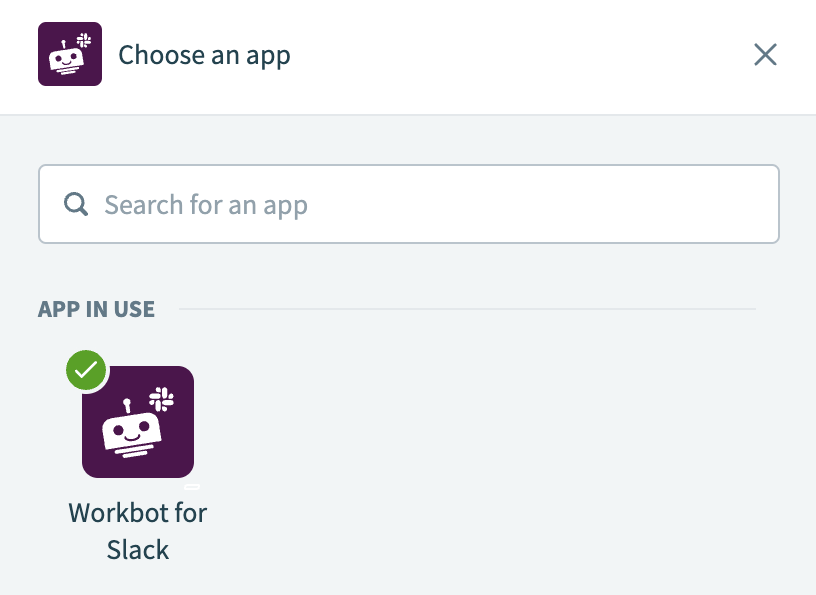 Choose Workbot for Slack as your app
Select the New Shortcut trigger.
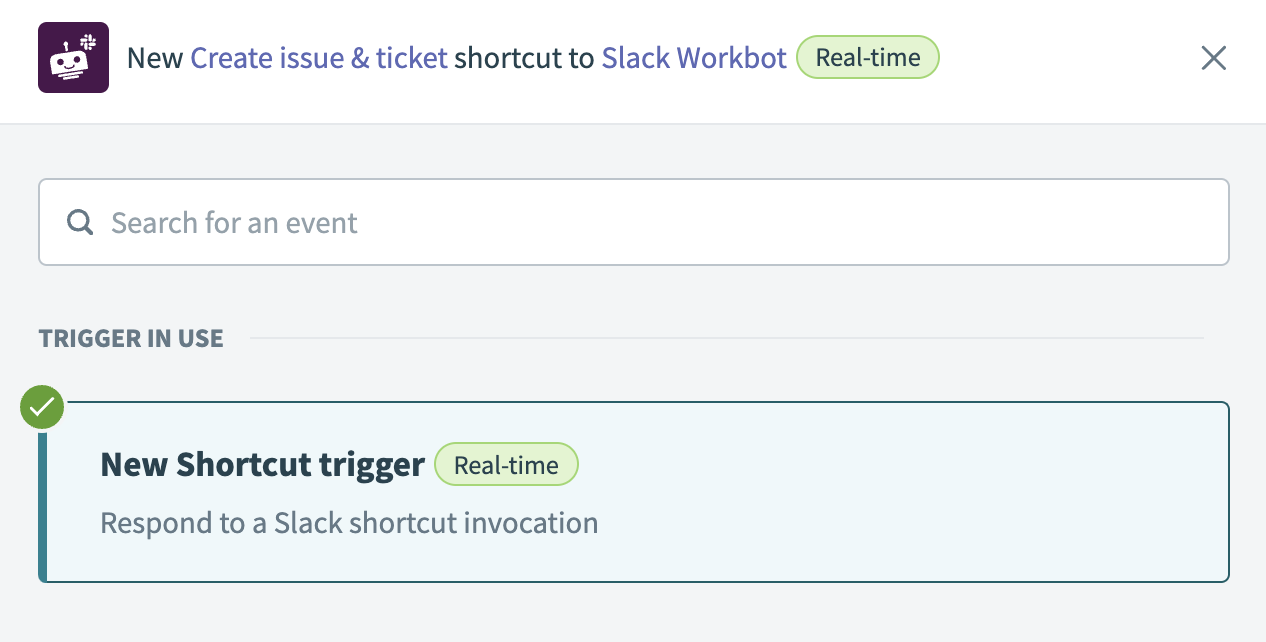 New Shortcut trigger
Use the Shortcut type drop-down menu to select Message.
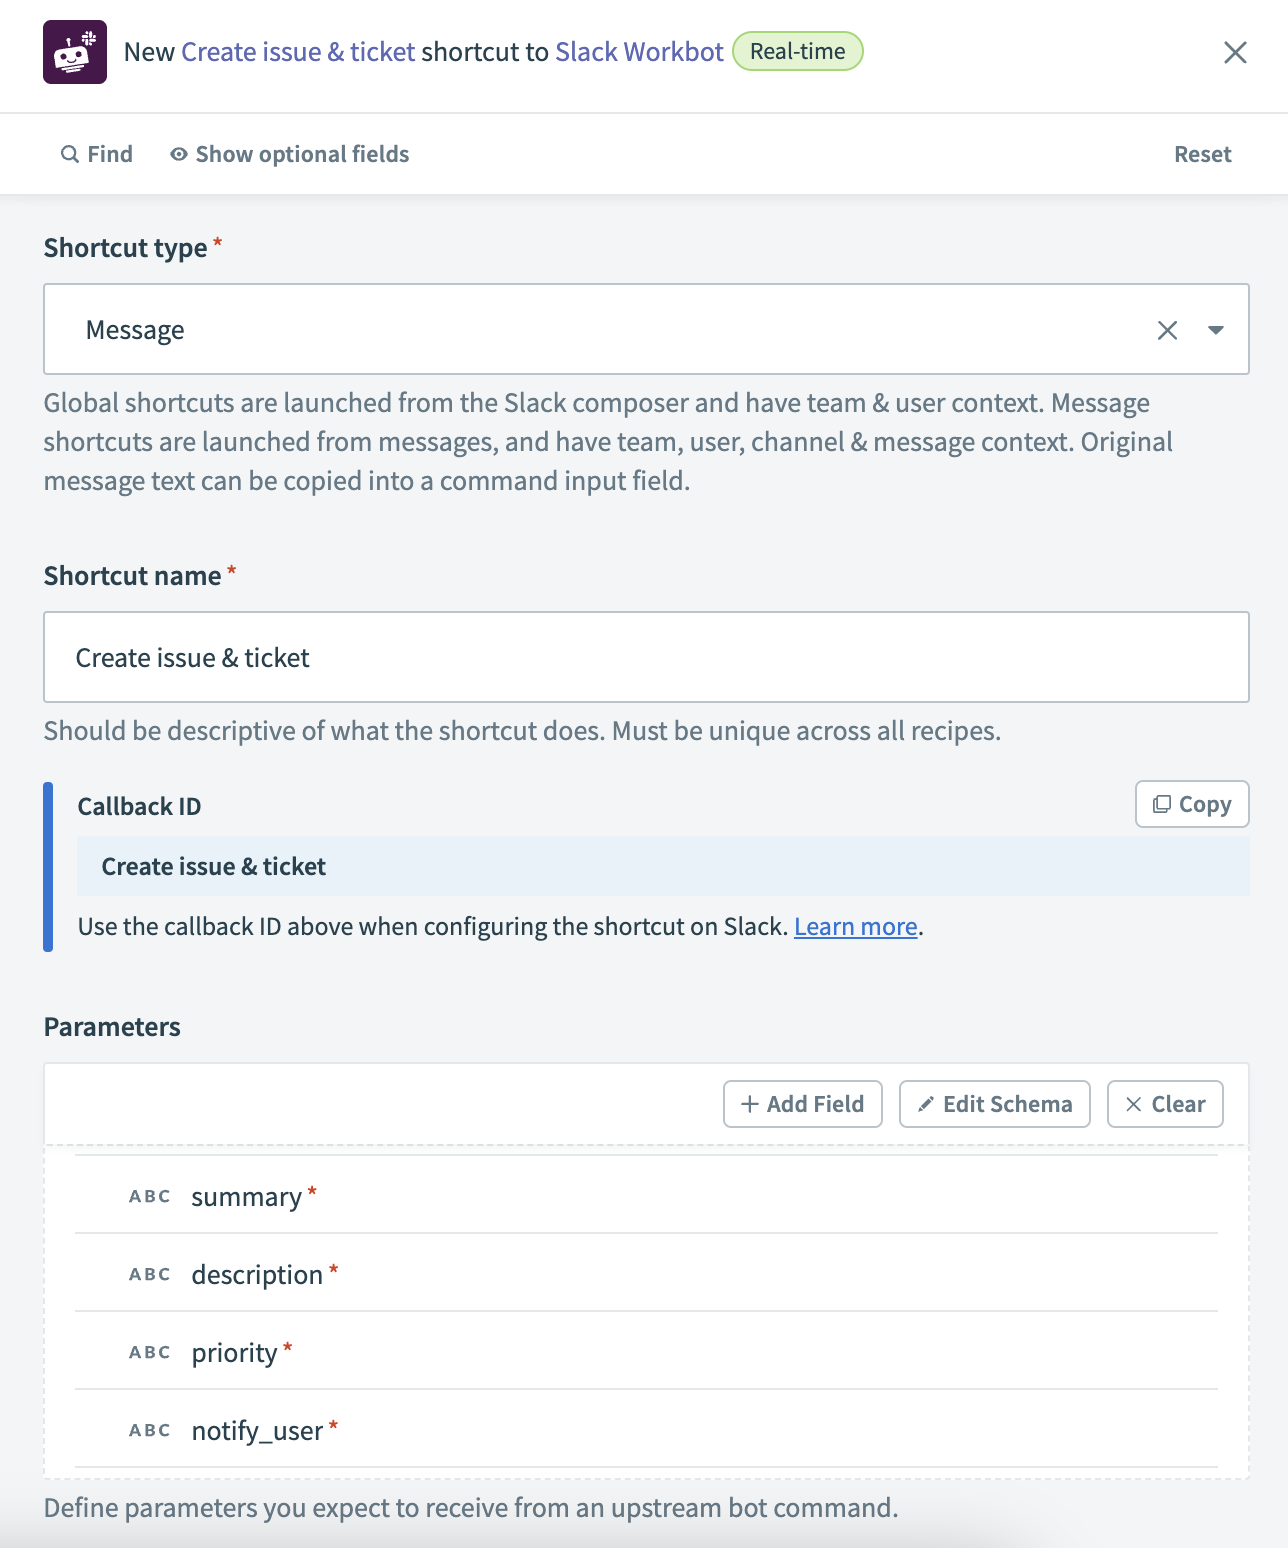 Set up your Shortcut trigger
Enter a name in the Shortcut name field. For example, Create issue & ticket.
Click Add field in the Parameters section.
Enter Summary in the Name field.
Enter a label in the Label field.
Select String from the Data type drop-down menu.
Select No from the Optional? drop-down menu.
Enter additional help text in the Hint field.
Select Text from the Dialog control type drop-down menu.
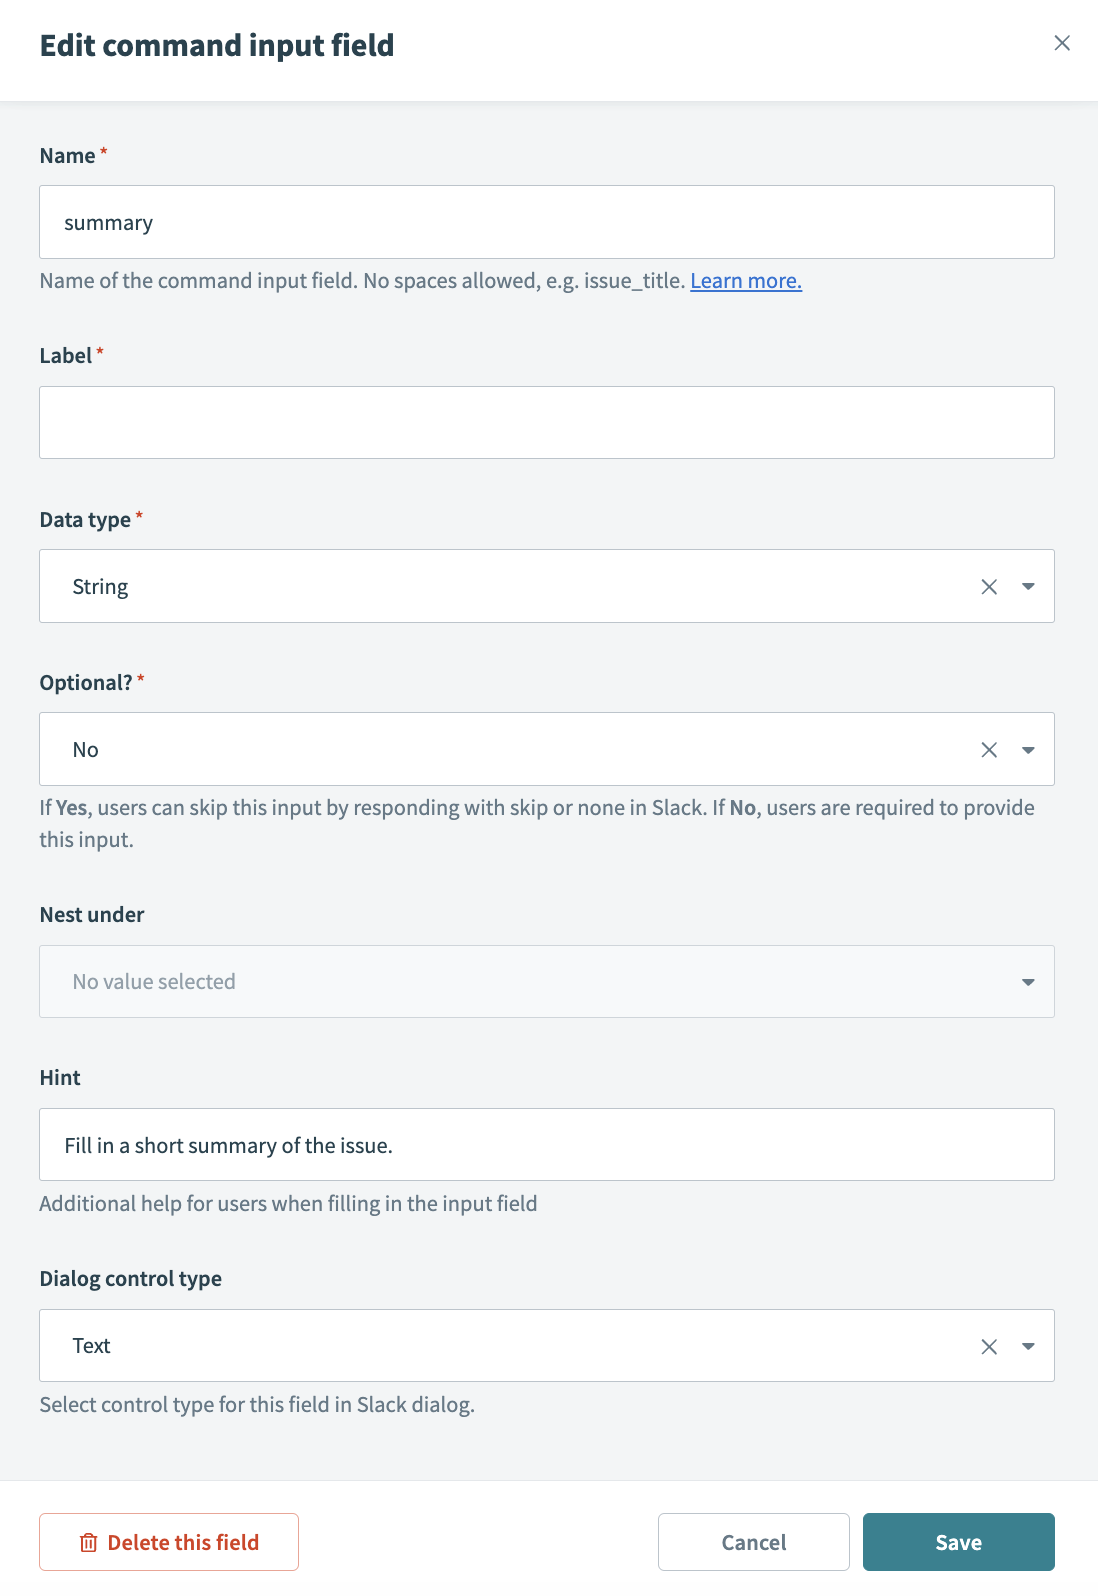
Summary input field
Click Add field under Parameters to add a second input field.
Enter Description in the Name field.
Enter a label in the Label field.
Select String from the Data type drop-down menu.
Select No from the Optional? drop-down menu.
Enter additional help text in the Hint field.
Select Textarea from the Dialog control type drop-down menu.
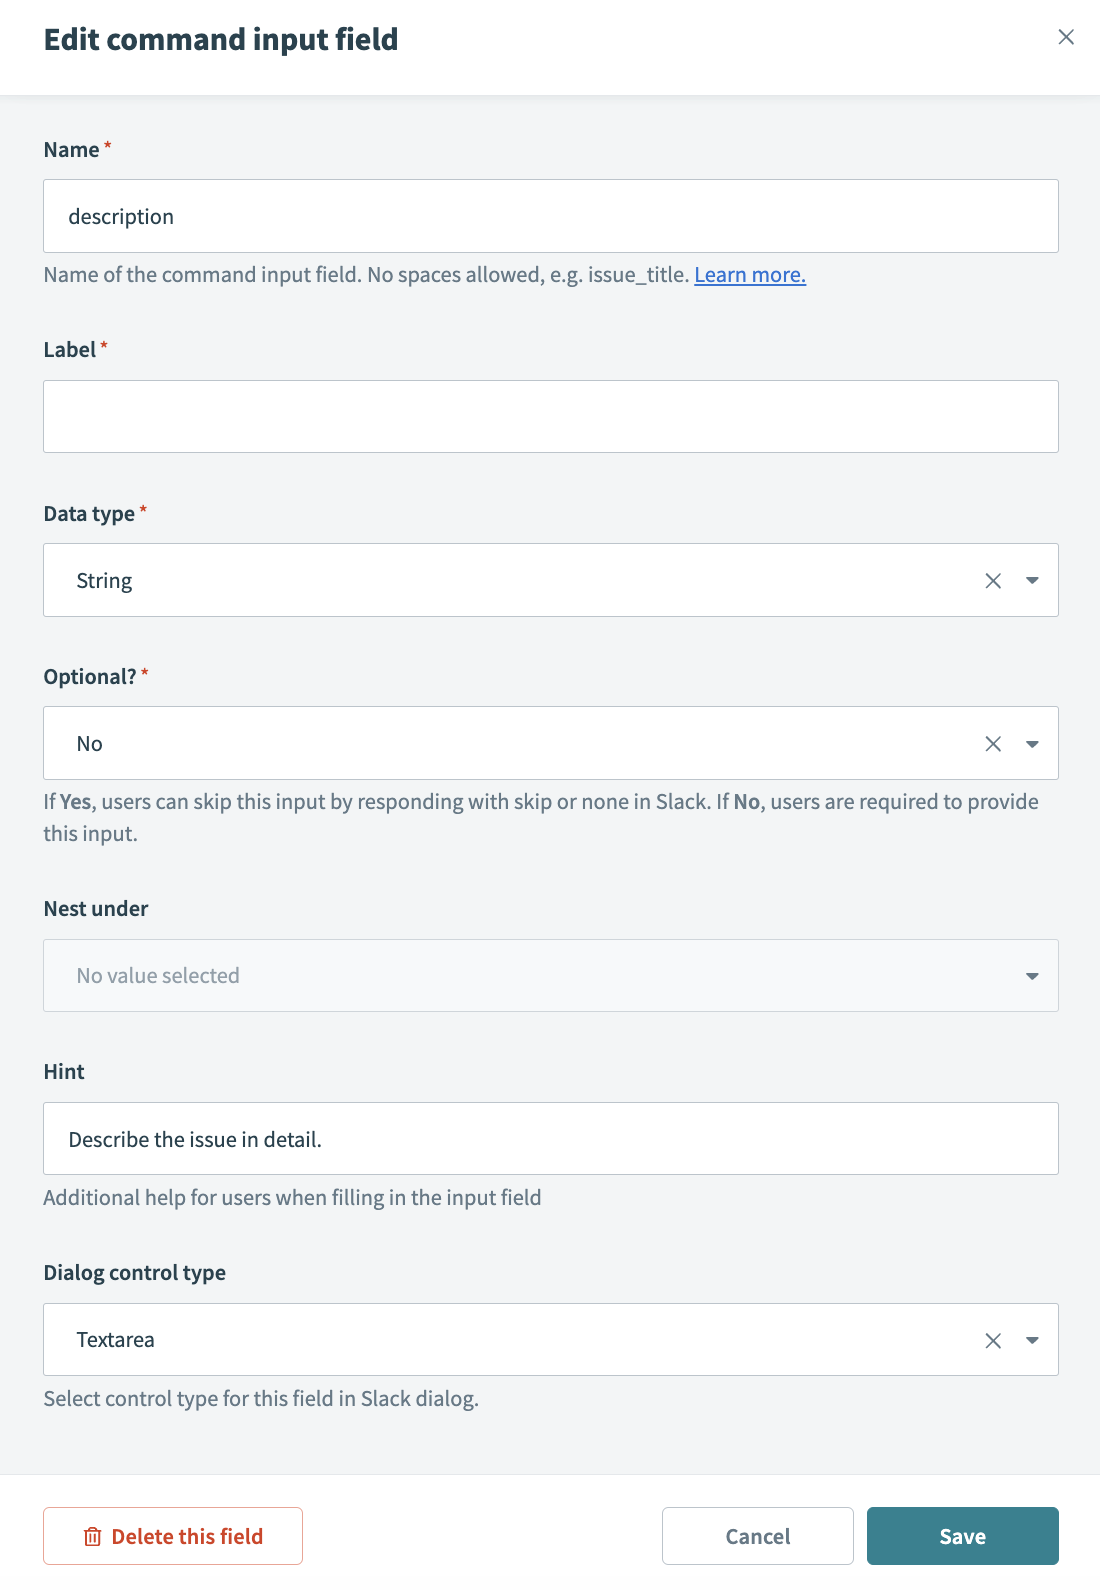
Description input field
Click Add field under Parameters to add a third input field.
Enter Priority in the Name field.
Enter a label in the Label field.
Select String from the Data type drop-down menu.
Select No from the Optional? drop-down menu.
Enter additional help text in the Hint drop-down menu.
Select Static from the Menu options drop-down menu.
Enter a list of comma-separated priority levels in the Options field.

Priority input field
Click the Add field button under Parameters to add a fourth input field.
Name your input field notify-user > add a Label > set Data type to String > set Optional? to No > provide a Hint for your input field > set Menu options to Conversations > and then click Save.
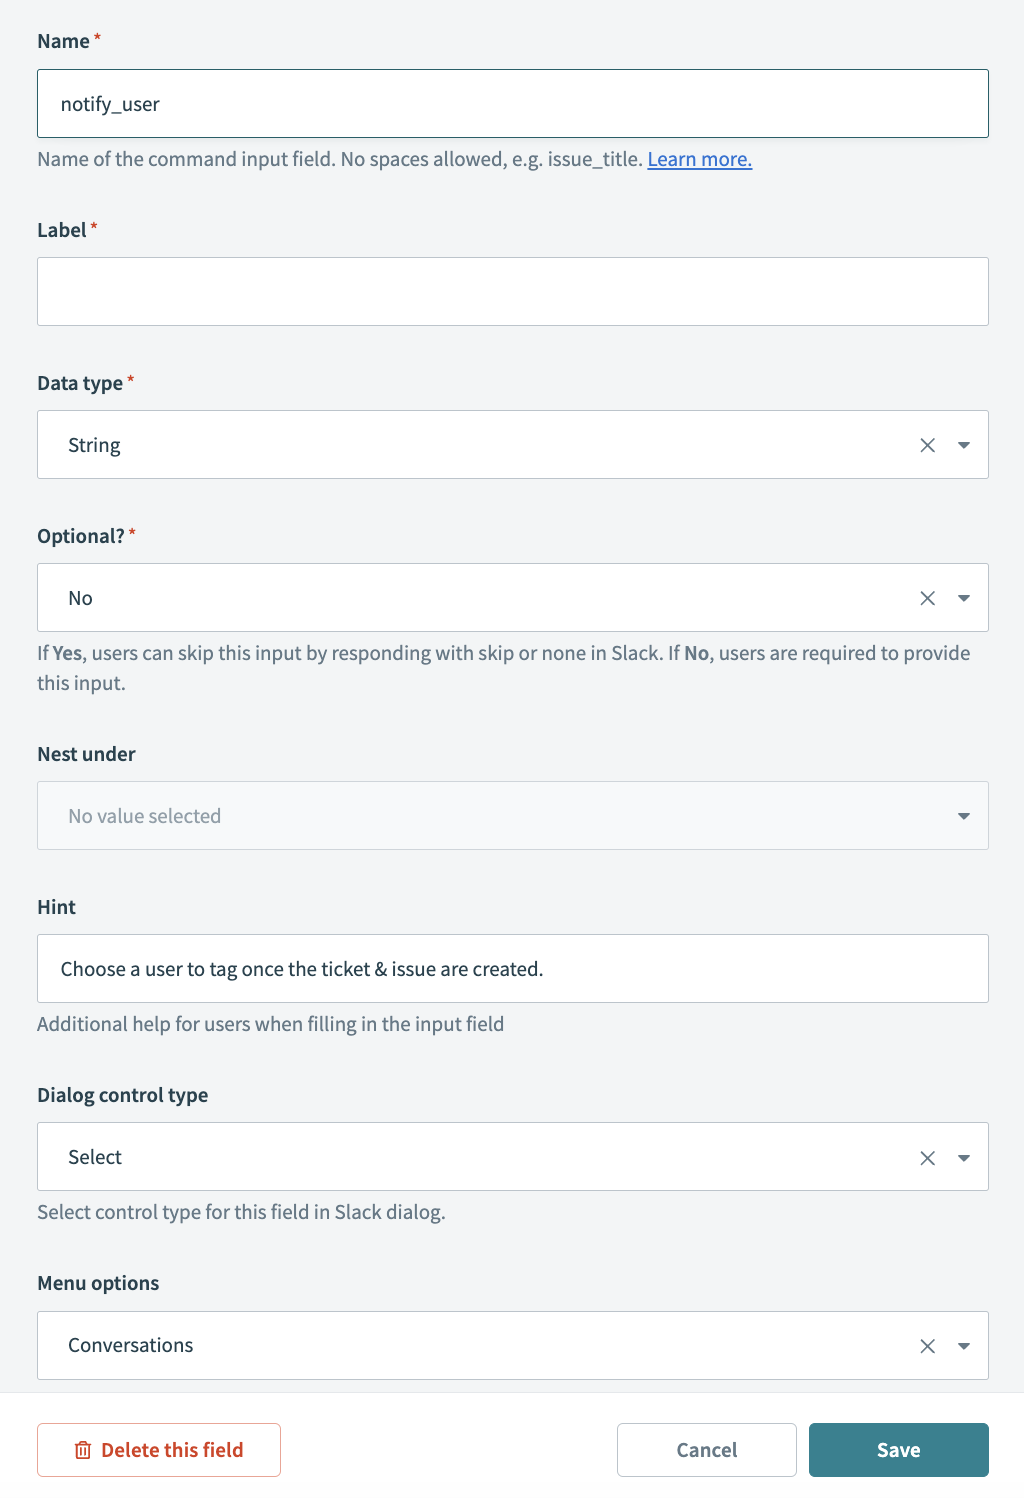
notify_user input field
Use the Copy original text into dialog field drop-down menu to select Description.
 Select Description
Click Save.
Click + Add step and select Action in app.
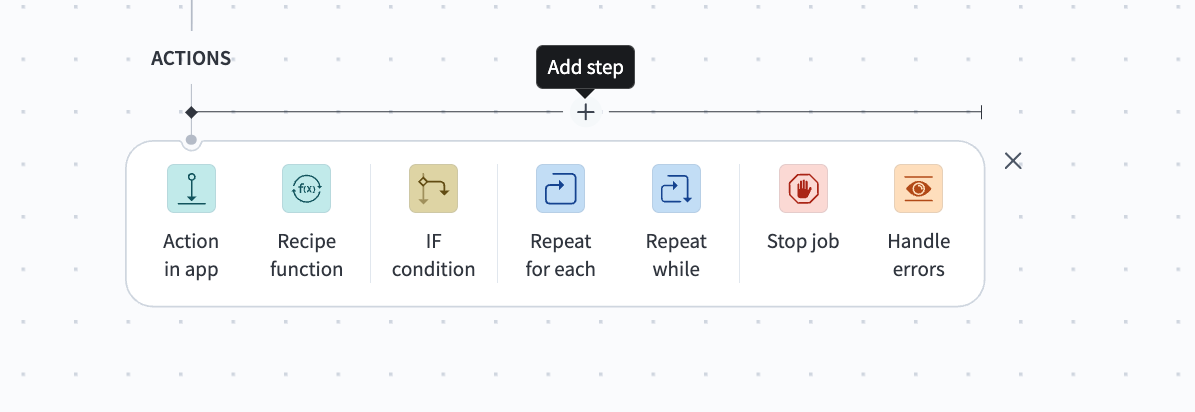 Click Add step > Add action in app
Set up your Jira Create issue action.
Set up Jira Create issue action
This step creates a new issue in Jira and uses the description from Workbot for Slack.
Search for Jira and select it as your app.
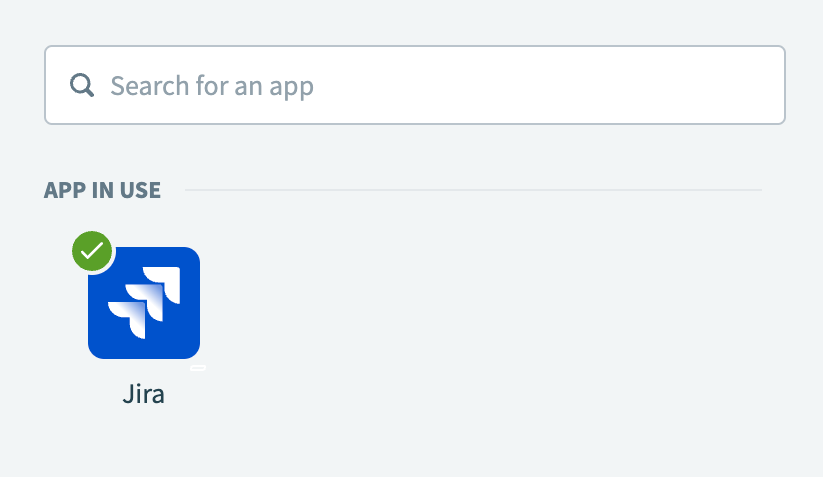 Choose Jira as your app
Select the Create issue action.
Use the Project issue type drop-down menu to select the issue type you plan to create. For example: task, bug fix, or onboarding.
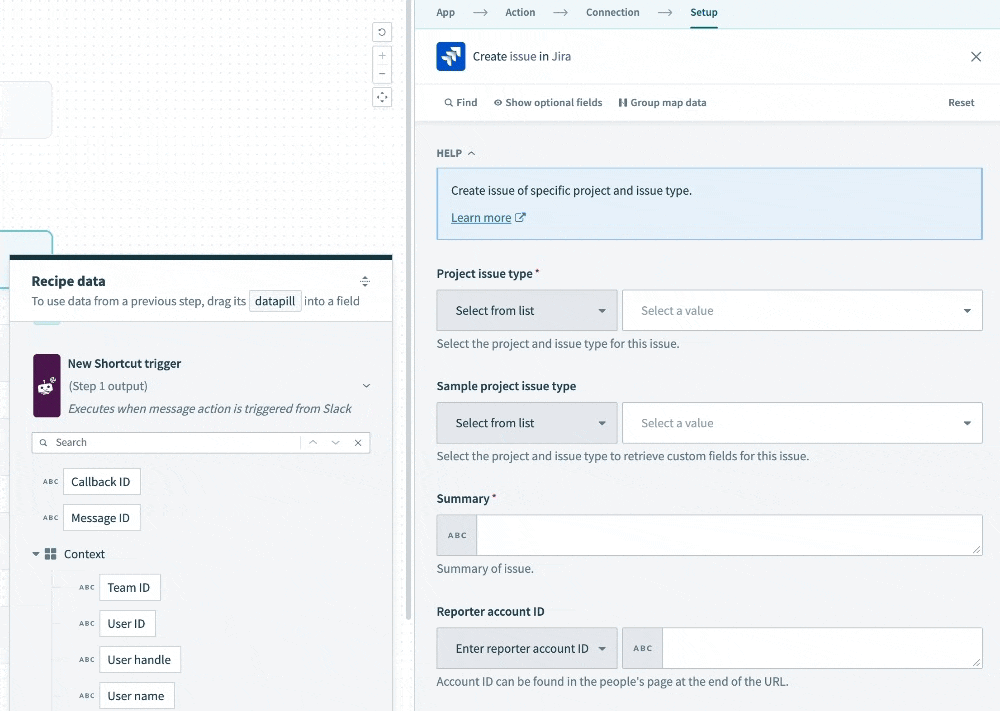 Select your issue type
Map the Workbot for Slack SummaryStep 1 datapill to the Summary field.
Map the Workbot for Slack DescriptionStep 1 datapill to the Description field.
Map the Workbot for Slack PriorityStep 1 datapill to the Priority name field.
Click Save.
Click + Add step and select Action in app.
Set up your Jira Get issue action.
Set up Jira Get issue action
This steps retrieves Jira issues by ID.
Search for Jira and select it as your app.
Choose Jira as your app
Select the Get issue action.
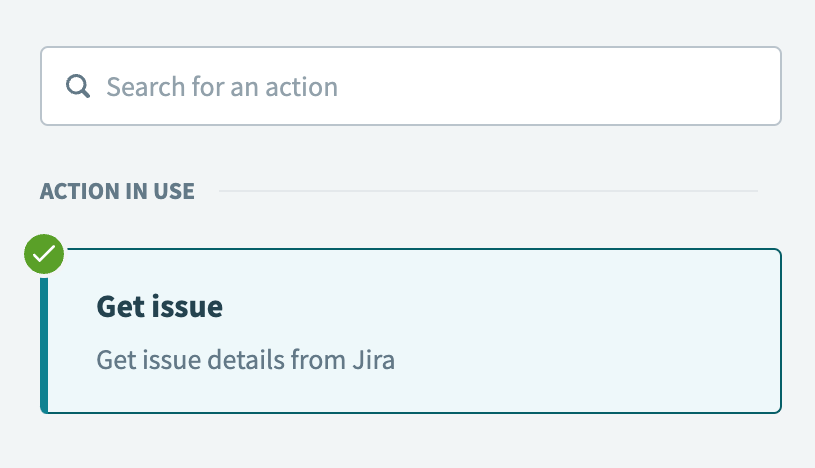 Select the Get issue action
Map the Jira IDStep 2 datapill to the Issue ID or key field.
 Configure the Issue ID or key field
Click Save.
Click + Add step and select Action in app.
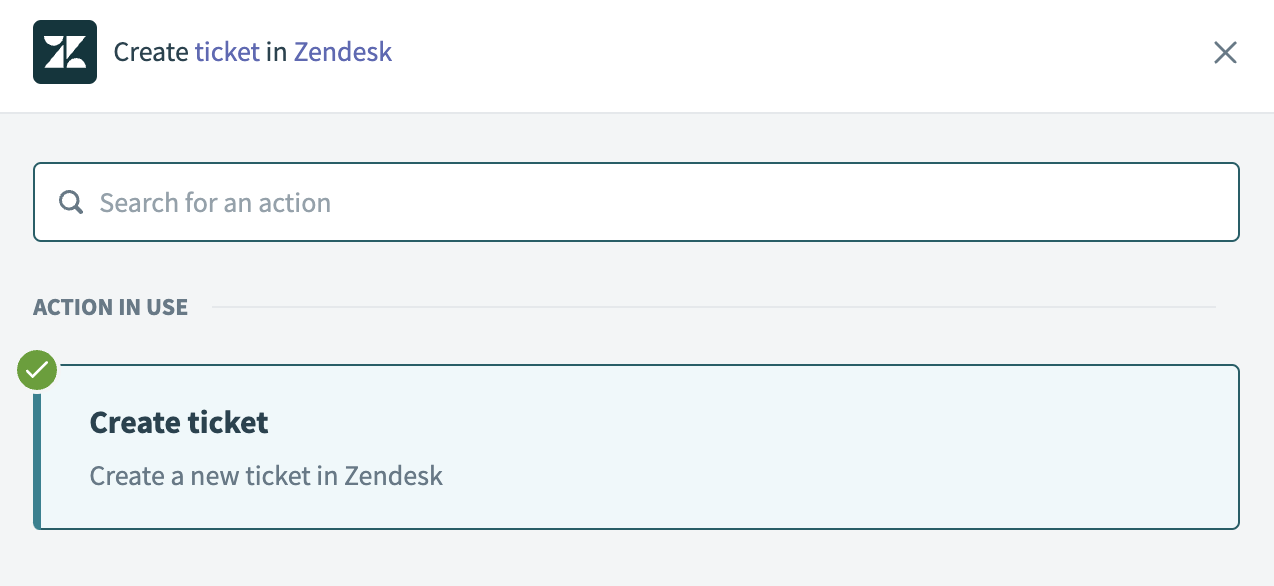
Set up your Zendesk Create ticket action.
Set up Zendesk Create ticket action
This step creates a Zendesk ticket with information from Jira and Workbot for Slack.
Search for Zendesk and select it as your app.
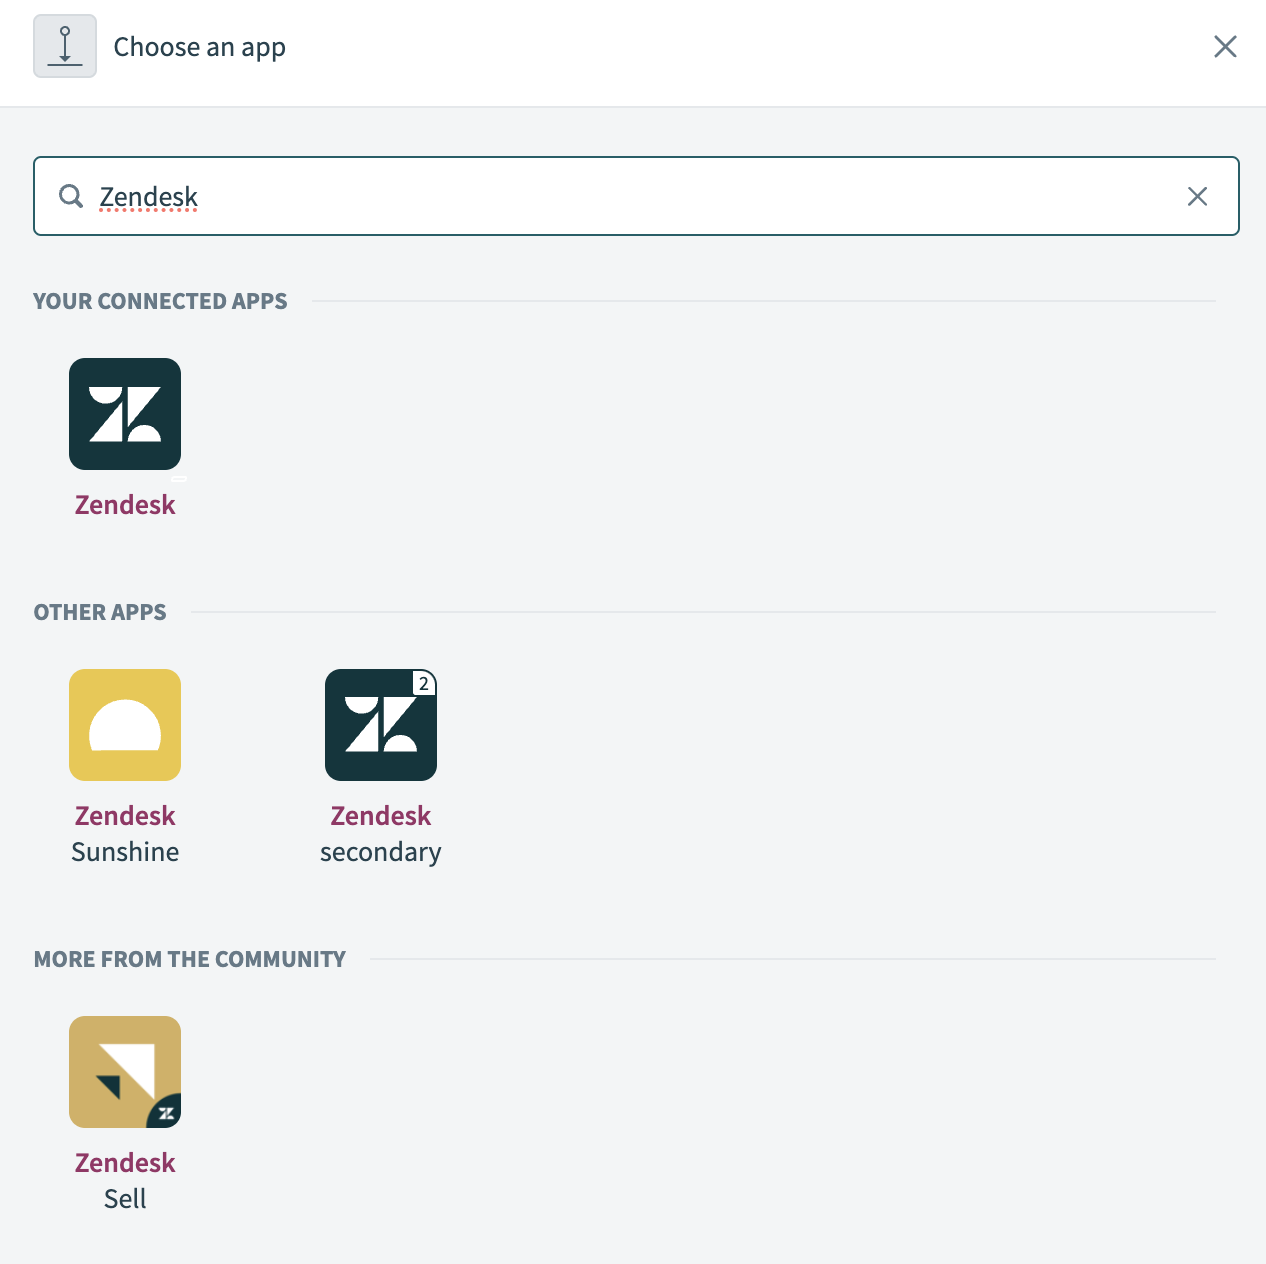 Choose Zendesk as your app
Select the Create ticket action.
 Select the Create ticket action
Map the Jira SummaryStep 3 datapill to the Subject field.
Use the Priority drop-down menu to select Enter custom value and then click Formula.
 Set the Priority field to Formula
Copy and paste the following formula into the Priority field:
=["Higher", "Highest"].include?(_dp('{"pill_type":"output","provider":"jira","line":"9e7af602","path":["fields","priority","name"]}')) ? "urgent" : "Medium" == _dp('{"pill_type":"output","provider":"jira","line":"9e7af602","path":["fields","priority","name"]}') ? "normal" : _dp('{"pill_type":"output","provider":"jira","line":"9e7af602","path":["fields","priority","name"]}') == "High" ? "high" : "low"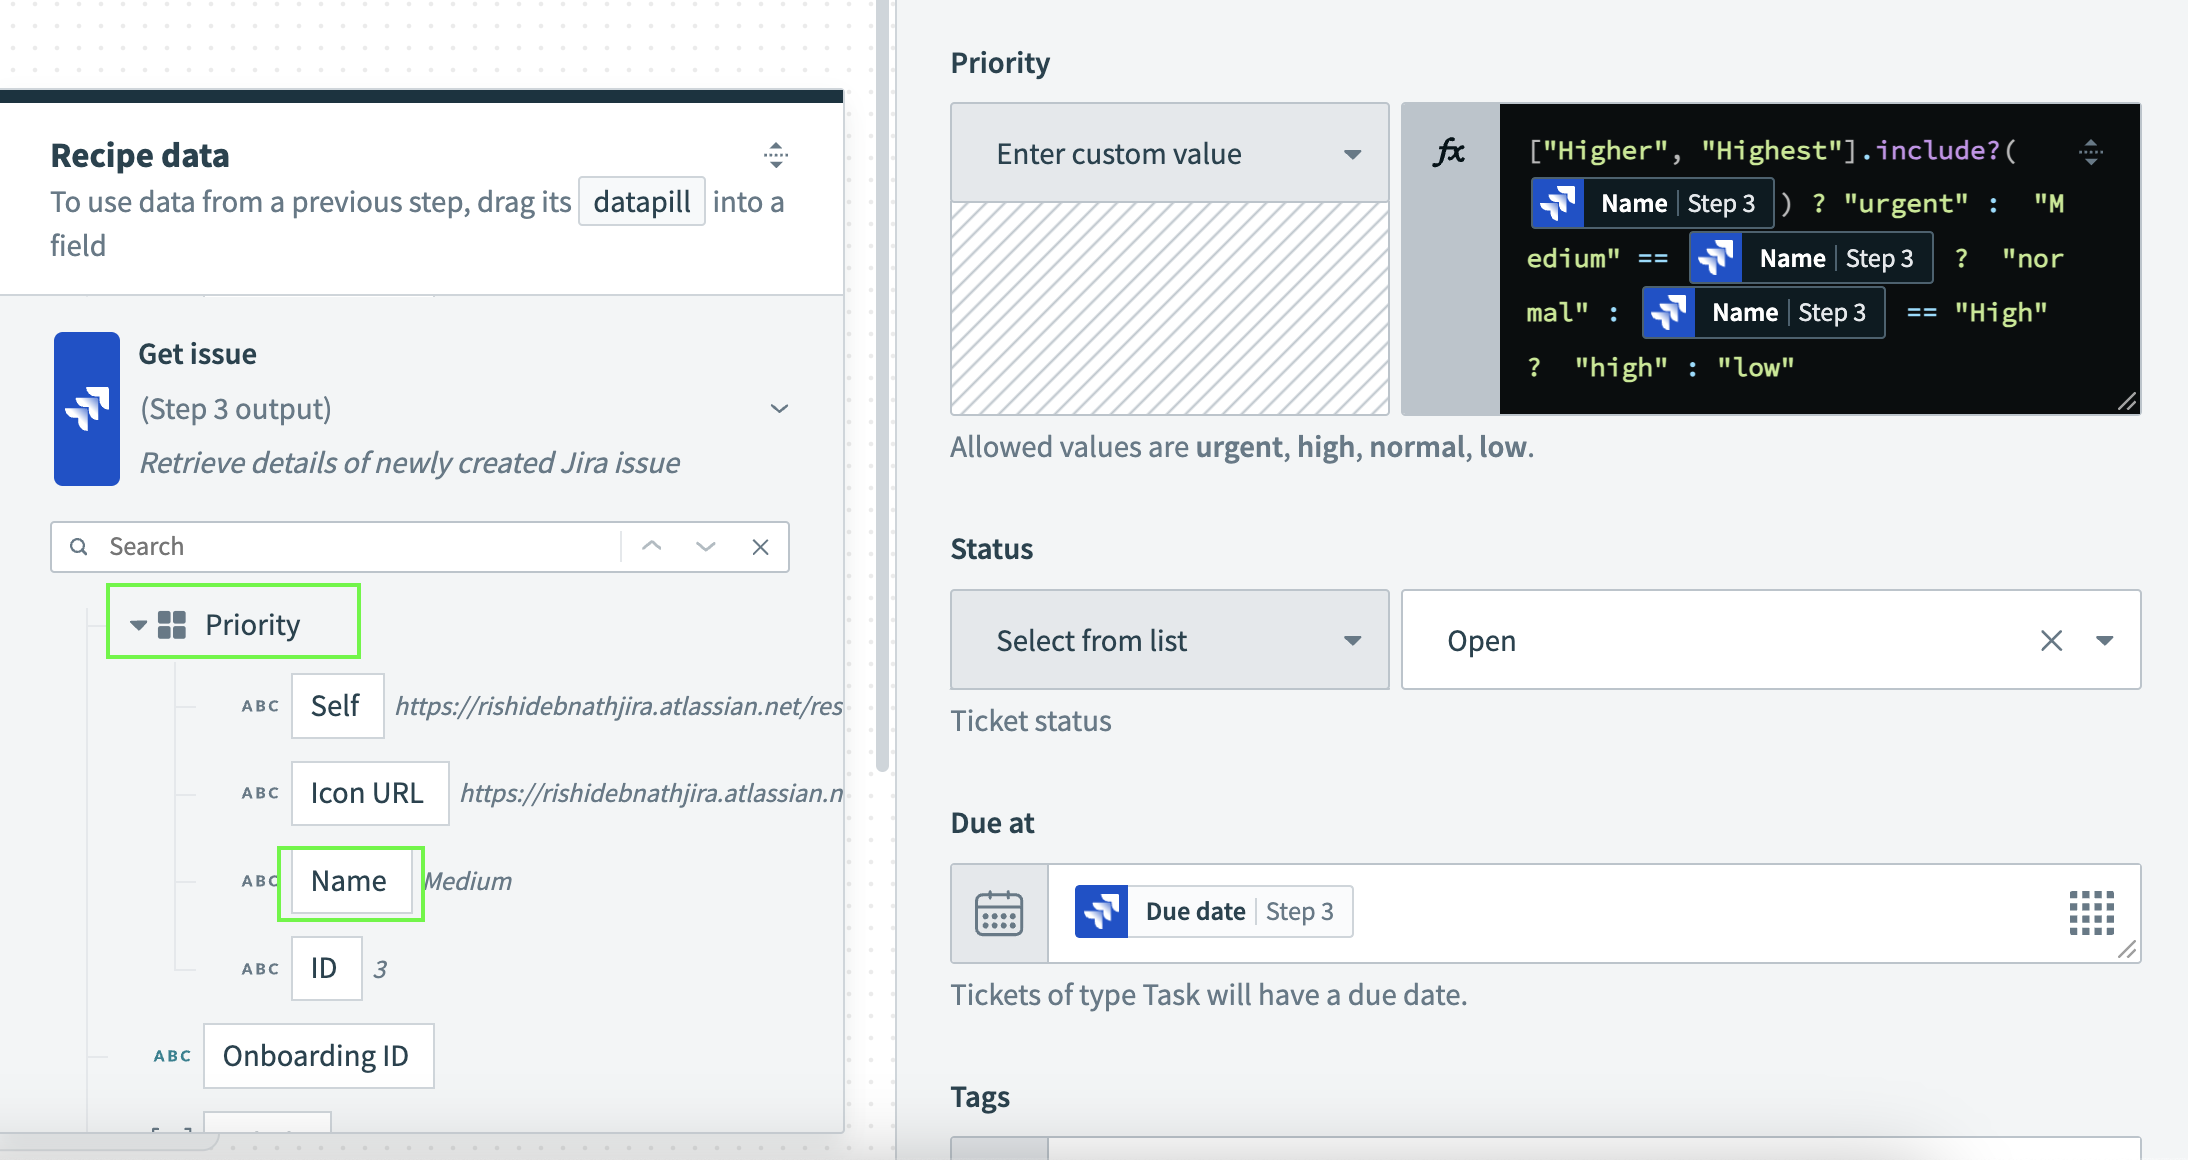 Priority formula
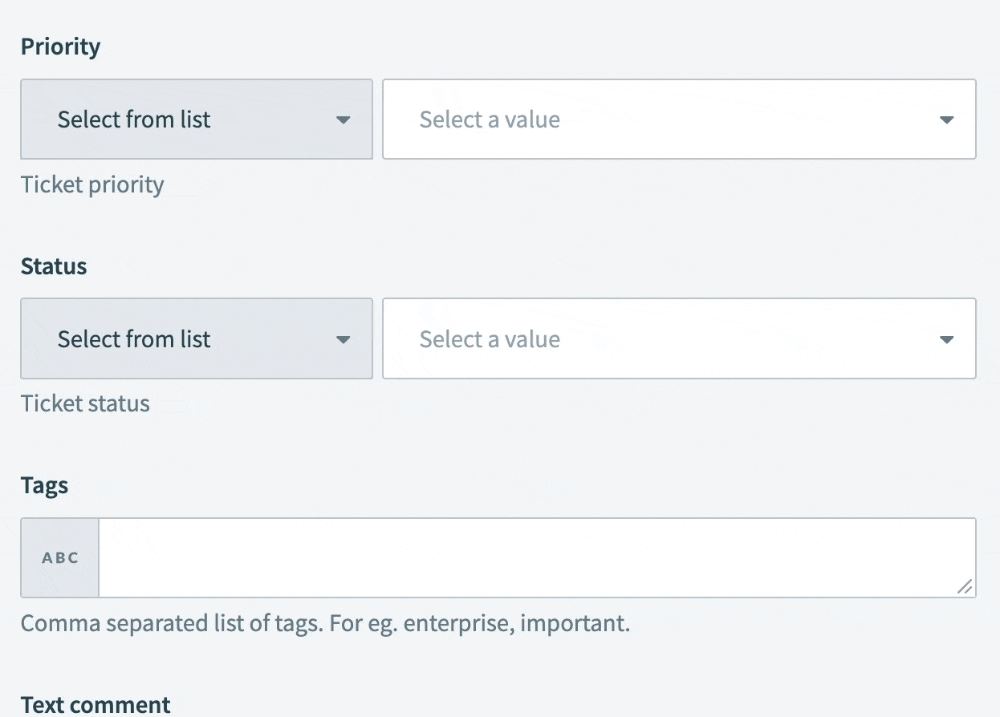
Use the Status drop-down menu to select Open.
Map the Jira Due dateStep 3 datapill to the Due at field.
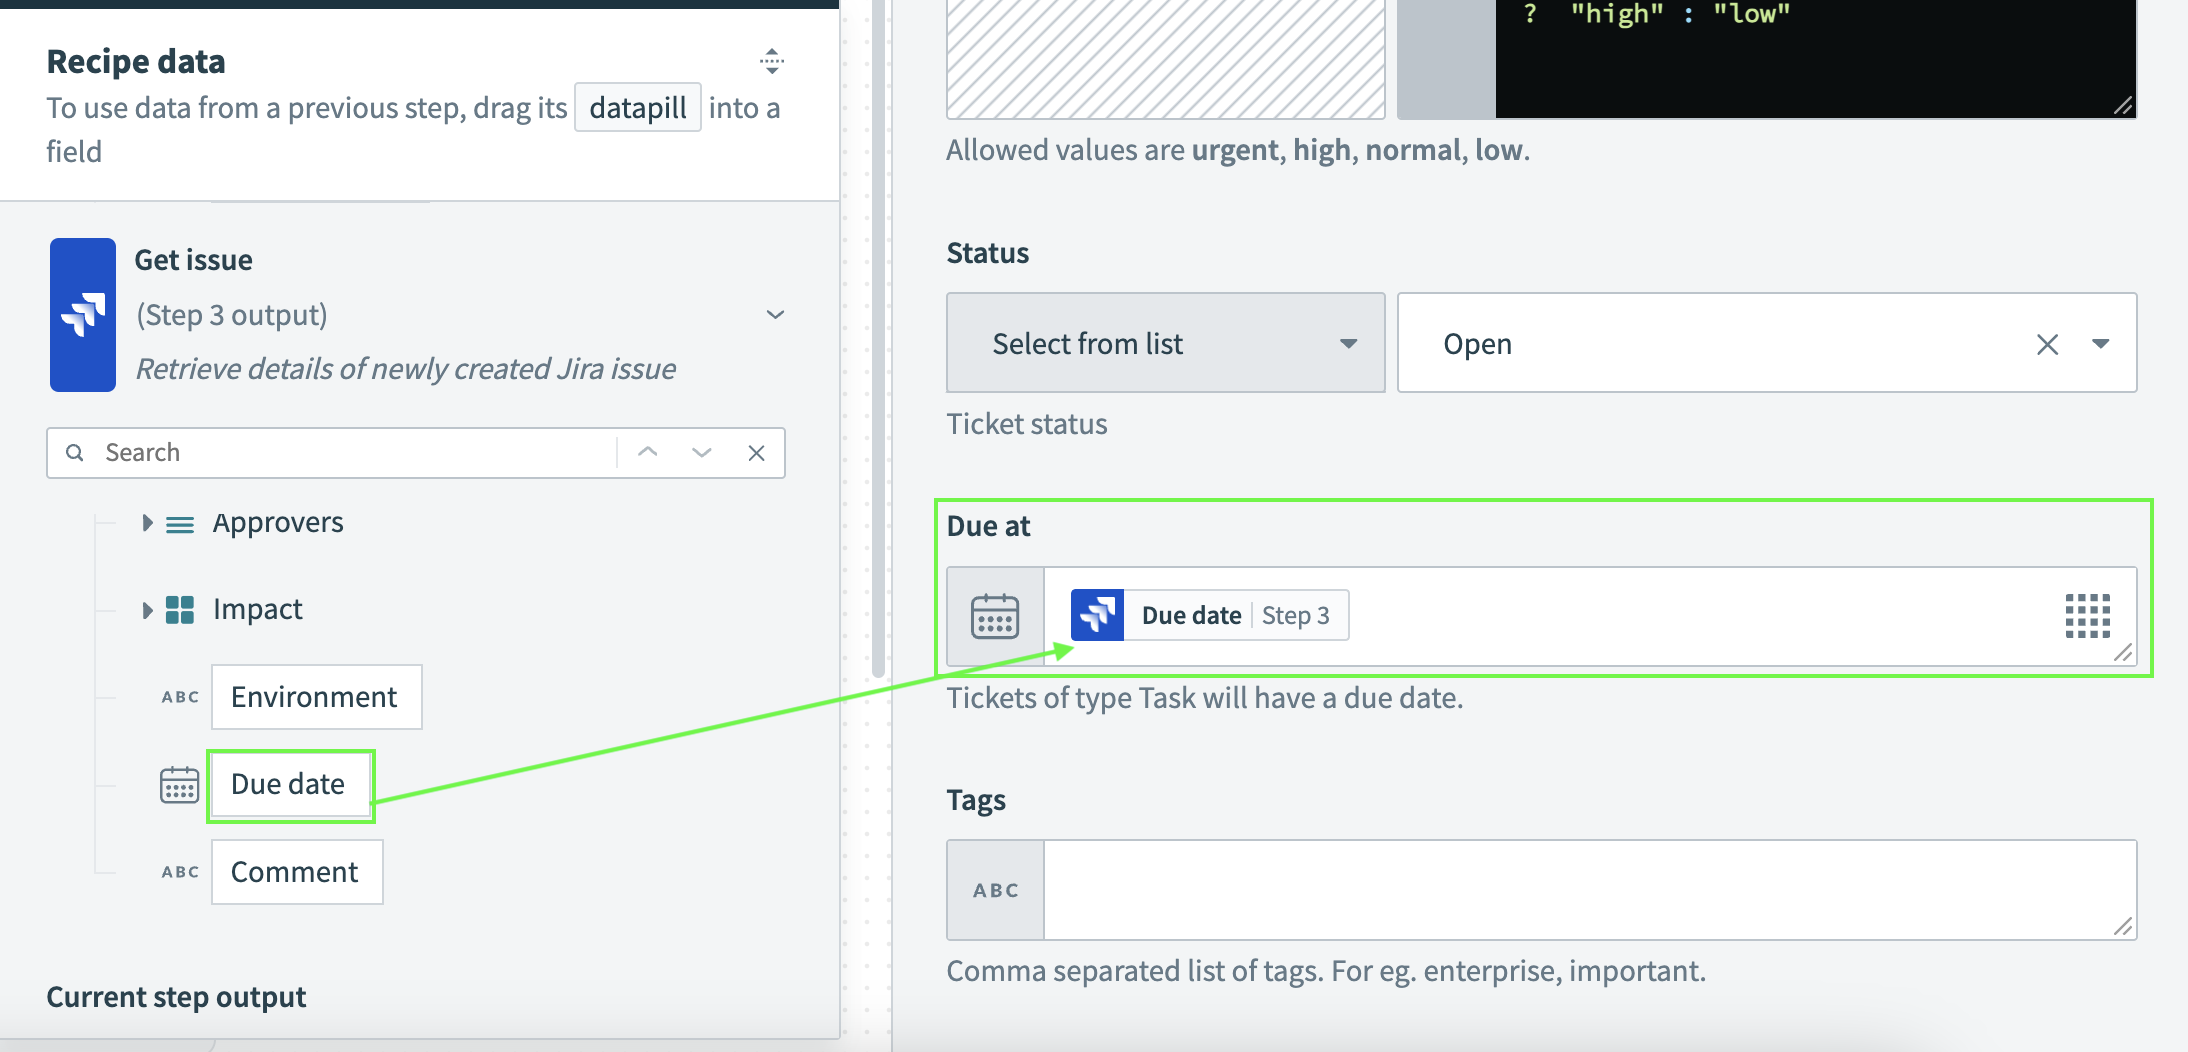 Configure the Due at field
Map the Workbot for Slack DescriptionStep 1 datapill to the Text comment field.
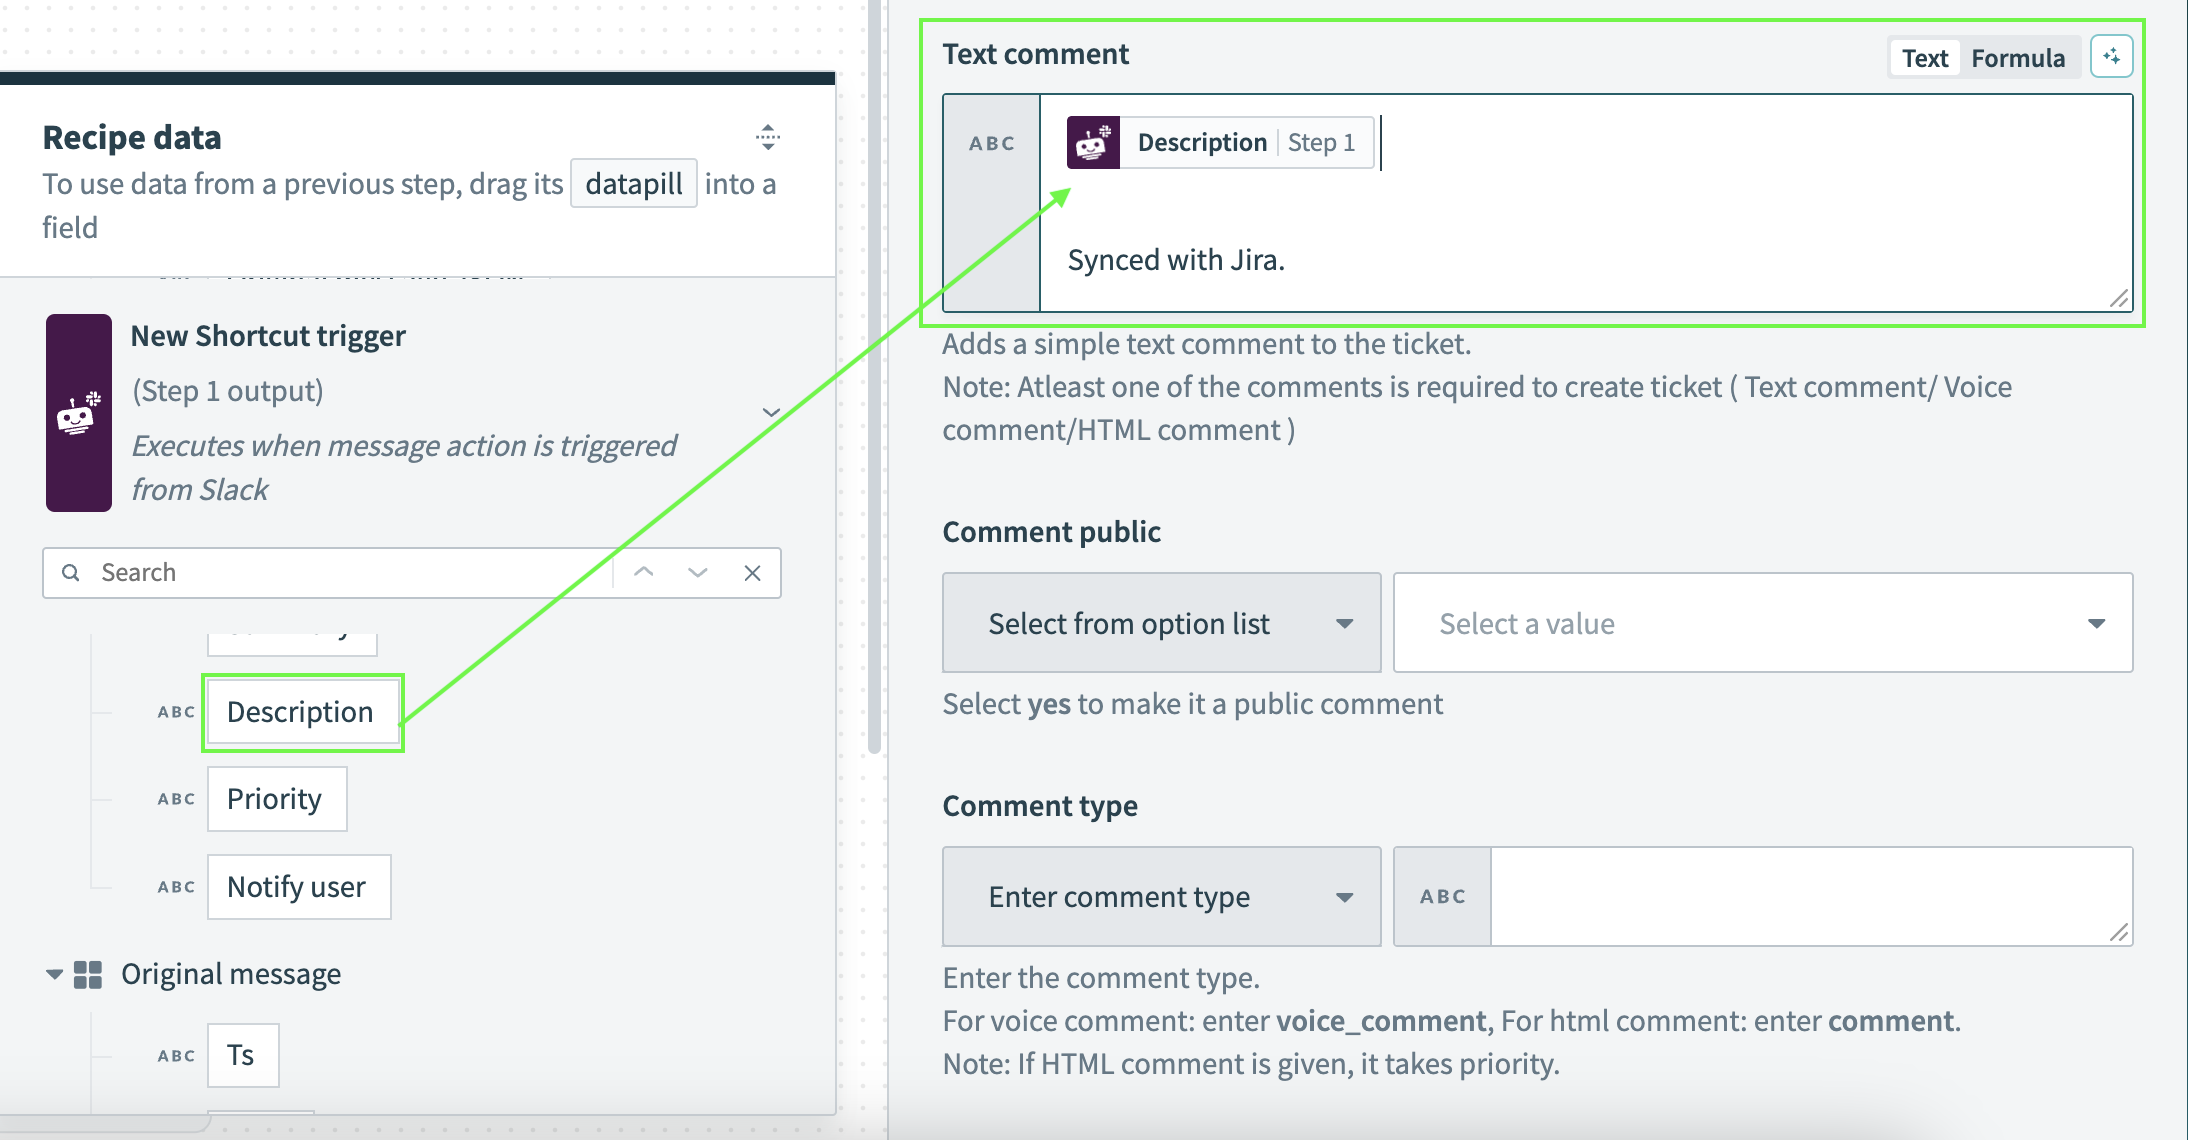 Configure the Text comment field
Click Save.
Click + Add step and select Action in app.
Set up your Workbot for Slack Post message action.
Set up Workbot for Slack Post message action
This step posts a Slack message notify the users and channels you specify about the new Zendesk ticket.
Search for Workbot for Slack and select it as your app.
Select the Post message action.
Map the Workbot for Slack Notify userStep 1 datapill to the Channel name/DM field.
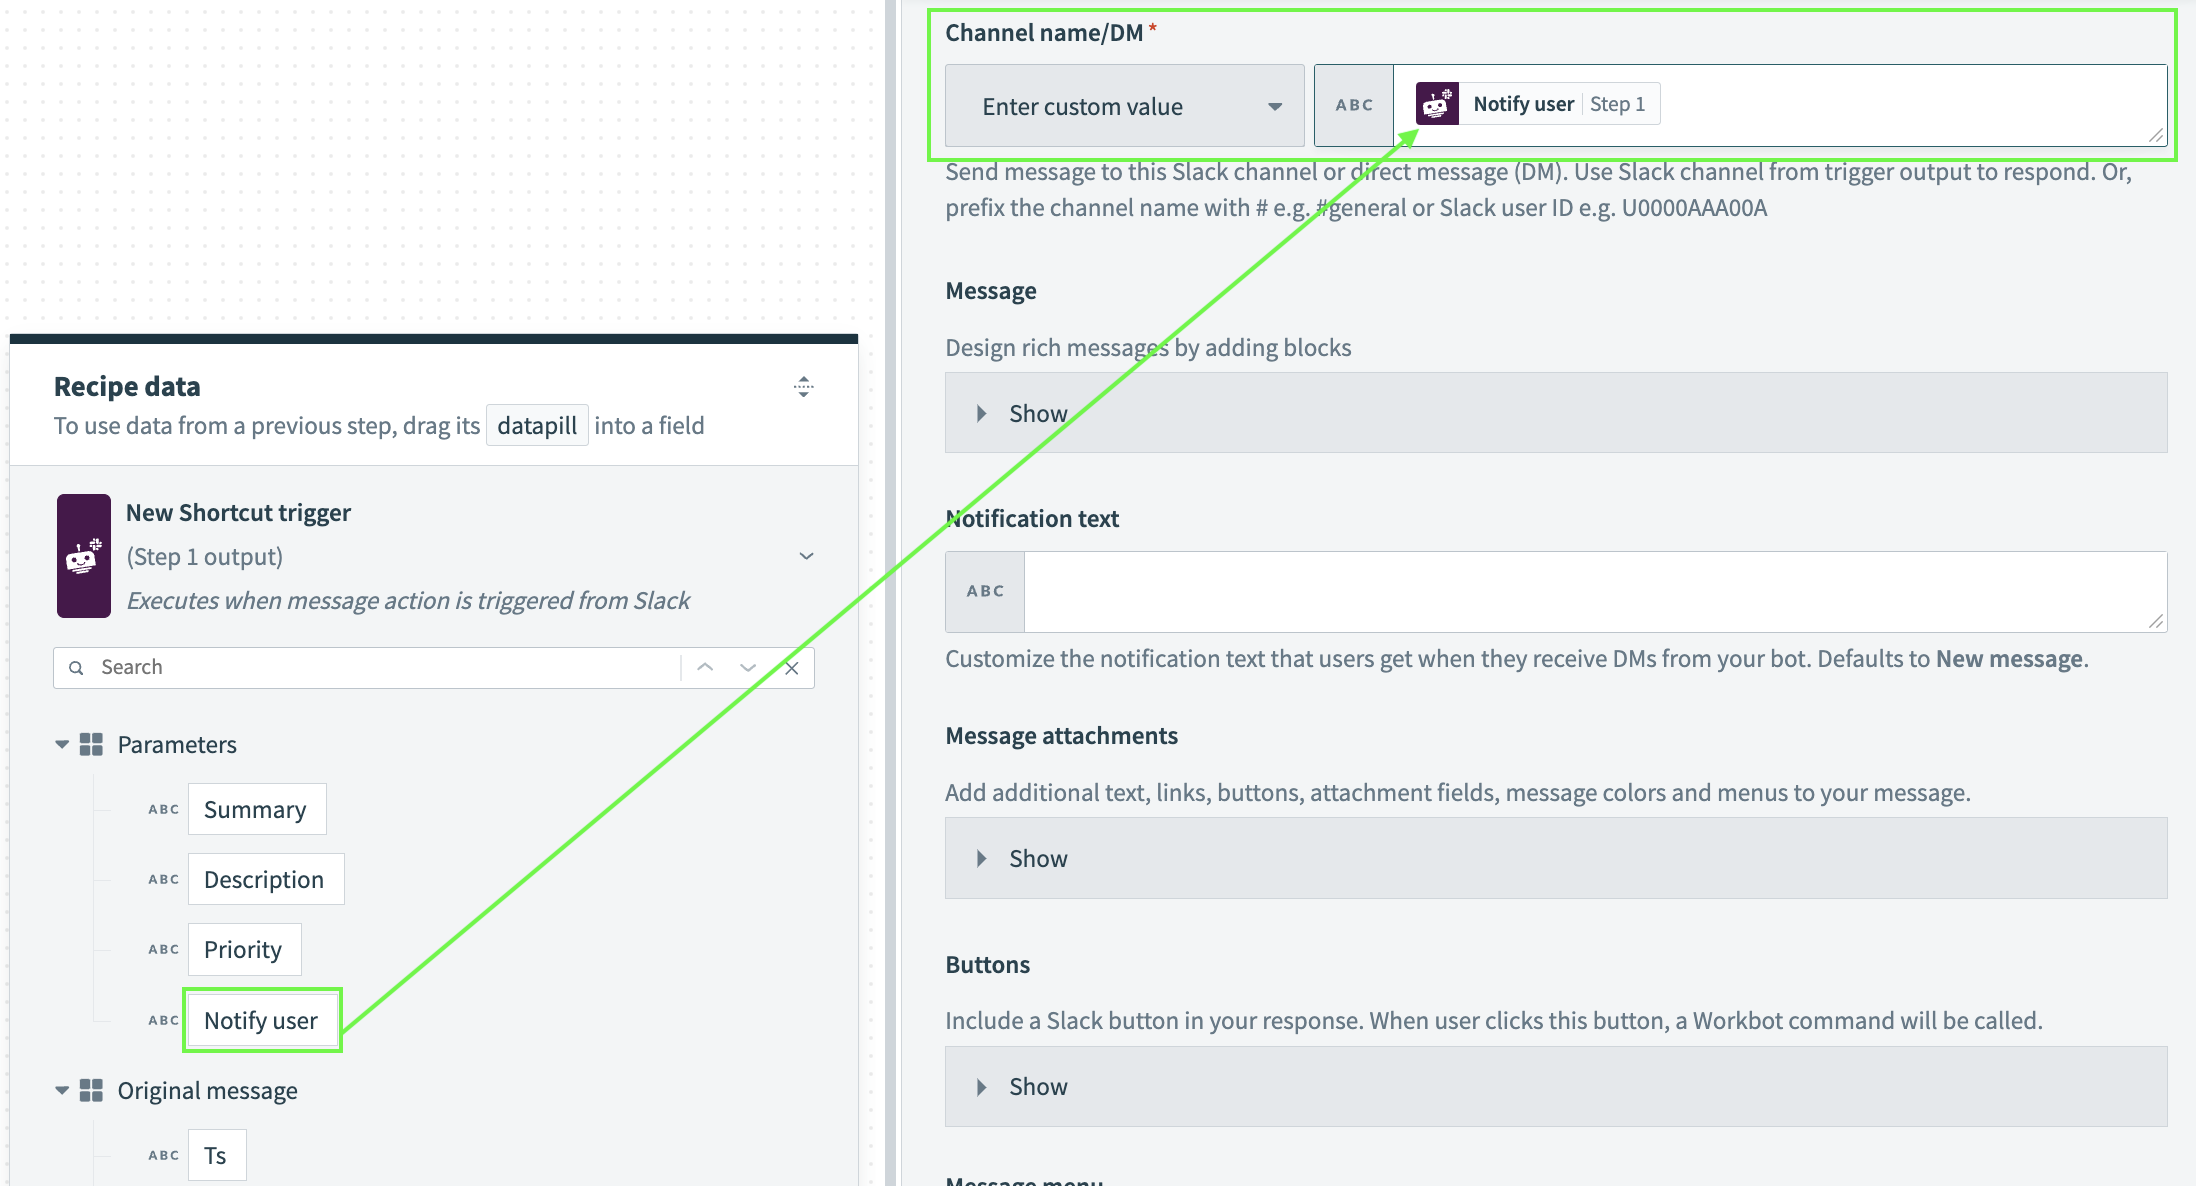 Configure the Channel name/DM field
Click Add block to message and use the Type drop-down menu to select Section with text.
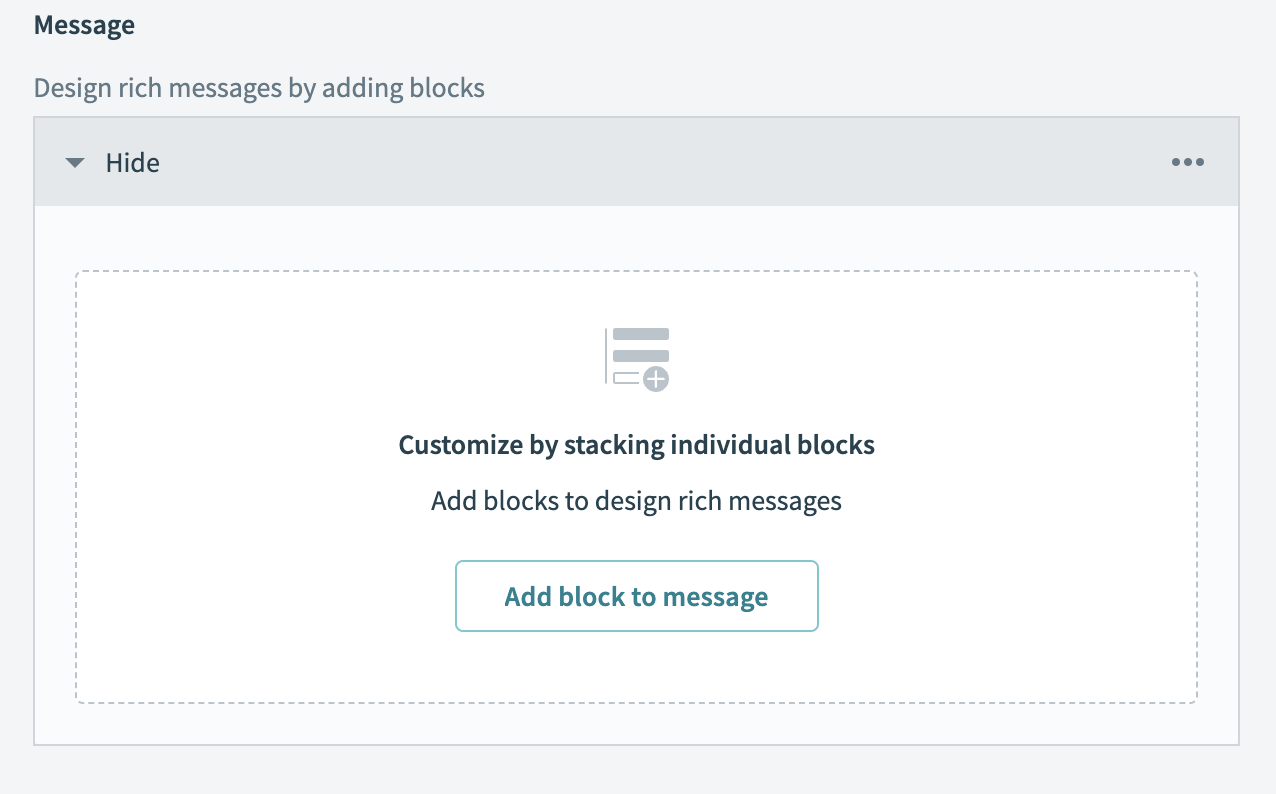 Click the Add block to message button
Map the Zendesk SubjectStep 4 datapill, the Zendesk Ticket IDStep 4 datapill, and the Workbot for Slack User IDStep 1 datapill to the Section text field.
 Map the Section text field
Click Add block to message and use the Type drop-down menu to Section with fields.
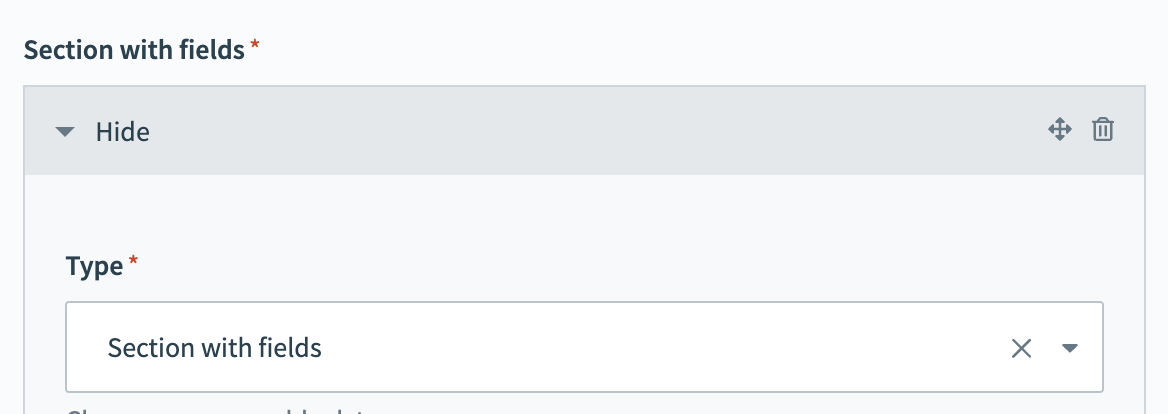 Section with fields
Locate the Attachment fields section and click Add field.
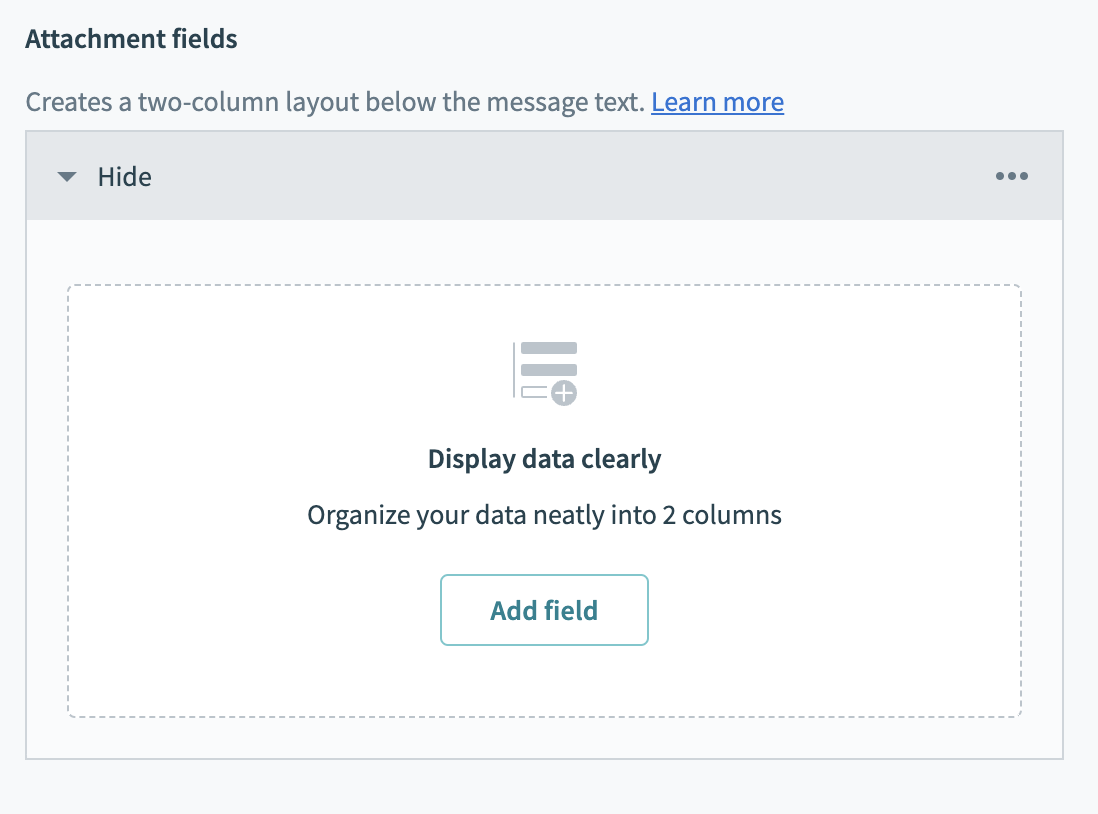 Click the Add field button
Enter Subject in the Title field.
Map the Zendesk SubjectStep 4 datapill to the Value field.
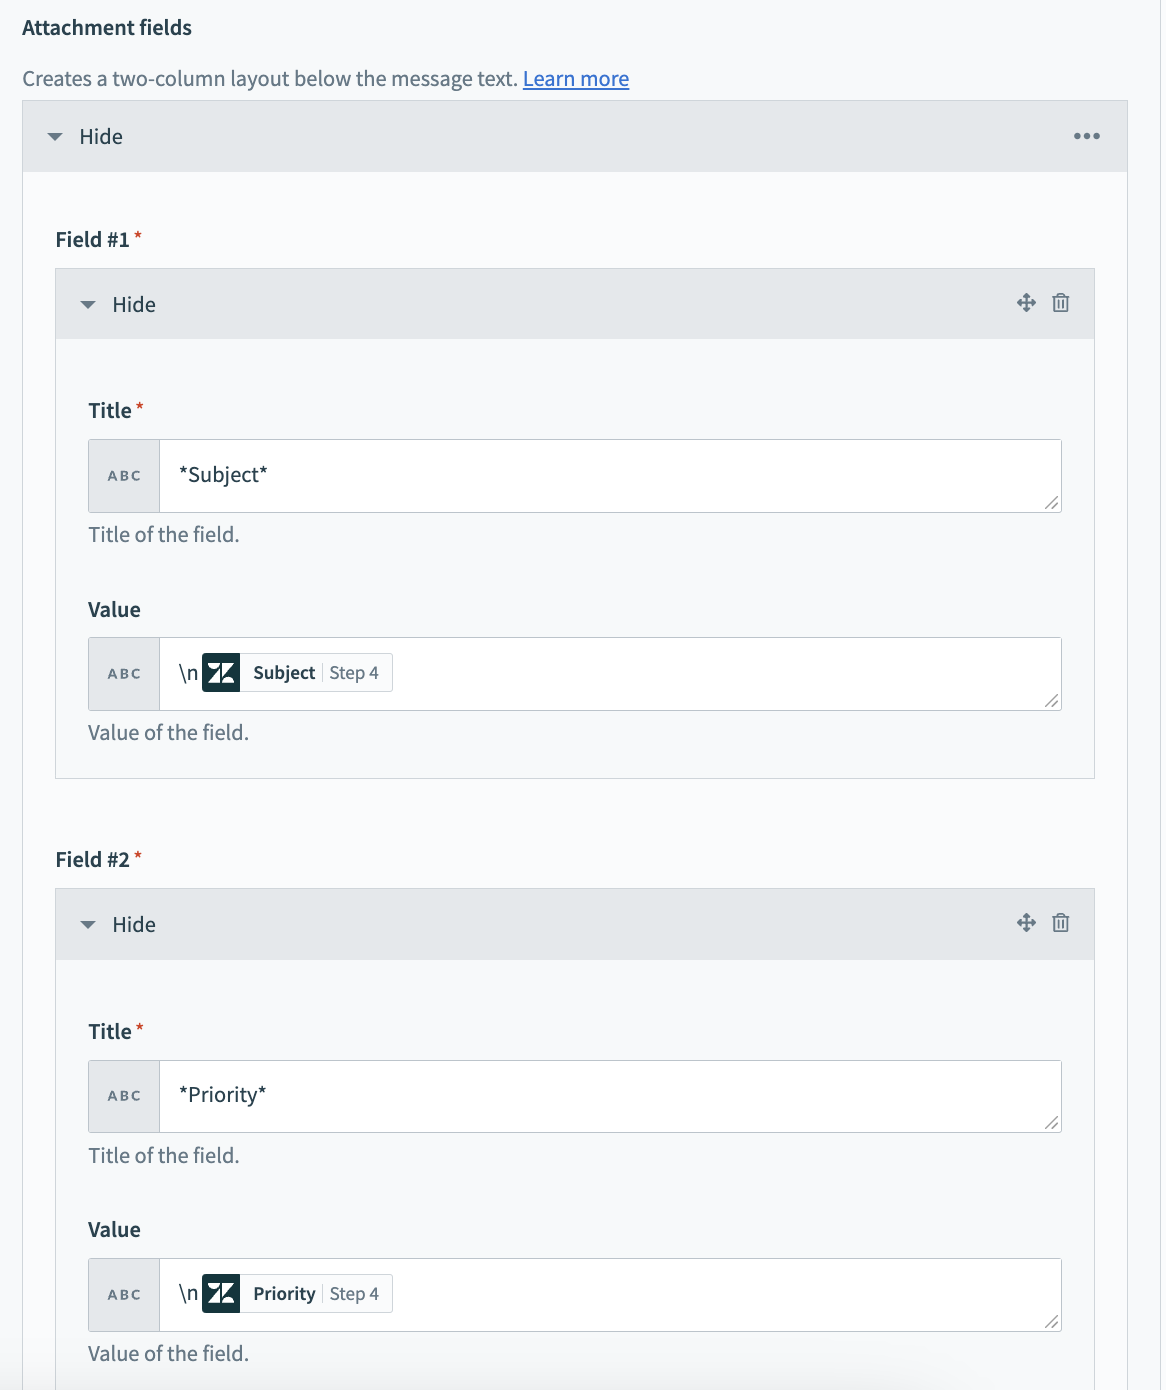 Add a Subject field
Click Add field to add a second field.
Enter Priority in the Title field.
Map the Zendesk PriorityStep 4 datapill to the Value field.
Click Add field to add a third field.
Enter Description in the Title field.
Switch the Value field to formula mode and copy and paste the following formula:
="\n"+_dp('{"pill_type":"output","provider":"zendesk","line":"create_ticket","path":["description"]}')[0...65]+"..."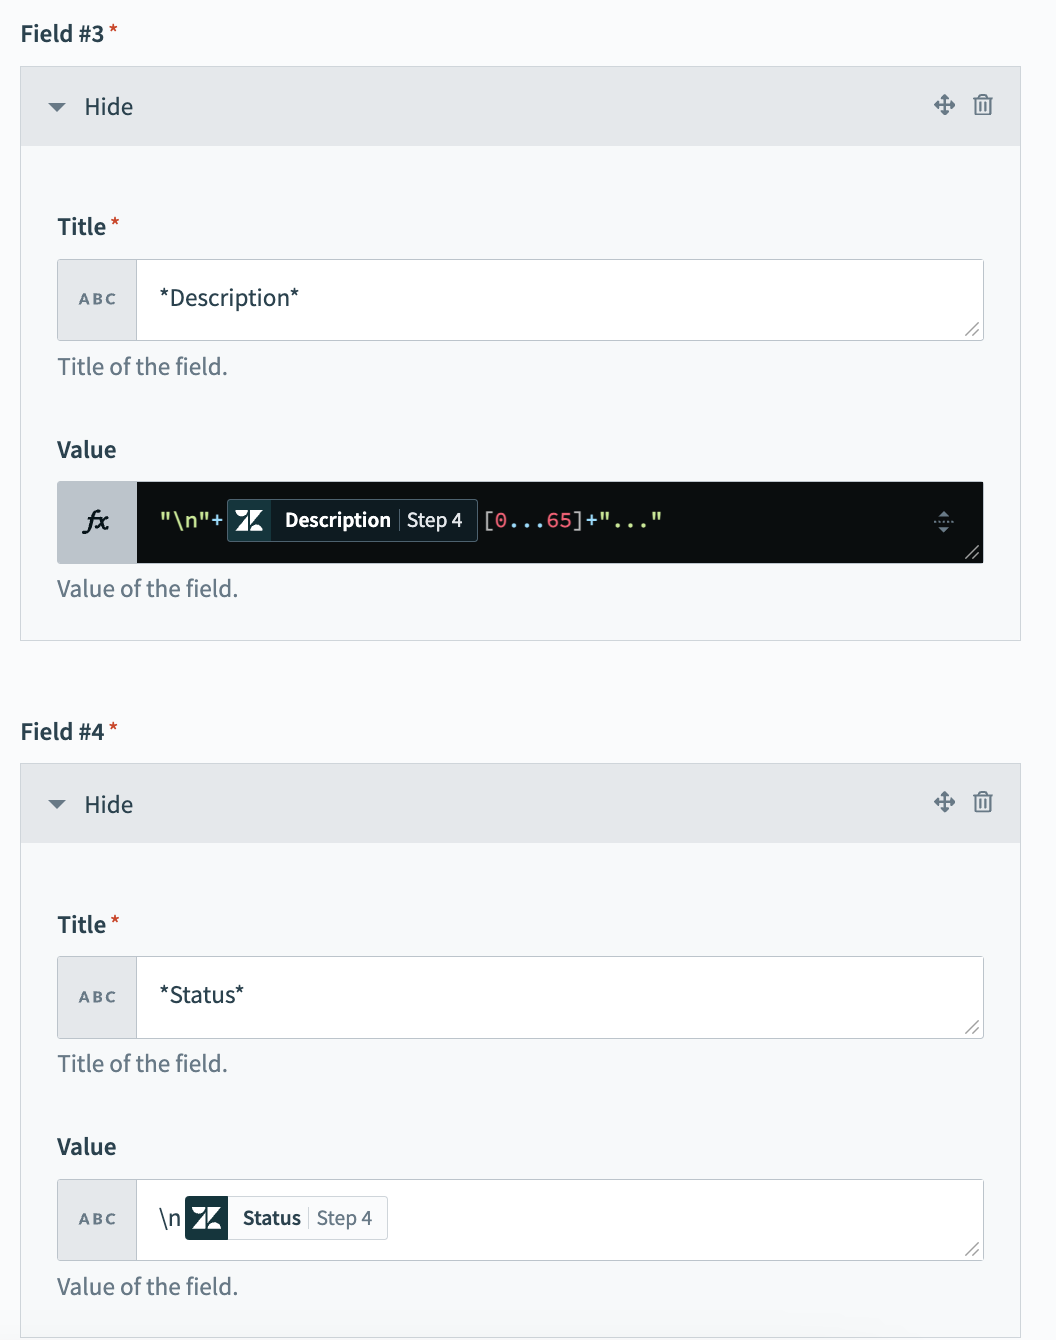 Add a Description field
Click Add field to add a fourth field.
Enter Status in the Title field.
Map the Zendesk StatusStep 4 datapill to the Value field.
Expand the Divider section and use the Type drop-down menu to select Divider.
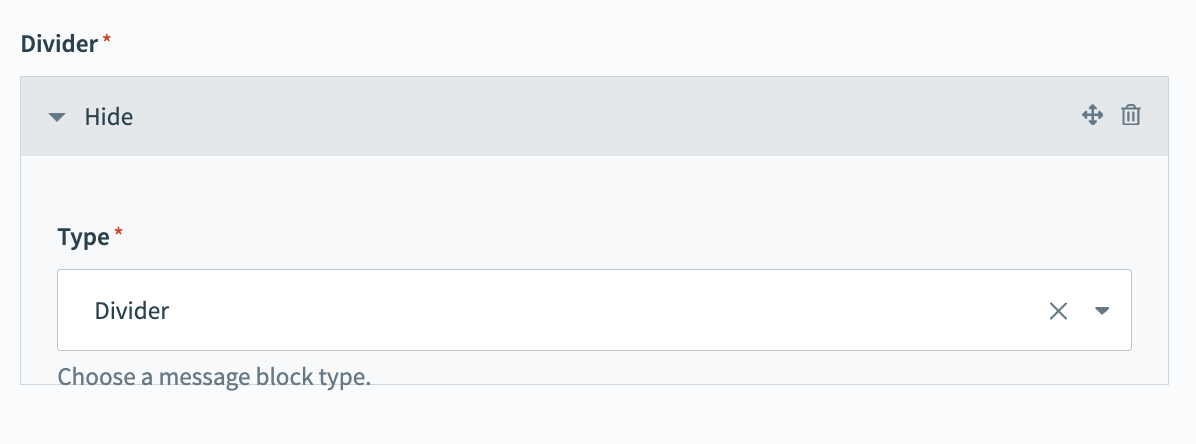 Select Divider
Click Save.
Click + Add step and select Action in app.
Set up your second Workbot for Slack Post message action.
Set up a second Workbot for Slack Post message action
This step posts a Slack message notify the users and channels you specify about the new Jira issue.
Search for Workbot for Slack and select it as your app.
Map the Workbot for Slack Notify userStep 1 datapill into the Channel name/DM field.
Configure the Channel name/DM field
Click Add block to message and use the Type menu to select Section with text.
Click the Add block to message button
Map the Jira KeyStep 3 datapill and the Workbot for Slack User IDStep 1 datapill to the Section text field.
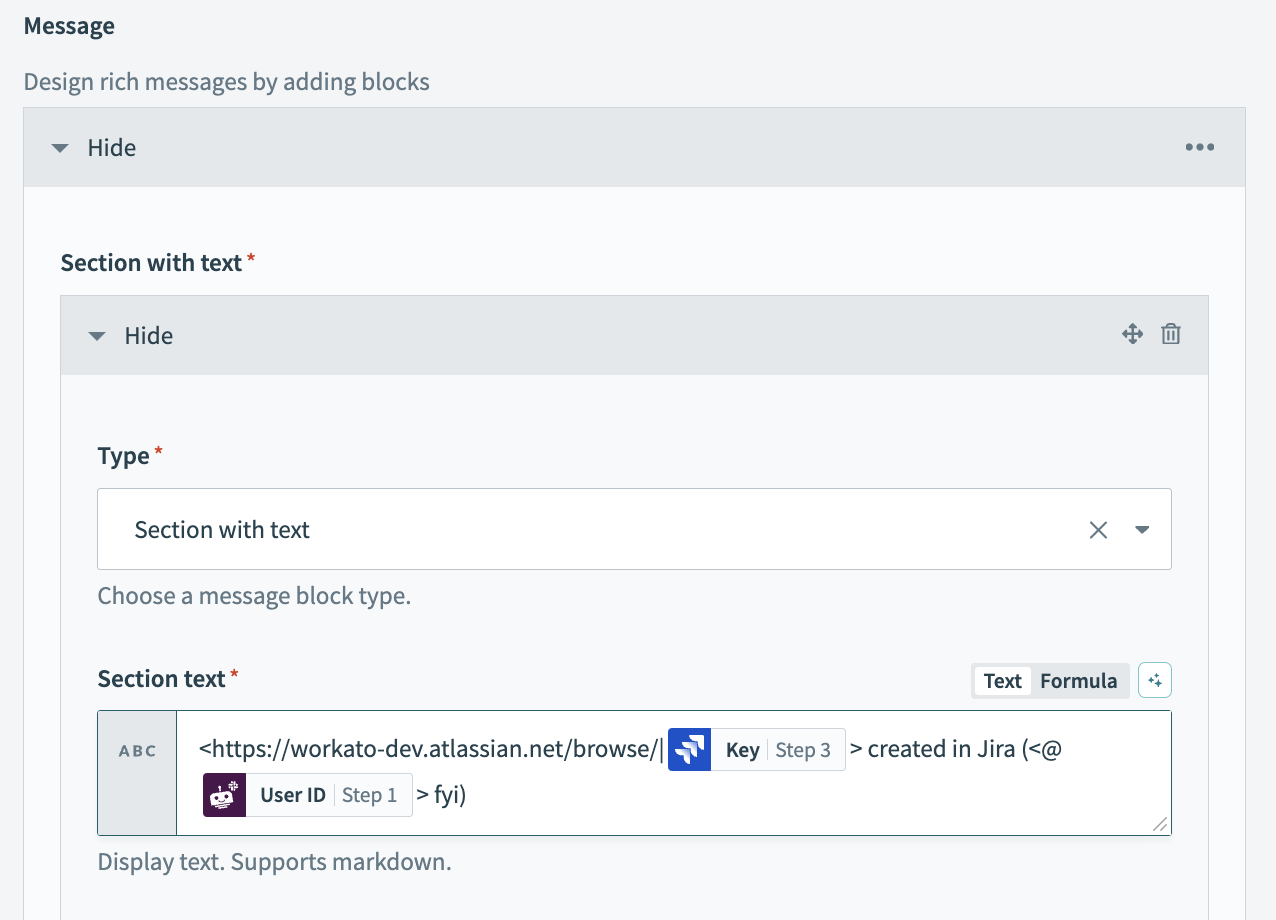 Map the Section with text field
Click Add block to message and use the Type drop-down menu to select Section with fields.
Locate the Attachment fields section and click Add field.
Click the Add field button
Enter Summary in the Title field.
Map the Jira SummaryStep 3 datapill to the Value field.
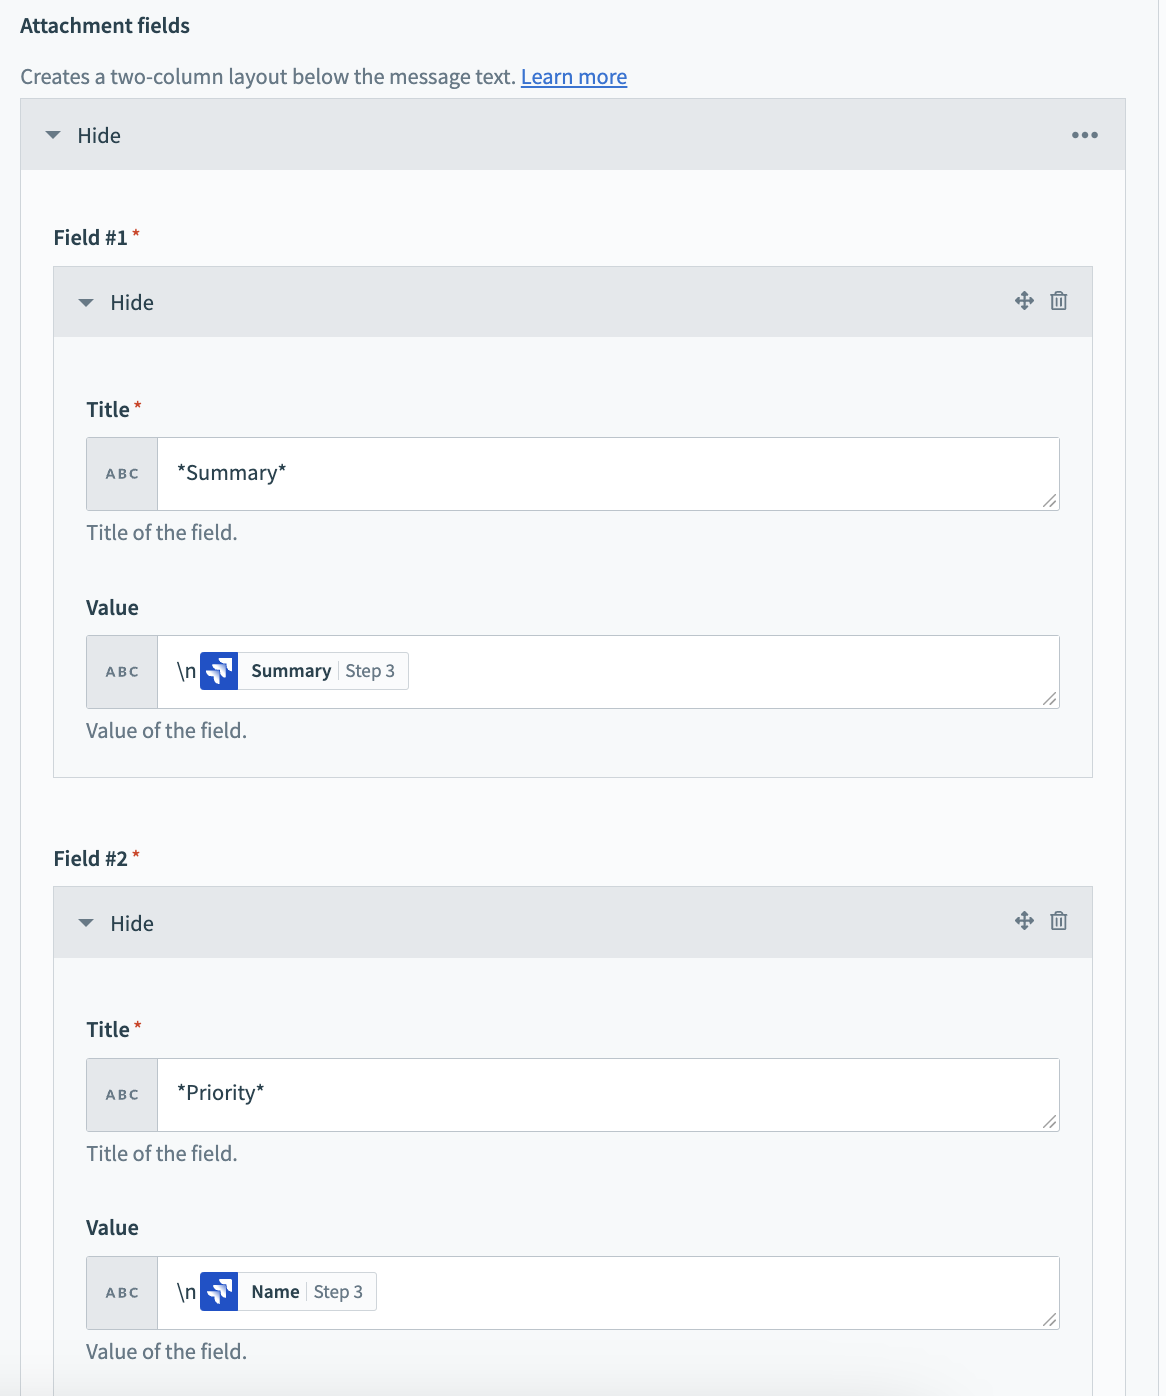 Add a Summary field
Click Add field to add a second field.
Enter Priority in the Title field,
Map the Jira NameStep 3 datapill to the Value field.
Click Add field to add a third field.
Enter Description in the Title field.
Switch the Value field to formula mode and copy and paste the following formula:
="\n"+ _dp('{"pill_type":"output","provider":"jira","line":"9e7af602","path":["fields","description"]}')[0...65]+"..."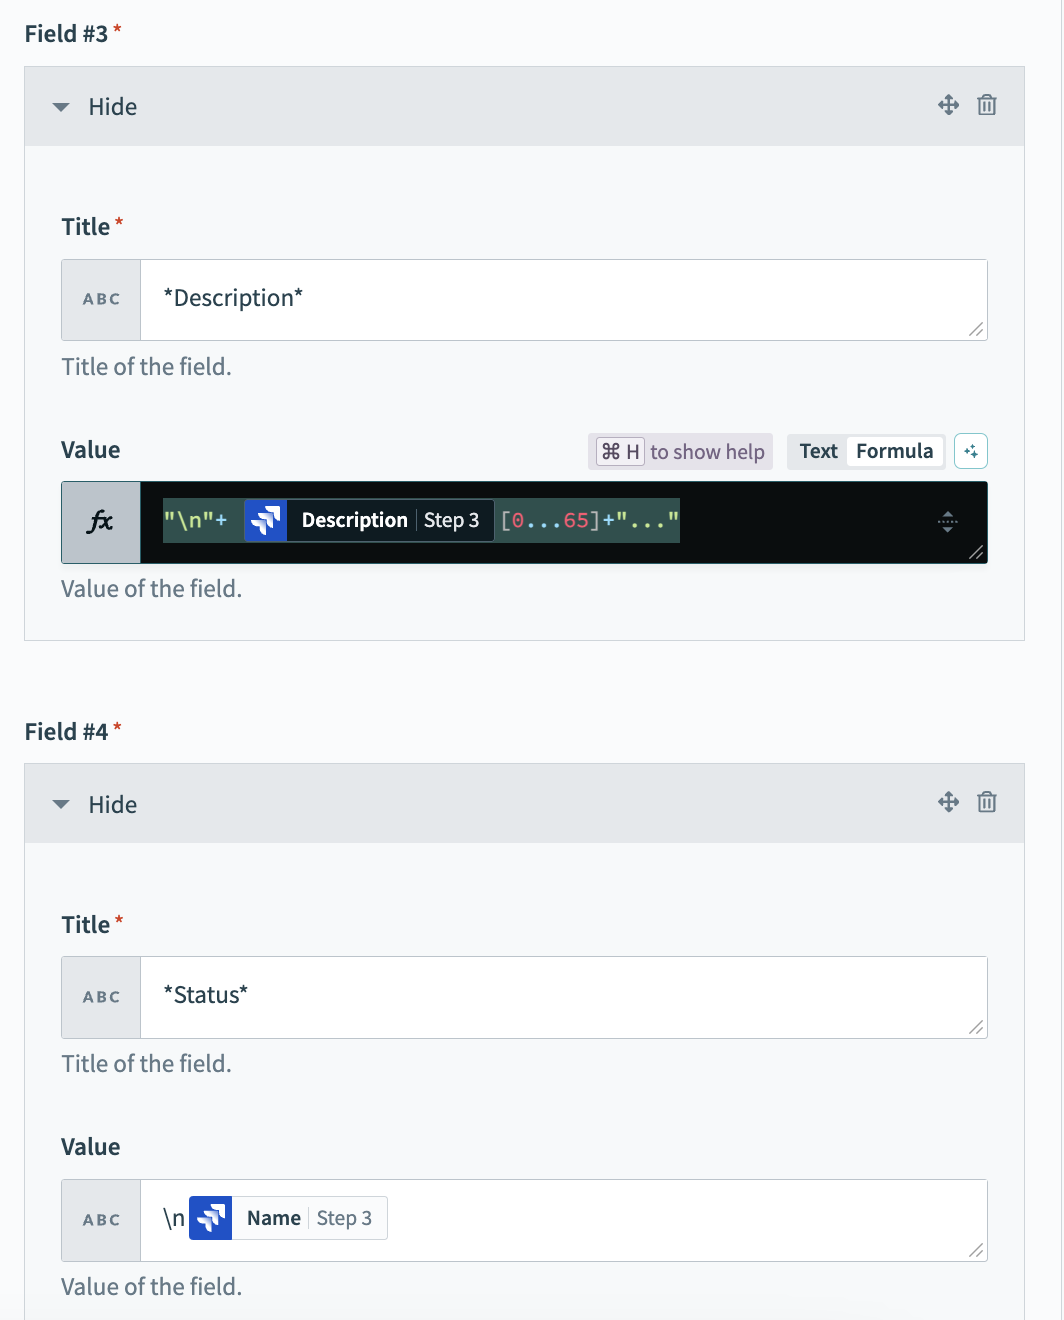 Add a Description field
Click Add field to add a fourth field.
Enter Status in the Title field.
Map the Jira NameStep 3 datapill to the Value field.
Click Save.
Your Create Zendesk and Jira issues with Workbot for Slack recipe is ready to test and implement.
Last updated: