Recipe Copilot
Workato's Recipe Copilot leverages Large Language Models (LLMs) to augment and accelerate your recipe-building experience. This AI-powered feature guides users of all experience levels through the recipe creation process, offering suggestions and auto-completing tasks to expedite development.
FEATURE AVAILABILITY
Copilot is available for all direct customers in the US, EU, AU, JP, and SG data centers. All data is sent to OpenAI's servers in the US. Copilot isn't available to workspaces in the CN data center. This reflects local regulatory requirements and Workato's commitment to data sovereignty and applies to our multi-tenant and Virtual Private Workato (VPW) offerings.
You can opt in to this feature by agreeing to our AI feature addendum. Contact your Customer Success representative to learn more.
POWERED BY AI
Ensure to review and test AI-generated suggestions in Recipe Copilot for accuracy before deployment.
Prerequisites
- Ensure that you have Copilot enabled for your workspace. Enabling Copilots requires the Environment admin role or the legacy Admin system role. If you aren't assigned one of these roles, contact your workspace administrator to enable this feature. For more information, refer to our Copilots documentation.
PERMISSIONS
Copilots do not have granular permission settings. When you enable it in your workspace, all collaborators within your workspace can access it, regardless of their role.
Get started with Recipe Copilot
Begin automating tasks with Recipe Copilot by following these steps:
Click Create > Recipe or press C+R.
Enter a name for your new recipe in the Name field.
Select a Location for your recipe by selecting a project or folder from the drop-down menu.
Click Start building to begin the guided recipe creation process with Recipe Copilot.
At this stage, decide your recipe's starting point:
- Start from scratch and build your own recipe.
- Use Recipe Copilot to guide you through the recipe creation based on your automation goals.
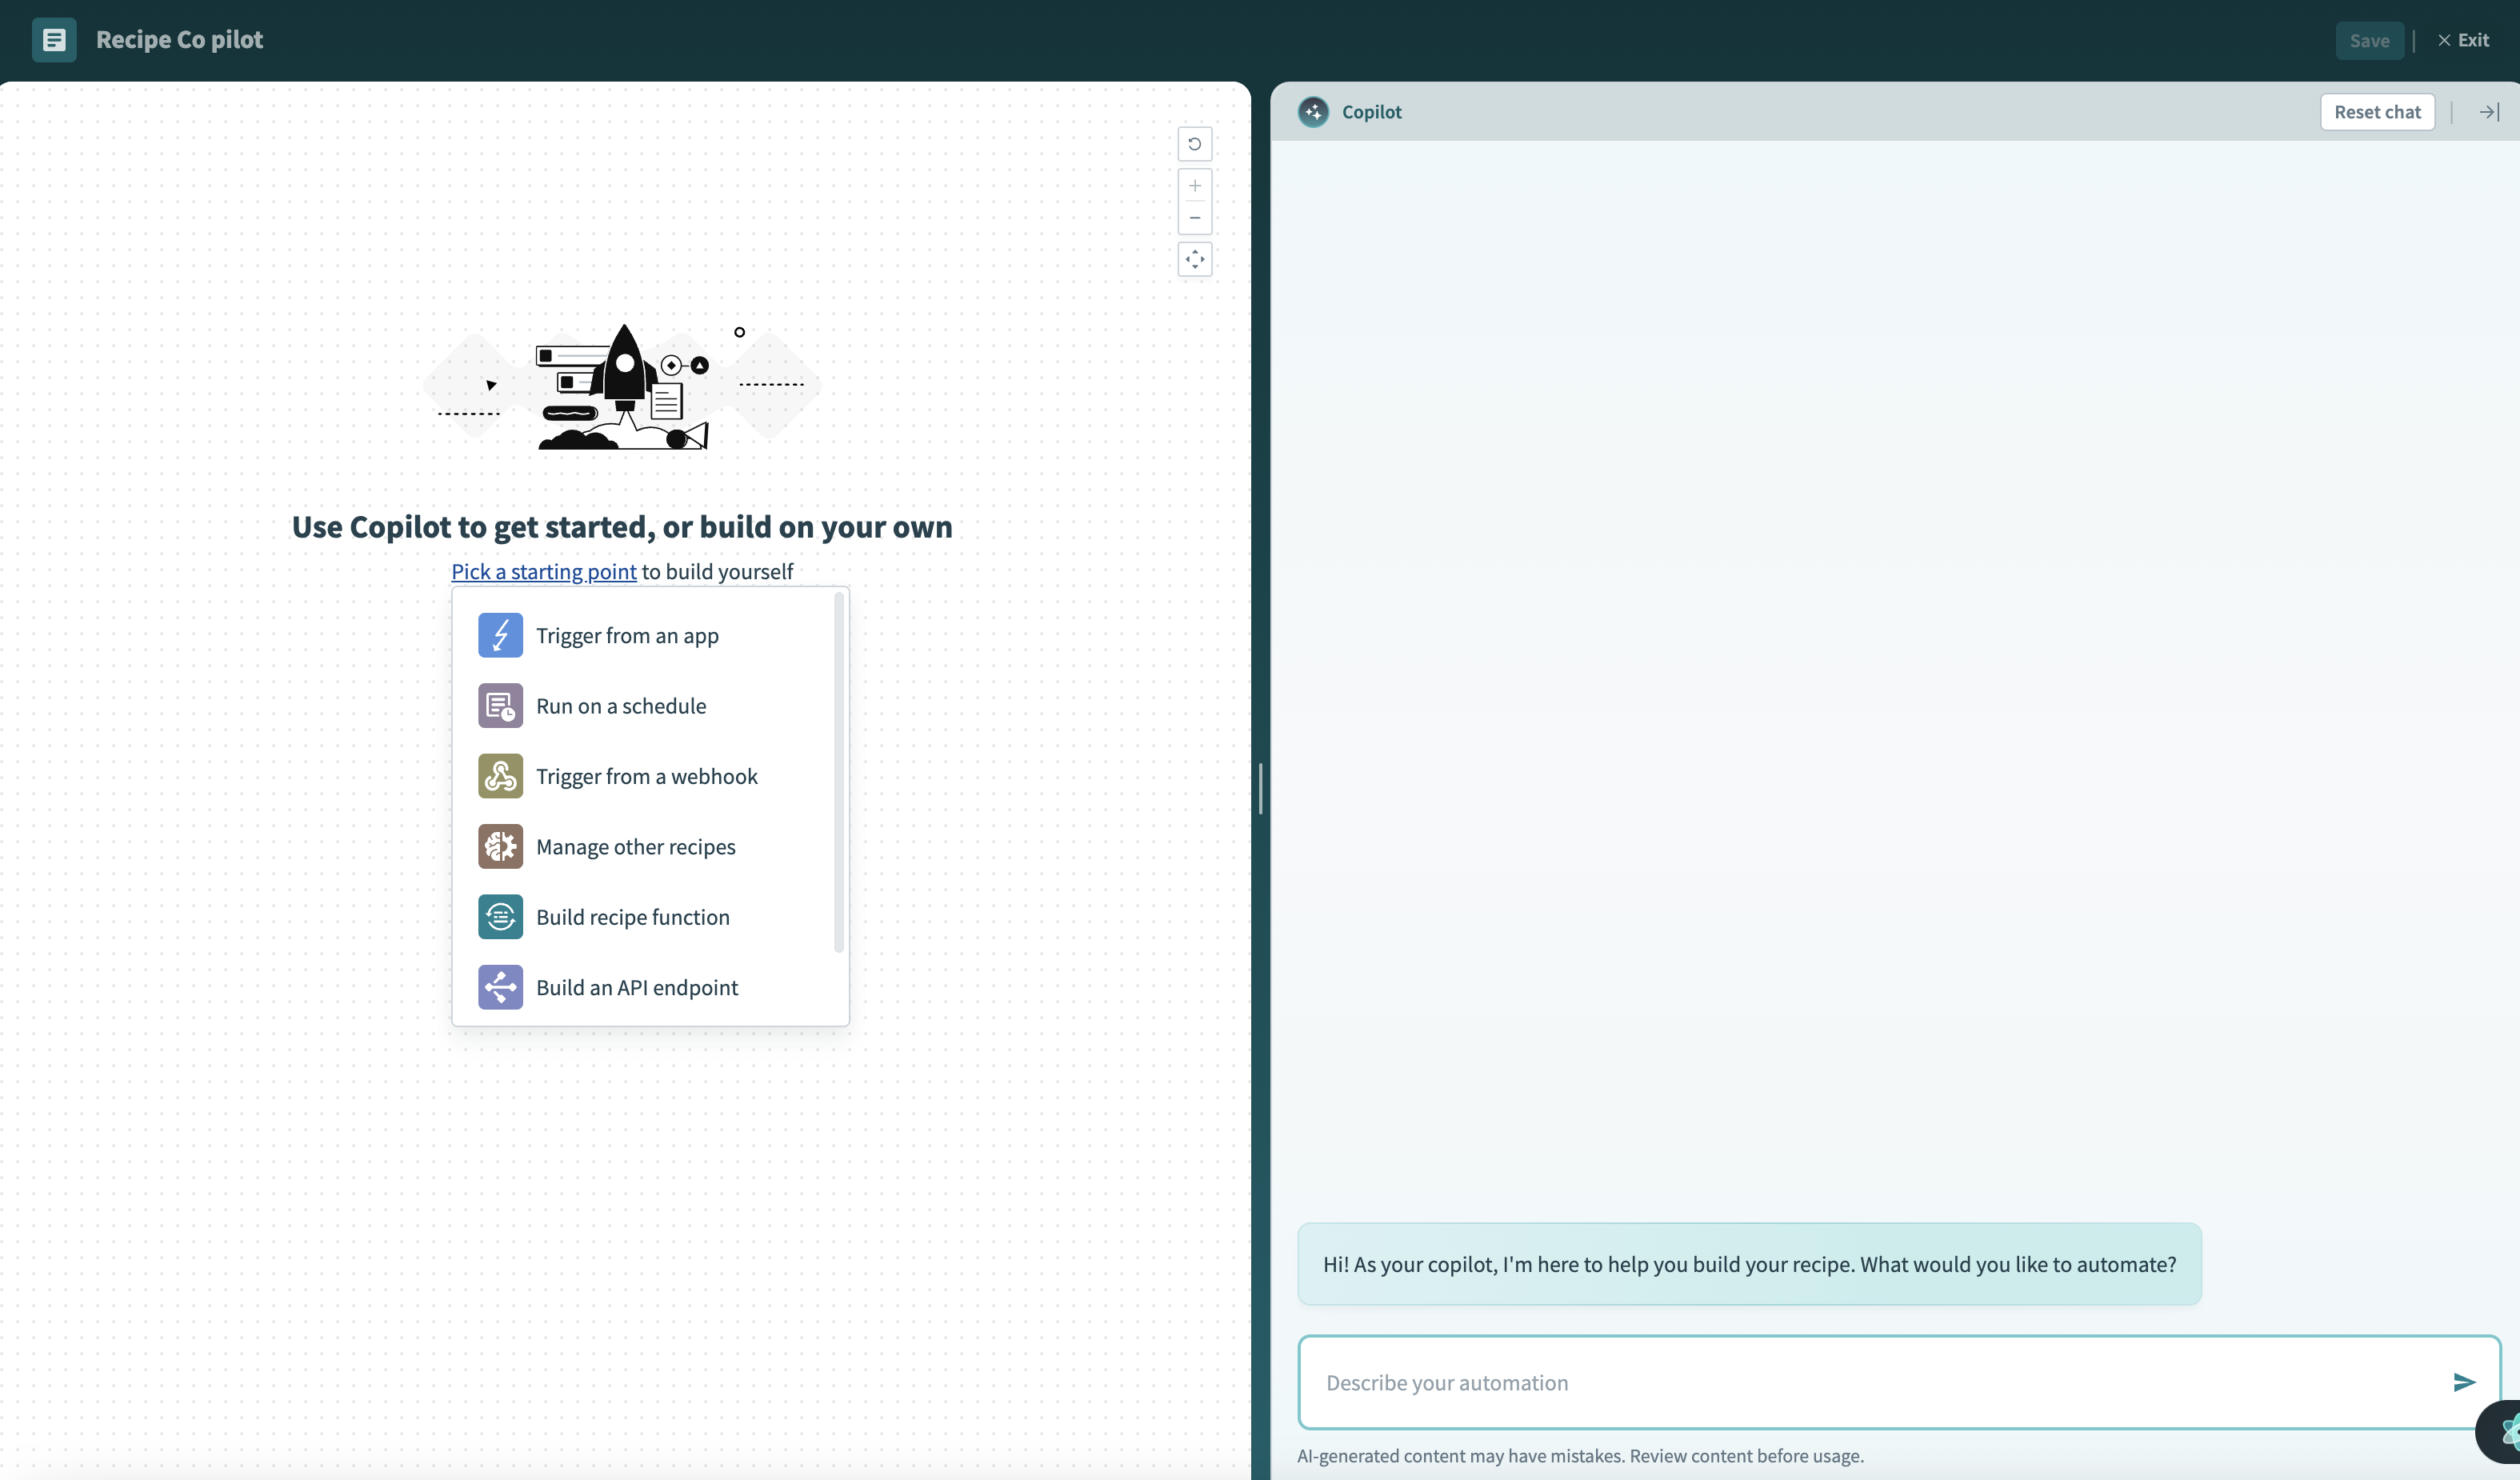 Recipe Copilot start screen
Recipe Copilot is ready to help you build your recipes.
Verify Copilot generations
Recipe Copilot's AI-powered suggestions may include inaccuracies. Review the following guidelines to ensure your recipes are reliable:
Review suggestions
Review each AI-generated suggestion to ensure it meets your requirements and aligns with your recipe context:
- Verify that the logic aligns with your automation goals.
- Confirm the accuracy and relevance of the suggested data fields and transformations.
Test thoroughly
Test AI-generated suggestions to avoid issues in your production environment:
- Perform testing in a development or test environment to identify potential issues without affecting live processes.
- Use realistic test data to simulate actual use cases and ensure functionality under real-world conditions.
- Run multiple tests to ensure the suggestions work reliably in various scenarios.
Last updated: