# Custom domain and email server
The custom domain and email server features work together to provide a personalized and branded experience for Workflow app users. This ensures a seamless experience between your application and Workflow apps.
CNAME AND SPF RECORD SETUP
Configuring a custom domain and email server involves adding a CNAME and an SPF record to your DNS settings. A CNAME aliases one domain to another and is required for a custom domain setup, while an SPF record specifies authorized mail servers. Although both can be used in the same registered domain, they can't coexist on the same domain or subdomain. For example, you can use a CNAME for a subdomain like www.example.com and an SPF record for the root domain, example.com.
# Custom domain
A custom domain enables you to use your own domain name instead of the default Workato domain ({customer_subdomain}.workato.app) for your Workflow apps. This means that you can set up your DNS (Domain Name System) domain to access the Workflow apps portal, pages, tasks, links, and email communications using a custom domain.
Custom domains follow the {custom_subdomain}.{customer_domain}/portal format. For example:
https://apps.idea-lifestyle.net/portal
# Certificate for TLS
New certificates are created automatically when you add a custom domain. Workato manages certificates to enable HTTPS on the custom domains that you add.
# Certificate renewals
Custom domain certificates automatically renew one month before the set expiration date. Workato manages the renewal process with Let's Encrypt (opens new window). The new certificate request for the custom domain includes validating domain ownership through DNS records or other verification methods specified by Let's Encrypt. Workato automatically deploys the new certificate after Let's Encrypt issues it. This seamless transition ensures that your custom domain continues to operate over HTTPS without interruption or manual intervention required on your end.
CERTIFICATE AUTHORITY AUTHORIZATION (CAA) RECORD
If you restrict the Certificate Authorities (CAs) that are allowed to issue certificates for your site, the custom domain workflow fails when trying to issue a certificate for your custom domain. Add a CAA record (opens new window) for Let's Encrypt's domain name letsencrypt.org to resolve this.
# Set up a custom domain
PREREQUISITES
To set up a custom domain for your Workflow apps, you must have the following:
- A domain to which you have permissions to manage DNS records. You can prepare a registered domain name or use an existing domain for this purpose. For more information on domain names, see the ICANN documentation (opens new window).
VIRTUAL PRIVATE WORKATO (VPW) CUSTOMERS
This feature requires configuration steps that are specific to your Virtual Private Workato (VPW) instance. If you are a VPW customer, refer to your VPW private documentation for the configuration details for your instances.
Complete the following steps to set up a custom domain:
Sign in to your Workato account.
Use the sidebar navigation to go to Platform > Workflow apps portal > Settings > Custom domain and email server.
Click Add domain.
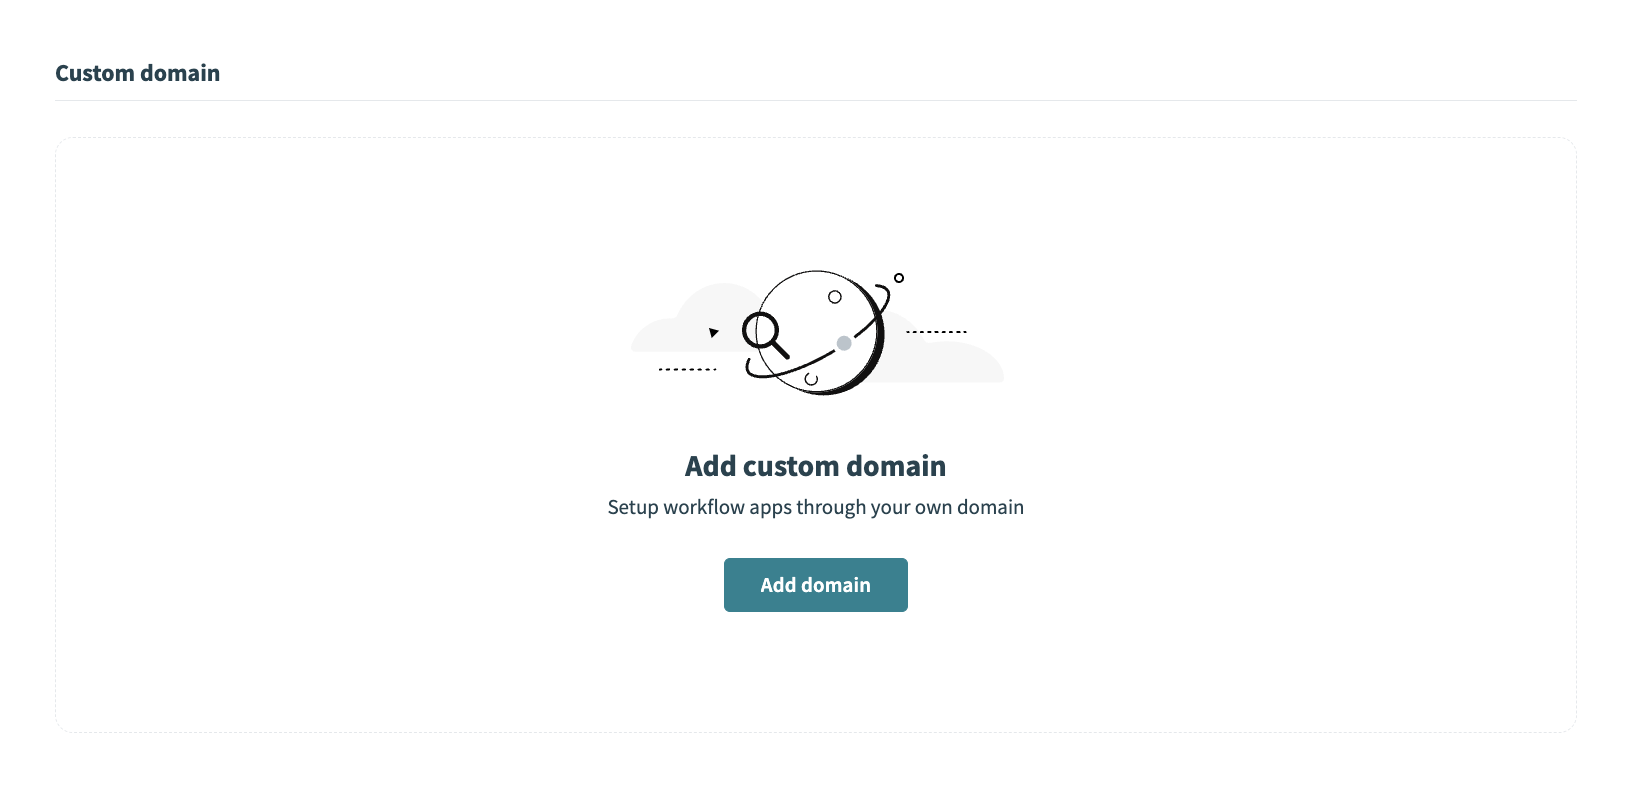 Add a domain
Enter your full domain name, including the subdomain, and click Add domain. For example, apps.idea-lifestyle.net.
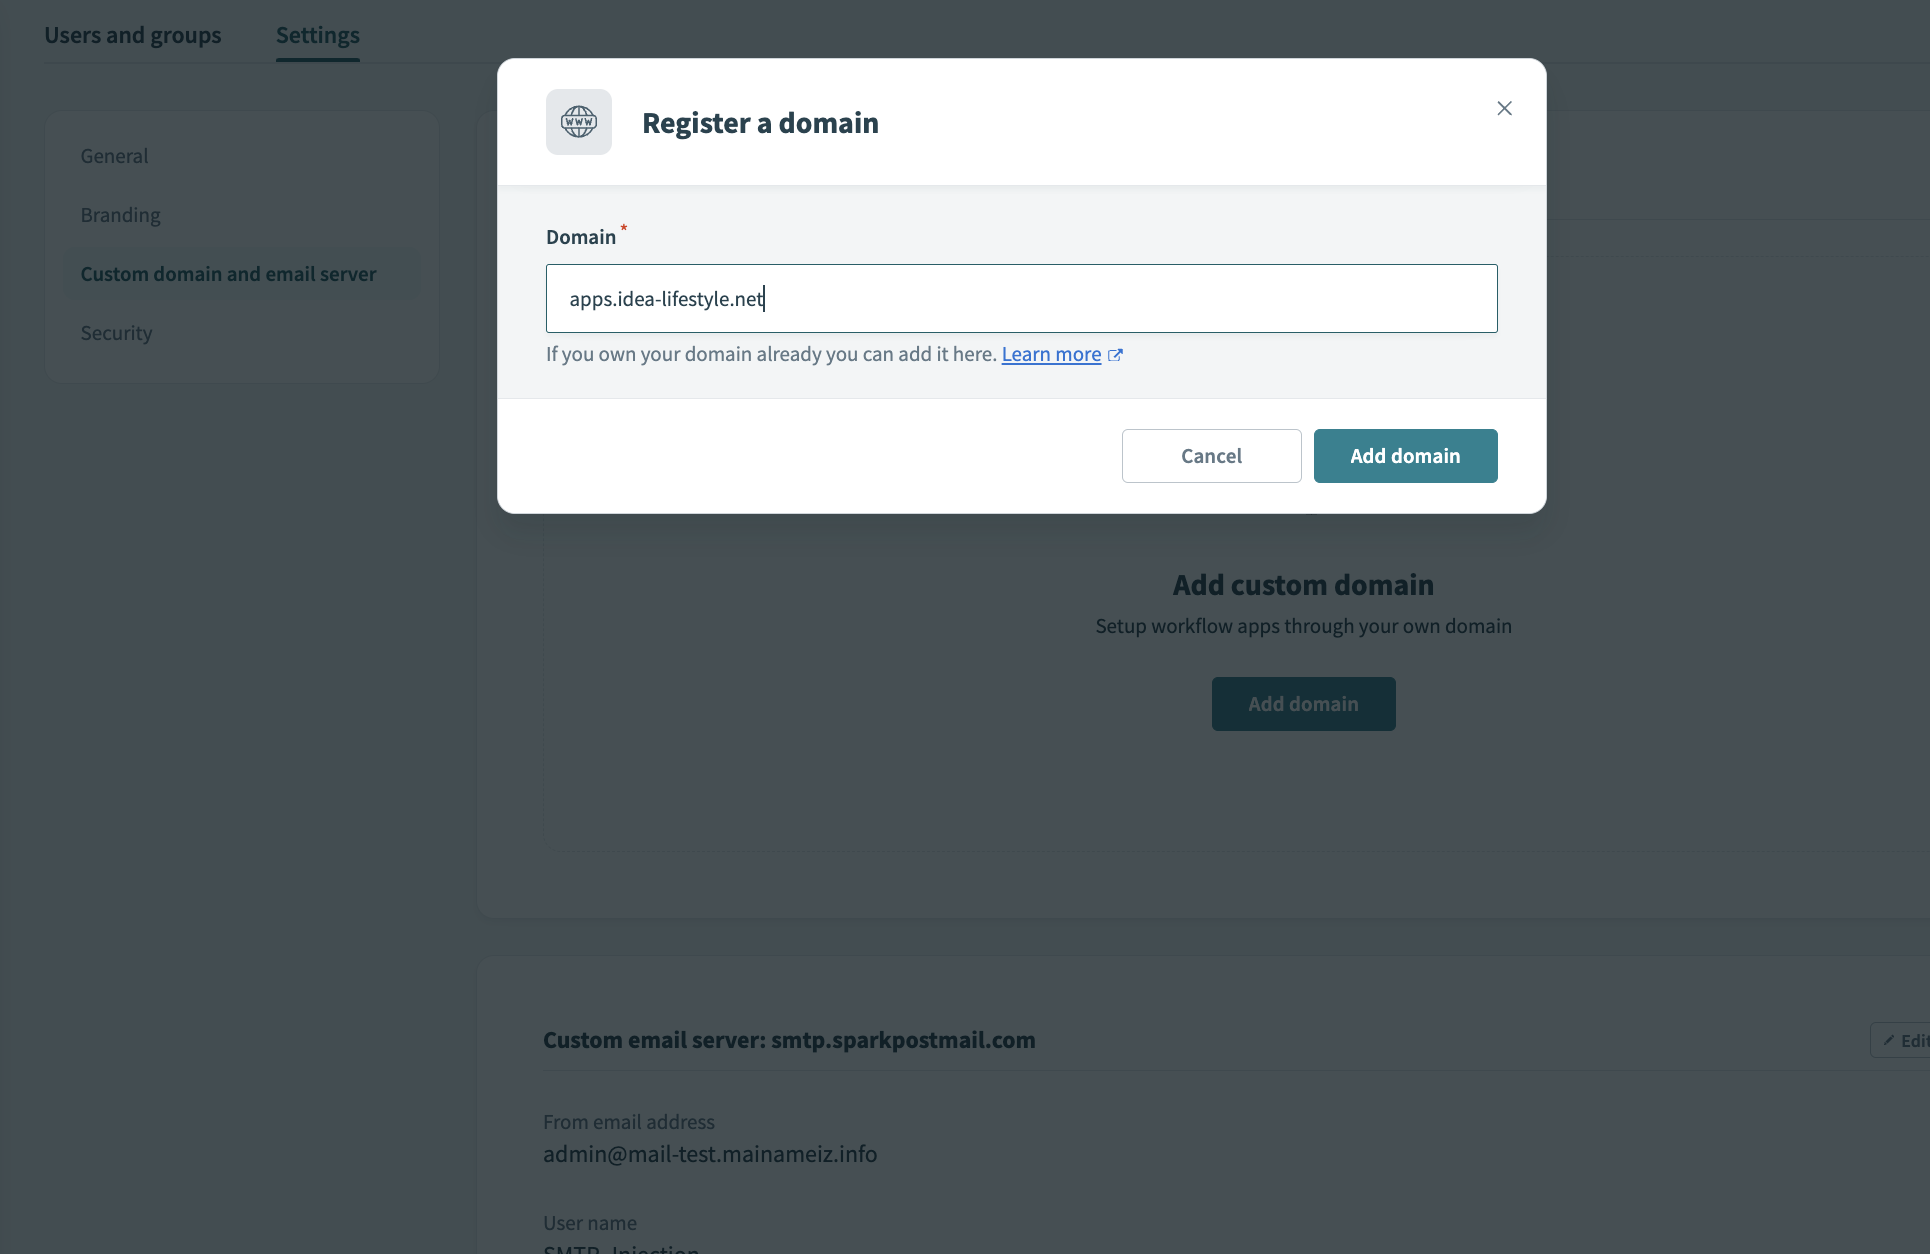 Register a domain
Verify your domain by configuring the CNAME record in your DNS settings
In your DNS manager, go to Websites and select your domain. This example uses Cloudflare (opens new window).
Open DNS > Records and click + Add record.
Select CNAME as the Type and supply your subdomain name in the Name field. For example, apps.
Provide the Target. Copy and paste the Value from Workato. For example:
apps-custom.workato.app
The Value/Target varies based on the data center that serves your Workato workspace. Use the URL that matches your data center:
- US Data Center:
apps-custom.workato.app - EU Data Center:
apps-custom.eu.workato.app - SG Data Center:
apps-custom.sg.workato.app - JP Data Center:
apps-custom.jp.workato.app - AU Data Center:
apps-custom.au.workato.app - IL Data Center:
apps-custom.il.workato.app - Developer sandbox:
apps-custom.trial.workato.app
Set the Proxy status to DNS only.
Click Save.
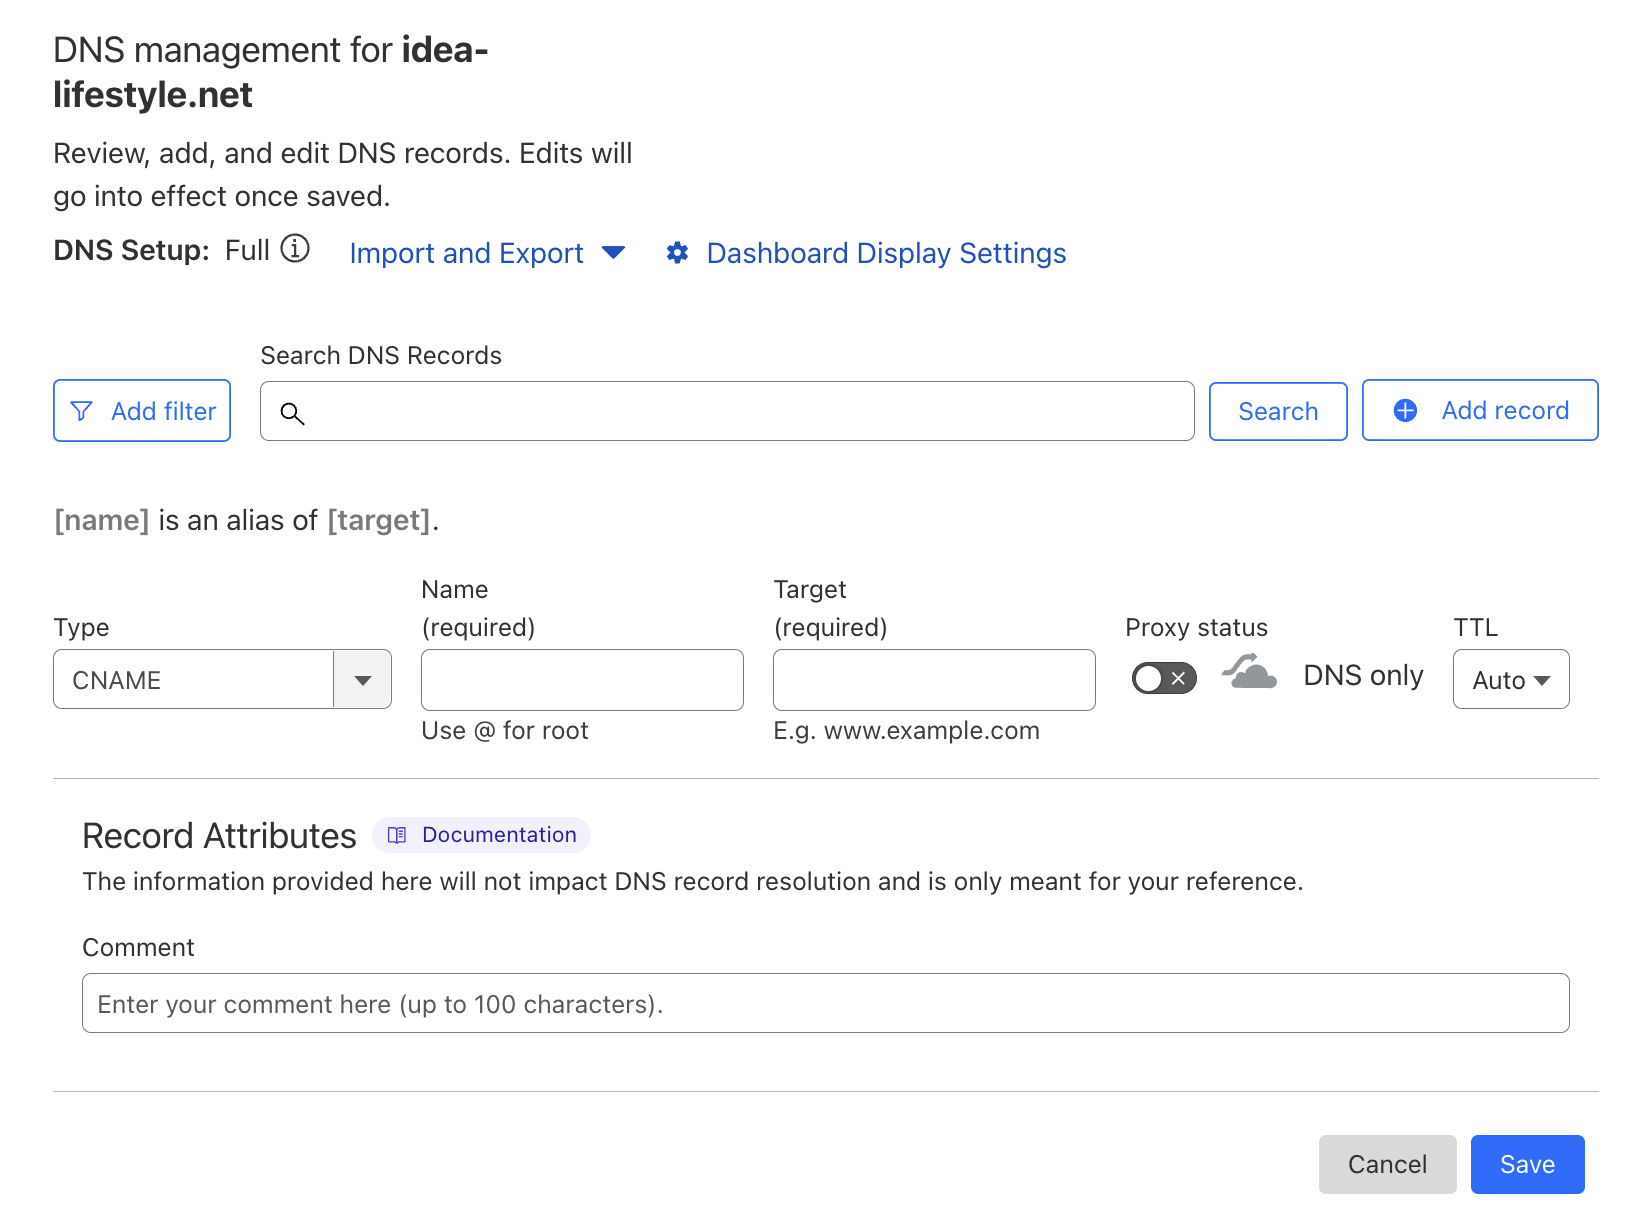 Add a CNAME record to your DNS settings
Depending on your domain host, it can take up to 24 hours for the new CNAME record to propagate through the global domain name system. After verifying your custom domain's DNS, Workato generates an SSL certificate. It can take up to an hour for the certificate to be issued and ready for use. Refresh the Custom domain and email server page to check on the status.
# Custom email server
Workato allows you to send emails from your Workflow apps using SMTP (Simple Mail Transfer Protocol). This feature enables you to send emails from addresses like {username}@{customerdomain}.com instead of the default [email protected]. By using your organization's email server, such as Exchange Online or Gmail, you can maintain consistency in your communications.
# Set up a custom email server in Workato
VIRTUAL PRIVATE WORKATO (VPW) CUSTOMERS
This feature requires configuration steps that are specific to your Virtual Private Workato (VPW) instance. If you are a VPW customer, refer to your VPW private documentation for the configuration details for your instances.
Complete the following steps to set up your custom email server in Workato. This process involves obtaining values from your SMTP email server.
Sign in to your Workato account.
Use the sidebar navigation to go to Platform > Workflow apps portal > Settings > Custom domain and email server.
Click Add email server.
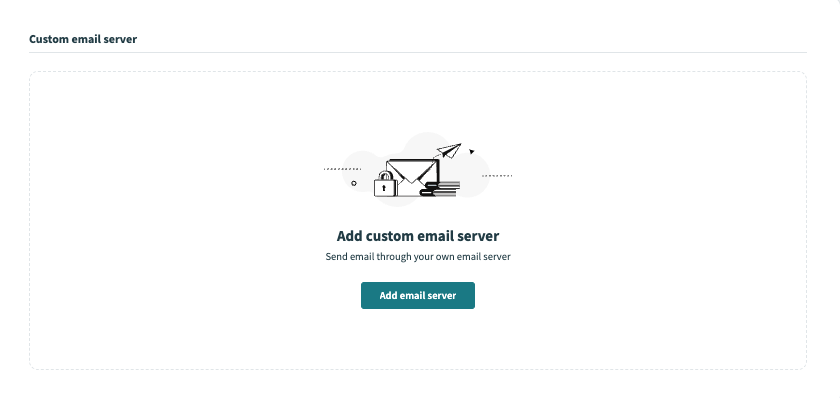 Add email server
Configure your email server
In the Server field, add your SMTP email server value. For example, smtp.gmail.com.
In the From email address field, provide an email address from which you plan to send Workflow apps communications. Users will see this email address in all correspondence. For example, [email protected].
In the User name field, add your SMTP email server username.
In the Password field, enter your SMTP email server password.
Supply a Port number. Workato recommends using 587, which is used for secure transfer of emails and is supplied by default.
Click Next.
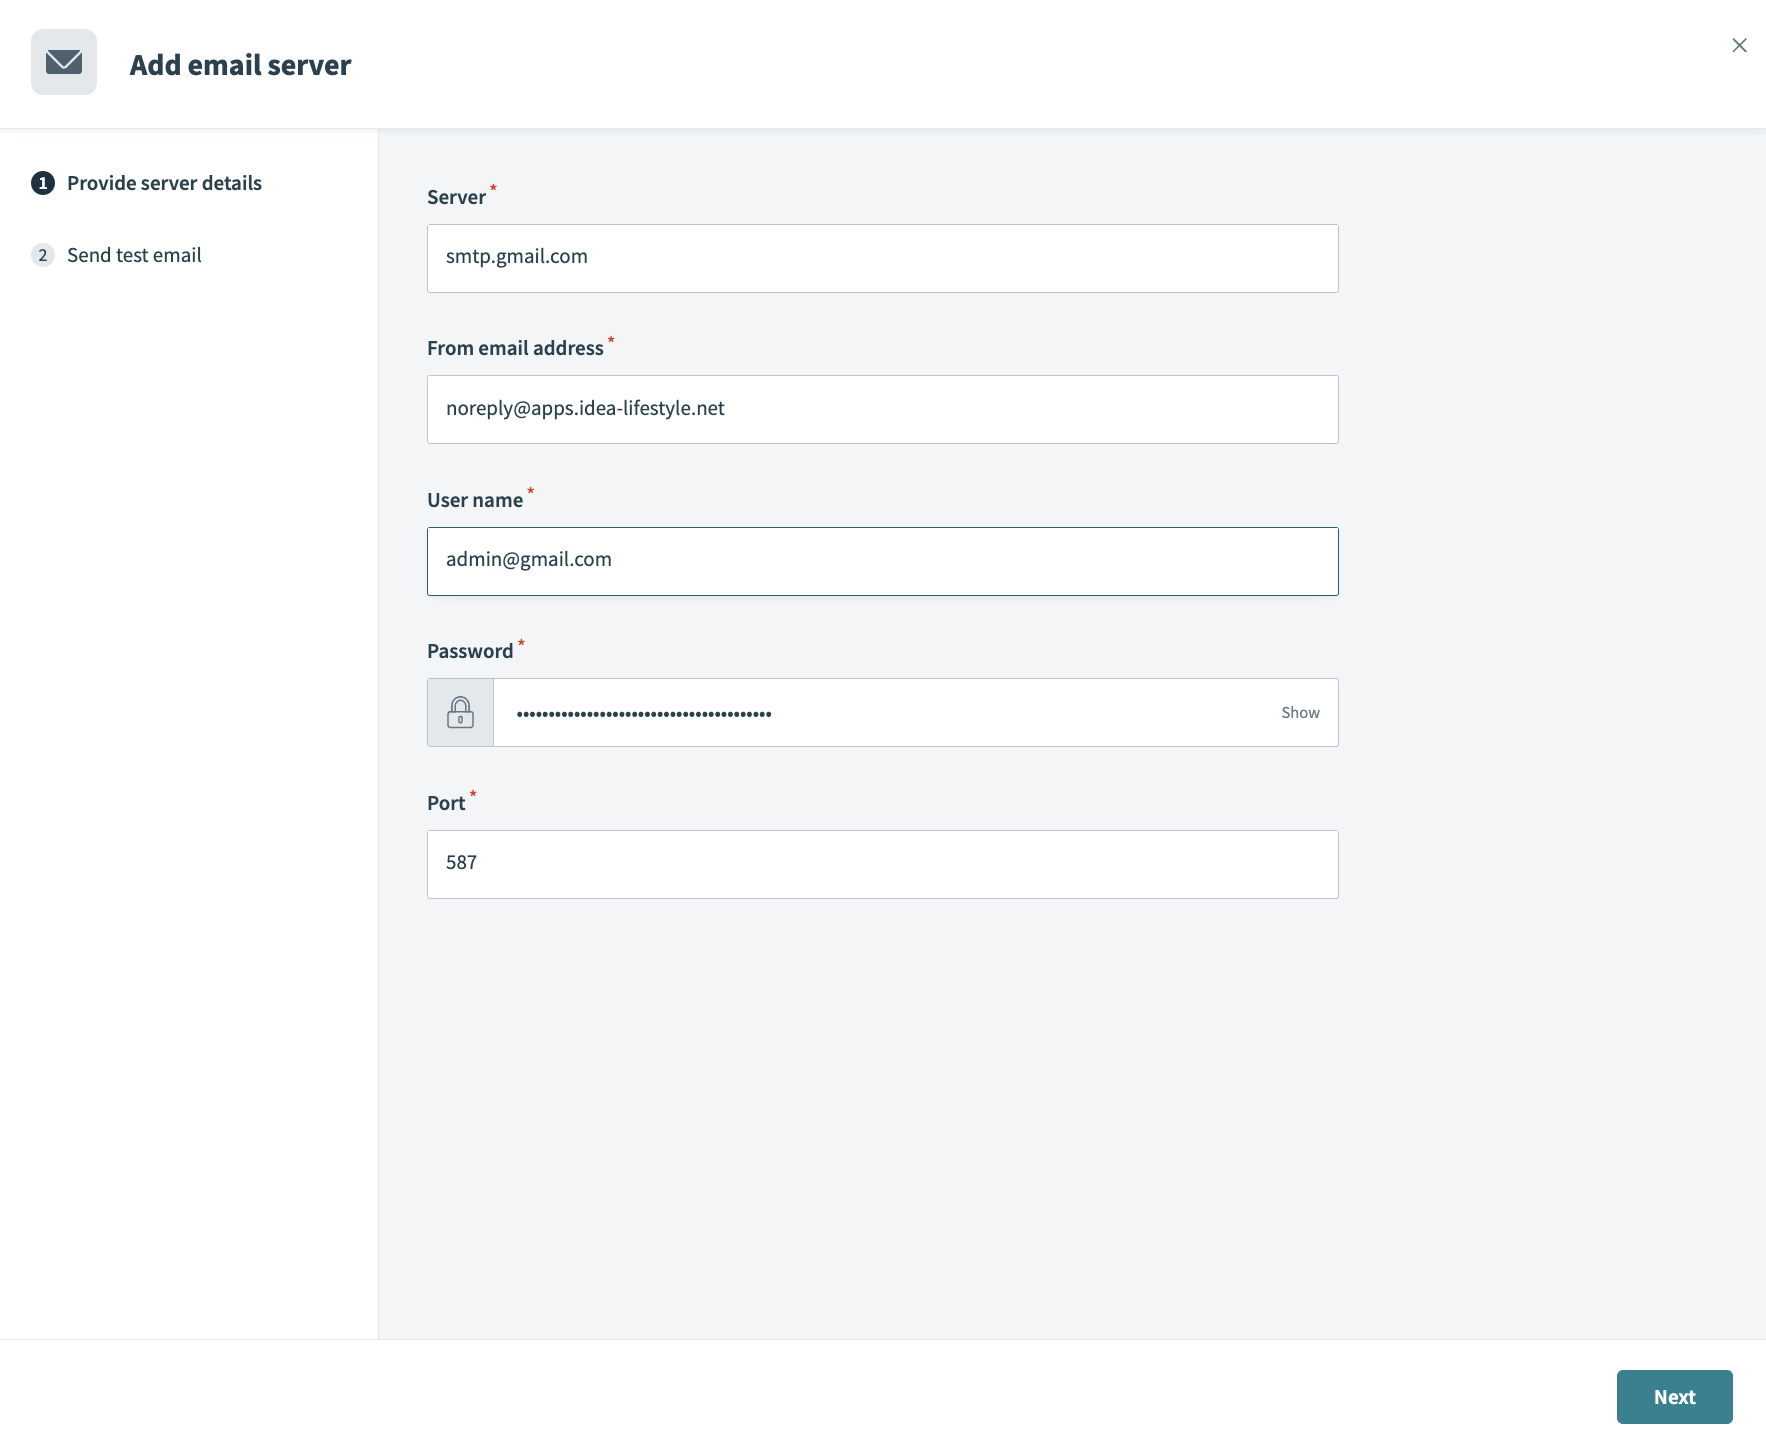 Email server setup
In the Send to email address field, provide your email address and click Send test email. Workato sends a test email to this address to verify the email server is working.
Check your inbox and spam folder to confirm the email was sent successfully.
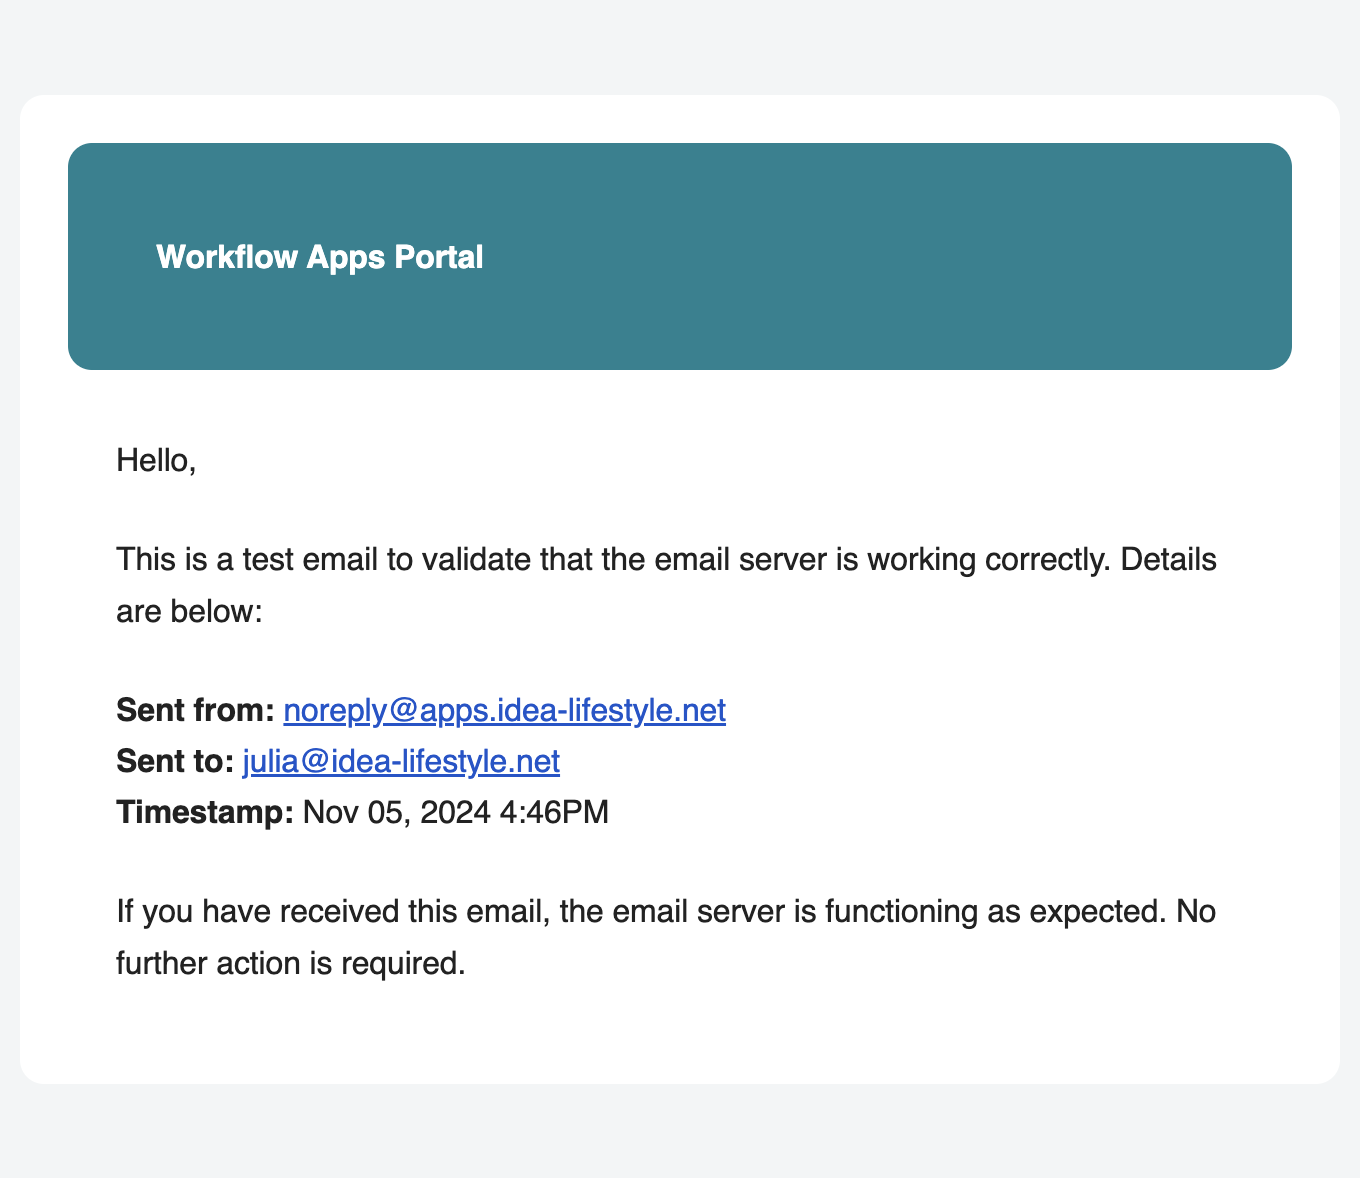 Email verification sent
Click Add email server.
Last updated: 9/11/2025, 7:08:29 PM
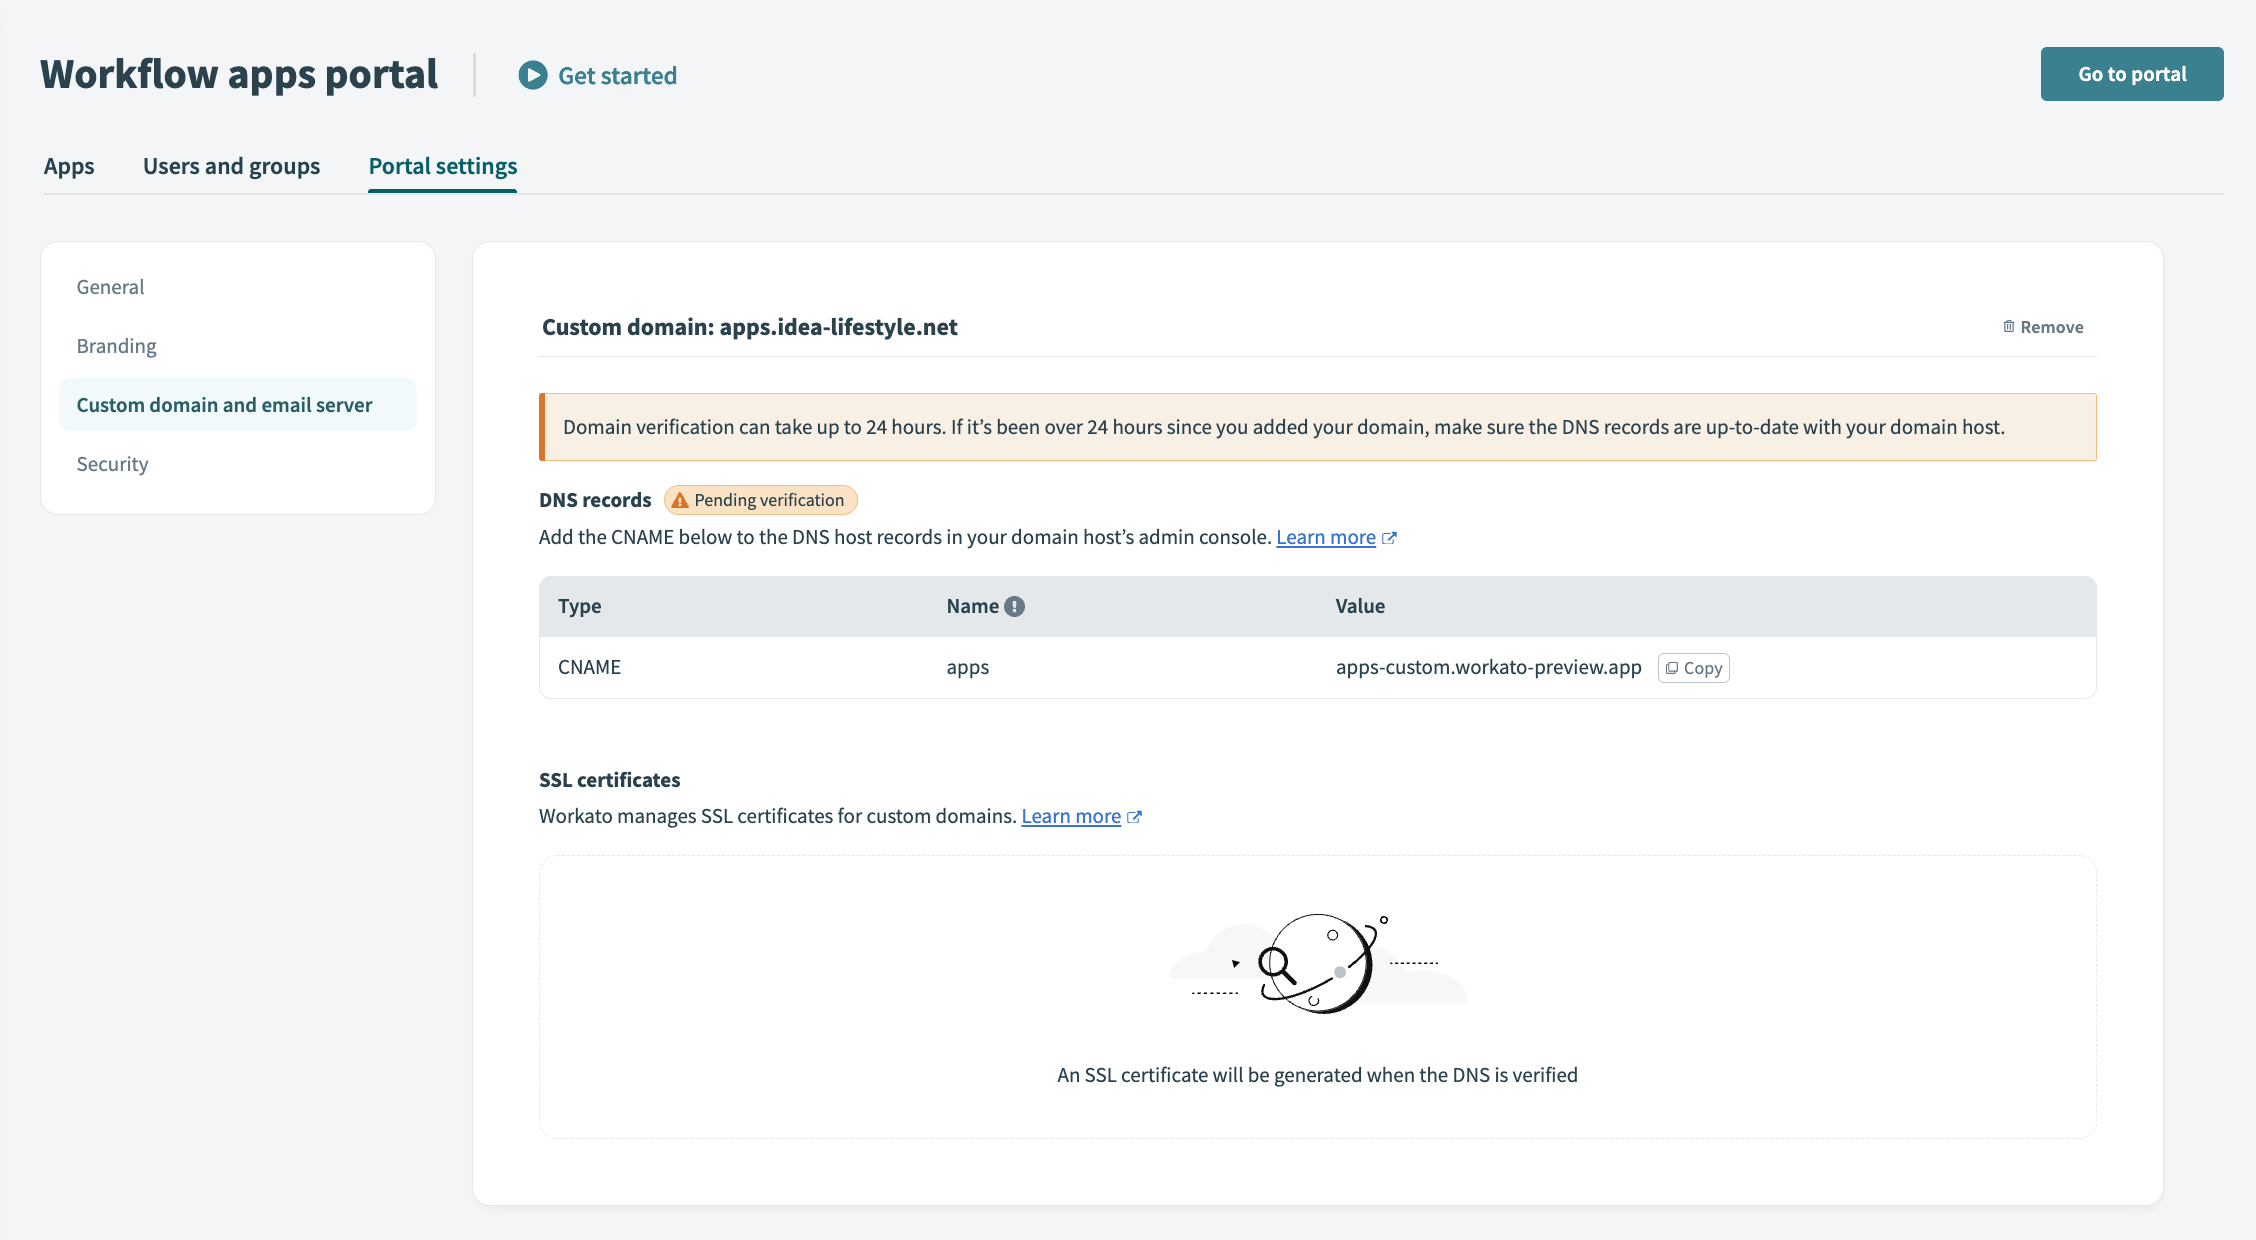 Domain verification pending
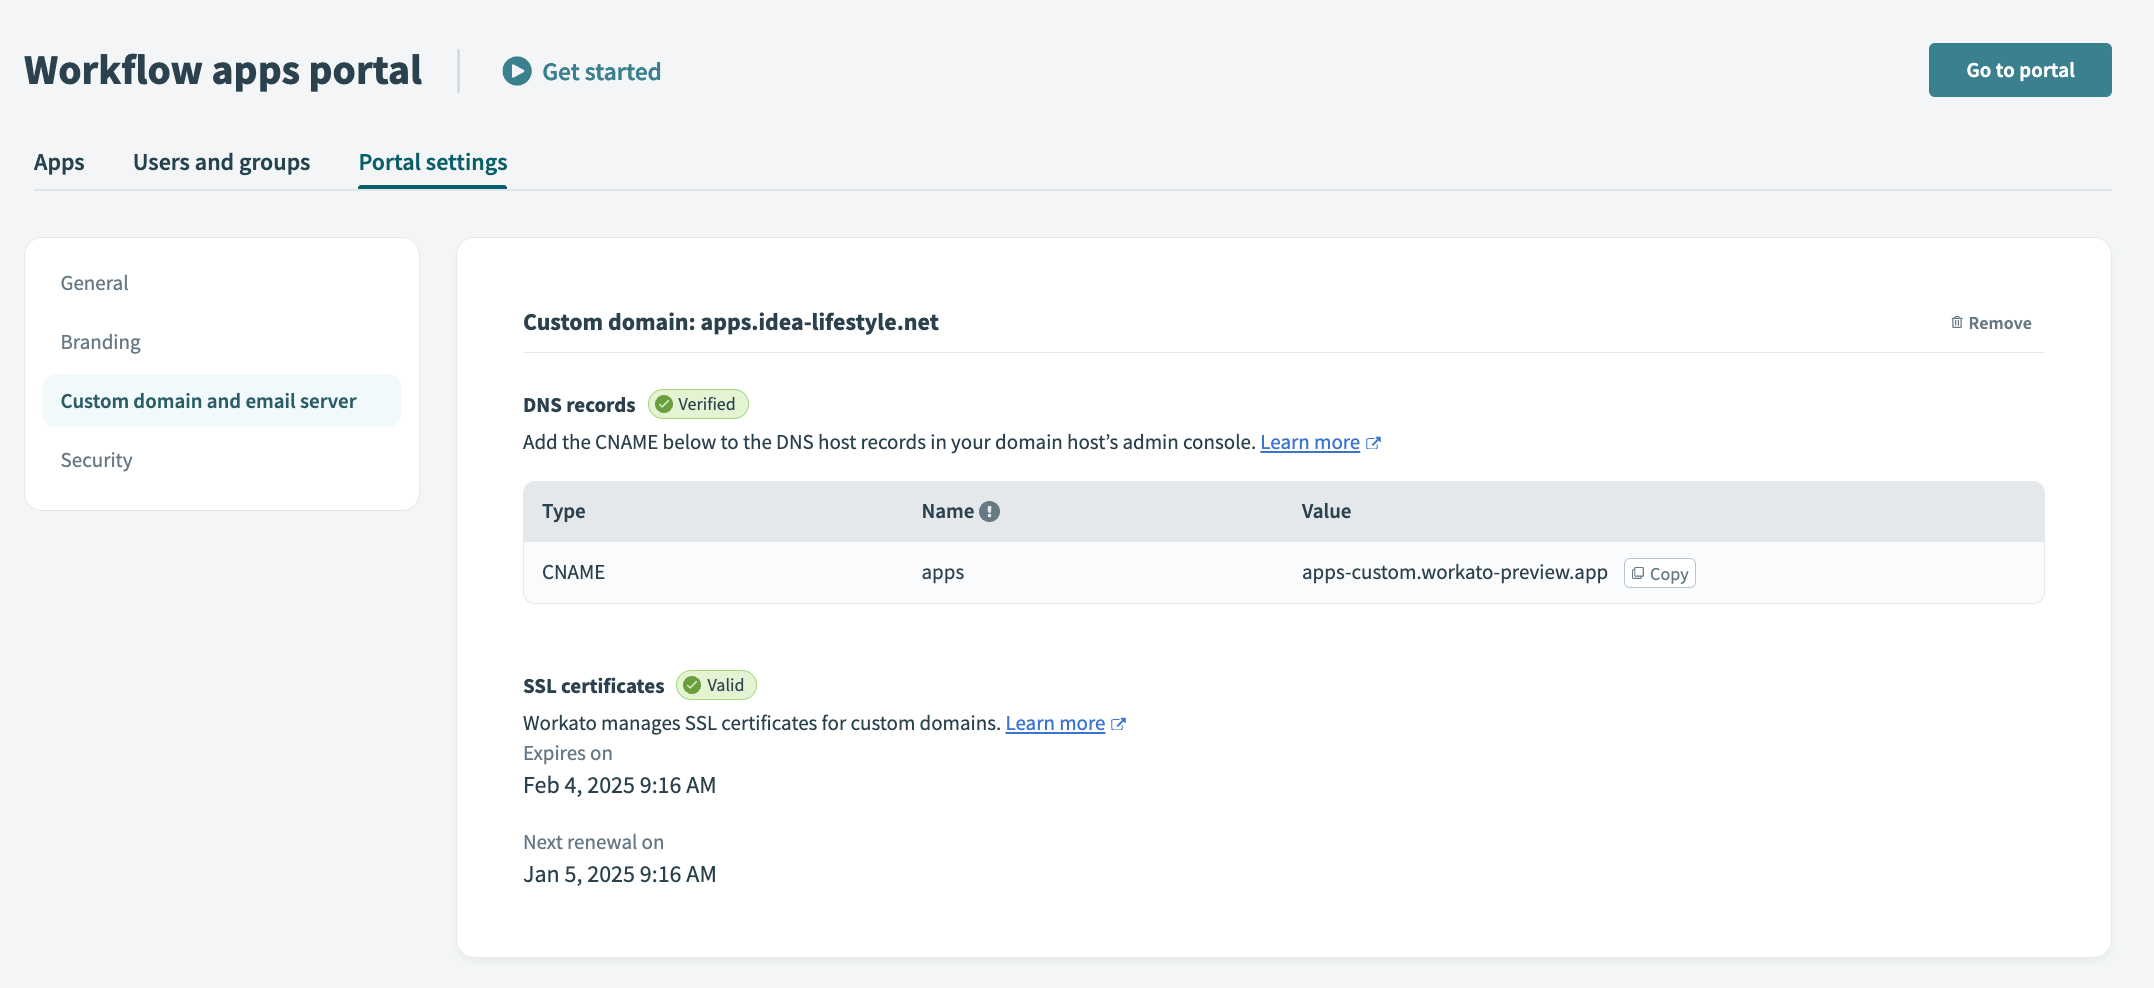 Domain verified