API developer portal
The API developer portal lets administrators share API documentation, manage client access, and control authentication. Clients use the portal to browse assigned APIs, generate credentials, and test endpoints.
 API developer portal
The portal supports two authentication modes:
- Magic link: Clients access the portal through a secure link sent by email.
- Workato Identity: Clients authenticate using their Workato Identity credentials or through their organization's identity provider. You can also configure JIT user settings to automatically create client accounts on first login.
For administrators
Administrators configure branding, manage client access, and set up authentication. Refer to the following guides:
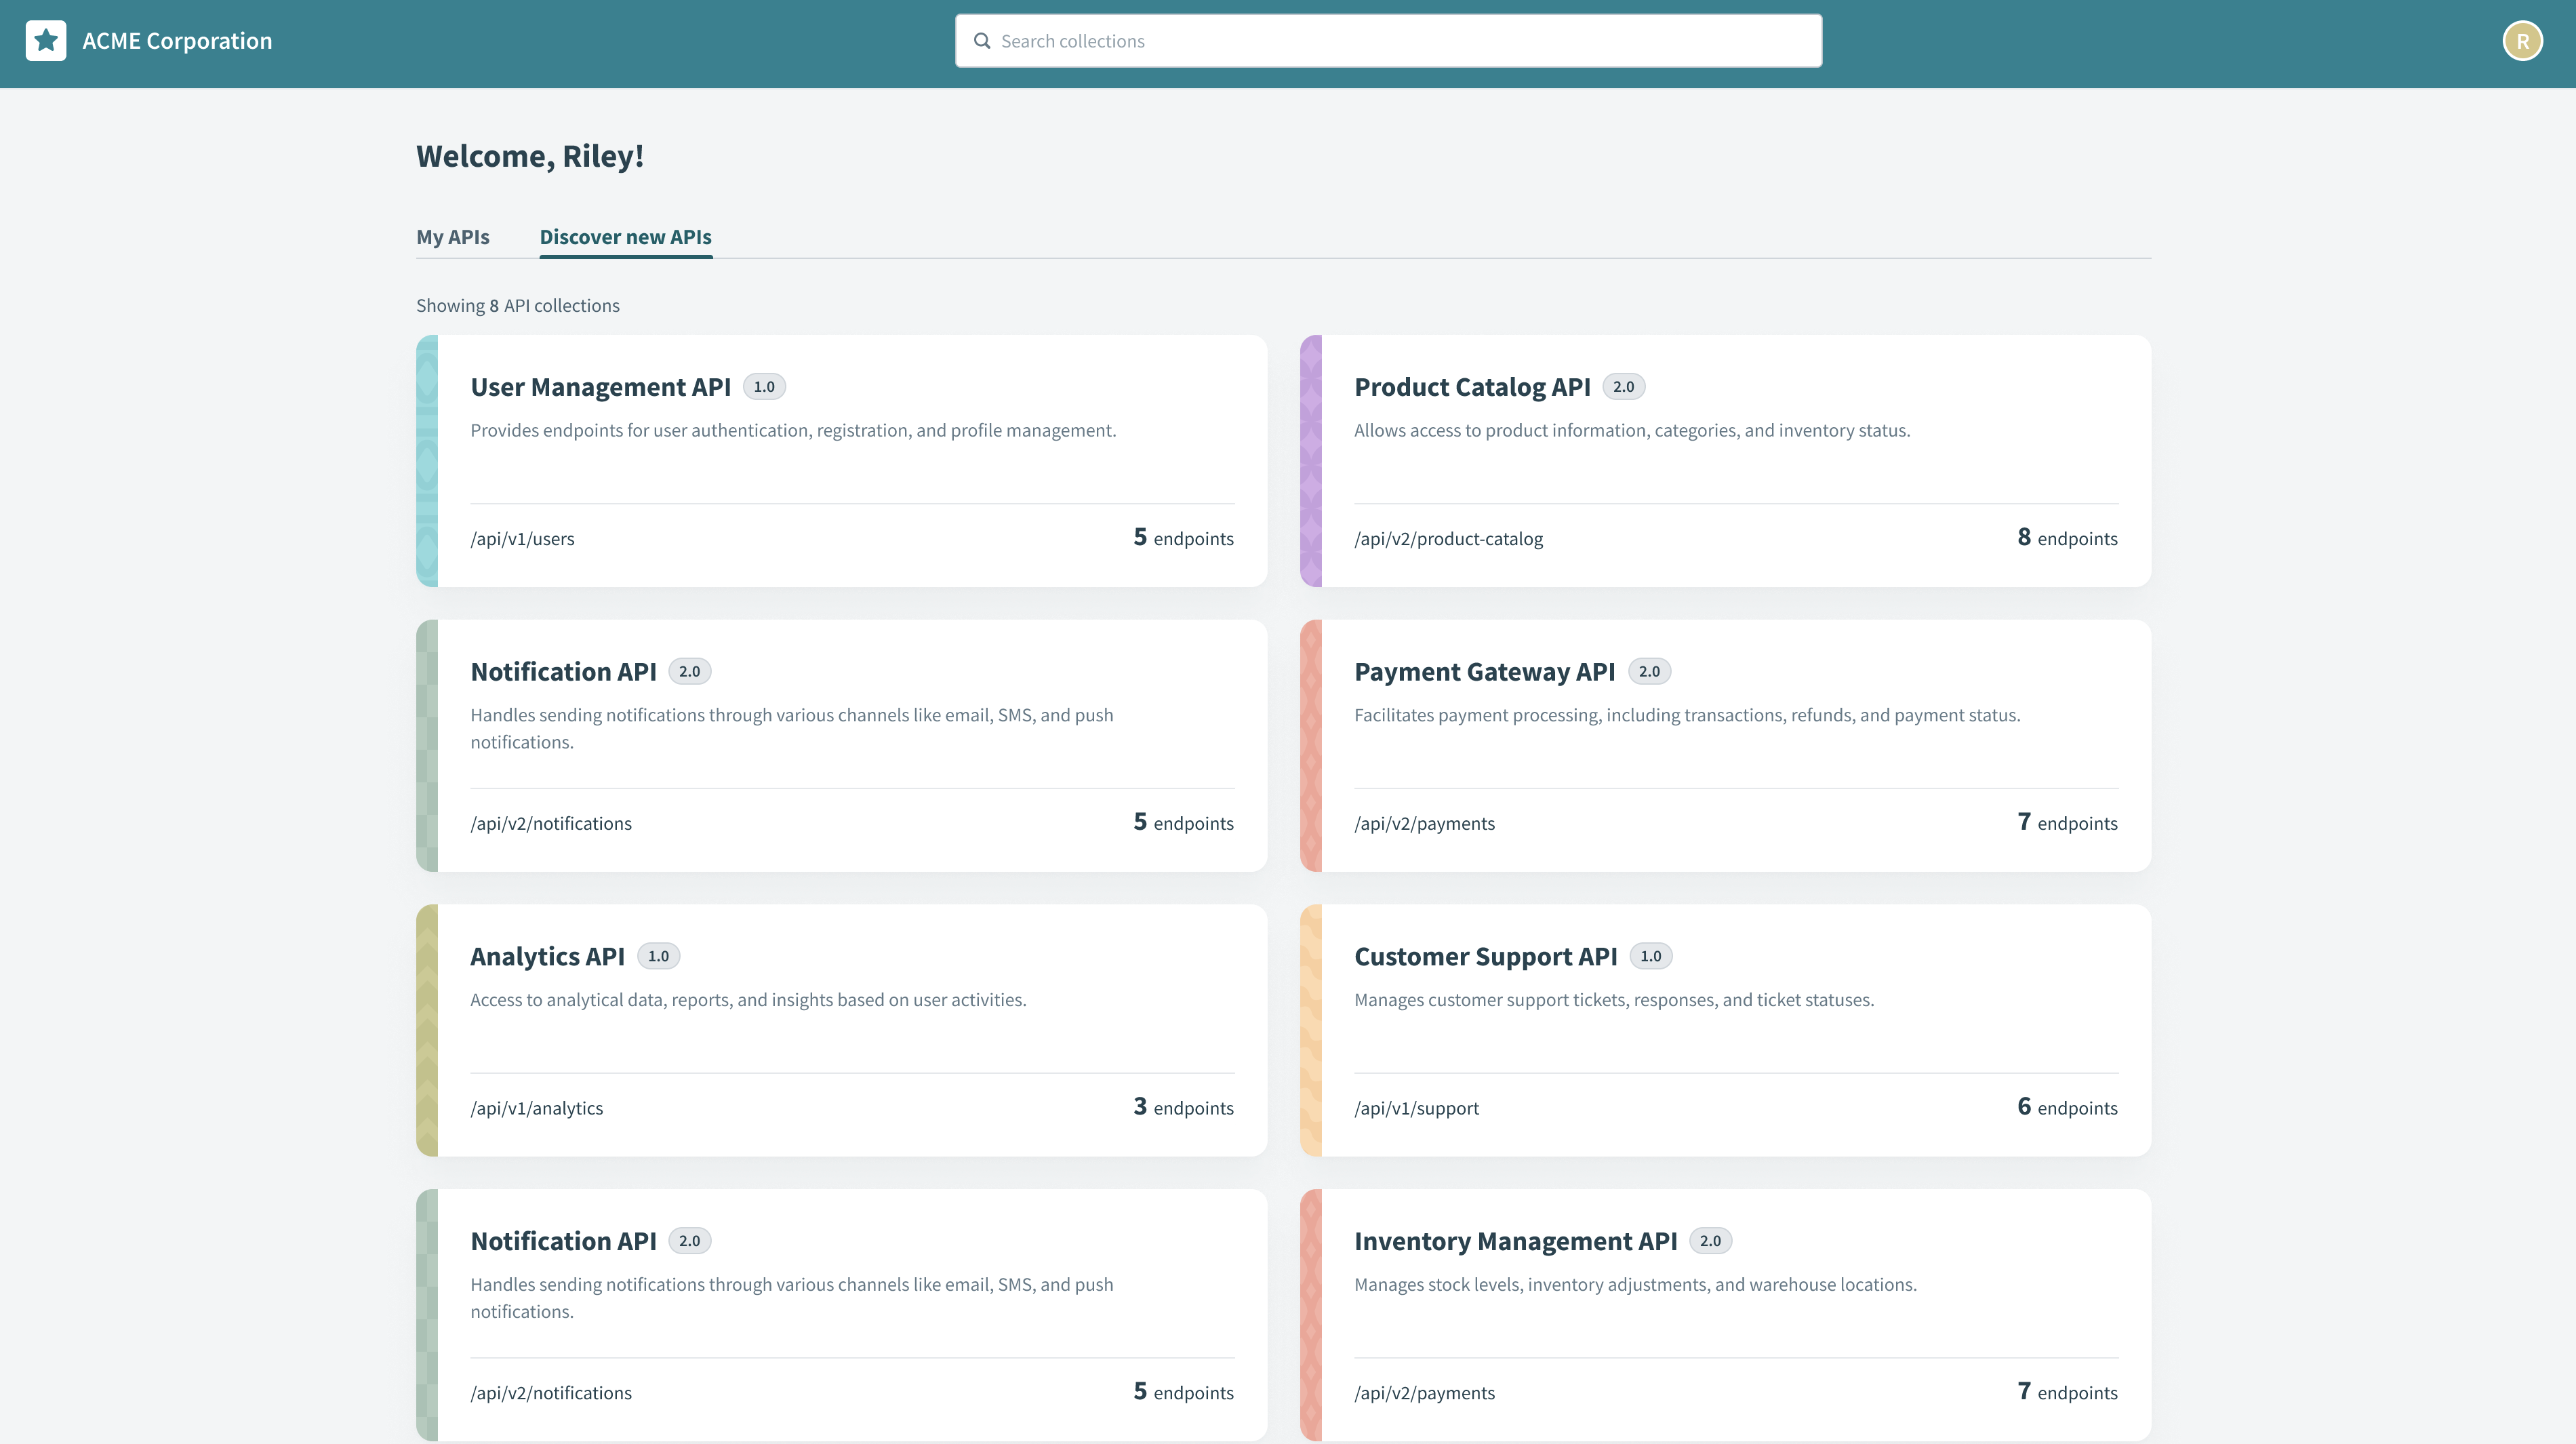
For clients
Clients can request access to new API collections, manage their API keys, and test endpoints directly in the portal. Refer to Access the developer portal for access instructions.
Last updated: