AI model configurations
You can use your REMOTE_MCP_URL to configure your prebuilt MCP server with the following AI models:
ChatGPT MCP configuration
Complete the following steps to add your MCP server to ChatGPT:
Go to your ChatGPT account.
Go to Settings > Apps & Connectors > Advanced settings and enable the Developer mode toggle.
Go to Settings > Apps & Connectors.
Click Create. This button is only visible when the Developer mode toggle is enabled.
Enter a name for your MCP connector in the Name field.
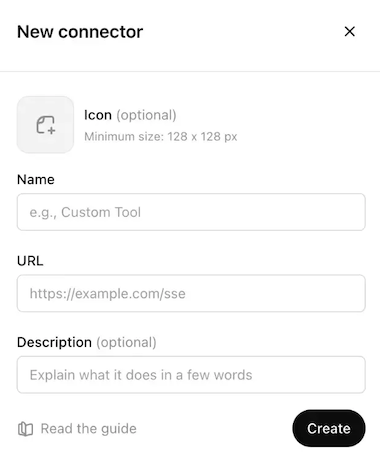 Configure your ChatGPT MCP connector
Paste your MCP URL and token in the URL field.
Optional. Enter a description in the Description field.
Use the Authentication drop-down menu to select No Auth.
Select the checkbox to accept the risk of adding a custom MCP server.
Click Create.
Create a new chat in ChatGPT to use your MCP tools.
Refer to ChatGPT MCP server publication to share your MCP server with your AI model organization.
Claude MCP configuration
Complete the following steps to add your MCP server to Claude:
Sign in to Workato.
Go to AI Hub > MCP Servers.
Select the MCP server and copy the Remote MCP URL.
Go to your Claude account.
Go to Settings > Connectors.
Click + Add new connector.
Enter a name for your MCP connector in the Name field.
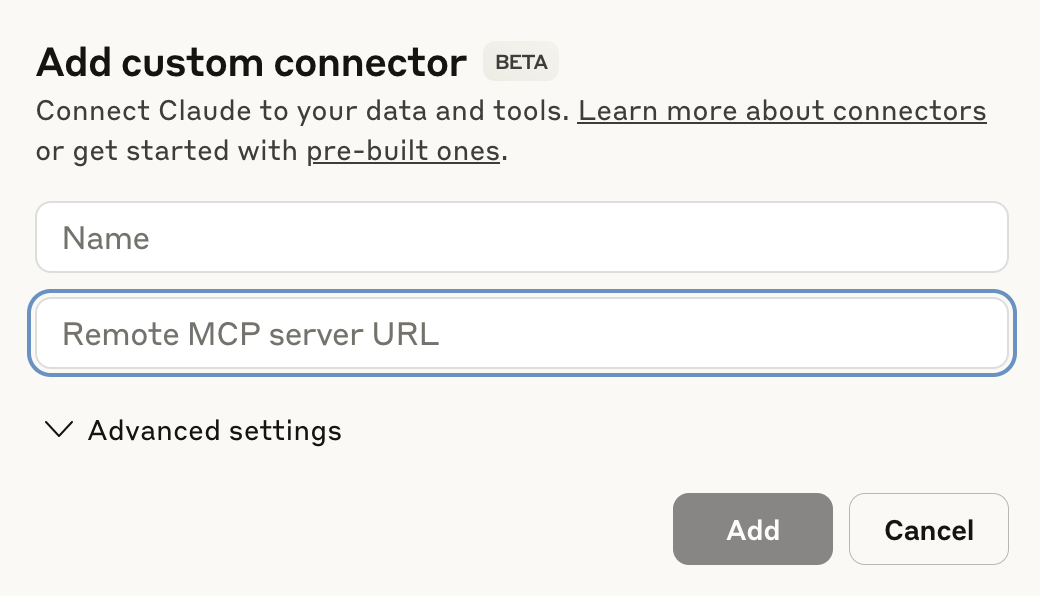 Configure your Claude MCP connector
Paste your MCP URL and token into the Remote MCP server URL field.
Click Add. The newly created MCP connector appears in the list of connectors.
Click Configure.
Use the permissions drop-down menu to select Always ask permission or Allow unsupervised. Always ask permission is selected by default.
Create a new chat in Claude to use your MCP tools.
Refer to Claude MCP server publication to share your MCP server with your AI model organization.
Cursor MCP configuration
The following process authenticates with an MCP URL and authentication token. Refer to Cursor MCP remote server configuration with Workato Identity authentication if you plan to authenticate with Workato Identity.
Complete the following steps to add your MCP server to Cursor:
Go to Settings > Cursor settings.
Click MCP & Integrations in the sidebar.
Click + New MCP Server to open the mcp.json file.
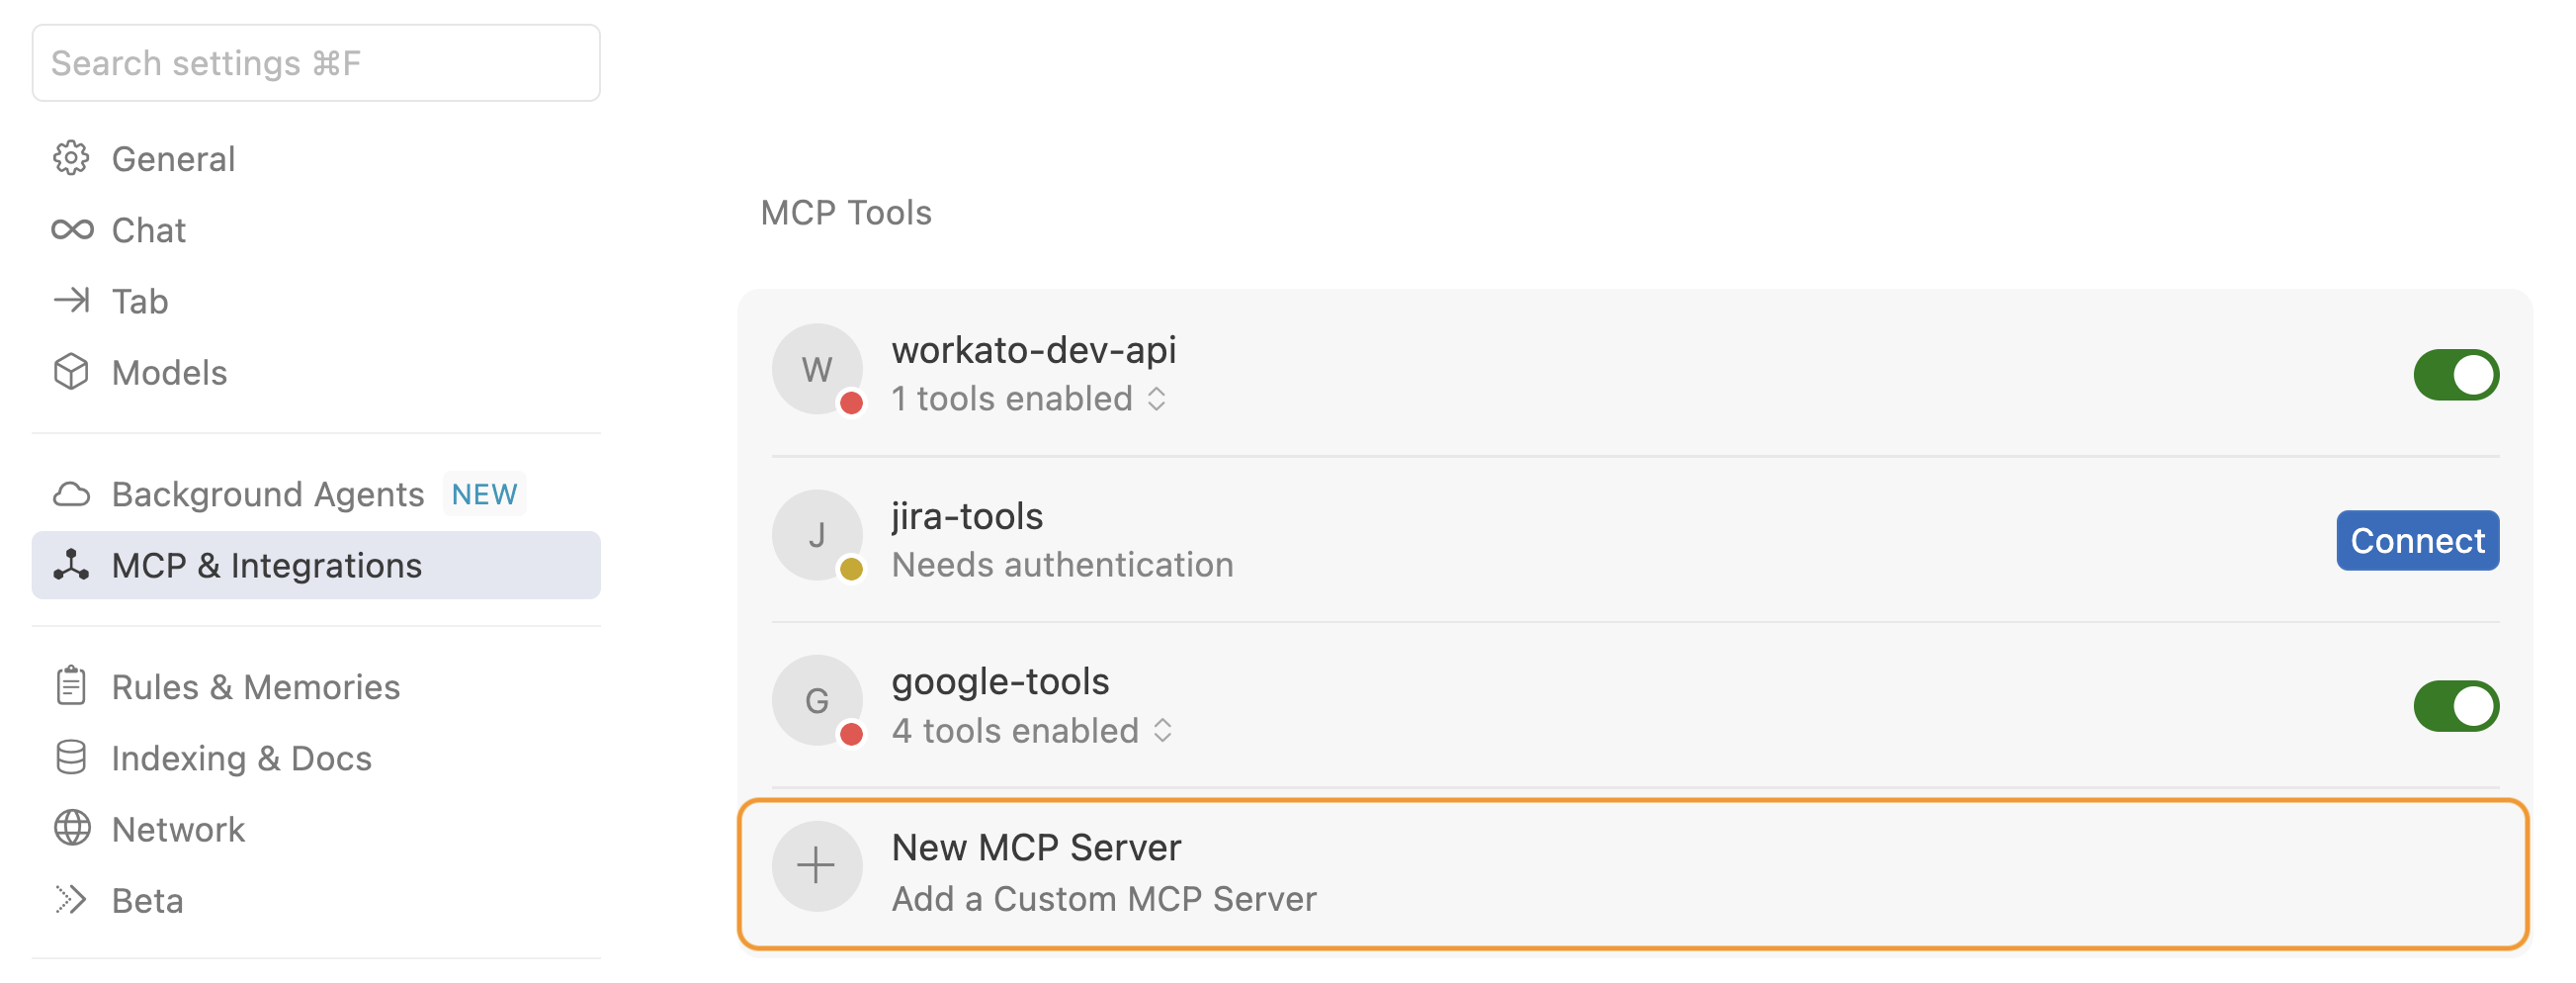 Click + New MCP Server
Update the configuration to use the MCP URL and token you copied in the preceding steps. For example:
{
  "mcpServers": {
    "snowflake-tools": {
      "url": "https://2255.apim.mcp.workato.com?wkt_token=YOUR_API_TOKEN"
    },
    "github-tools": {
      "url": "https://387.apim.mcp.workato.com/abc247/example-collection-name-v1?wkt_token=YOUR_API_TOKEN"
    }
  }
}Save your changes.
Create a new chat with your Cursor agent to use your MCP tools.
You must start a new chat with your agent. Cursor agents only have access to the tools and capabilities available when a chat begins. Agents can't detect or use new MCP configurations, servers, or tools added after starting a chat.
Refer to Cursor MCP server publication to share your MCP server with your AI model organization.
Microsoft Copilot MCP configuration
Microsoft Copilot supports OAuth authentication and API-based access for MCP servers. Refer to the Microsoft Copilot MCP server configuration documentation for more information.
Complete the following steps to add your MCP server to Microsoft Copilot:
Sign in to your Microsoft Copilot Studio account.
Select Agent in the sidebar and create a new agent.
Provide a name for your agent in the Name field.
Optional. Provide a description for your agent in the Description field.
Add your MCP server as a tool. Steps for adding an MCP server vary based on your authentication method:
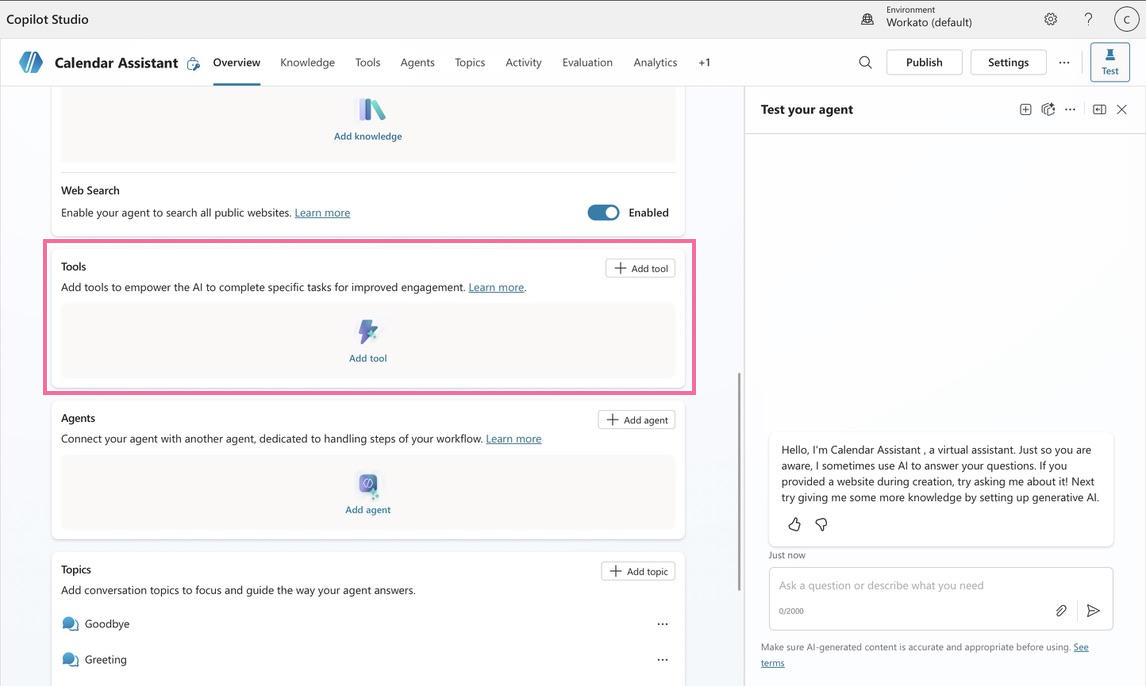 Add tools
Return to Microsoft Copilot Studio and connect to the newly created MCP server.
Refer to Microsoft Copilot MCP server publication to share your MCP server with your AI model organization.
Last updated: