# Upload a CSV of Active Directory entries to an SFTP server recipe
This use case guides you through connecting Active Directory, CSV tools by Workato, and SFTP to create a powerful automation.
# What does this recipe do?
This recipe performs a daily search for specific entries in Active Directory, composes a CSV formatted string from the results, and uploads the string as a CSV file to an SFTP server.
# Create your recipe
Complete the following steps to create a recipe that performs a daily search for employees in Active Directory, composes a CSV file from the results, and uploads the file to an SFTP server:
USE CASES ARE INTENDED AS EXAMPLES ONLY
This use case serves as an example. Modifications to triggers, actions, or conditional logic may be necessary to adapt this recipe to your workflow.
Sign in to Workato.
Select the project where you plan to create the recipe.
Create connections for Active Directory and SFTP:
WORKATO UTILITY CONNECTORS DON'T REQUIRE SETUP
The CSV tools by Workato connector doesn't require connection setup.
Create an Active Directory connection.
# Create an Active Directory connection
This step creates a connection between Workato and your Active Directory account.
Click Create > Connection.
Search for and select Active Directory on the New connection page.
Enter a name for your connection in the Connection name field.
Use the Location drop-down menu to select the project where you plan to store the connection.
Select an On-prem group if your database runs in a network that does not support direct connection. Ensure your on-prem group has an active on-prem agent.
Provide the profile name defined in your OPA's config.yml file in the On-prem LDAP connection profile field. This option is only visible when you select an on-prem group that supports connection profiles.
Provide the LDAP URL. Use the format ldap://myserver.example.com:389 for non-SSL connections or ldaps://myserver.example.com:636 for SSL connections.
Enter the Username (principal), typically the distinguished name (DN) of an admin user, to authenticate with the LDAP server.
Provide the Password (credentials) for LDAP server authentication.
Provide the Base DN for LDAP requests. This setting ensures all DNs you use or receive in LDAP operations are relative to this LDAP path.
Expand the Configure SSL settings section and configure the following fields if your connection requires SSL encryption:
Enter the path for the PEM-encoded certificate or a trusted CA in the Certificate field.
Enter the full content of a PEM-encoded client certificate in the SSL certificate field.
Enter the private SSL certificate key for mutual SSL setup. This field is required if you specify an SSL certificate.
Use the Trust all drop-down menu to enable or disable self-signed certificates.
Click Connect.
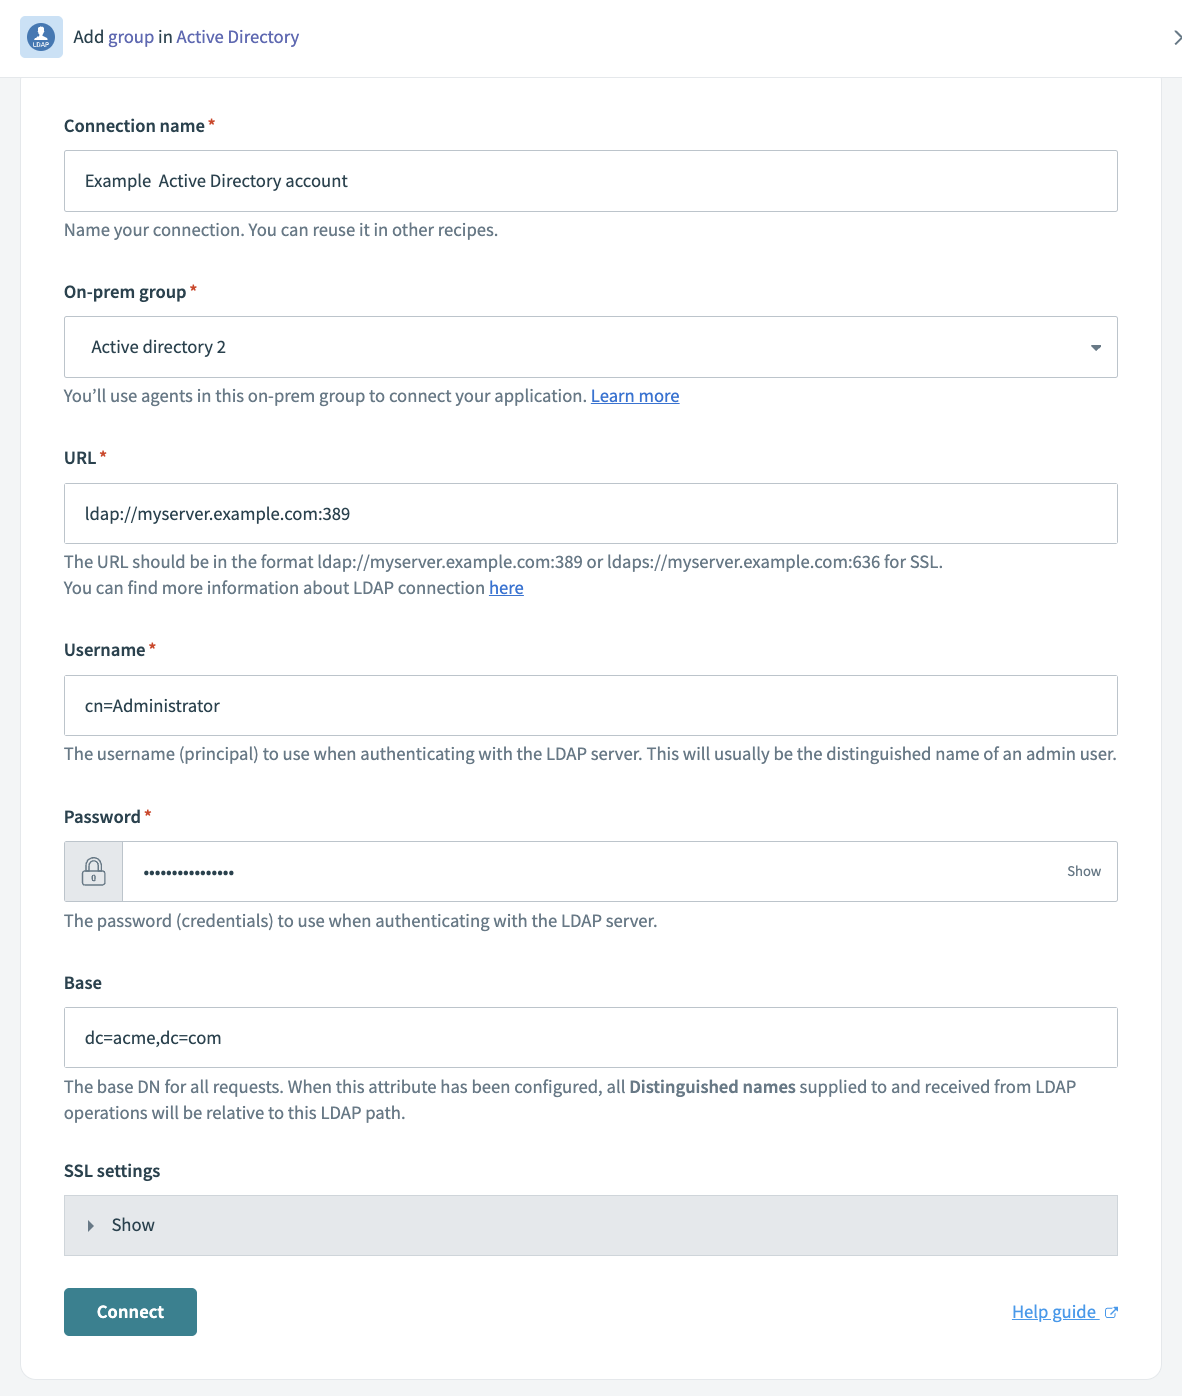 Complete the connection fields and click Connect
Create a SFTP connection.
# Create a SFTP connection
This step creates an SFTP connection for your recipe.
# Using SSH keys for SFTP authentication
SFTP is built on the Secure Shell Protocol (SSH), which enables you to use SSH keys in your authentication flow. SSH keys can be used with a user ID and password or independently to authenticate Workato with your SFTP server. This enhances the security of your connection by using SSH encryption for your public and private keys.
# Connection setup
Complete the following steps to set up your SFTP connection:
Click Create > Connection.
Search for and select SFTP on the New connection page.
Provide a name for your connection in the Connection name field.
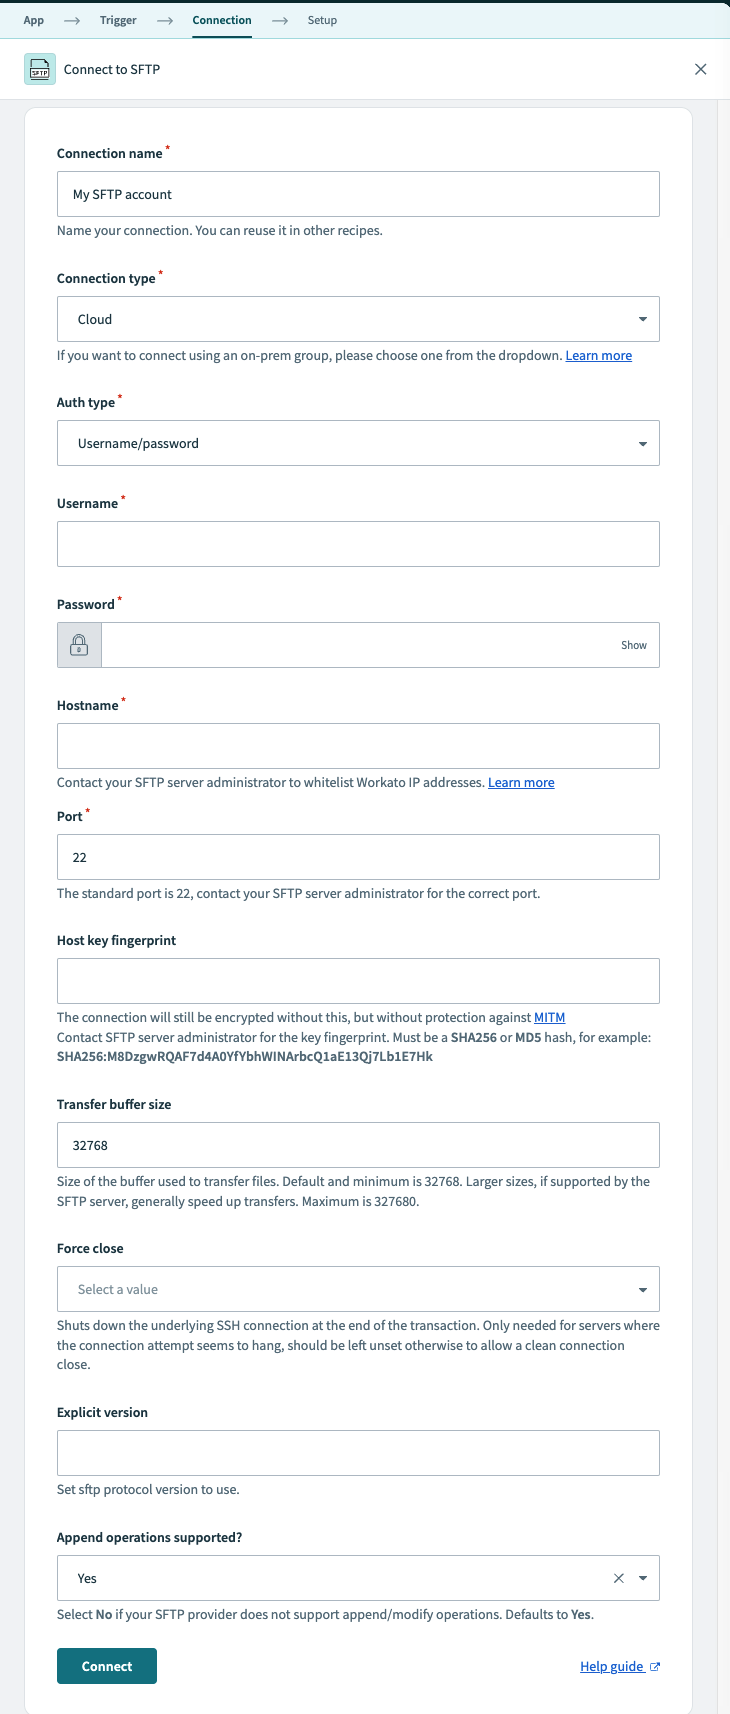 SFTP connection setup
Use the Location drop-down menu to select the project where you plan to store the connection.
Use the Connection type drop-down menu to select the connection method you plan to use. You can select your on-prem group name or select Cloud to use a direct connection.
Select the authentication method in the Auth type field. Available options include the following:
- Username/password
- Public/private key pair
- Public/private key pair and password
Enter the username for the SFTP server you plan to connect to in the Username field.
Provide additional authentication information based on your selection from the Auth type field:
Username/password or Public/private key pair and password authentication: Enter the password associated with the SFTP server username in the Password field.
Public/private key or Public/private key pair and password authentication: Enter the SSH private key for the SFTP server in the Private key field. The private key must be in OpenSSH format (opens new window). Specify
SecureShellPrivateKeyFormat.NewOpenSecureShellas the format parameter when saving the key. Refer to the Private key example format section for more information.
Enter your SFTP server address in the Hostname field.
Enter the port for the SFTP server in the Port field. The default port for SFTP is 22.
Optional. Enter the hash of the SSH public key in the Host key fingerprint field. Workato supports SHA256 and MD5 encryption. For on-premise connections, contact your SFTP server administrator to obtain the public key in Base64 format.
Optional. Enter the size of the buffer used for file transfers in the Transfer buffer size field.
Optional. Specify whether the SSH connection should be closed at the end of each transaction in the Force close field. Toggle this option if your SFTP server connection becomes unresponsive. Otherwise, leave it blank.
Optional. Set the SFTP protocol version to use in the Explicit version field.
Use the Append operations supported? drop-down menu to specify whether your SFTP provider supports append or modify operations. The default setting is Yes.
Click Connect.
Go back to your project and click Create > Recipe.
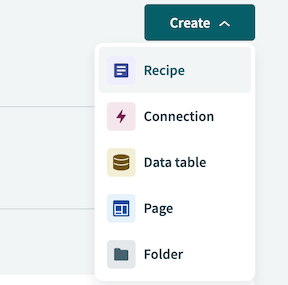 Create a new recipe
Enter a name for your recipe in the Name field.
Select the project where you plan to store the recipe from the Location drop-down menu.
Click Start building.
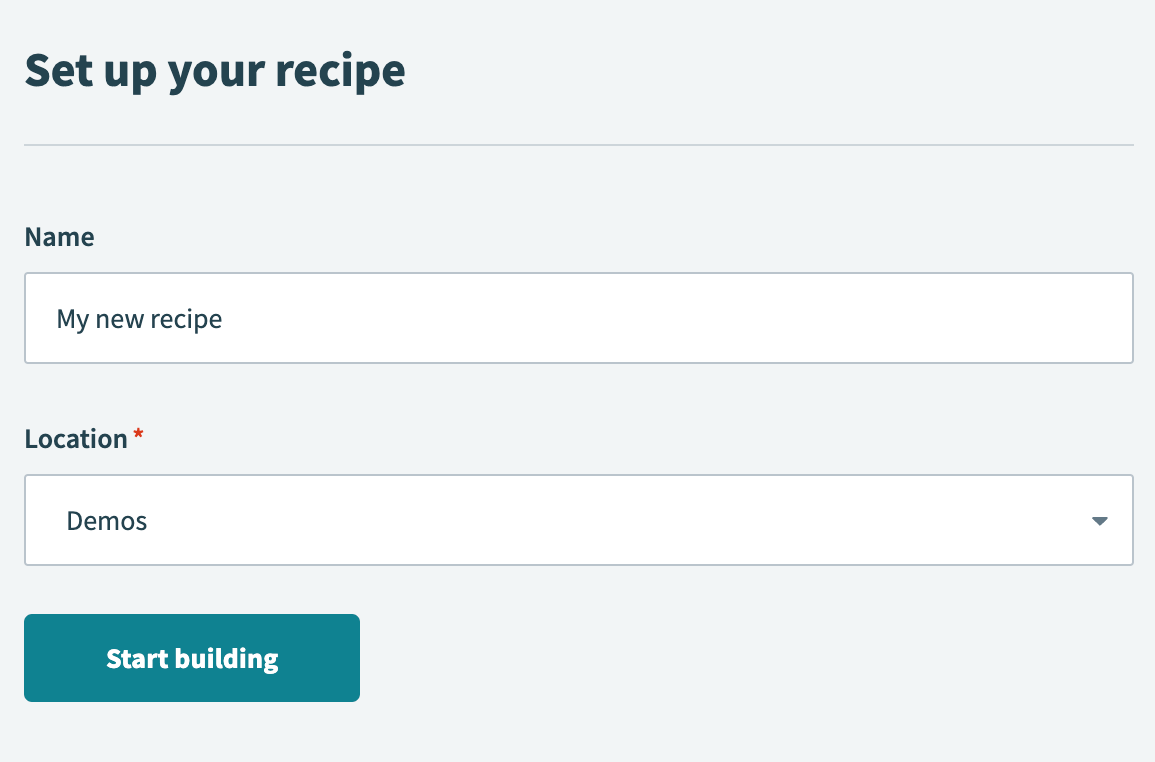 Start building your recipe
Click Pick a starting point and select Trigger from an app.
Click Select an app and trigger event.
Set up your Active Directory Scheduled entry search using search filter trigger.
# Set up Active Directory Scheduled entry search using search filter trigger
This trigger performs a daily search for specific entries in Active Directory.
Search for Active Directory and select it as your app.
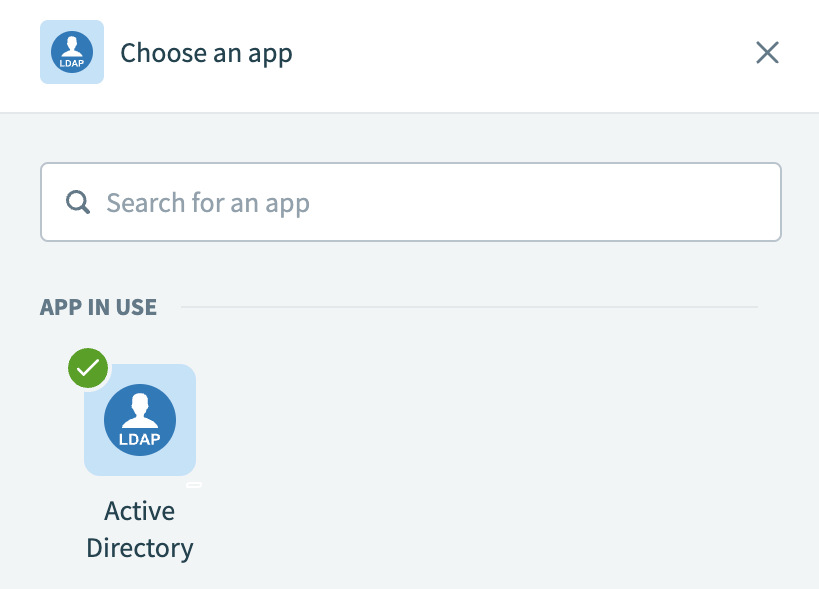 Choose Active Directory
Select the Scheduled entry search using search filter trigger.
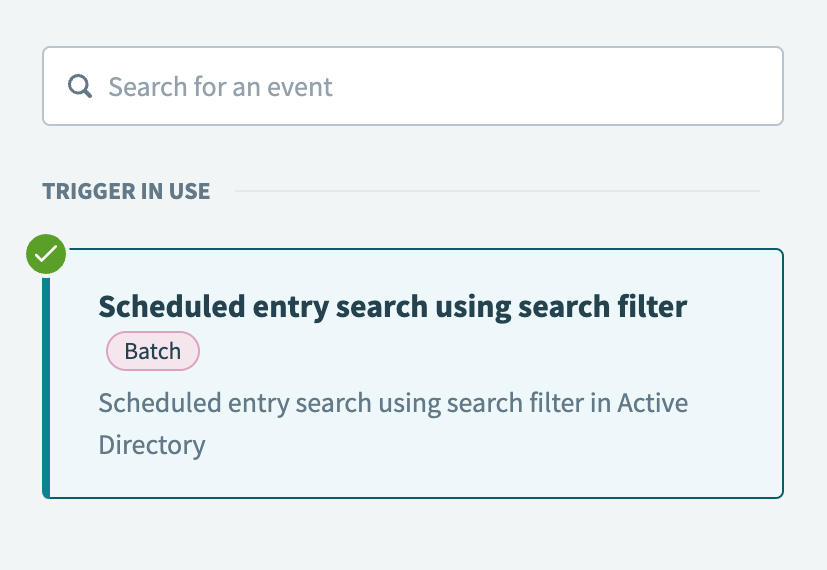 Select the Scheduled entry search using search filter trigger
Enter the distinguished name (opens new window) of a known entry in your Active Directory instance in the Sample entry DN field. For example, CN=Jake Smith,OU=People.
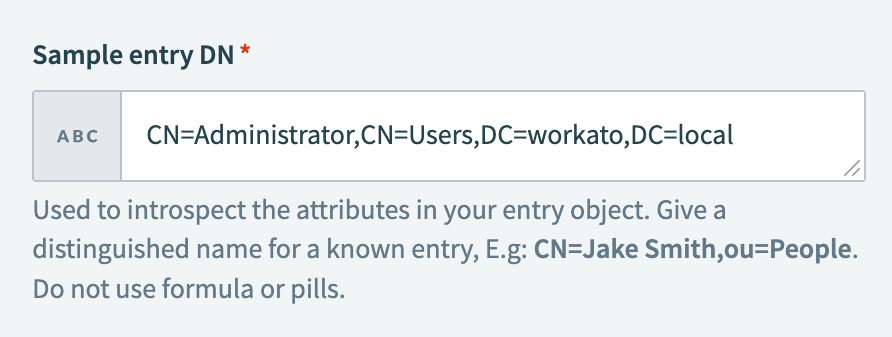 Example of Sample entry DN configuration
Ensure the entry you choose includes all the fields you plan to use as column names in the CSV file. Don't use formulas or datapills in this field.
Use the Trigger on drop-down menu to select Specific interval.
Expand the Schedule settings section and select One day from the Every drop-down menu.
Enter a filter in the Entry search filter field to specify the Active Directory entries to search. For example, enter objectClass=Person to return results where objectClass equals Person.
Click + Add step and select Action in app.
 Click Add step > Add action in app
Set up your CSV tools by Workato Compose CSV action.
# Set up CSV tools by Workato Compose CSV action
This step composes a CSV formatted string from the output of the Active Directory search.
Search for CSV tools by Workato and select it as your app.
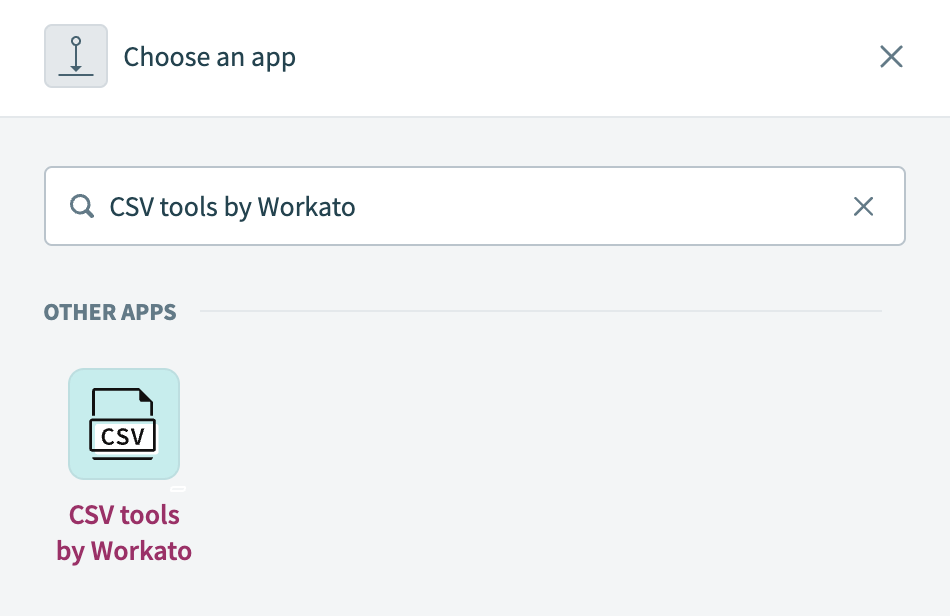 Choose CSV tools by Workato
Select the Compose CSV action.
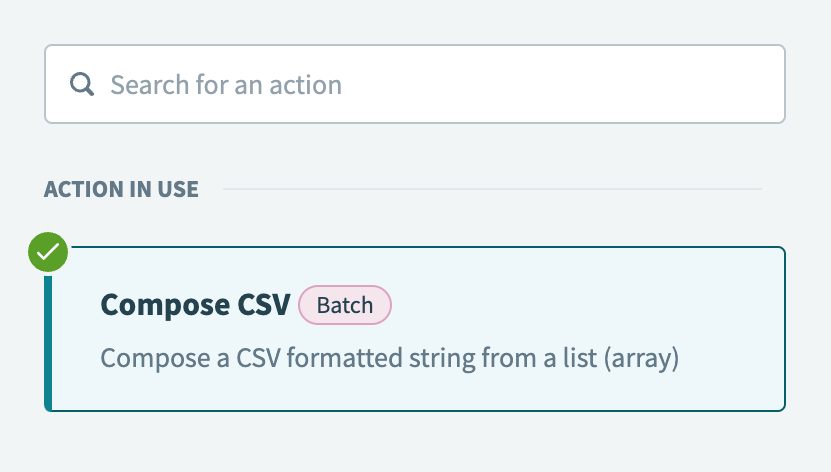 Select the Compose CSV action
Enter the column names you plan to include in the CSV file in the CSV column names field. Workato uses these column names to generate the input fields in the CSV data lines section.
For example, this recipe uses the following column names:
employee_id
display_name
bad_pwd_count
street_address
postal_code
mobile
title
employee_type
department
lastLogon
Use the Create header line drop-down menu to specify whether to include the column names in the CSV file.
Map the Active Directory Entries Step 1 list datapill to the CSV data lines source list field.
Map the relevant Active Directory datapills to the fields in the CSV data lines fields section. These fields correspond to the column names you entered in CSV column names and depend on the Sample entry DN value provided in the previous recipe step.
For example, this recipe maps the Active Directory employeeID Step 1 datapill to employee_id, displayName Step 1 to display_name, and so on.
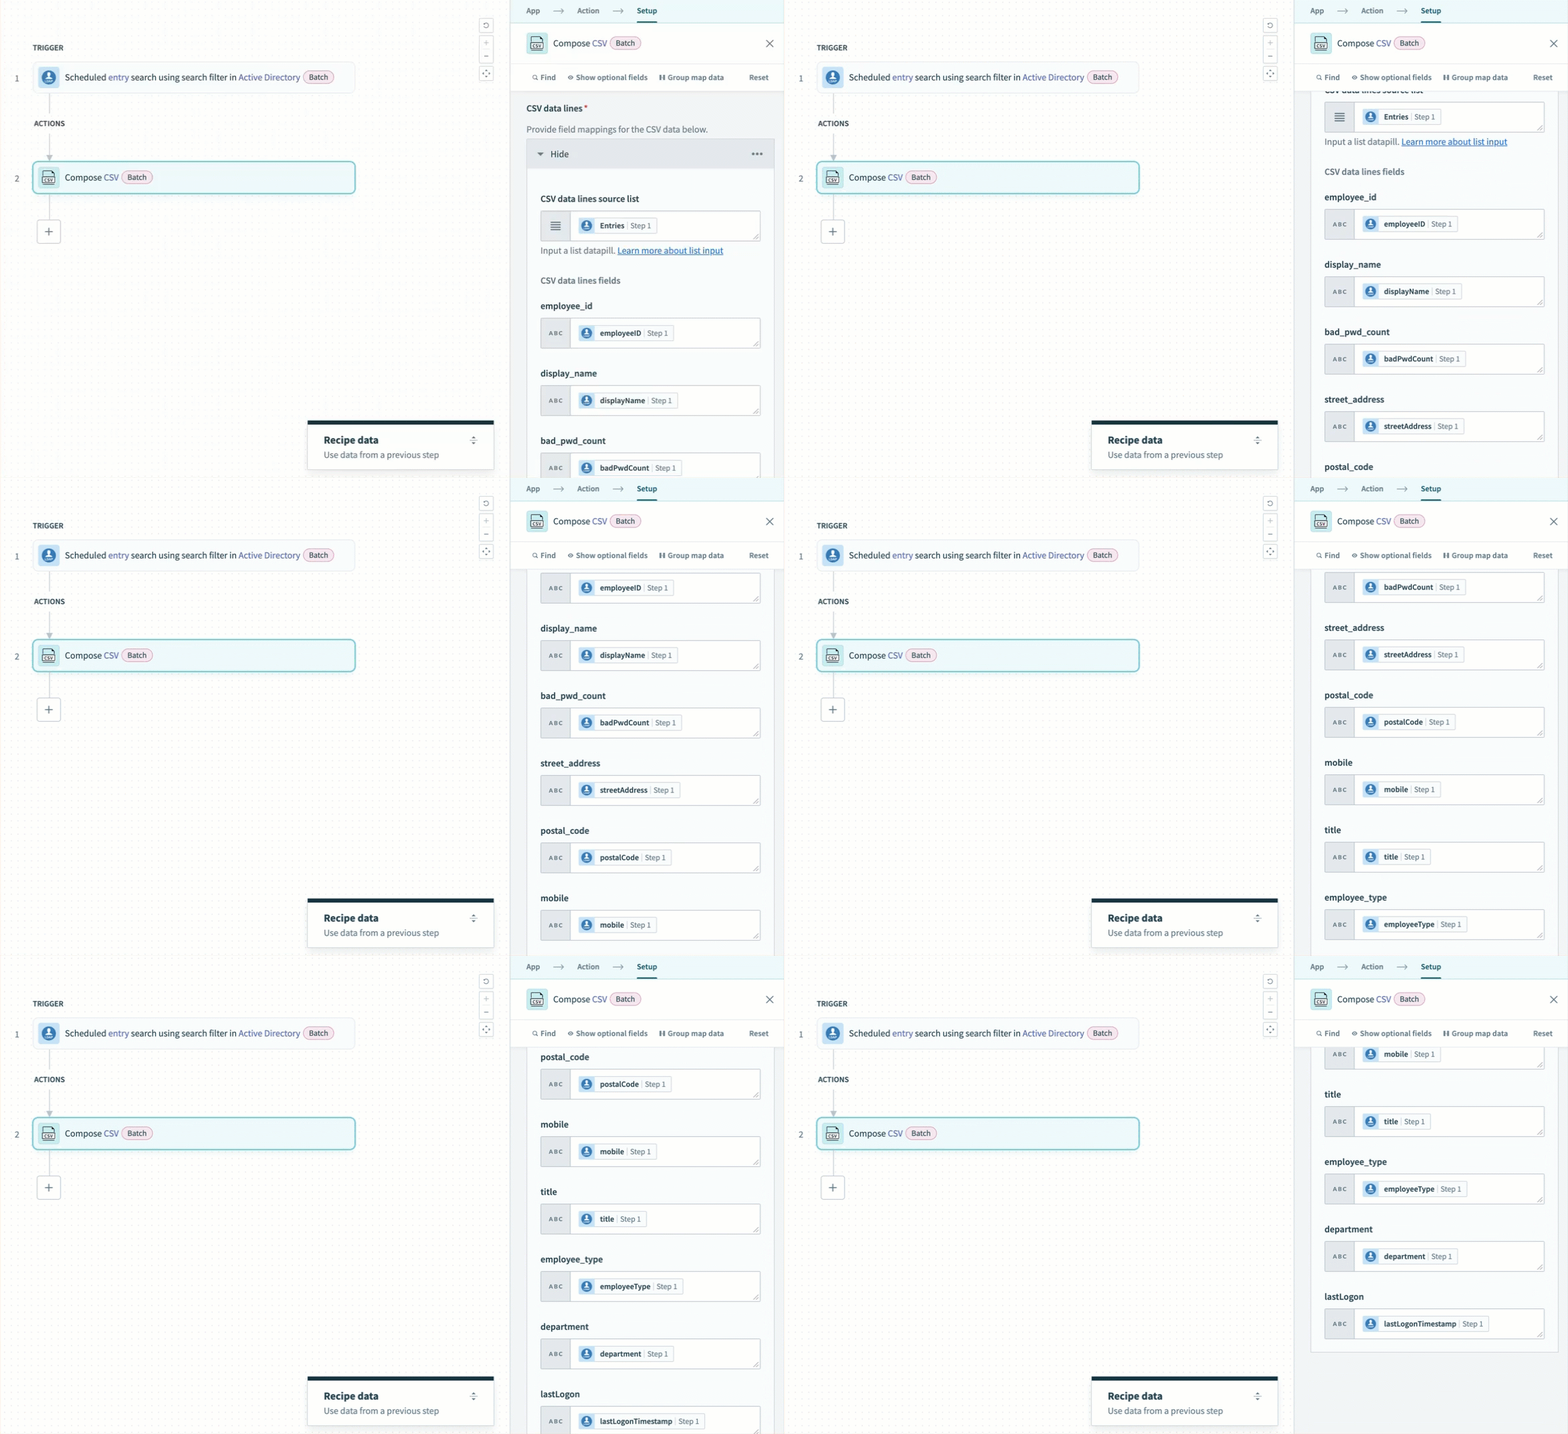 Completed configuration
Click + Add step and select Action in app.
Set up your SFTP Upload file action.
# Set up SFTP Upload file action
This step uses the CSV string and uploads it as a CSV file to a specific path in your SFTP server.
Search for SFTP and select it as your app.
 Choose SFTP
Select the Upload file action.
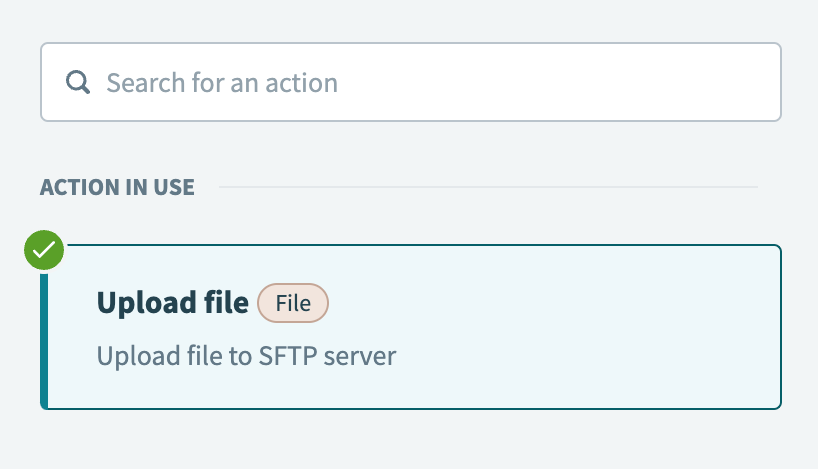 Select the Upload file action
Enter the full path to the file, including its name, in the File path field. Ensure the folders in the specified path exist before attempting to add files.
For example, this recipe switches the File path field to formula mode and uses the following file path:
"/sftp/employees_report_{JOB_CREATED_AT}.strftime('%Y-%m-%d')}.csv"
In this example, {JOB_CREATED_AT} represents the Job created at Properties datapill. This path configuration ensures that each file is uniquely named based on the job creation date.
 Example of File path configuration
Map the CSV contents Step 2 datapill to the File contents field.
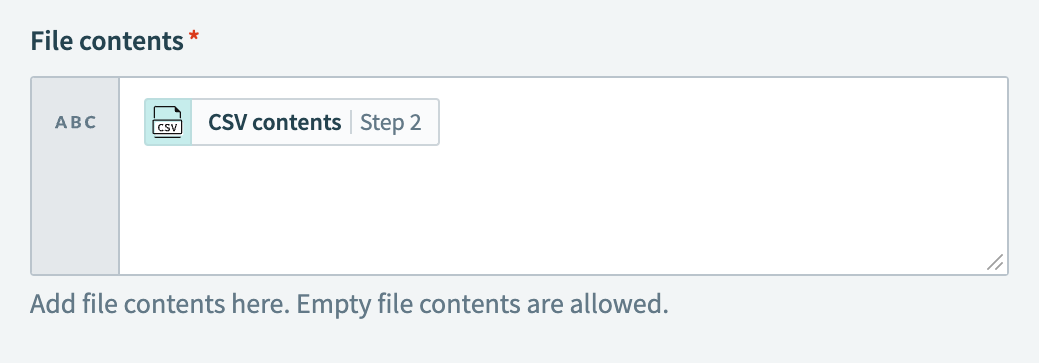 Configure the File contents field
Use the Append drop-down menu to specify whether to append or overwrite the file contents if a file with the same name already exists on the SFTP server.
For example, you can set this field to Yes if you plan to re-run a job and add new data to an existing file.
Click Save.
Your Upload a CSV of Active Directory entries to an SFTP server recipe is ready to test and implement.
Example recipe configuration.
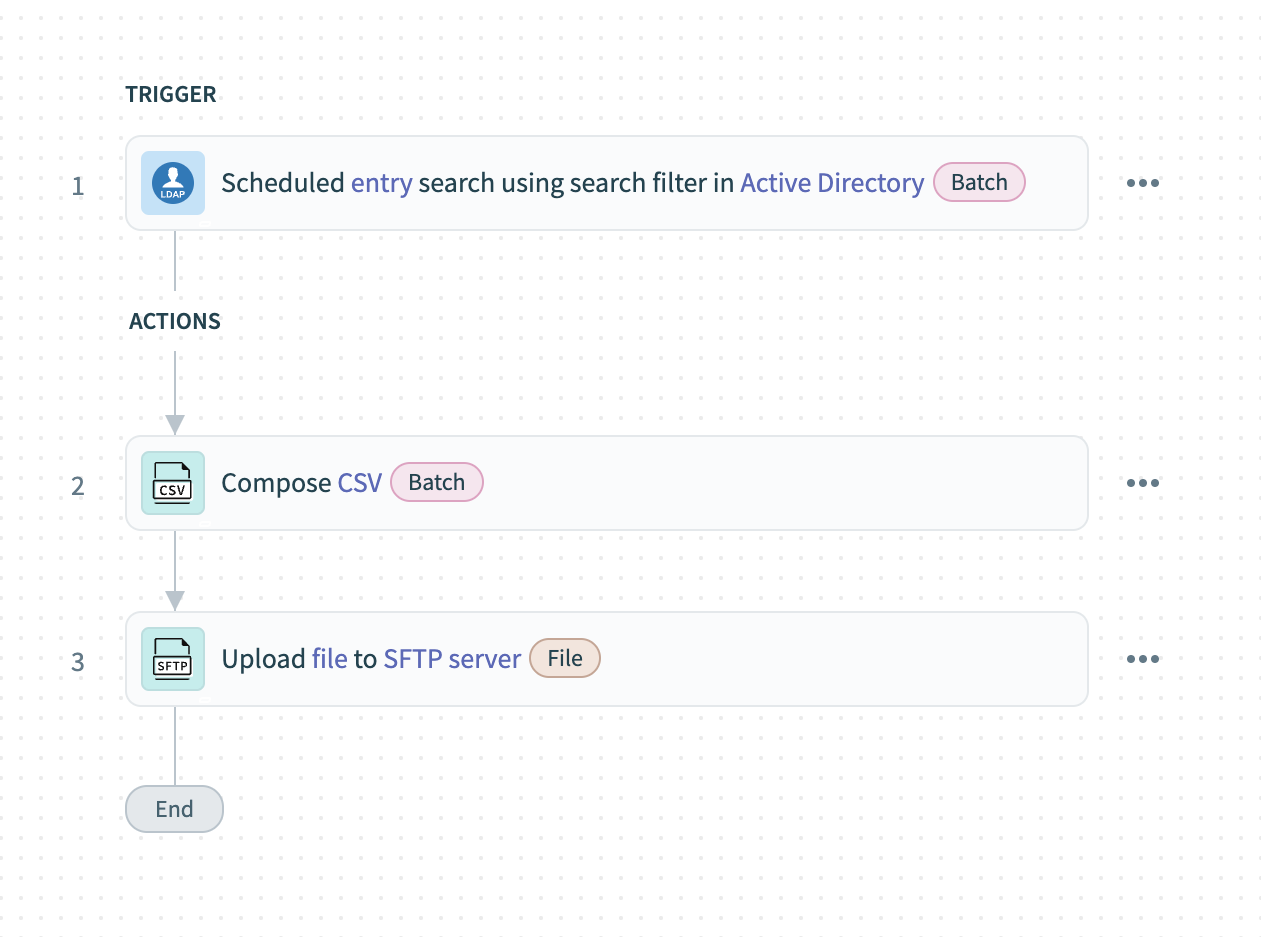 Active Directory, CSV tools by Workato, and SFTP recipe
Last updated: 10/14/2025, 5:37:34 PM